How to Make Scrunchies (With No Elastic)
Scrunchies are among the easiest beginner sewing projects, but we have made the process of making a scrunchie with a sewing machine even easier!

Many DIY scrunchies use elastic cord that needs to be pulled through a fabric tube, such as this classic scrunchie and our scrunchie with a bow. However, elastic has to be bought at a craft store or hobby store, which might not always be convenient.
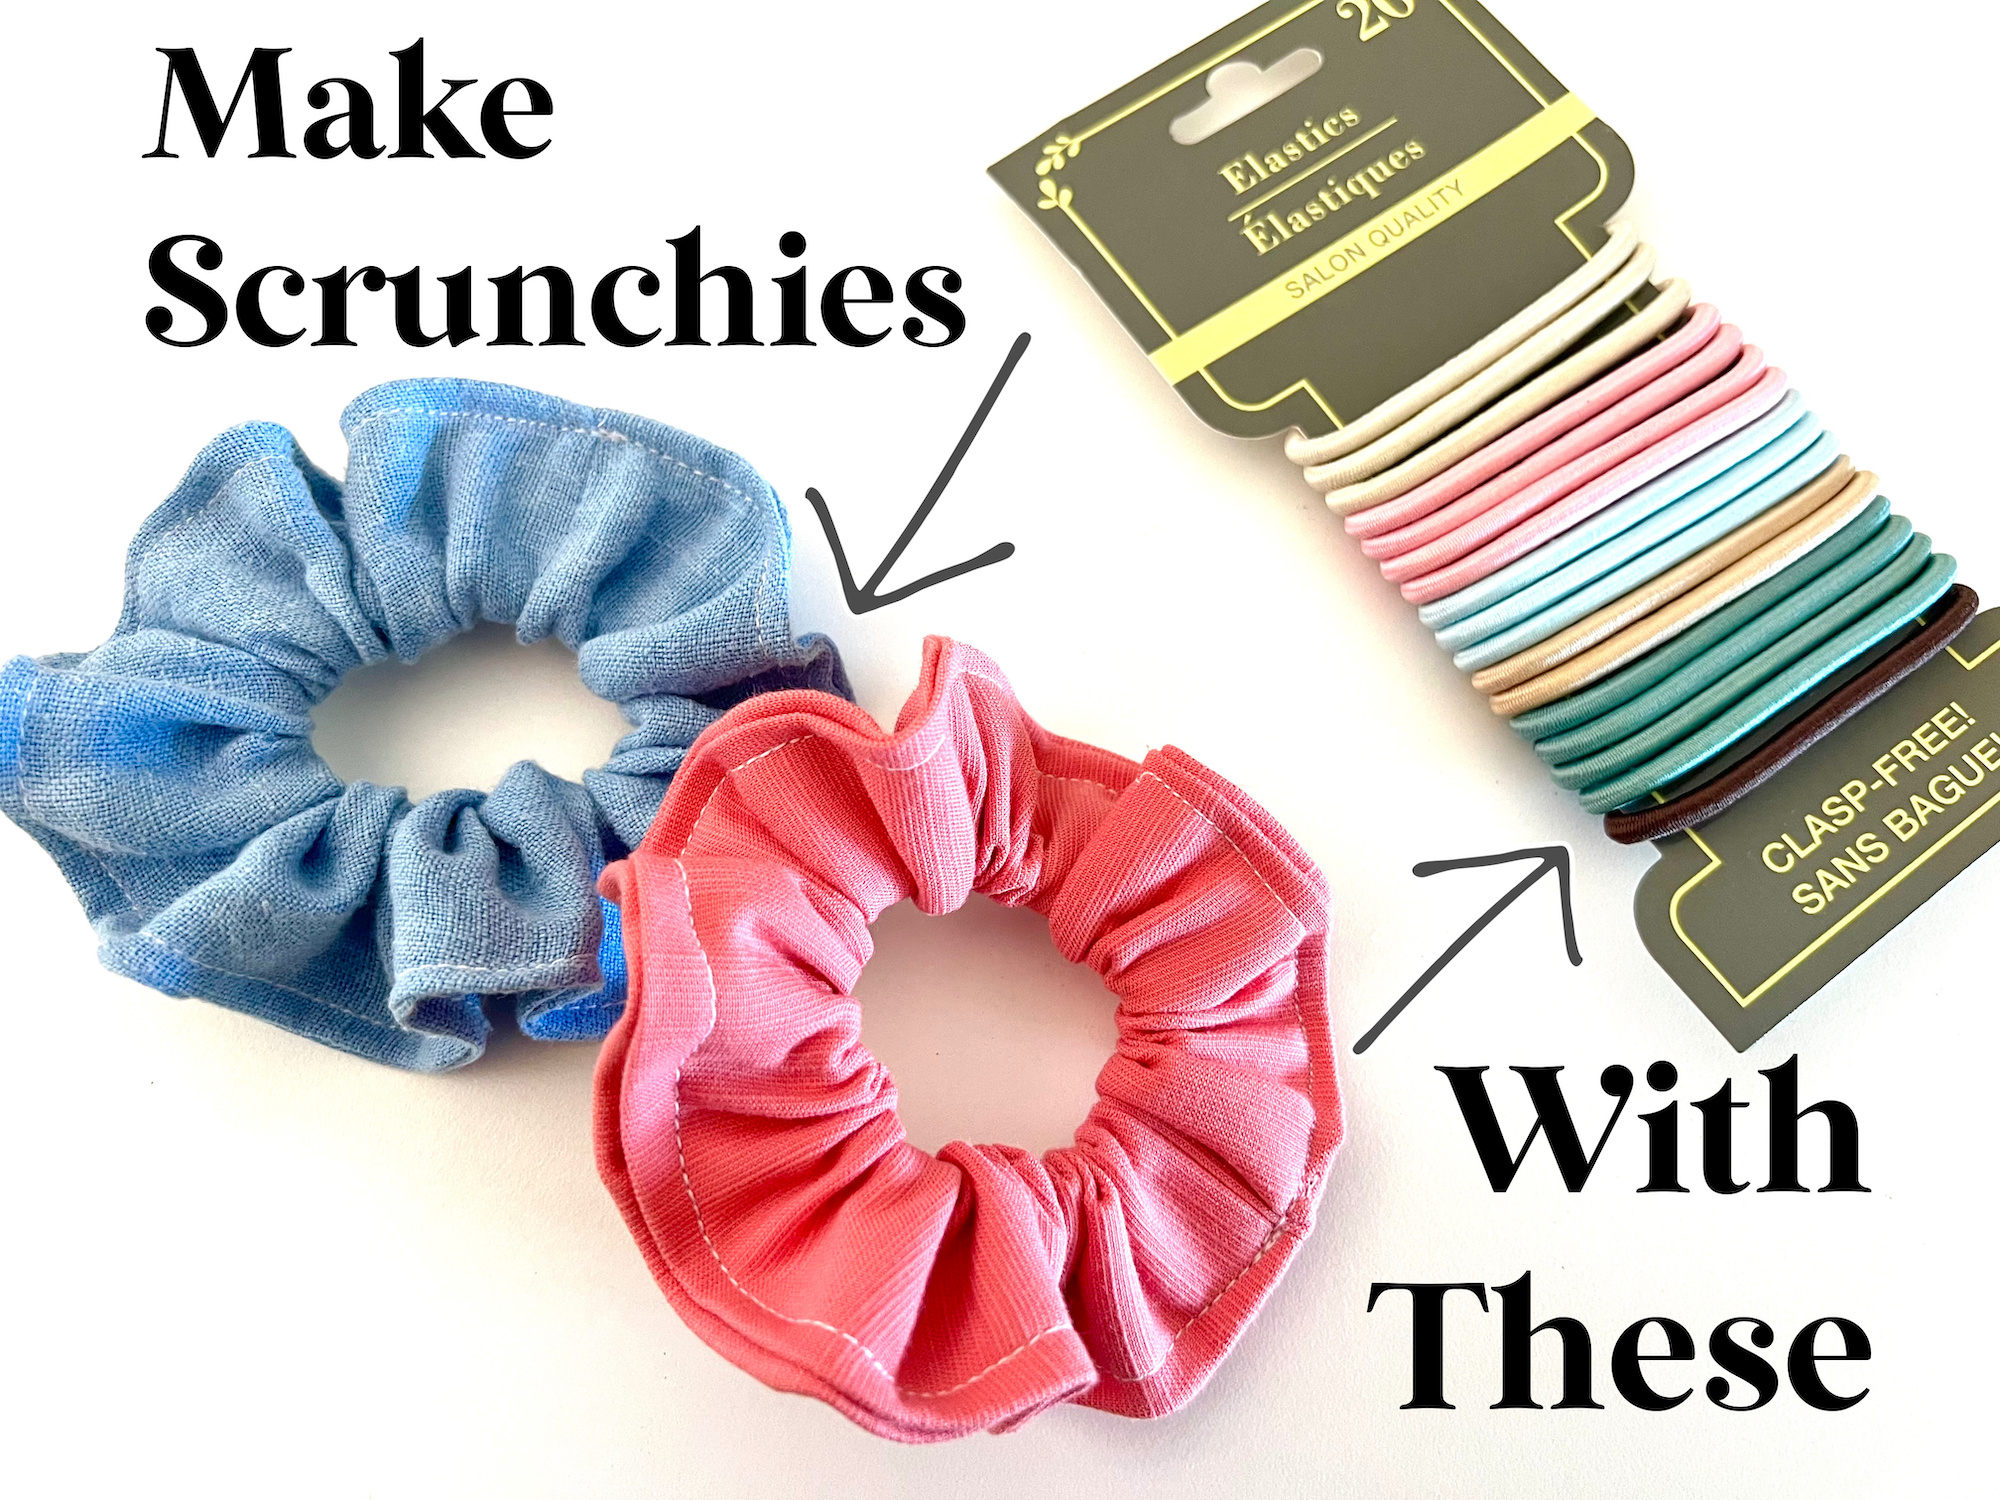
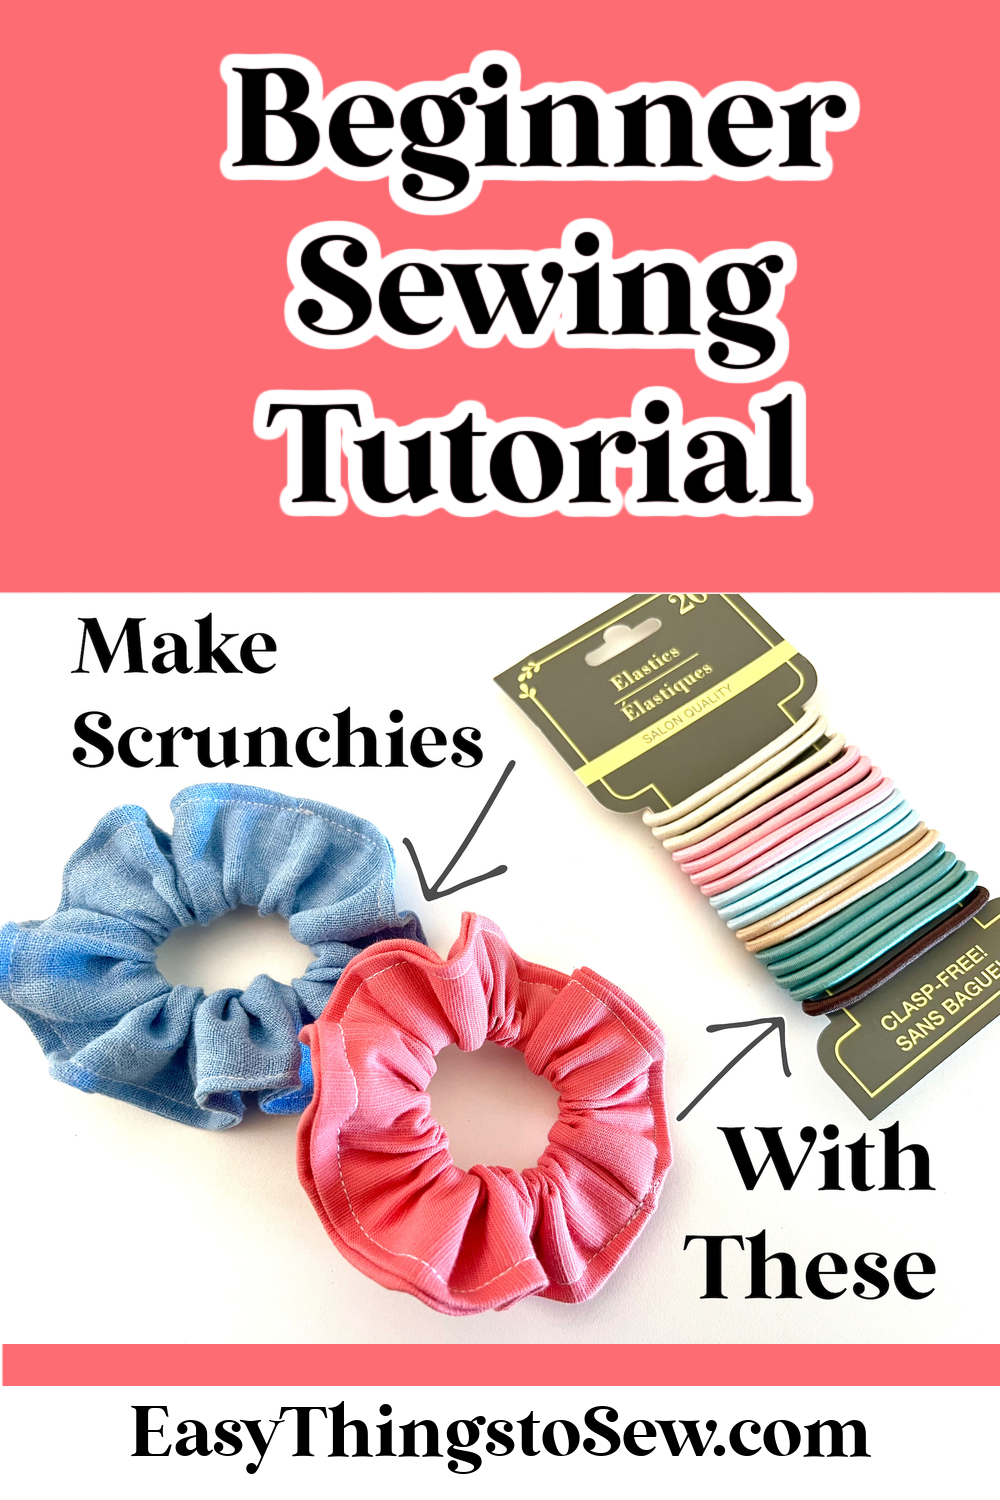
Our incredibly easy DIY scrunchie uses a hair tie, also known as a hair elastic, to make a hair accessory in about 5 minutes.
This is an easy sewing project because even if you don’t cut the fabric straight or stitch perfectly straight, it will still look great! The ruffles and scrunched up material will hide most mistakes!
We bought our hair ties at the Dollar Tree. The pack of 20 cost $1.25. That is a really affordable price and about the same price as buying elastic, yet you may save more time with this method.
Here is the price comparison versus buying elastic cord for one scrunchie:
- 20 hair ties for $1.25 = 0.07 cents per scrunchie
- 6 inches of elastic cord (1/6 of a yard) at 0.33 cents a yard = 0.06 cents per scrunchie
This is just one of our many sewing projects that cost less than $1.
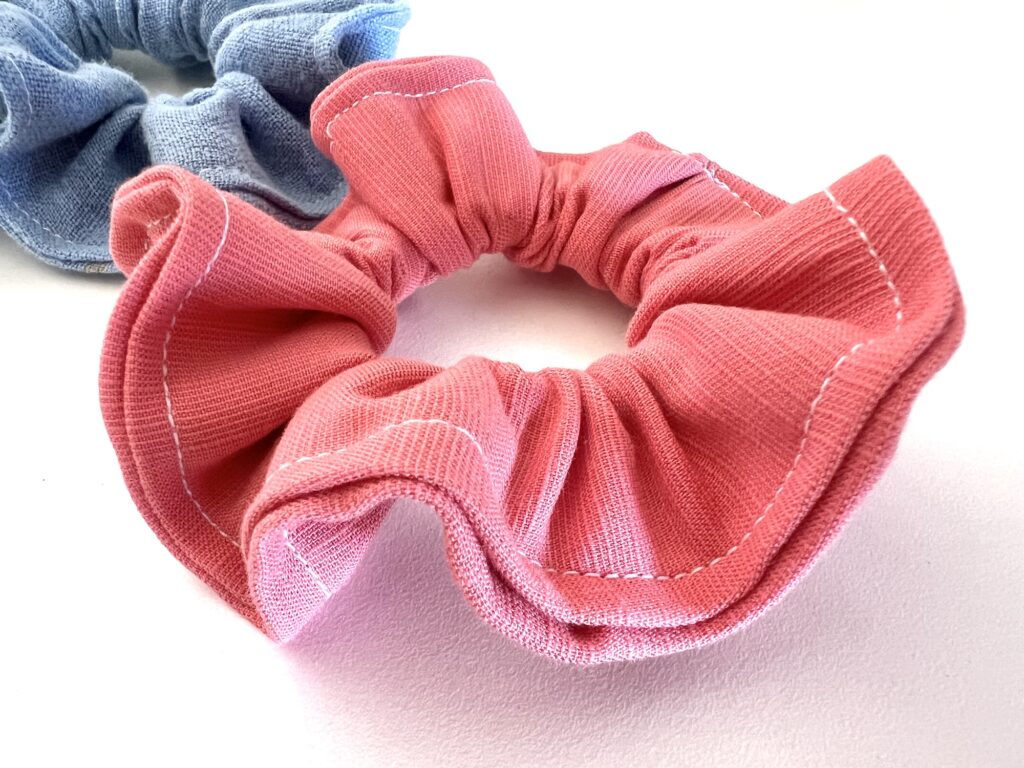
This version also allows you to customize with matching threads, so if you want to have stitching that shows, choose a thread color to complement your fabric.
You may want to watch our video tutorial, as well:
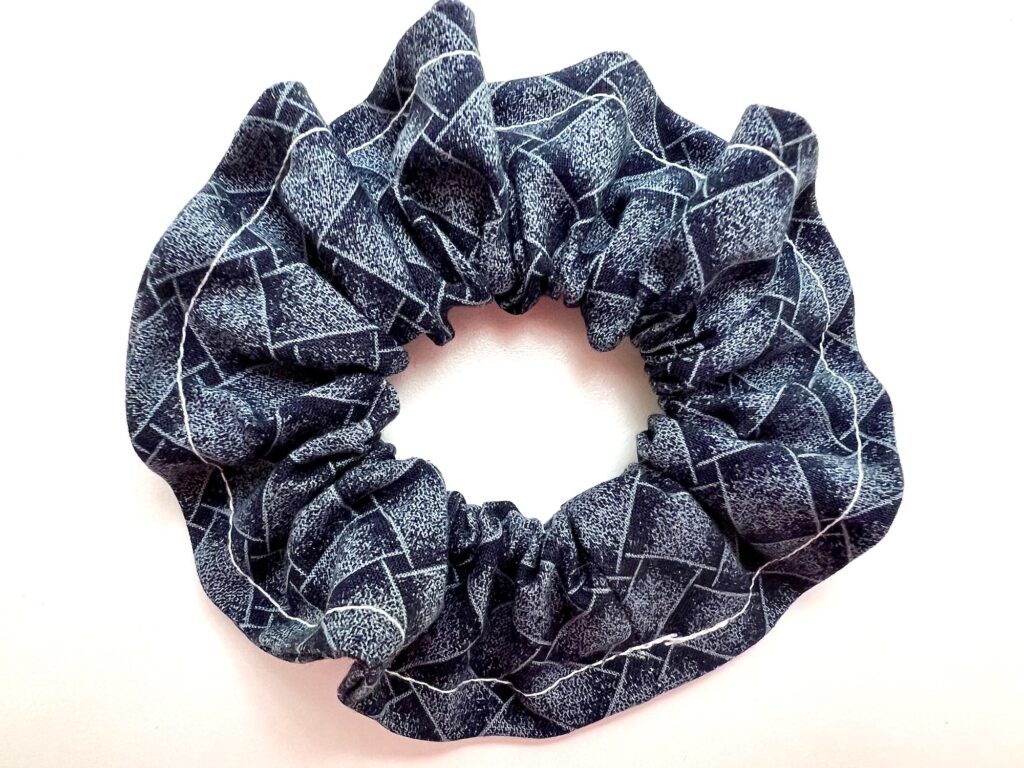
How to Make a Scrunchie with a Hair Tie
This tutorial makes one scrunchie with a sewing machine.
Supplies
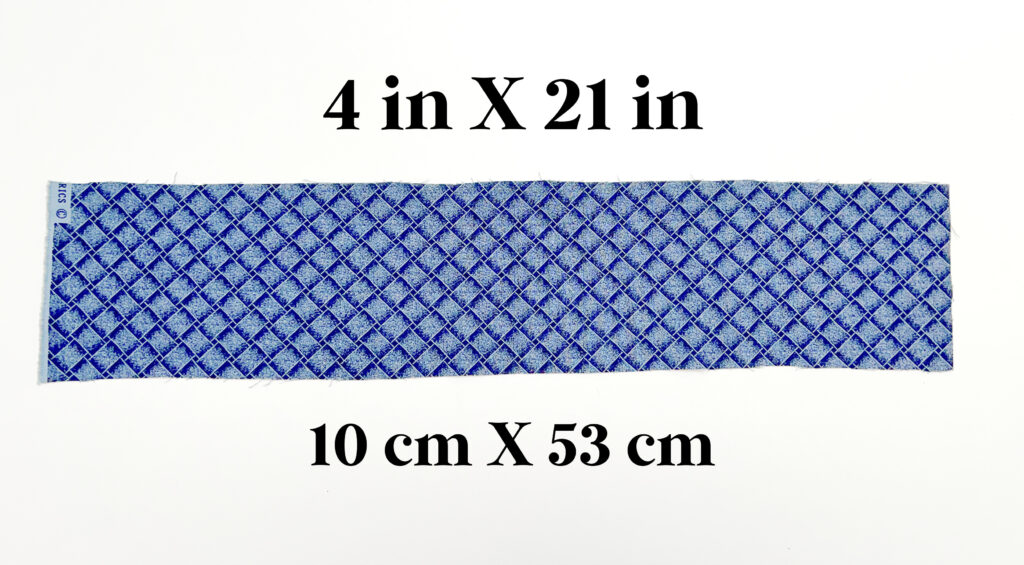
- Fabric (4 X 21 inches; 10 X 53 cm)
- Matching Thread
- Hair Tie (affordable options are also available on Amazon and Walmart)
Directions
Step 1
Cut a piece of 4 inch X 21 inch fabric.
Fold the piece in half with right sides together. Sew along the open edge with a ½ inch seam allowance.
Step 2
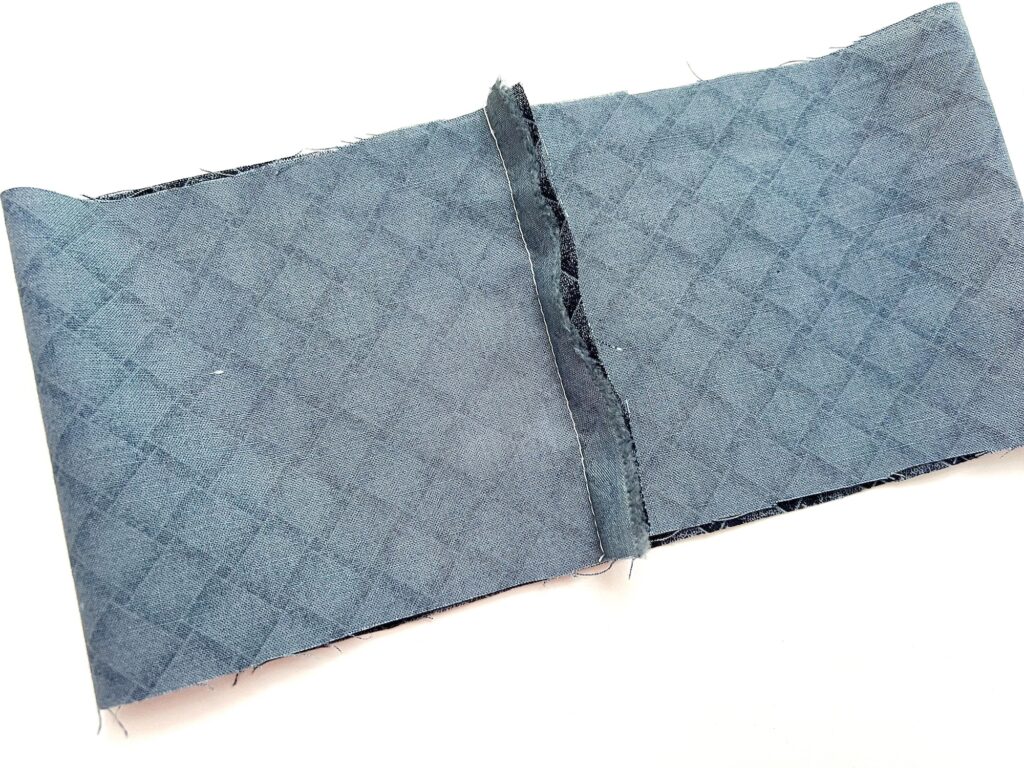
Press open the seam allowance with an iron.
Step 3
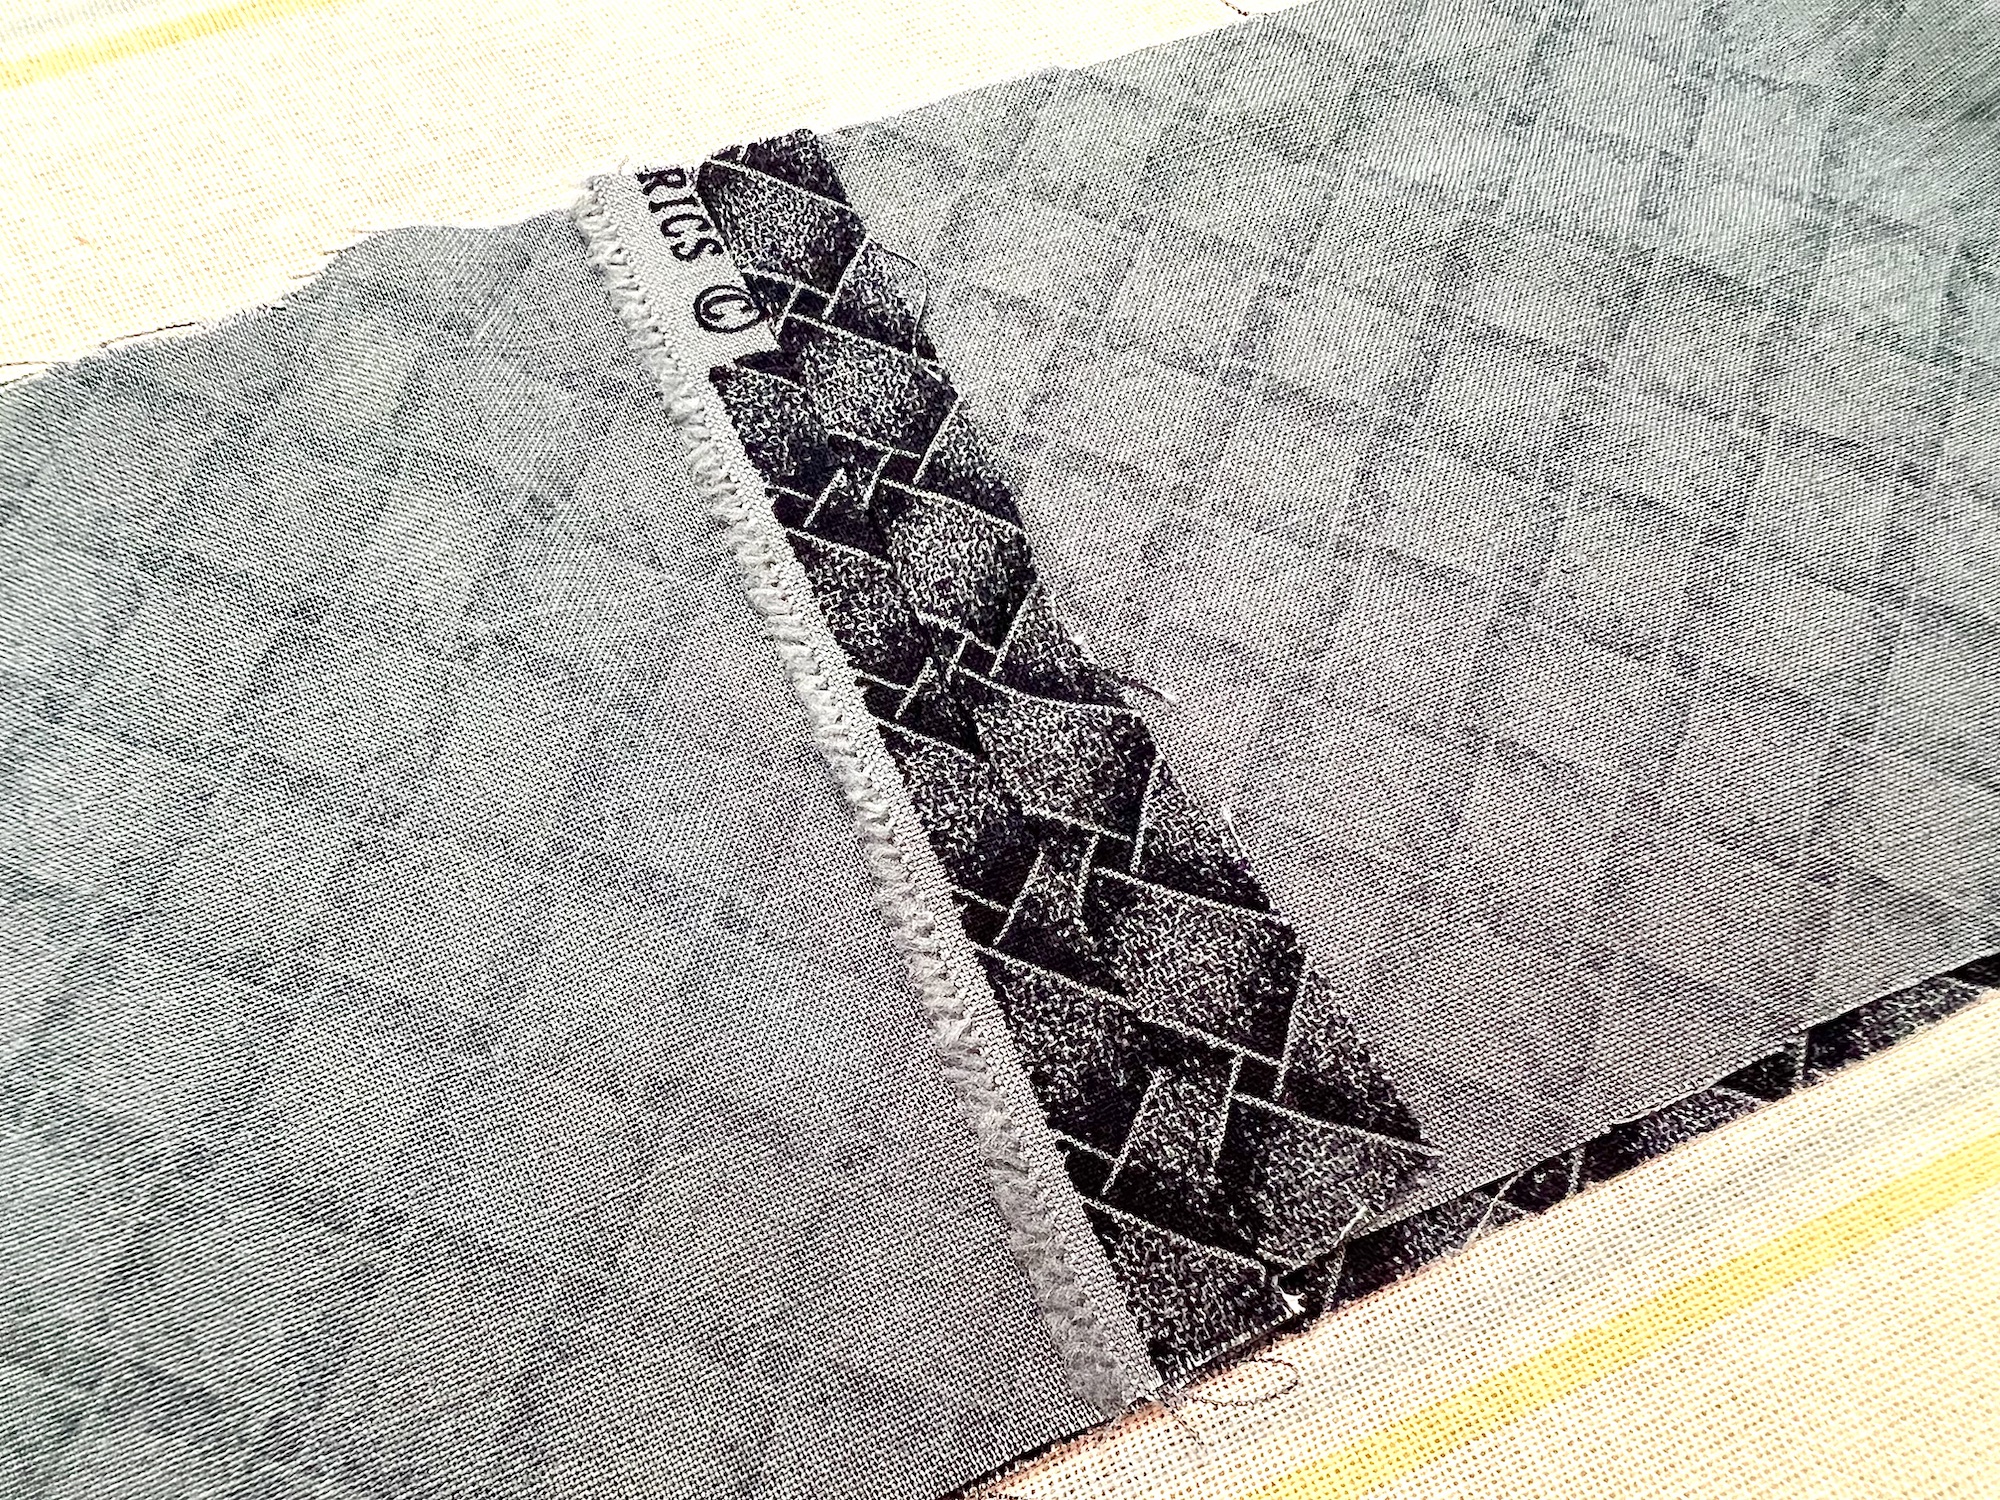
Fold over the long edges by ½ inch on each side, folding the right side of the fabric down over the wrong side to make the seam.
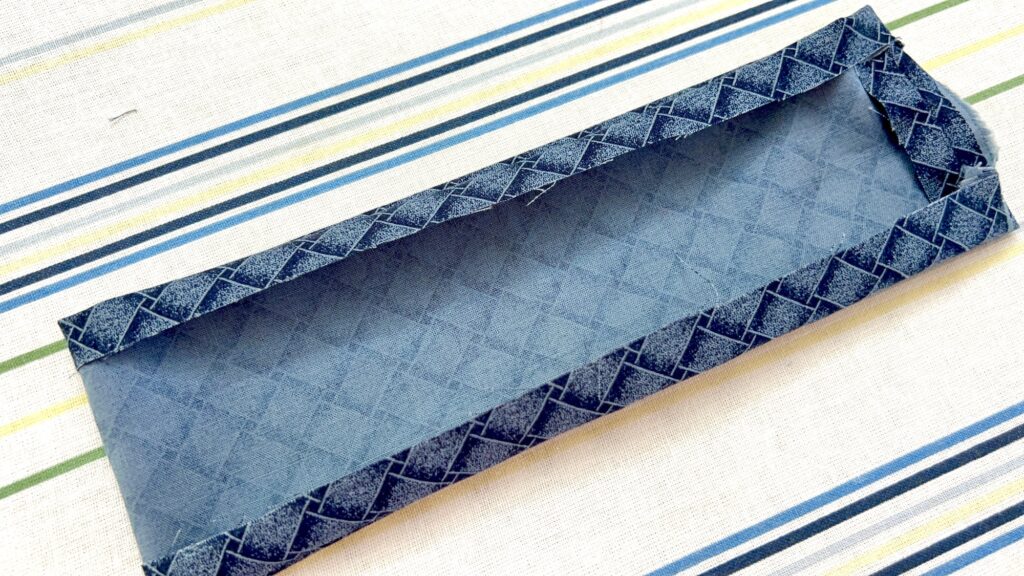
Press with an iron.
Step 4
Scrunch up the fabric in your hand and push it through the middle of the hair tie.

Step 5
Fold the fabric around the hair tie to match up the seams, with the right sides facing outwards. Start by matching up the pressed open seams first.
You will only be able to match up the seams for small portions of the fabric at a time. Don’t worry about pinning or clipping all of the seams together.
Stitch the seams together, starting at the pressed open seams and backstitching at the beginning of your stitching. Use a ¼ inch seam allowance, or the width of your presser foot.
Step 6
Continue stitching the fabric together at the seams, sewing small portions of the fabric at a time as you adjust the scrunched up material.
When you get towards the end of the stitching, you will need to stretch the elastic band out a little bit to accommodate the fabric and to be sure to get the outer edges sewn.
Backstitch again once you reached your starting point. Then cut the excess threads off.
Helpful Tips I Learned From Making This Scrunchie With a Hair Tie
- Quilting cotton and cotton fabric is among the easiest fabric choices to use. The fabric is soft and thin and bends easily.
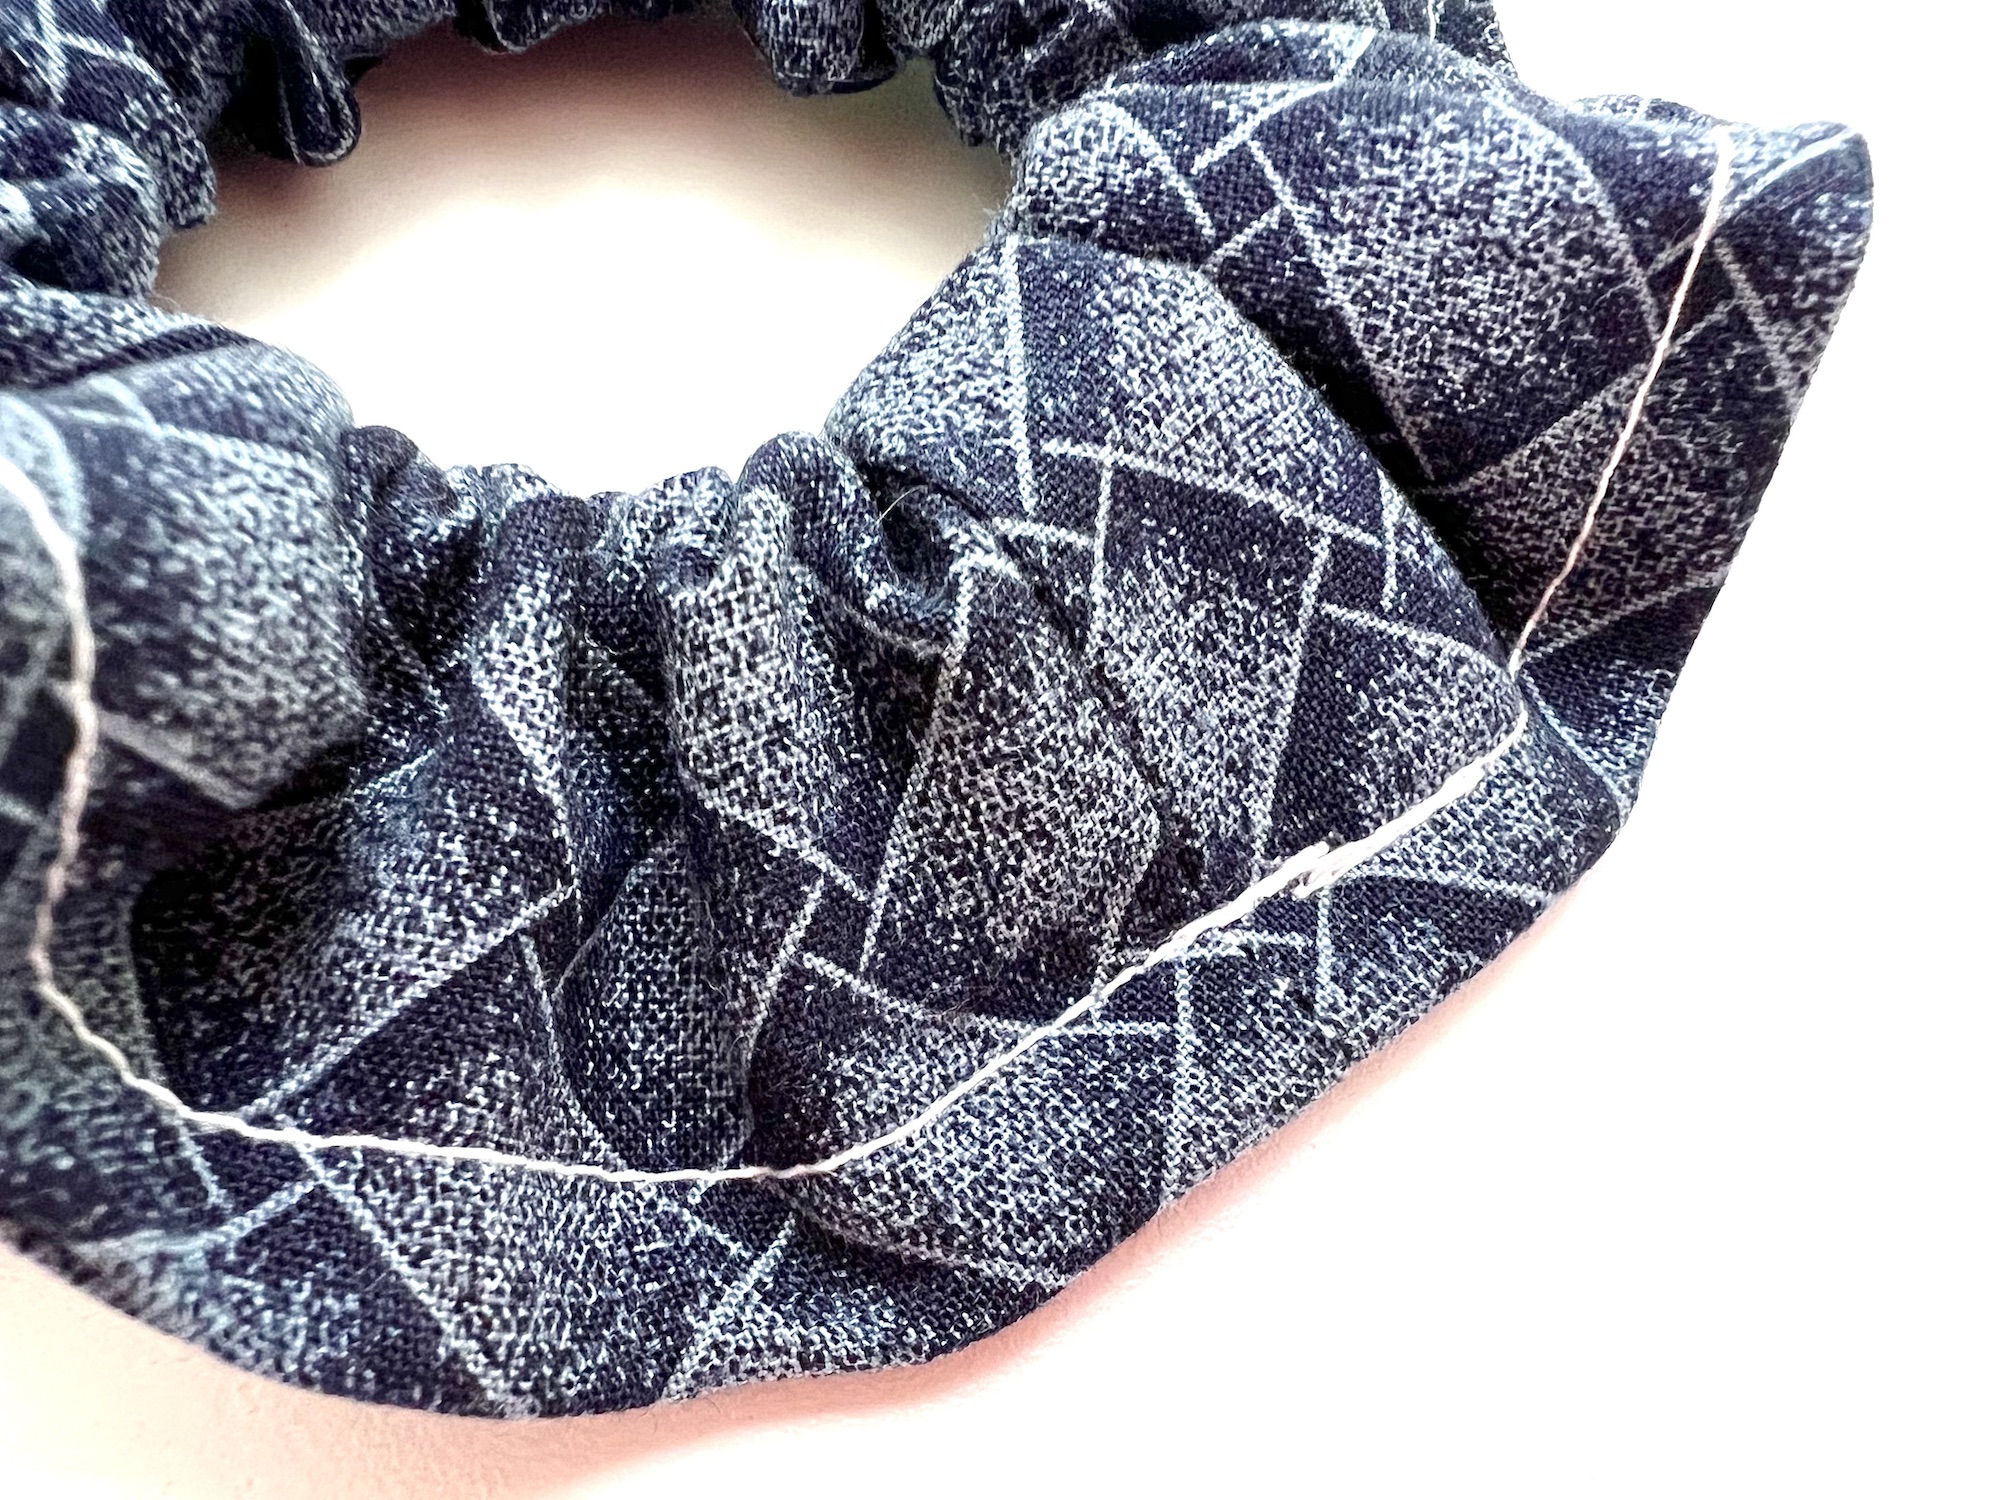
- I tried a linen fabric and the material was fraying a lot while trying to match up the seams and sew.
- A silk or satin fabric could be quite difficult to use with this method because it would be sliding around too much.
- I used a ¾ inch fold-down seam on one scrunchie and it looked great, too. The ruffles were just a little more narrow.
- Be sure to backstitch when sewing the seams to secure the stitching. Stretching the scrunchie to put it into your hair will have a lot of wear and tear.
Want to save this tutorial for later? Be sure to Pin It!
Scrunchies are a favorite sewing project for teenagers. Be sure to see these teen-friendly sewing patterns next: