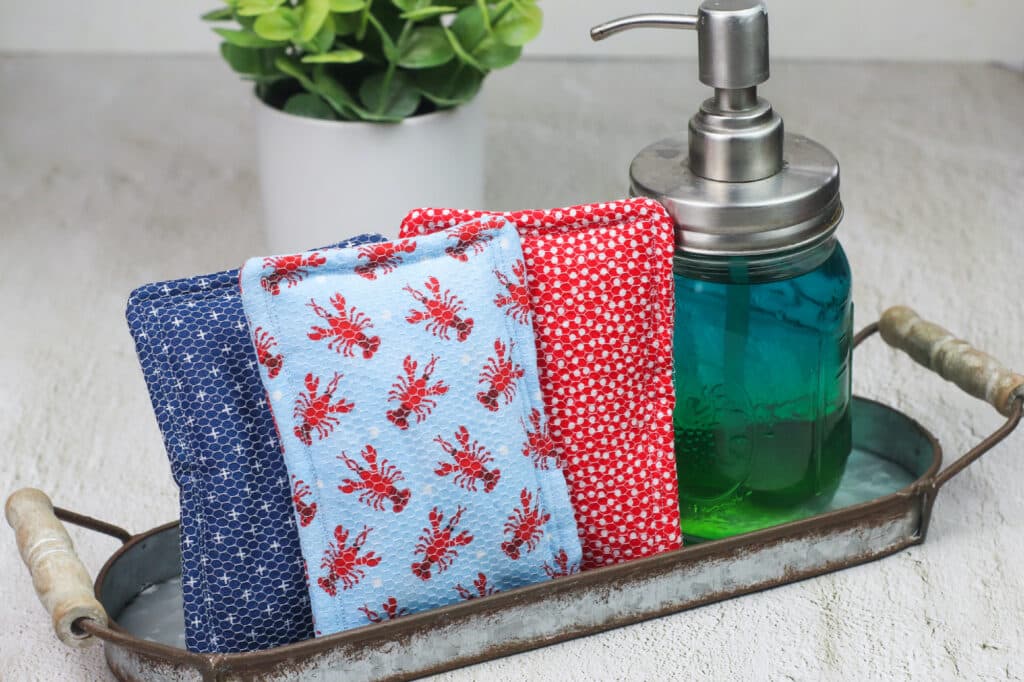
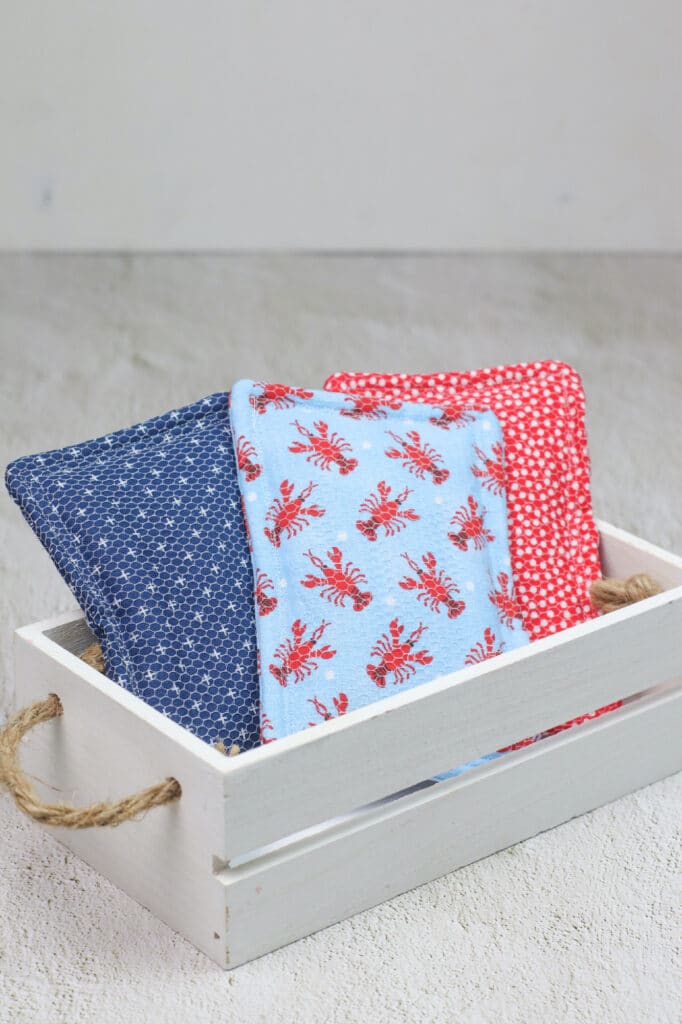
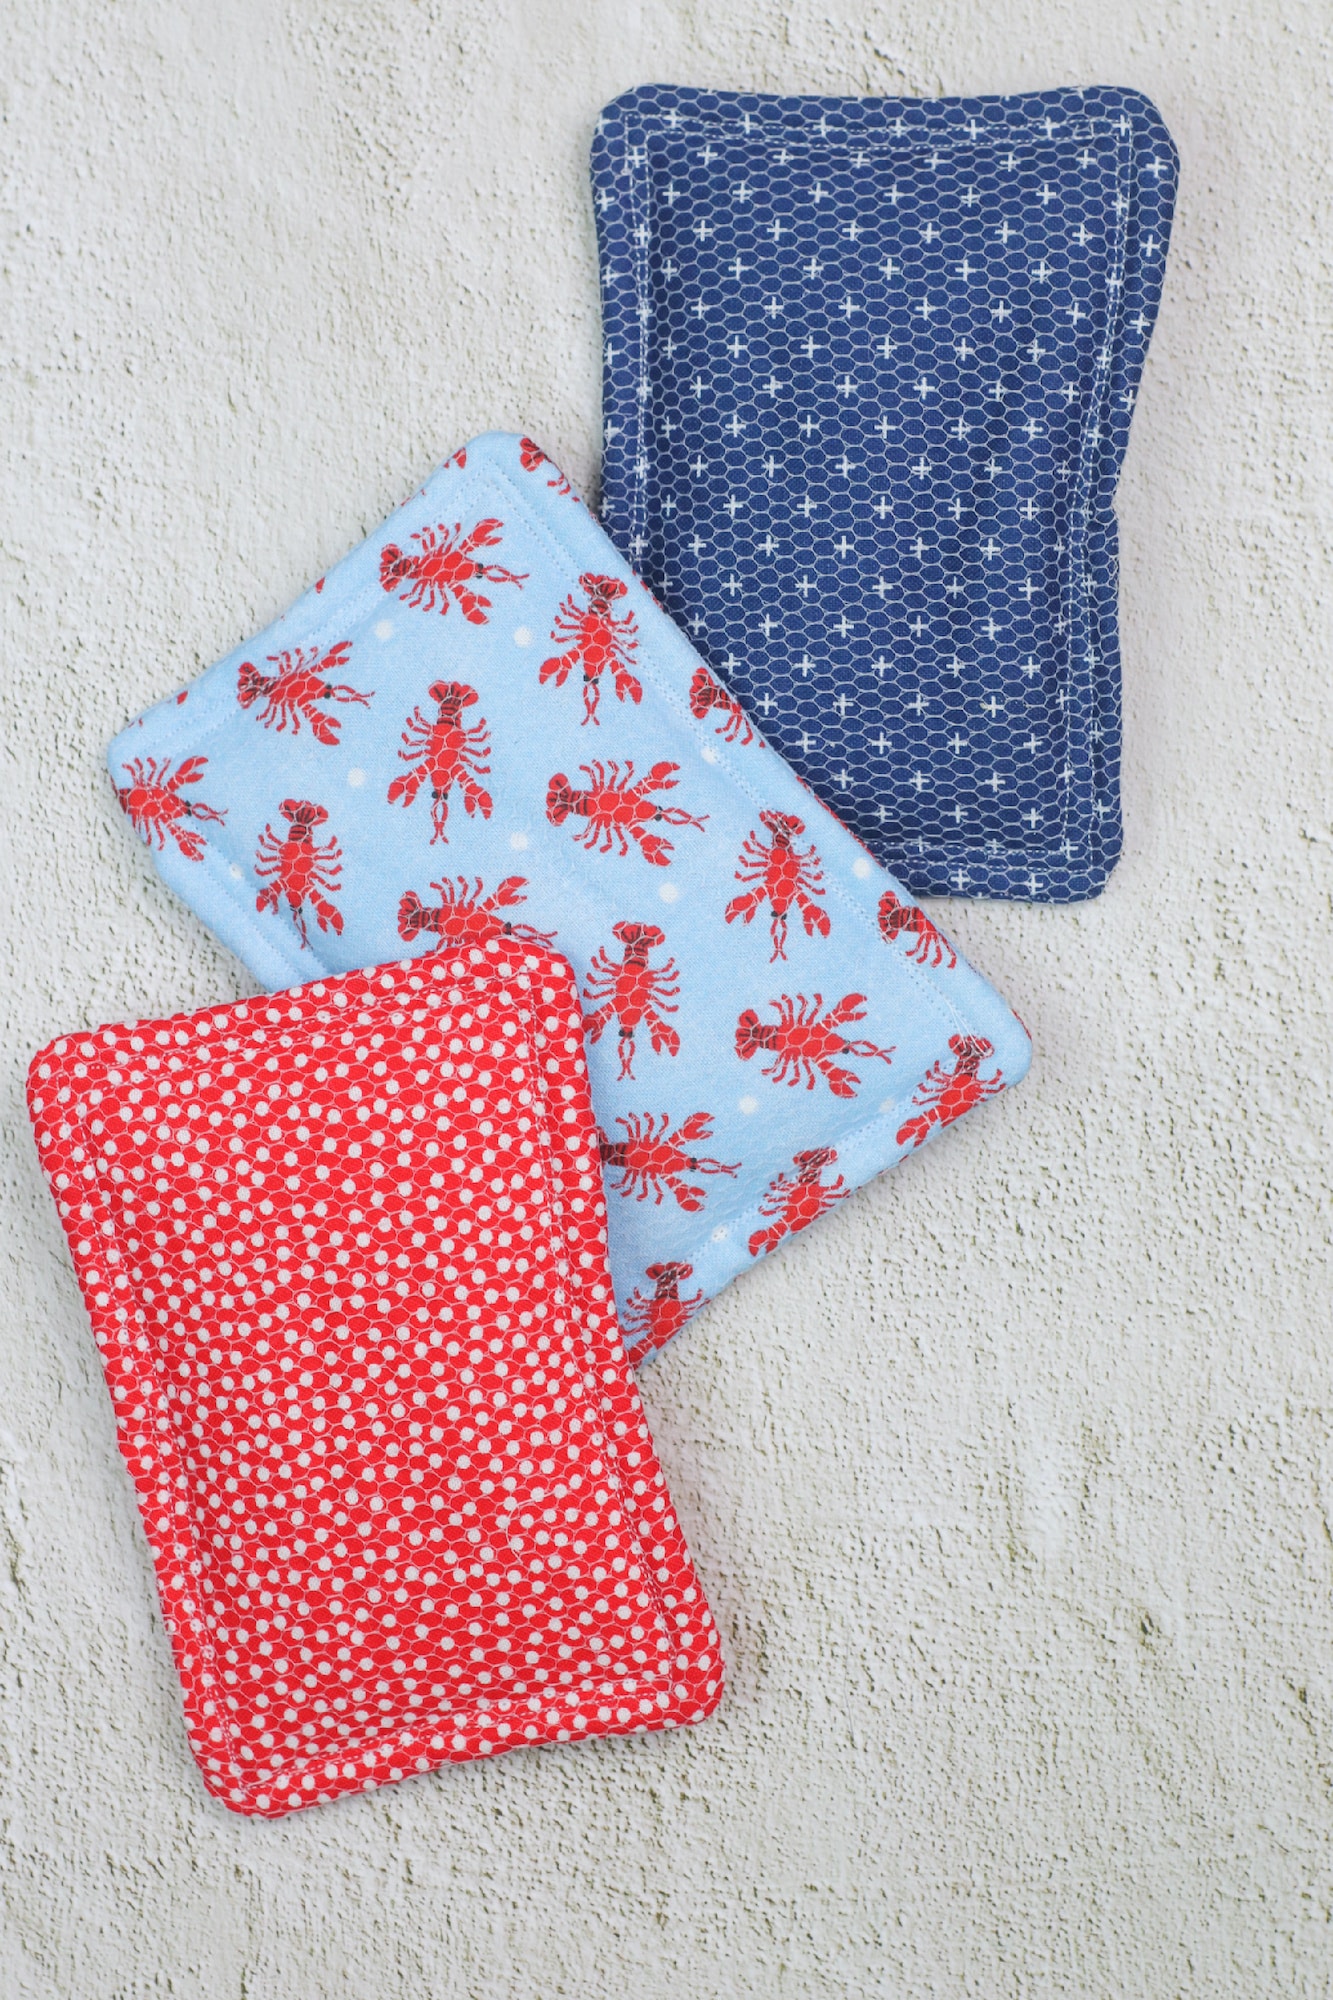
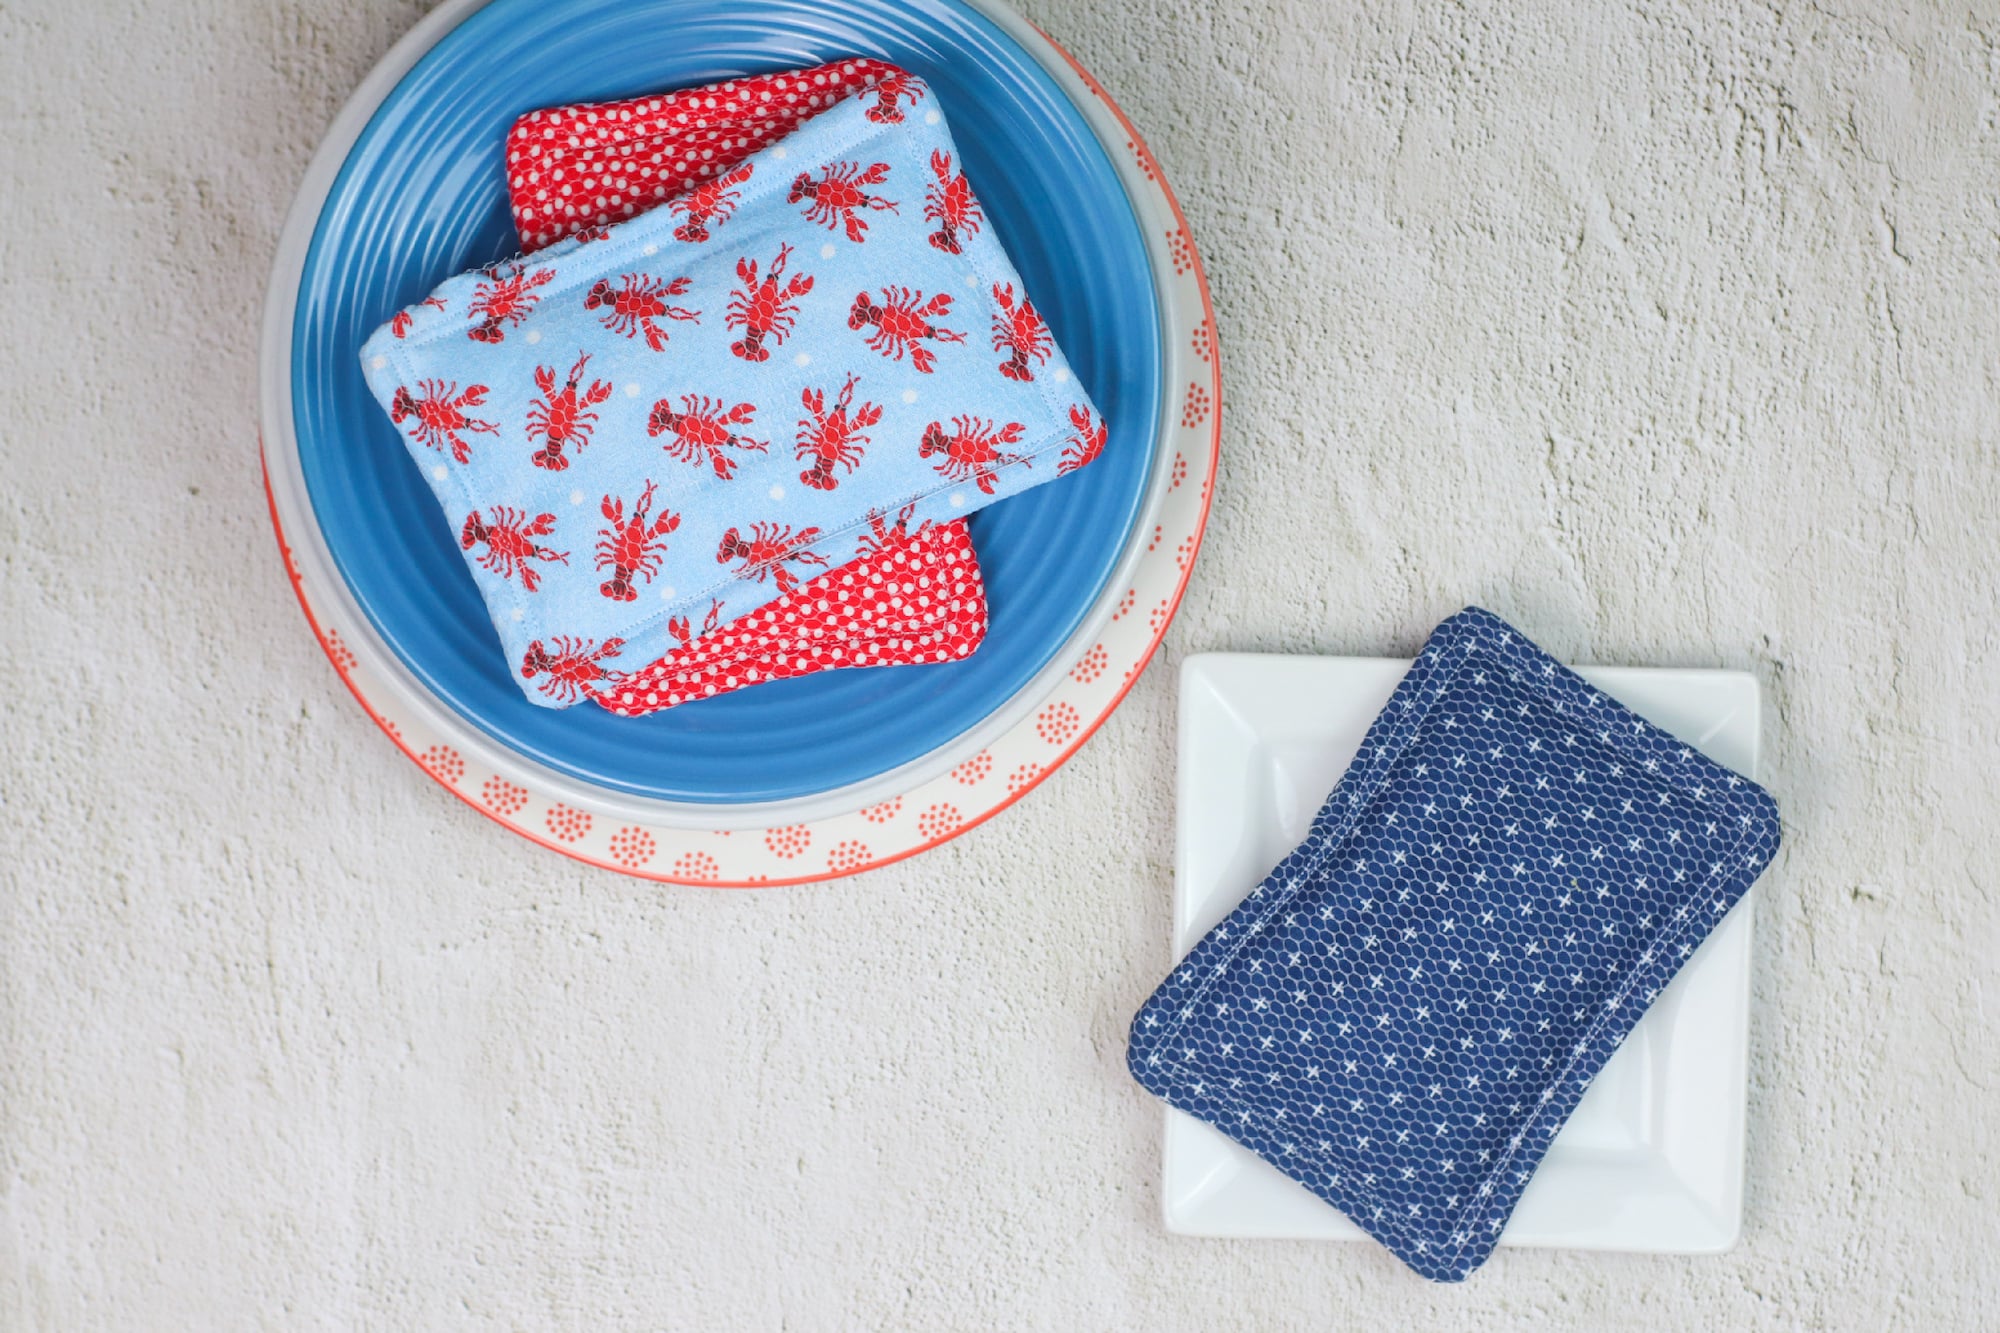
DIY Reusable Kitchen Sponge
These reusable kitchen sponges are a zero-waste solution for cleaning pots, pans and countertops. Our easy DIY Sponges can be made in less than 20 minutes for around $1 each, saving you money while keeping your home neat and tidy.
While we use these sponges in the kitchen, they are also great to use for cleaning the bathroom, scrubbing outdoor items and to replace a traditional cellulose sponge.
This is an excellent project to use up fabric scraps and fat quarters.
These sponges are also a great way to customize the color scheme in your kitchen by sewing sponges that match your decor, just like our easy Hanging Kitchen Towel.
Or create holiday sponges with seasonal fabric for a festive touch while cleaning your home.
Helpful Tip: Add a small basket of sponges near your sink to choose from when doing dishes.
Be sure to see our easy DIY jar openers, too!
How to Make Reusable Sponges
Each ¼ yard of fabric has enough material to make three sponges. These reusable sponges can be made in 15-20 minutes.
Supplies
- ¼ yard Mesh Fabric
- ¼ yard Cotton Fabric
- ¼ yard Cotton Batting
- Fabric marking pen or Fabric Chalk
- Turning Tool, or a chopstick or pencil
Instructions
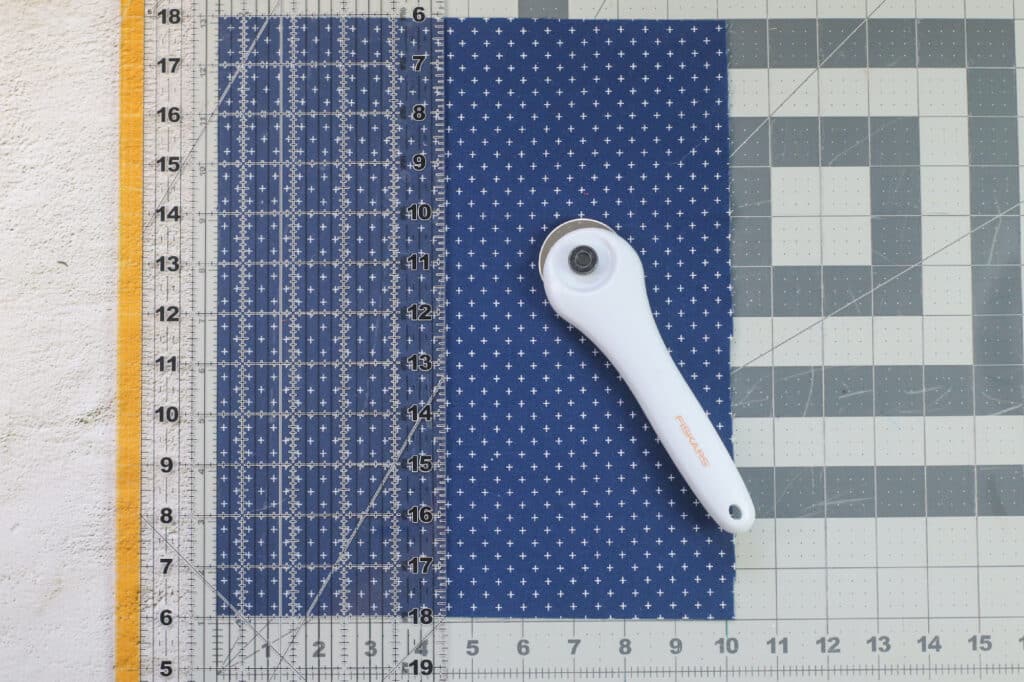
Step 1
Cut (2) 4 ½” x 6” pieces from each of the cotton fabric, the mesh fabric and the cotton batting.
If you want a thick kitchen sponge, then cut four pieces of cotton batting instead of just two.
Step 2
On your work surface, layer the pieces in this order:
- One piece of cotton, right side up
- Two pieces of mesh next
- One piece of cotton, right side facing down
- Cotton batting pieces on top
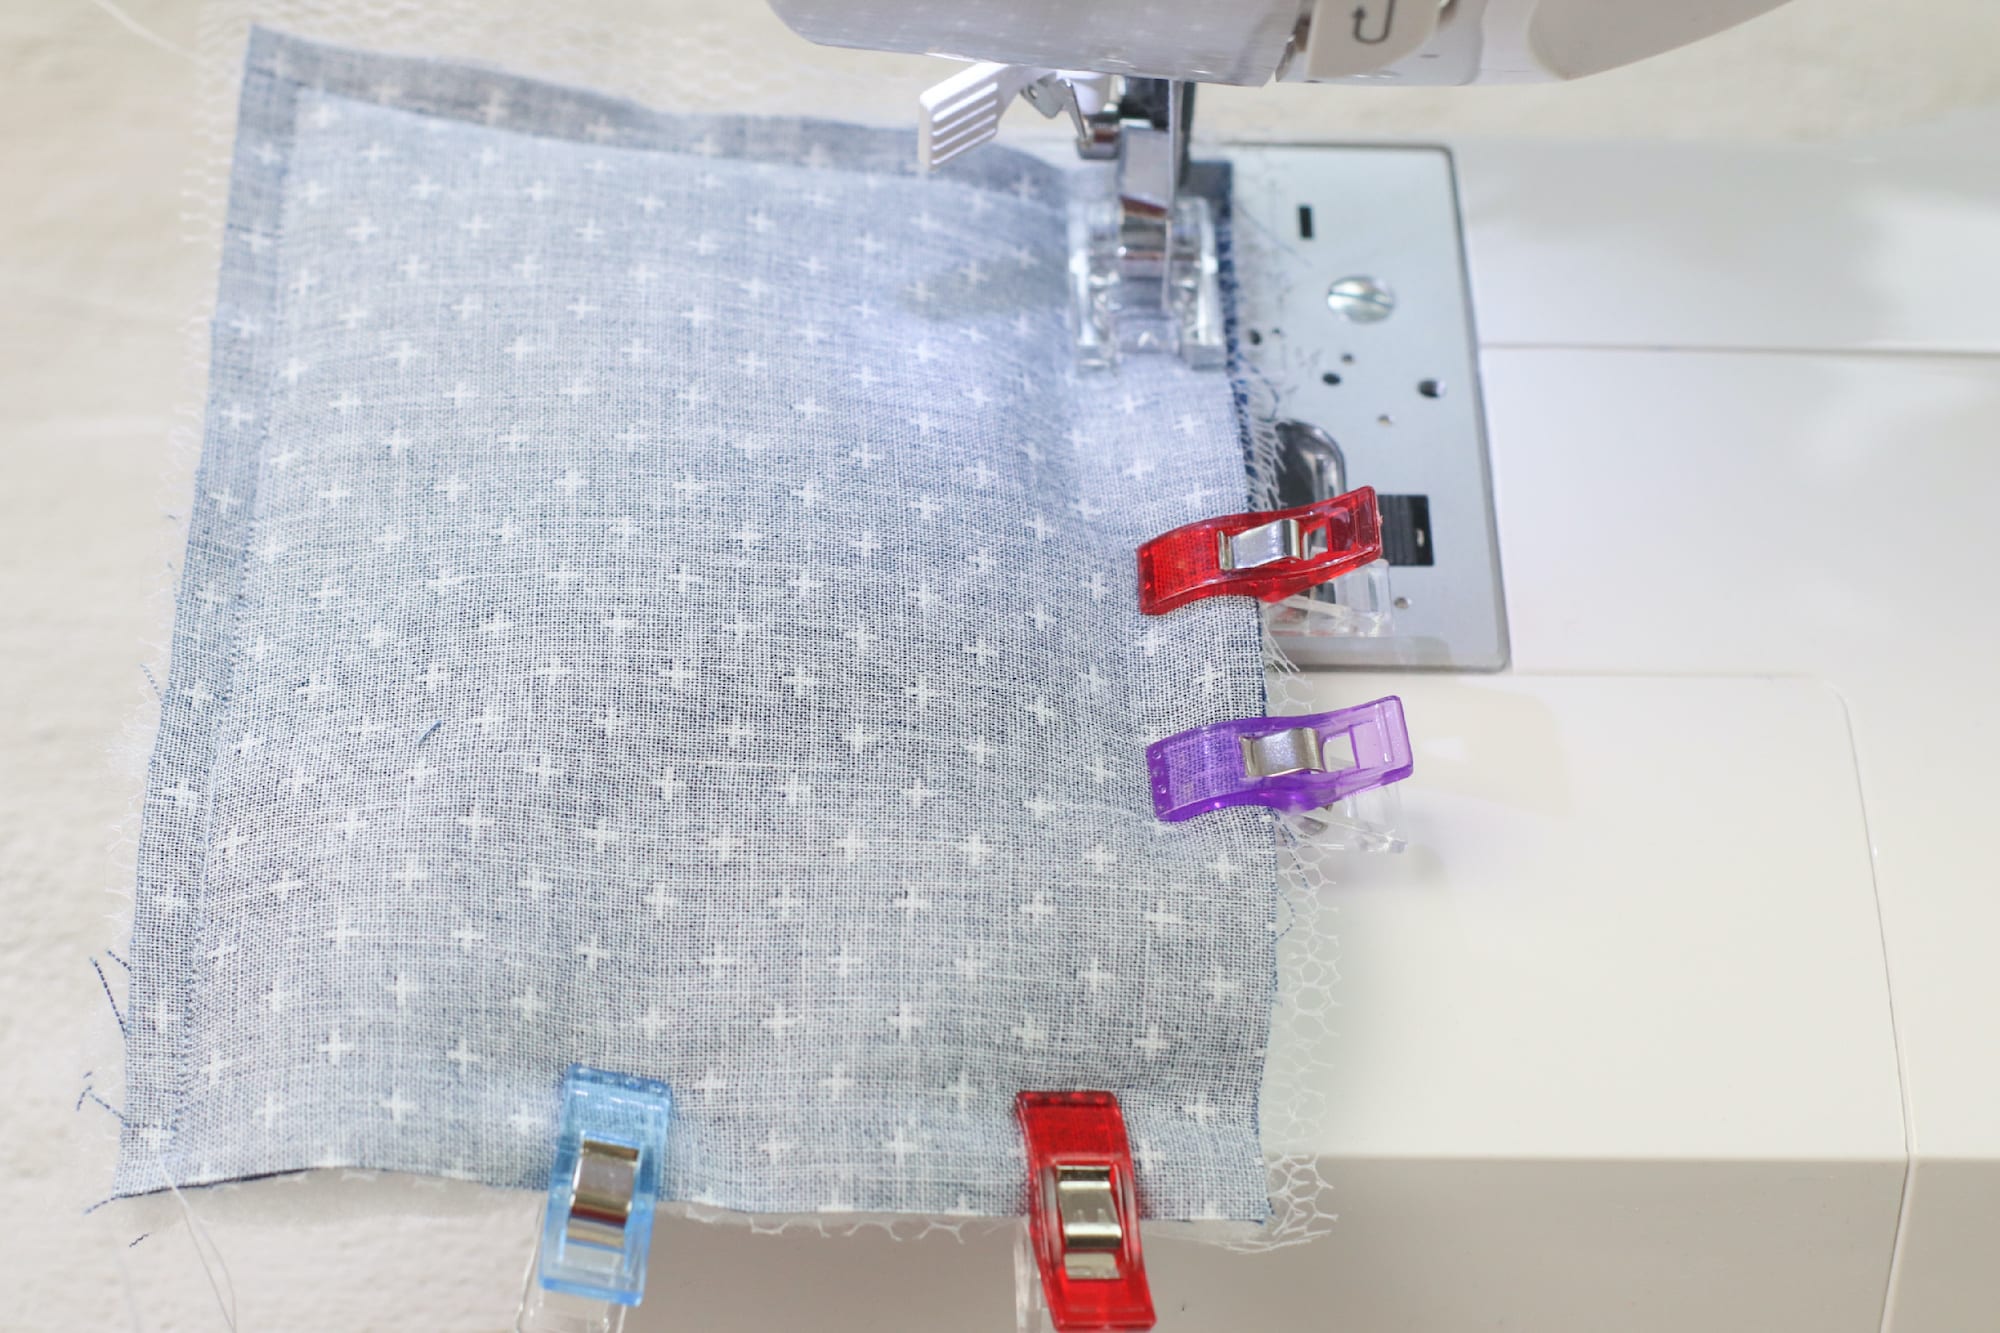
Pin or clip all of the layers together.
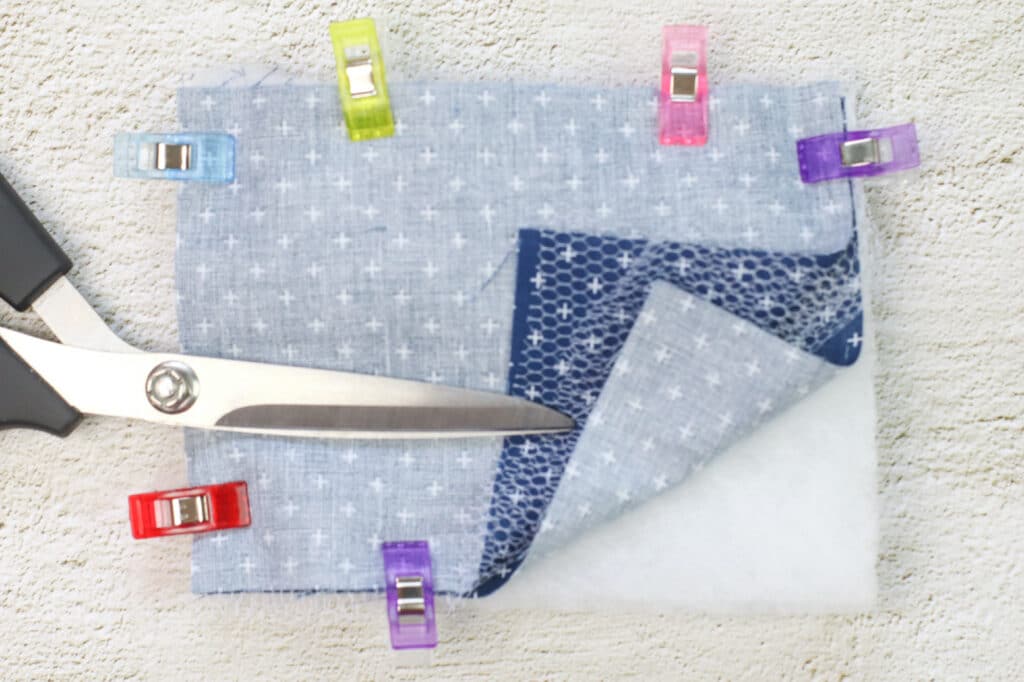
Step 3
Sew all of the layers together using a 3/8” seam allowance. Leave a 3-4” gap for turning on one of the long sides.
Step 4
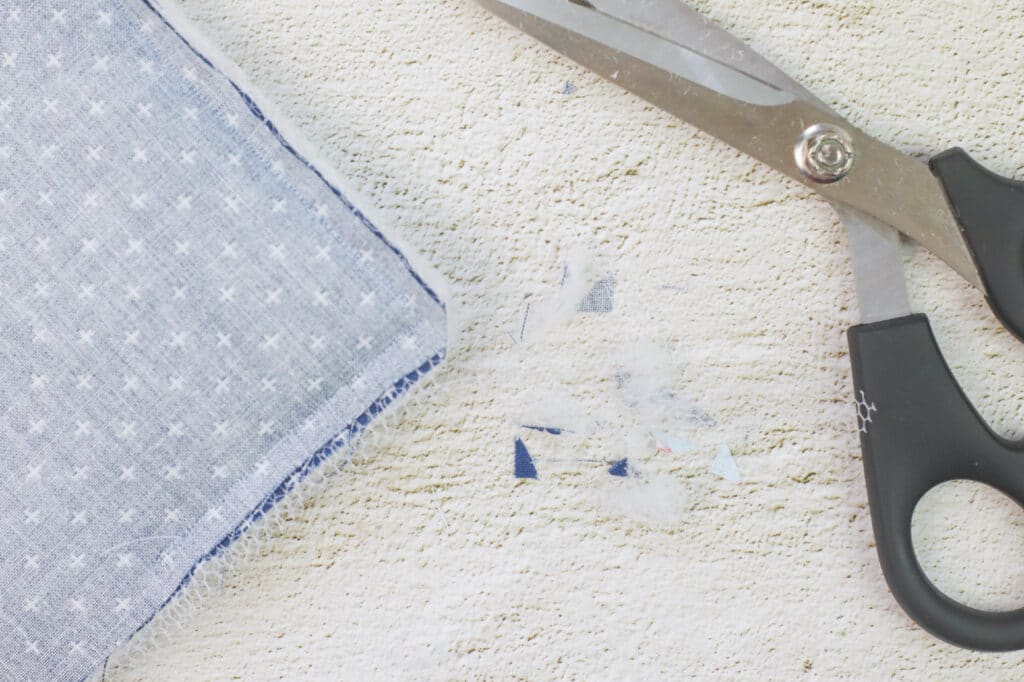
Clip the corners to remove bulk and make the kitchen sponge easier to turn out. Be careful not to clip through the stitching.
Step 5
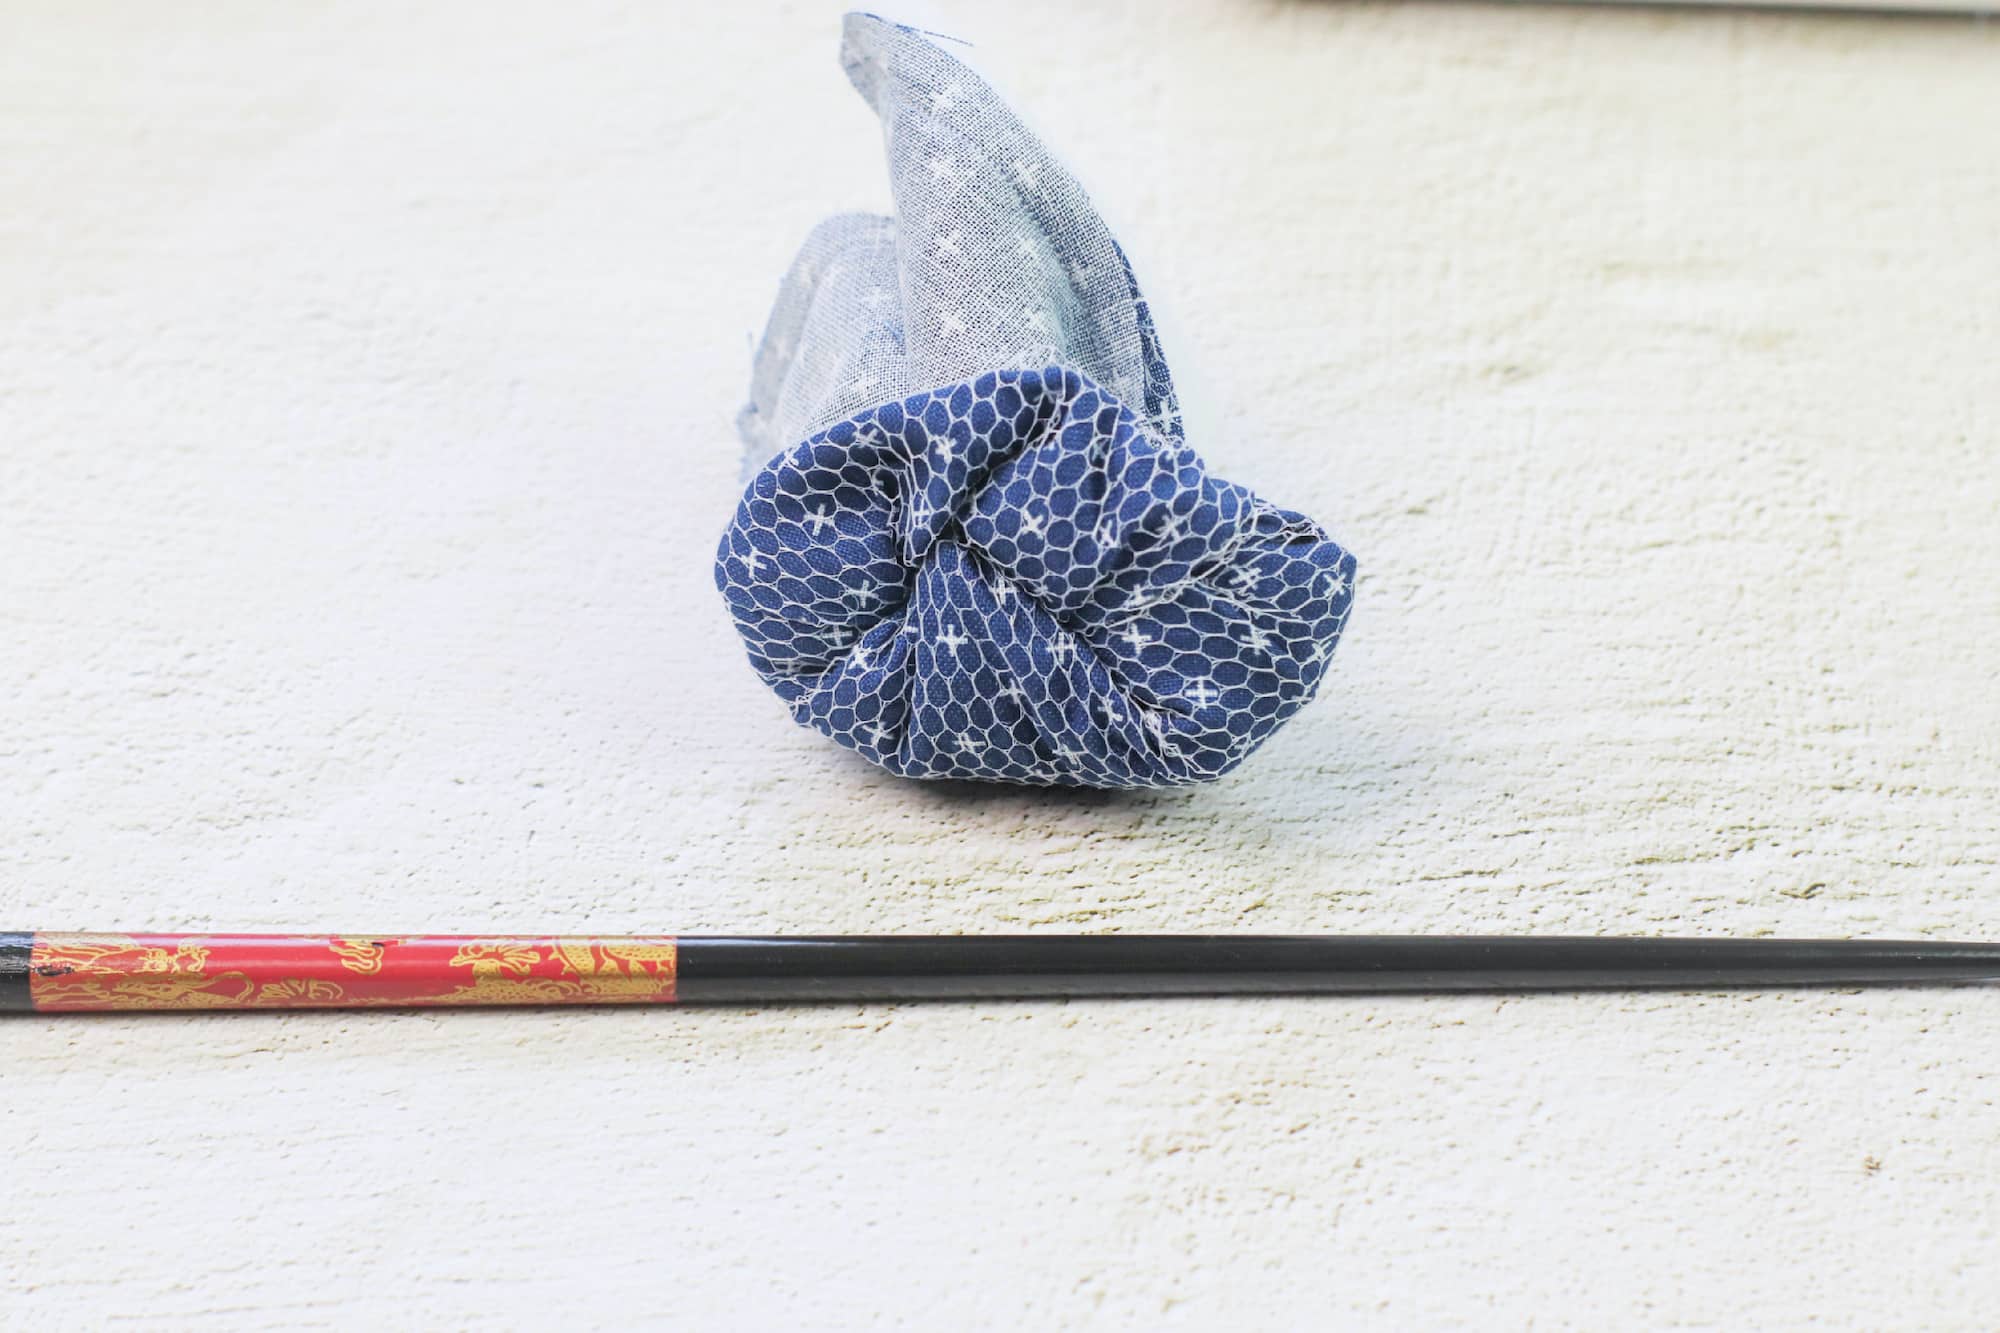
Turn the right side out between the mesh layers. Push out the corners using a turning tool, pencil or chopstick.
Step 6
Tuck under the raw edges of the opening and pin or clip closed.
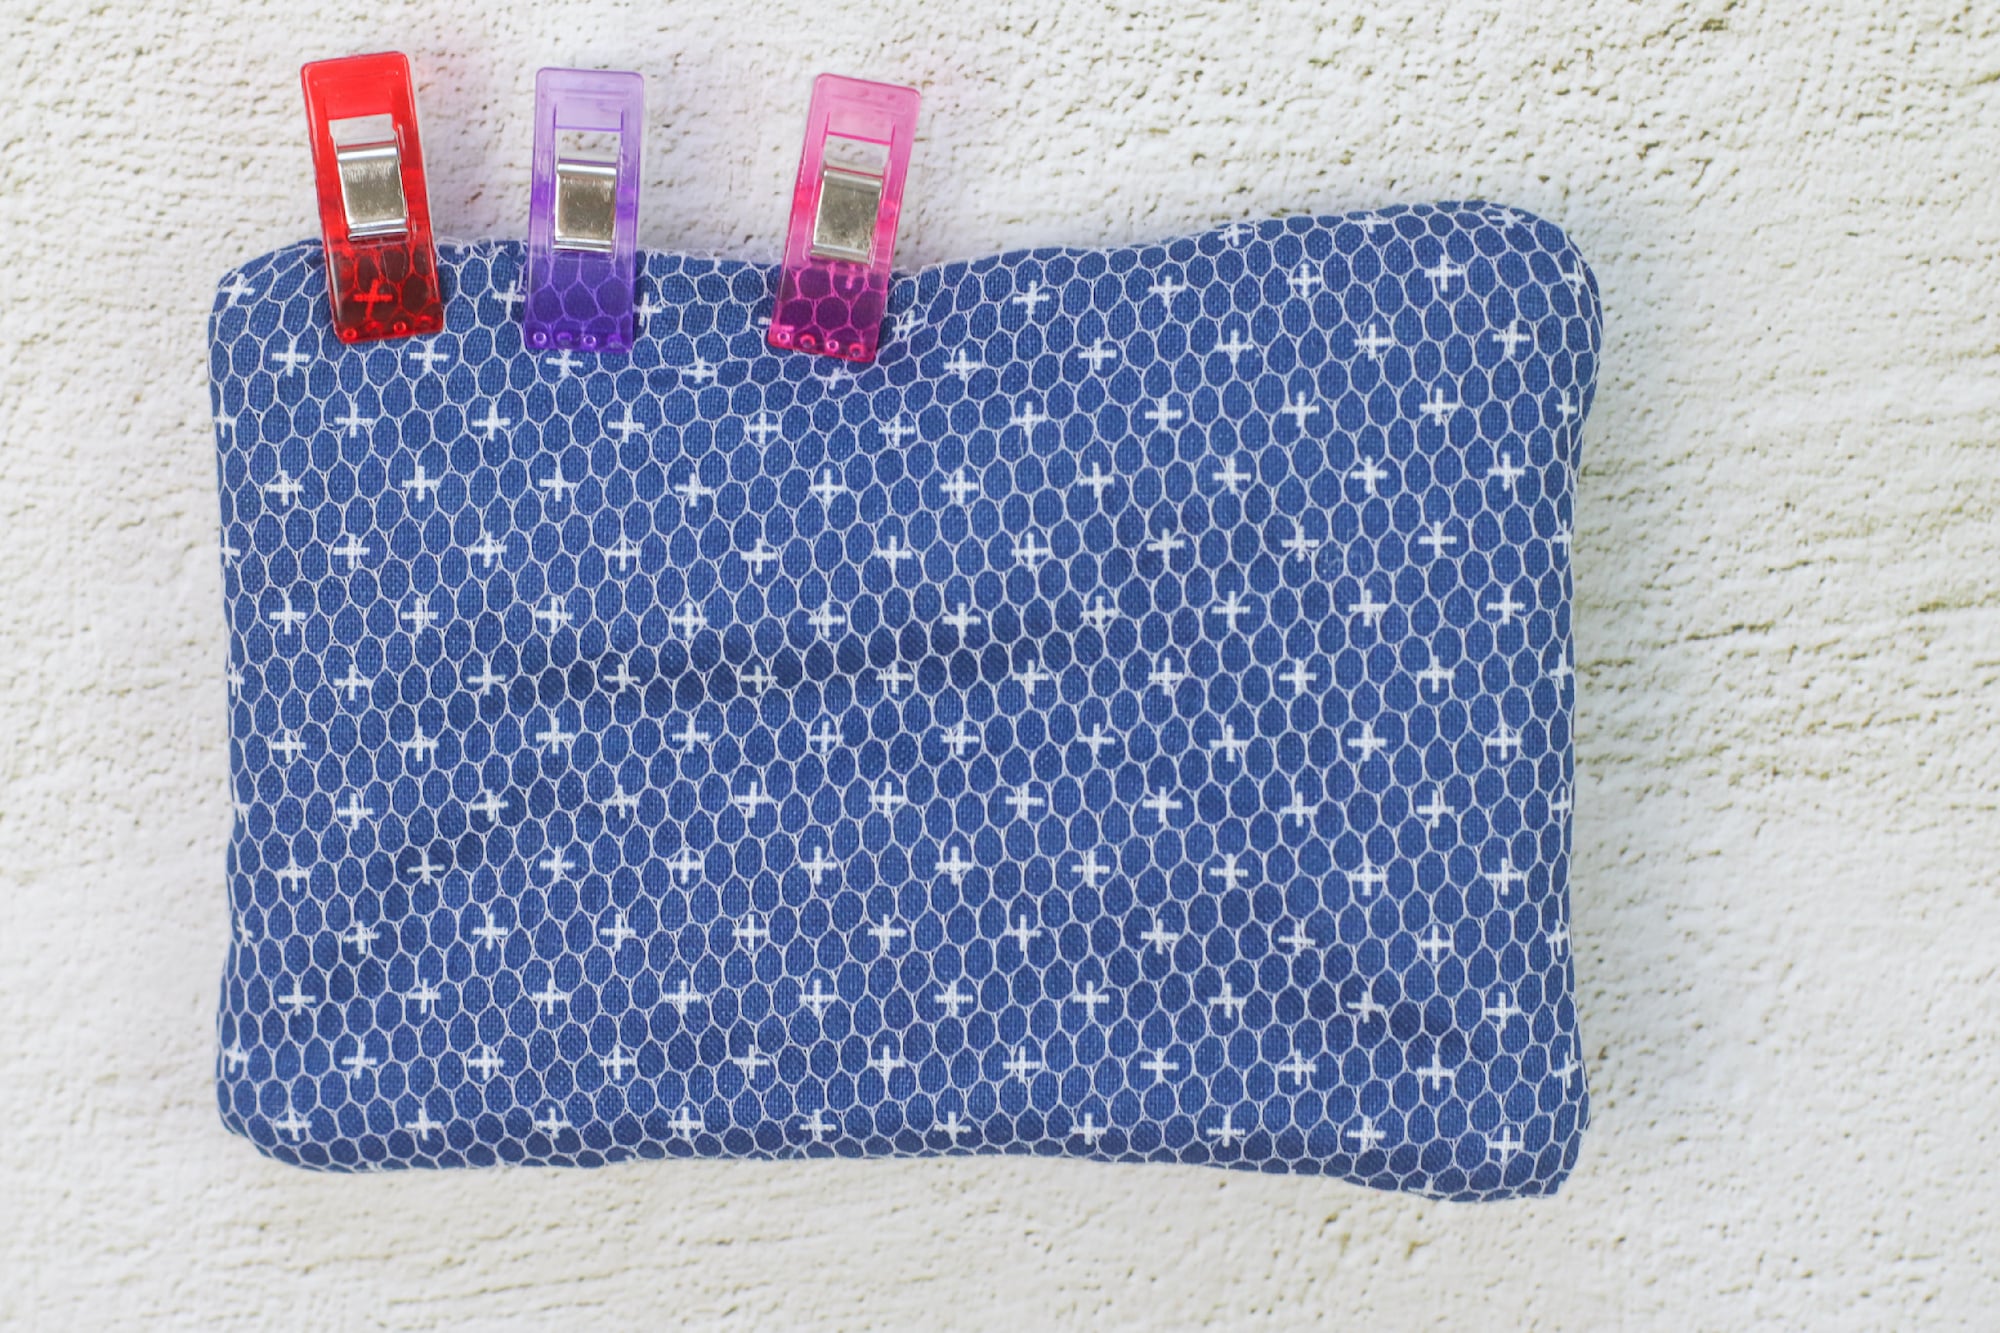
Step 7
Stitch around the top of the entire sponge, making sure to close the seam of the gap that is clipped together.
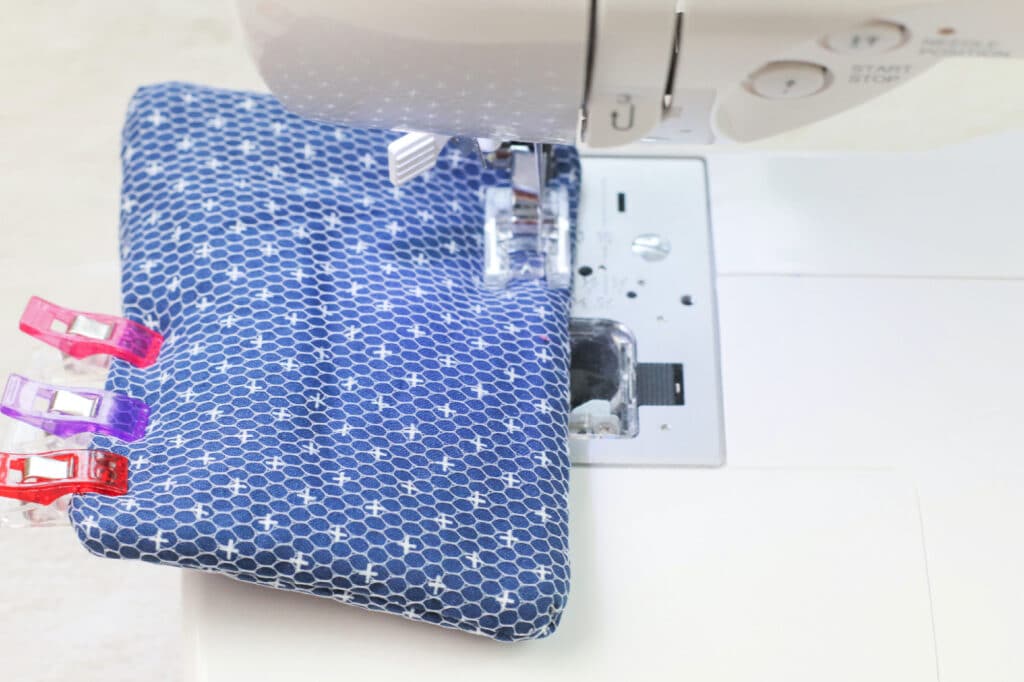
Then, sew around the top of the sponge again (topstitch) about ¼ inch to the left from the first line you sewed.
Leftover mesh fabric can be used to make DIY Mesh Bath Poufs.
If you like this easy sewing project, be sure to Pin It to save for later.
How to Wash These Reusable Sponges
When the sponge is dirty, you can toss it in the washing machine with towels.
Dry the sponge on low heat in the dryer so that the mesh does not melt, or allow to air dry.
We find it best to leave these outside in the hot sun to dry. Sunlight also helps to disinfect the materials, as well.
This is just one of our many sewing projects that cost less than $1.
Check out more of our easy zero-waste sewing projects that will save you money: