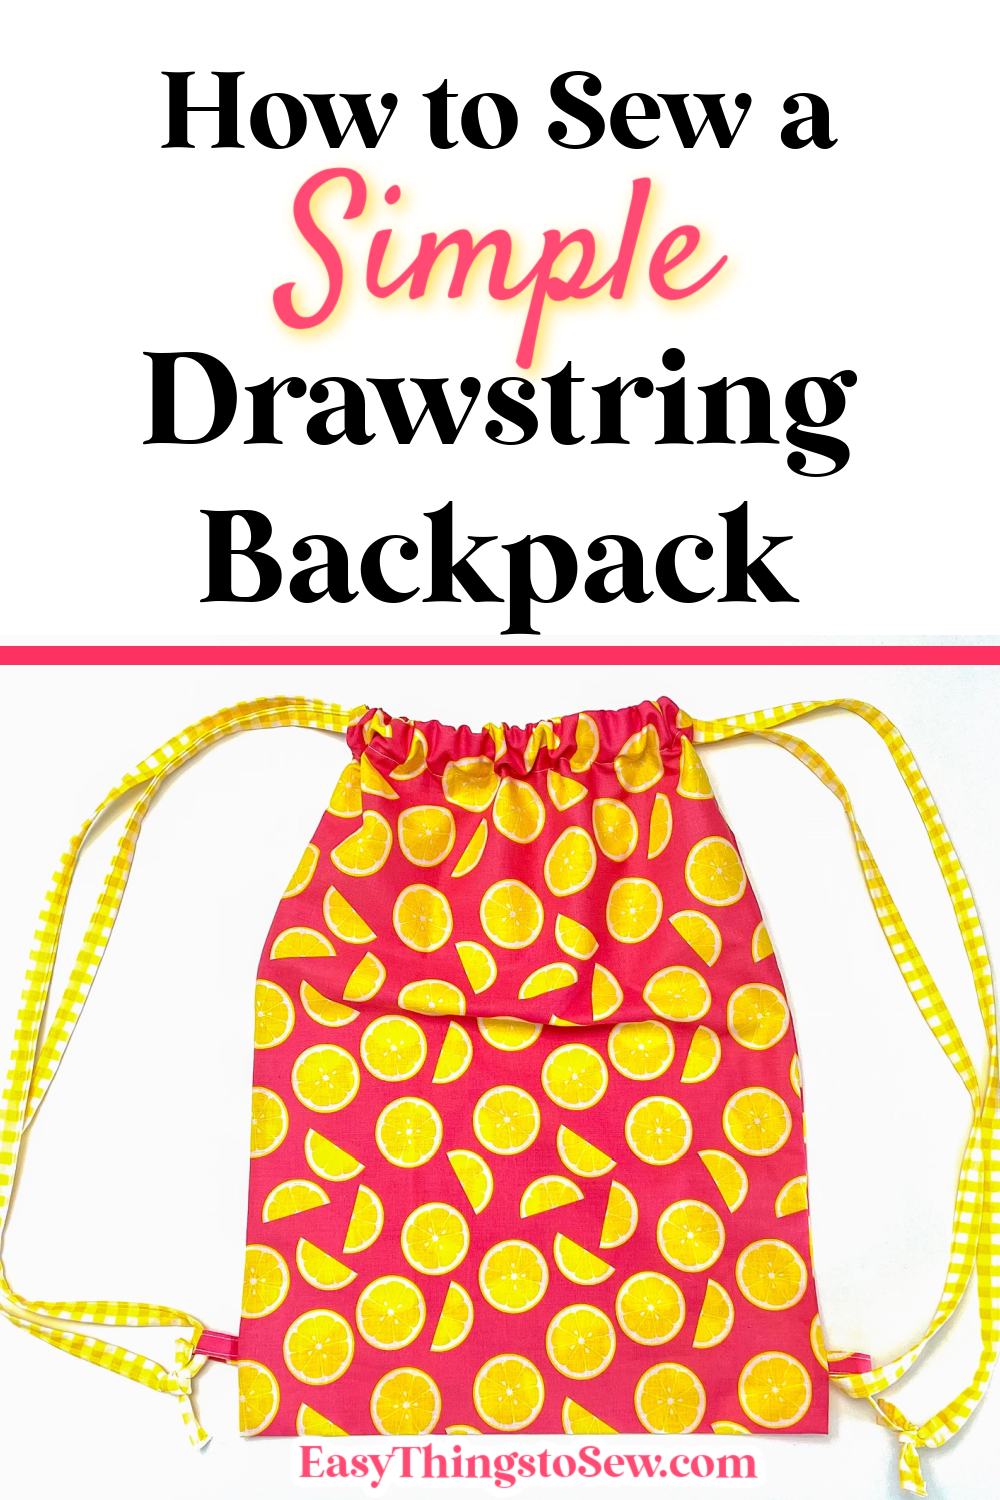
How to Make a Drawstring Backpack (Beginner Sewing Tutorial with Video)
A simple drawstring backpack is one of the easiest beginner sewing projects that you can make. These light-weight backpacks can be used by everyone and they can easily be customized in a variety of ways, including size, fabric combinations and drawstring materials.
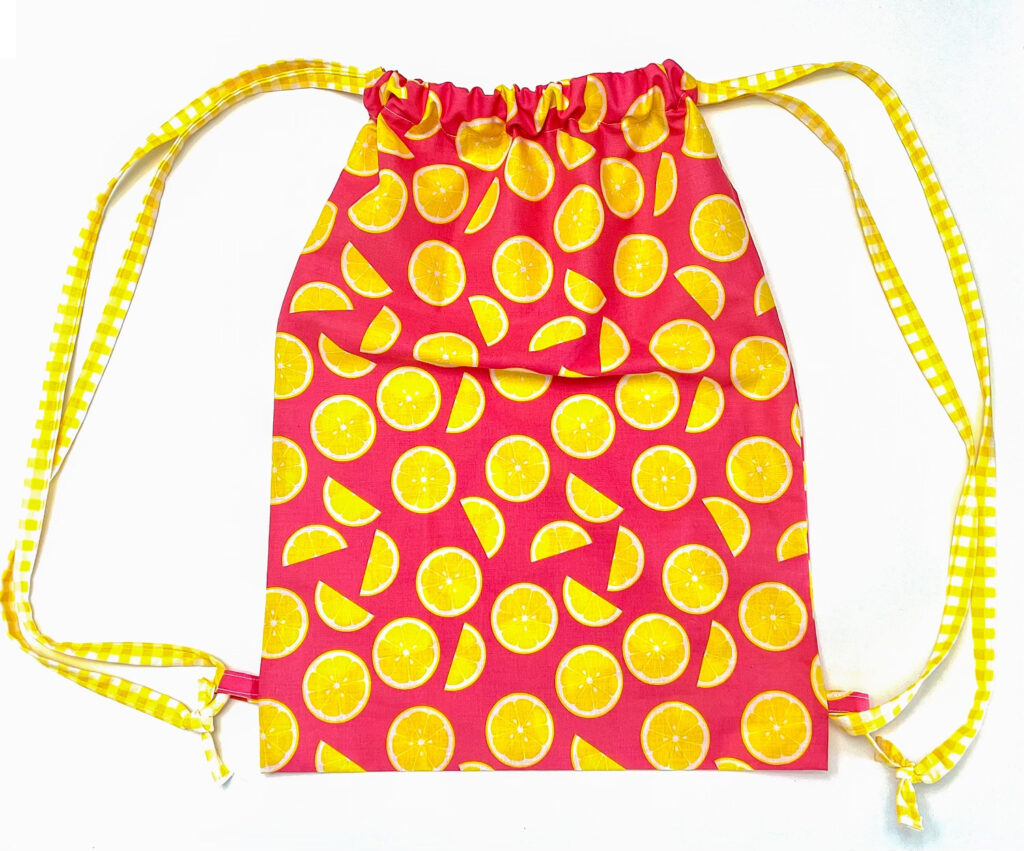
This very easy backpack is unlined and uses as few cuts and folds as possible.
Here are the reasons why we love this drawstring backpack pattern and make these bags all the time!
- Less measuring and cutting of fabric than other styles
- Uses half the amount of fabric as a lined backpack
- A very forgiving pattern that does not need exact measurements. If your measurements aren’t perfect, this project will probably still come out great!
- No mandatory seam allowances. It is okay if your seam allowances aren’t perfect or are wider than what we used!
- Size can be easily customized. Reduce the length of the fabric to make a shorter backpack. Add inches to the width for a wider backpack.
Once you make this backpack, you will definitely have confidence in your sewing abilities!
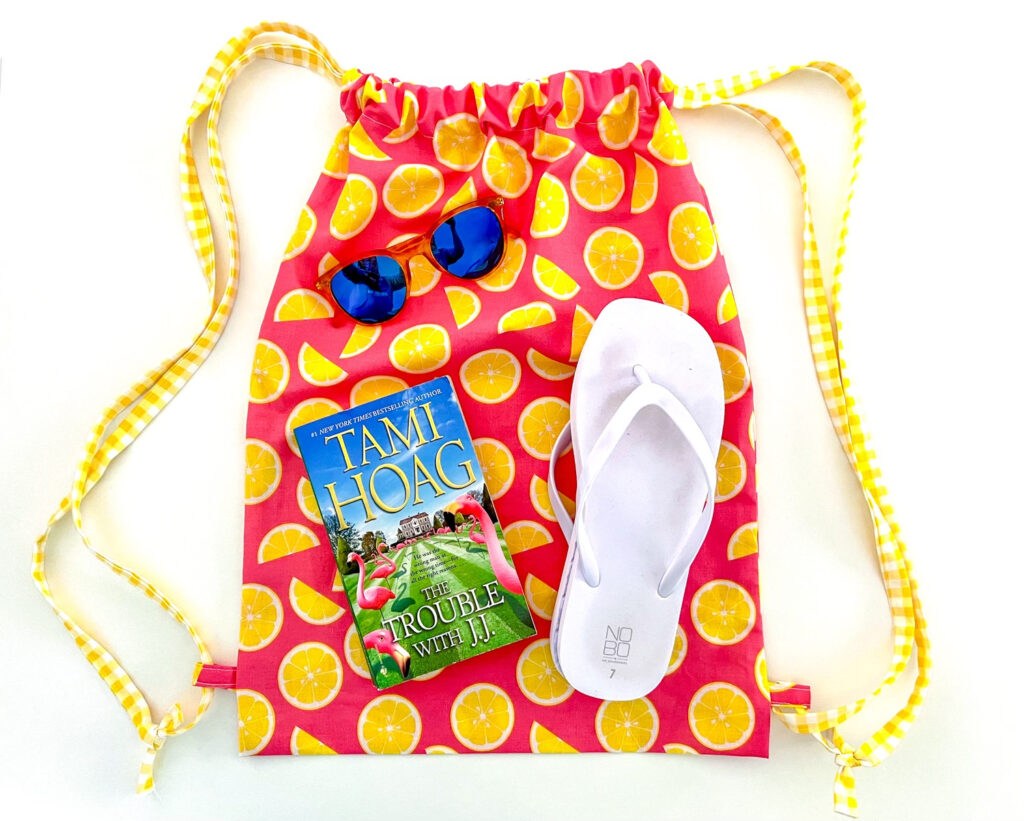
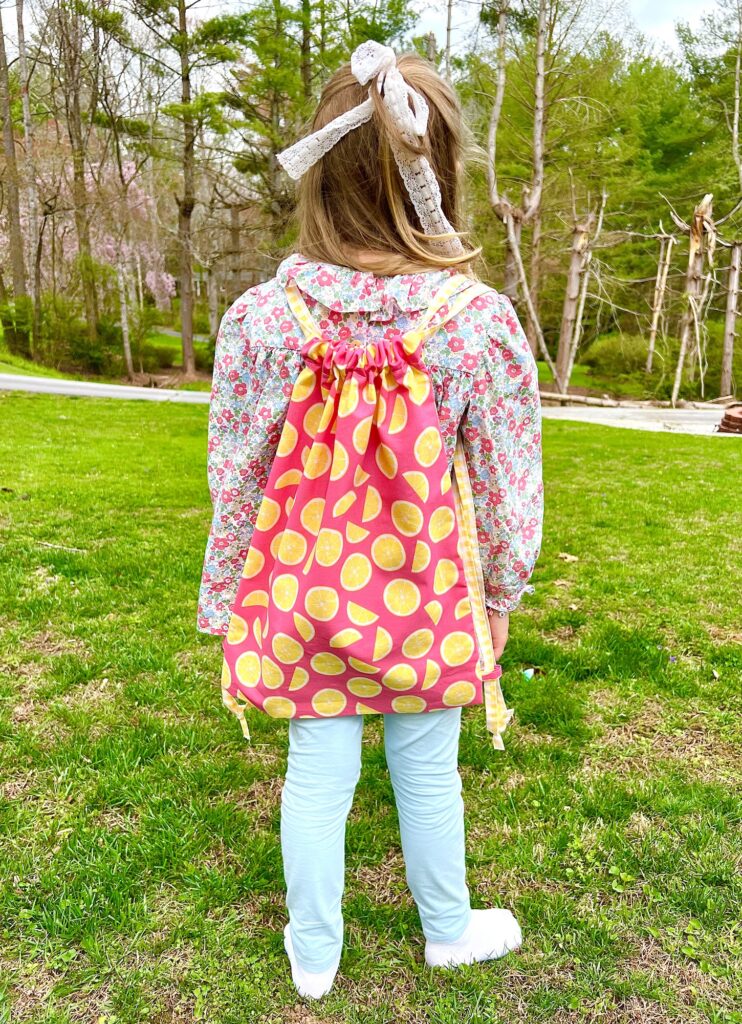
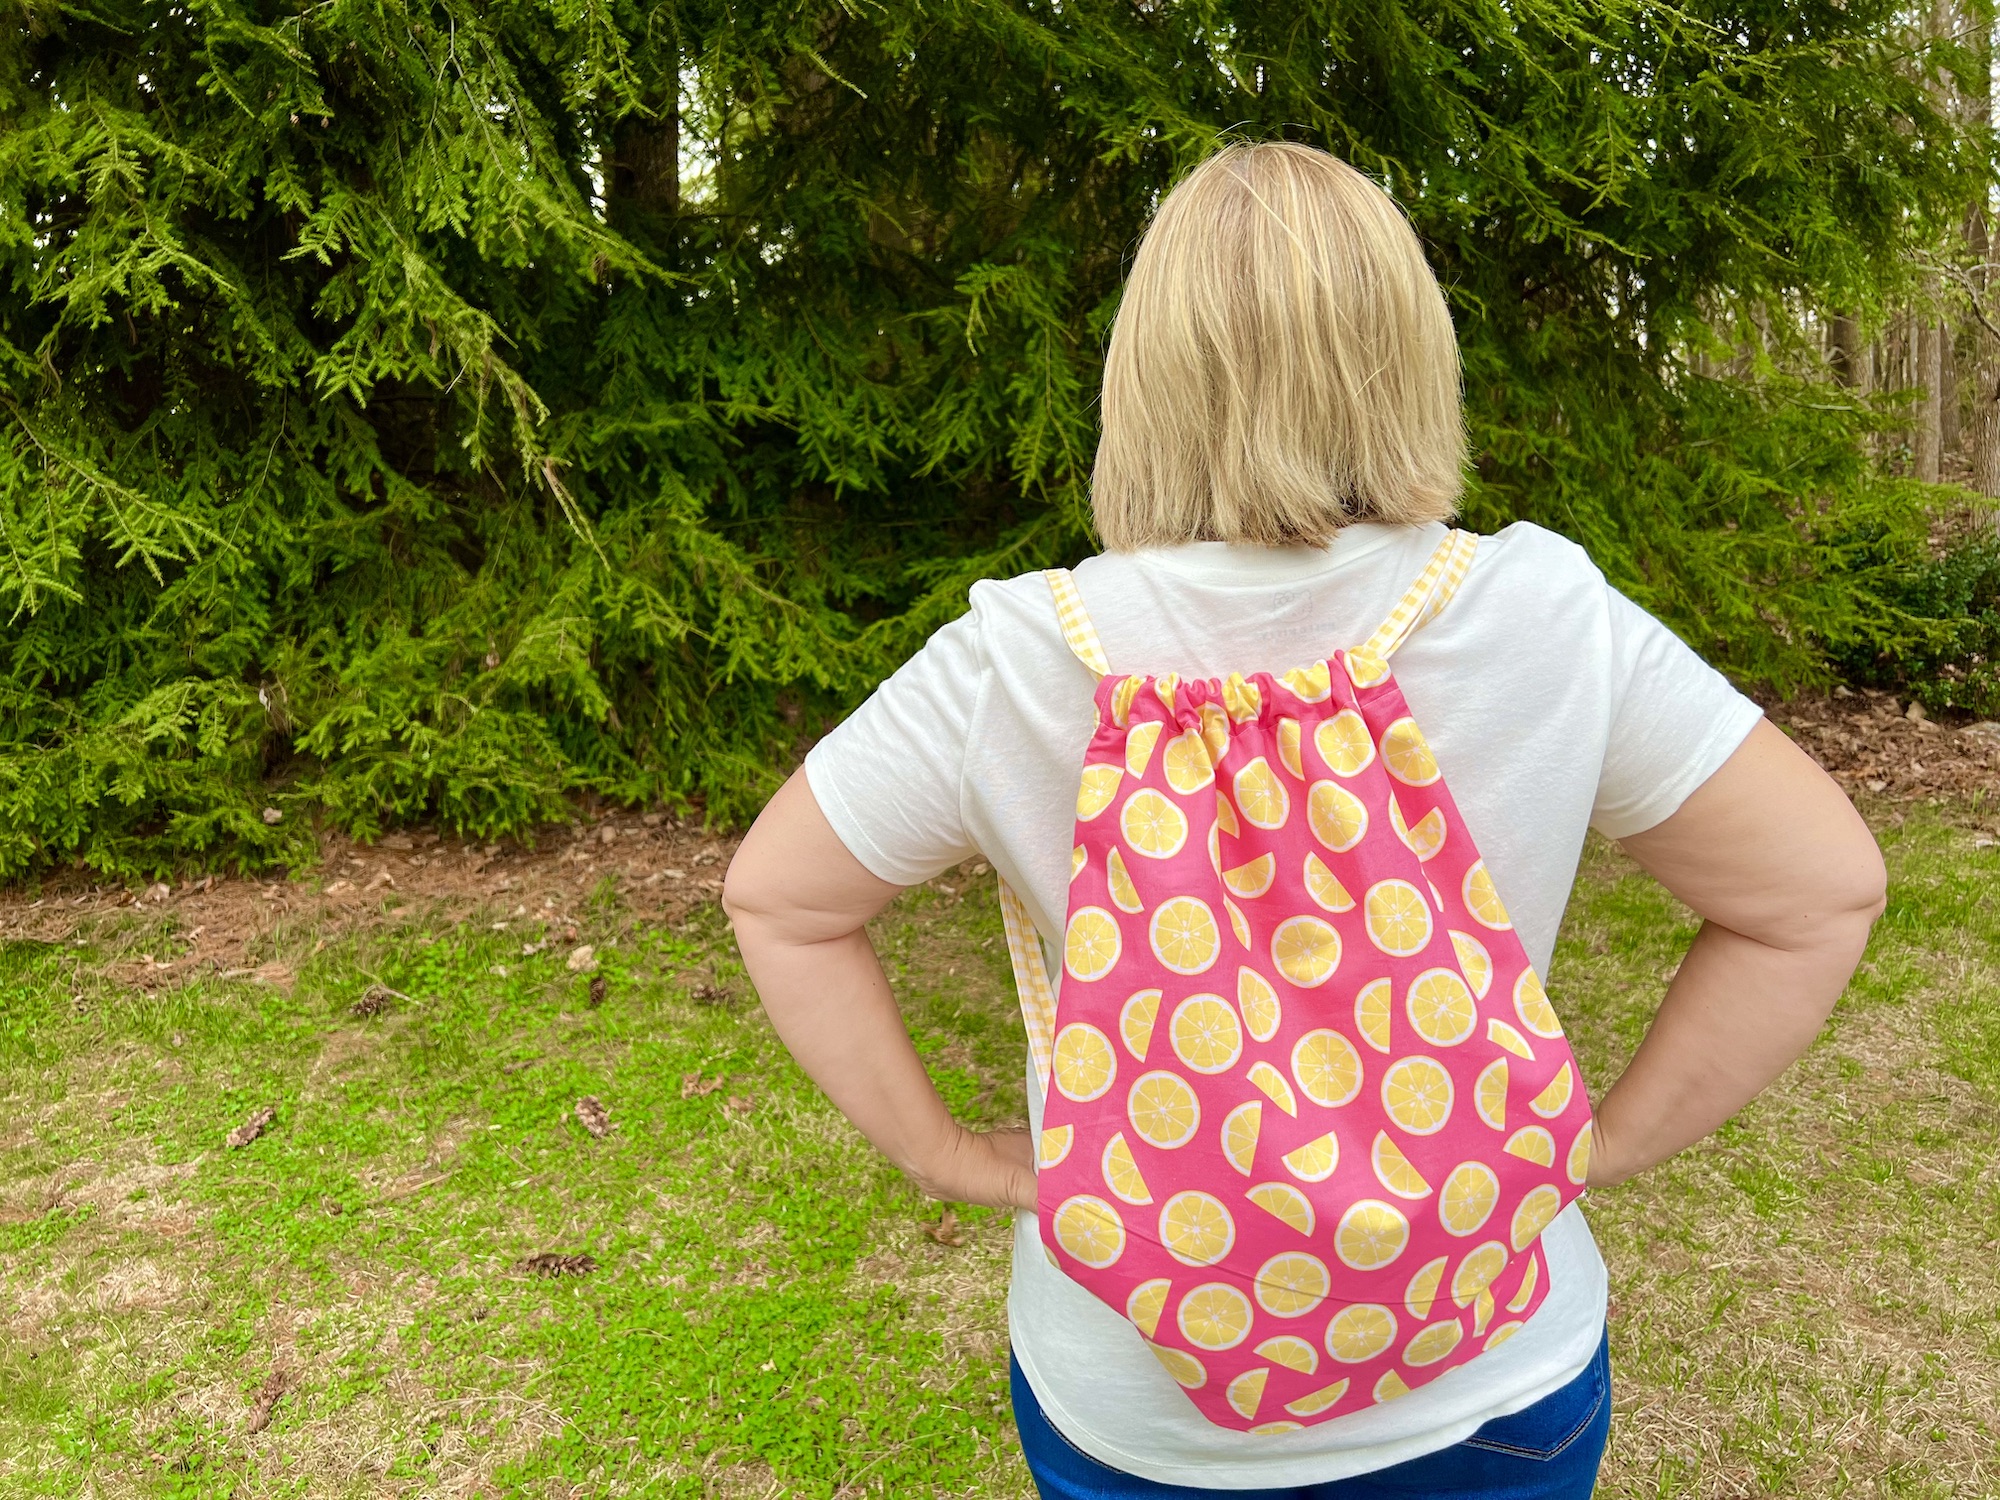
While this backpack is just a few inches larger than most patterns, we think it is still a great size for both children and adults. And it will hold more than a smaller bag. See the photos below for size comparisons of the bag while empty.
Which makes this a great sewing craft for an Operation Christmas Child gift or other non-profit organizations that rely on donations of essential supplies for kids in need.
There are so many ways to customize this sewing project. Once you make one bag, you can make many more for friends and family and each of them can look different, even though the method is the same.
- Use complimentary fabrics for the bag and drawstring cords. Or use the same fabric for both.
- Sew two smaller pieces of fabric together to make a larger piece. In this way you can create stripes or a patchwork look.
- Instead of fabric cords, you could use ribbon, cotton cord, leather cord, braided cord or shoelaces.
You can watch this simple drawstring backpack being sewn in our YouTube video below:
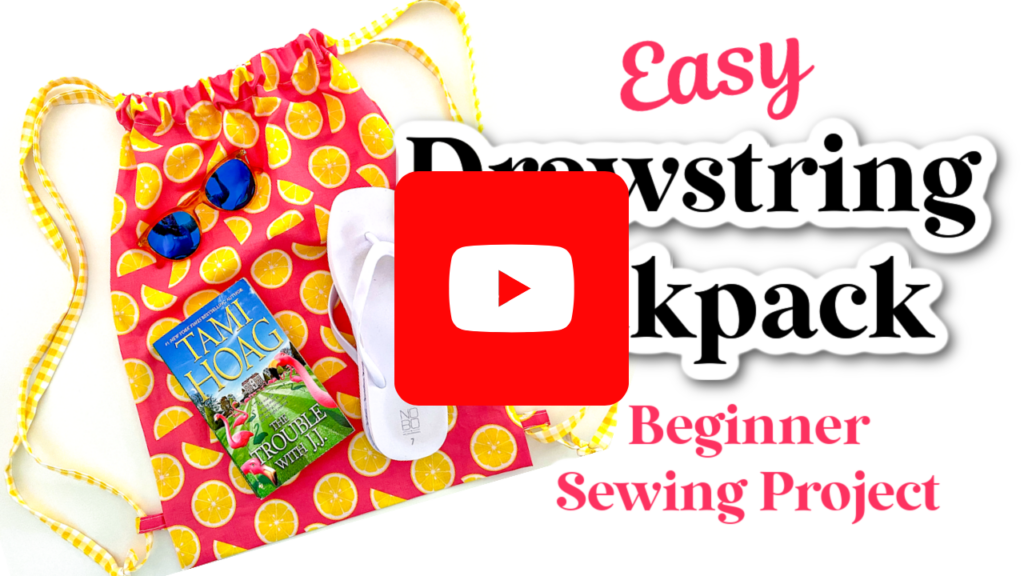
How to Sew a Simple Drawstring Backpack
Supplies
- Fabric: One 43 in X 16 in rectangle (109 cm X 41 cm)
- Fabric for Tabs: Two 3″ X 2″ rectangles (8 cm X 5 cm)
- Fabric to Cords: Two 2 in X 72 in pieces (5 cm X 183 cm)
- Matching or Complimentary Thread
- Scissors
- Straight Pins
- Tailor’s Chalk or Fabric Pen (optional)
- Safety Pin or Sewing Bodkin
Directions
Step 1
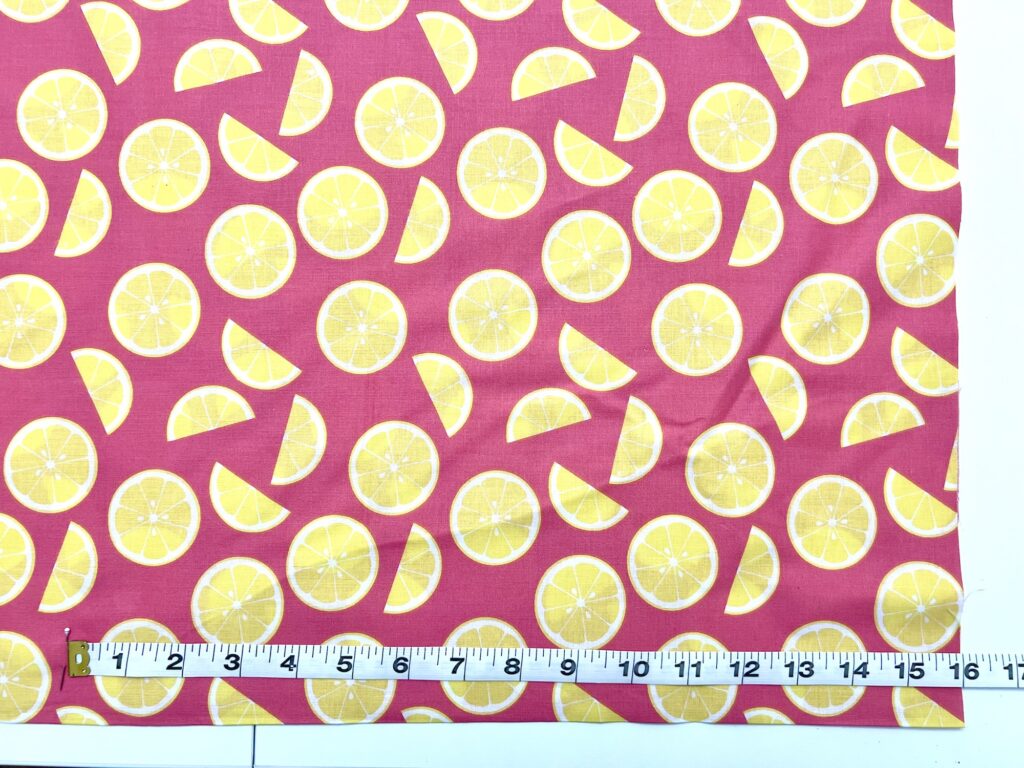
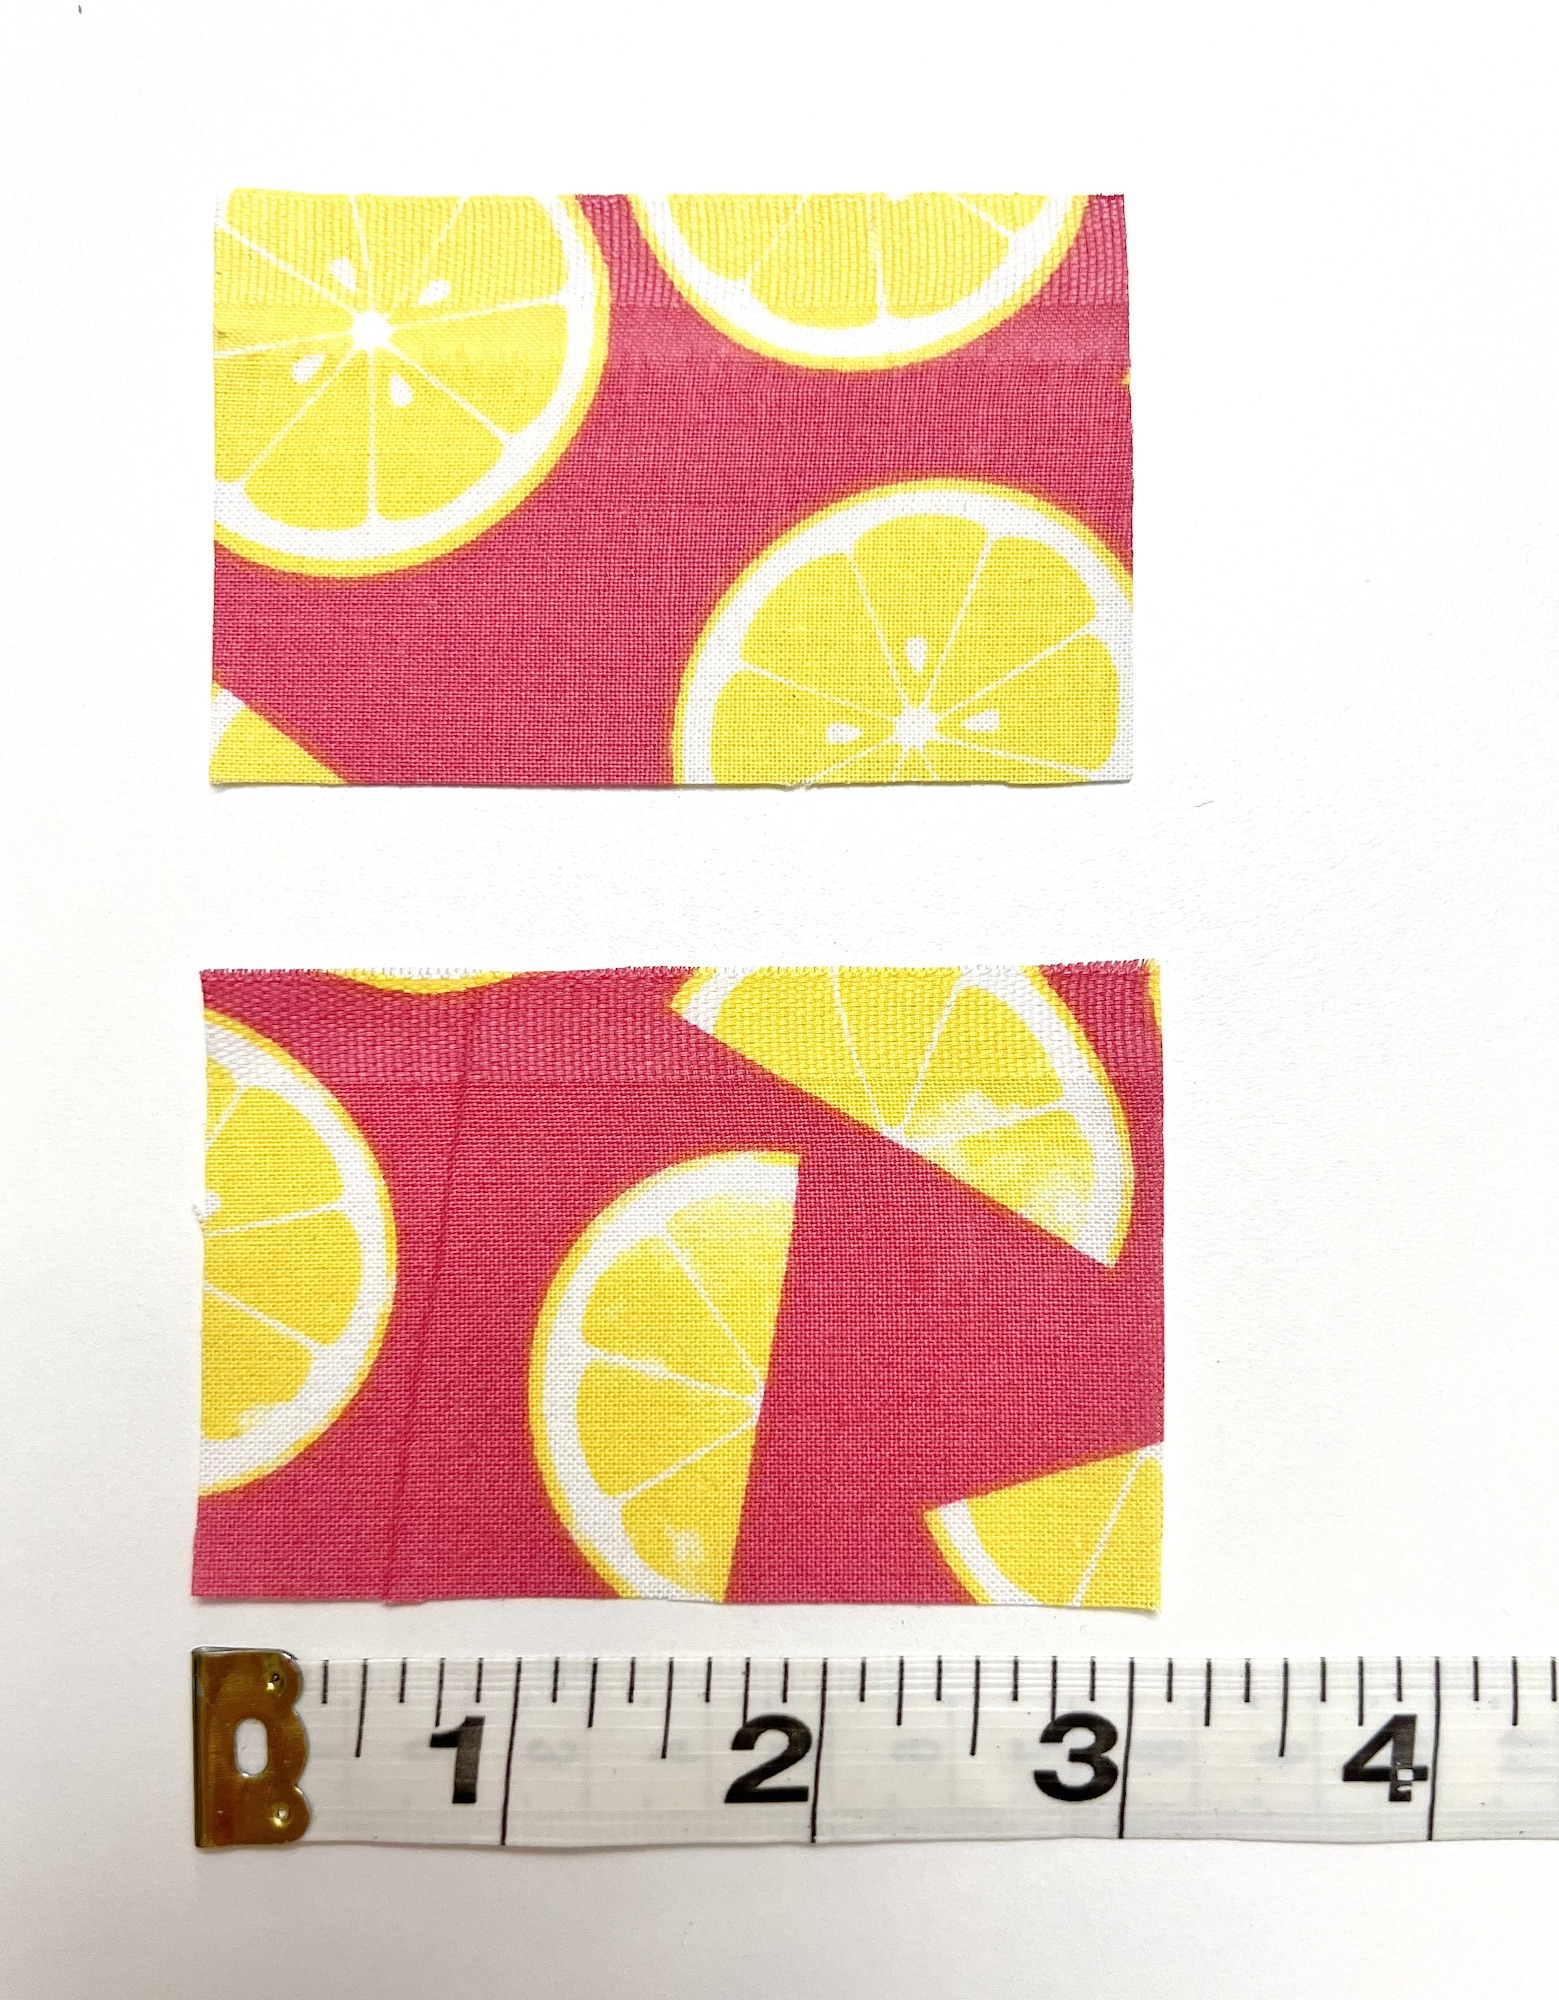
Cut your fabric.
My fabric was folded, so I measured 21 ½ inch X 16 inches (to make one big 43 inch X 16 inch piece of fabric.)
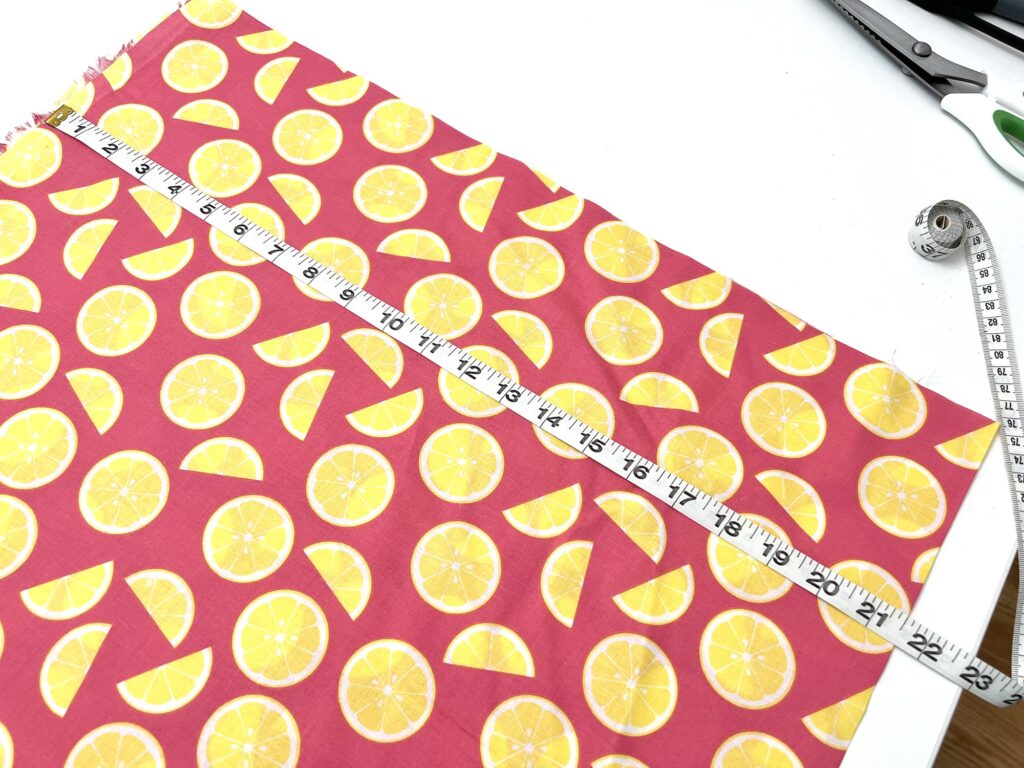
If you bought fabric off of the bolt and it is still folded in half as it was on the bolt at the fabric store, then all you need to do is lay it out flat (still folded in half) and measure a 16 inch width. Cotton quilting fabric is 43″ wide, which makes the measurements so much easier for this bag.
Then cut it out.
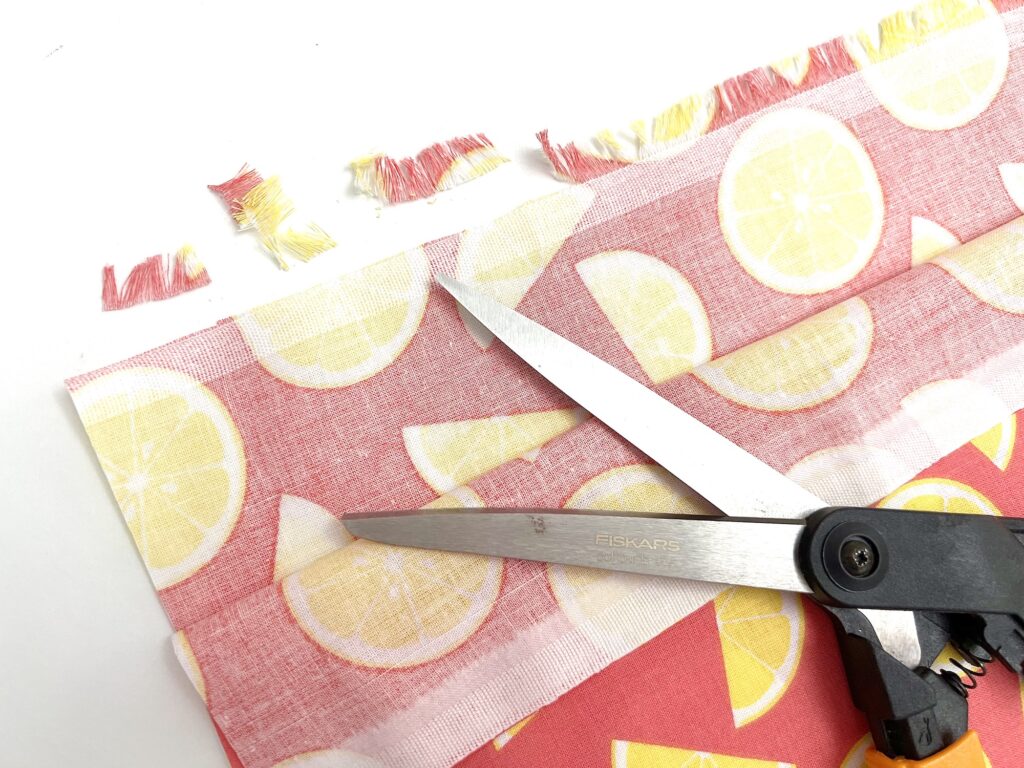
If you are using the fabric without cutting the length, just be sure to trim any of the fringe often found on the selvage ends.
Cut two 2 inch X 3 inch pieces of fabric to be the tabs on the bottom of the backpack.
Step 2
Open up the fabric to be one long rectangle, with the wrong side facing up.
On the long sides, roll the edge over on one side about ¼ inch, then roll over again about ¼ inch.
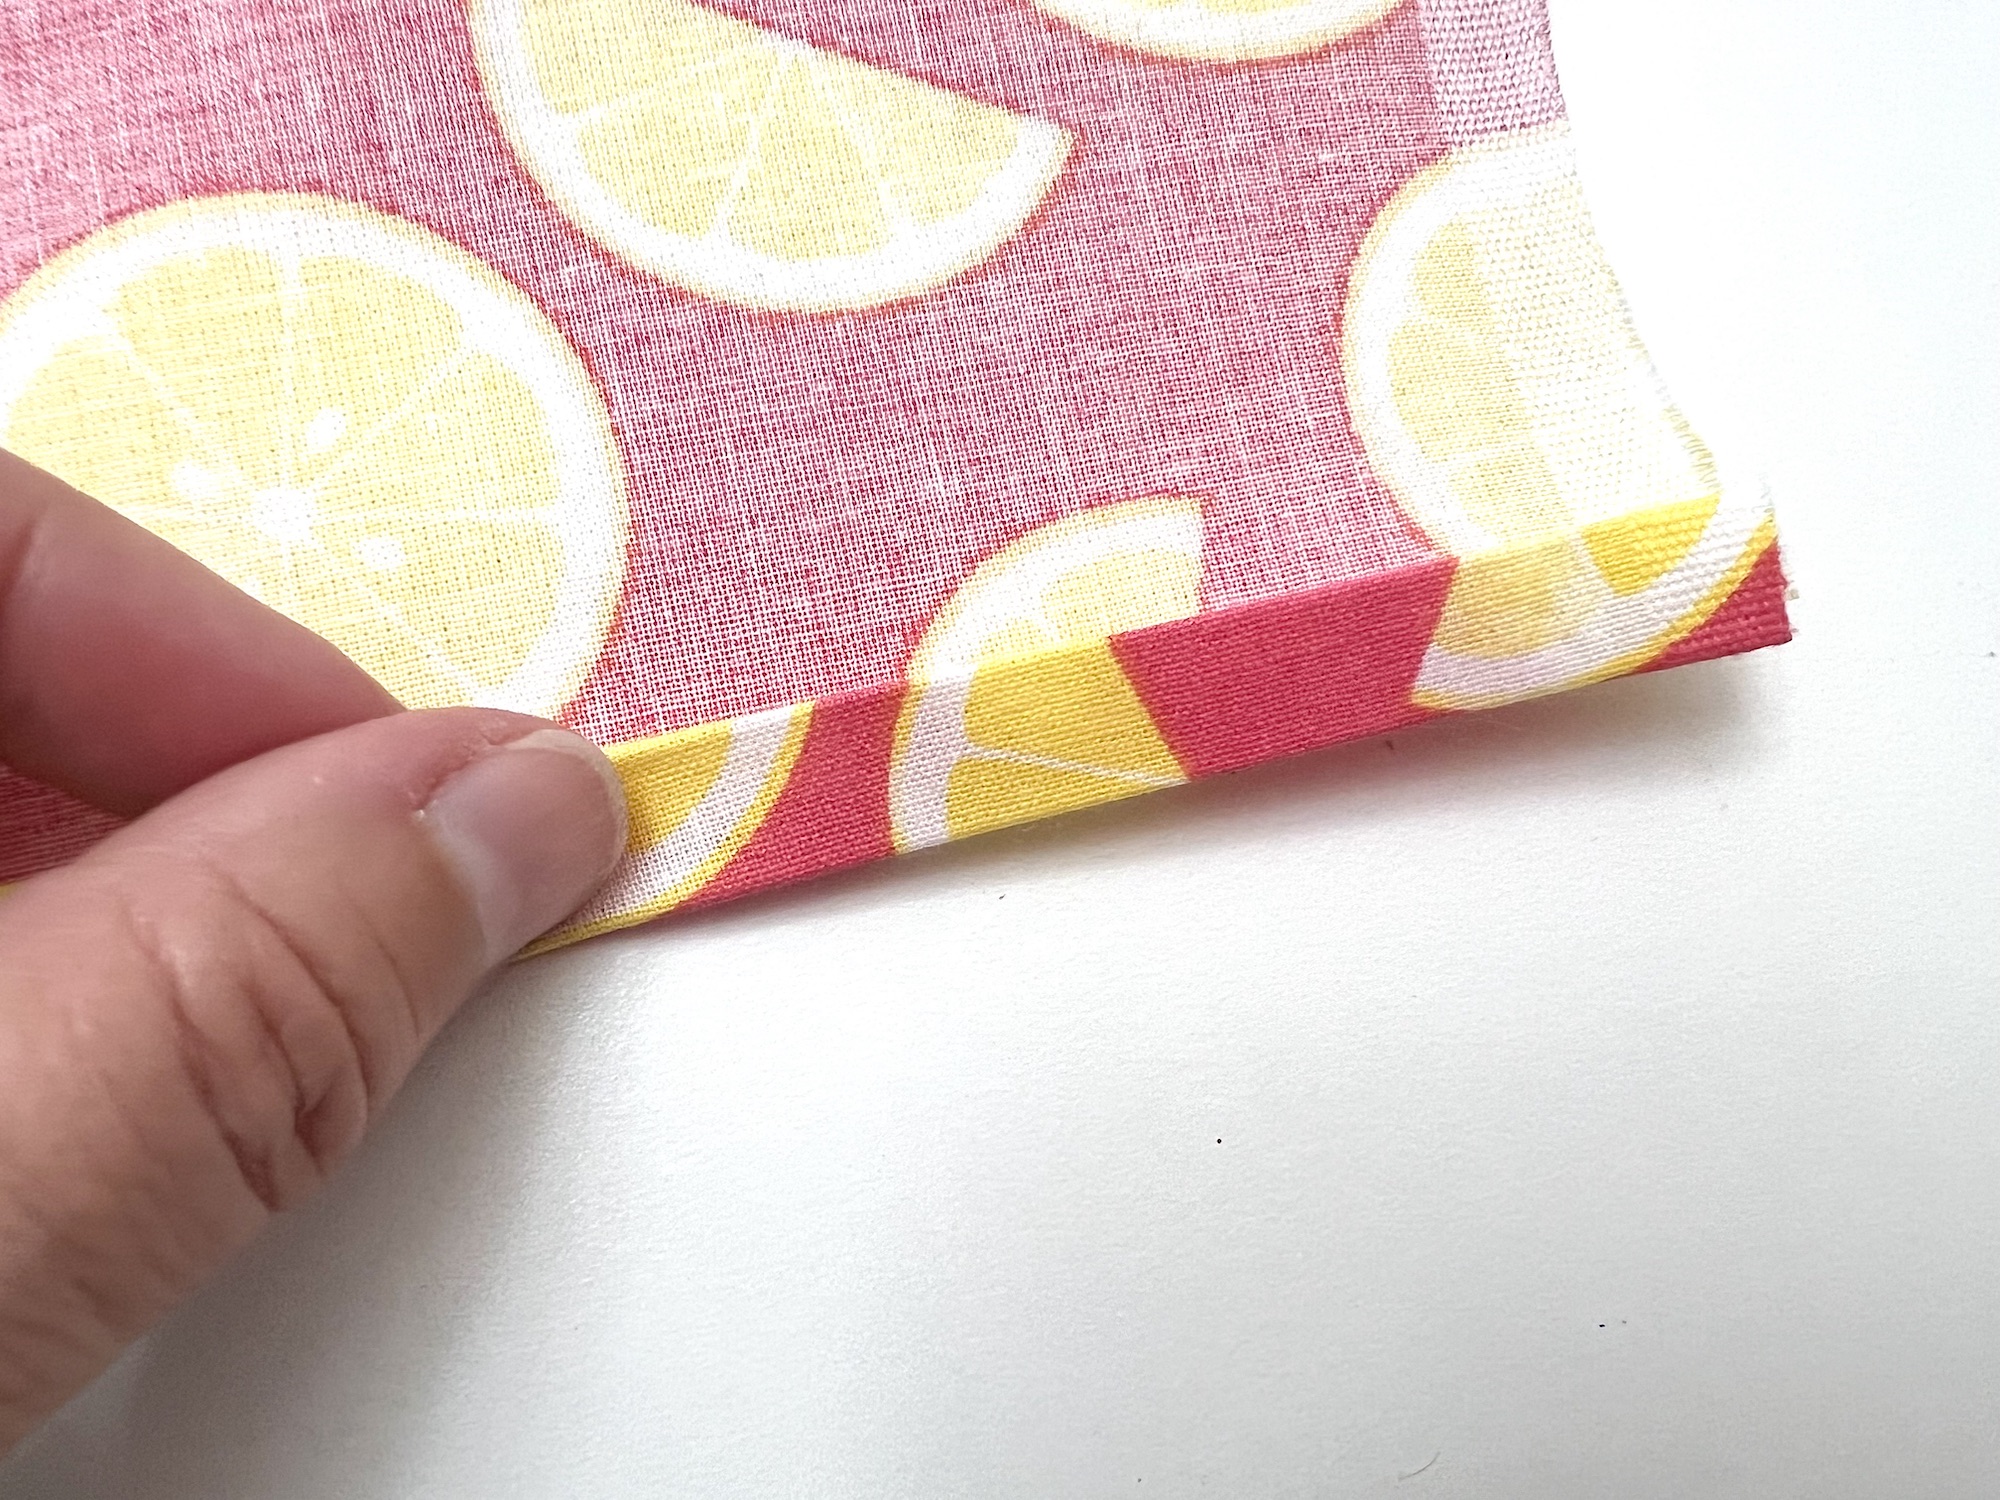
Iron the seam flat as you roll the fabric edge.
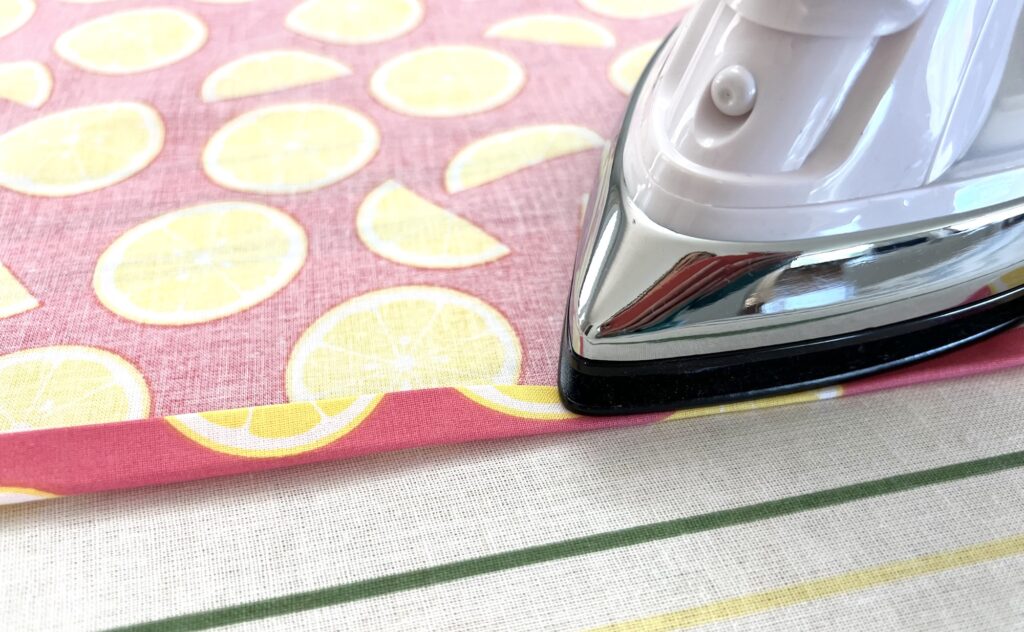
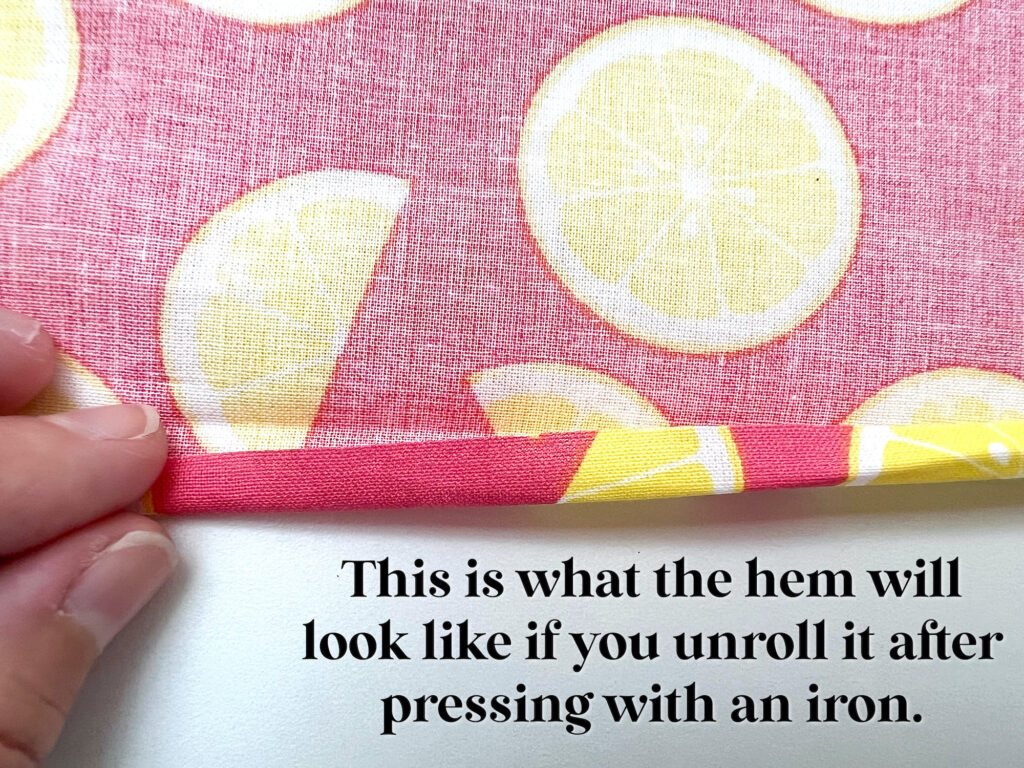
After pressing the seam for the entire length of the fabric, pin the seams in place.
Repeat the process on the other long side of the fabric rectangle.
Step 3
Measure 1 ½ inches down, as well as 3 inches down, from the top of the short side on either side of the fabric rectangle. Mark both measurements with a pin or tailor’s chalk.
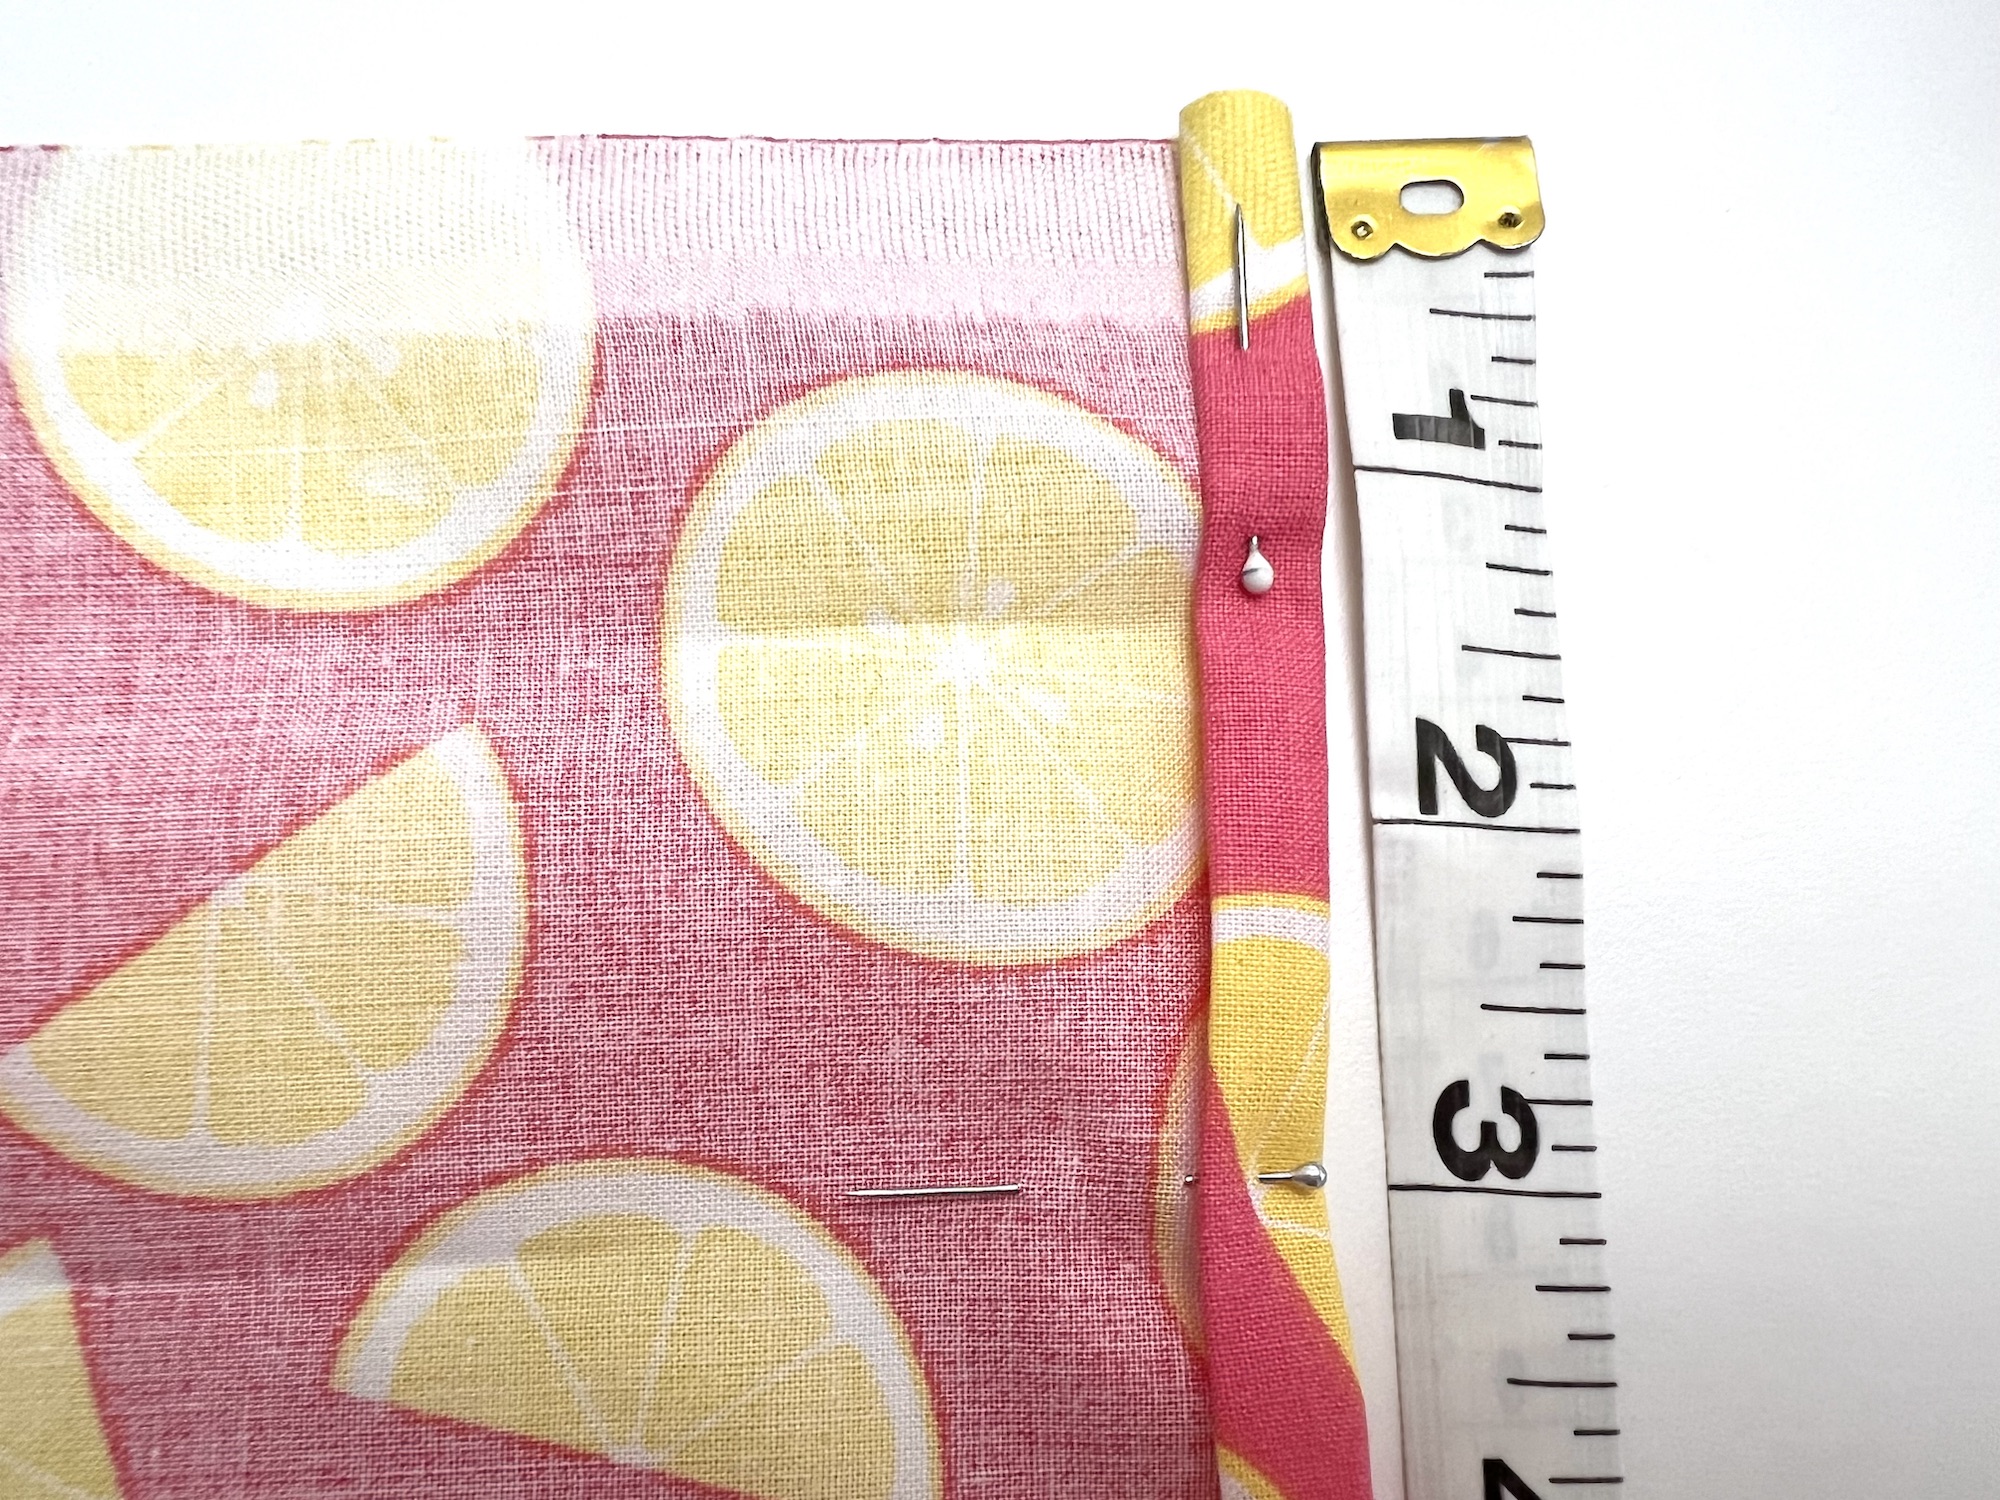
Repeat on the opposite end of the rectangle.
Step 4
Fold the short side down so that the edge meets the 3 inch mark that you made on either side of the fabric. Then fold over again, folding at the 3 inch mark that you made.
Press with an iron to flatten the seams.
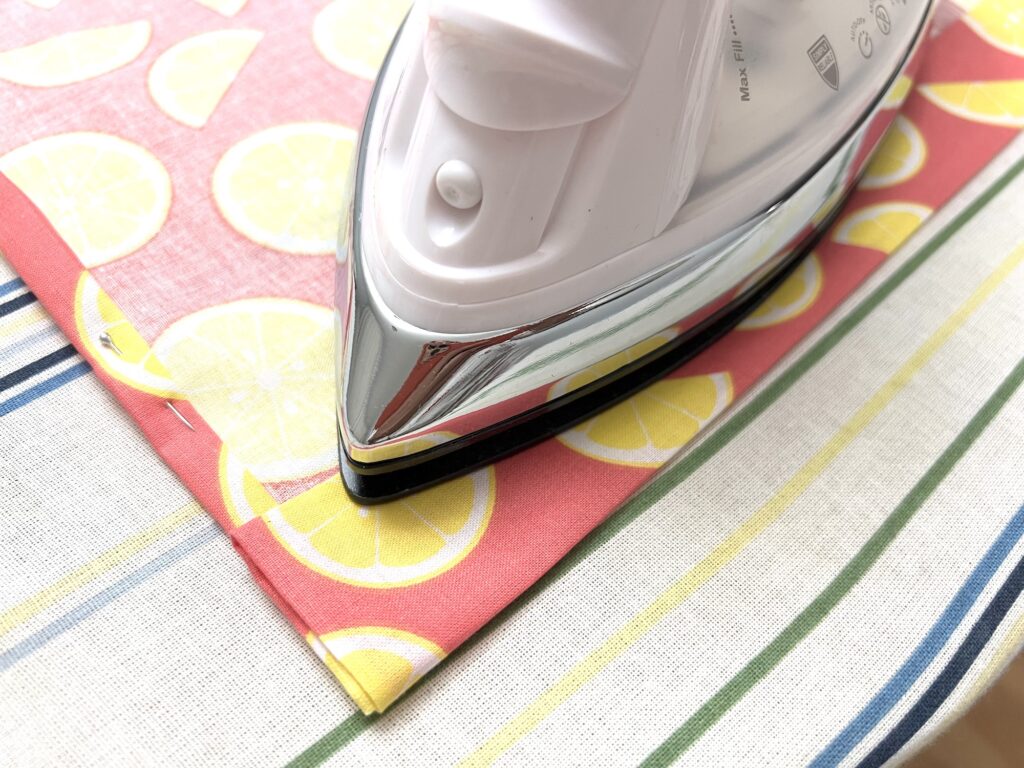
Pin the fabric in place.
Repeat on the opposite end.
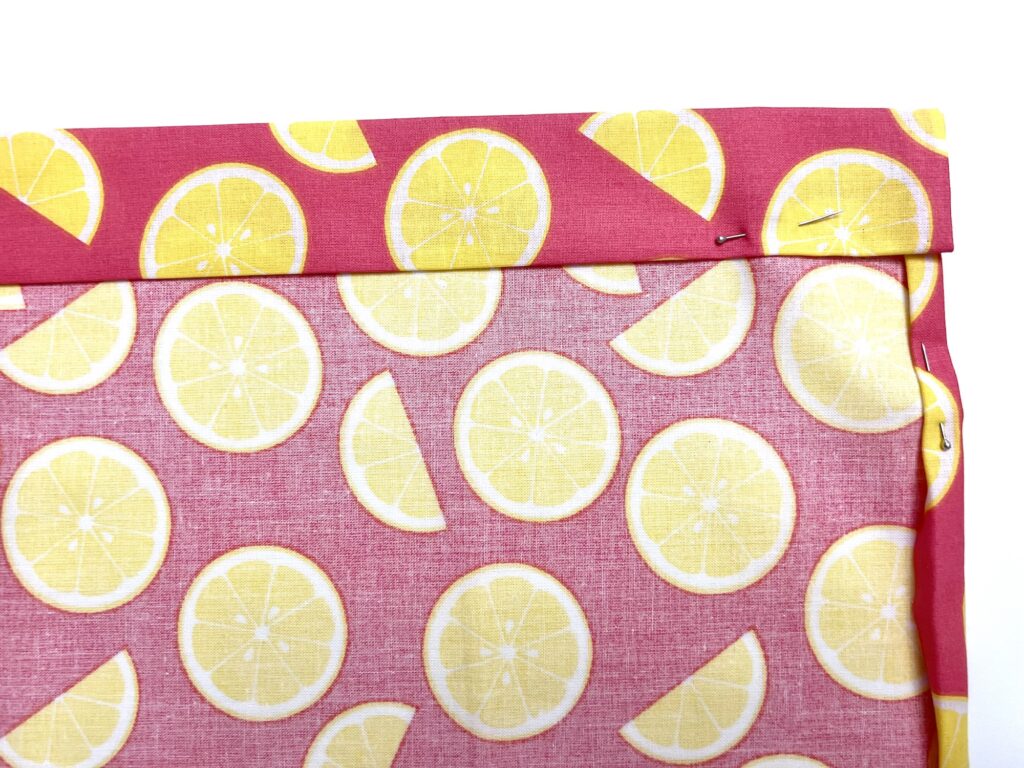
Step 5
Sew along the edge of the drawstring casing seam. You do not need to worry about the seam allowance, just sew close to the folded edge.
Step 6
Make the tabs for the bottom of the drawstring backpack using the 3 inch X 2 inch pieces of fabric.
Fold each piece of fabric in half, bring the wrong side of the fabric together with the right sides facing out. Press flat with an iron.
Open up the fabric and you will see the pressed edge in the middle. Fold one of the long sides toward the middle, lining up the edge with the pressed line in the middle. Then repeat with the other long side of the fabric, bringing it inward.
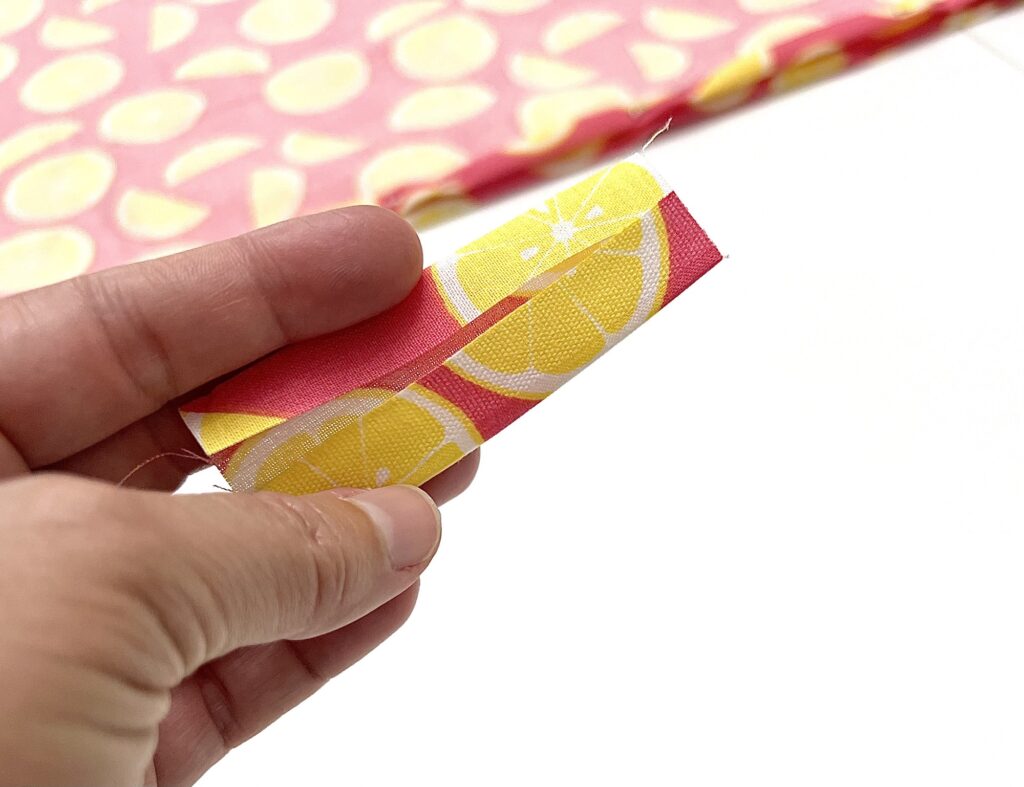
Then fold it in half. You will now have a long, thin piece of fabric with the right sides facing outwards on either side.
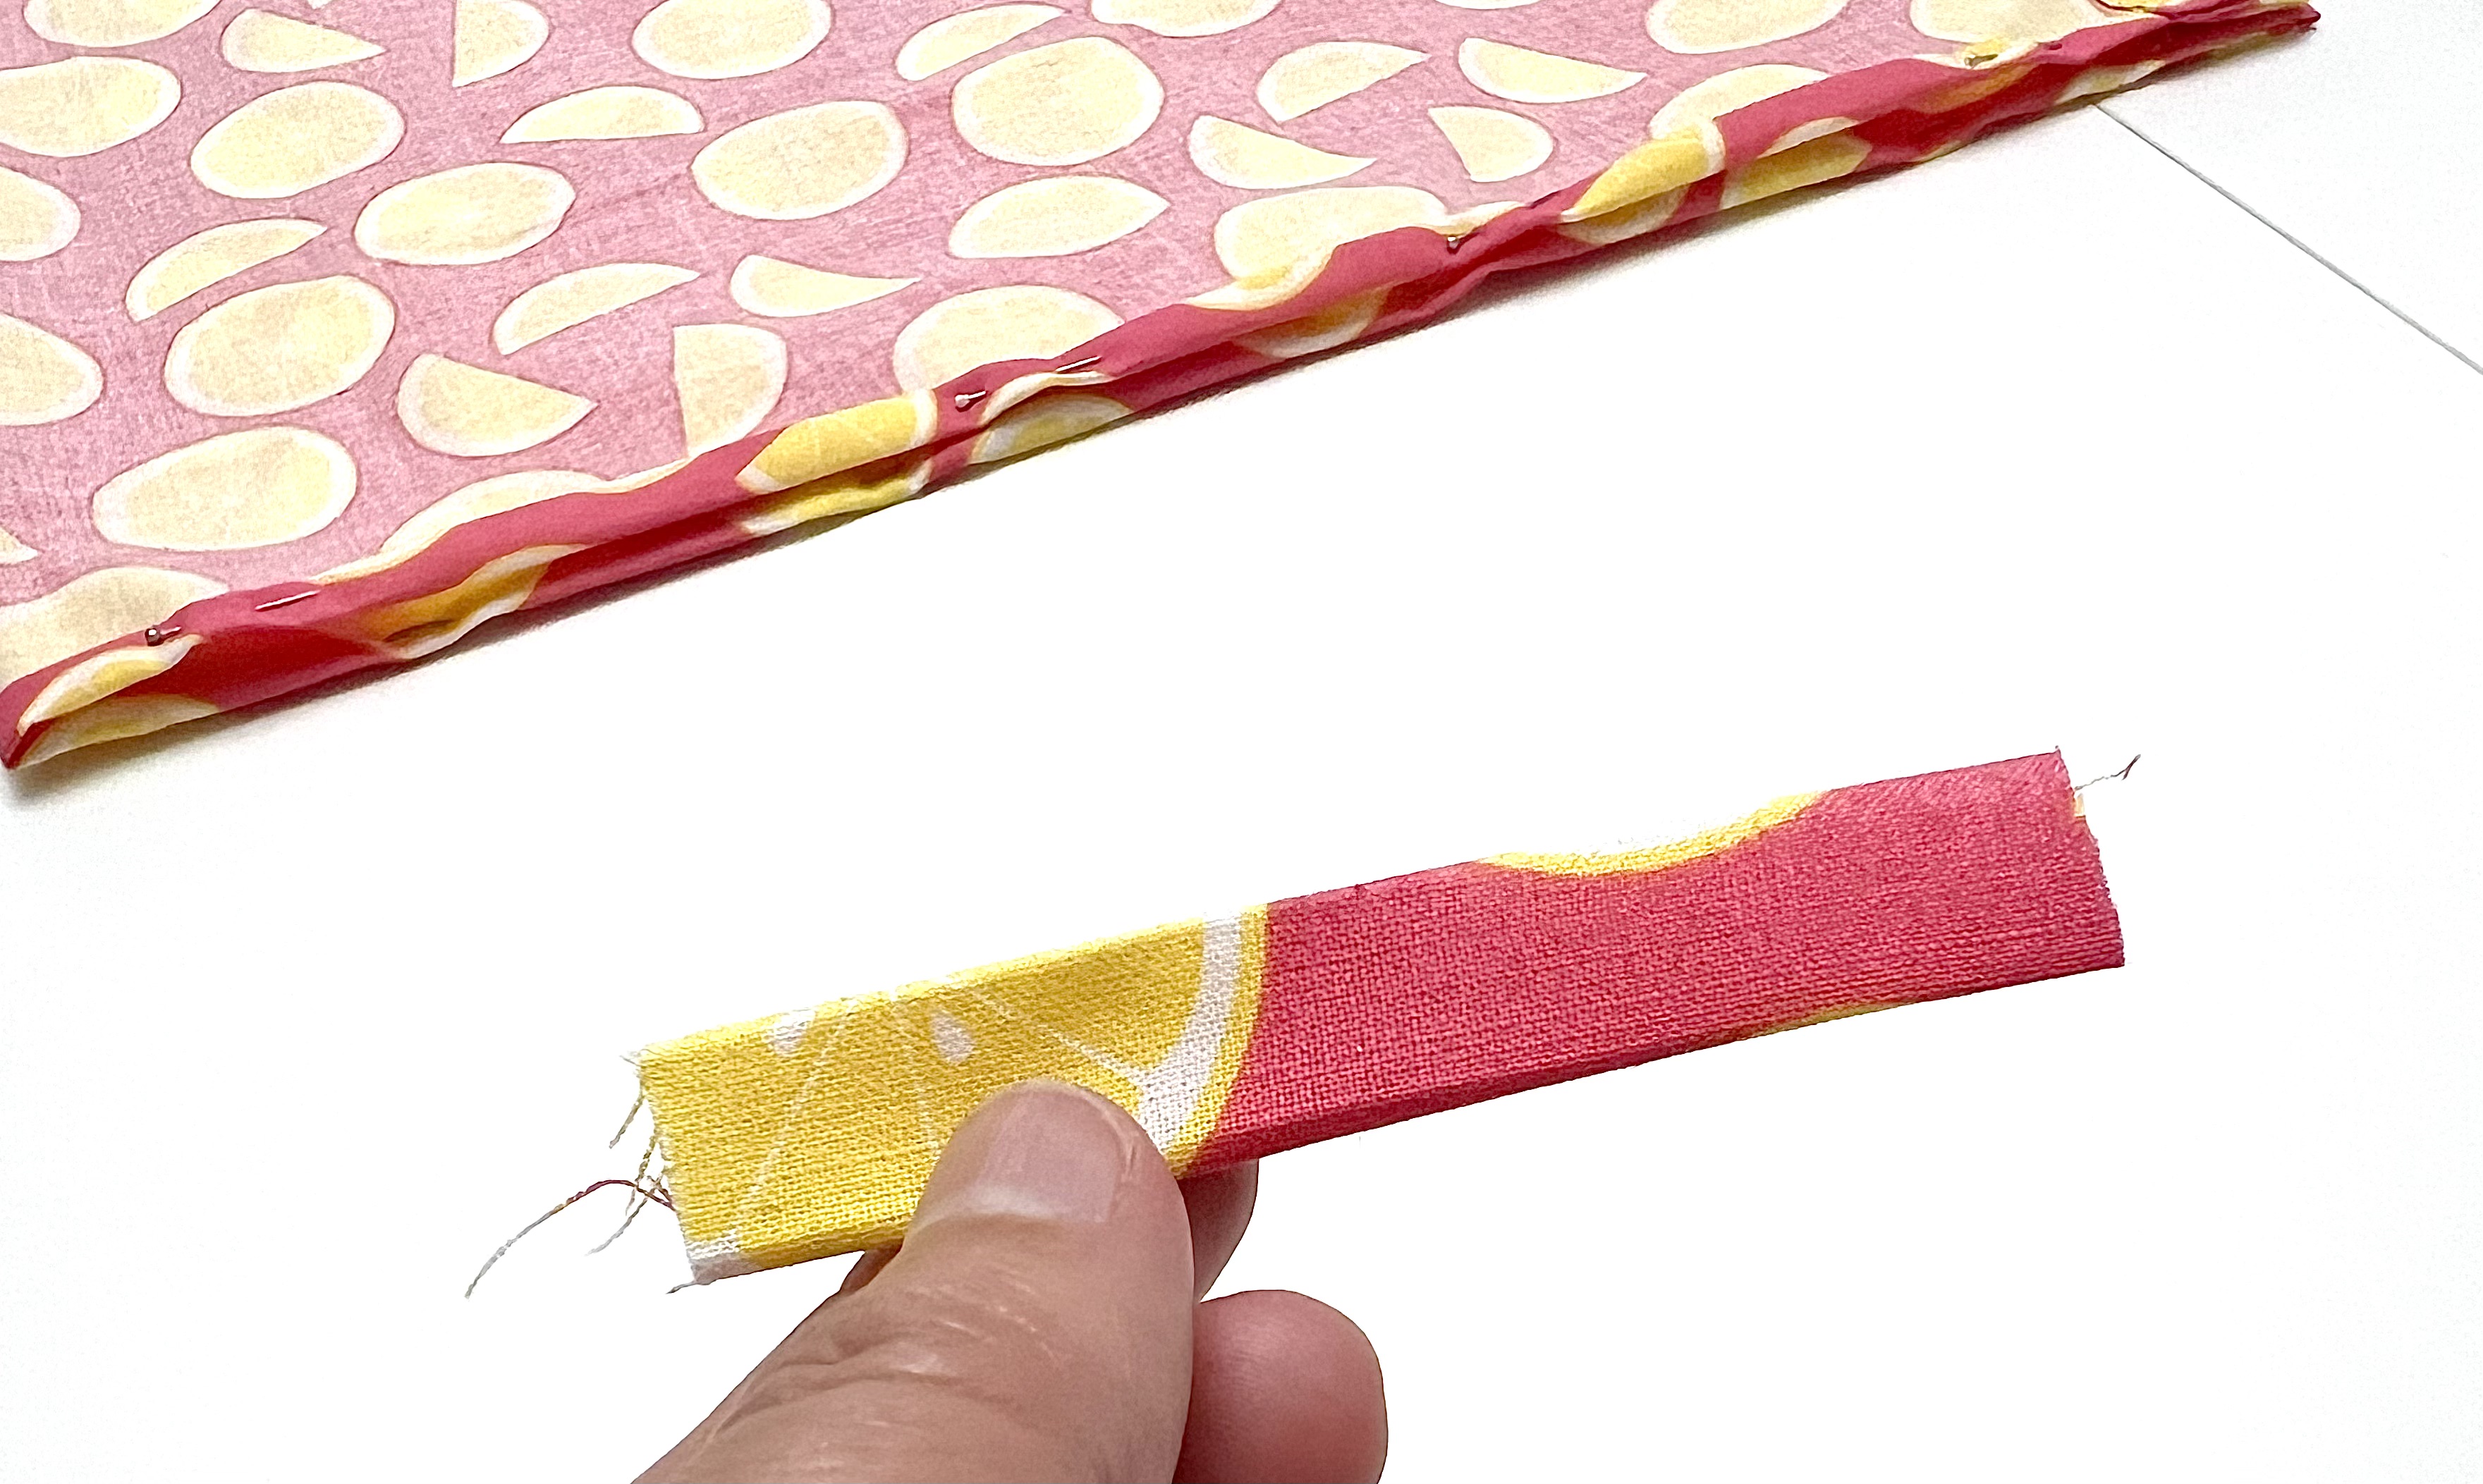
Stitch along the long sides of the fabric tab, stitching close to the edge along the entire length on each side.
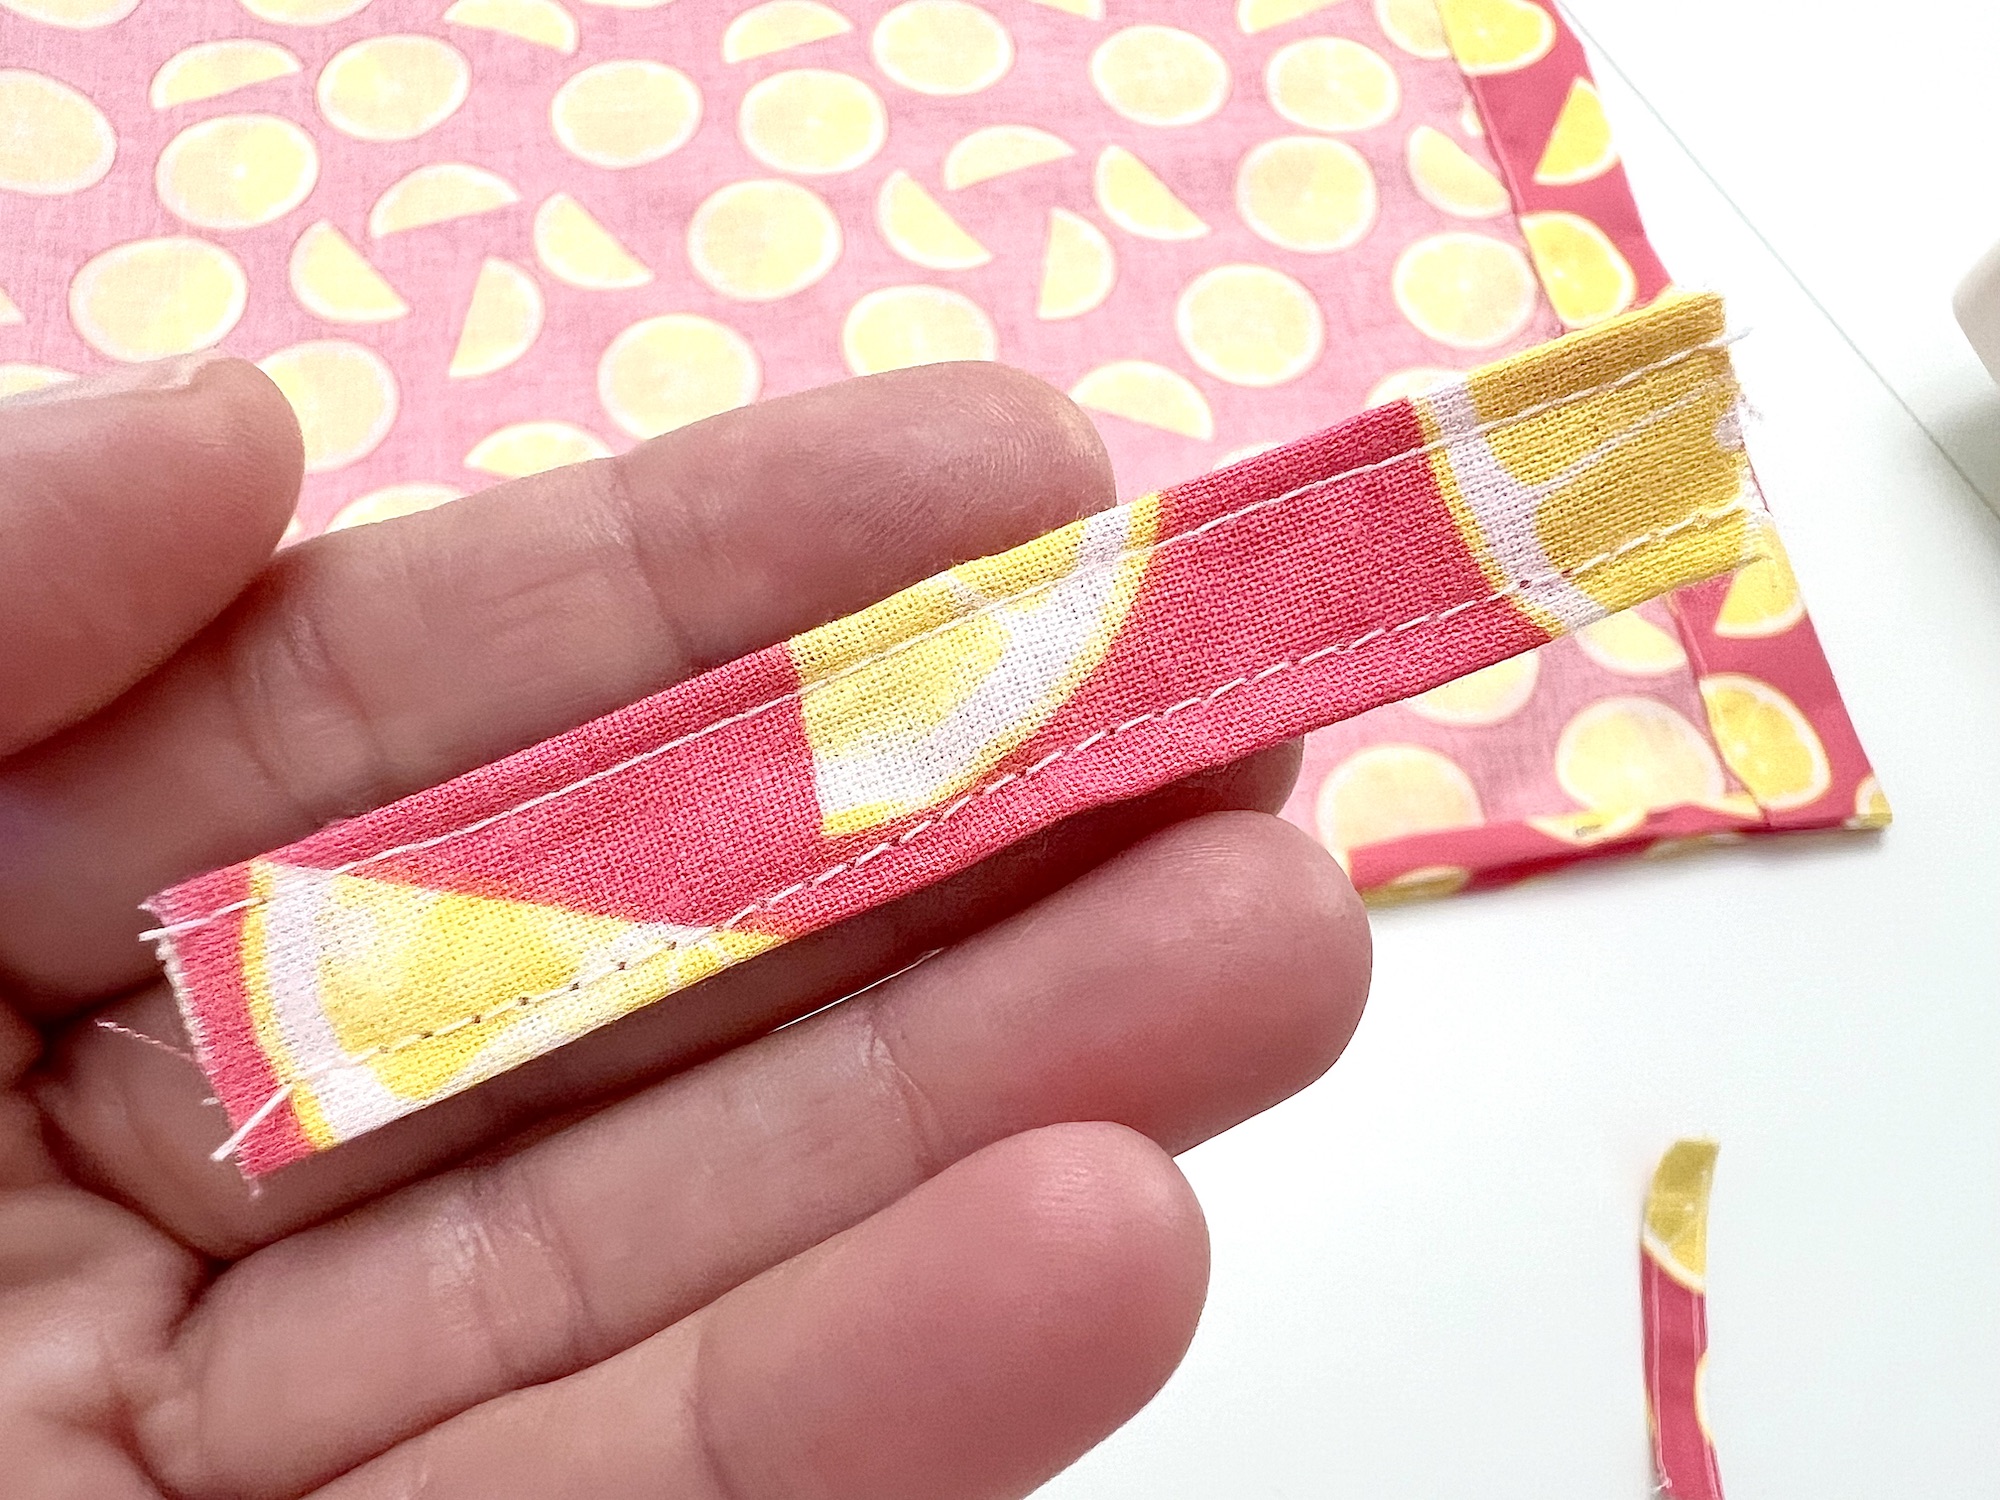
You do not need to worry about what seam allowance you are using here, and you do not need to sew the short ends shut.
Step 7
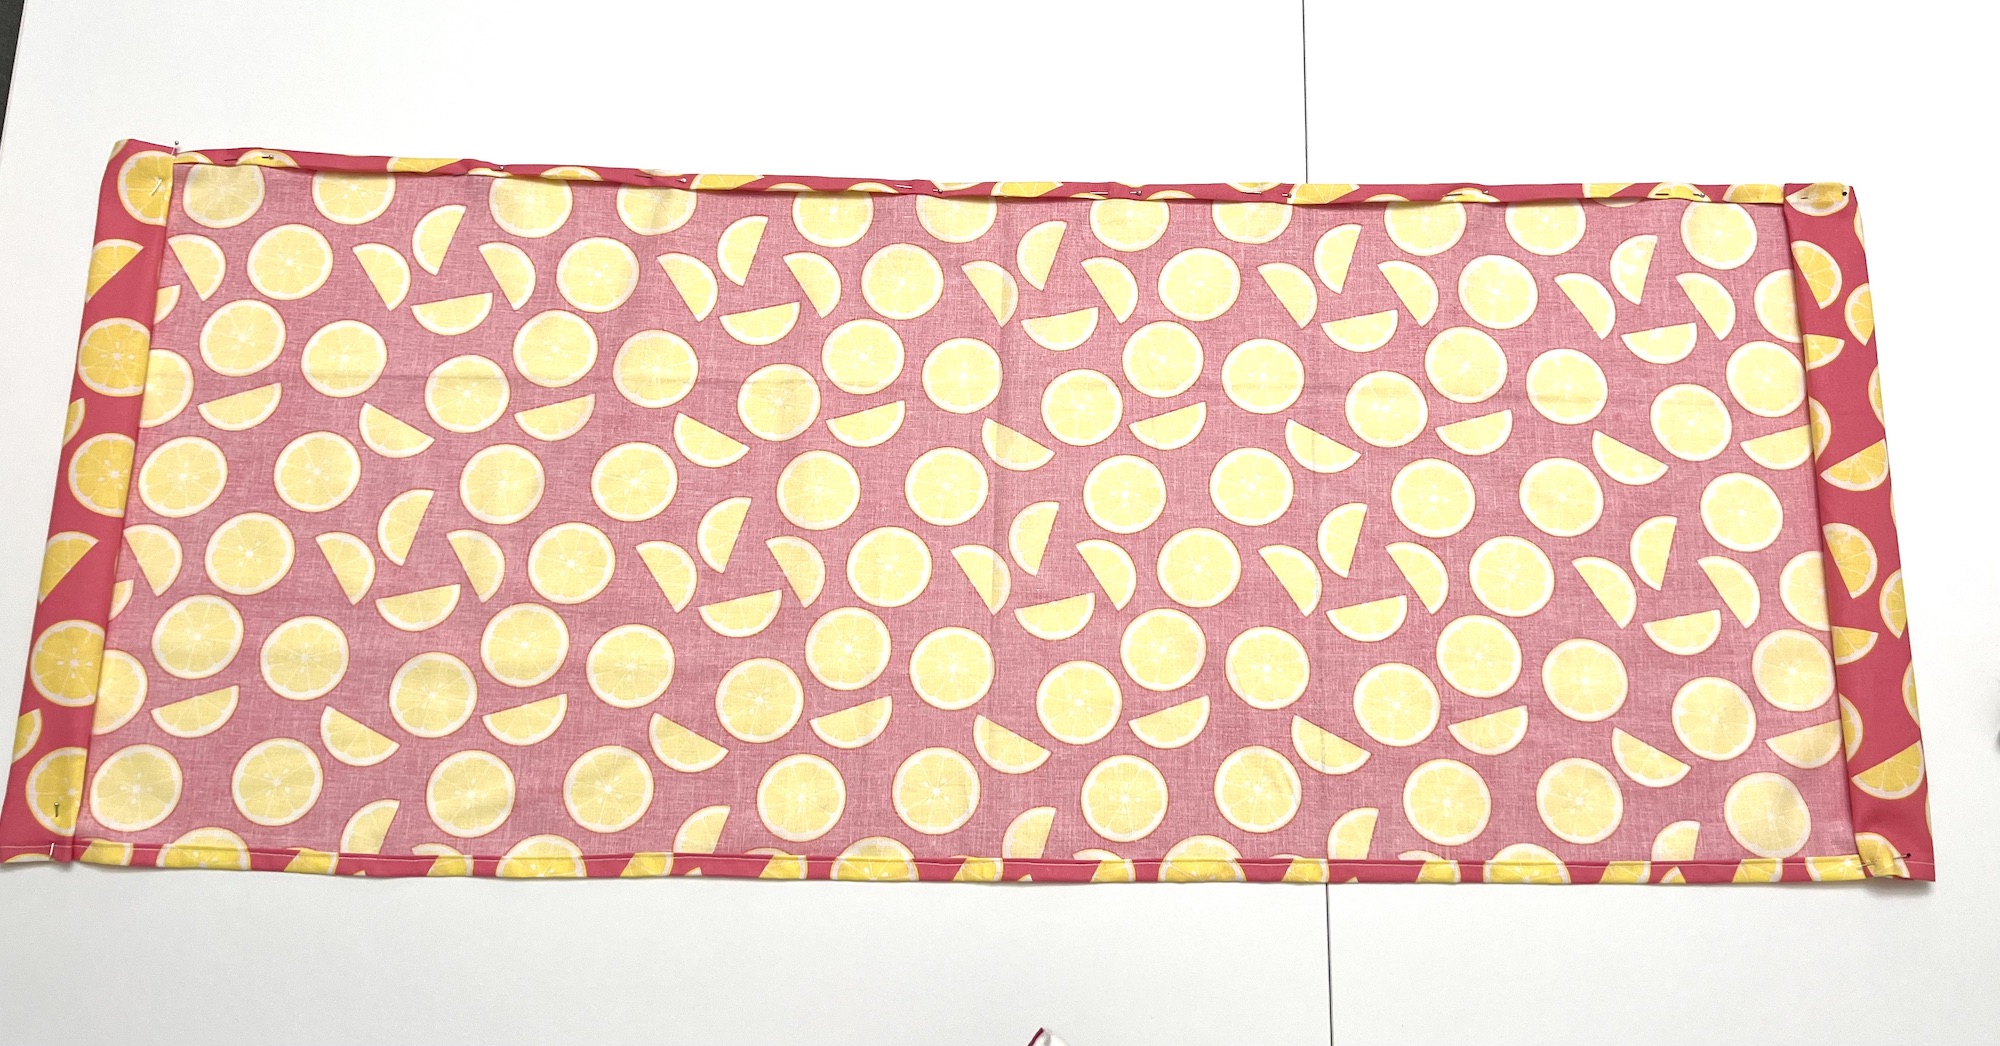
Fold the long rectangle in half with right sides together. Be sure to match up the edges on either side of the fabric.
On the bottom of the bag (where the fold is), measure up about 1 inch from the fold on either side.
Fold the long fabric tab in half, then insert it into the backpack at the 1 inch mark, keeping the cut edges lined up with the outer edge of the fabric and the folded part inside the bag. Pin in place.
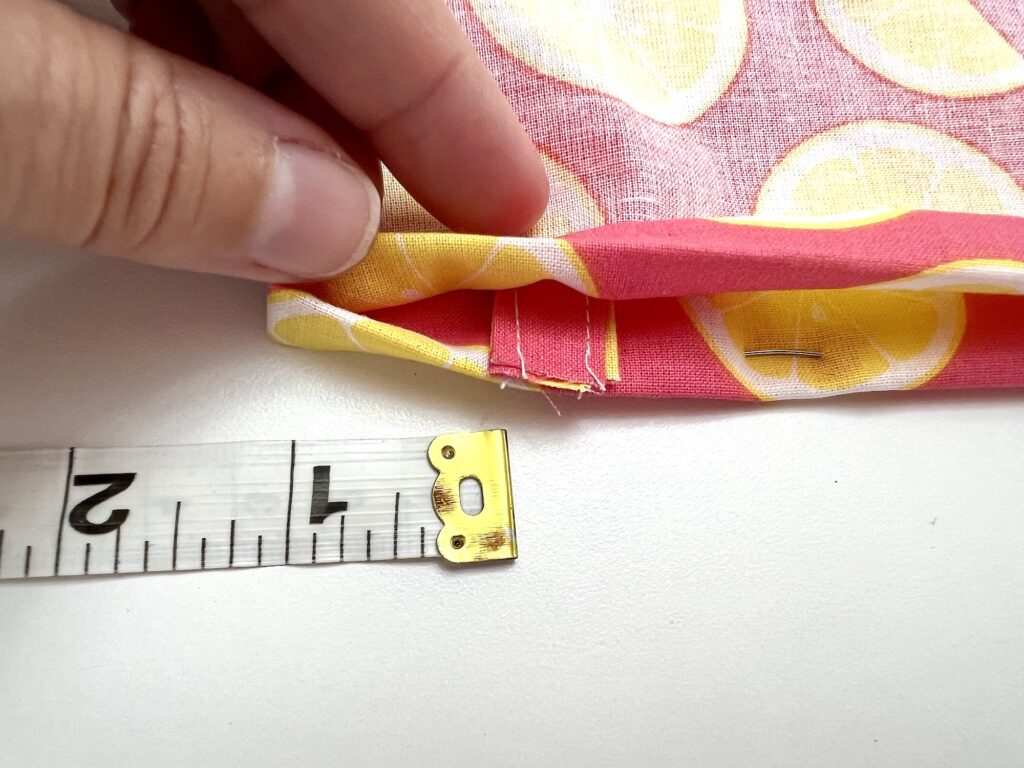
Repeat on each side of the bag, adding one tab on each side.
Step 8
Sew the seams along the long side of the bag. You will want to sew close to the edge, which is around ¼ inch seam allowance. Backstitch at the top and the bottom, as well as backstitching as you go over the tabs.
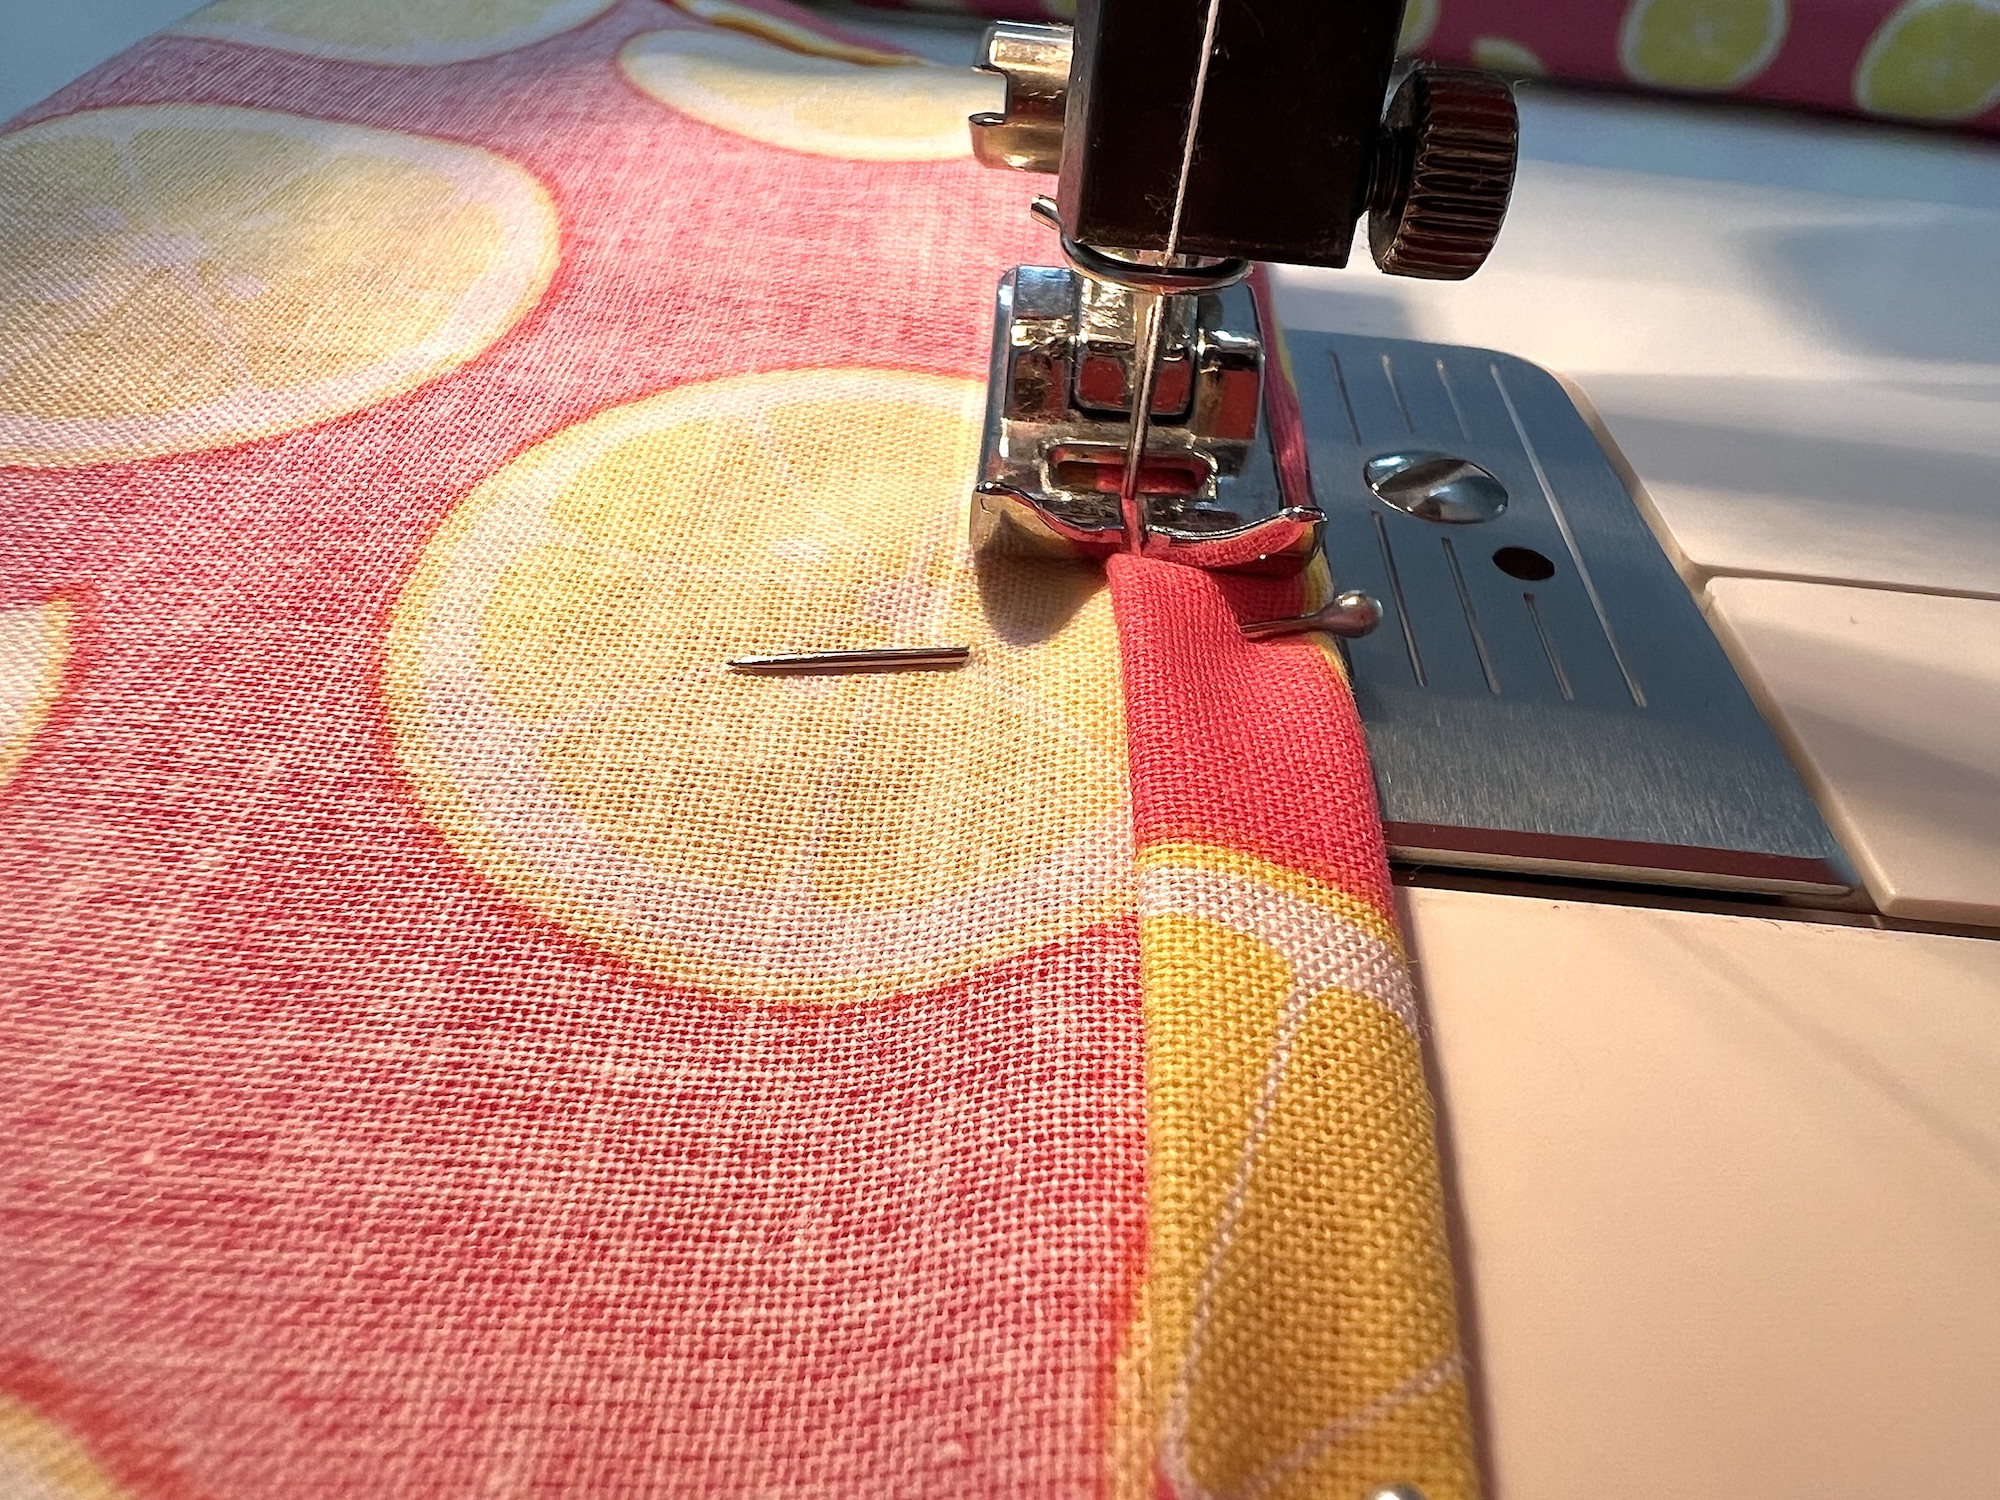
Sew from the bottom edge at the fold up to the drawstring casing, but do not sew across the folded drawstring casings.
Turn the bag inside out, pushing out the bottom corners with your finger.
Press flat with an iron.
Step 9
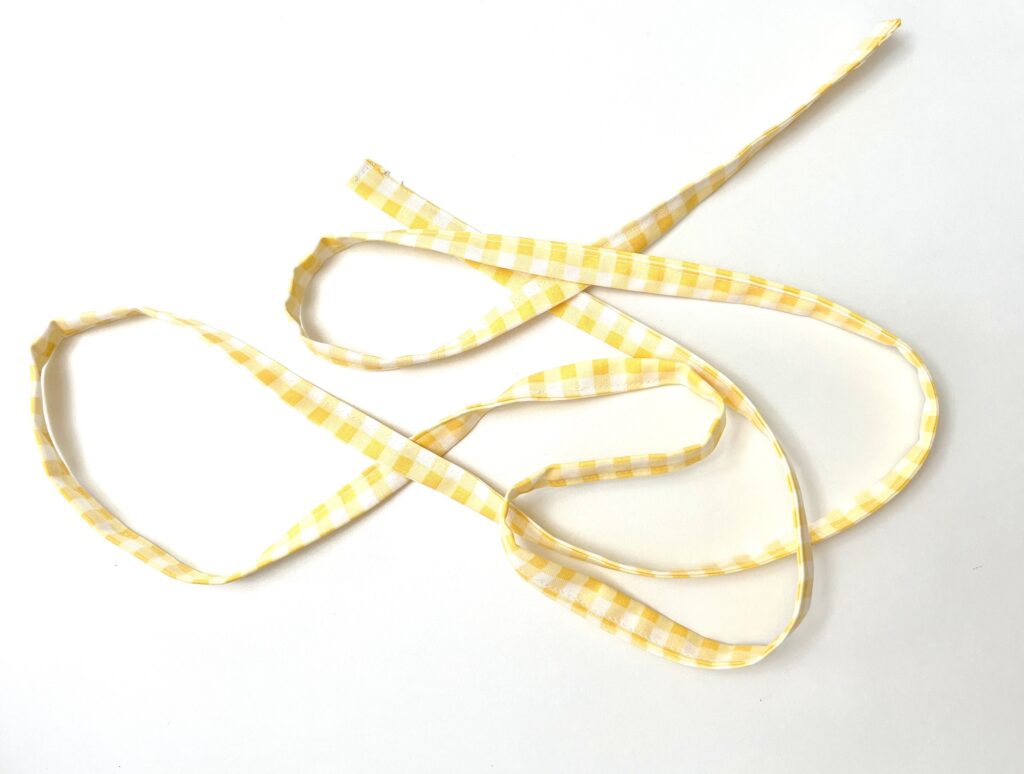
Create two fabric cords to be used as the drawstrings.
Note: You can use ribbon, cord or shoelaces instead of making fabric cords. Skip to Step 10 if you are using one of these options.
Cut two long pieces of fabric 72 inches long X 2 inches wide.
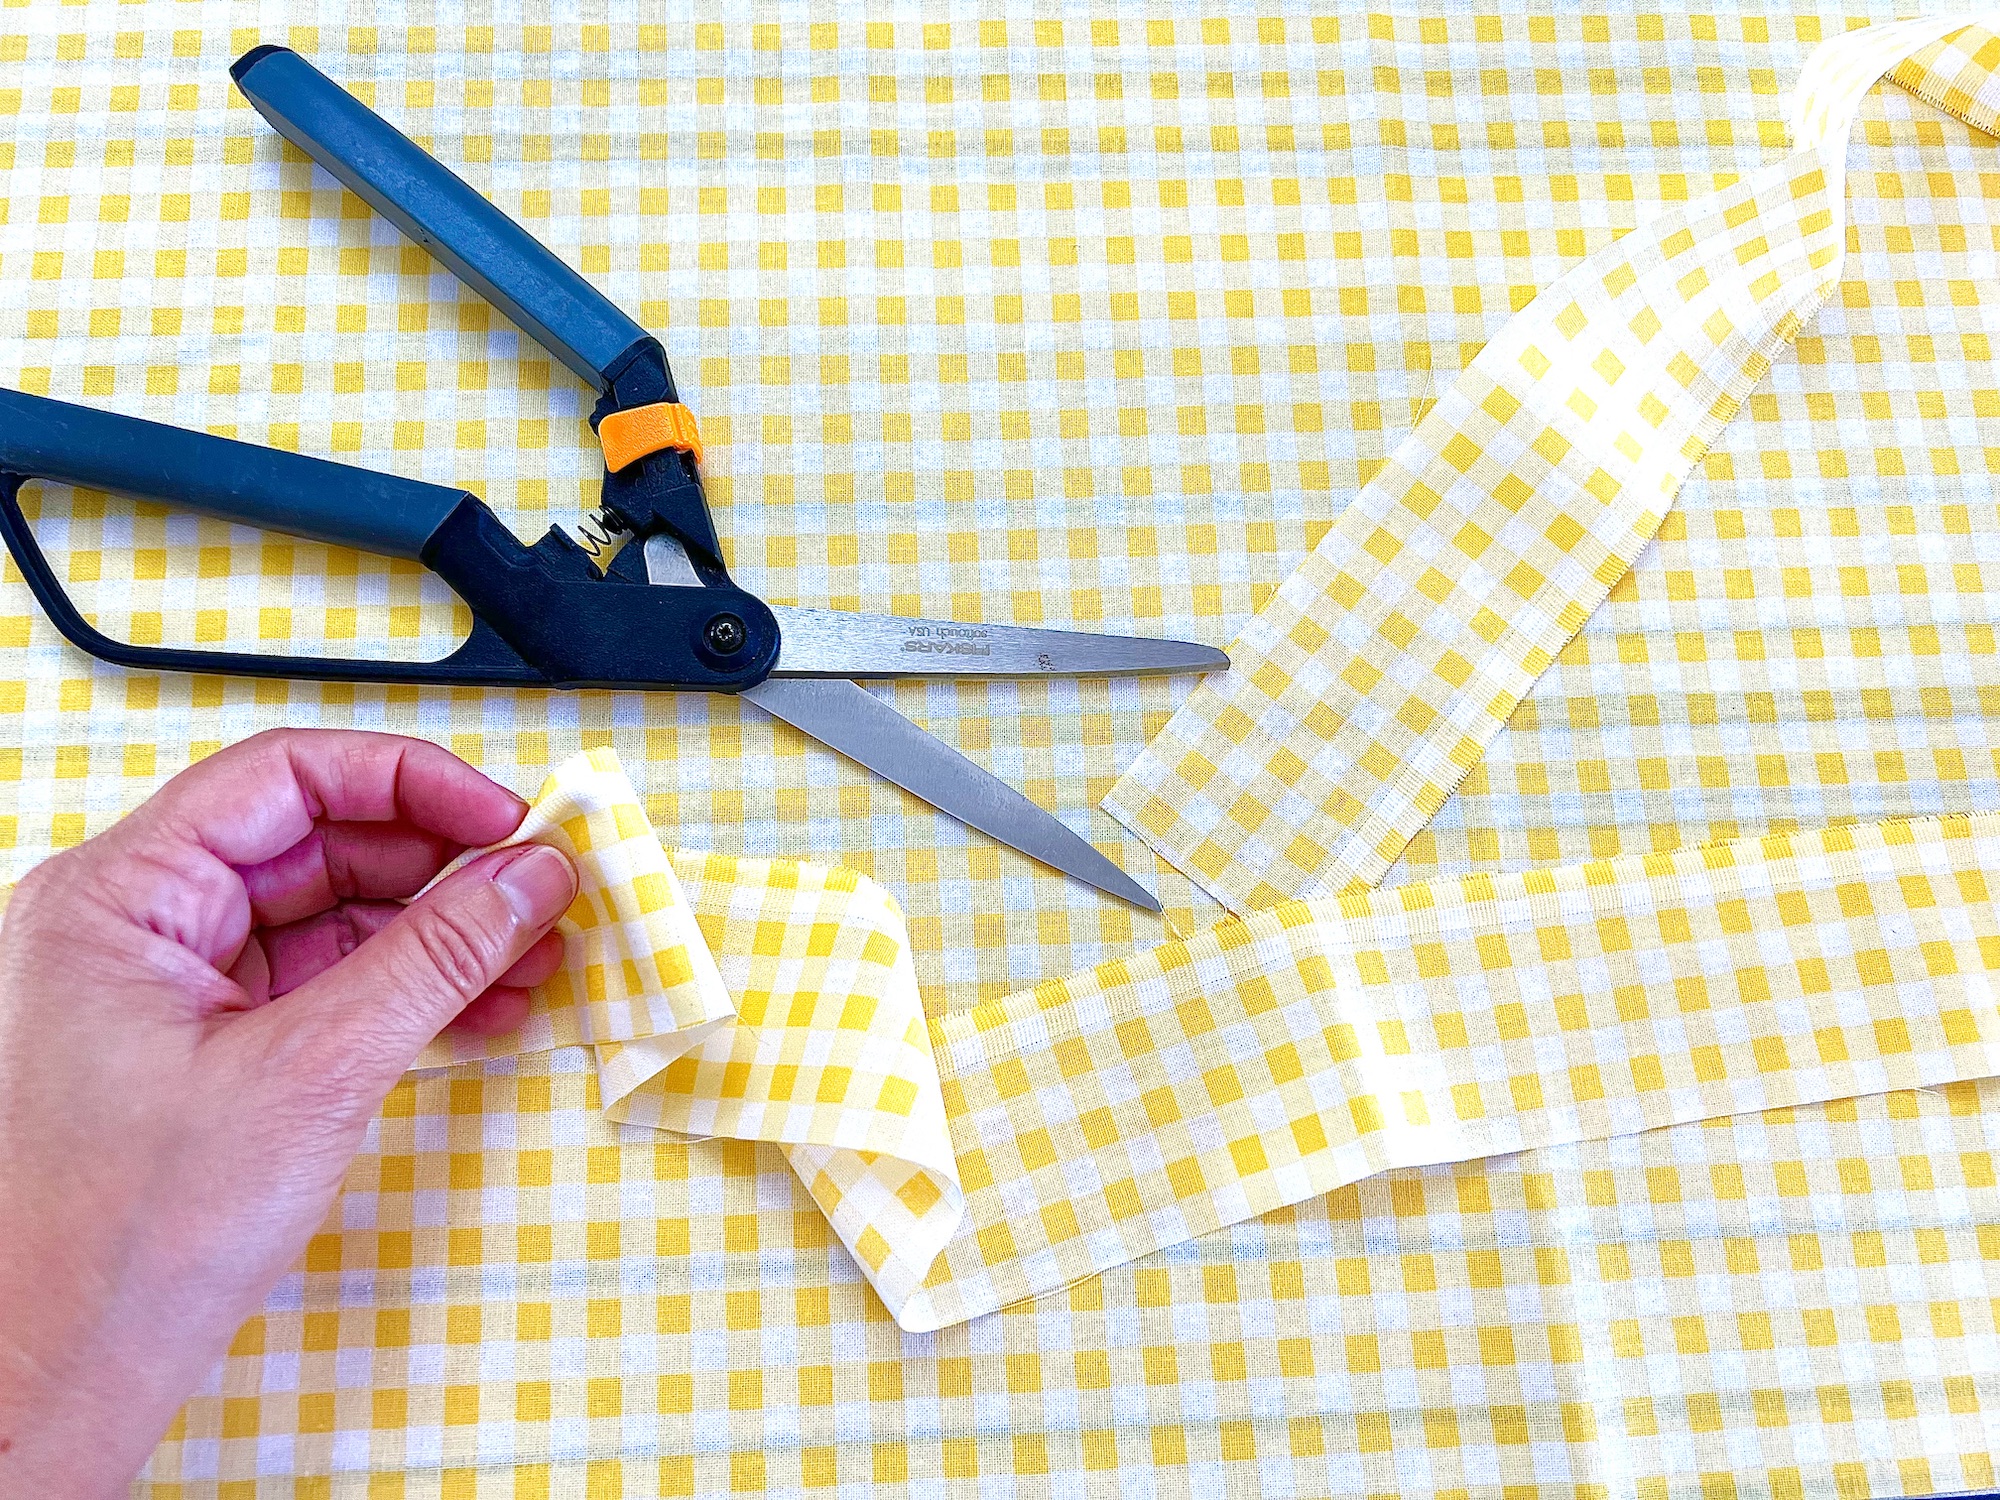
The cords will be made in the same way that the tabs were made. With one difference before sewing.
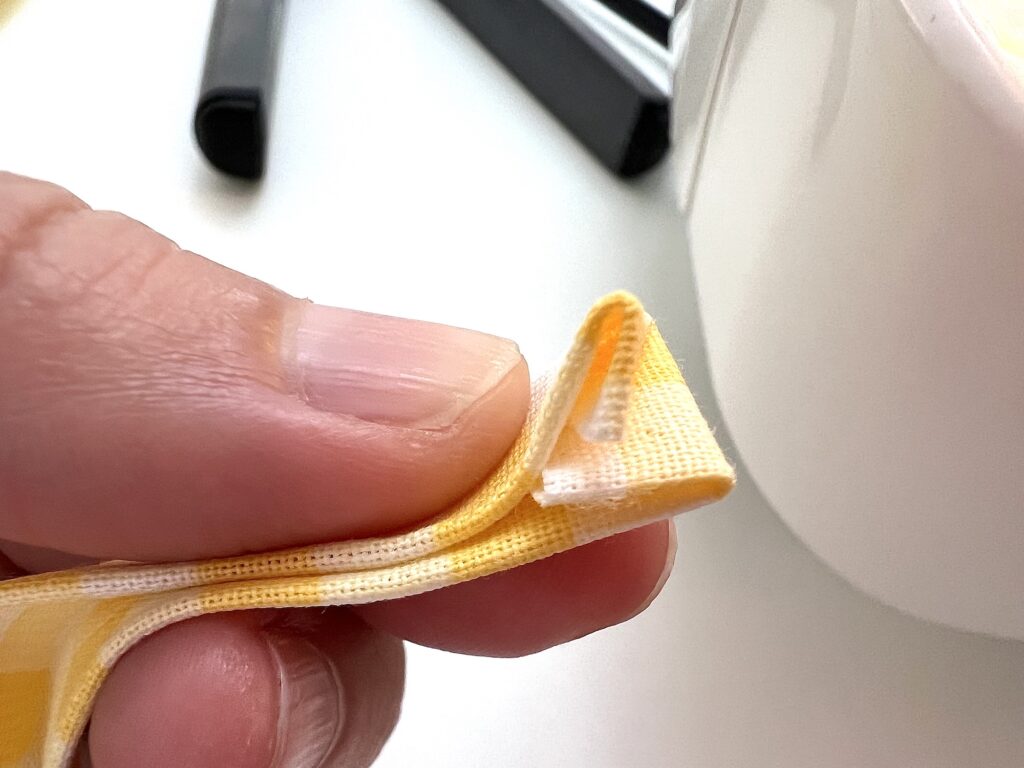
Fold each piece of fabric in half, bring the wrong side of the fabric together with the right sides facing out. Press flat with an iron.
Open up the fabric and you will see the pressed edge in the middle. Fold one of the long sides toward the middle, lining up the edge with the pressed line in the middle. Then repeat with the other long side of the fabric, bringing it inward.
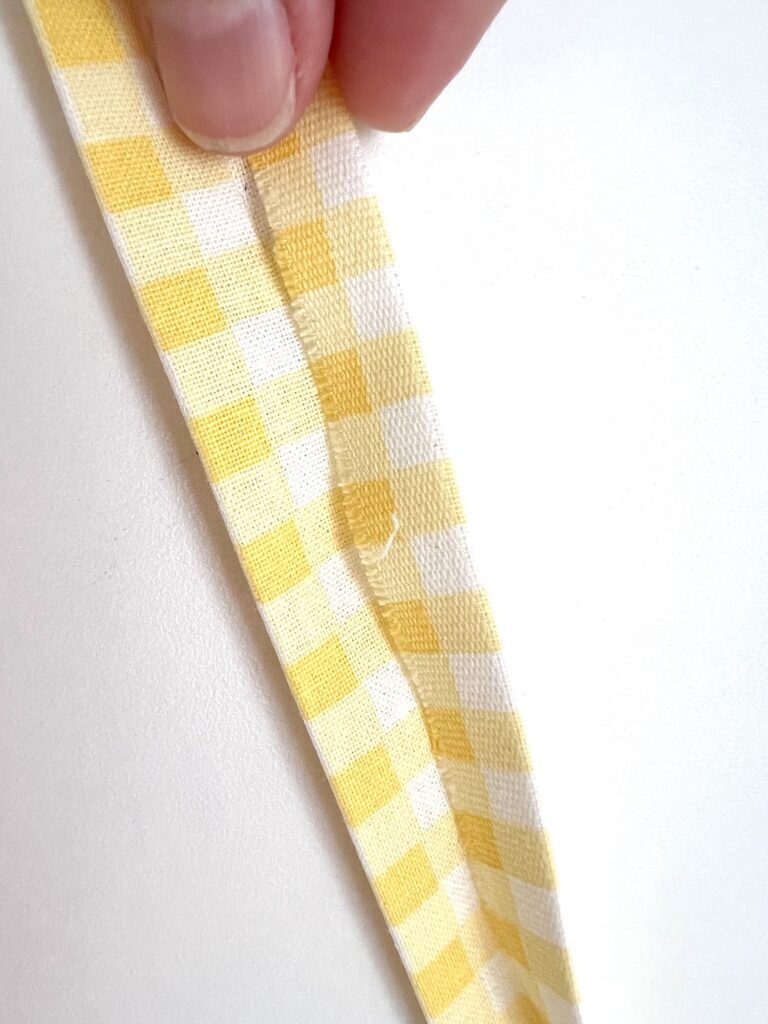
Then fold that piece in half.
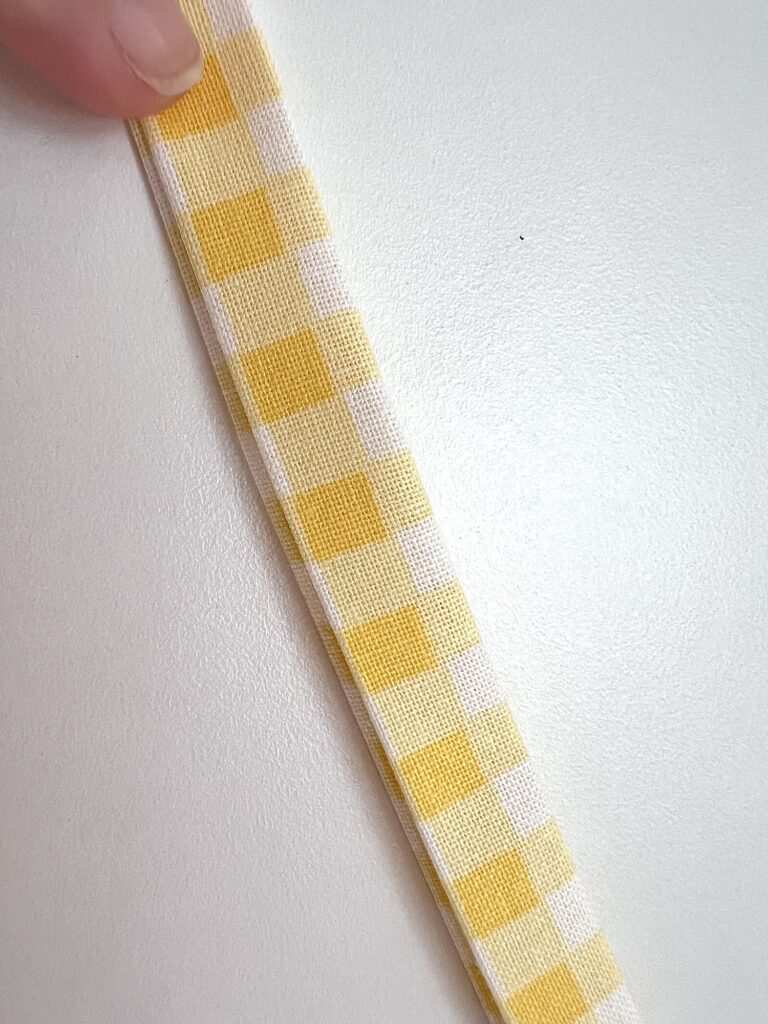
You will now have a long, thin piece of fabric with the right sides facing outwards on either side.
At each end of the cord, tuck the raw edges inward about ¼ inch to create a finished edge.
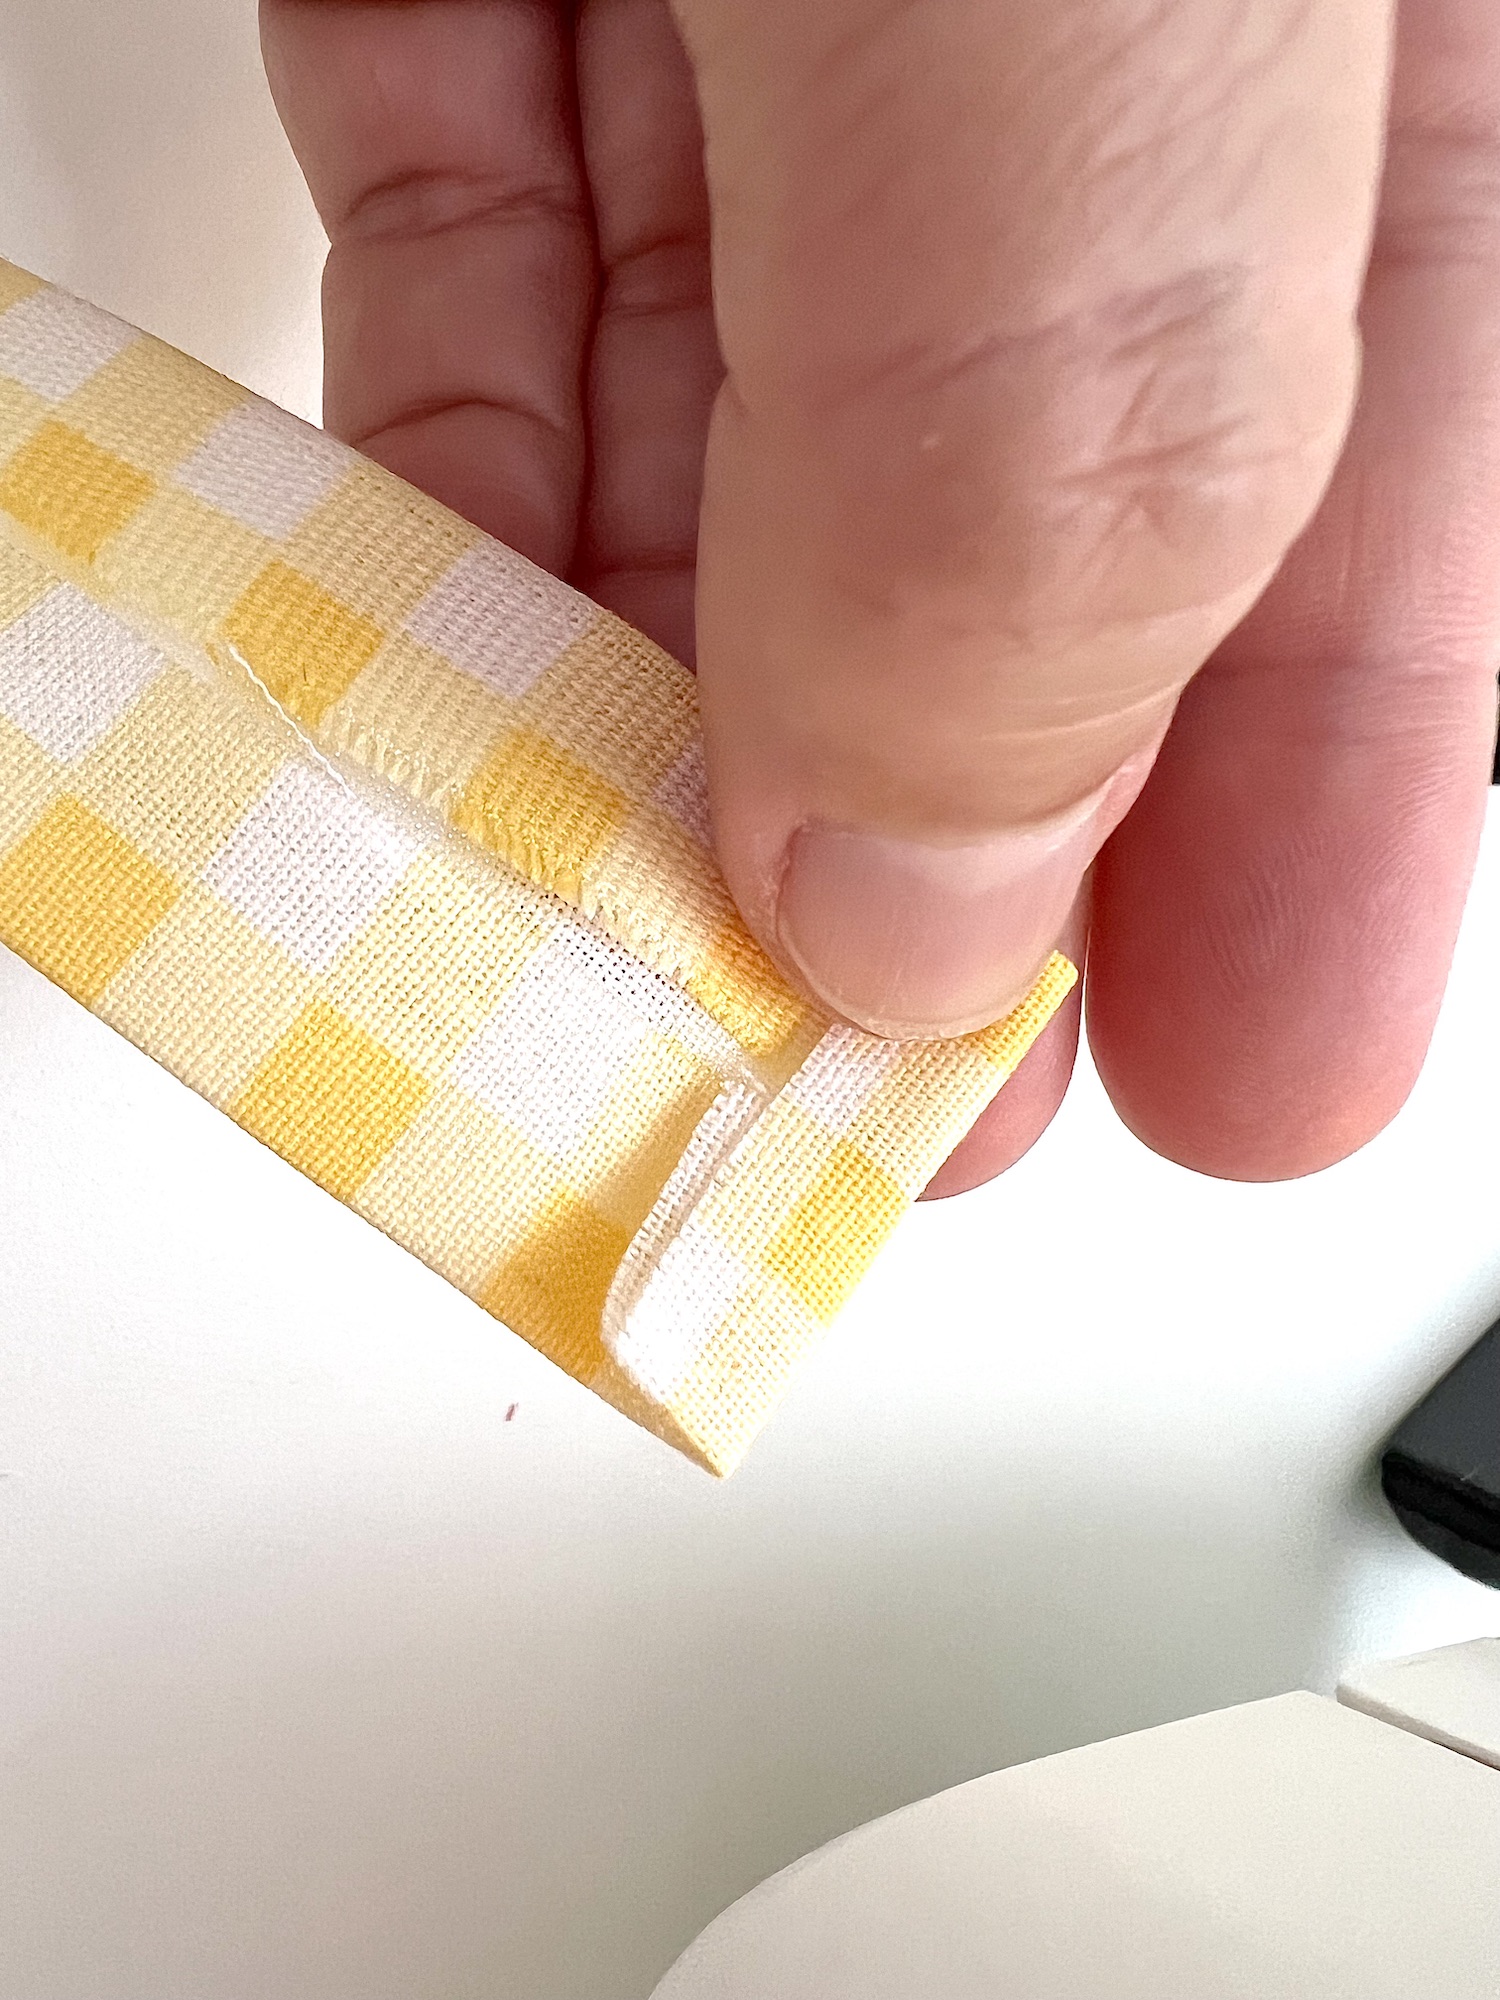
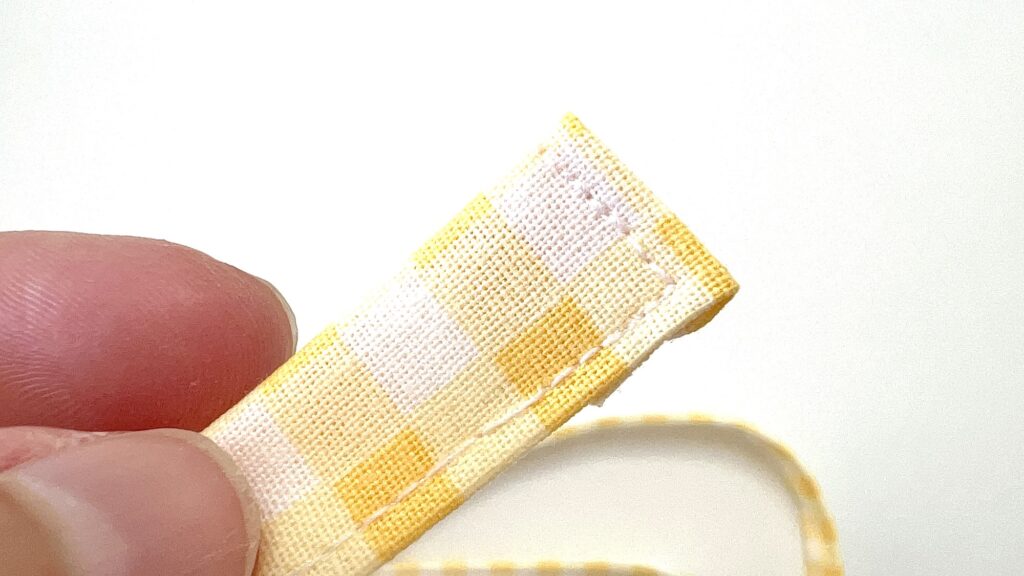
Stitch along the long sides of the fabric tab, stitching close to the edge along the entire length on each side.
Step 10
Attach a safety pin or sewing bodkin to the end of one of the cords. Insert the cord into one of the drawstring casings, drawing through the entire casing and bringing it out on the other side. Leave a long piece of cord hanging out the other side, you do not need to bring the entire cord all the way through the casing.
Now draw the cord through the other drawstring casing in the opposite way.
With the other cord, repeat the same process but do it in the opposite way.
Now, repeat the process but in the opposite way. Insert the safety pin into the casing on the side where the cord is looped (and not cut). Draw the cord through the casing, then bring it back through the second casing.
You will now have two cut ends of cord on each side of the bag, as well as a looped piece of cord on each side.
Step 11
On one side of the backpack, draw on piece of cord through the tab. Then knot the cords together on that side.
Repeat the same process on the other side.
Helpful Tips I Learned While Making These Drawstring Backpacks
- Wash the fabrics before cutting. Backpacks are often tossed in a washing machine. You want the fabric to be pre-shrunk.
- The drawstring casing can be made smaller if you are using a thin ribbon or cord. Instead of measuring 1 ½ inches and 3 inches down, make the casing smaller by measuring 1 inch and 2 inches down. Everything else remains the same.
- The fabric cords can be sewn together end to end rather than tying in a knot.
Want to save this idea for later? Pin It to make later!
Once you make this easy drawstring backpack, see these variations of drawstring bags:


I want to use a natural piping cord ( because I have a whole bag of it!) Do I still just tie the ends together or will they fray? Thanks!
Jan, any cut end of a sewing material, whether it is fabric, ribbon, cord, etc. can fray if not finished. To prevent fraying you could sew a simple line of stitches across the ends. You could tie the knot close to the ends so that if they fray they won’t go far. Or you could use a product such as Fray Check which can be applied to the ends and is colorless and prevents fraying. (A dab of clear glue could also work in the same way, too.) Fray Check or glue may come off in the wash, but if the backpack is not washed a lot it should be okay.
Love this pattern. Our local homeless services (which has a laundry, shower, assistance with job searches etc.) uses bags such as these for their clients to be able to carry their belongings and the supplies given out. I am thrilled to have a pattern that allows me to make these quickly and cost effectively. Thank you so very much.
You are very welcome! Such a worthy cause that you are sewing for! Thank you for your time making drawstring backpacks for those in need!