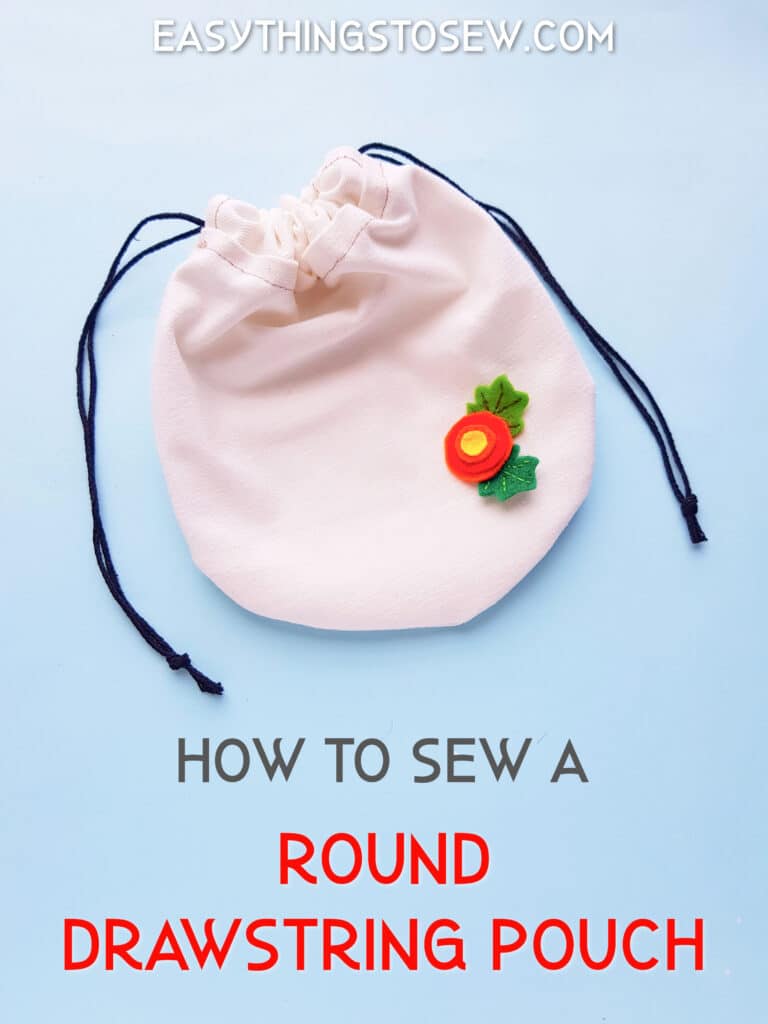
How To Sew A Round Drawstring Pouch
Our round drawstring pouch pattern is a beginner-friendly sewing project to make a small bag.
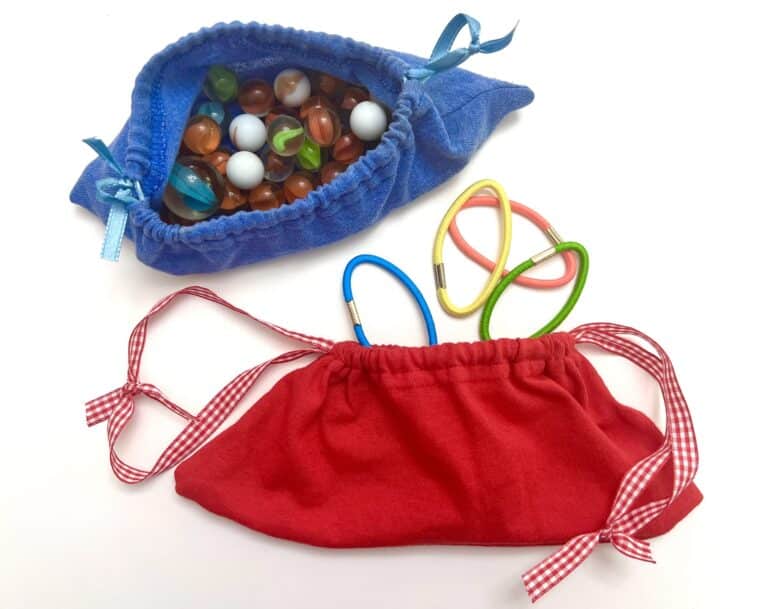
We modified this circular drawstring bag pattern to make our easy marble bag, which is very similar.
If you are looking for a more traditional pouch, check out our tutorial on how to sew a drawstring bag in minutes. Or see our luxurious lined fabric gift bags with drawstrings.
Our simple drawstring backpacks are easy to make, too.
Helpful Tips and Tricks I Learned From Sewing This Bag
- You can choose two different fabrics for the pouch bag and the “tunnel” part of the pouch where the strings are if you would like. This would be really pretty with coordinating fabrics.
- I used a thing string for the ties, but it would be nice to use a wide ribbon or even twine for a rustic look.
- Use these as gift bags to give to friends.
- This round drawstring bag would make a great small purse.
How to Sew a Round Drawstring Pouch
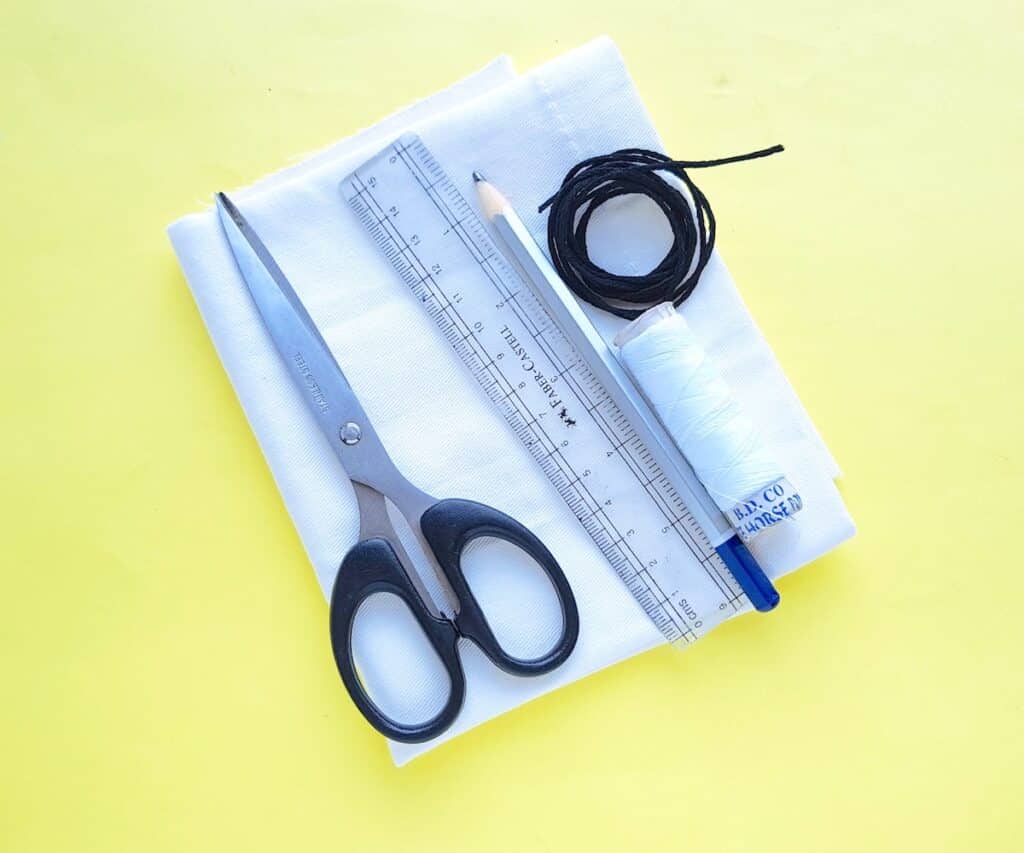
Supplies
- Free Round Pouch Pattern
- Fabric
- Thread (this will be visible, so choose a complimentary color)
- Sewing machine
- Pen or Tailor’s Chalk
- Scissors
- String, twine or ribbon {approximately two pieces 24″ (61 cm) or longer}
- Safety Pin or Sewing Bodkin
Instructions
Step 1
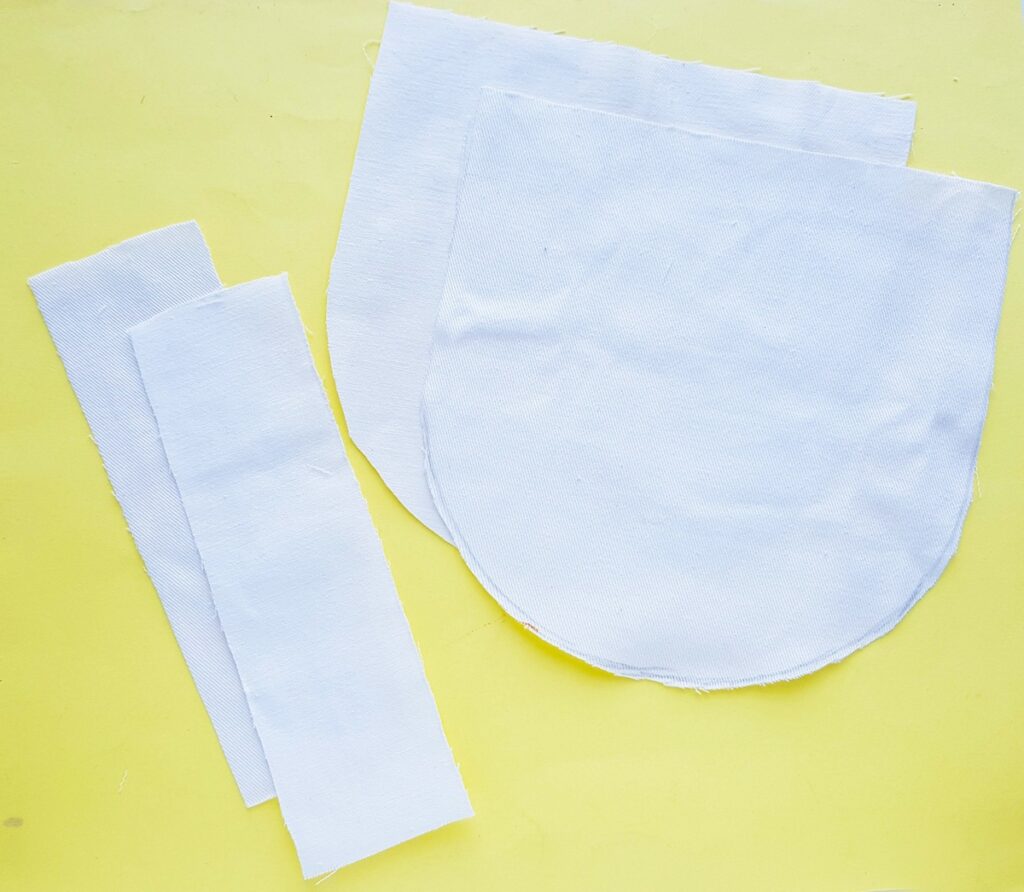
Trace the template pattern on your fabric with a pen or tailor’s chalk, then cut it out. You will need 2 pieces of each of the pattern pieces.
Step 2
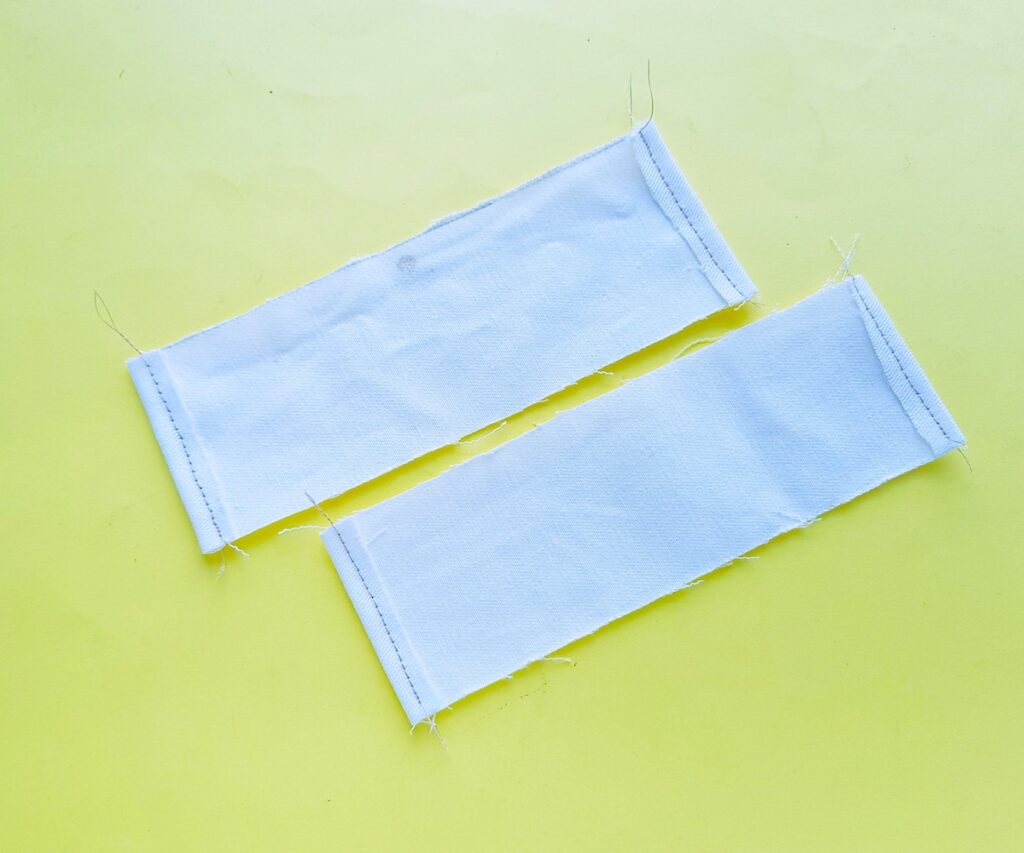
Fold the short ends of the strips 1-2 times inwards and then sew along the folds to create the hem.
Folding just once is fine if you don’t mind an unfinished edge in the casing. Fold twice if you prefer a finished seam inside the casing.
Step 3
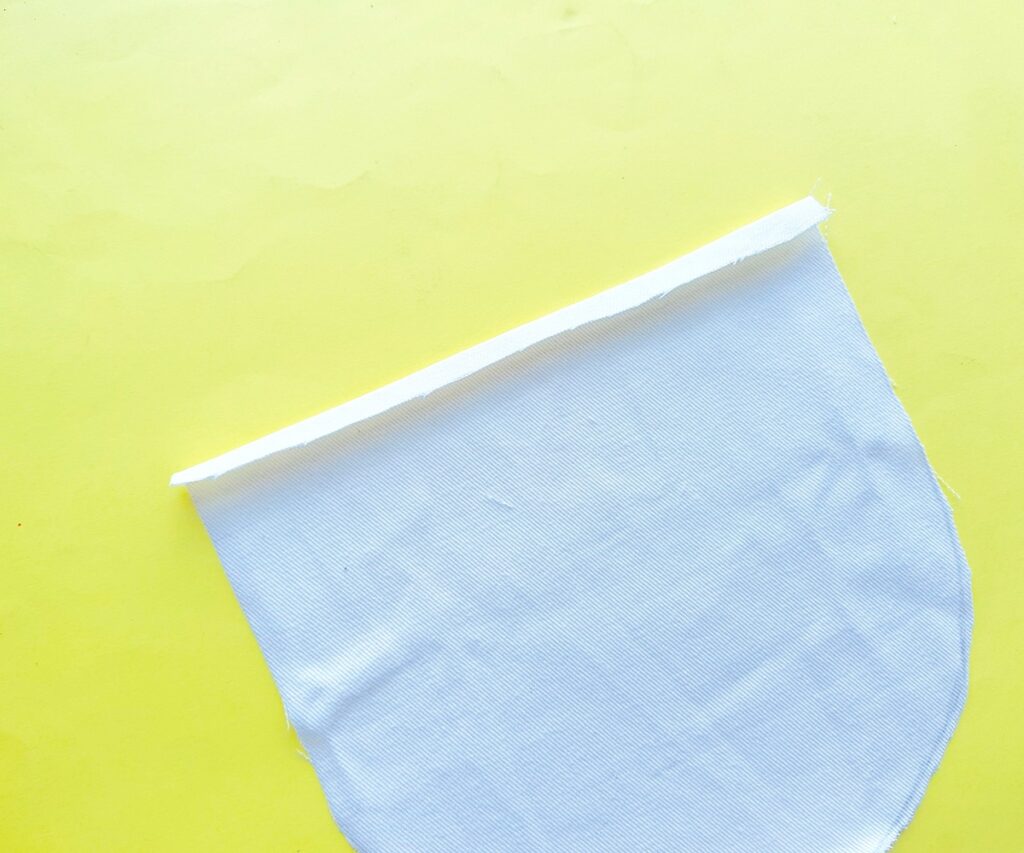
Take a pouch base cutout and fold the top straight side down about ½ inch, bringing the right side of the fabric down onto the wrong side of the fabric.
(We used a white canvas where there is really no “right” or “wrong” sides.
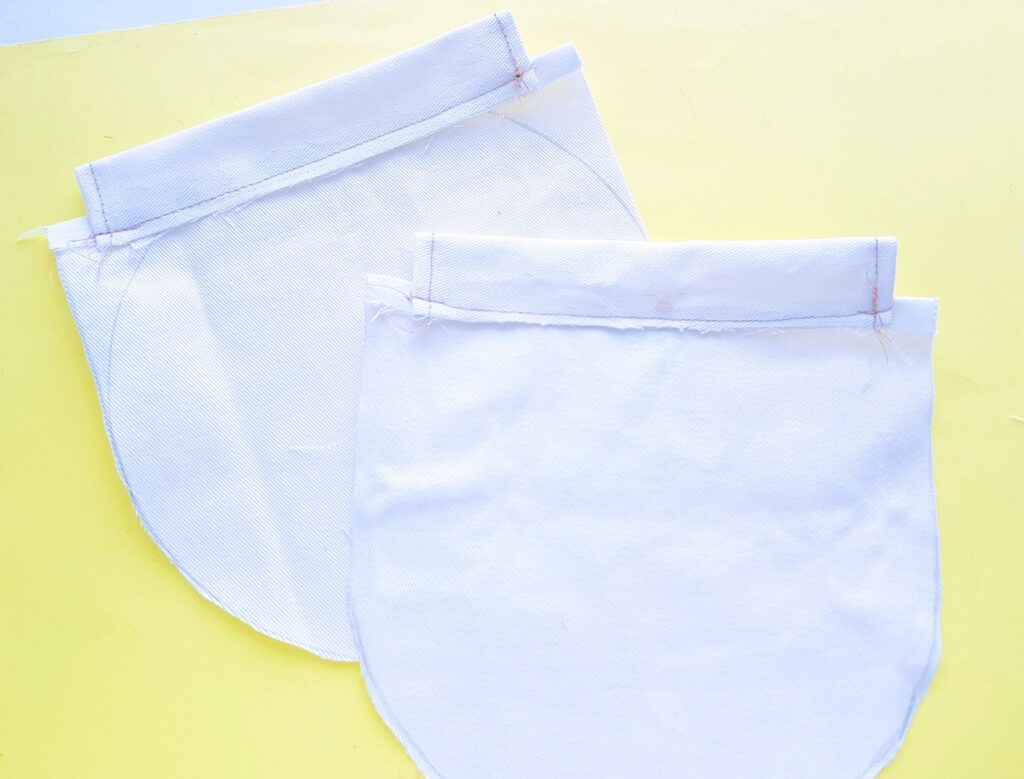
Step 4
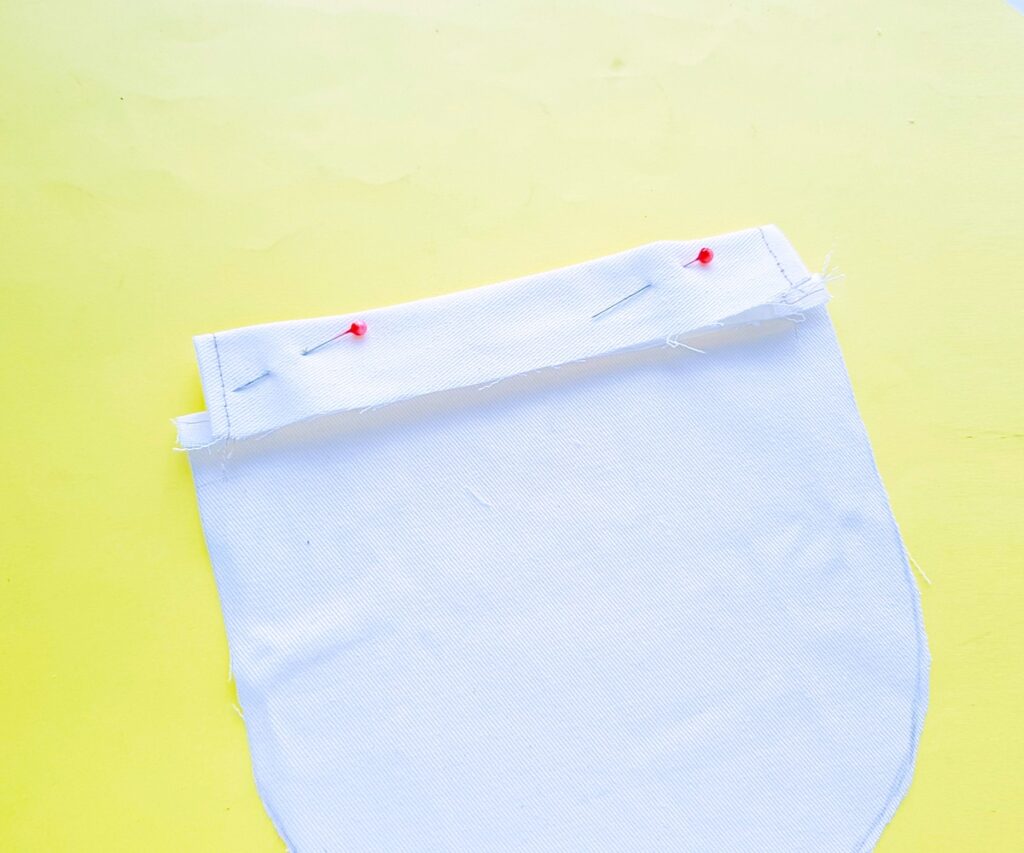
Fold one of the strips in half, with the right sides facing out.
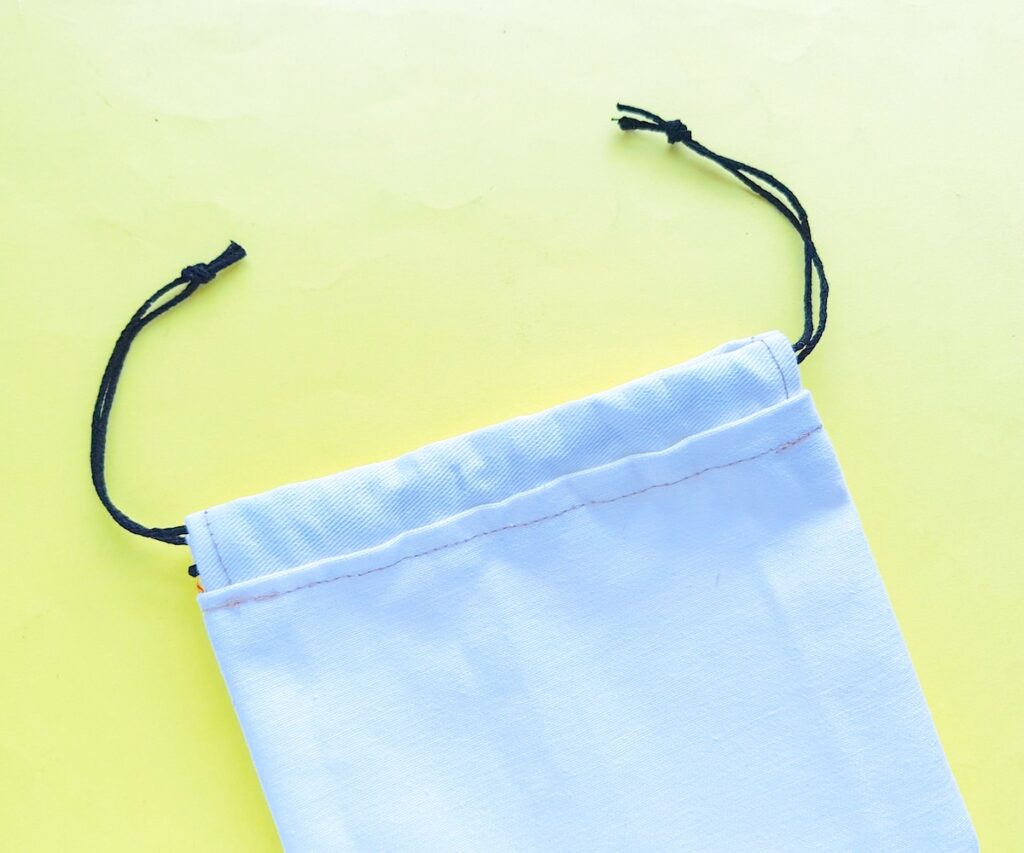
Position the folded strip, which will become the drawstring casing, in the middle of the bag along the folded hem.
Make sure that the casing strip is overlapping at least ⅔ of the way over the folded hem. You can match up the long straight edge of the casing with the long straight edge of the folded hem if you would like, however it will give you a more narrow casing.
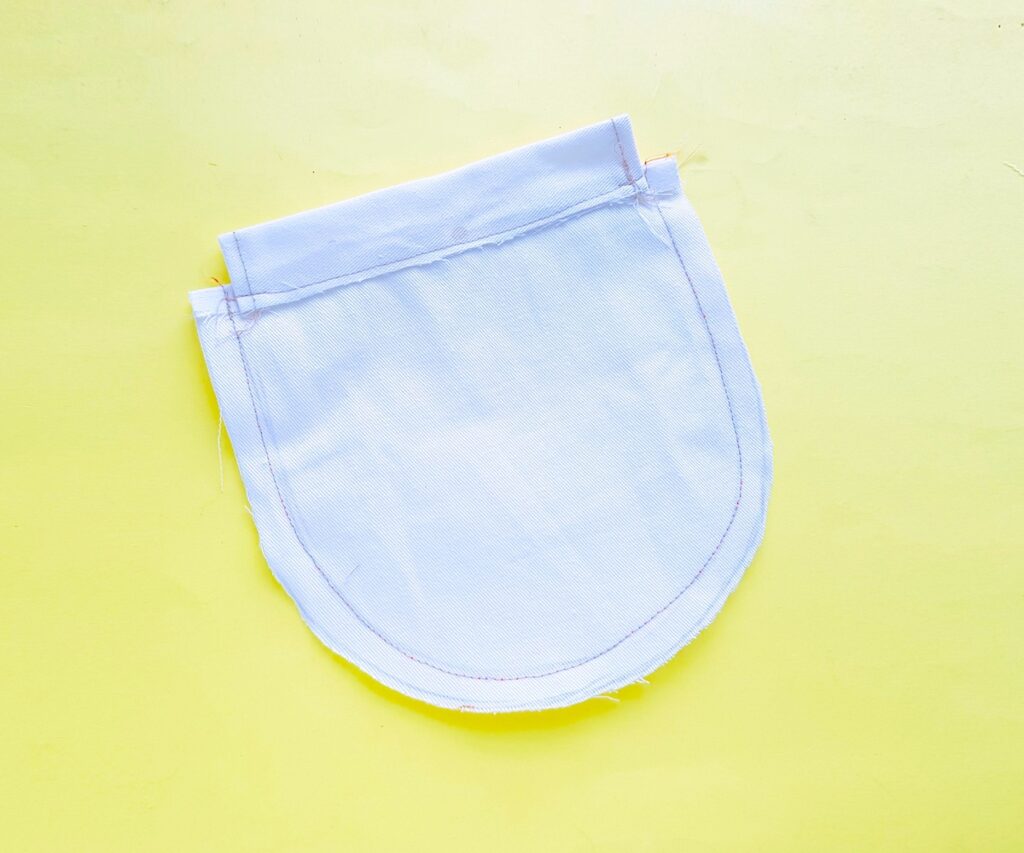
Step 5
Sew along the overlapped parts of the strip and pouch to join them together. You do not need a specific seam allowance, but be sure that the casing is sewn on top of the folded down hem.
Do the same steps for the other pouch base.
Step 6
Place both patterns together, with right sides facing each other. Make sure that they are matched up along the sides.
Sew around the outer edges of the round drawstring bag using a ¼ inch seam allowance. Backstitch at the beginning of the stitching and the end of the stitching to secure the seams.
When sewing the curve, slow down and gently guide the fabric. You may need to pick up the presser foot and reposition the fabric as you are sewing. If you pick up the presser foot, be sure that the needle is in the fabric or else your stitches could become very uneven with the movement of the material.
Step 7
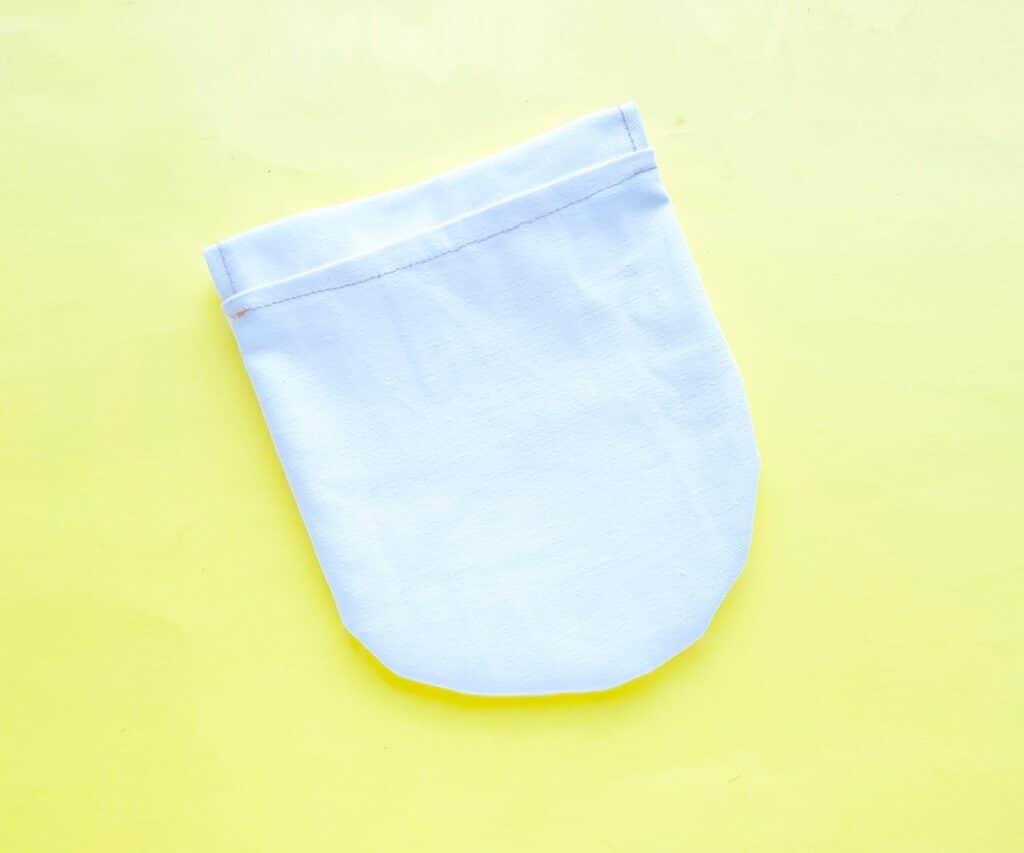
Turn the pouch inside out. Push out all of the seams inside the bag and then press with an iron.
Step 8
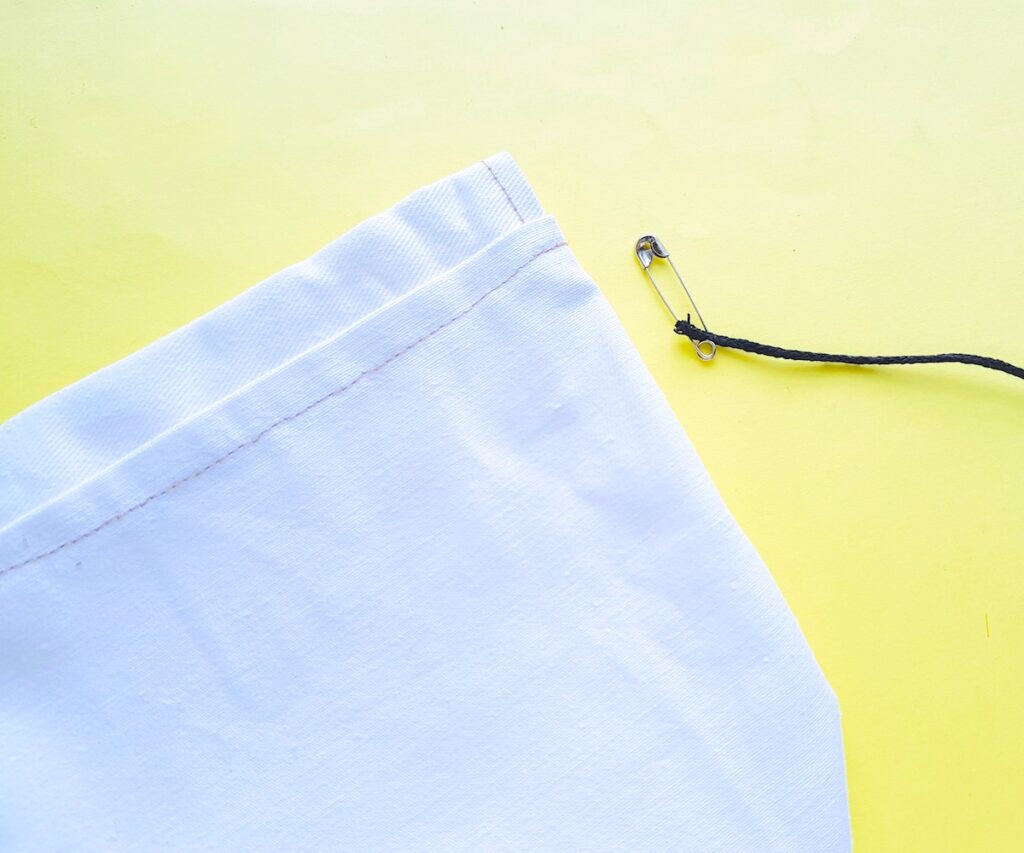
Cut a long piece of string (at least 24 inches or 61 cm) and attach a safety pin on the end.
Step 9
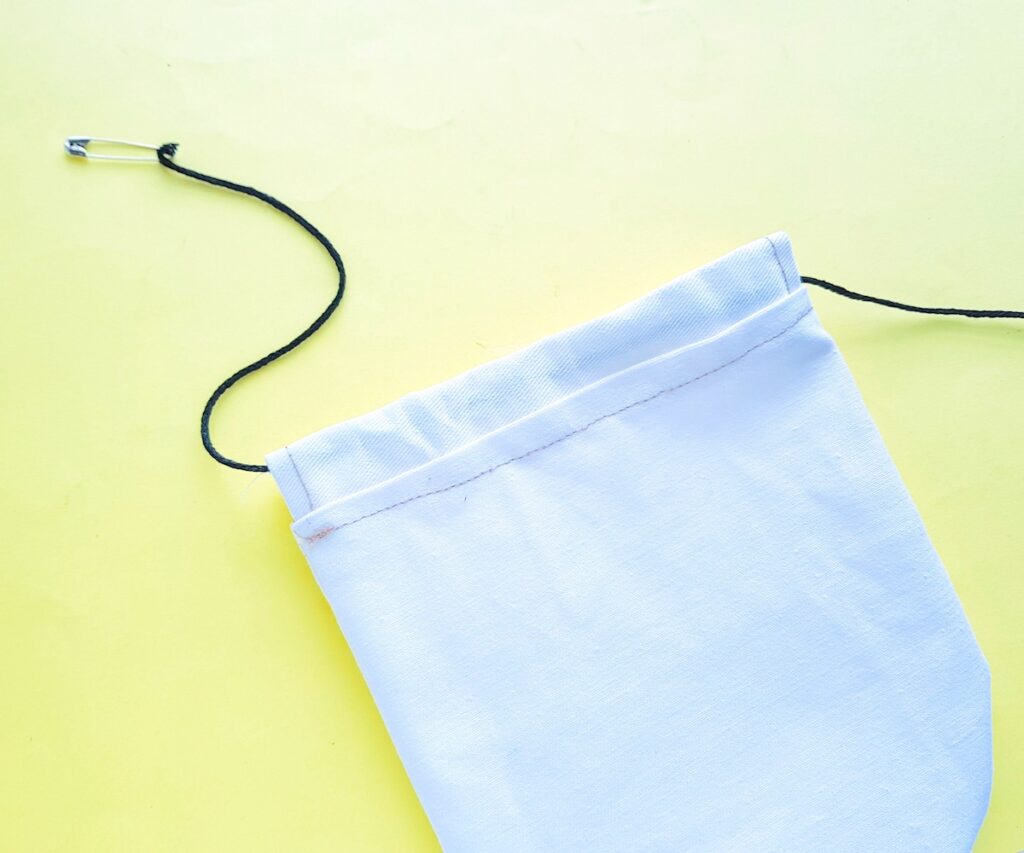
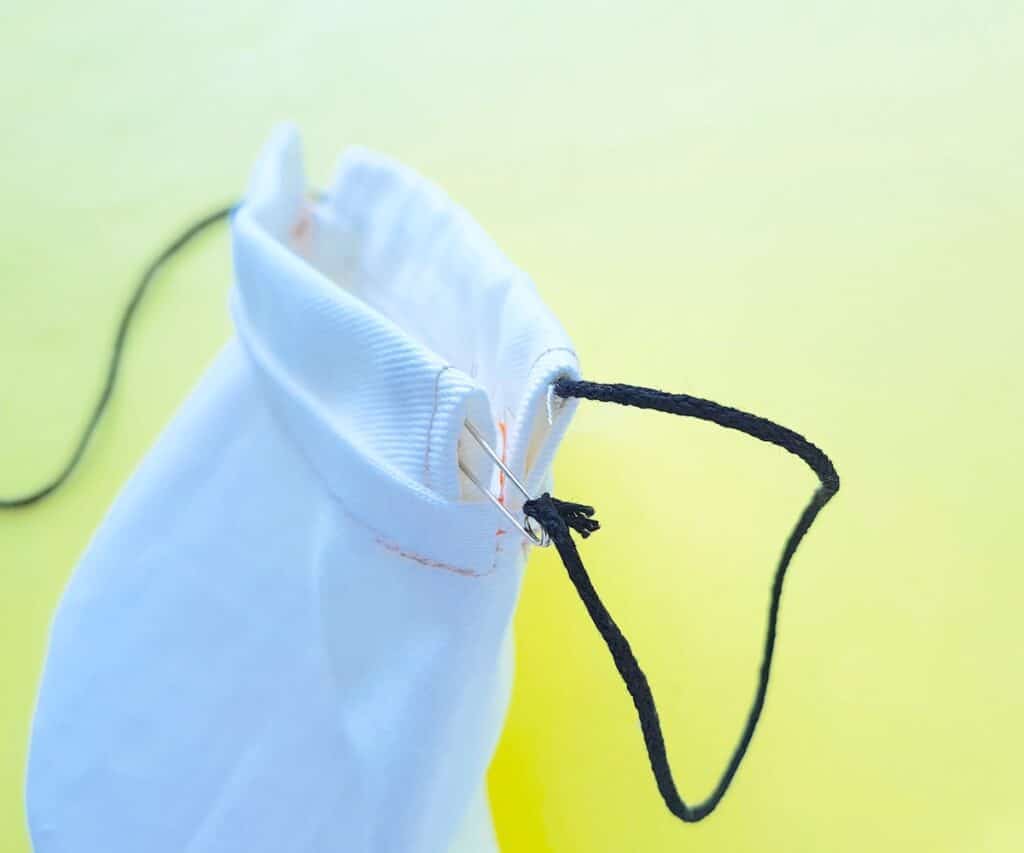
Insert the string into the open part of the casing strip on the top and bring it through and out the other side.
You will be pushing and pulling the safety pin through the opening as you work it towards the other side.
Step 10
Insert the string into the next “tunnel” opening on the pouch and work it through in the same way.
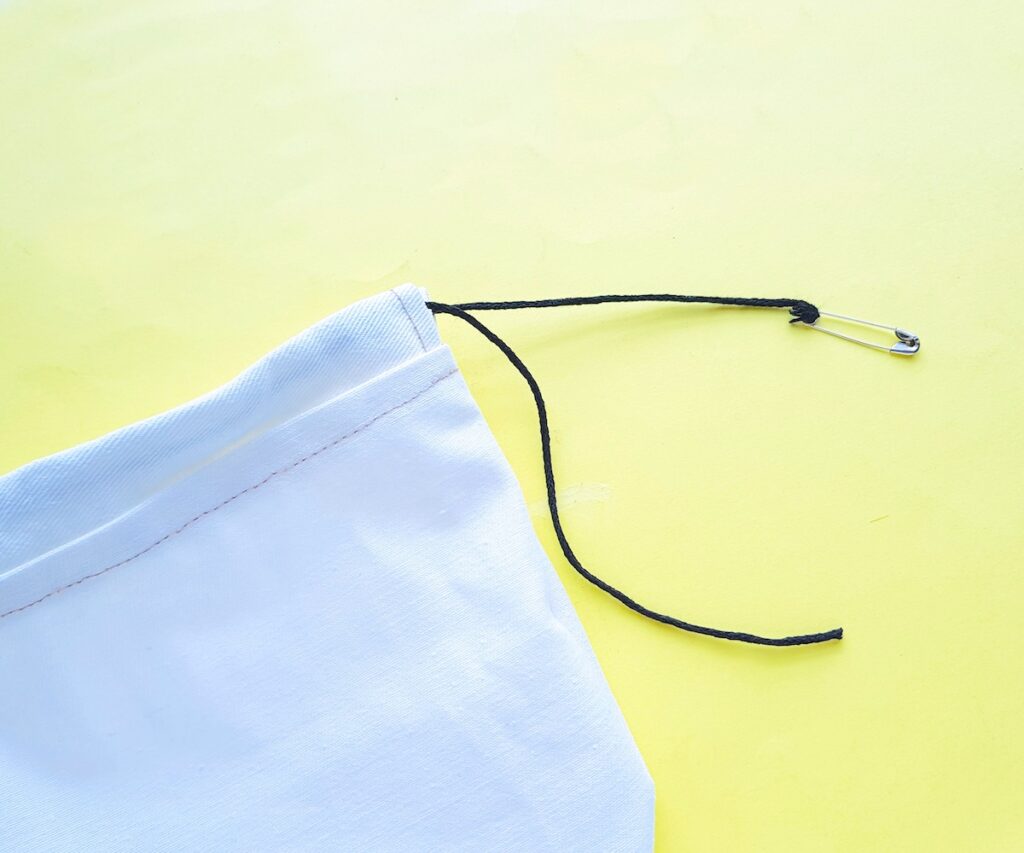
Draw the string out the other end.
Step 11
Cut another piece of string the same length. But this time bring the string from the opposite direction, but following the same way as above.
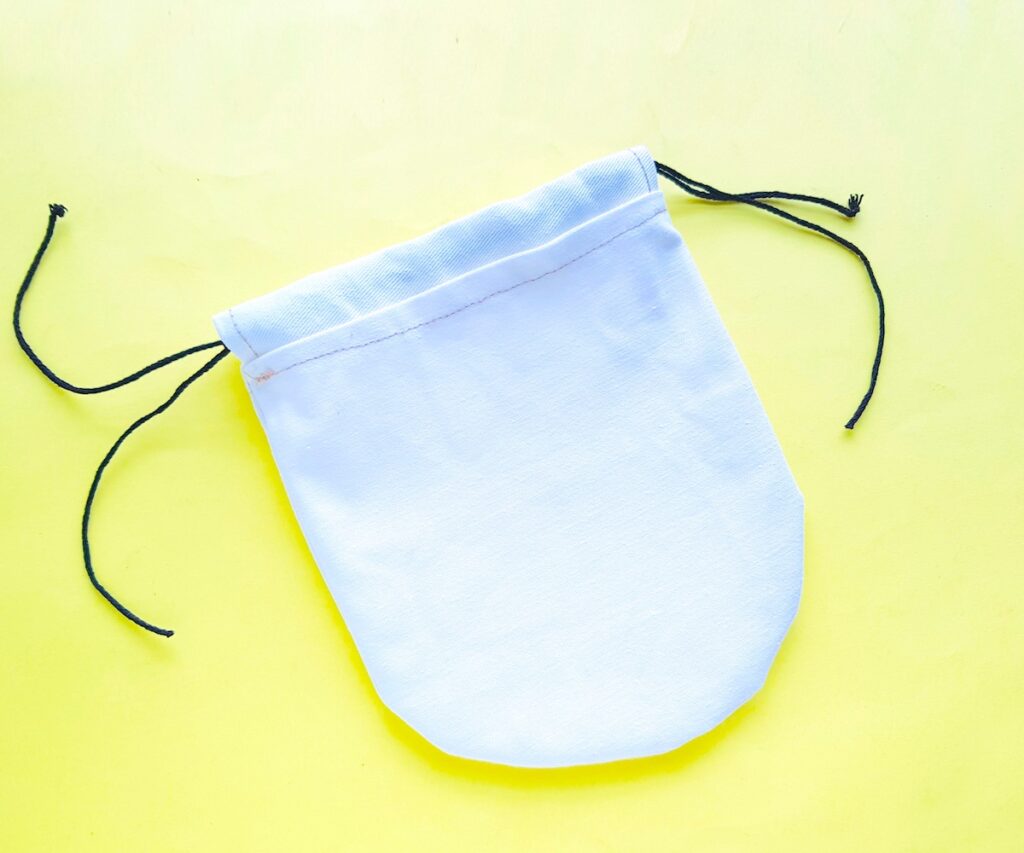
Step 12
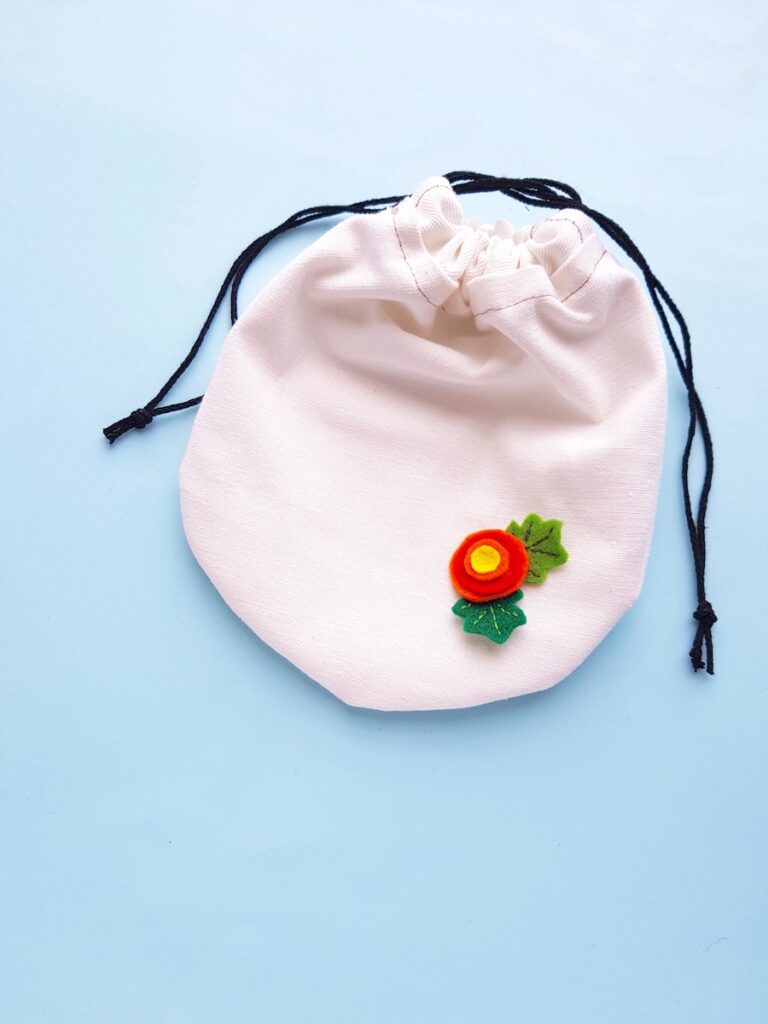
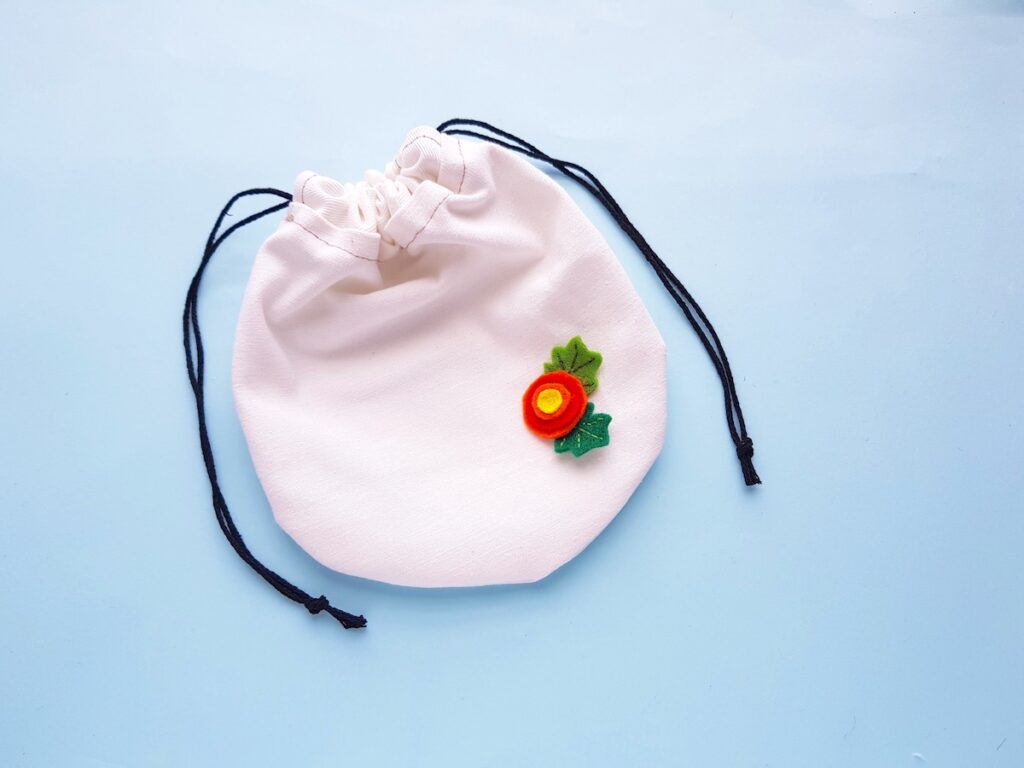
Tie a knot in the open ends of each set of strings.
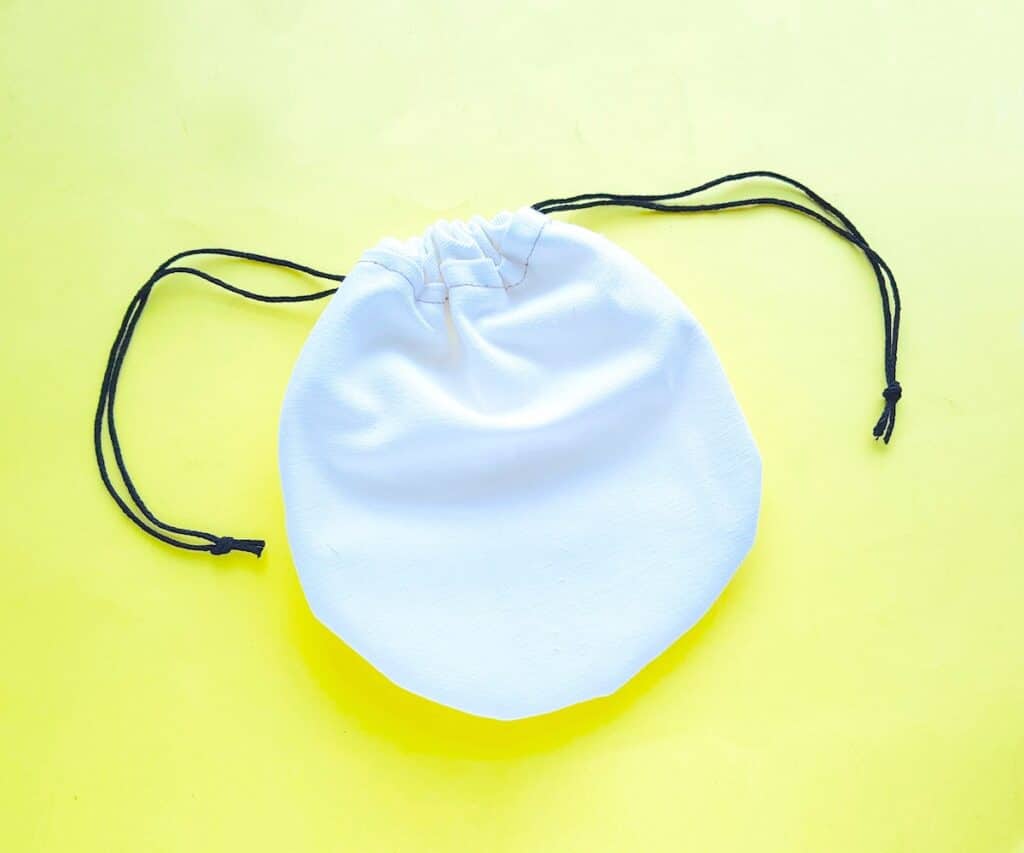
When you pull the ends of the strings together the pouch will close.
You can add an embellishment if you’d like. I added felt flowers to the front of the drawstring bag.
Be sure to Pin This craft to a sewing board so that you remember it for later!
Want more easy sewing ideas? You might like these: