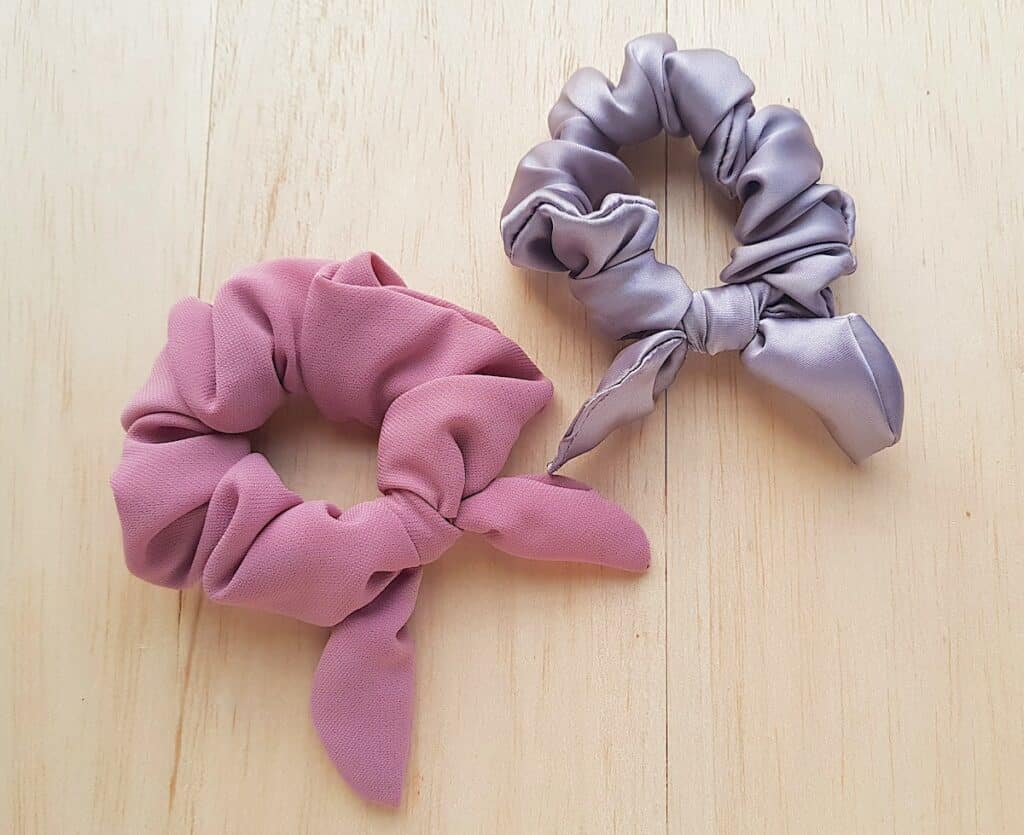
How To Sew a Bow Scrunchie (No Pattern Needed)
These DIY scrunchies use a small piece of fabric and some elastic ribbon to make cute hair accessories that are always trendy.
Scrunchies are one of the easiest things that you can sew. This is a perfect beginner project.
Our step-by-step tutorial for how to sew a bow scrunchie can be made in just a few minutes.
Sewing a Bow Scrunchie
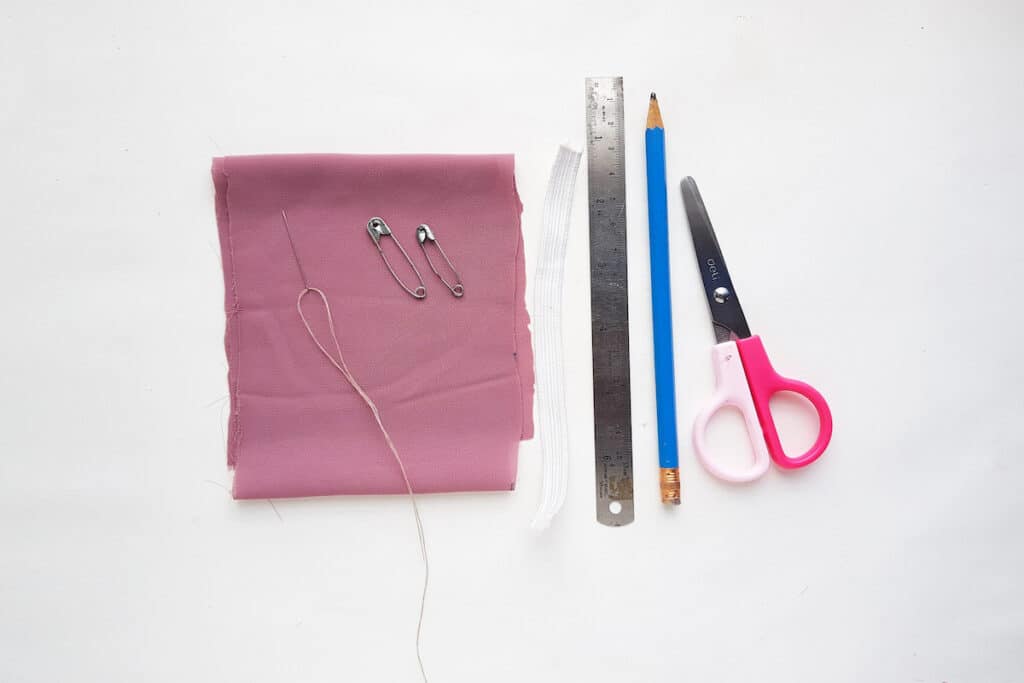
Materials
- Fabric (at least 20 inches X 6 inches)
- Matching Thread
- Thin Elastic
- Sewing Machine or Needle
- Ruler
- Scissors
Instructions
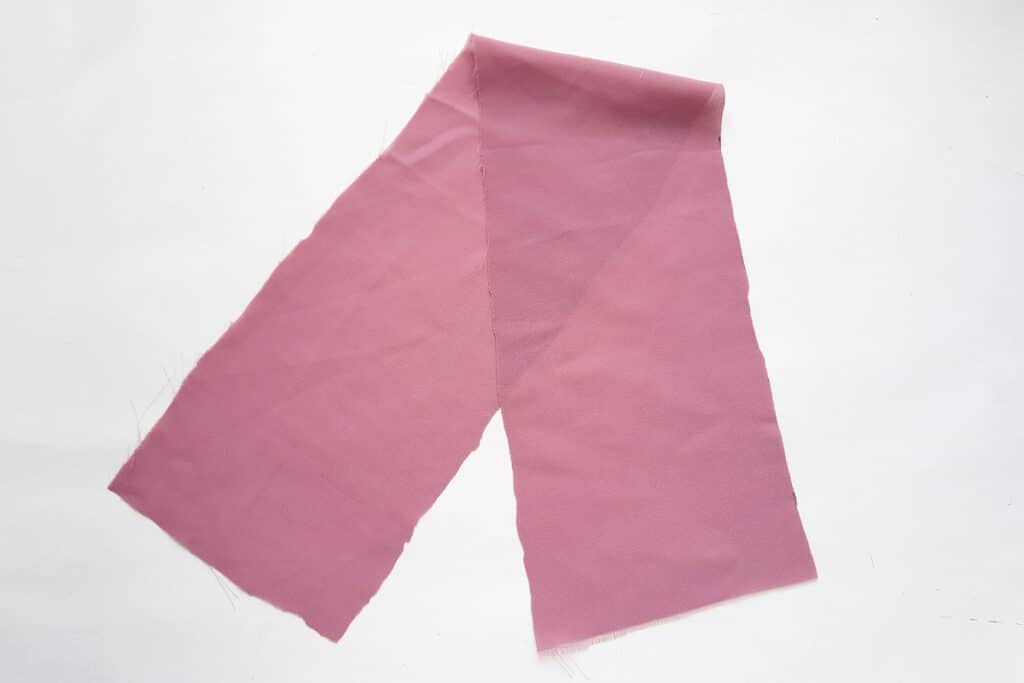
Step 1
Measure and cut out the fabric for the scrunchie base. The longer the fabric piece you cut, then the more ruffles you will. have on your scrunchie.
We used a 13.5 inch X 3 inch (34 cm X 8 cm) piece of fabric.
Step 2
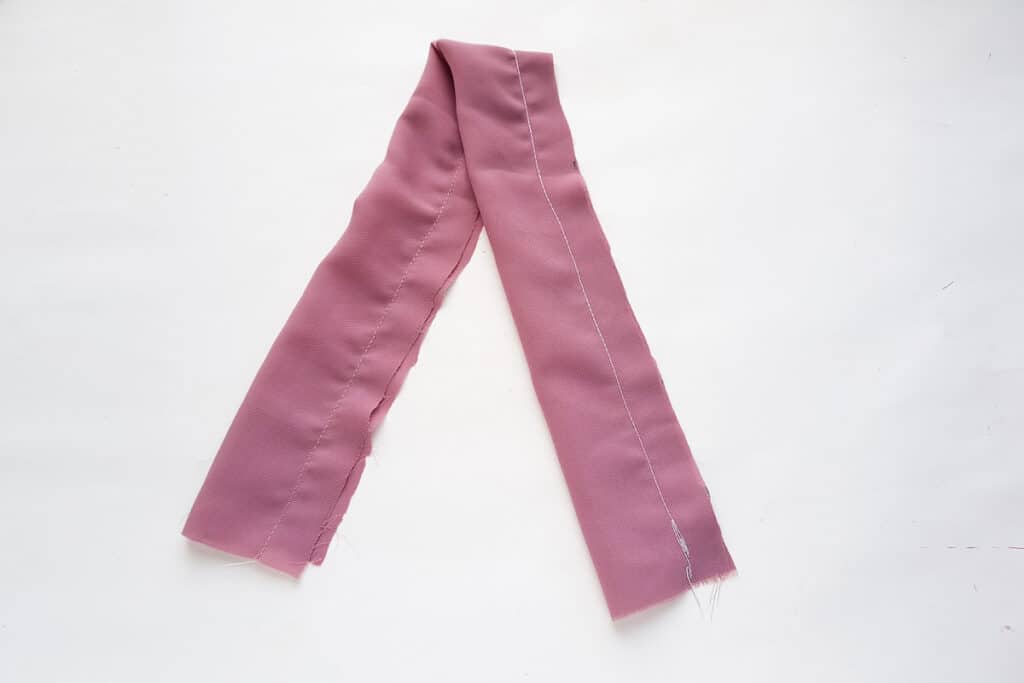
Fold the short side in half, being sure to put the right sides together.
Sew along the long, open side.
Step 3
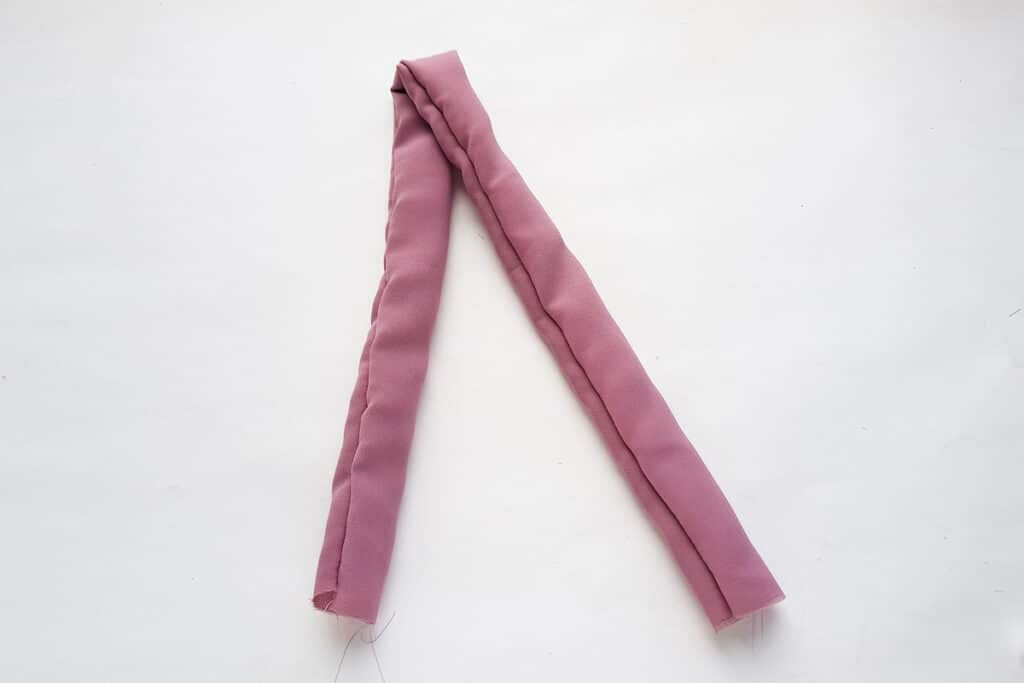
Turn out the fabric tube so that the right side of the fabric is now outside.
Step 4
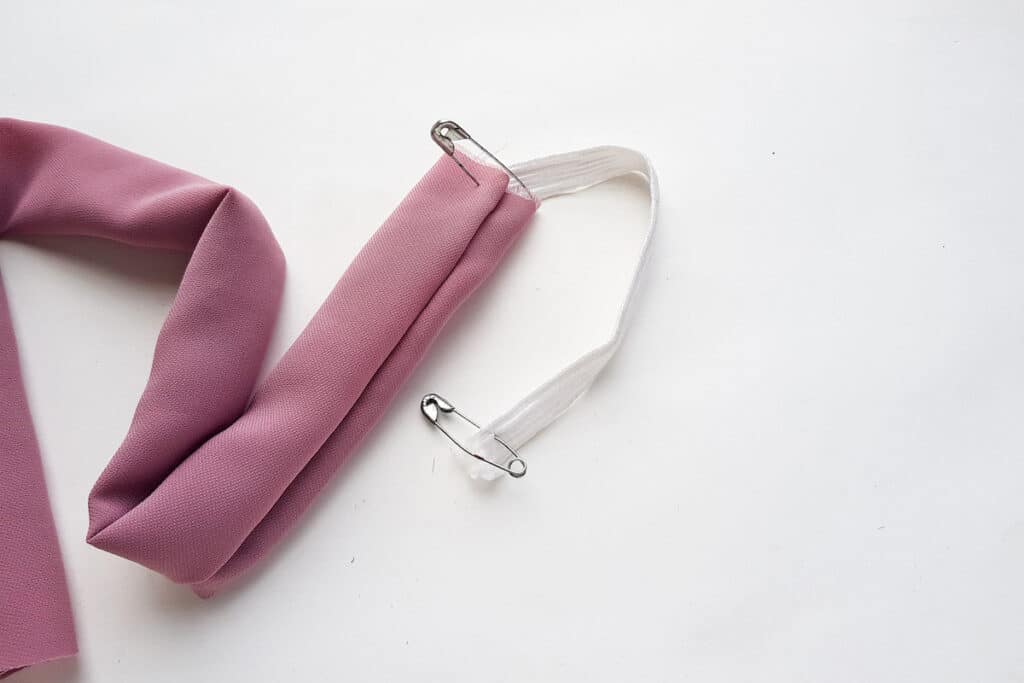
Cut a piece of elastic ribbon that is ⅓ the length of the fabric tube.
Attach a safety pin to the elastic piece on each of the ends. Attach the elastic to the end of the fabric tube on one side.
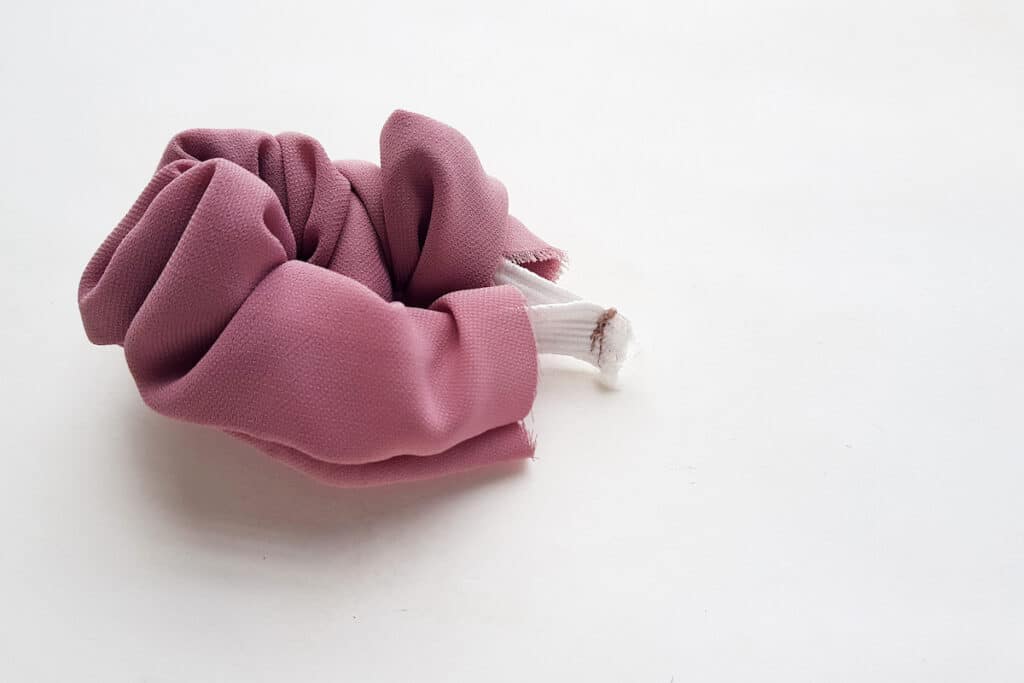
Step 5
Insert the elastic piece with a safety pin on the end into the fabric tube.
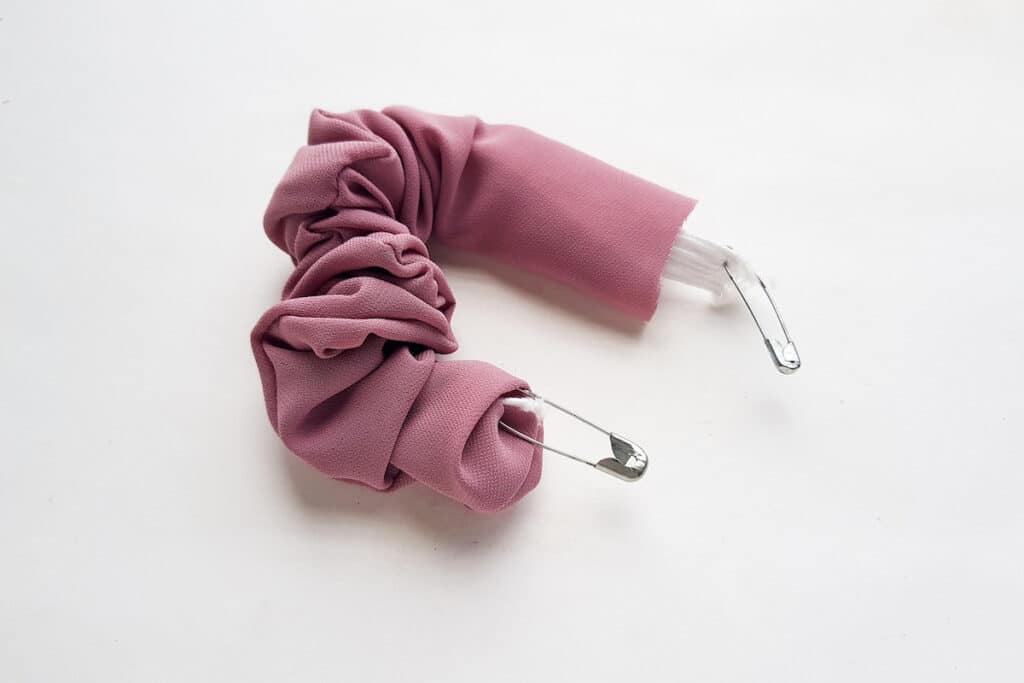
Pull the elastic all the way through the fabric tube to the other side and pull out the elastic piece with the safety pin.
Step 6
Remove the safety pins but do not let the elastic slip back into the fabric tube. Hold both elastic ends together and sew them to secure.
You can sew with a sewing machine or hand stitching.
Step 7
You can let the elastic ends go back into the fabric tube now.
It is time to sew the open ends of the fabric tube together. Tuck the unfinished edges under so that they are not showing. Then sew the open sides together either using a sewing machine or hand sewing with a needle and thread.
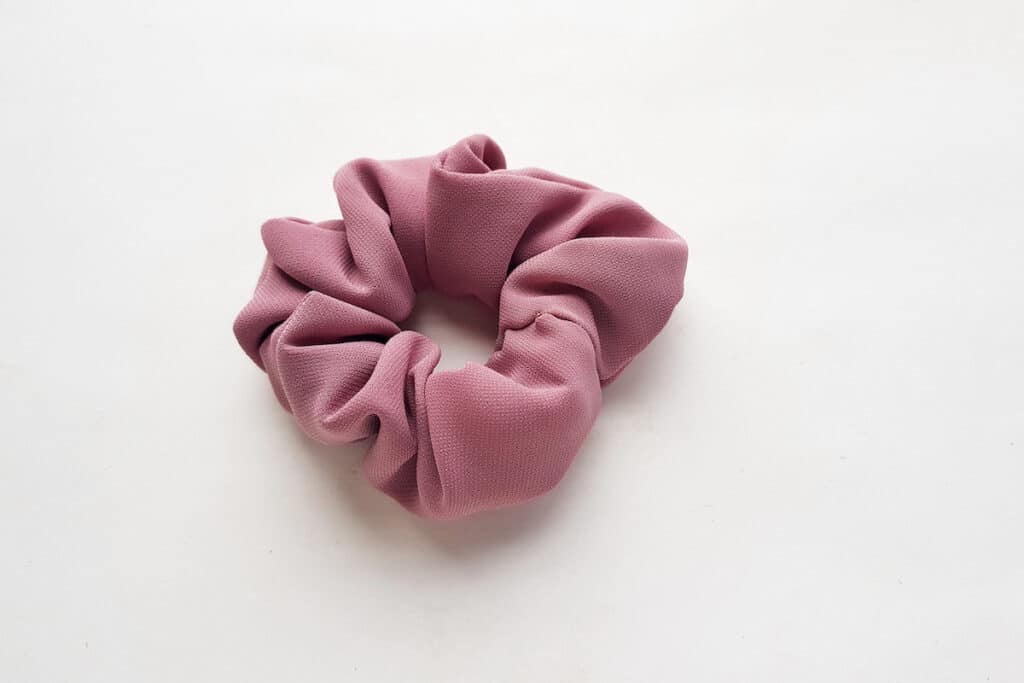
Helpful Tip: Gently pull the fabric away from the elastic inside when sewing the seams together. If you sew the elastic band in with the seam it will be okay, but you will have more movement in the scrunchie ruffles if the fabric is unattached from the elastic.
Step 8
Cut a fabric piece for the bow. We cut a 6 inch X 2 ¾ inch (7 cm X 15 cm) piece of rectangular fabric. Then we rounded off the edges with scissors.
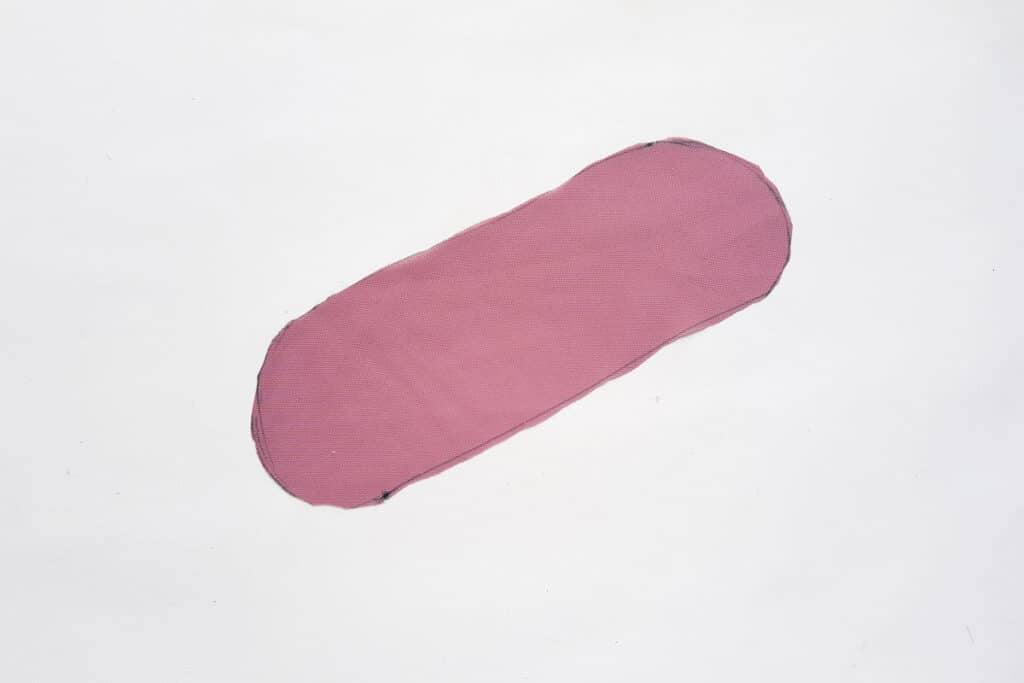
This fabric doesn’t have to be perfectly shaped, so don’t worry about exact measurements.
Step 9
Fold the fabric in half lengthwise with the rights sides together.
Starting at the rounded corner of one end, sew along the open sides. Keep a small open end so that you can turn out the fabric.
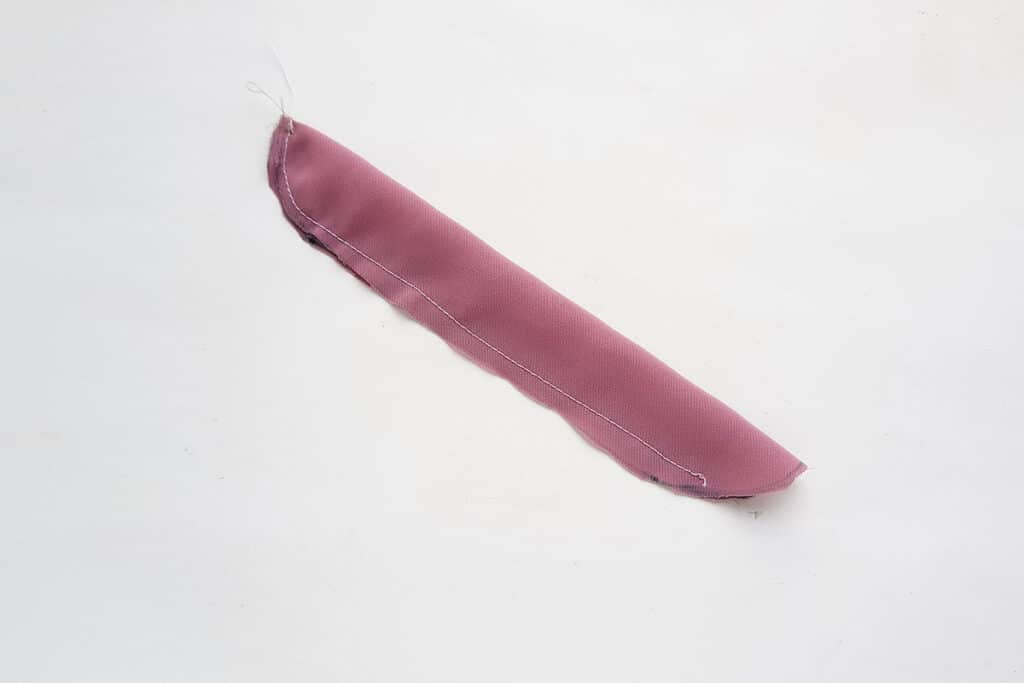
Step 10
Turn the bow out through the open end so that the right sides will now be seen.

Then turn under the raw edge of the open end and stitch closed. You can use a sewing machine or hand sewing.
Step 11
Pull the bow base through the center of the scrunchie, being sure that there is an even length on either side of the scrunchie.
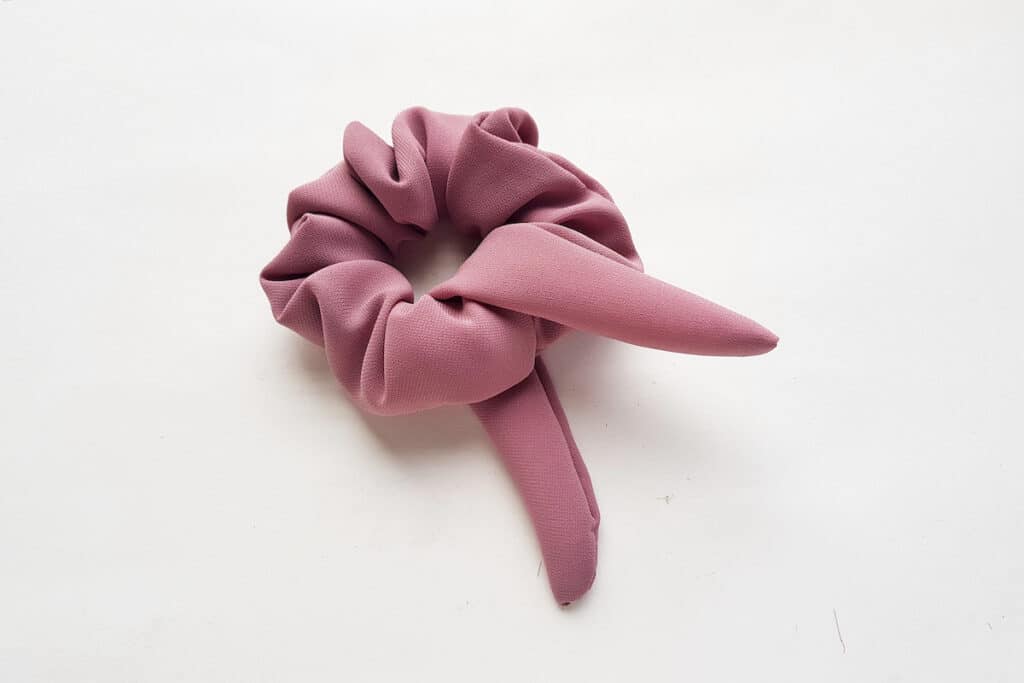
Step 12
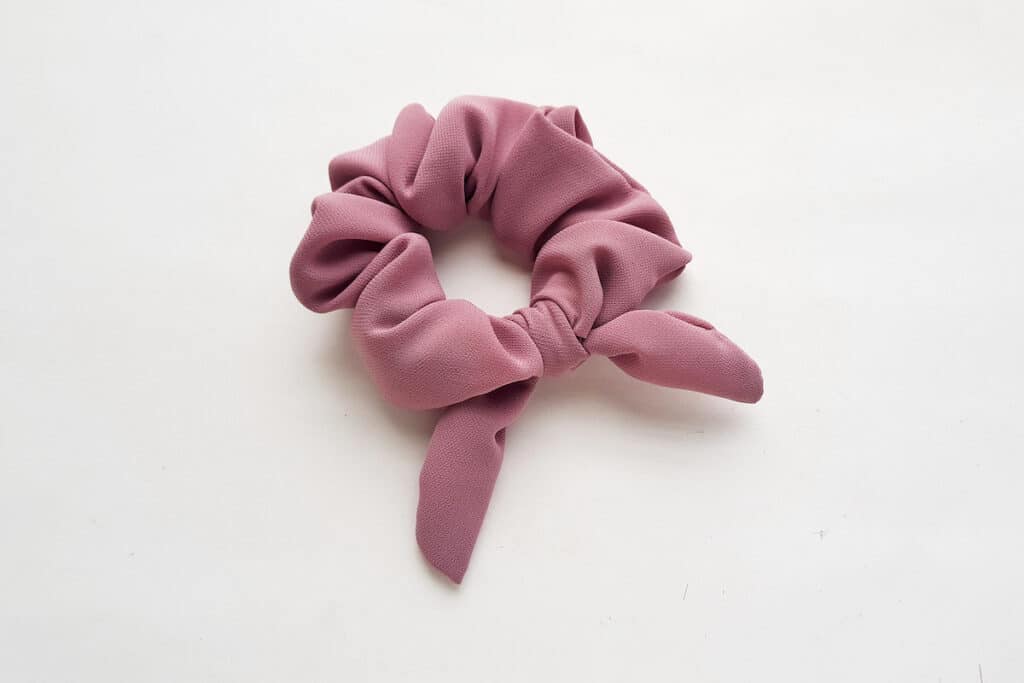
Tie a tight knot in the bow piece around the scrunchie to create a bow. And you are done!
Helpful Tips
- If you will be washing your hair scrunchie, be sure to wash the fabric before cutting and pre-shrink it. Especially if you will be using hot water when washing. Some fabric shrinks a little while washing, and you do not want your scrunchie to shrink after making it.
- Satin fabrics are pretty for hair scrunchies, although they will slip out of your hair easier than a cotton or polyester fabric.
- This sewing project is very similar to our basic instructions for how to make a scrunchie which offers tips for sewing with different types of fabrics.
Be sure to Pin This tutorial for how to sew a bow scrunchie to save for later!
Love sewing projects using small amounts of fabric? Be sure to see these tutorials: