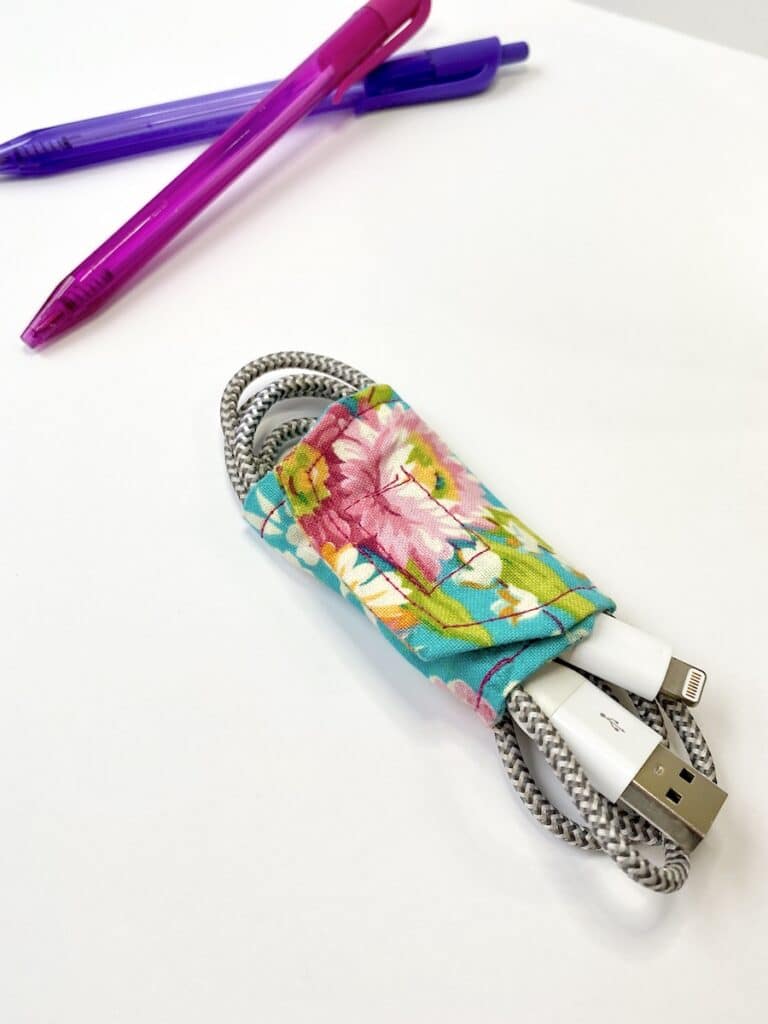
DIY Cord Keeper Sewing Tutorial
Do you have cords everywhere for all of your electronics? I know I do. It’s easier to stay organized when you sew these easy cord keepers (also known as a cord wrap) using fabric scraps and a little Velcro and interfacing.
These are great for keeping the following items organized:
- Phone charging cords
- Earphones
- Charging cords for electronics
- Extension cords
P.S. You might also like making these easy hand-sewn felt trays or these nesting canvas valet trays to keep accessories organized, too.
These fabric cord keepers are great little gifts for Mother’s Day, Father’s Day or stocking stuffers.
How to Sew a Cord Wrap
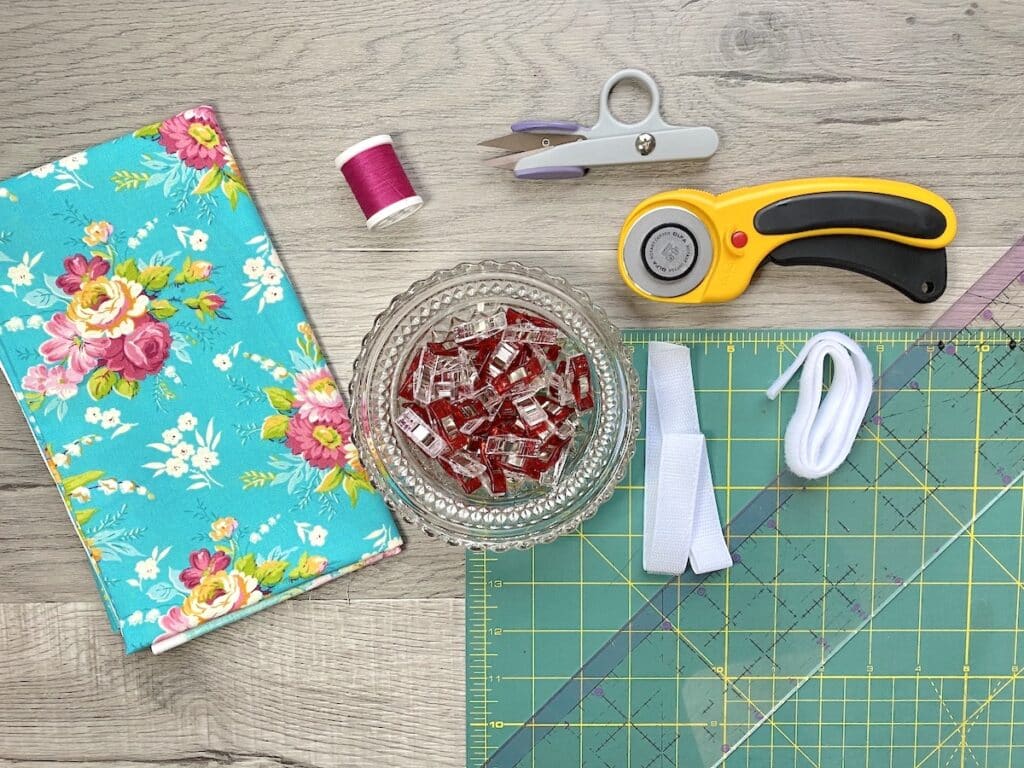
Supplies
- Fabric scraps or fat quarter
- 1 inch of Hook and Loop strips (Velcro)
- Coordinating Thread
- Rotary Cutter and Cutting Mat
- Ruler
- Sewing Clips
- Turning Tool (I like this flamingo one)
Instructions
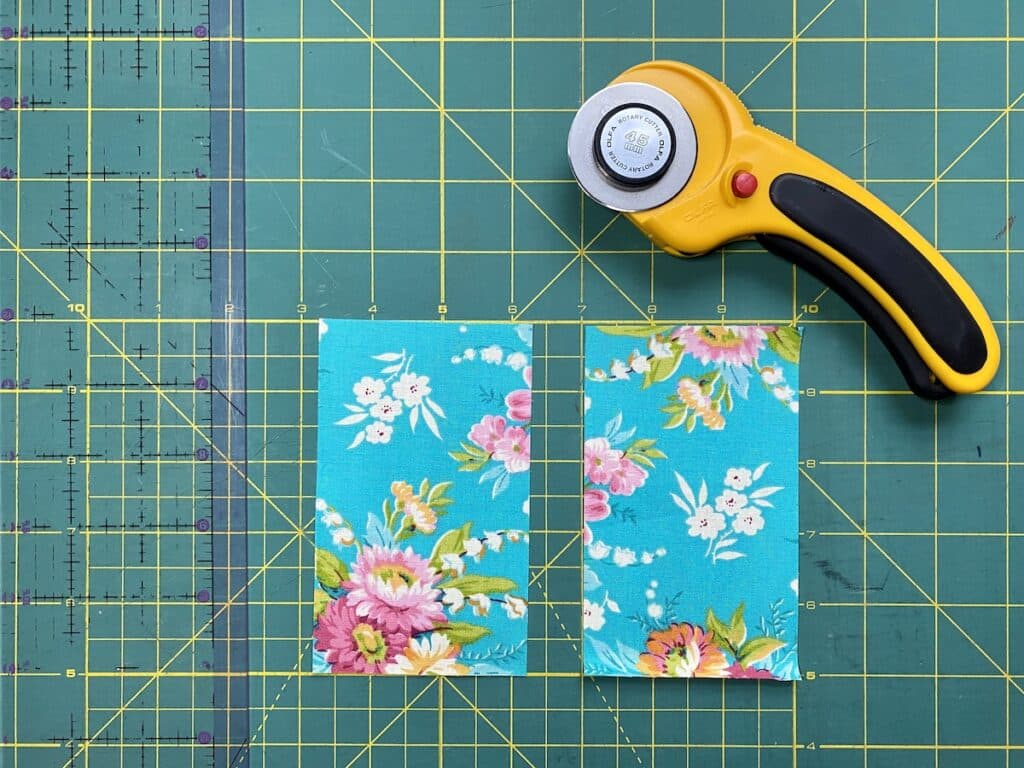
Step 1
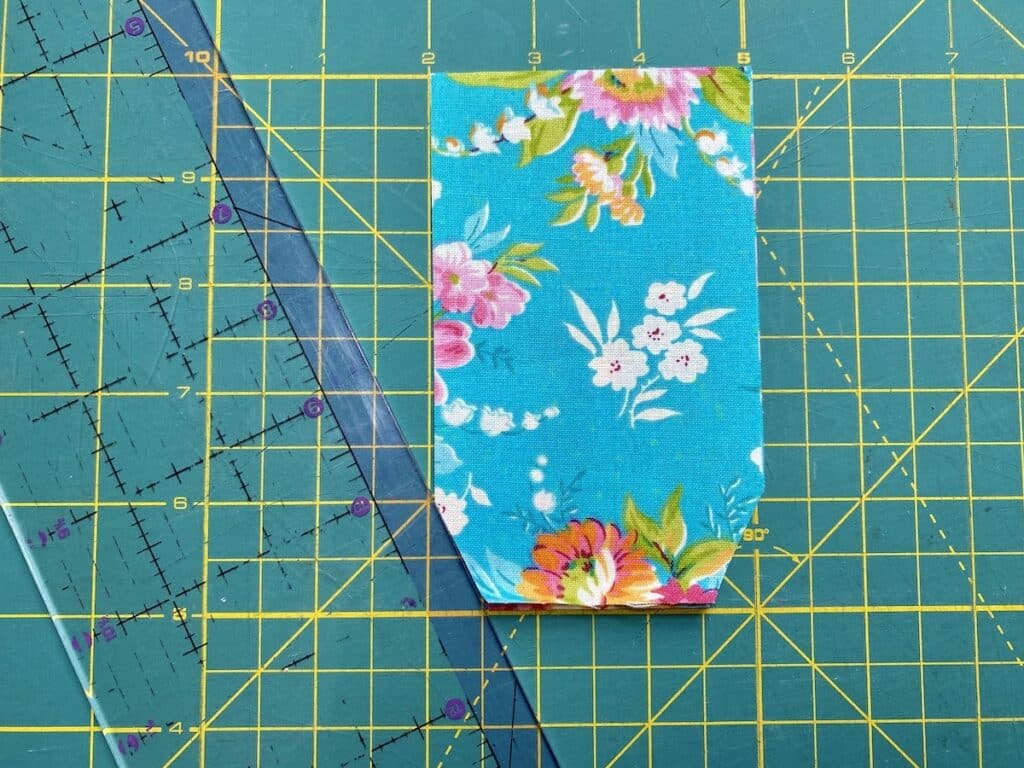
Cut two 3” x 5” rectangles of fabric.
Step 2
At an angle, cut ½” off each corner on one of the short sides of both of the rectangle pieces.
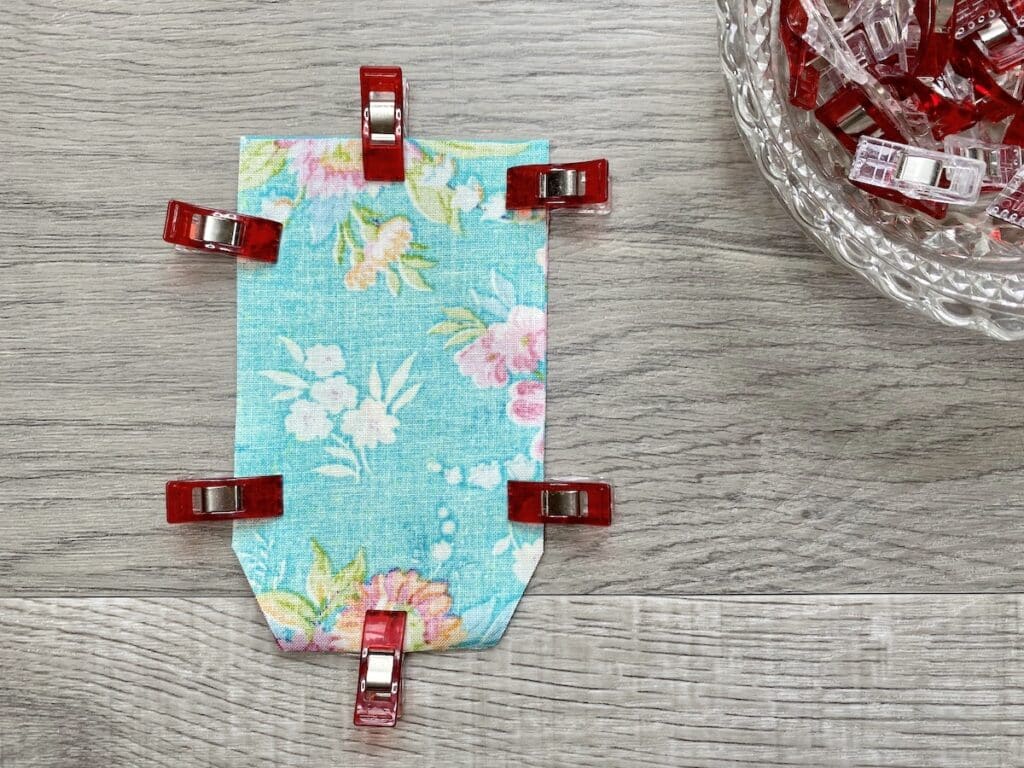
Step 3
Place fabric pieces with right sides together and edges lined up. Clip together.
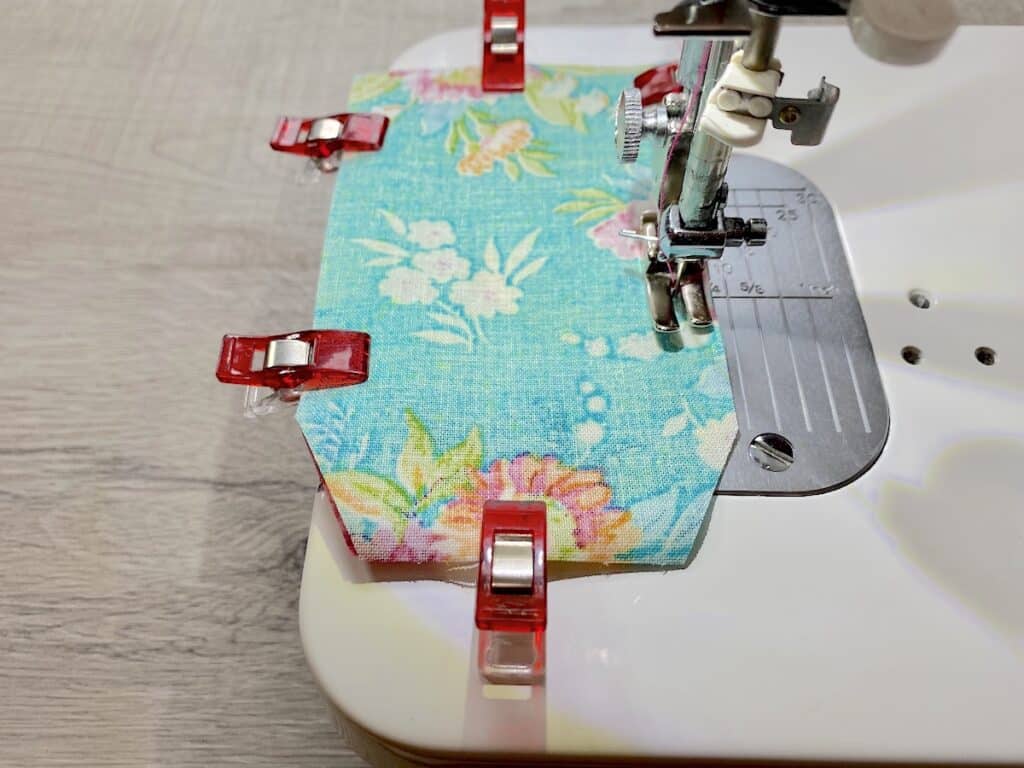
Step 4
Sew around the perimeter with a ¼” seam allowance, leaving a 2” opening in the middle of one side.
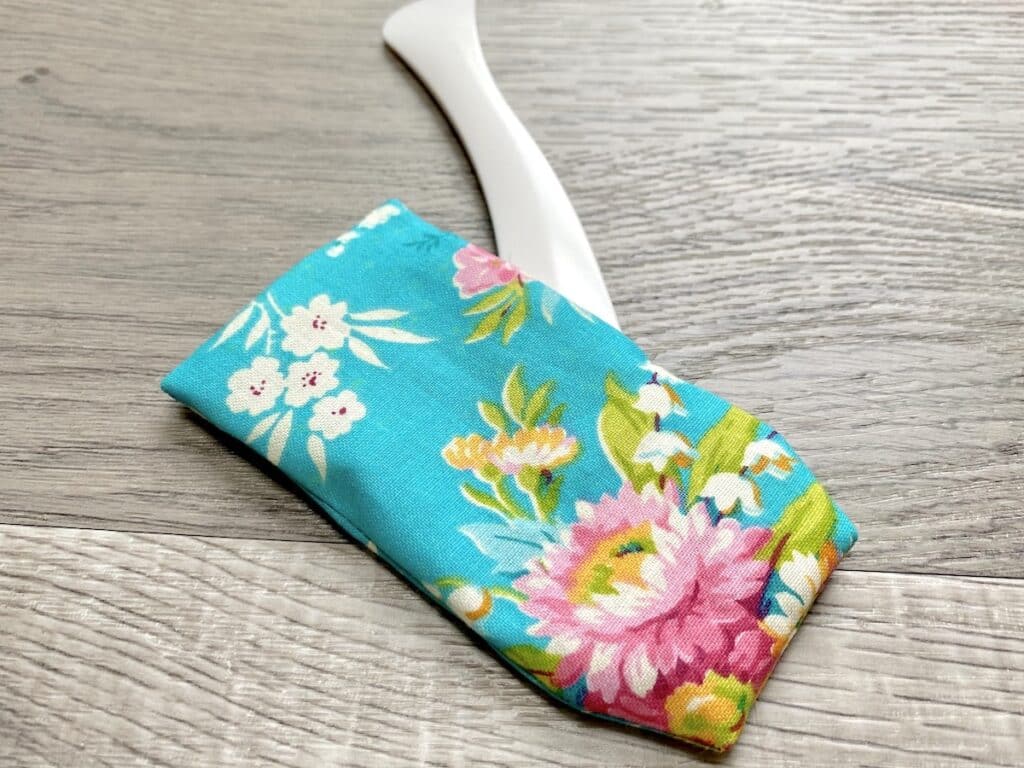
Step 5
Turn right side out. Use a turning tool or chopstick to gently press out the corners.
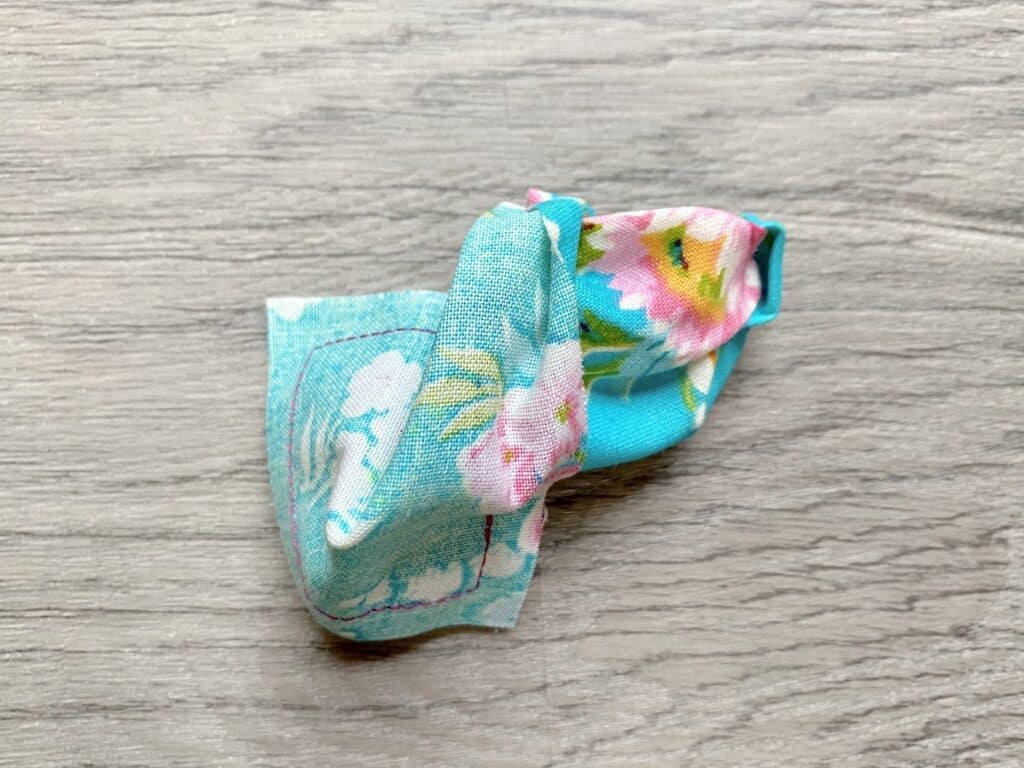
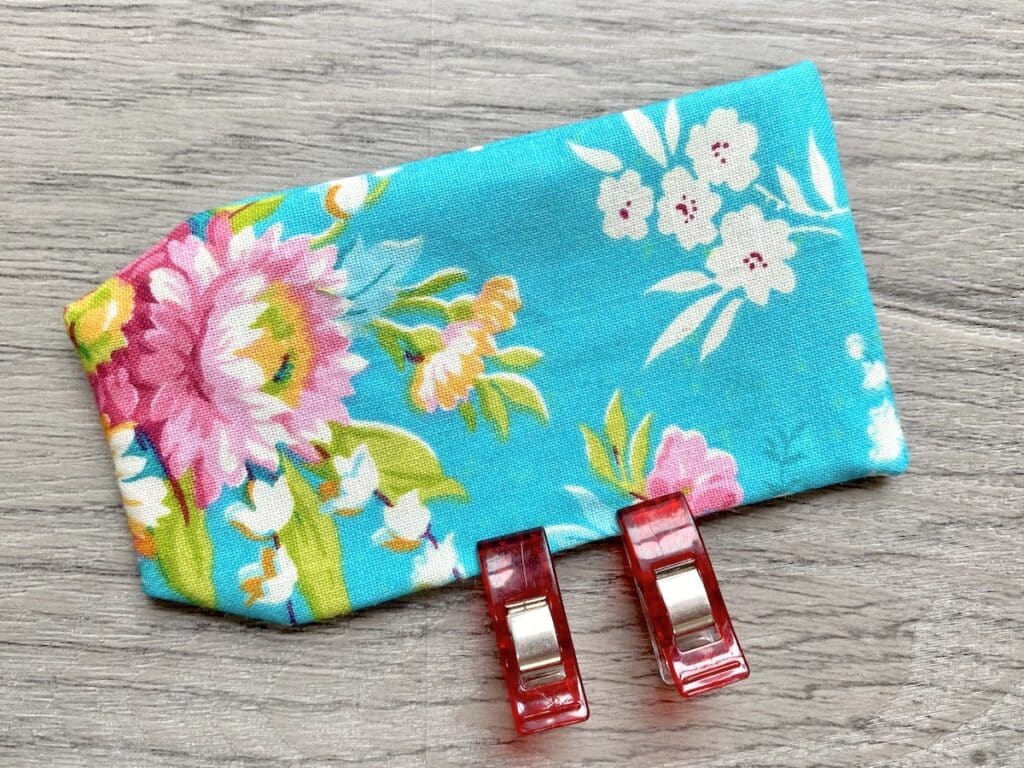
Step 6
Turn the opening under ¼” and clip to hold. Press if necessary.
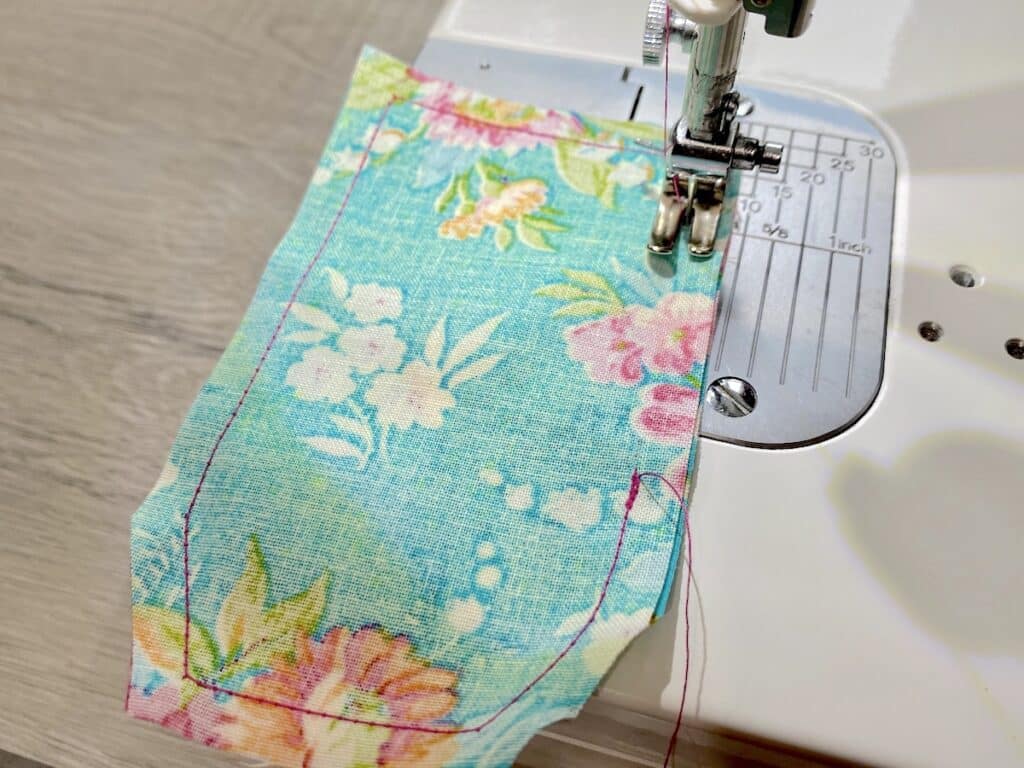
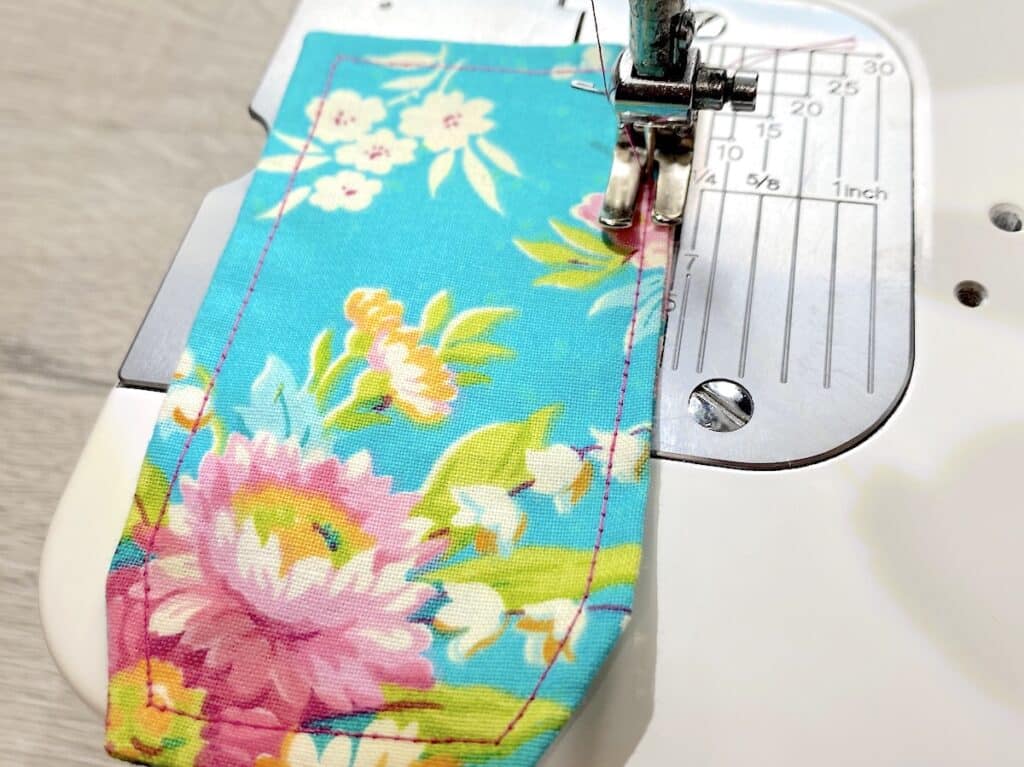
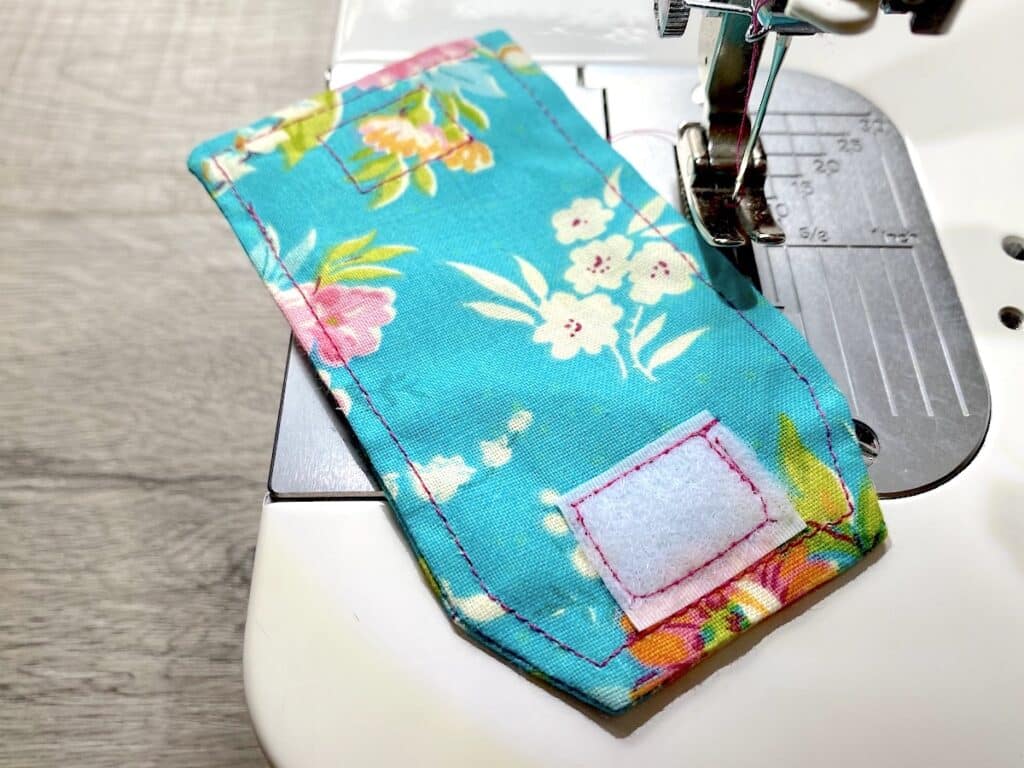
Step 7
Top stitch all of the way around the perimeter, stitching together all sides.
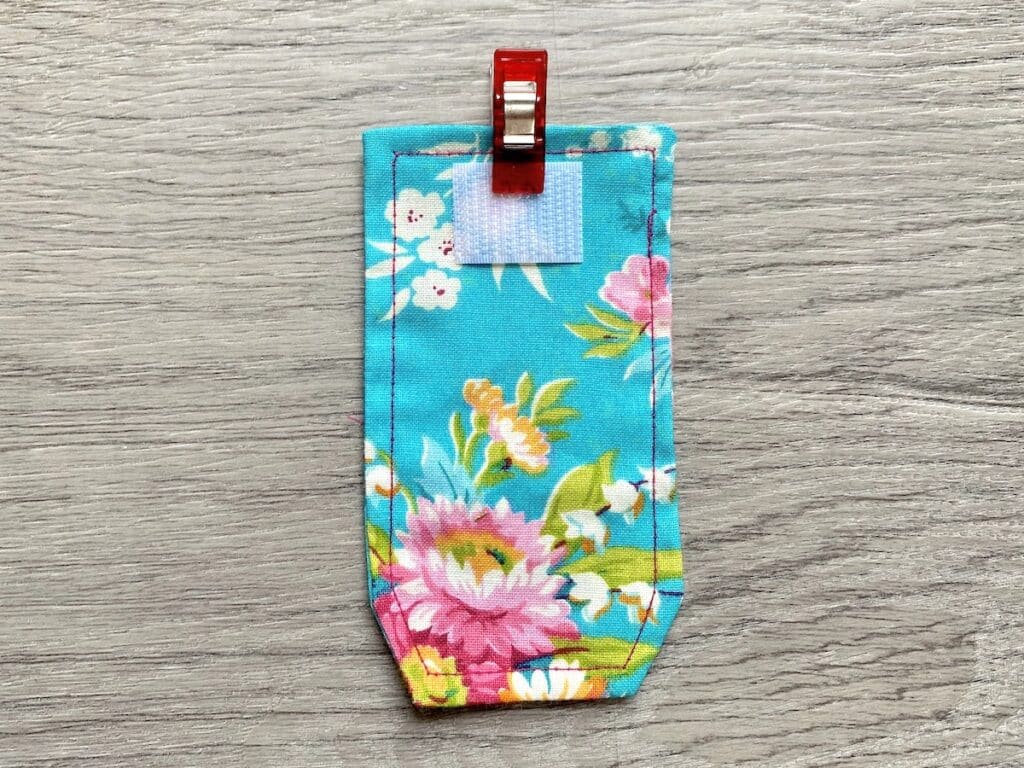
Step 8
Place one side of the hook and loop closure at the center top of the square end, just under the stitches.
Sew it to the wrapper by sewing around the perimeter to make a square. Be sure to do a quick backstitch at the end to secure the stitching.

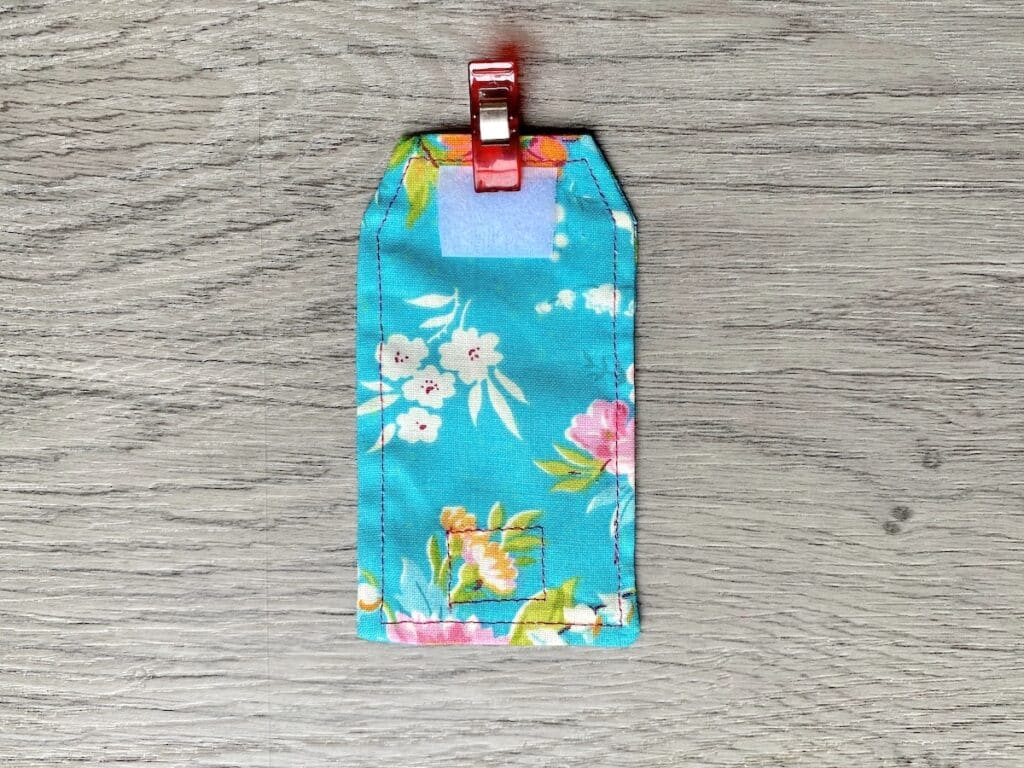
Step 9
Flip the cord keeper over. Place the other piece of hook and loop closure in the center of the tapered end, underneath the stitches. Clip in place.
Try closing the cord wrapper and make sure that the Velcro matches up in the right position. Adjust if you need to. Then sew it down as in the step before.
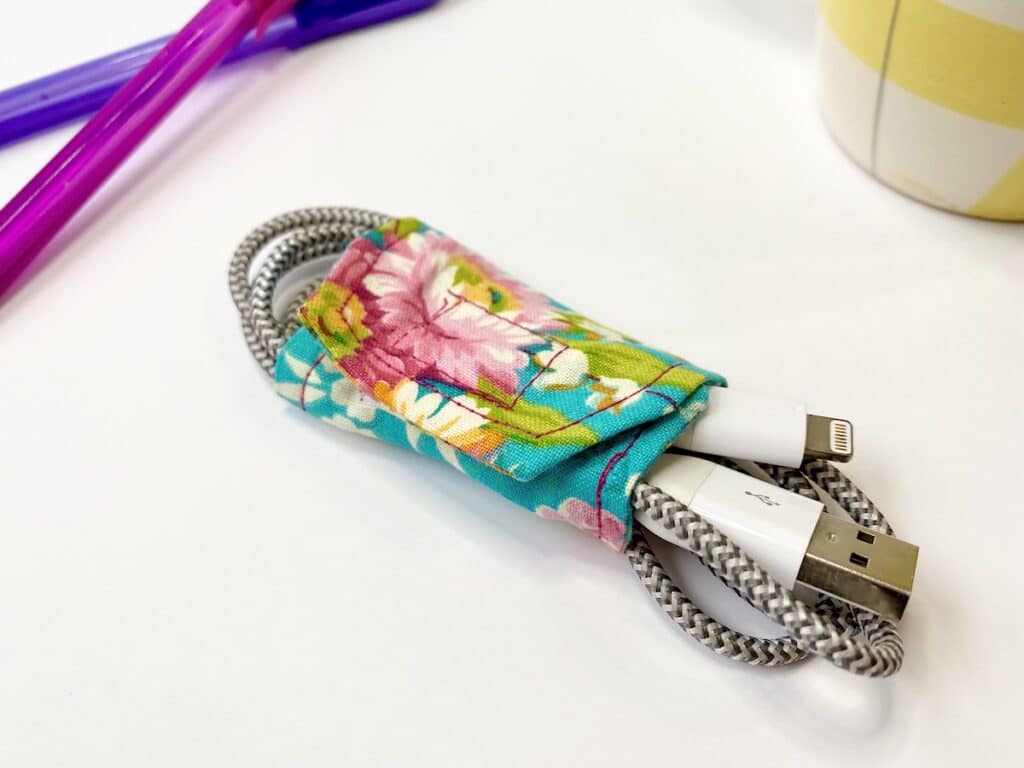
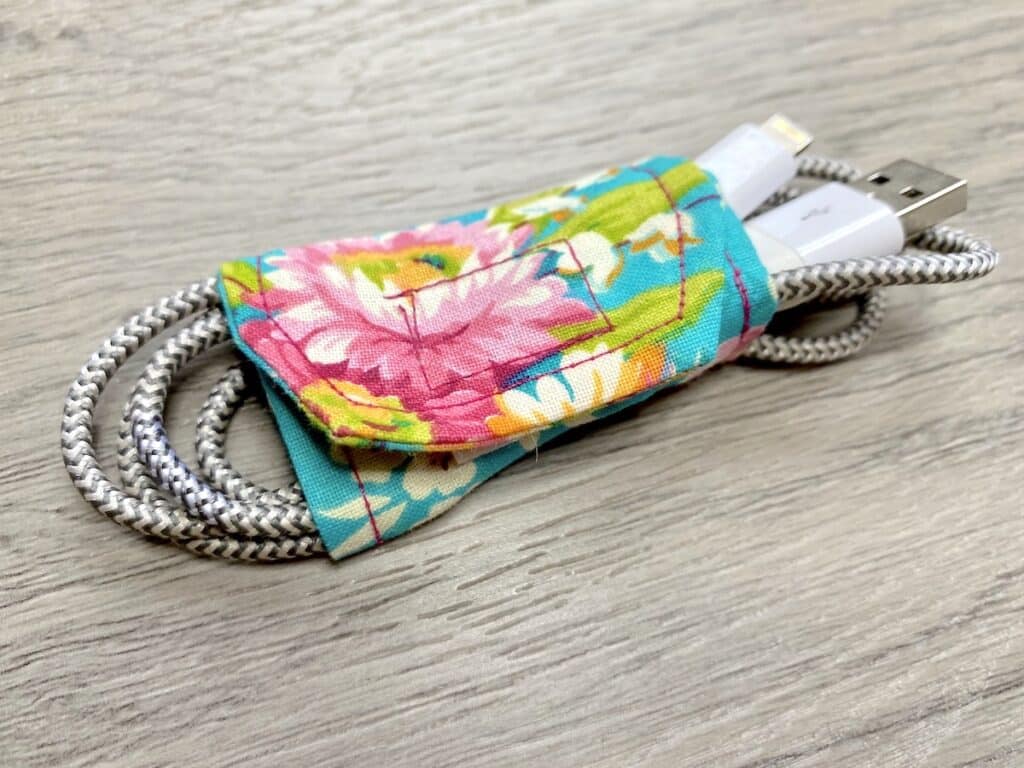
Wrap around cord and secure with hook and loop.
Be sure to Pin This to your sewing or DIY boards to save for later!
These DIY cord keepers are great for traveling. You don’t want cords to get tangled in your purse, backpack or luggage.
You might also like our other sewing projects for your purse: