Witch Hat Pencil Toppers (Free Pattern)
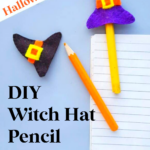
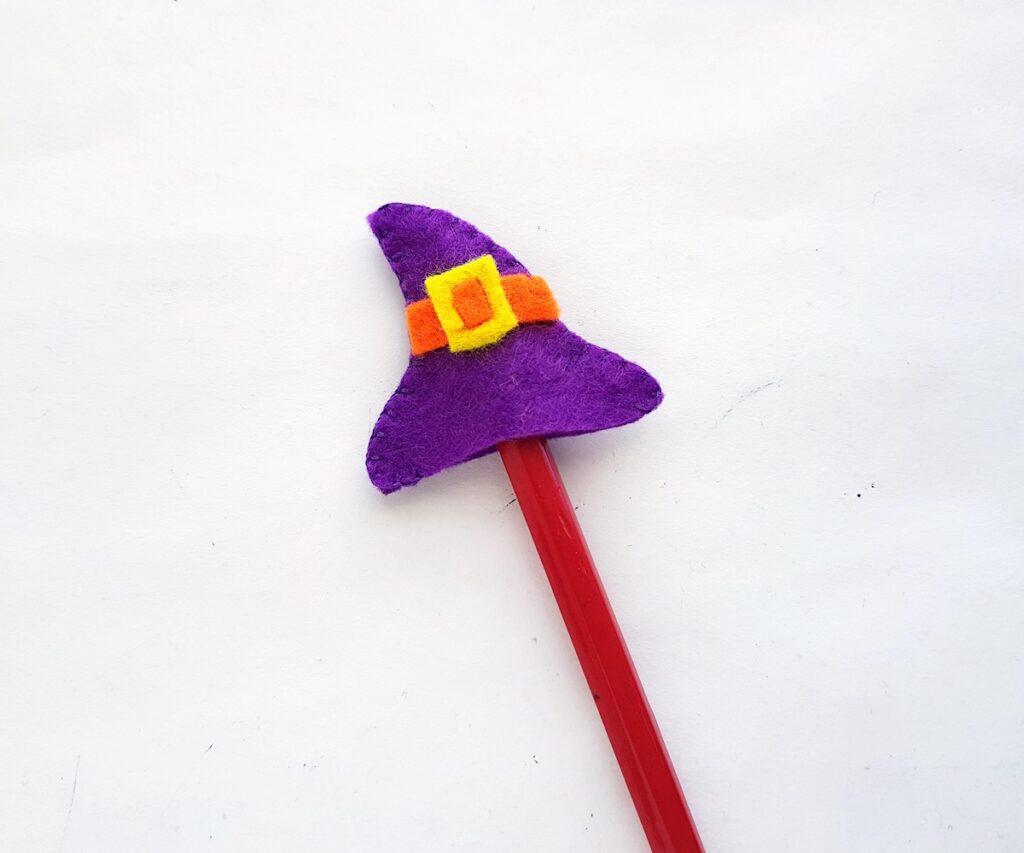
These witch hat pencil toppers are perfect for Halloween! They work as pen toppers, too. Kids will love using these at school for the holiday season!
Hand sew these pencil toppers with felt scraps and our free pattern.
This felt craft is a great Halloween craft for kids, tweens and teens.
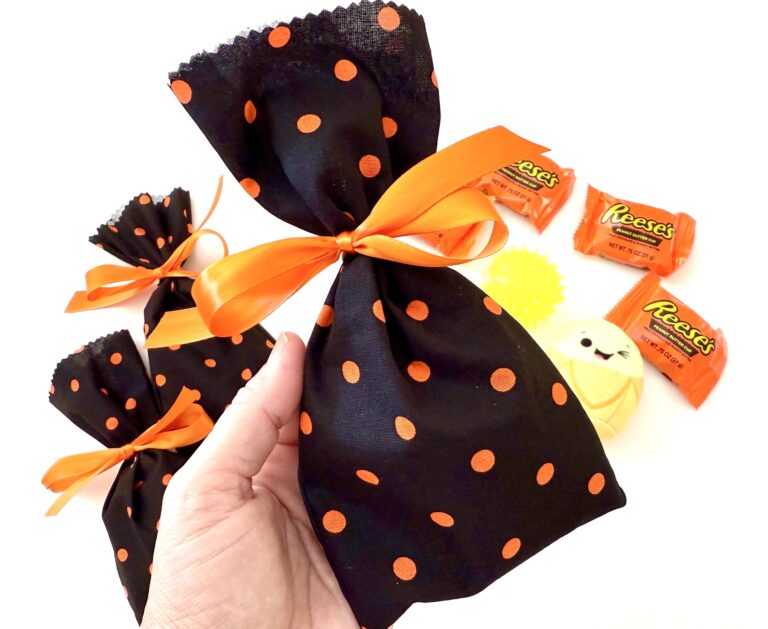
Consider adding these felt toppers to fun pencils and pens for non-candy Trick or Treat gifts.
This is just one of our Halloween felt crafts that can be sewn by hand.
How To Make Felt Witch Hat Pencil Toppers
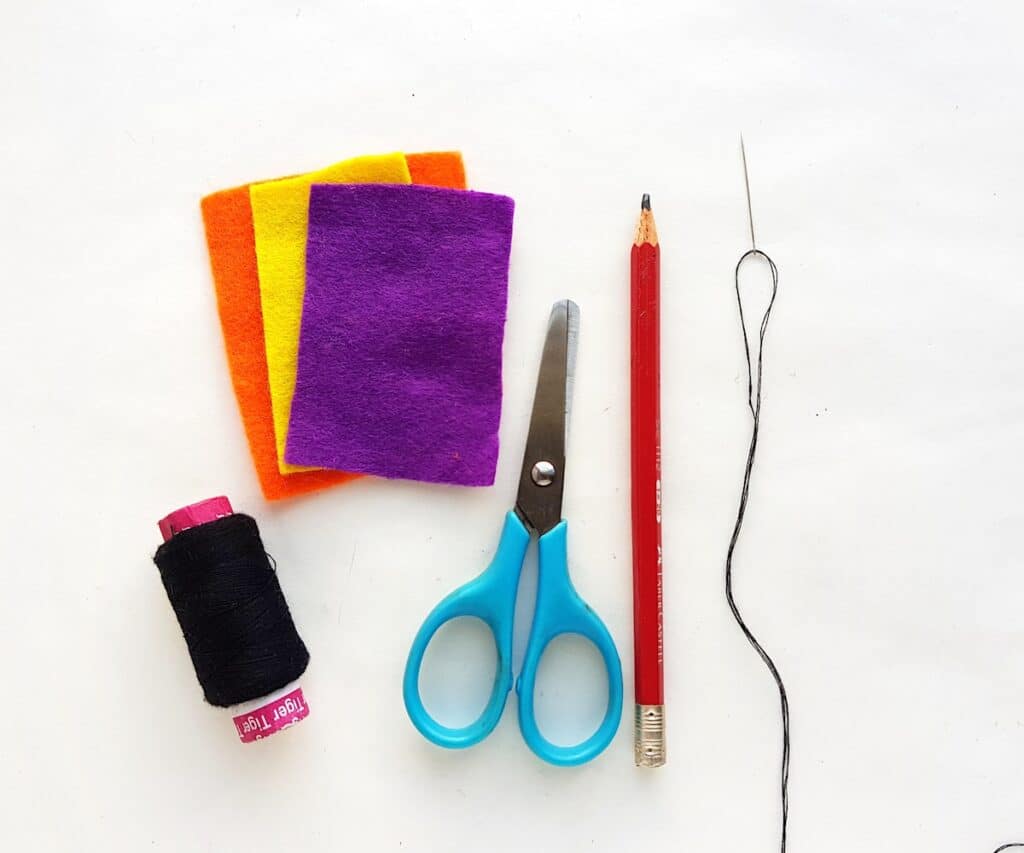
Supplies
- Free Witch Hat Template
- Colorful felt fabrics
- Thread to match your felt
- Needle
- Pencil
- Glue (optional)
✅ This is a great source for getting lots of different colored felt for sewing projects.
Instructions
Step 1
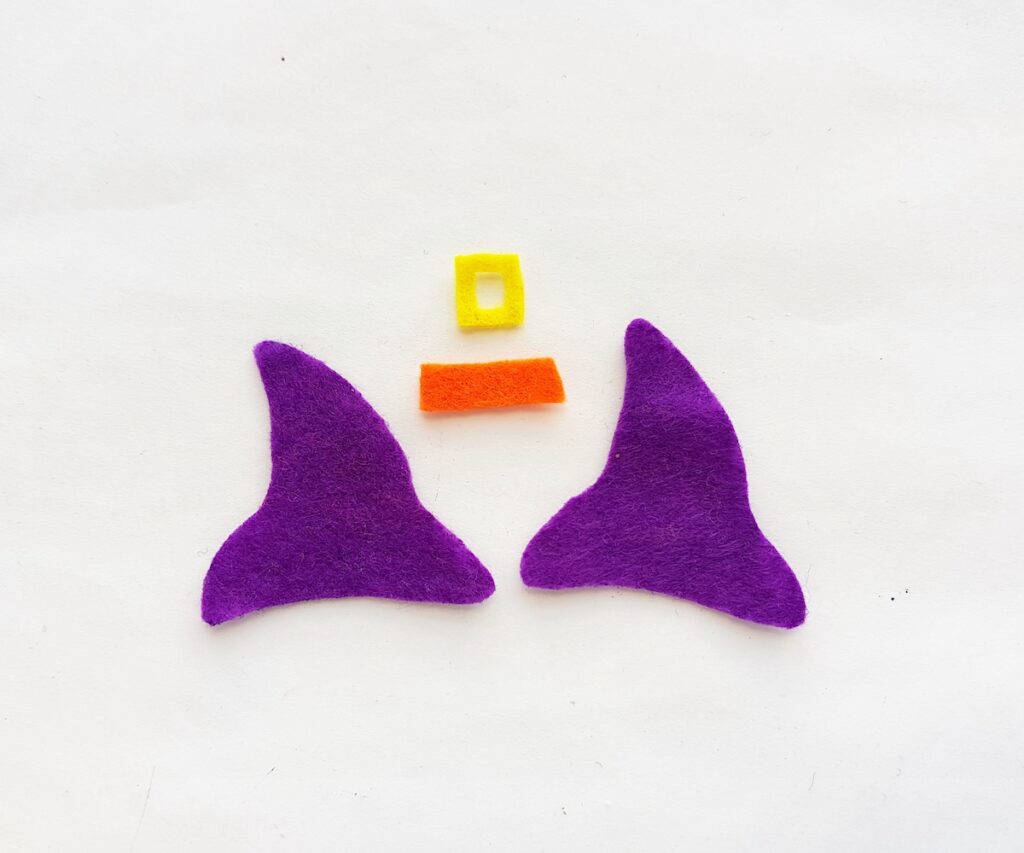
Download, print out and cut out the free witch hat pattern.
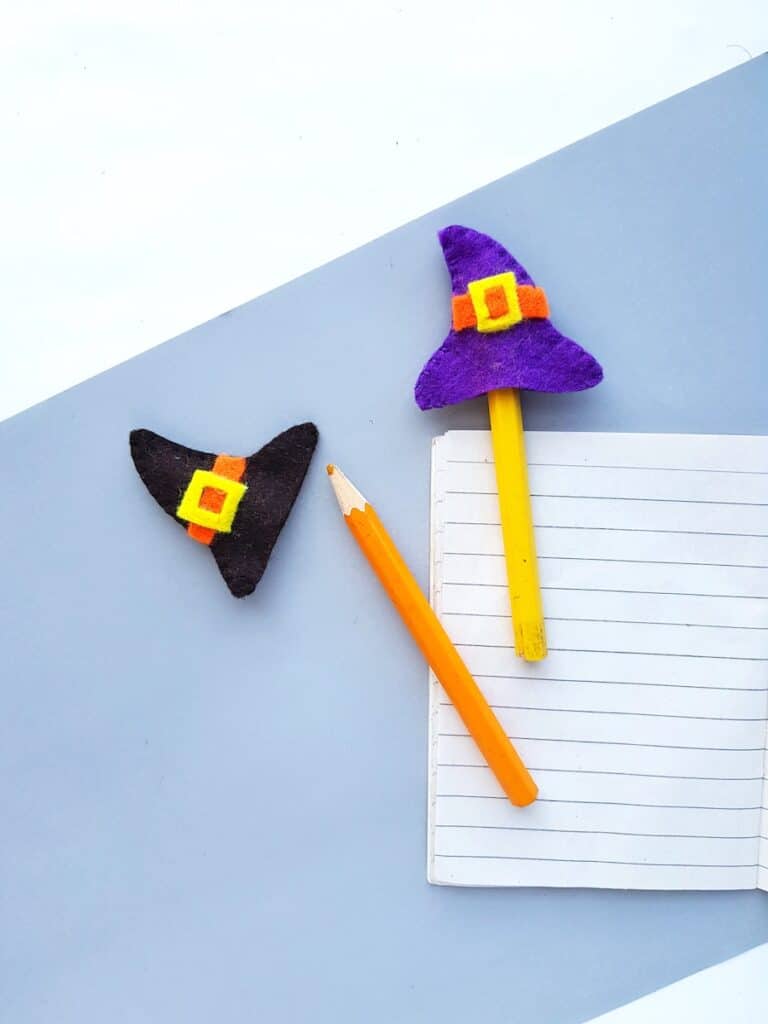
Select 3 different colored felt fabrics for the witch’s hat pencil topper. These are the colors we used:
- Witch Hat Base: Purple
- Ribbon: Orange
- Buckle: Yellow
Trace the hat patterns on the felt colors you choose. Cut out with scissors.
Step 2
Thread a needle with yellow thread and make very small straight stitches along the belt buckle.
Use very small stitches to attach the belt buckle to the ribbon piece.
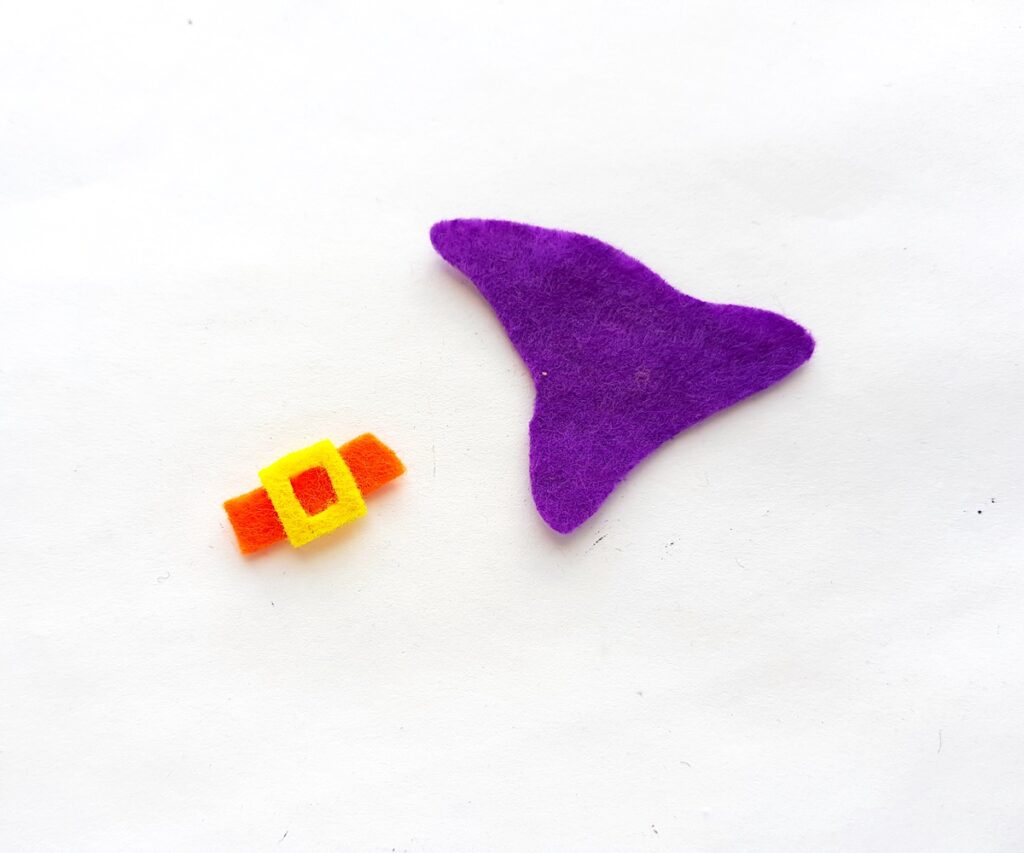
Note: This piece is really small, so if you prefer to just glue the two pieces together, it would take much less time!
Step 3
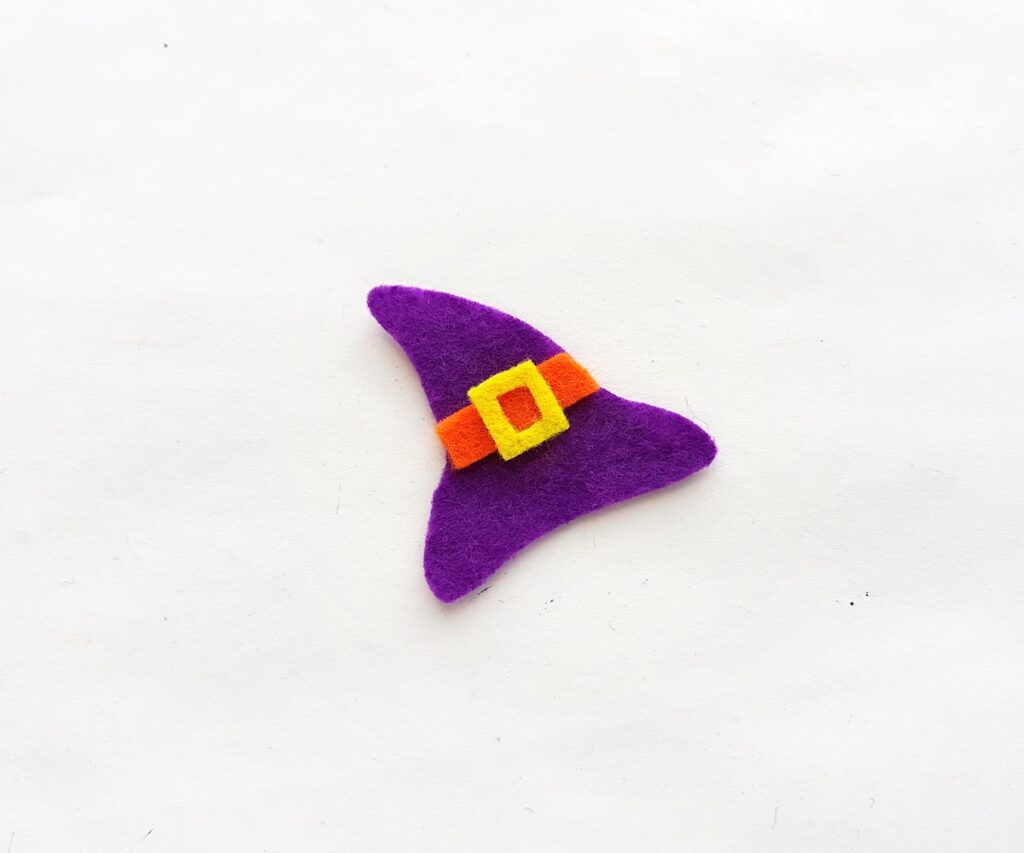
Place the ribbon on the hat base above the brim part of the hat where it starts to curve outward.
Using orange thread, make a few basic stitches through the orange felt and the purple hat base to secure.
Step 4
Place the other hat base cutout under the one with the belt buckle. Make sure that the hats line up together.
Thread a needle with thread that matches the hat color. Start to stitch the bases together from the bottom of either side.
Stitch from one side of the hat to the top, and then stitch towards the bottom of the other side.
We used a blanket stitch to sew the edges together.
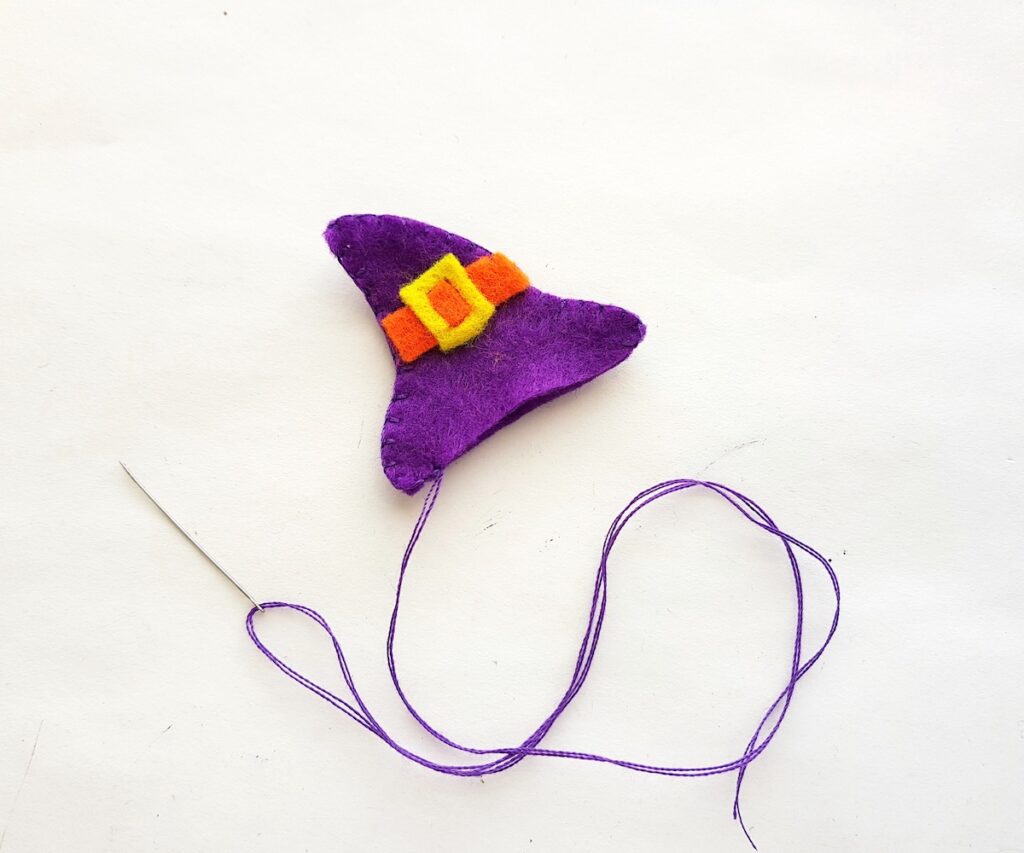
Keep the bottom open for inserting the pencil.
You can bring the stitches inward on the bottom a little bit to make a tight fit for the pencil topper if you would like.
Once you are done stitching, tie a knot or two and then cut off the extra thread.
If you like these easy witch pencil toppers, be sure to Pin This to Pinterest to save for later!

If you love using pencil toppers and pen toppers, be sure to see our other fun patterns:
You might also like these Halloween crafts: