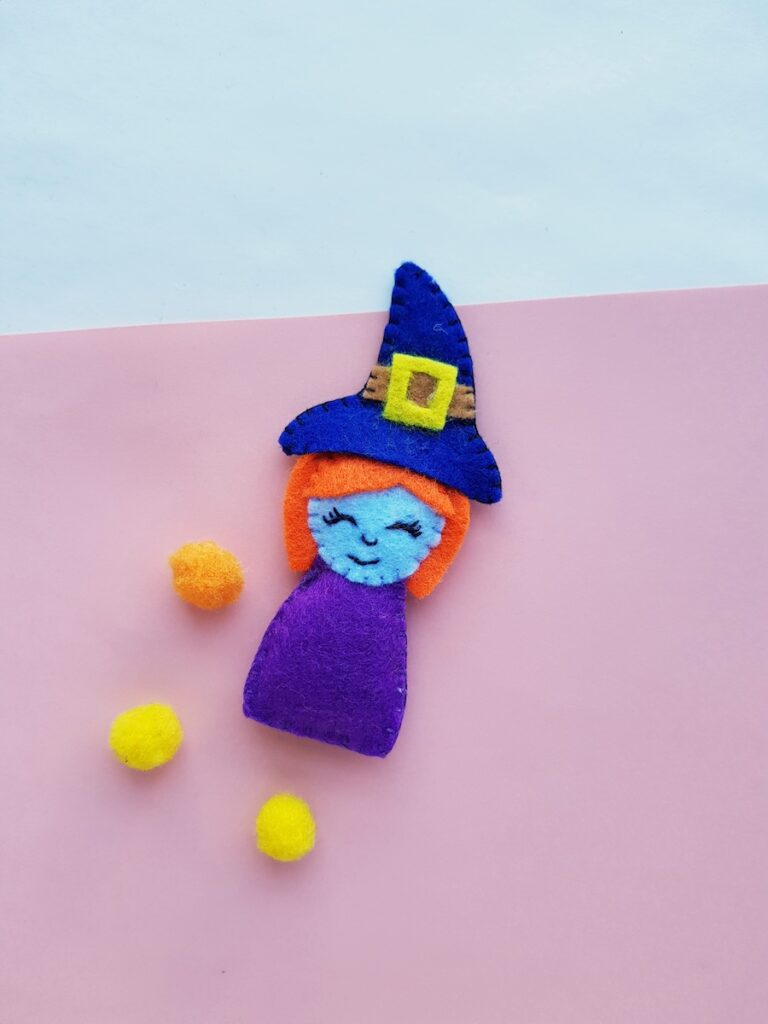
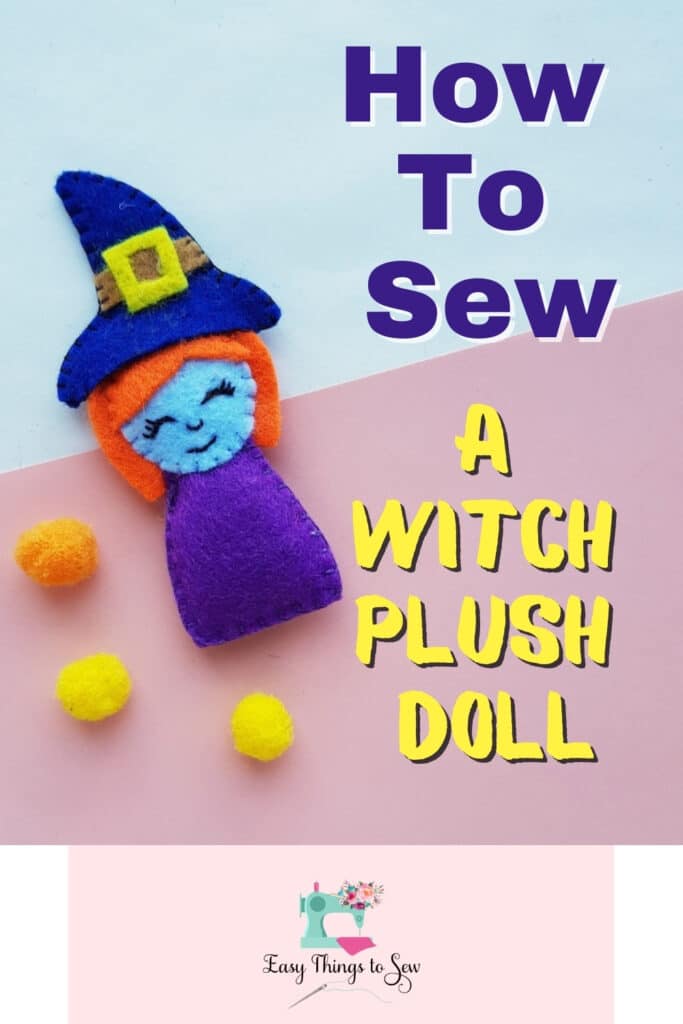
Witch Plush
This witch plushie sewing project is perfect for Halloween. It is easy to customize the colors of the dress, hat and hair.
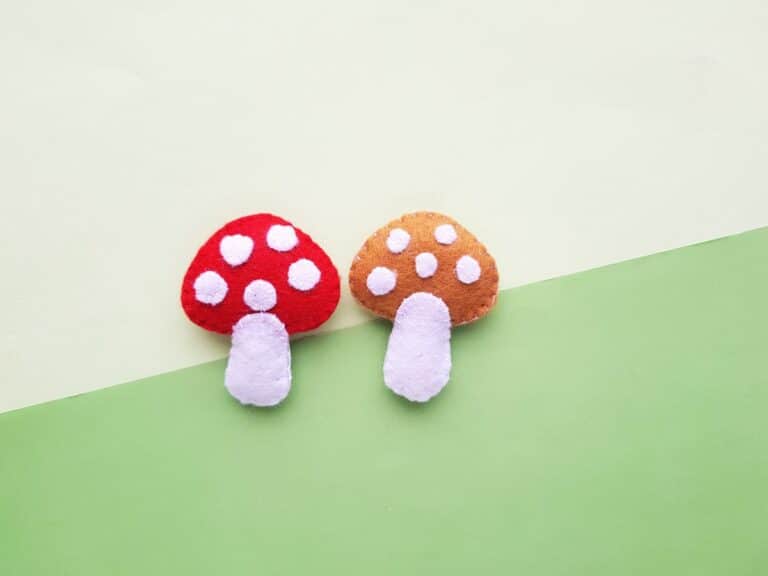
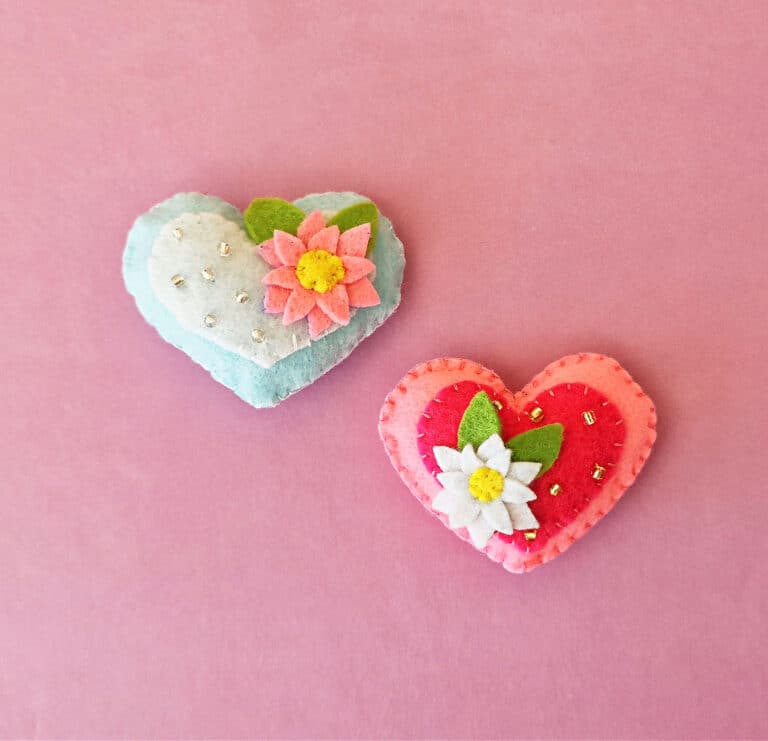
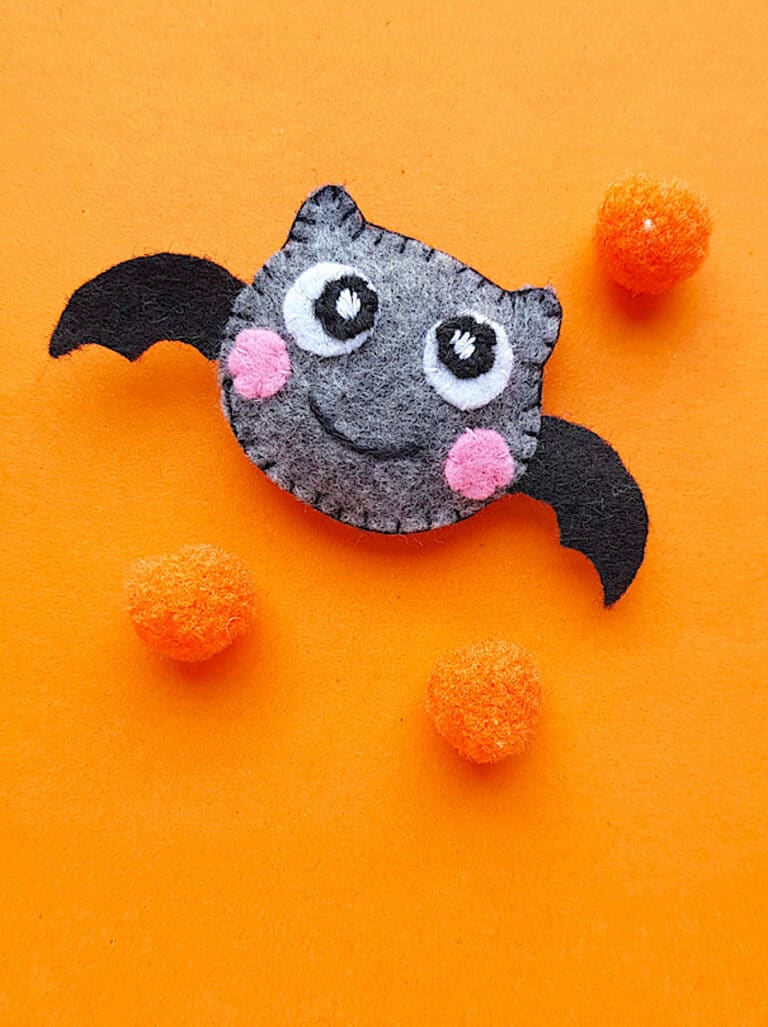
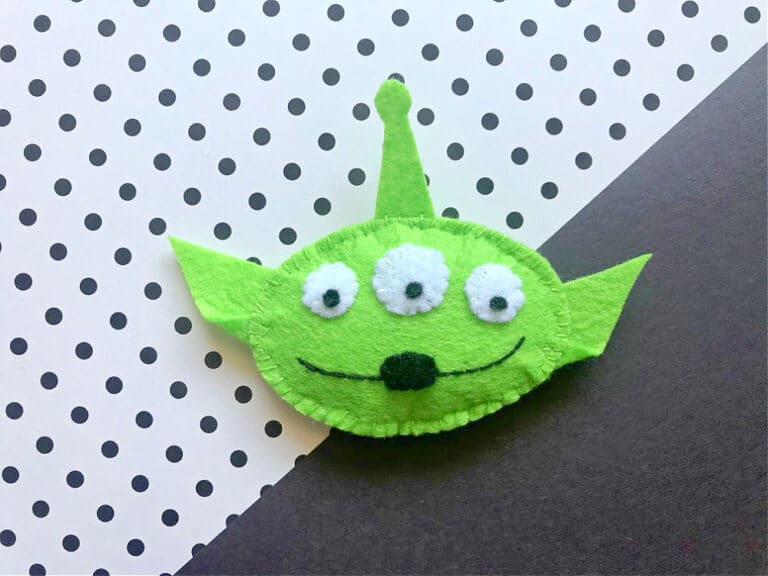
The witch plush is just one of our easy Halloween felt crafts that can be sewn by hand, including:
✅ This is a great source for getting lots of different colored felt for sewing projects.
How to Sew a Halloween Witch
This felt witch plushie wears a hat which is very similar to our witch hat pencil toppers. So be sure to check them out, too. You could make several of them at the same time.
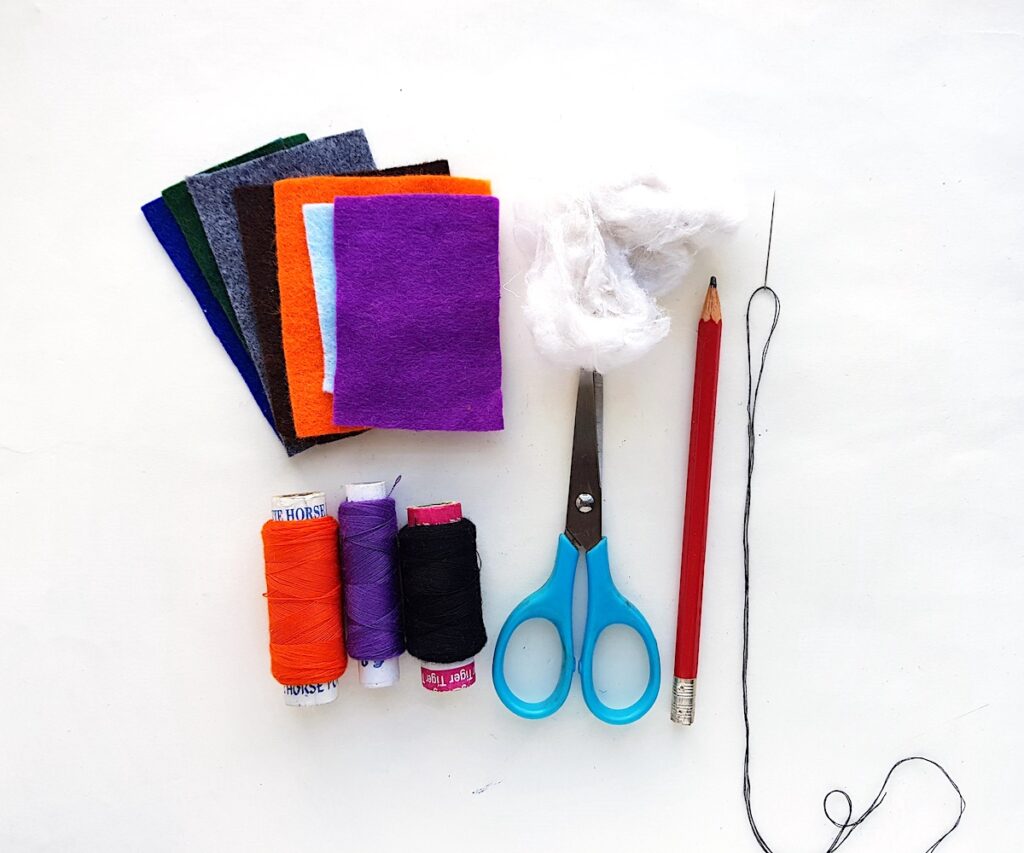
Supplies
- Free Witch Template Pattern
- Felt
- Needle and thread
- Cotton
- Pencil
- Scissors (See our Guide to the Best Scissors for Cutting Felt)
Instructions
Step 1
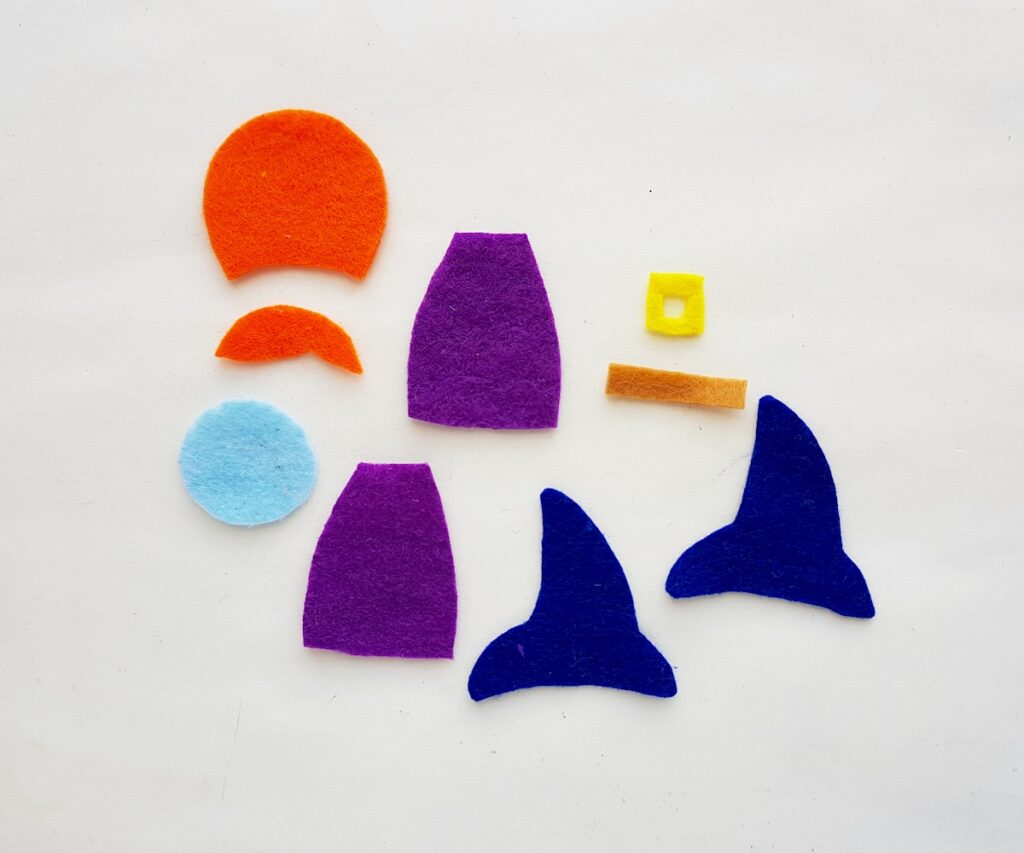
Cut out pattern pieces with felt colors of your choosing. The template includes 2 dress patterns, 2 hat patterns (along with 1 strip and 1 square frame), 1 head (round shape) and 2 hair patterns. Trace the templates on the selected felt fabrics and cut them out.
Step 2
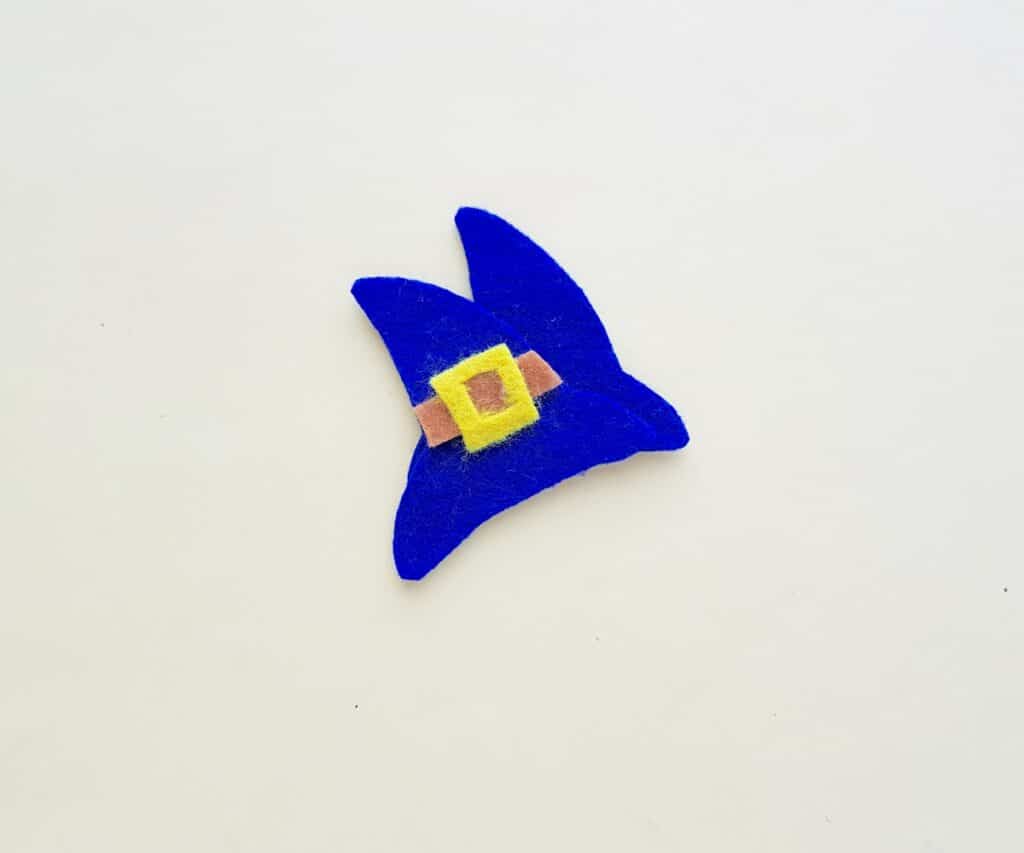
Stitch the square frame for the hat in the middle of the belt for the hat. (You could also glue this section since it is so small.) Then place the belt on one of the hat patterns horizontally above the brim.
Step 3
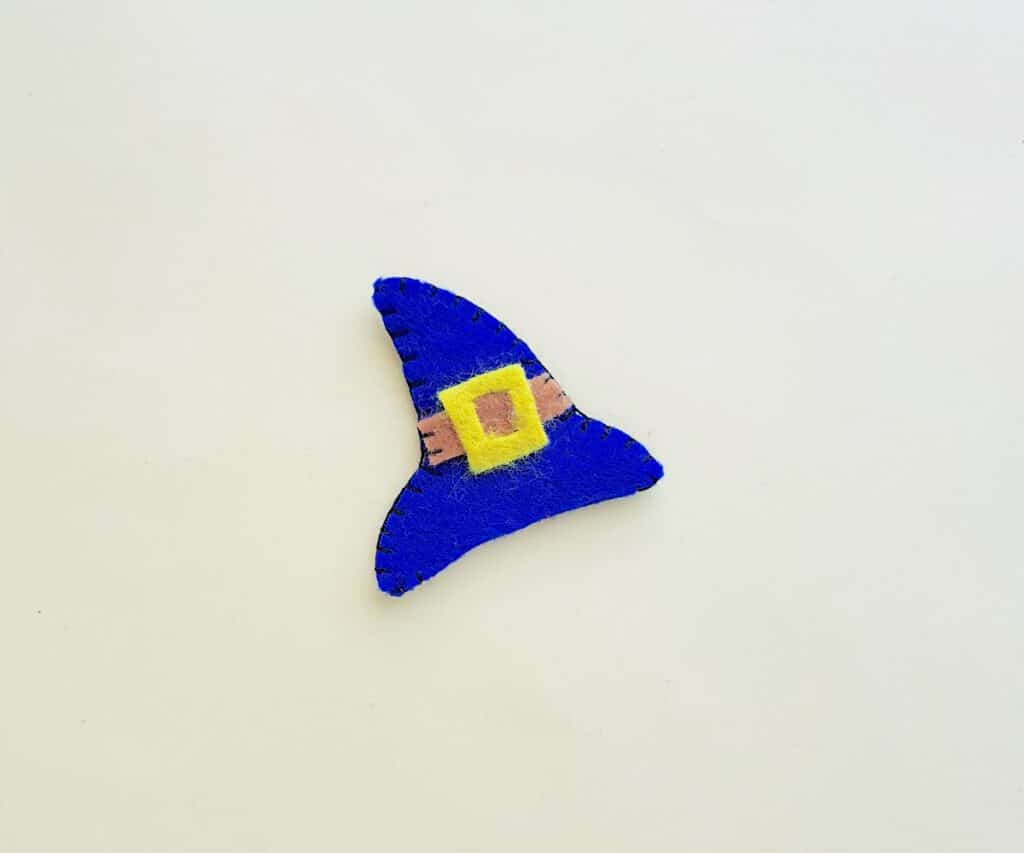
Stitch around the 2 sides of the hat and the top to join them together. Keep the bottom side of the hat open and un-stitched.
Step 4
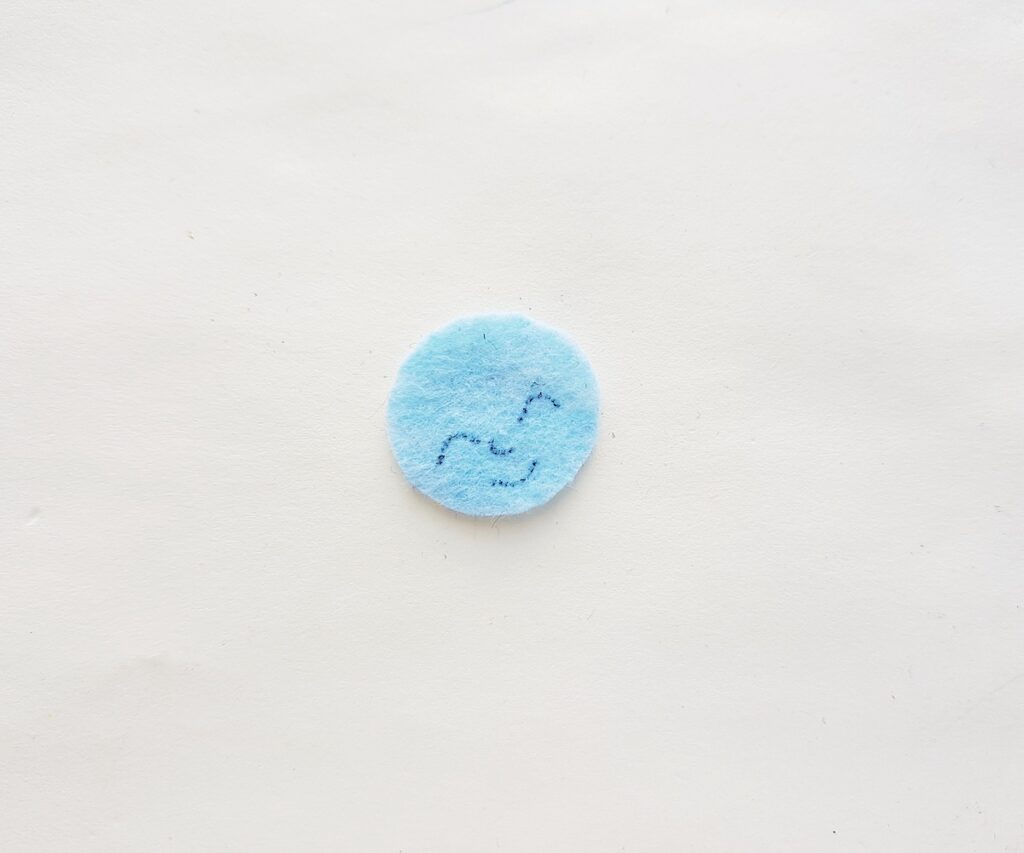
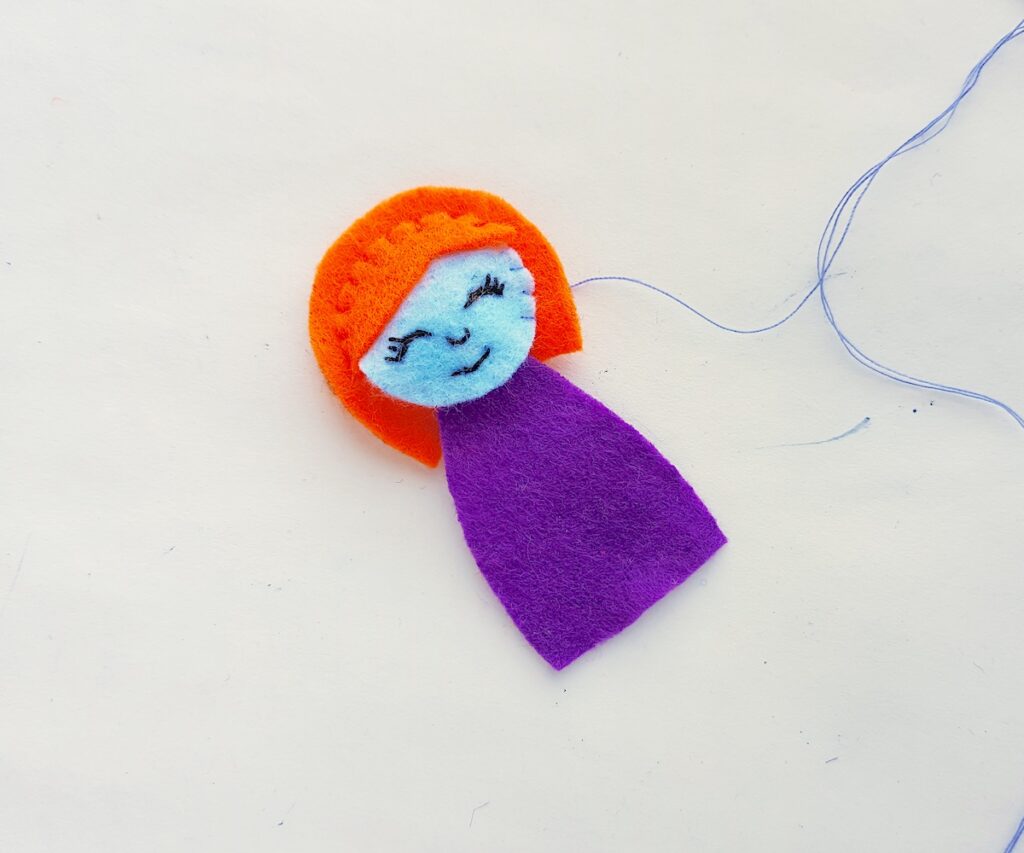
Use a pen or pencil to draw the eyes, nose and mouth of the witch on the head shape.
Step 5
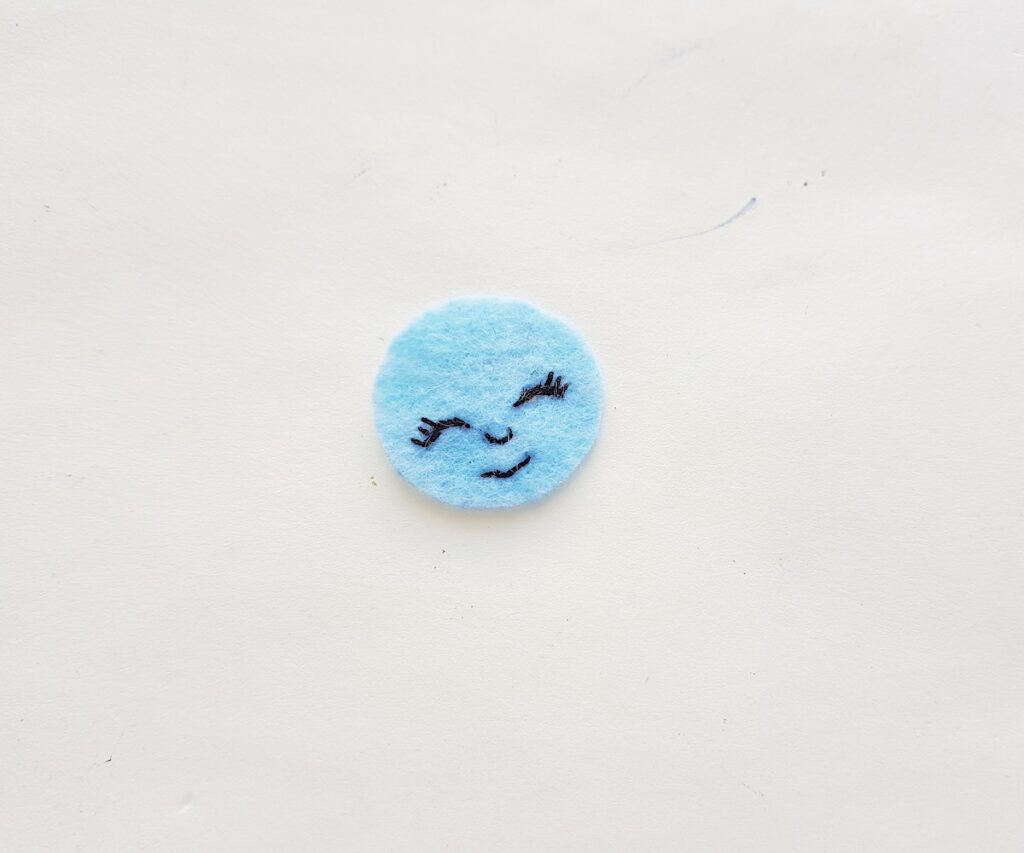
Using a needle with black thread, stitch along the traced eyes, nose and mouth lines with small stitches.
Step 6
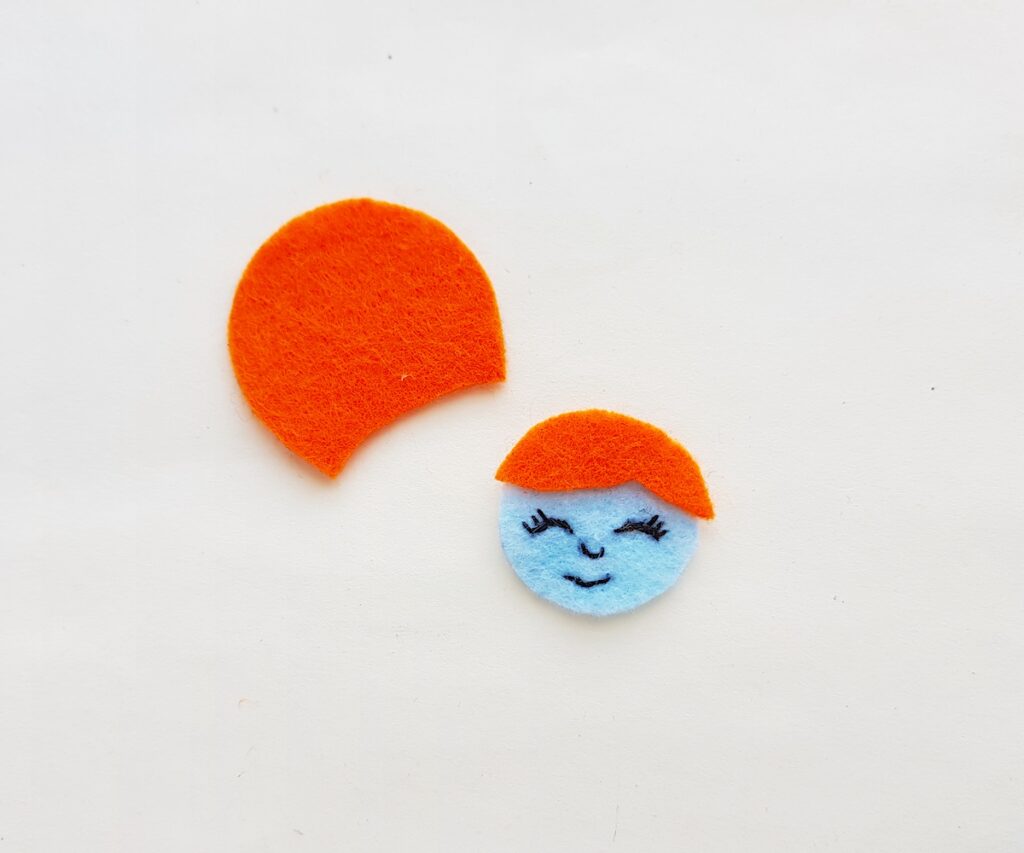
Place the fringe / bangs of the hair pattern on the top side of the head shape.
Step 7
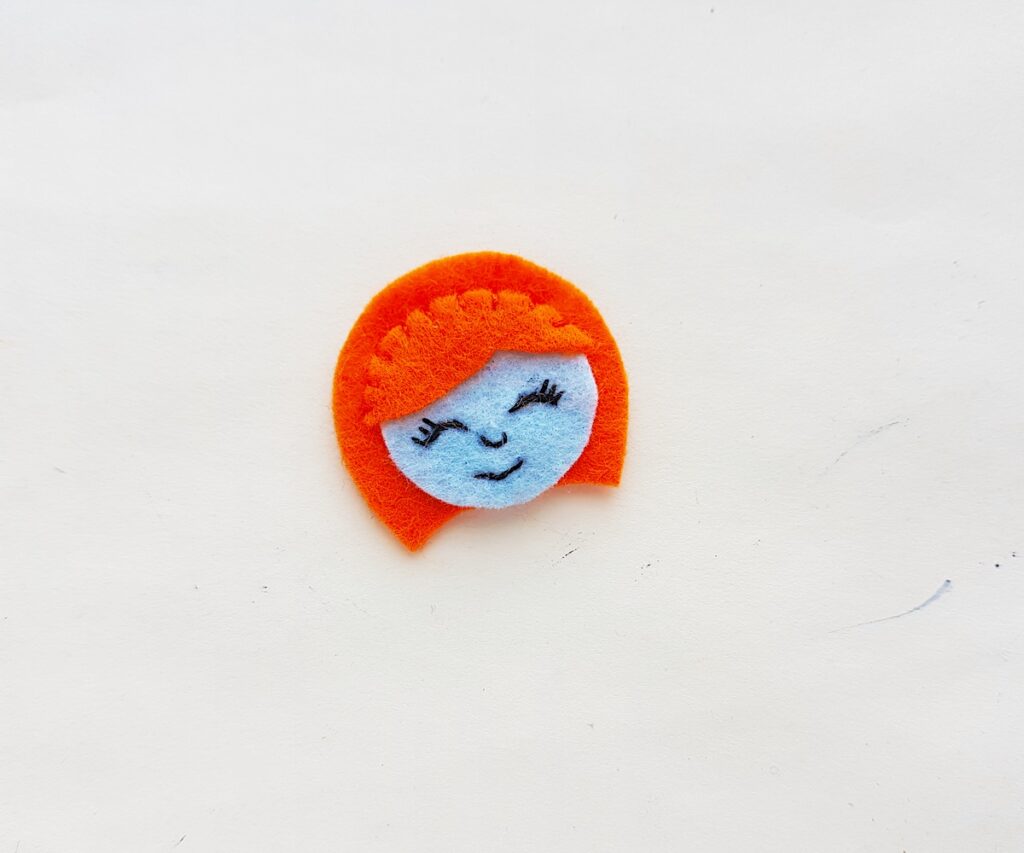
Place the head (with the fringe/bangs) in the middle of the main hair pattern. Stitch the top side of the head (along with the fringe/bangs) to the main hair pattern, stitching through all layers.
Step 8
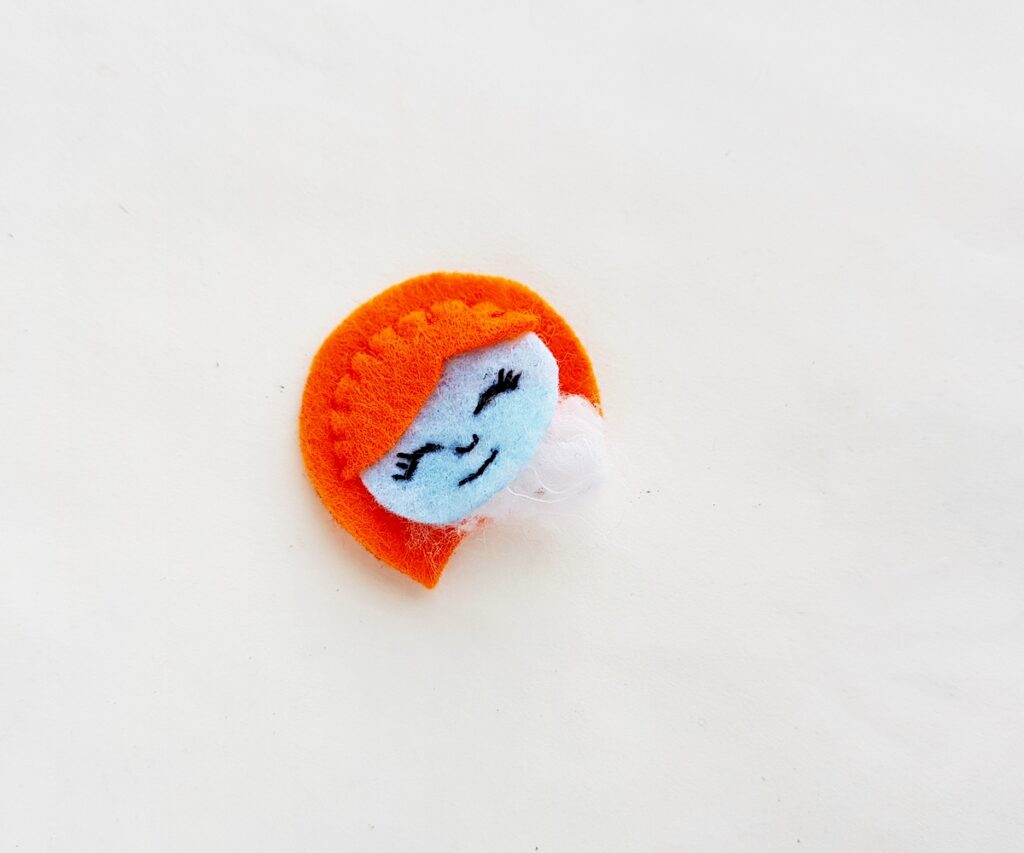
Stuff the witch head by inserting cotton or scrap felt through the bottom opening.
Step 9
Once you are done with stuffing the head, tuck the dress cut out under the open side of the head, inserting the felt by at least ¼″.
Step 10
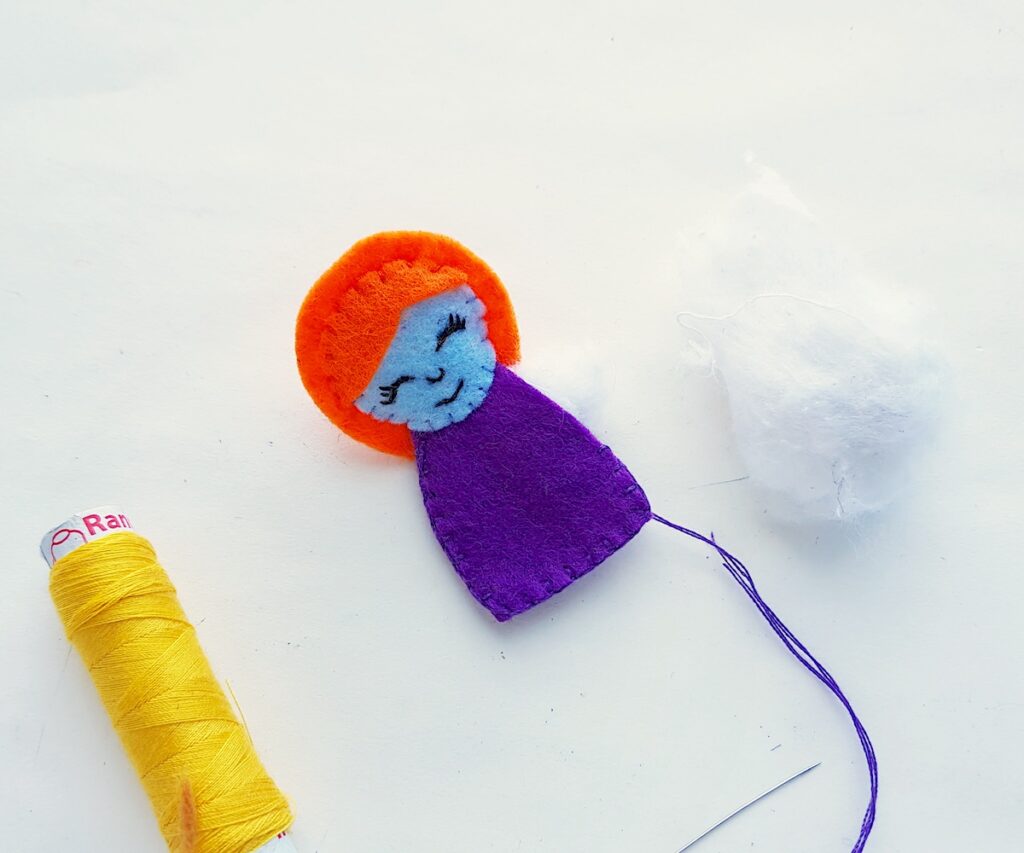
Stitch the open sides of the head with the hair and the top end of the dress to secure the head stuffing. Place the other dress pattern under the front one and stitch around the side. Stuff the dress pattern before closing the stitch.
Step 11
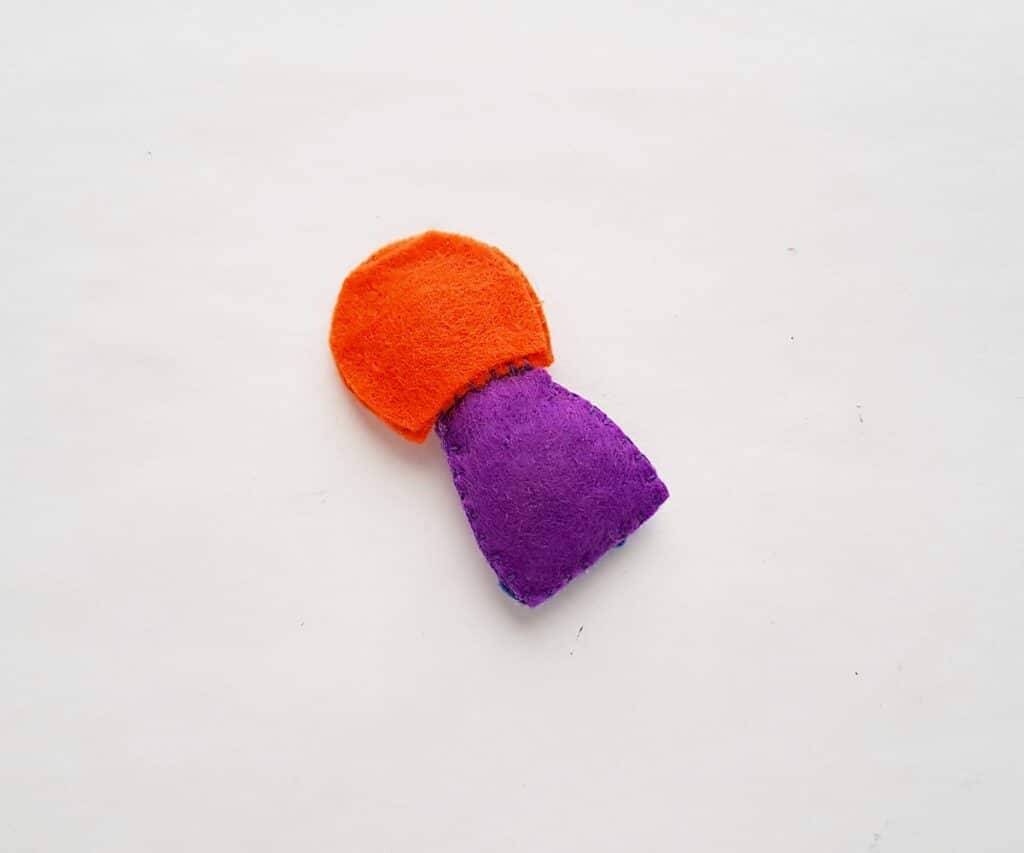
You can add an extra piece of hair pattern on the back side of the hair to cover the stitches. This is what the back side of the witch plush would look like after stitching.
Step 12
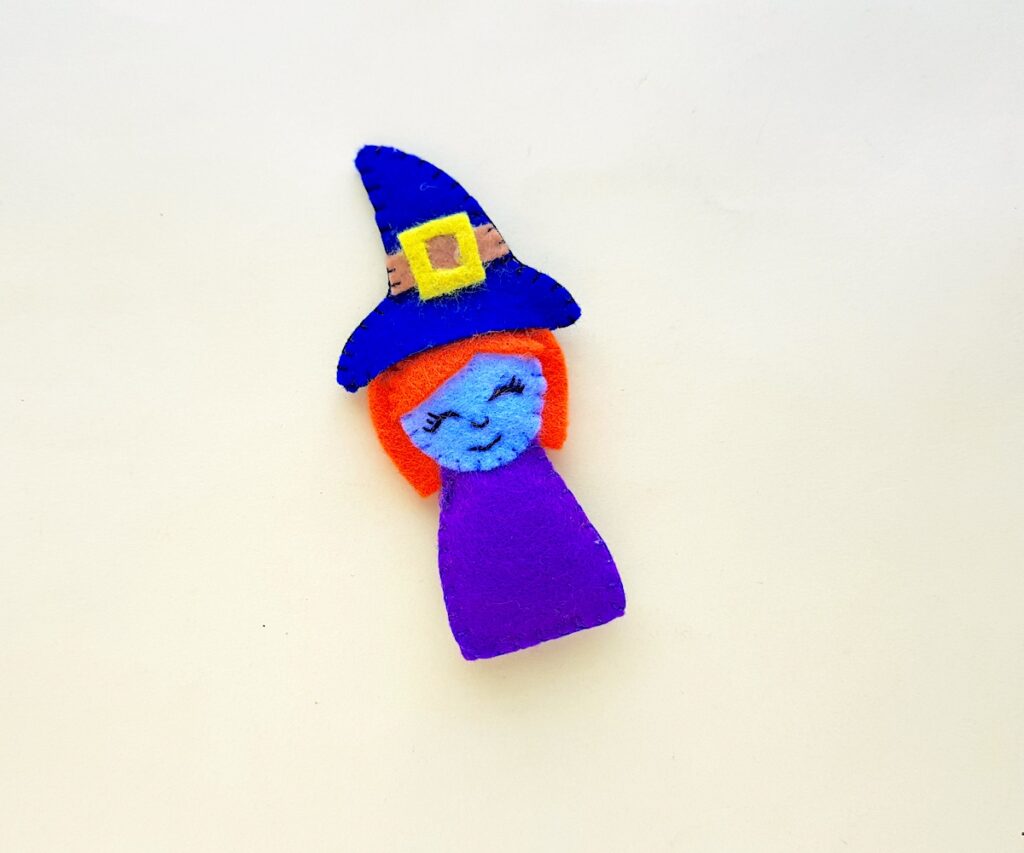
Attach the felt hat on the witch’s head to complete the craft. You can either stitch the hat or simply fit it over the witch head.
Be sure to Pin This craft to save for later!
If you love easy Halloween crafts, you will want to see these ideas next: