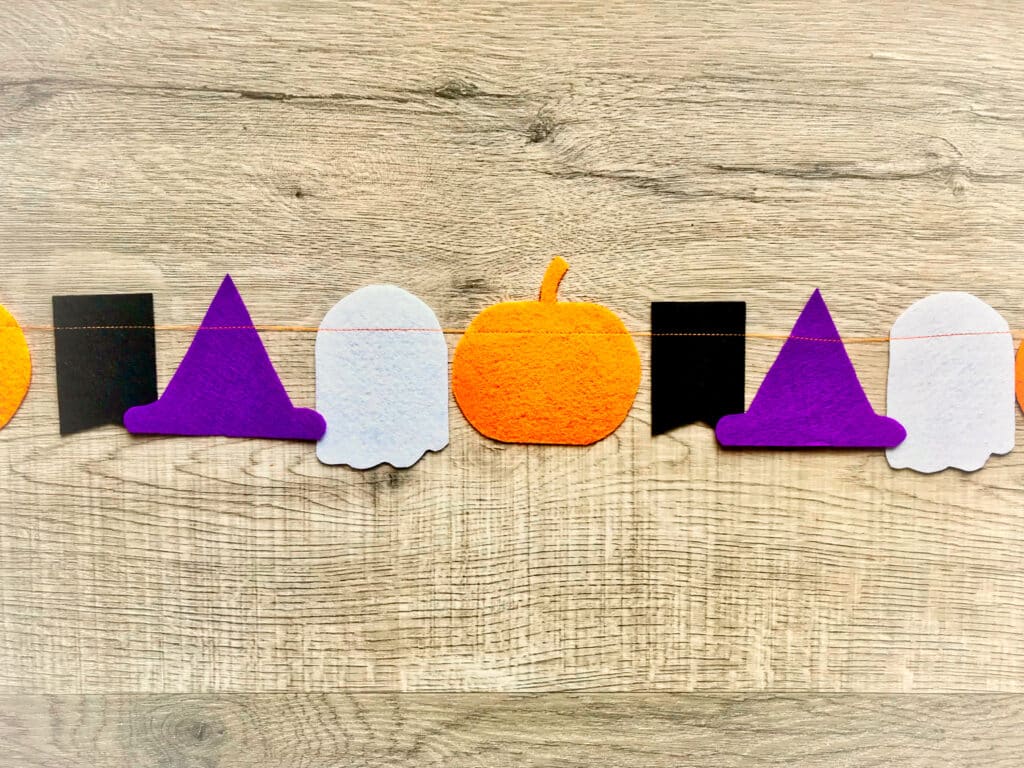
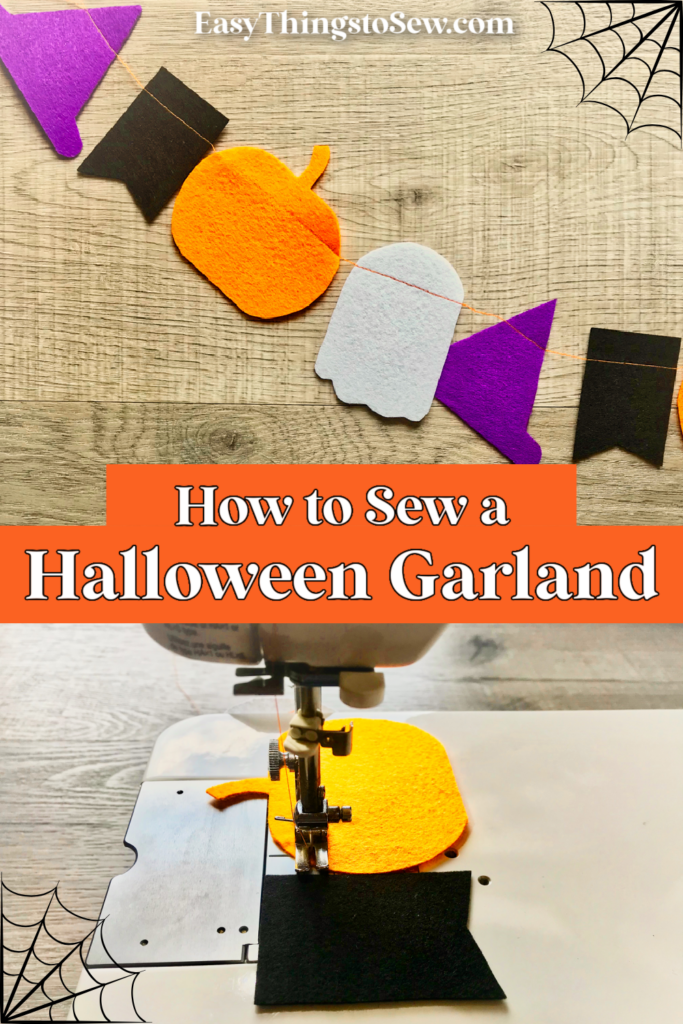
Felt Halloween Garland
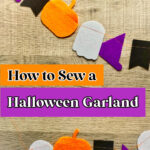
This easy felt Halloween garland is so simple to make with felt and our free pattern.
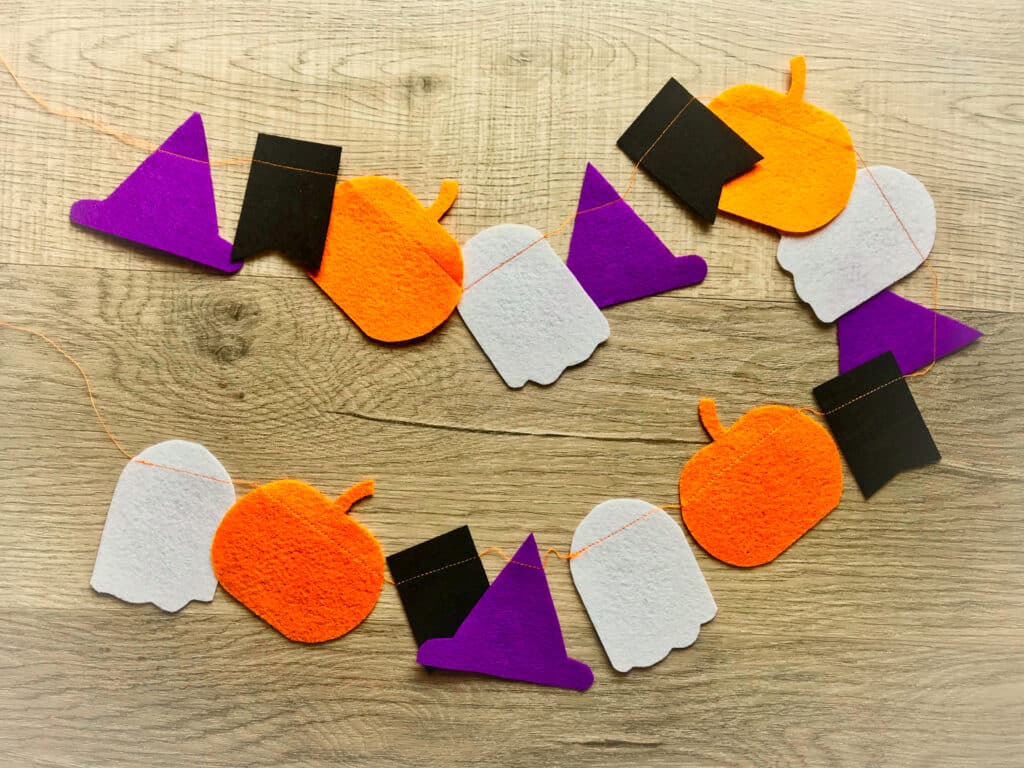
We love this spooky orange, black and dark purple color scheme, but you can choose any colors that you like!
This is just one of our Halloween felt crafts.
How to Make a Felt Halloween Garland
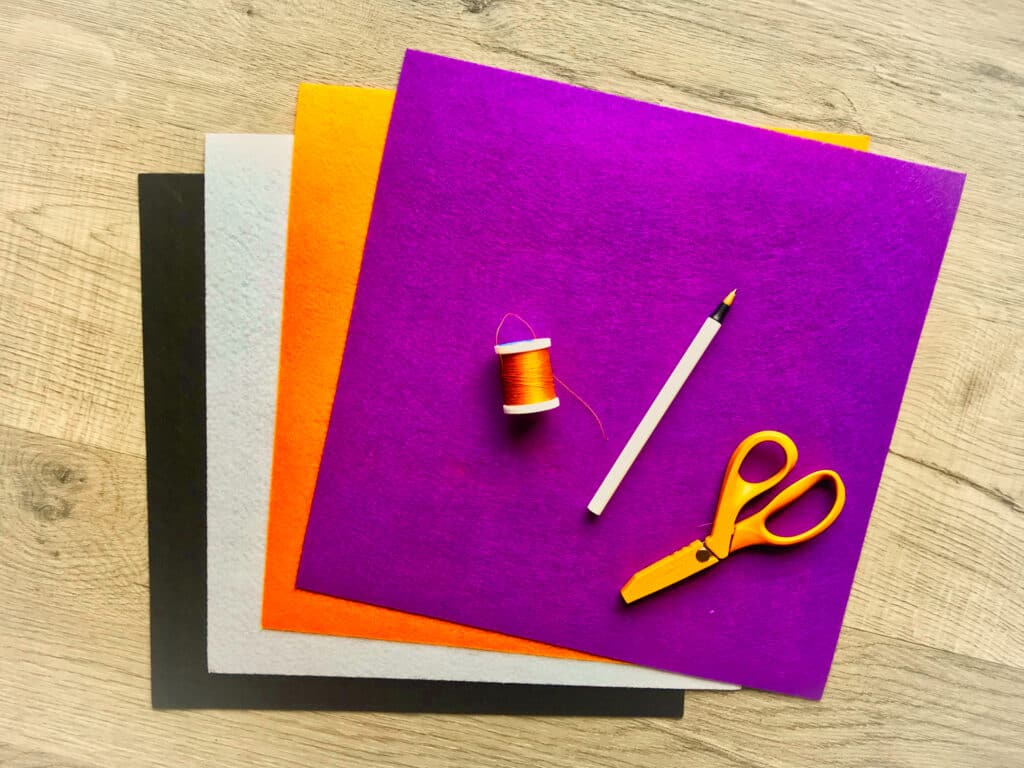
Supplies
- Craft Felt (This multipack of assorted colors is a great deal)
- Thread
- Pen
- Scissors (See our Guide to the Best Scissors for Cutting Felt)
- Free Halloween Garland Pattern
- Sewing Machine
Directions
Step 1
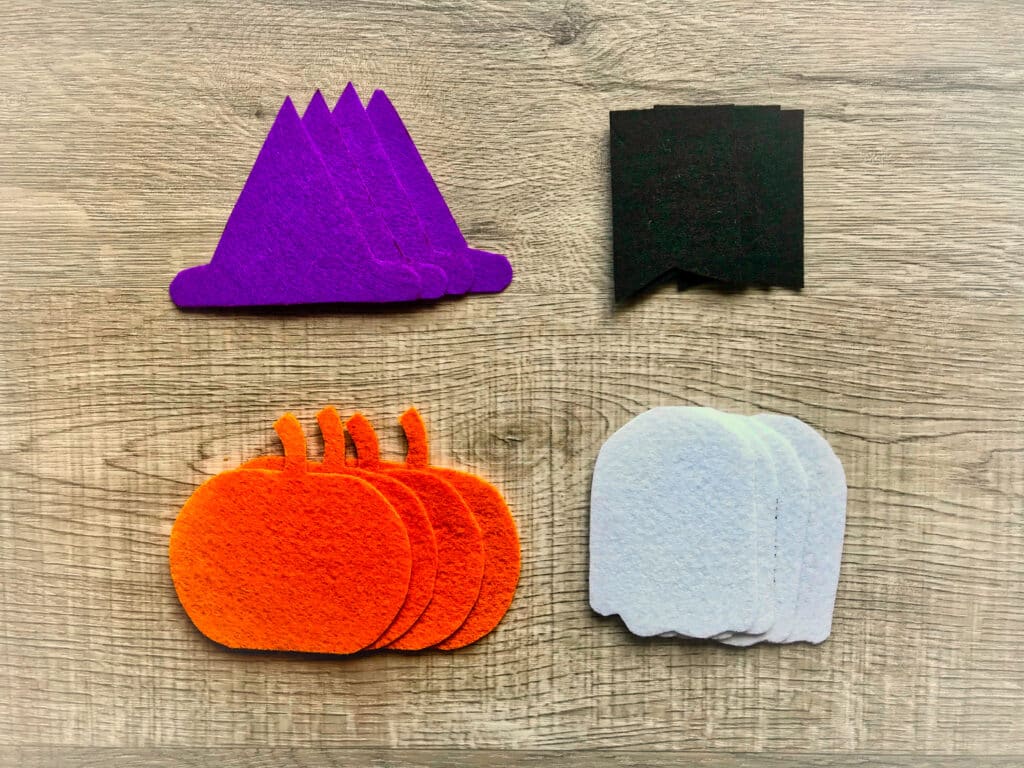
Download, print and cut out the free Halloween garland pattern.
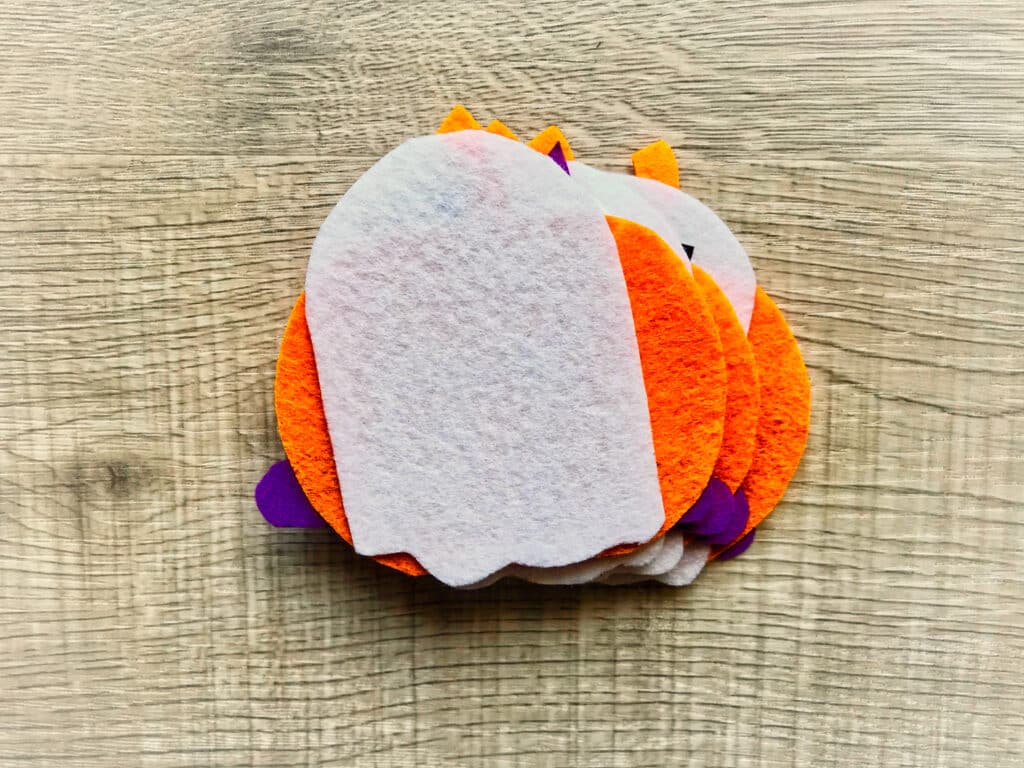
Trace the templates onto the felt and cut out multiples of each shape. The number will depend on how long you want your finished garland to be.
Step 2
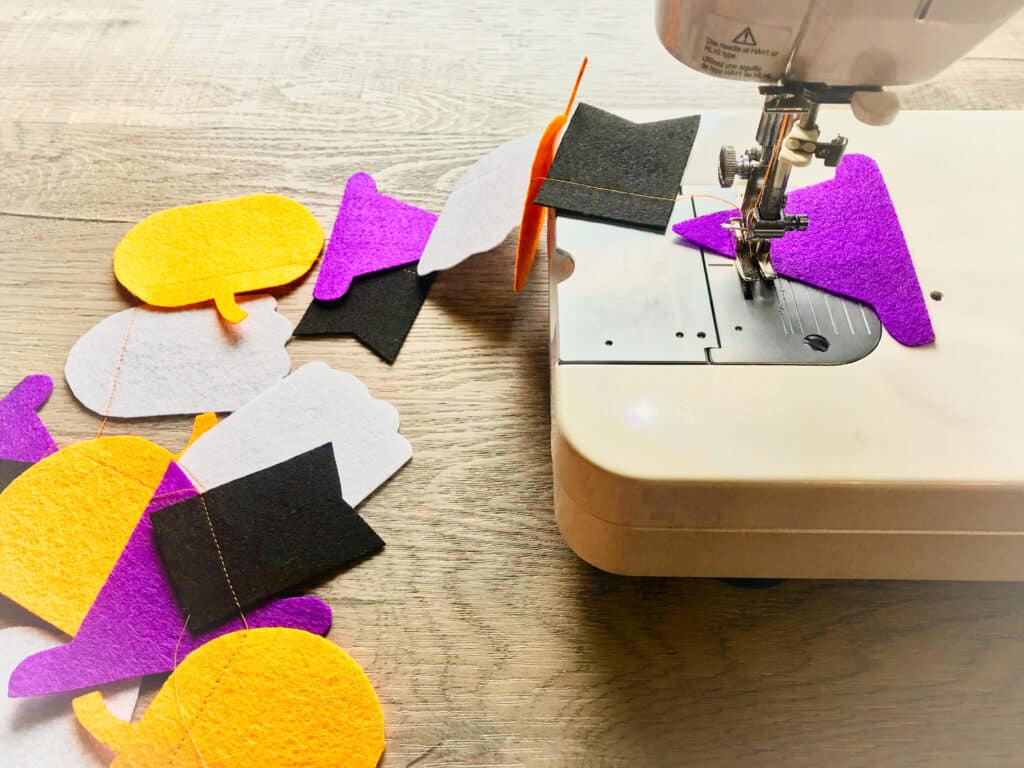
Stack the felt shapes on top of each other in the order they will appear in your garland.
Step 3
On your sewing machine, pull the top and bottom threads out for several inches before starting sewing. This will allow thread for hanging the garland.
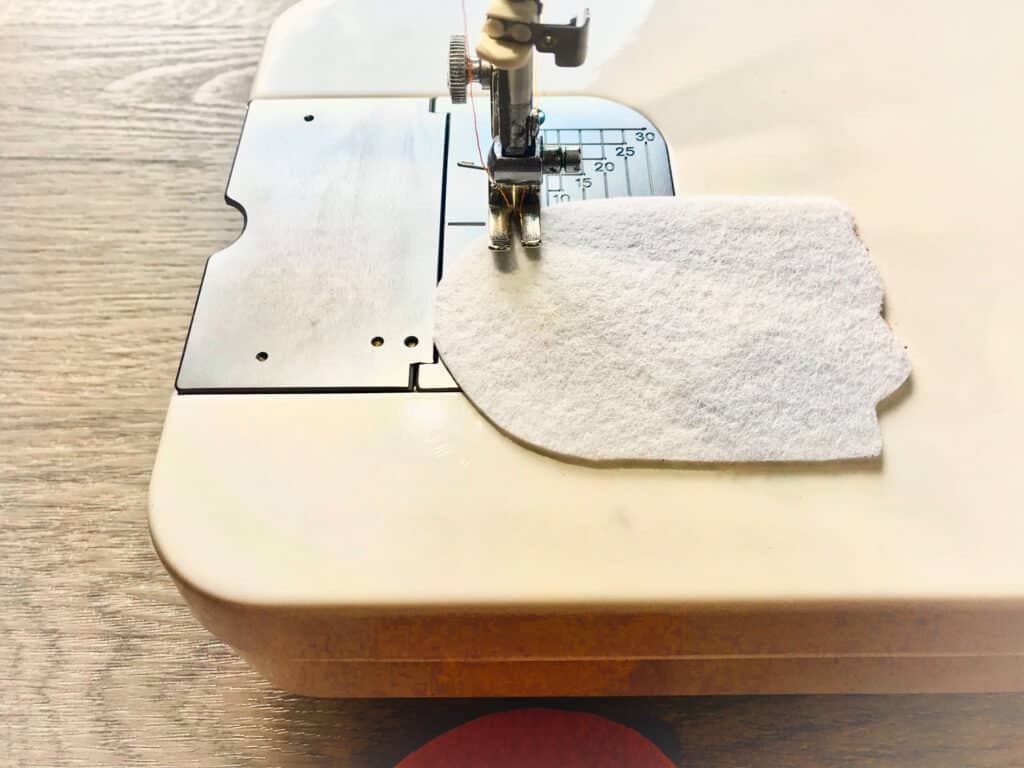
Choose a line on the sewing machine’s plate to guide your sewing. It can be to the right or left of the needle, but use it to line up each felt shape. Alternatively, you could place a piece of tape on the base to use as your guide.
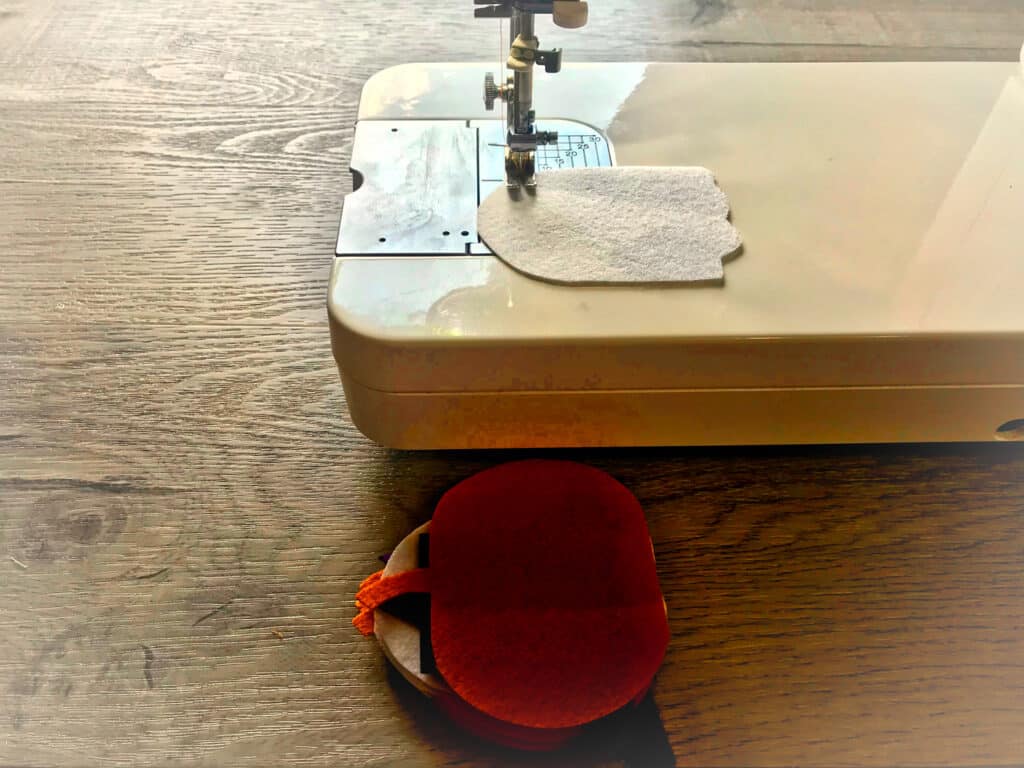
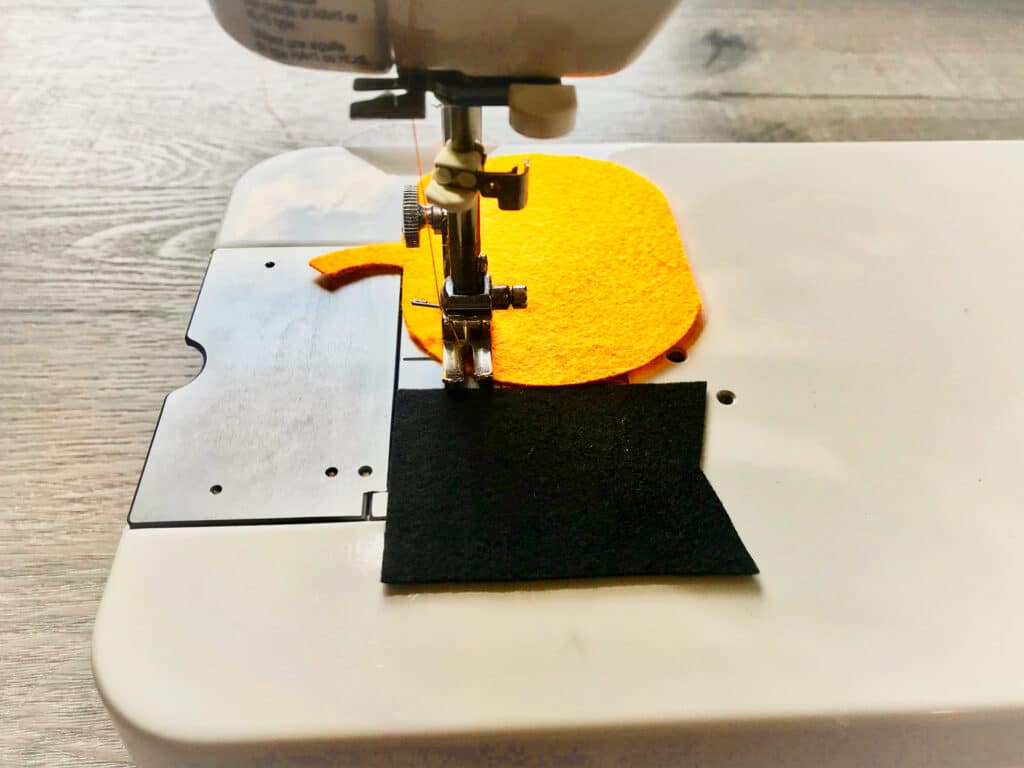
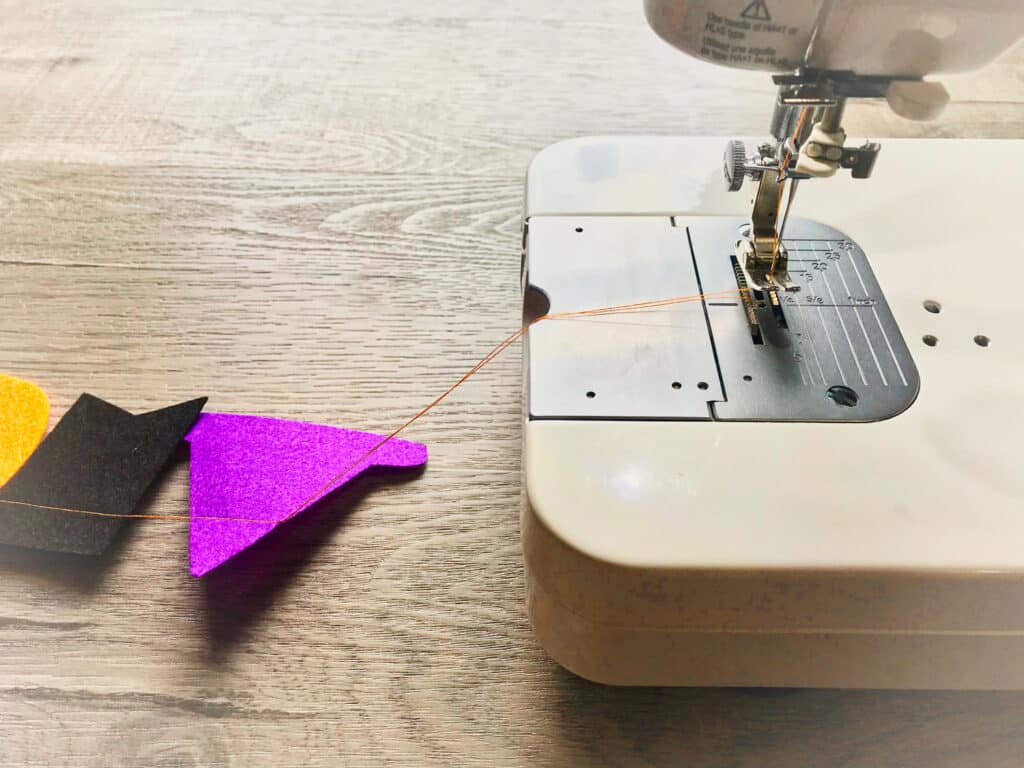
Start to sew with a straight stitch, adding felt shapes as you go. If you prefer space between the felt shapes, continue “sewing air” to create a hanging thread between the shapes.
Step 4
Continue sewing until all shapes have been added.
Step 5
Pull the threads several inches before cutting so that you have a hanger at the end of the banner.
Save this Halloween sewing project by Pinning It to Pinterest!
See our other Halloween sewing projects next: