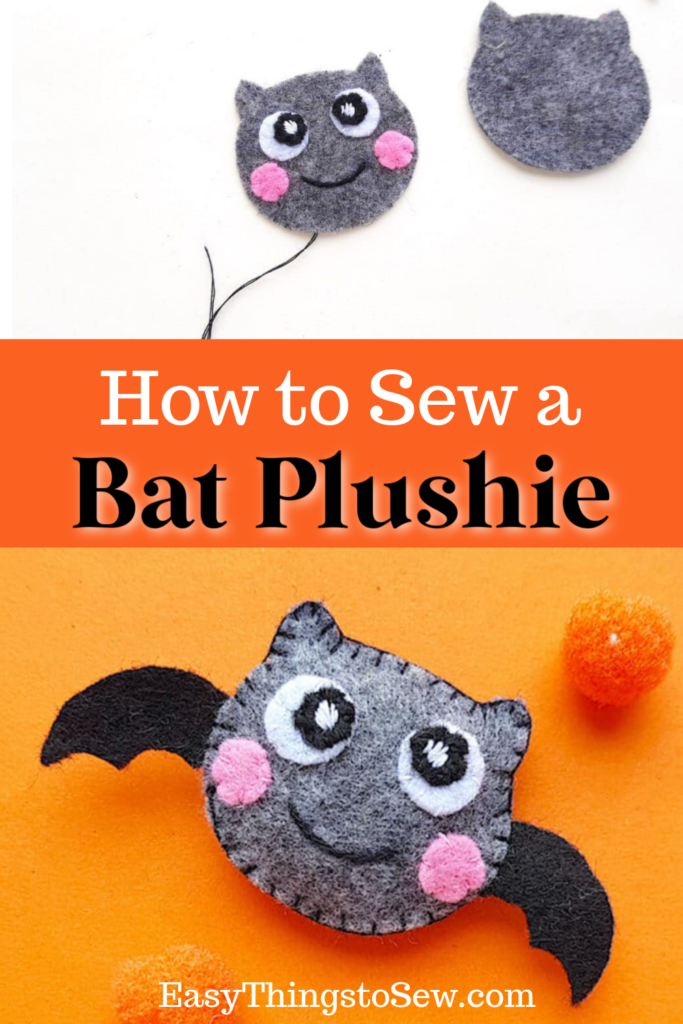
How To Sew A Felt Bat Plushie
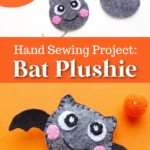
Use our free pattern and hand sewing to stitch a felt bat plushie for an easy Halloween craft.
These stuffed bats are great for:
- Hair Accessories
- Magnets
- Tiered Trays
- Filling a Bowl
- Lunchbox Surprise
This is just one of our easy Halloween felt crafts that can be sewn by hand.
How To Make A Plush Bat
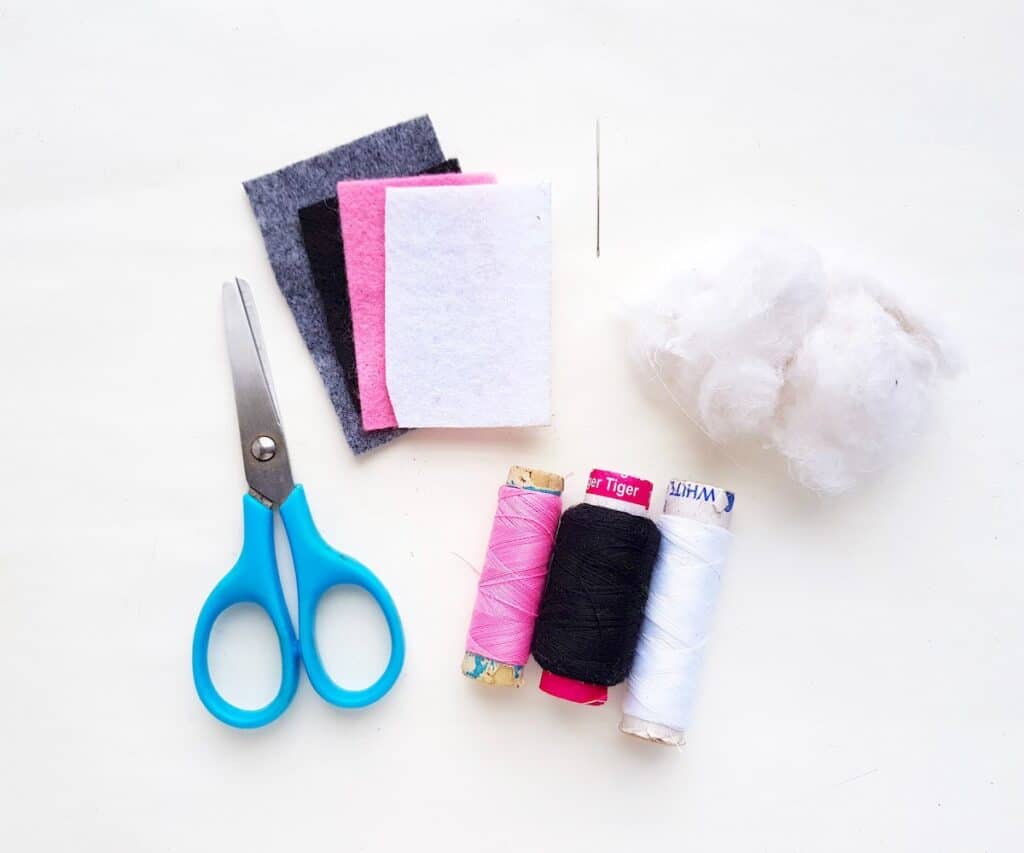
Supplies
- Free Bat Pattern Template
- Felt (grey, black, pink, white)
- Thread in matching colors
- Needle
- Polyfill, cotton stuffing or a cotton ball
✅ This is a great source for getting lots of different colored felt for sewing projects.
Instructions
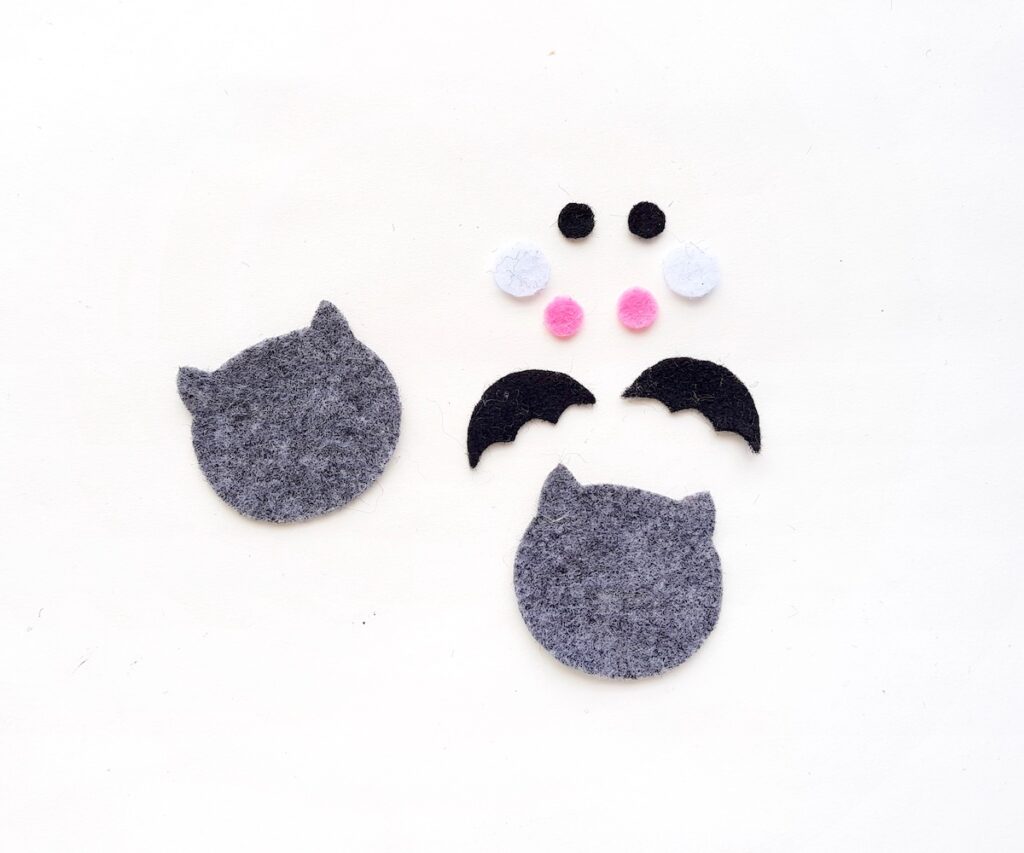
Step 1
Trace the bat template patterns on the selected felt fabrics and cut them out.
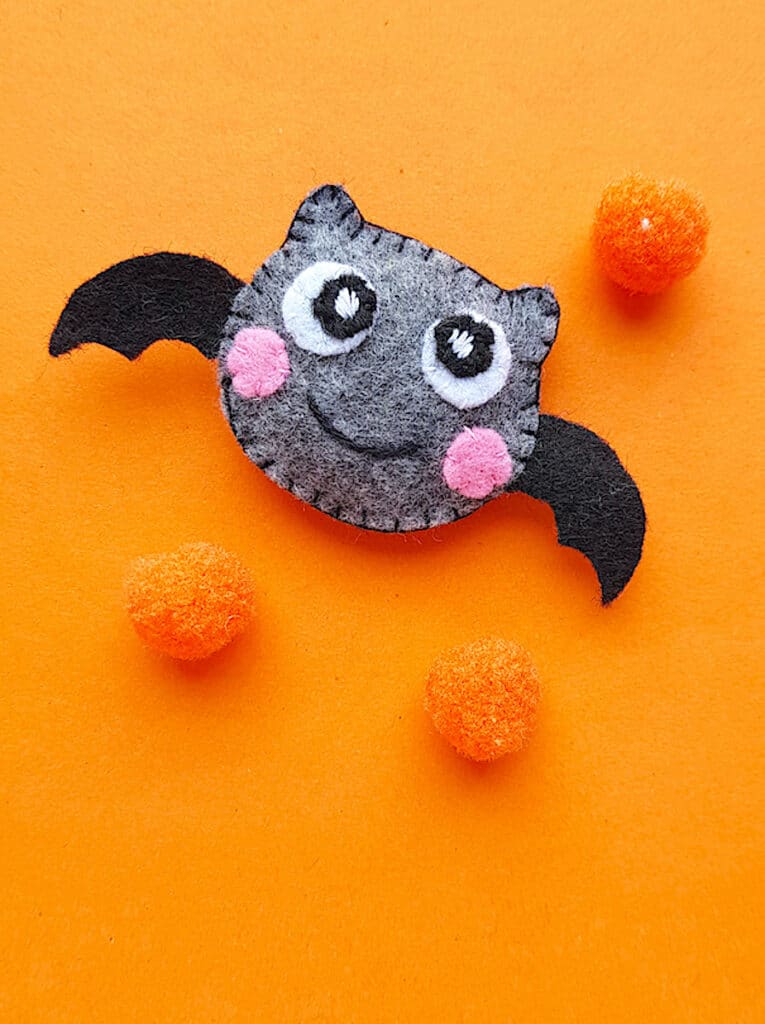
We used these colors:
- Bat Head: Grey
- Wings: Black
- Eyes: Black and White
- Cheeks: Pink
Step 2
Place a small black cutout circle on the top of a white cutout.
Thread a needle with white thread and knot at the end. Stitch a small dot on the black felt with white thread, making sure to also grab the white cutout along with it while stitching. We used several straight stitches in varying lengths to make a white circle on the eye, as seen in the photo.
Knot the thread in the back of the eye cutouts and cut off the excess thread.
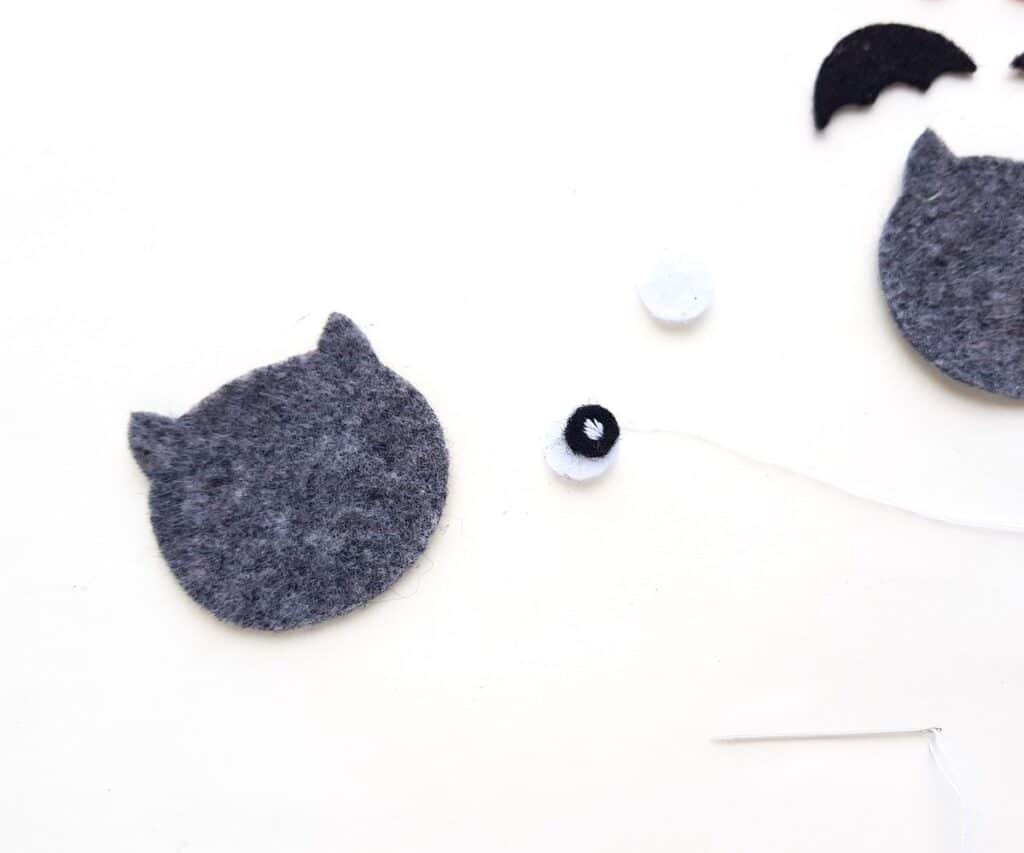
Repeat for the other eye.
Step 3
Stitch the felt eyes on the bat face. Thread your needle with white thread again, and knot it at the end. Then attach the eyes with a few stitches, going over the white circle that you already created on each eye.
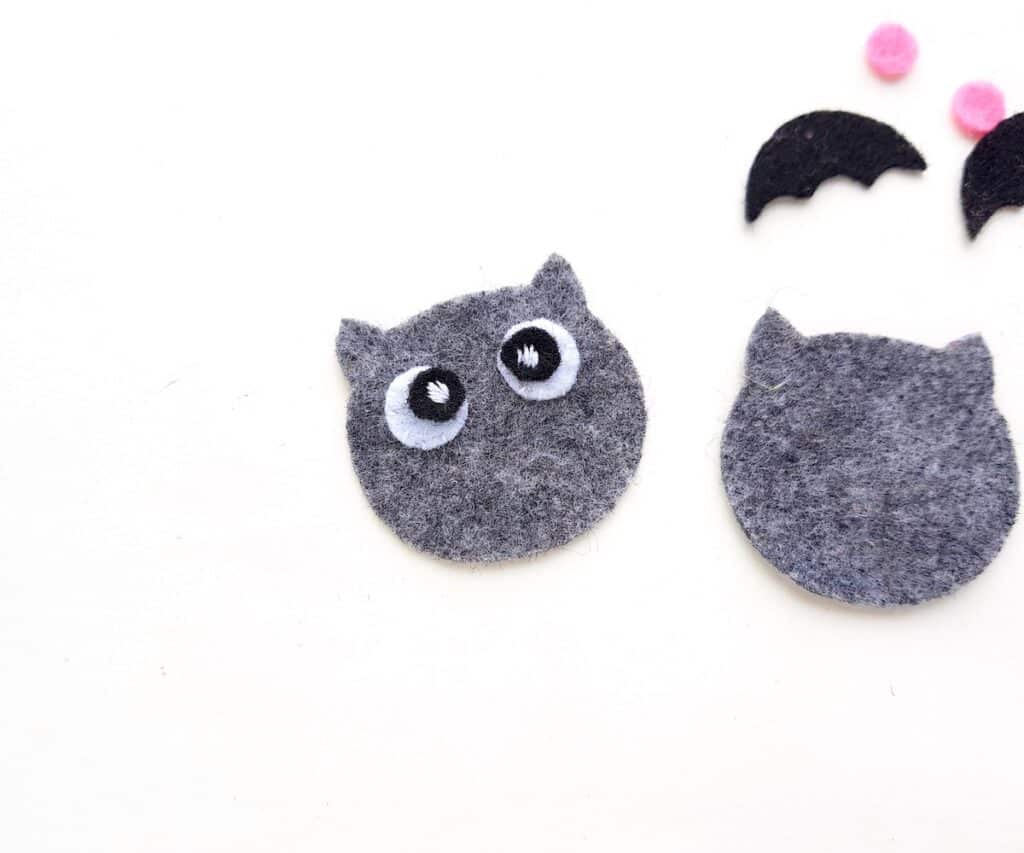
Knot the thread on the back and cut off the excess thread.
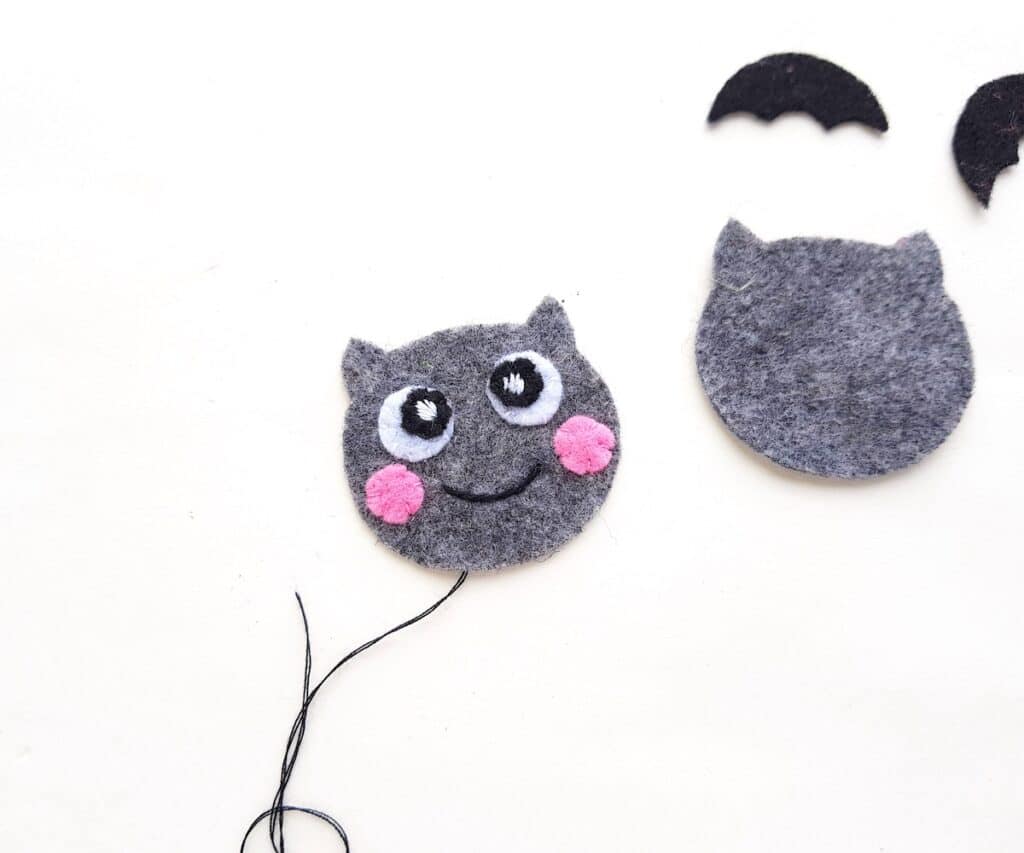
Step 4
Stitch the pink round cutouts on both cheeks of the bat plush with a coordinating thread color.
Then stitch the mouth in a semi circle using a black thread. We used several straight stitches to make the curved mouth.
Step 5
Lay the other bat face cut out on a flat surface. Place the wings on both sides of the plain base, making sure to slightly overlap the wings with the base.
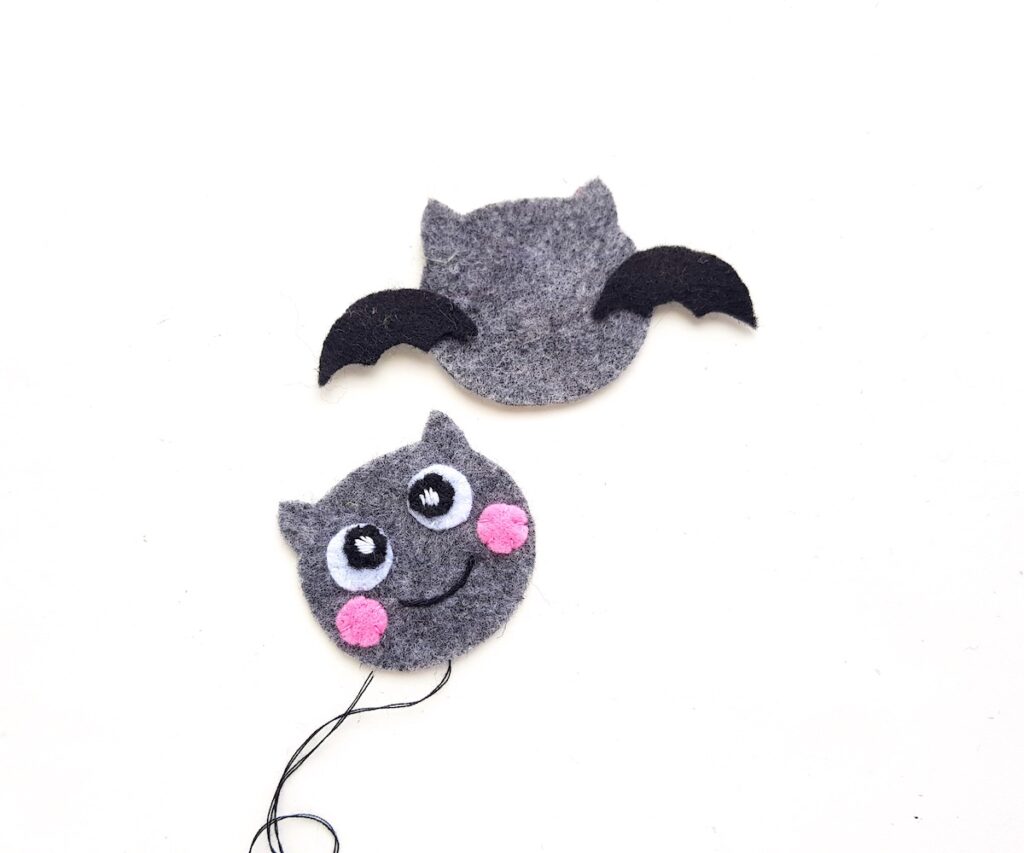
Step 6
Place the bat face with the eyes and cheeks on the top of the plain one. Make sure that the wings are positioned in the middle of both bases, on both sides.
Start stitching the two head pieces together. We used a blanket stitch.
We suggest starting above one bat wing and stitching through all of the felt layers to keep it in place, then continuing around either the top or bottom of the bat until you get to the other wing and stitch it in place.
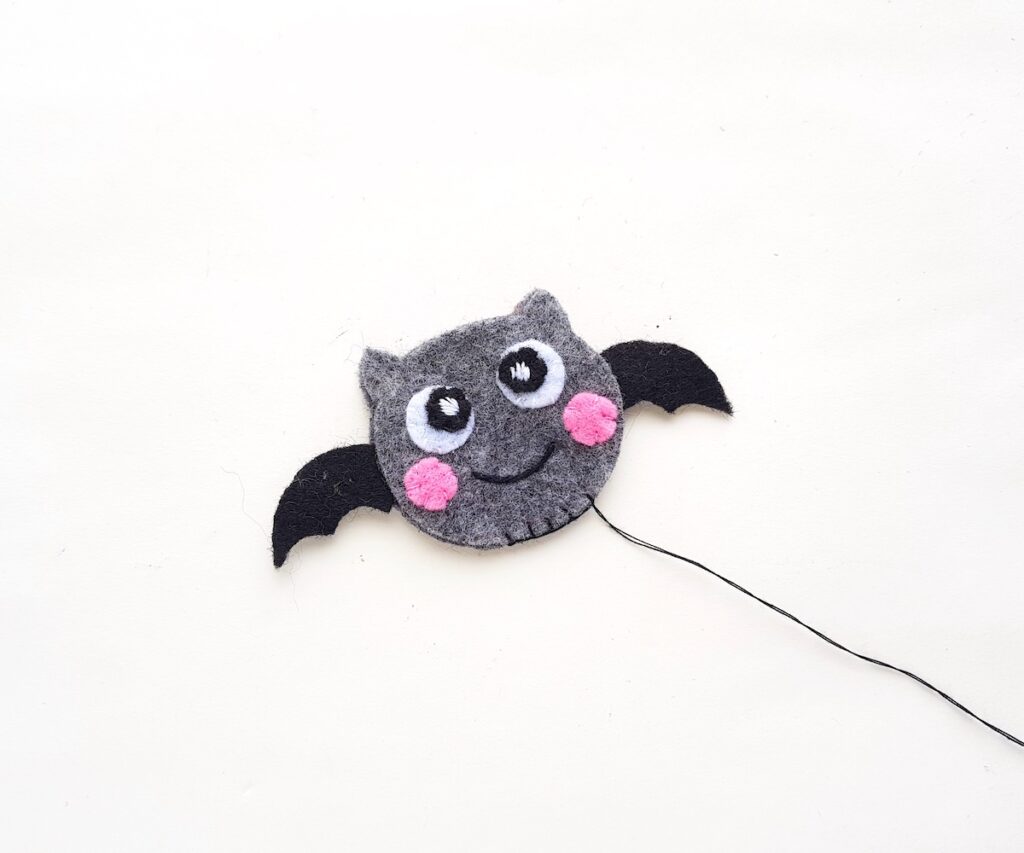
Then leave an opening for stuffing the bat plush, but don’t cut off your thread yet.
Step 7
Add a small amount of stuffing to the middle of the stuffed bat.

(In the photos I had decided to stuff the bat from the side, which I don’t recommend doing after trying it this way! I had to remove the wing to insert the Polyfill and it would have been easier to stuff the top or bottom of the bat.)
Step 8
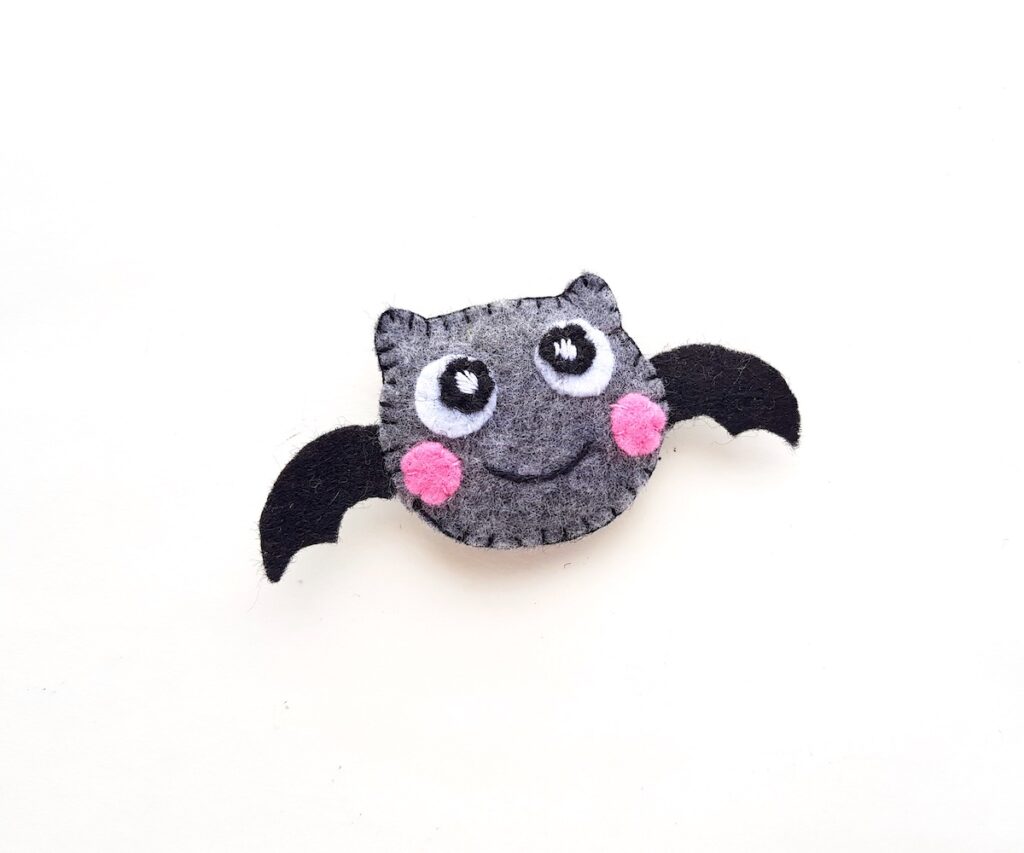
Continue stitching around the bat face, securing the pieces together. Once you get to the end, knot the thread in the back and cut off excess thread.
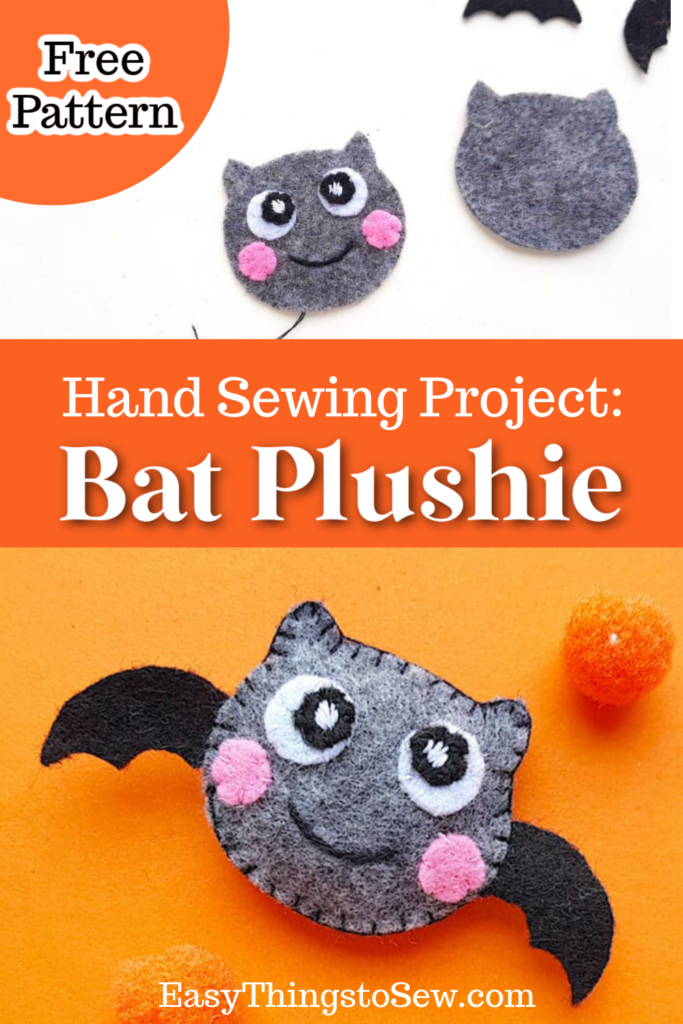
Save this project for later by Pinning It to Pinterest!
Our stuffed bat pattern is one in a series of Halloween plushies with free patterns. Be sure you see these crafts, too: