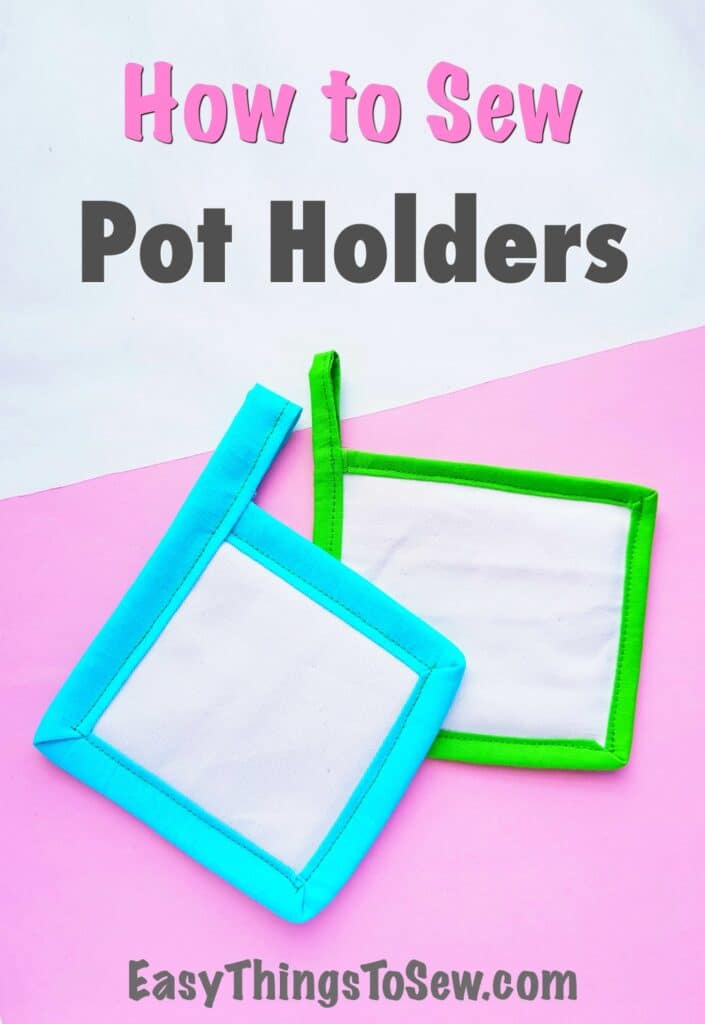
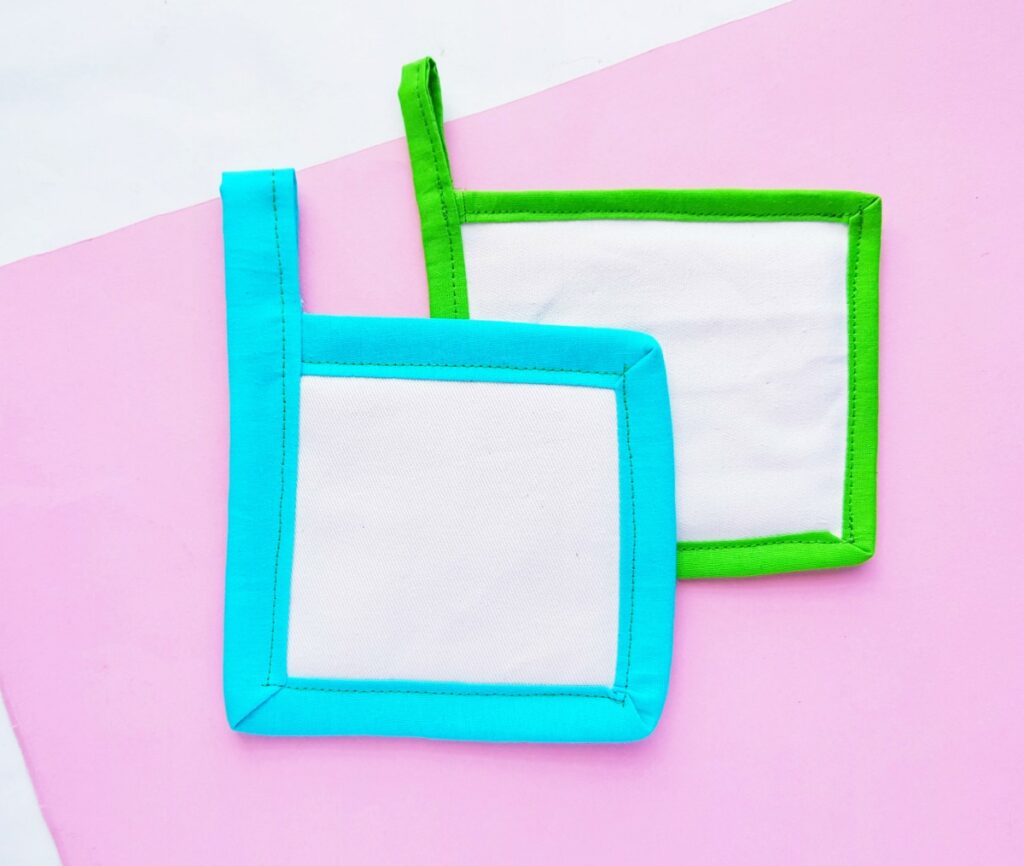
How to Sew Pot Holders
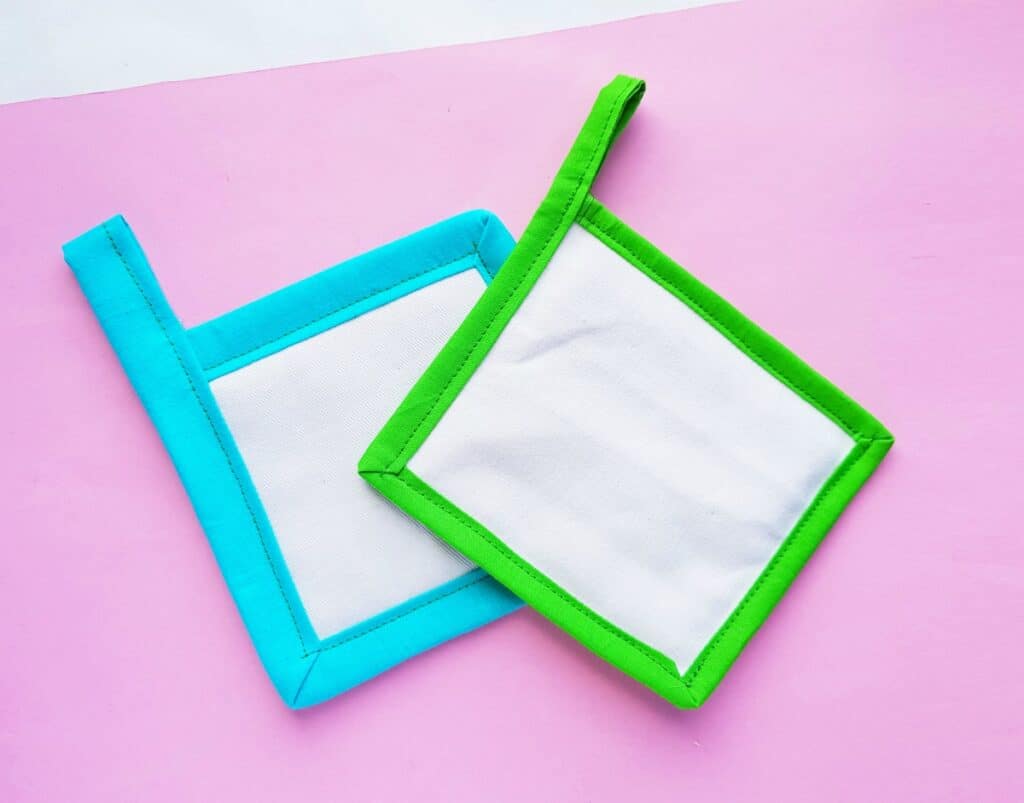
Pot holders are an easy craft to sew for beginners. Plus they are helpful to have in the kitchen and they make great gifts. Which is why we’re so excited to share how to sew pot holders with you!
Easy Peasy! How to Sew Pot Holders
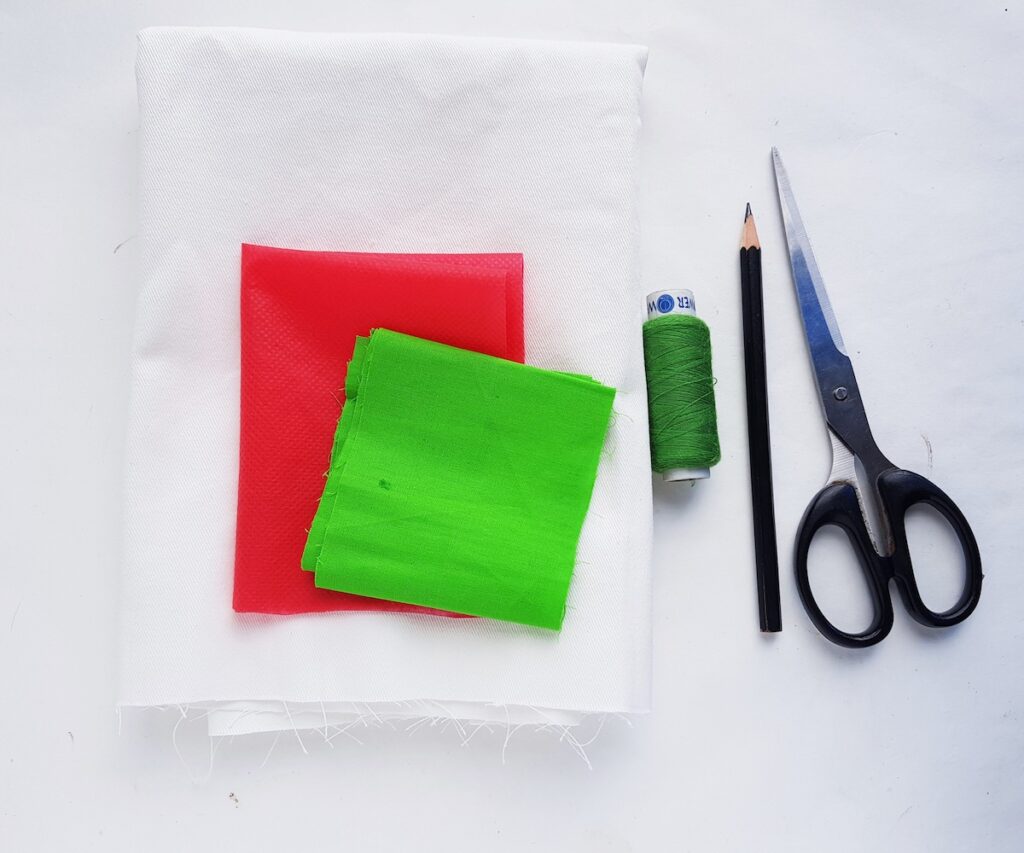
Supplies
- Thick cotton fabric
- Felt fabric
- Pencil or fabric chalk
- Thread (and needle)
- Scissors
Instructions
Step 1:
Select a thick fabric for the base of the potholder and select a lighter weight of fabric to sew the border. We are using a type of felt fabric for the middle layer of the potholder. However, you can use scrap jeans or any other kind of thick fabric.
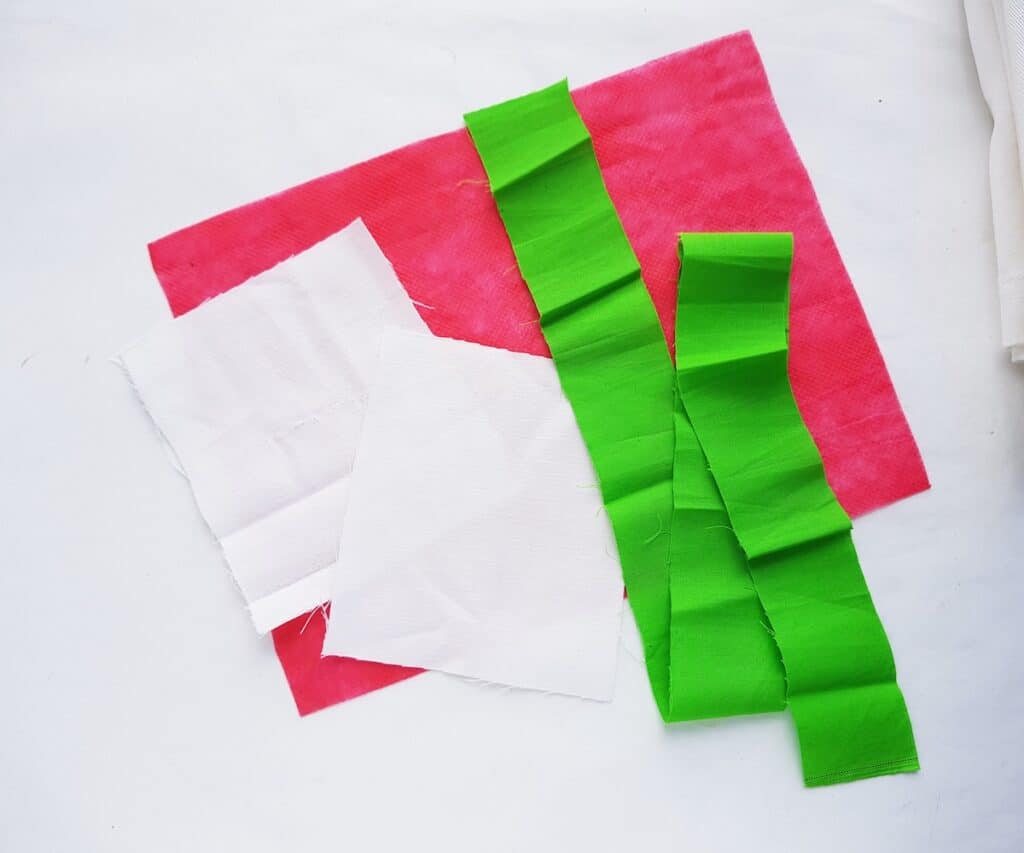
Cut 2 squares of the same size (a size you choose) from the thick fabric selected for the base. Cut a long strip from the lightweight fabric, keeping its width around 1.5 inches and length long enough to cover all 4 sides of the square plus an additional 4 inches or so to make a handle loop.
Step 2:
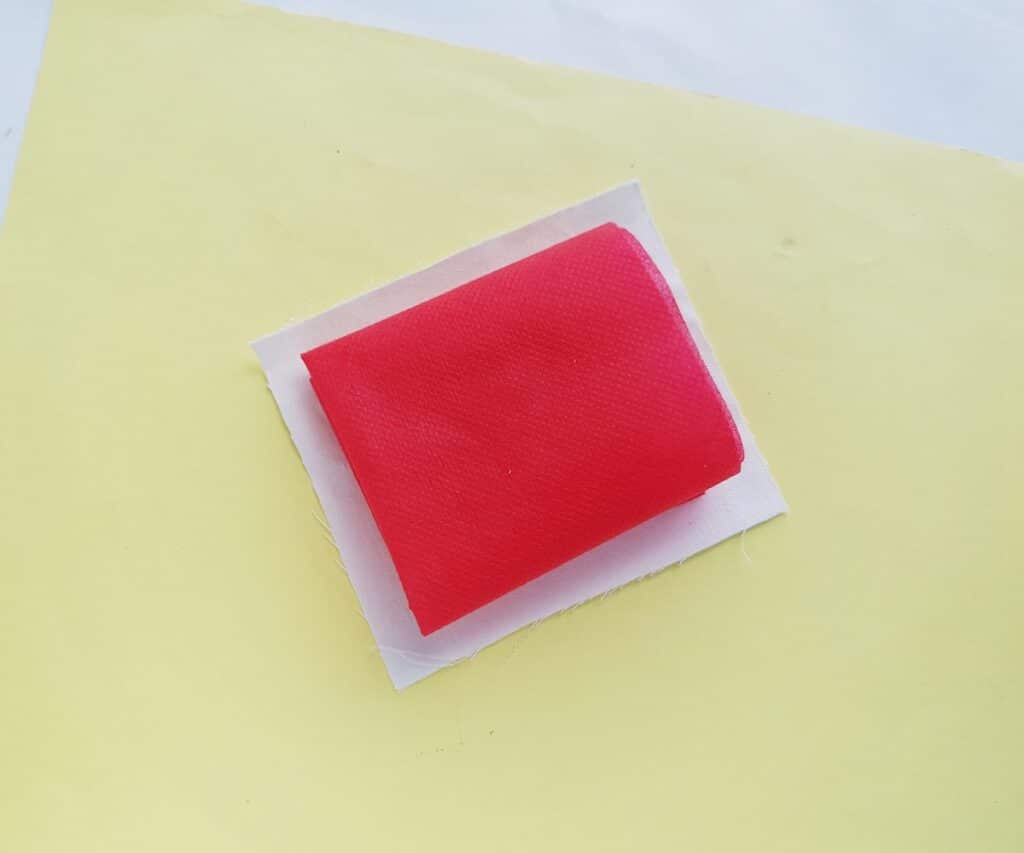
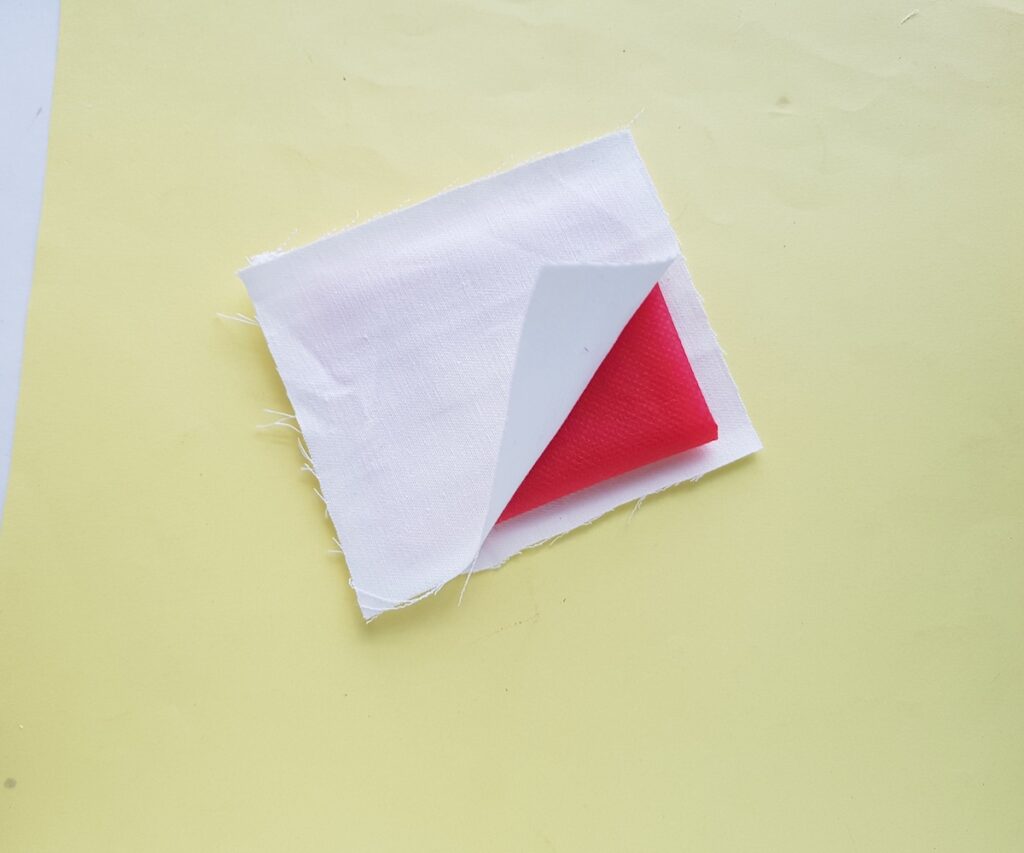
Fold the fabric for the middle layer inside the pot holder into a square smaller than the base squares.
Place one of the base squares on a flat surface. Then place the middle layer fabric right in the middle of the base fabric.
Note: If you are using fabric with a right side and a wrong side – such as a fabric with a pattern – make sure the right side (the one with the pattern) is facing down towards the table. Not inward towards the felt square.
Step 3:
Place the other outer fabric square on the top of the previous fabrics from step 2.
Again, if there is a right side with a pattern that you want shown, it should be facing upward toward you now. Not inwards toward the felt.
Step 4:
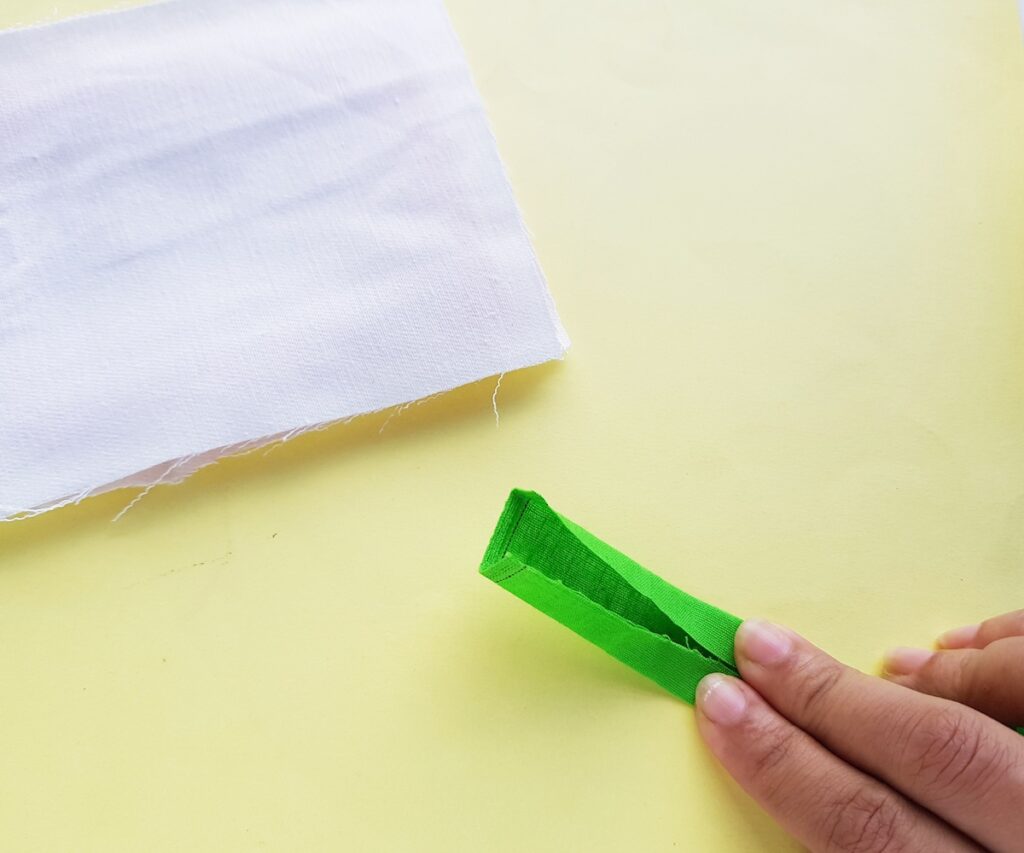
Now get the fabric strip for the border.

Step 5:
Fold the strip evenly from both sides and bring them towards the middle.
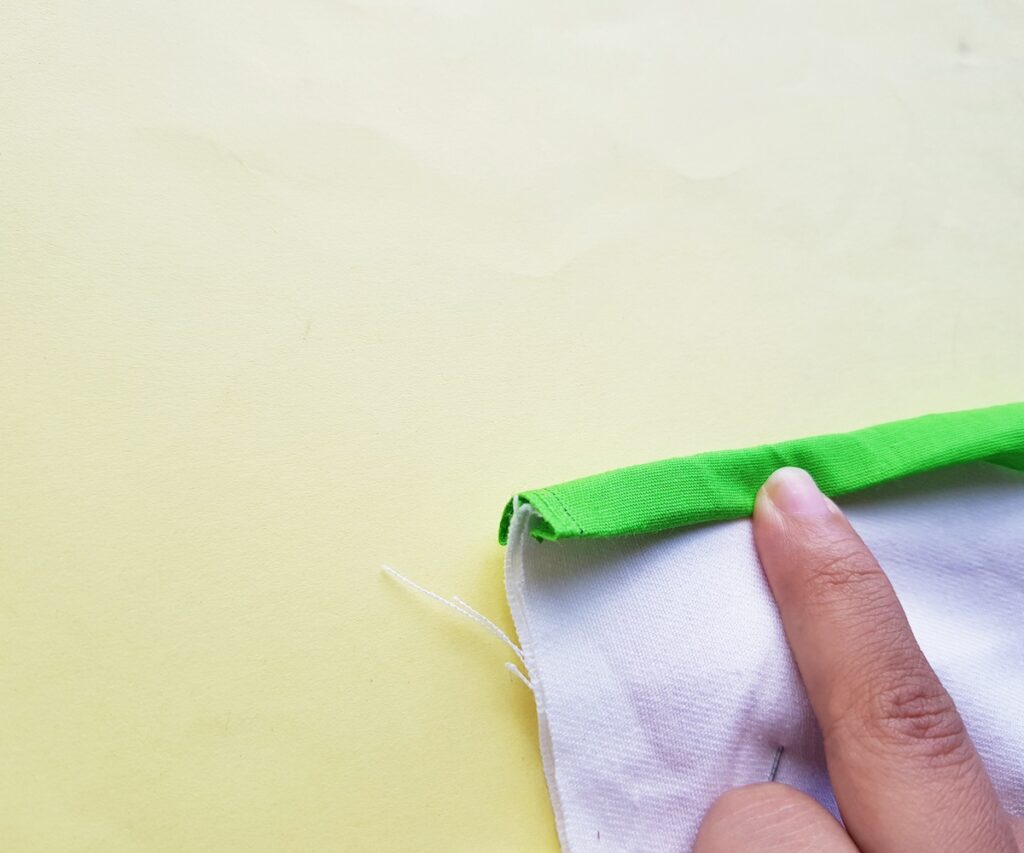
Step 6:
Wrap the folded strip around the edge of the pot holder fabric squares stack. Put the raw edges of the border inwards towards the square.
Use a pin to keep the strip fixed with the square base fabrics.
Step 7:
Sew along the border strip and the base fabrics to join all of them together. Use fabric pins to keep the fabric squares in their place.
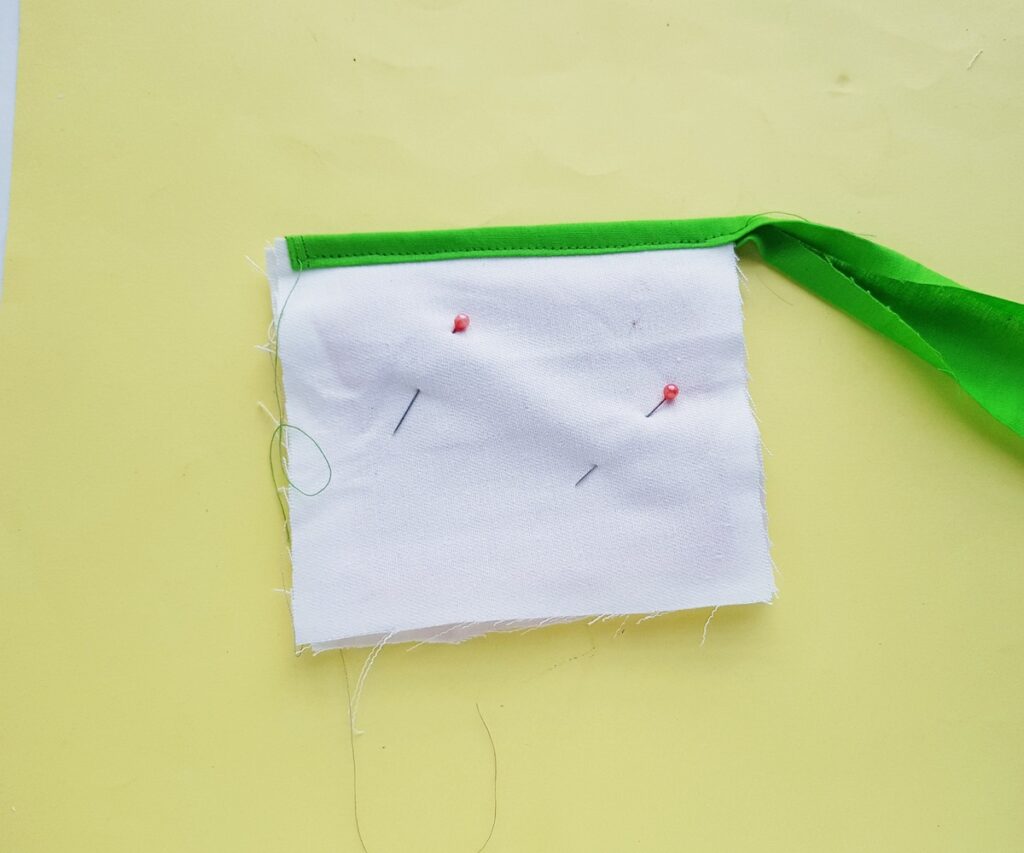
Step 8:
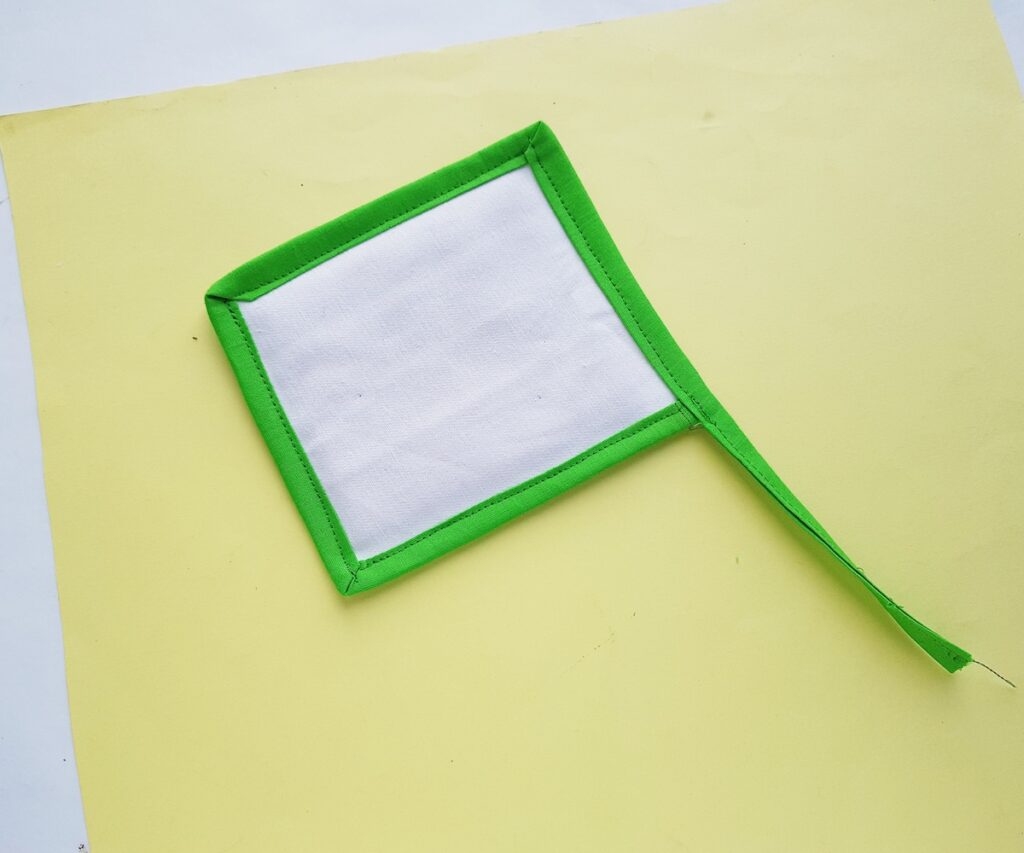
Now continue to sew around the border and sew all 4 sides of the potholder. Try to keep at least 4 or more inches of the strip hanging off a corner after sewing the border.
Continue to sew the folded strip together towards its end.
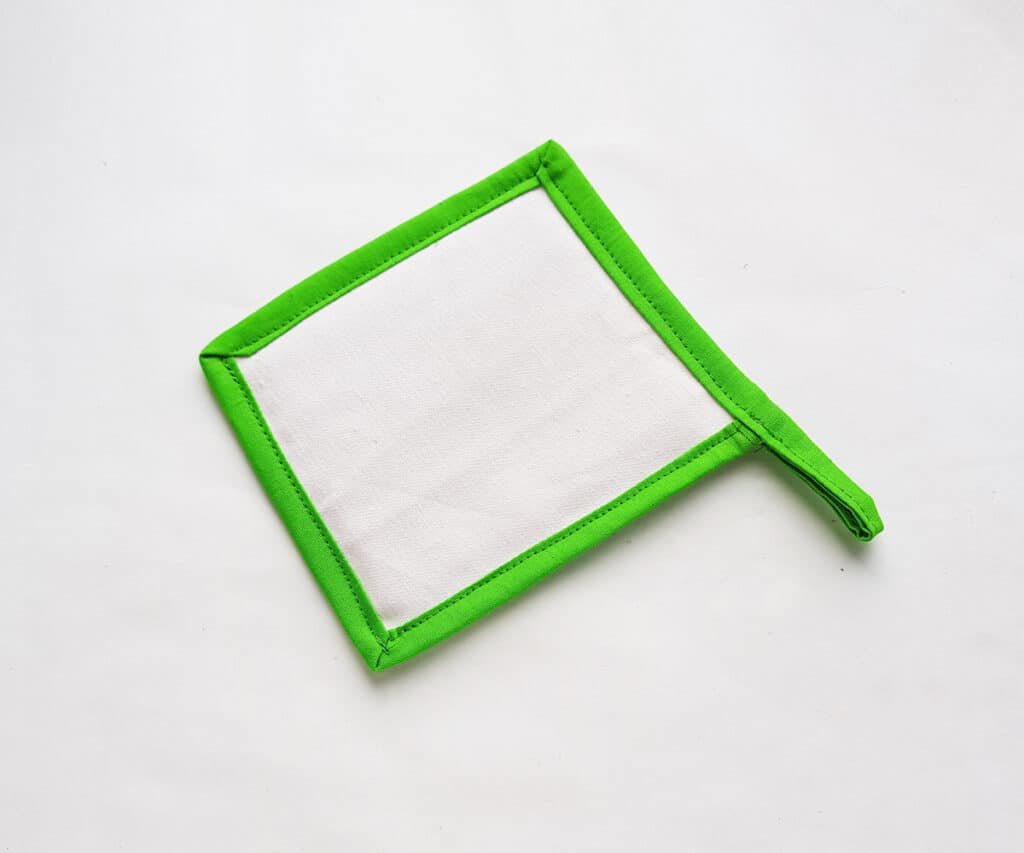
Step 9:
Fold over the open end of the strip and create a loop. Have the edge meet the edge of the border on the potholder. Sew the loop to complete the potholder.
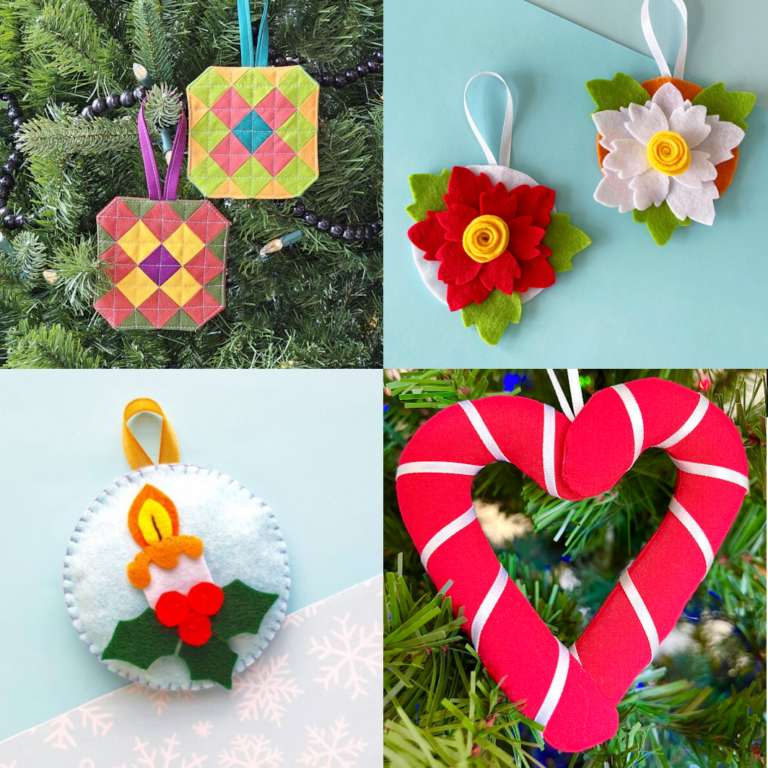
Here’s more of my favorite easy things to sew: