How To Sew A Cute Ghost Plush
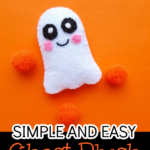
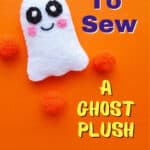
Looking for a fun Halloween craft to sew by hand? You’ll love these cute ghost plush craft projects. They are so adorable. And the perfect way to use up scrap felt!
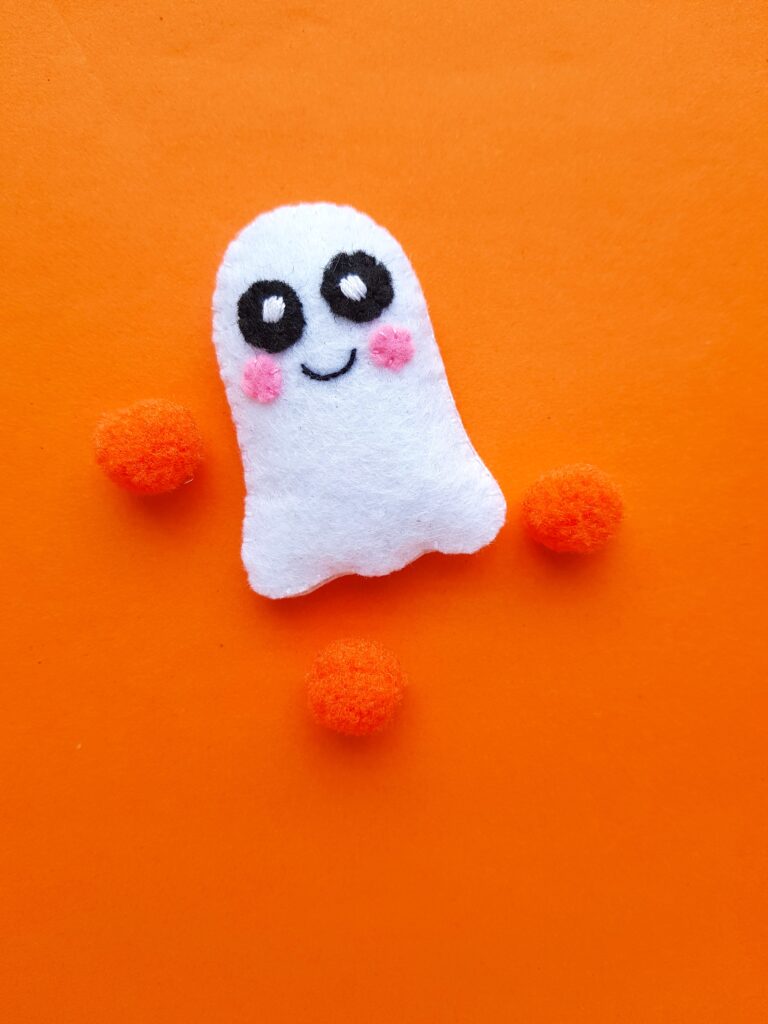
What can you do with these tiny little felt ghosts? Here’s some fun ideas:
- Tuck them into your child’s lunchbox to make them smile
- Pop them into a dresser drawer for a fun and spooky surprise
- Add a magnet to the back and place on your refrigerator
- Make a bunch of these and string them together for a garland
✅ This is a great source for getting lots of different colored felt for sewing projects.
This is just one of our easy Halloween felt crafts that can be sewn by hand.
How To Make A Cute Ghost Plush
Supplies
- Free Ghost Pattern
- White, black and pink felt fabrics
- Thread (white, pink and black)
- Needle
- Cotton stuffing
- Pencil
- Scissors (See our Guide to the Best Scissors for Cutting Felt)
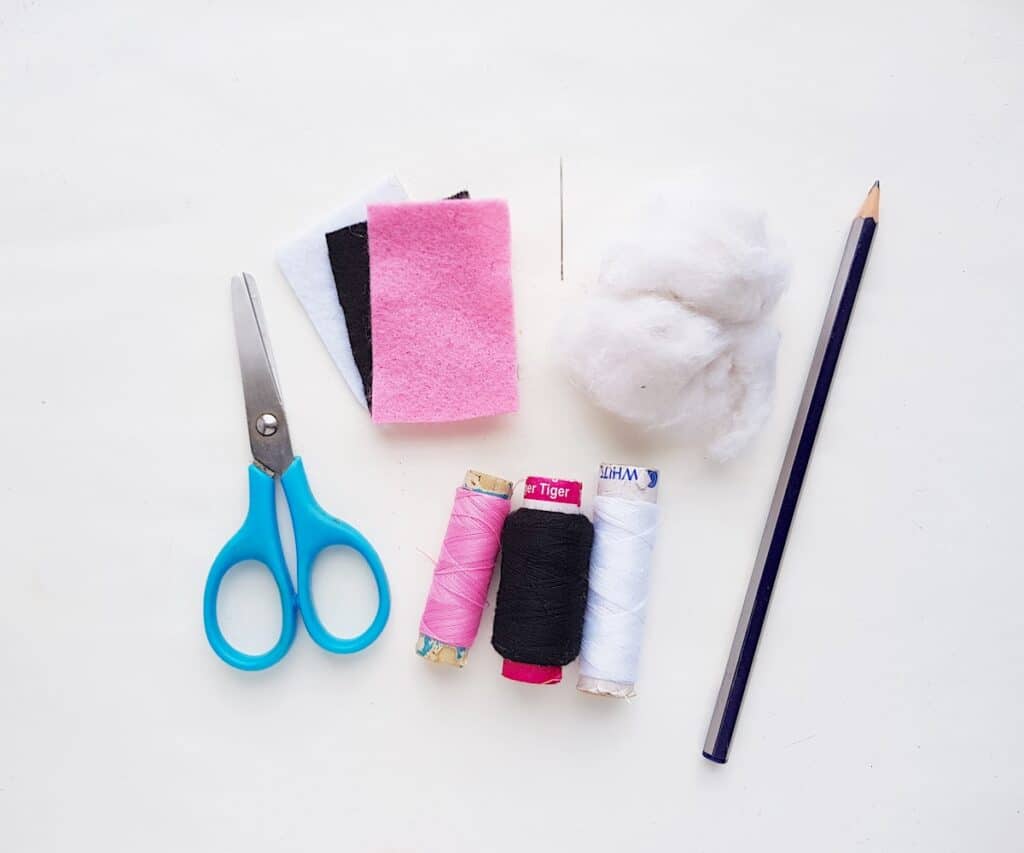
Instructions
Step 1
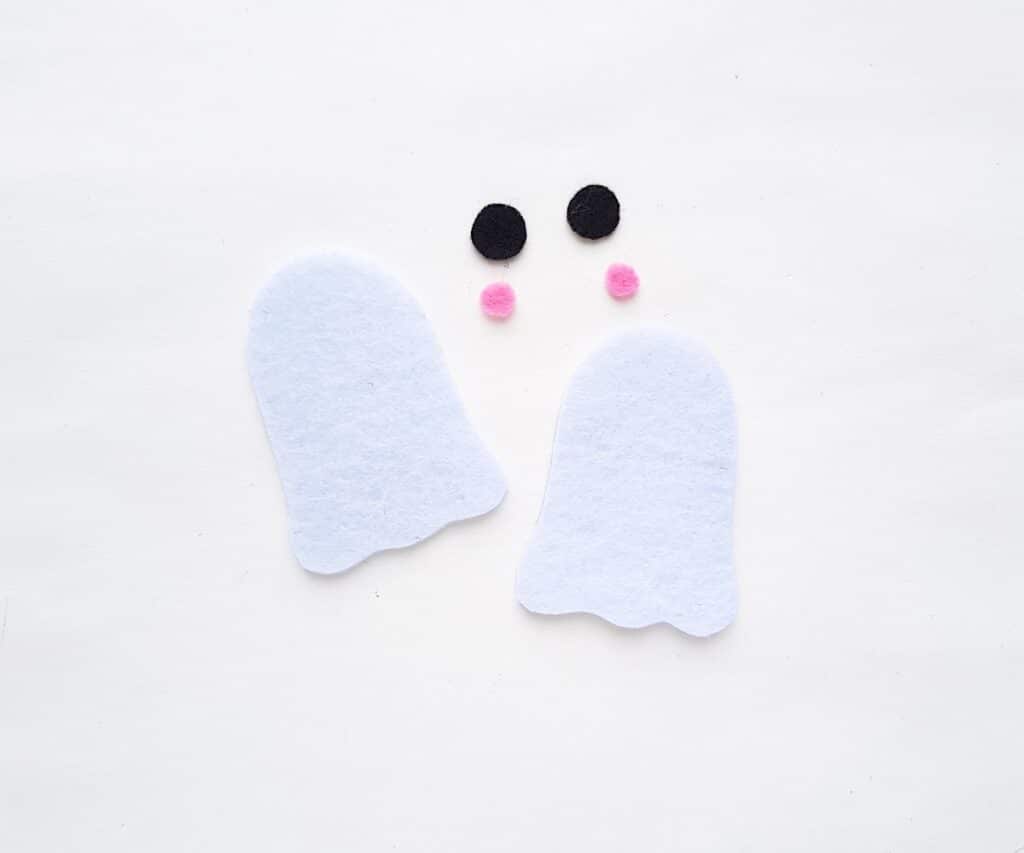
Trace the 2 ghost base patterns on white felt, the small round shapes on pink felt and the big round shapes on black felt.
Step 2
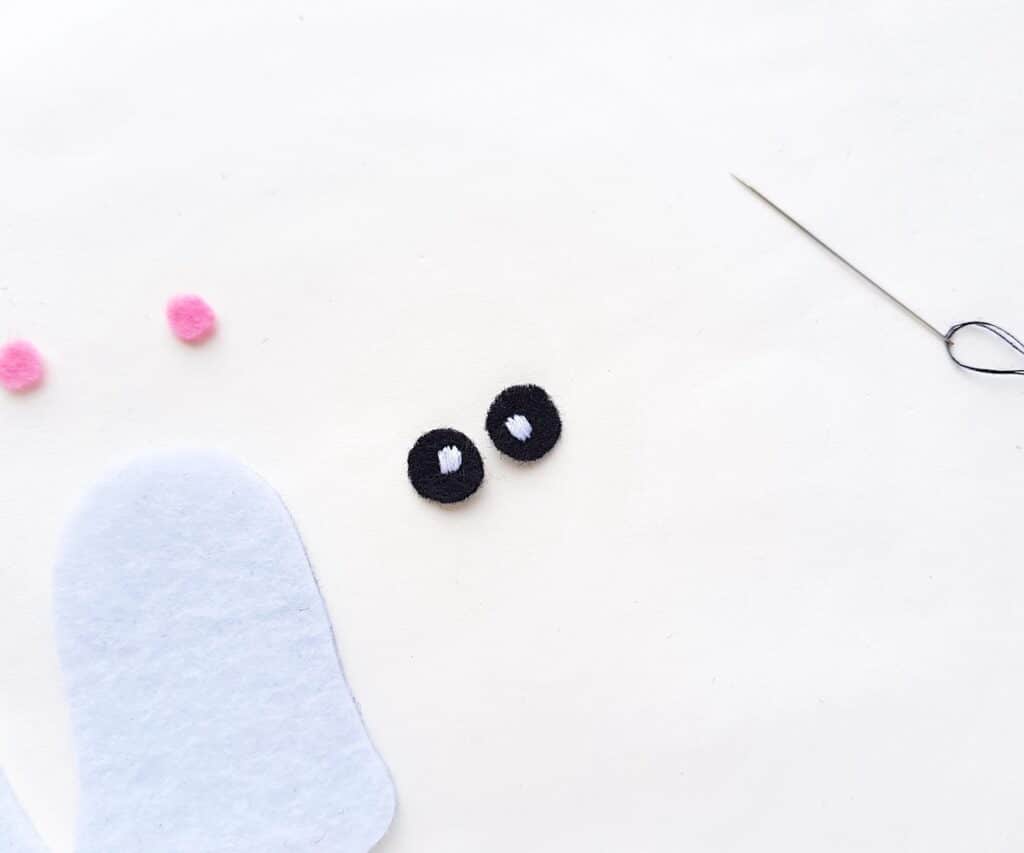
Stitch small white circle on both pieces of black felt circles using white thread.
Step 3
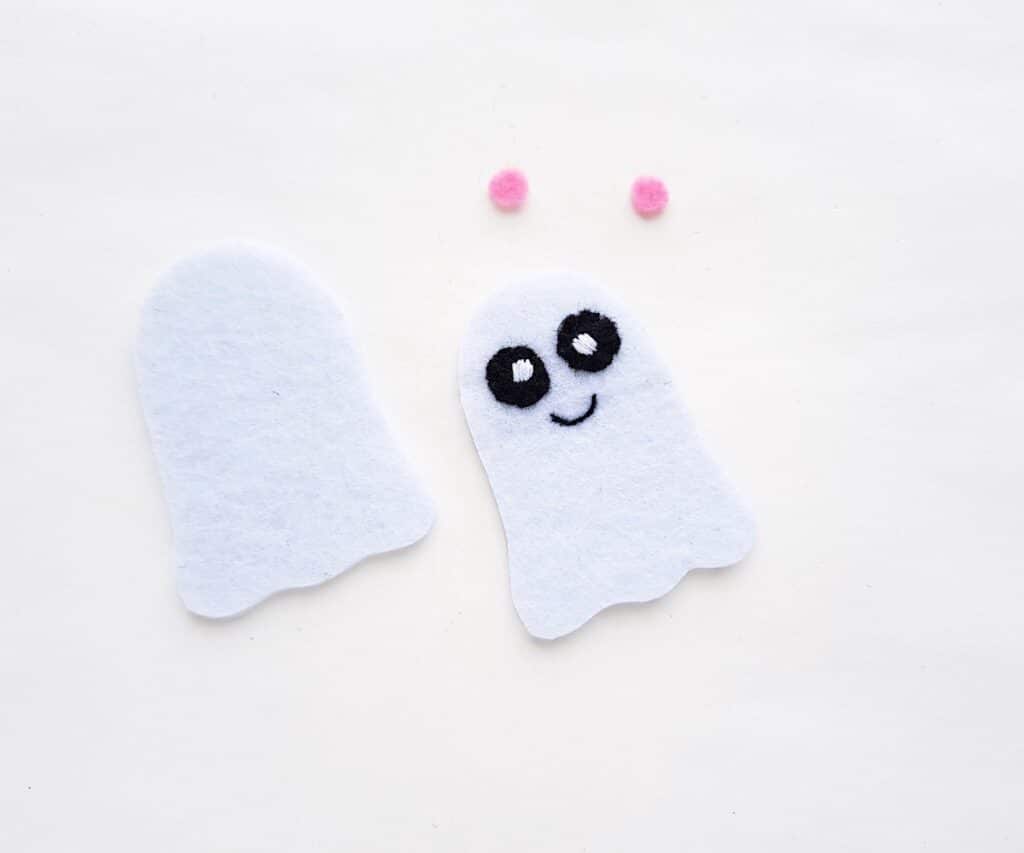
Stitch the eyes to the top side of a white ghost cut out using black thread. Then hand stitch a curved line for the smile in black thread below the eyes.
Step 4
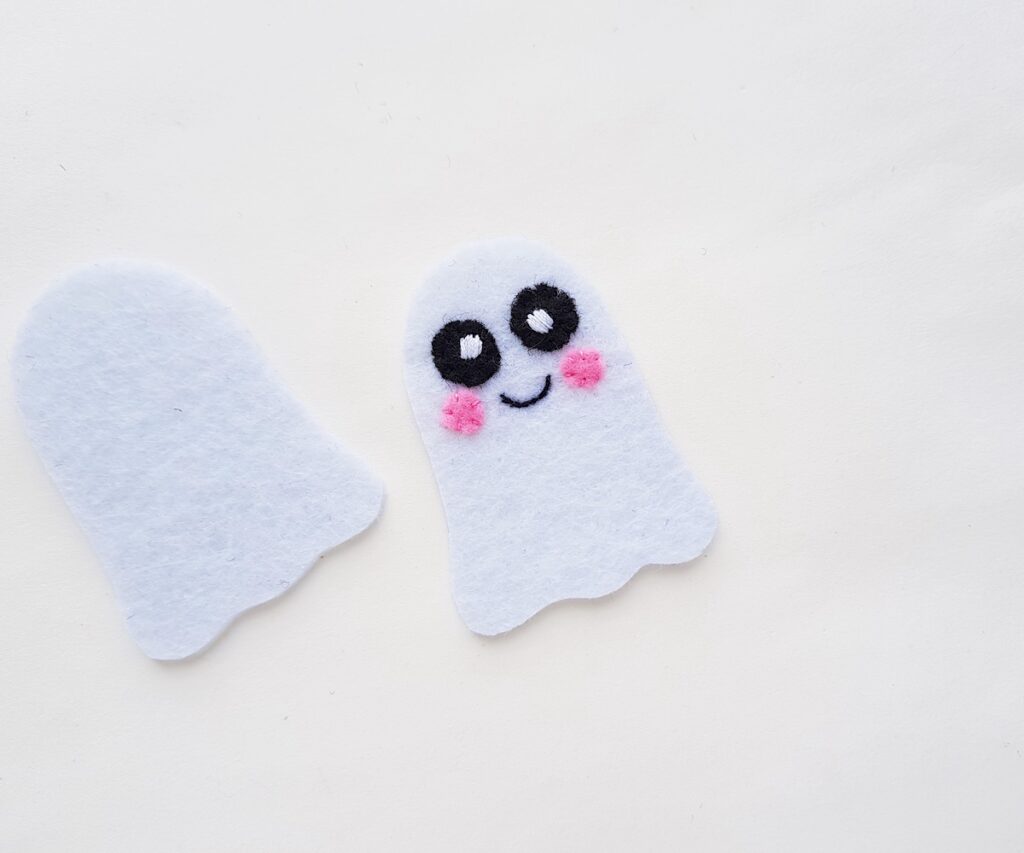
Add the 2 pink circles to either side of the mouth using pink thread.
Step 5
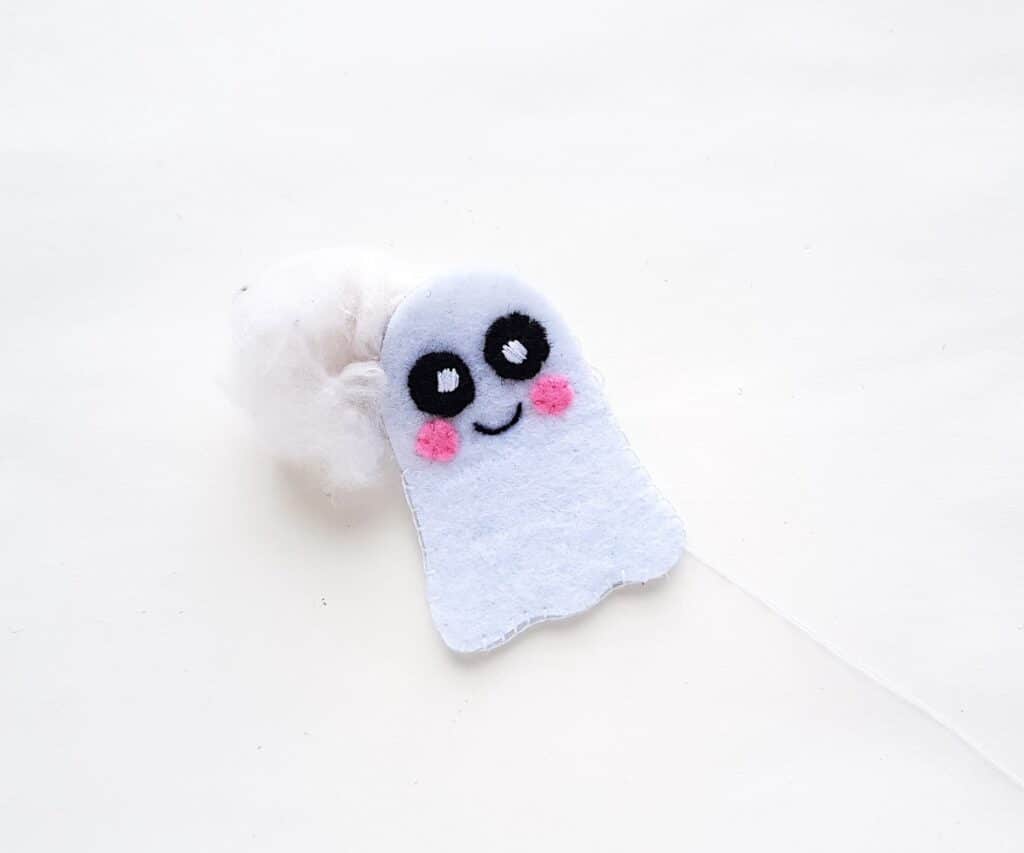
Place the plain white ghost cutout under the on that you have stitched on. Stitch around the side of both pieces to join them together. Keep a small open end to fill the ghost with cotton batting, cotton balls or scrap felt.
Step 6
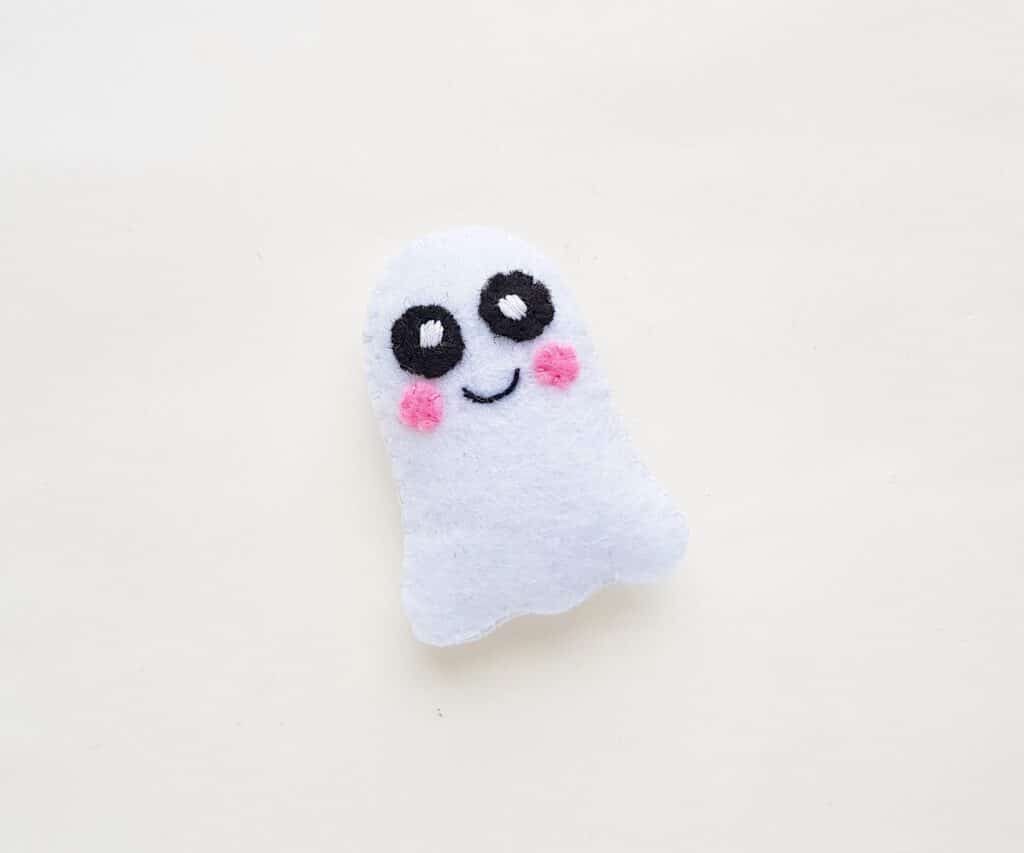
Once you have stuffed the ghost, stitch the open end to close it. Tie a knot and cut off the extra thread if needed.
Be sure to Pin This to save for later!
You might also like the Halloween sewing crafts:

