DIY Hand Sanitizer Holder Keychain
With this DIY hand sanitizer holder keychain, you never have to fumble to find the bottle in your purse or backpack again!
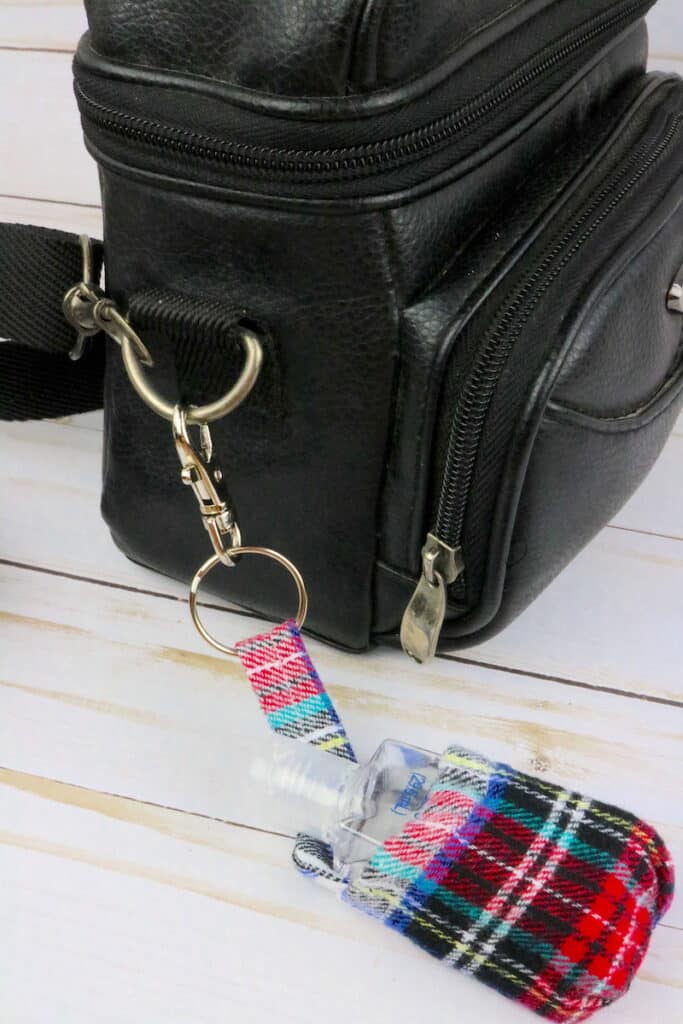
A hand sanitizer purse keychain means you always know where the little bottle is. And, most importantly, you can get to the bottle and use the sanitizer without having to put your hands all over everything in your purse, backpack or tote bag.
This easy sewing project can be made with fabric that coordinates with your favorite purse.
Of course, you don’t have to attach this hand sanitizer keychain to a purse! You can just use it as a normal keychain, too!

It’s also an easy DIY craft to make as gifts for others, such as stocking stuffers. It’s also a perfect craft to sell because everyone uses it!
You might also like these easy craft ideas:

How to Sew a Hand Sanitizer Keychain
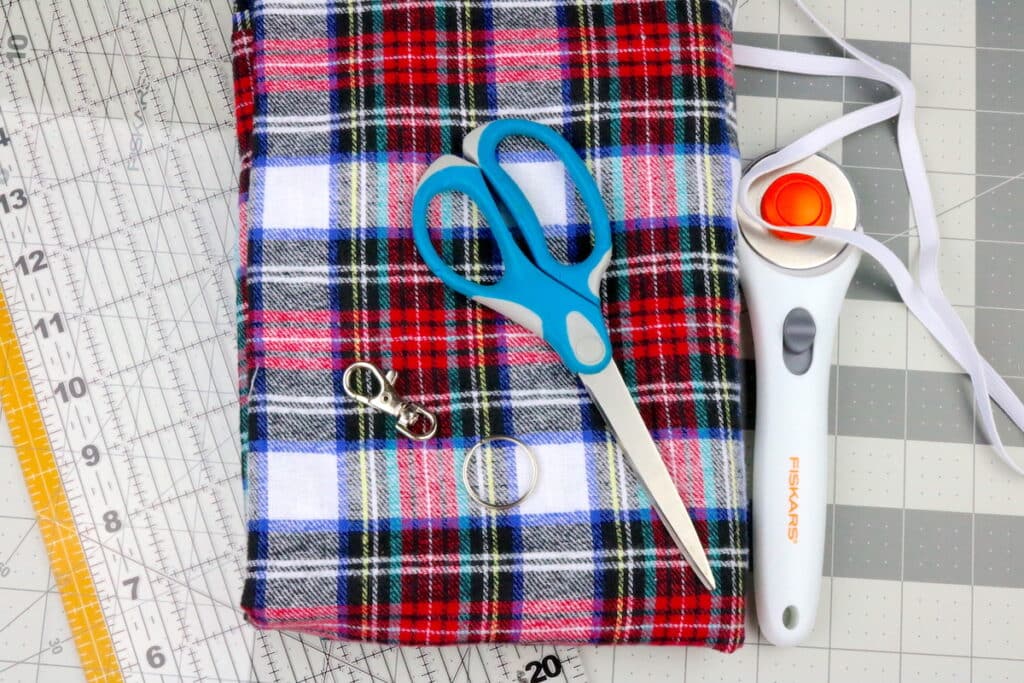
Supplies
- ¼″ wide elastic, 1 inch long piece
- Keychain clasp with ring
- Fabric (approximately 12″ x 12″)
- Sewing pins
Instructions
Step 1
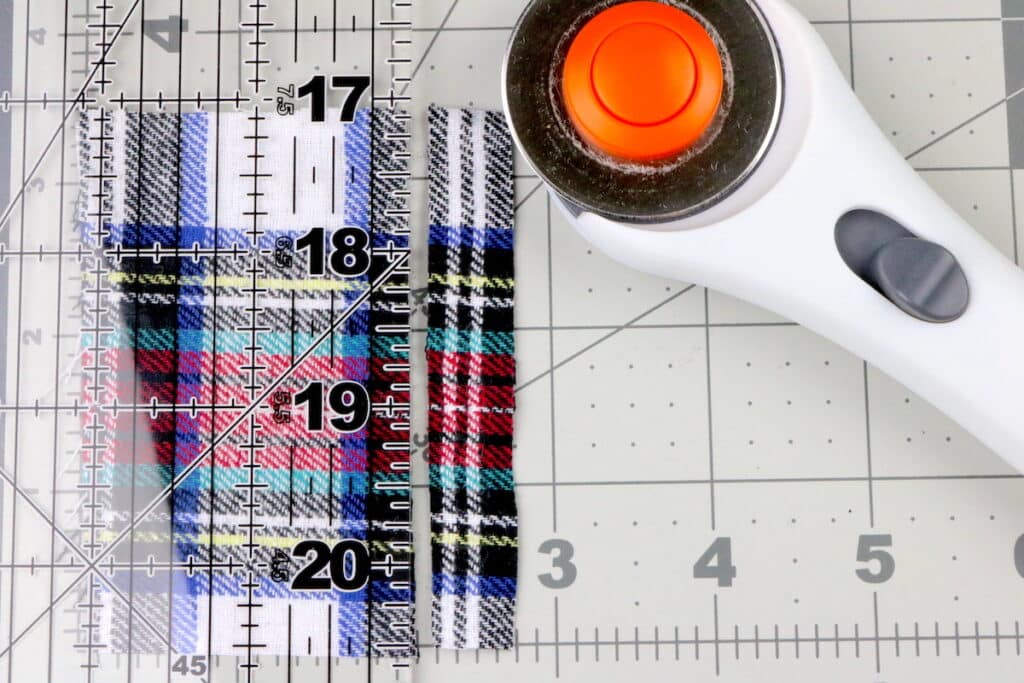
Cut (3) 2″ x 3 ½″ pieces of fabric. Cut (1) 1″ piece of elastic and (1) 3 ½″ x 3 ½″ piece of fabric.
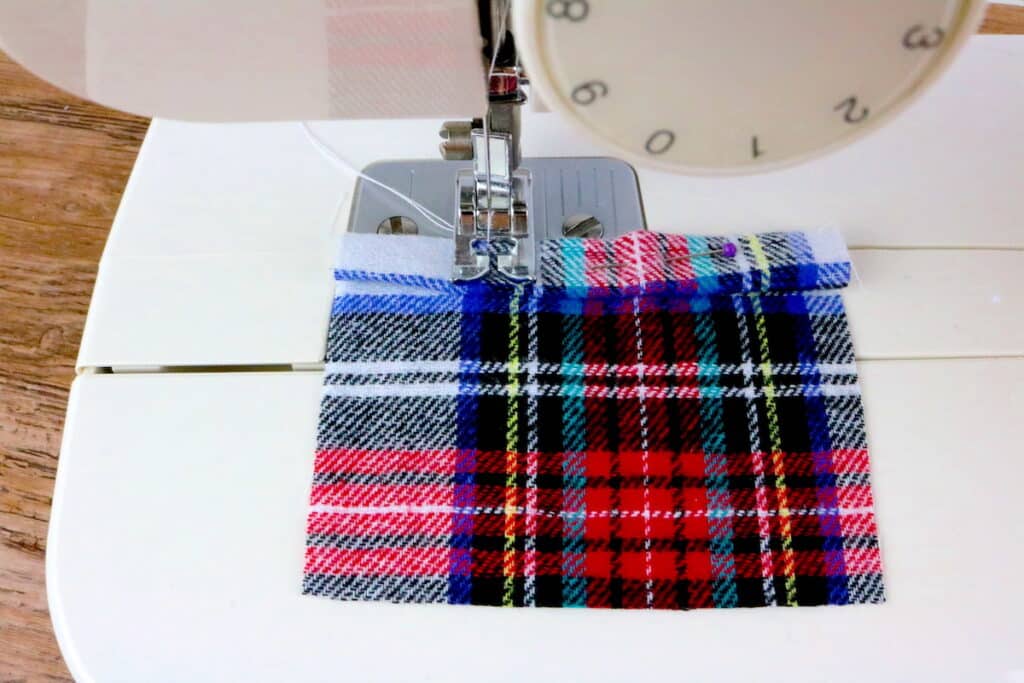
Step 2
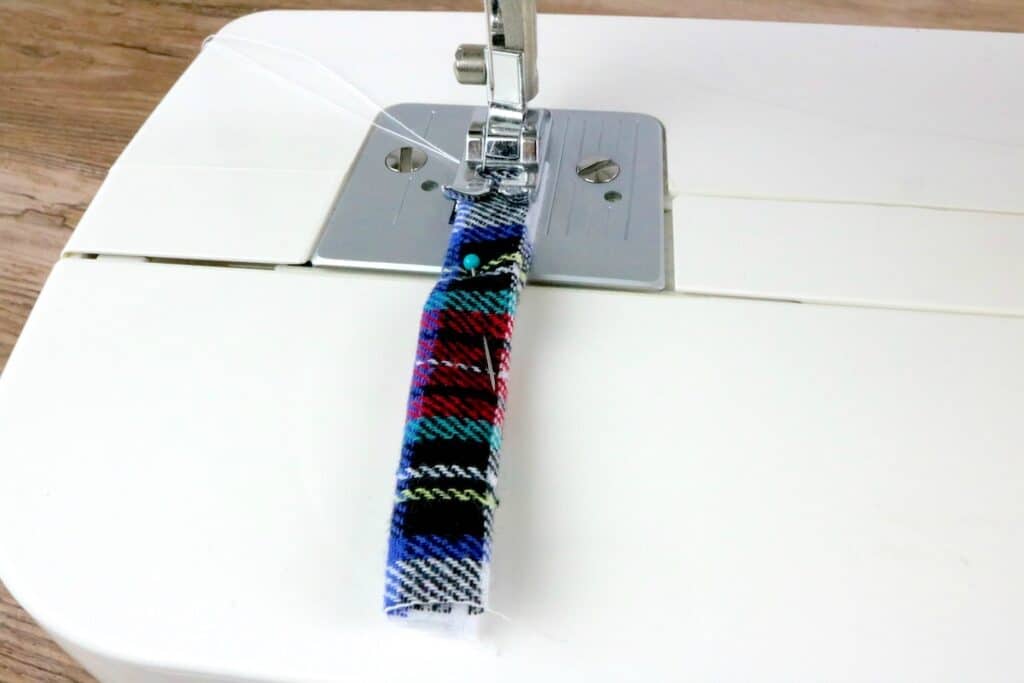
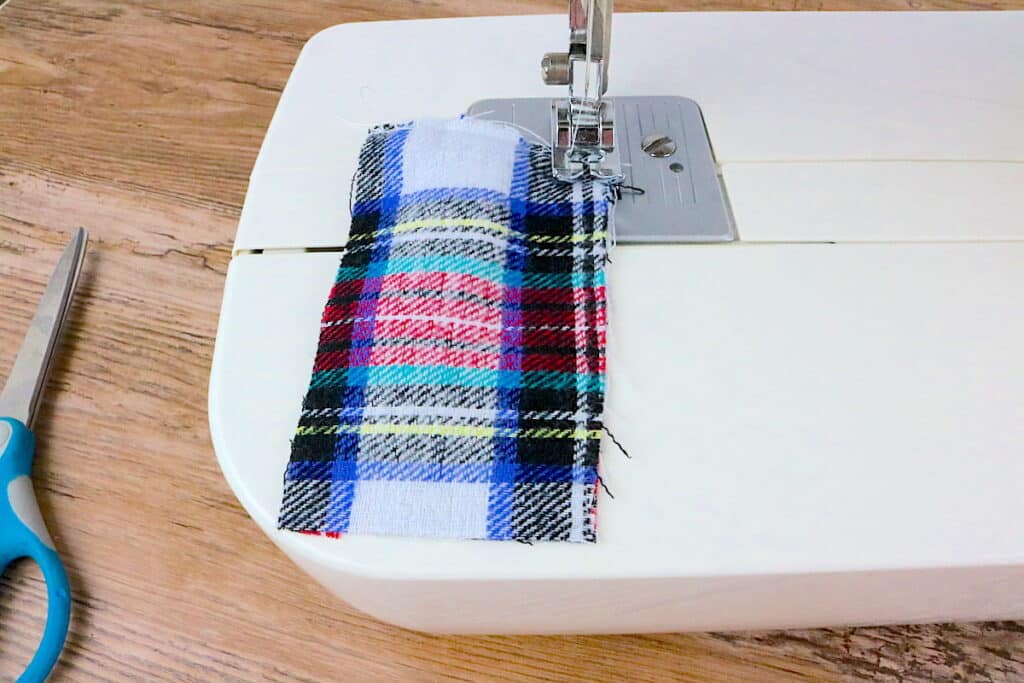
Take one of the 2″ x 3 ½″ pieces and fold the sides in lengthwise so they meet. Then fold those folds on top of each other. It will make one long narrow piece.
Sew right down the middle lengthwise.
Step 3
Lay another 2″ x 3 ½″ piece down. Then fold that strip you just stitched in half and lay on top of the fabric with the open ends of the strip at the edge of the 2″ end.
Then lay the last 2″ x 3 ½″ piece on top.
Note: If you are using a fabric that is not the same on both sides, you need to make sure the printed/right side is the ones touching the strip in the middle.
Step 4
Stitch across the end where all the pieces are. You can stitch by keeping the foot at the edge of the fabric.
Do a backstitch/lockstitch at the start and finish.
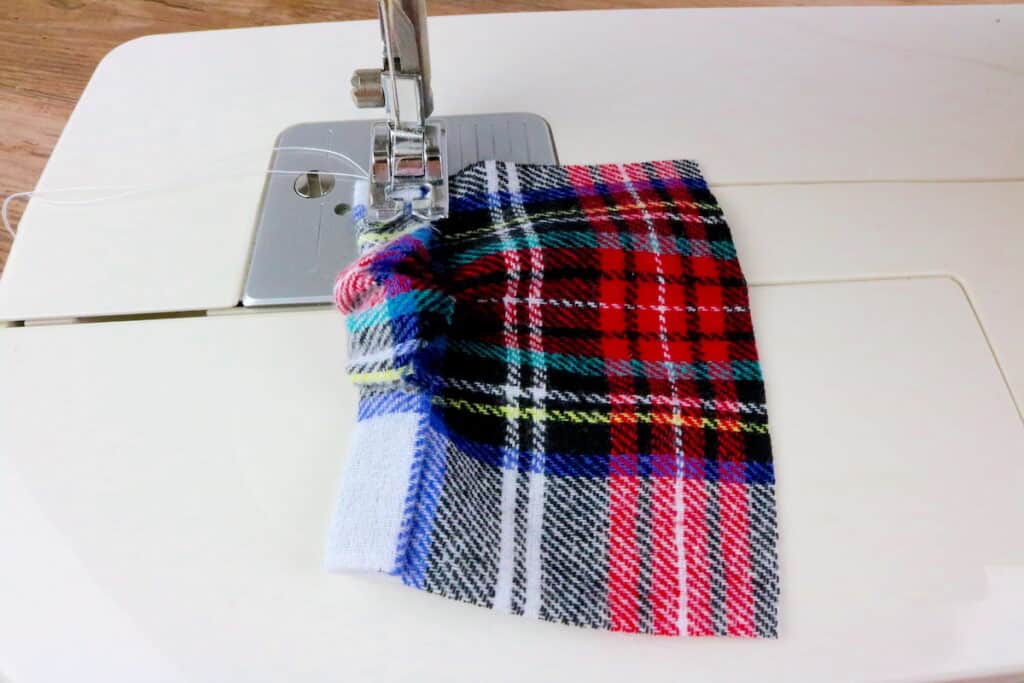
Step 5
Starting at the stitched end, stitch down each of the sides leaving the bottom open.
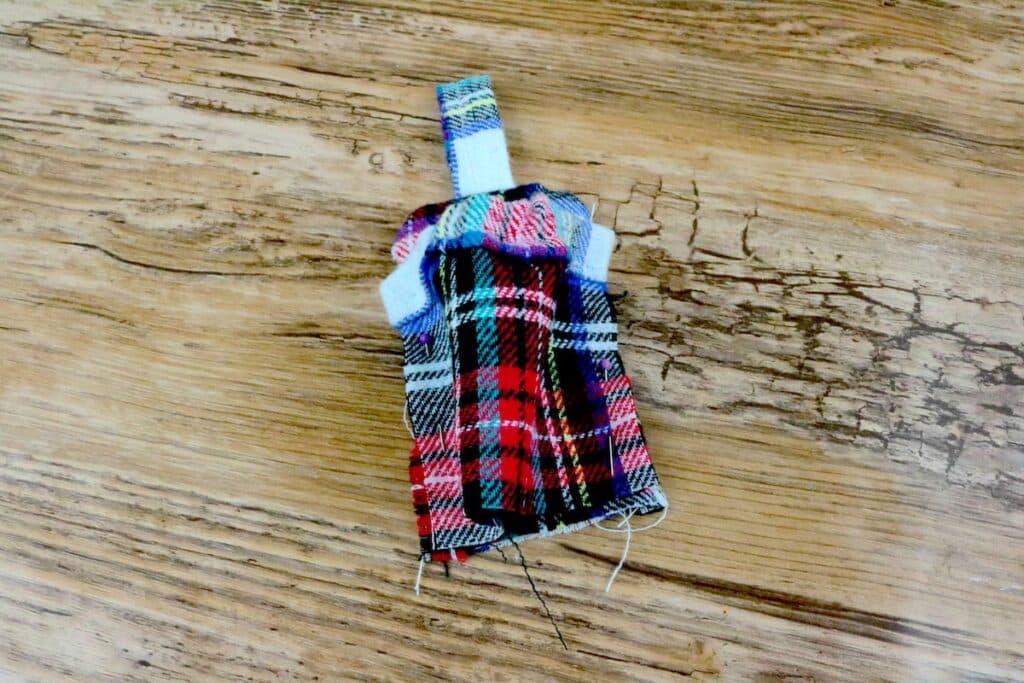
Step 6
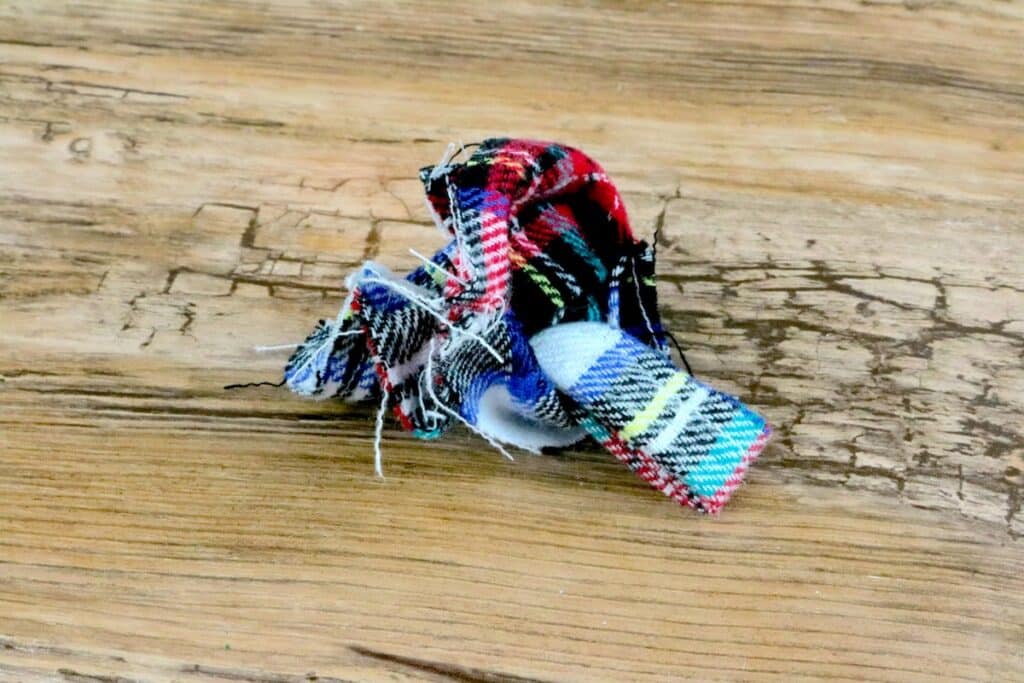
Through the open end, turn the whole thing inside out.
Step 7
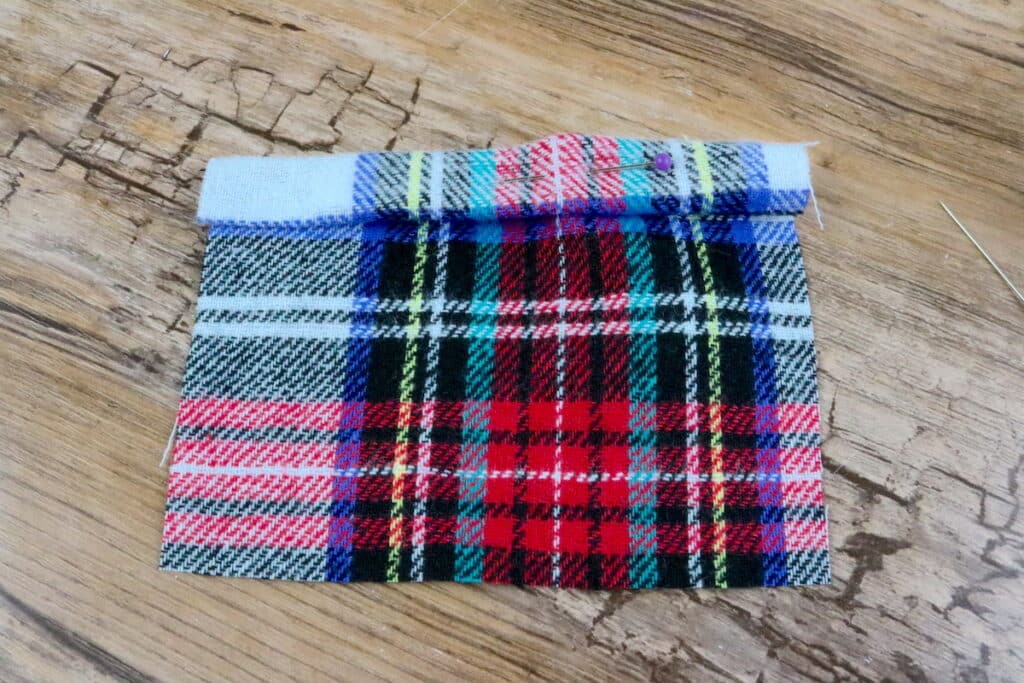
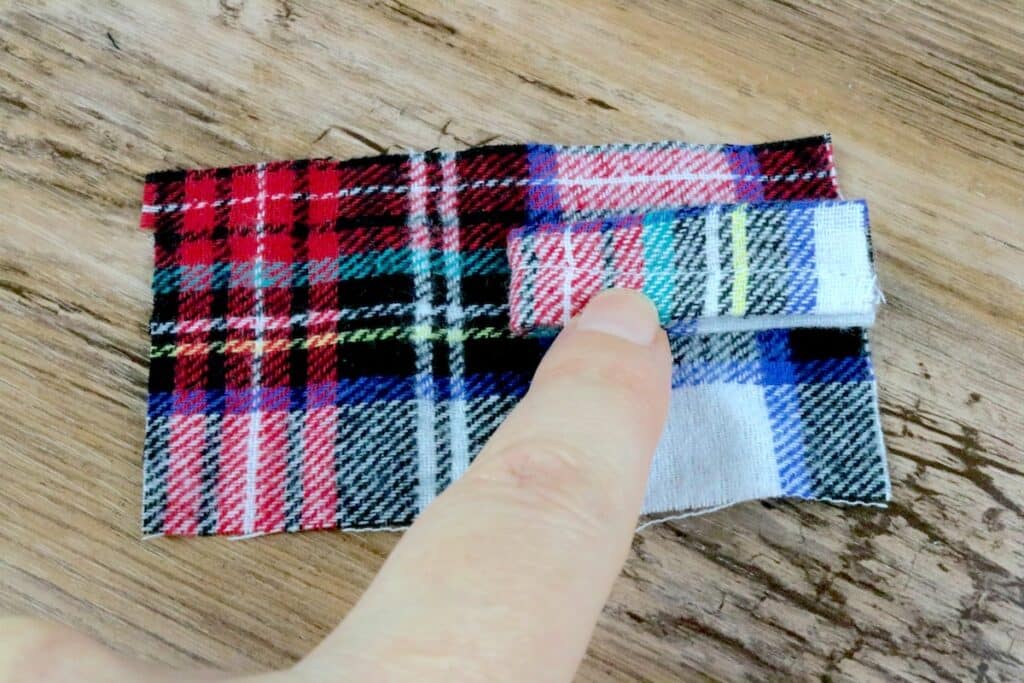
Grab the last piece of fabric and fold one side over as wide as the piece of elastic. Then fold it over again. Pin in place in the middle.
If you are using a print the good side of the fabric needs to be face down when doing this step.
Step 8
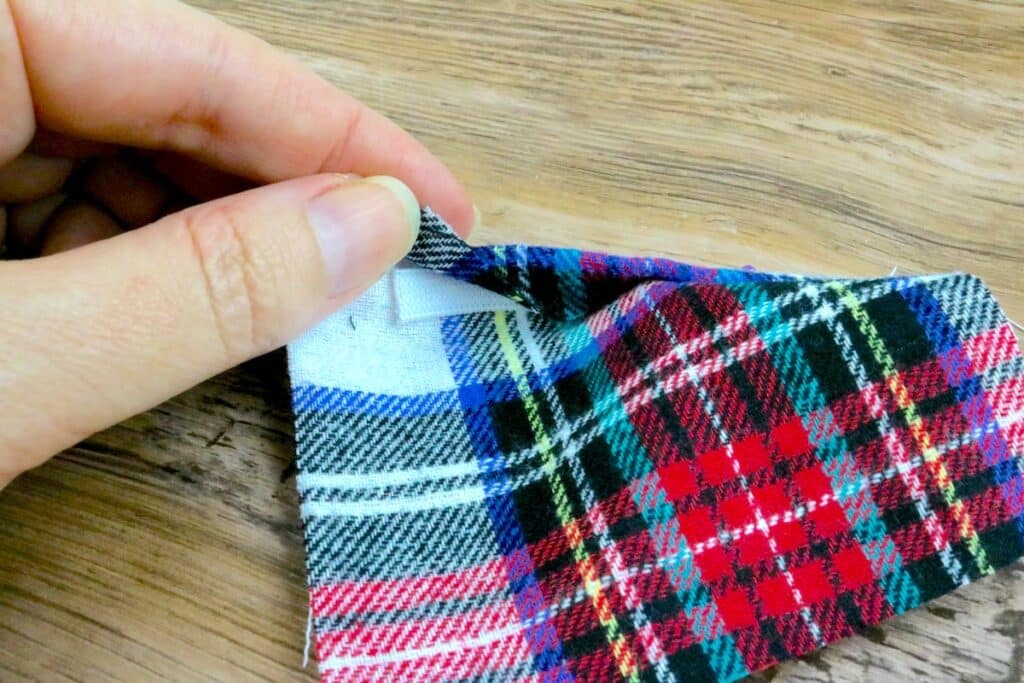
Now you need to place the elastic inside of those folds on one end about ¾″ from the edge.
Step 9
Sew that end of the elastic in place. Go over it a few times so that it holds.
Then carefully grab the other end of the elastic and pull it to about ¾ of an inch from the other edge. It will bunch the fabric in the middle and that is what we want. This is a little tricky because after you pull it you have to hold it and make sure the tucks stay folded on that end.
Stitch that side in place just as before.
Step 10
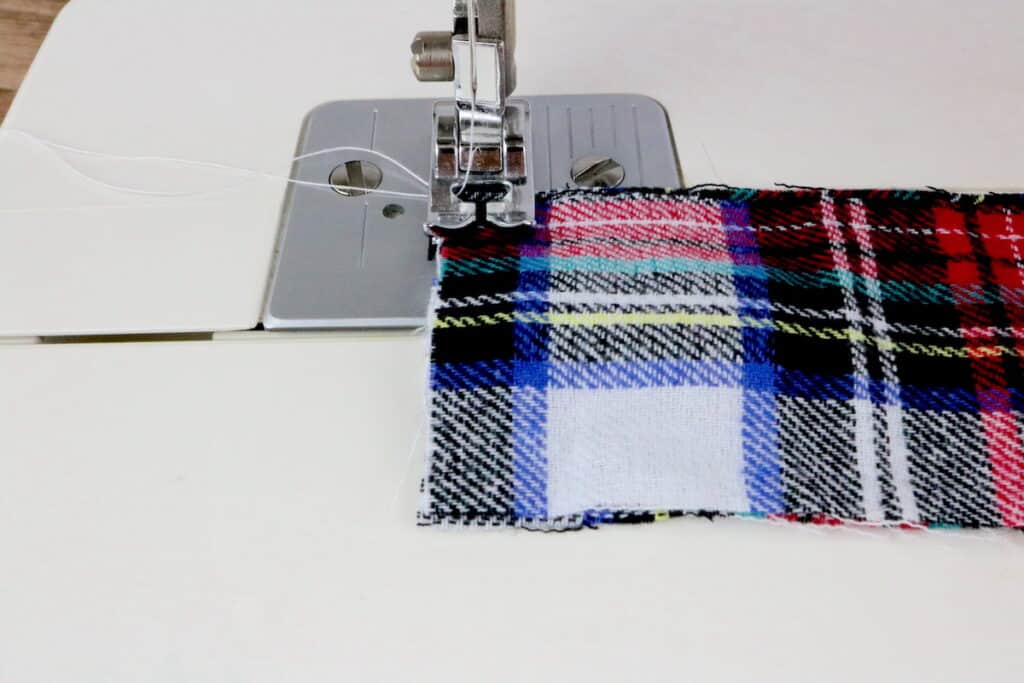
Place the fold under the foot of the machine. We want to stitch right at the edge of the fold that meets the rest of the fabric.
Do a few stitches then do a backstitch/lockstitch then before you start sewing the rest, pull the other end so that it stretches out.
Make sure all of the fold is tucked under then finish stitching doing another backstitch/lockstitch at the end.
Step 11
Lay it down on top of the other piece that has the loop. You want the side that you don’t see the fold lying face down on the other piece.
Starting at the bottom raw edge end, line the side edges up and pin in place on both sides.
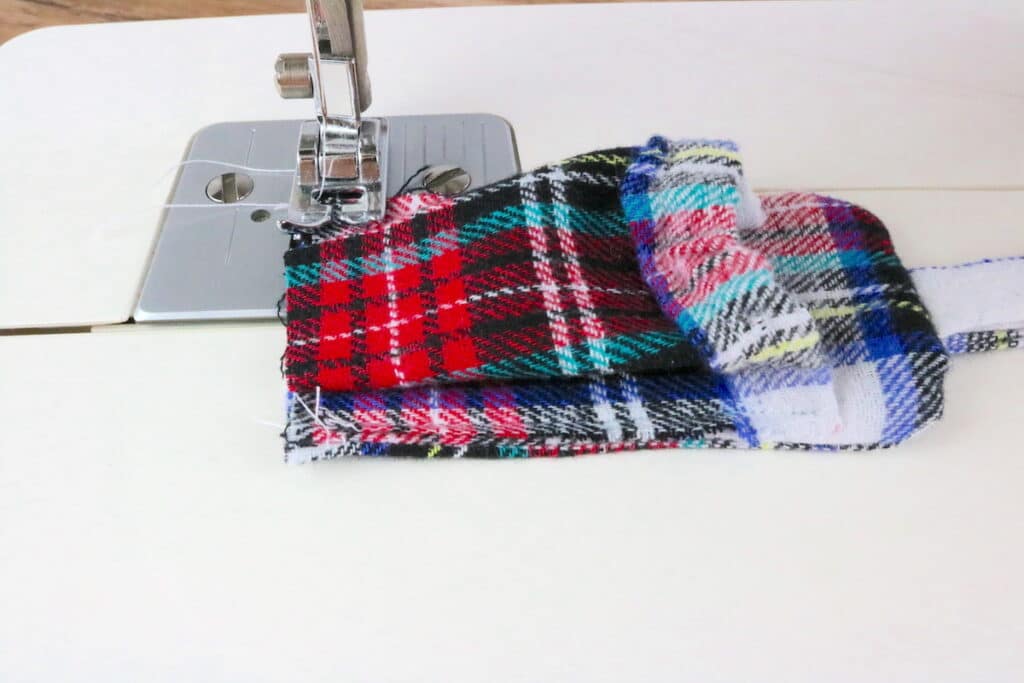
Step 12
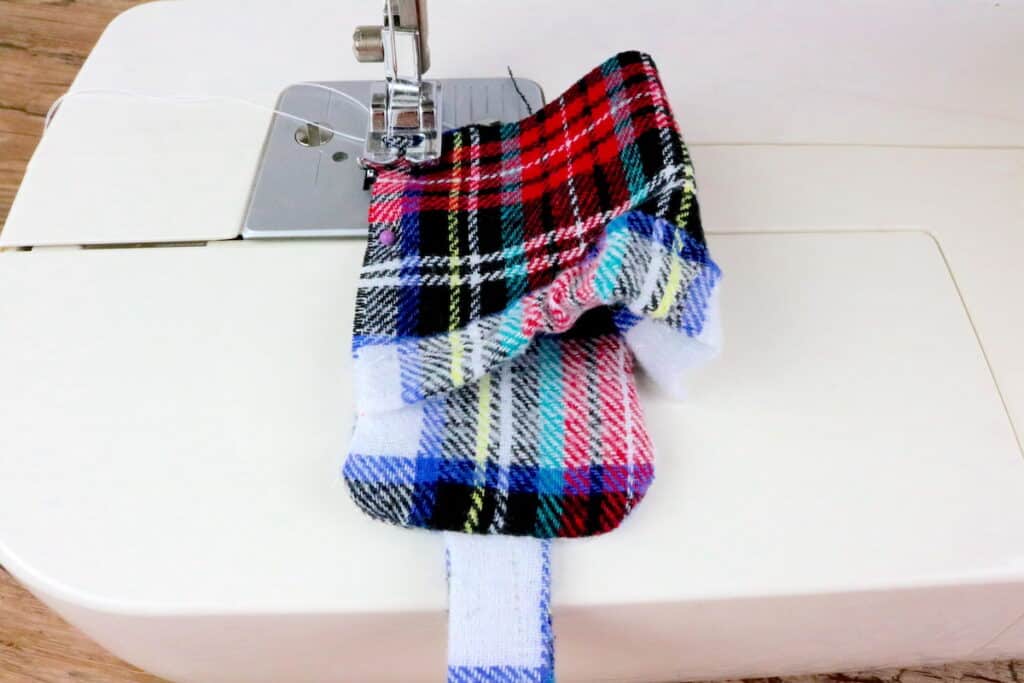
Starting from the raw edge end, stitch down each side doing a lockstitch at the start and finish on both sides.
Step 13

The last thing to sew is the open end. Make two even pleats from the top fabric.
They don’t have to be perfect, just as even as you can.
Step 14
Sew across the bottom stitching those pleats down. Just stitch keeping the edge of the foot on the edge of the fabric.
Do a backstitch at the start and finish.
Step 15
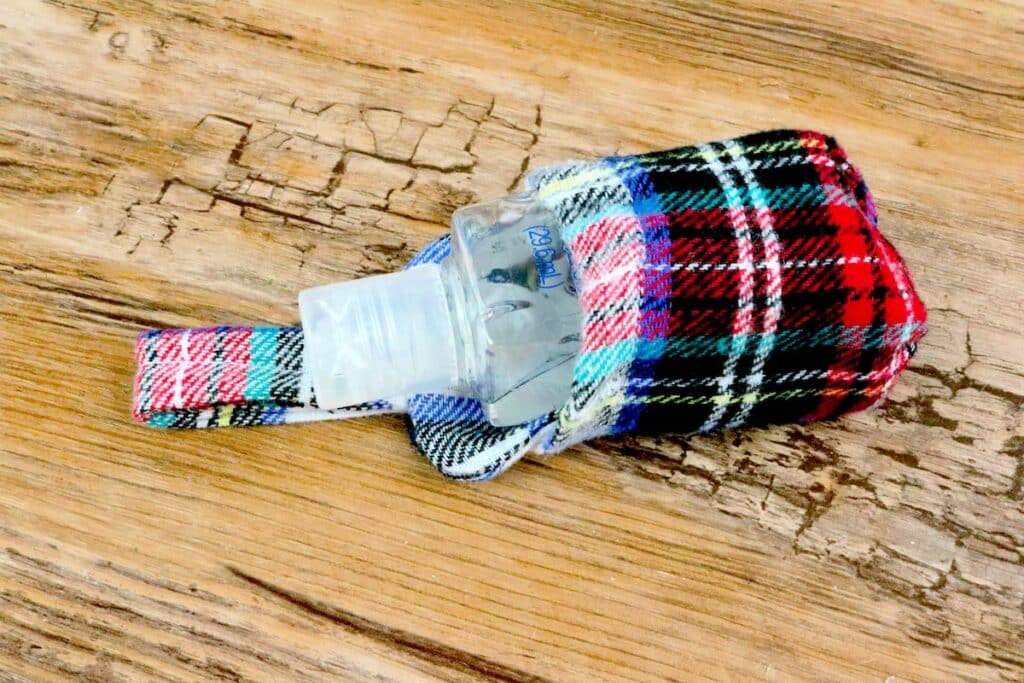
Reach in the little pocket and turn it inside out.
Step 16
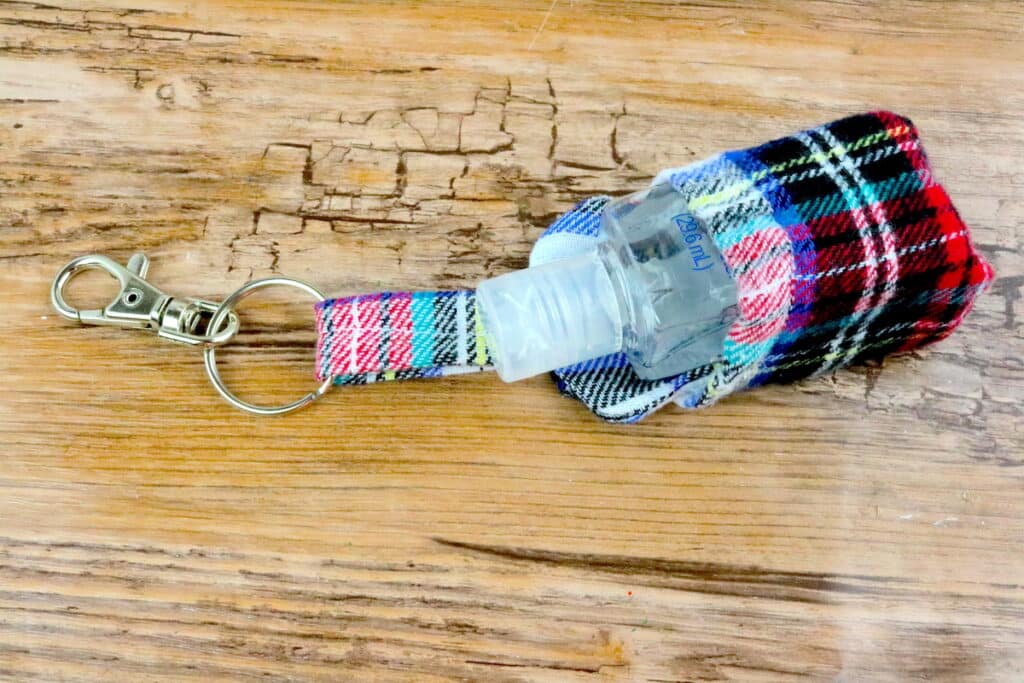
Slide the clasp on the ring and then the ring on the loop of the holder and you are done!
Pin This project to your sewing or craft boards so that you’ll remember it for later!

See this easy DIY chapstick holder next!