Felt Lemon and Lime Plushies (Free Pattern)
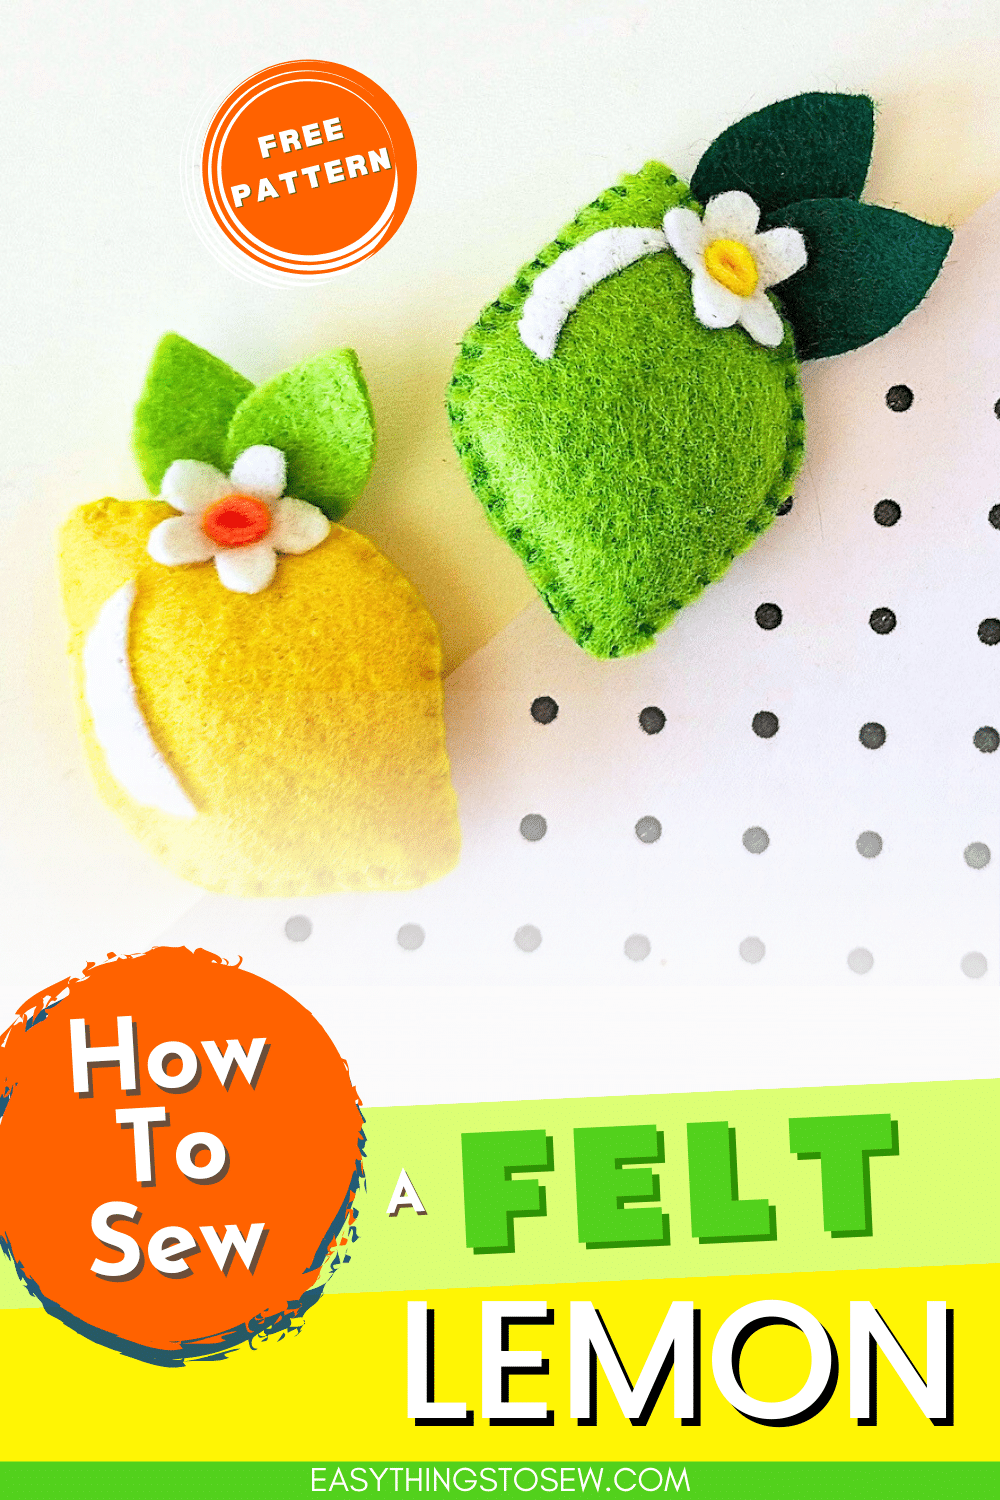
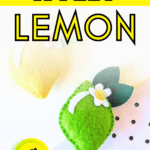
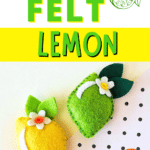
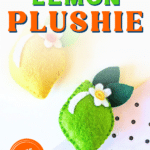
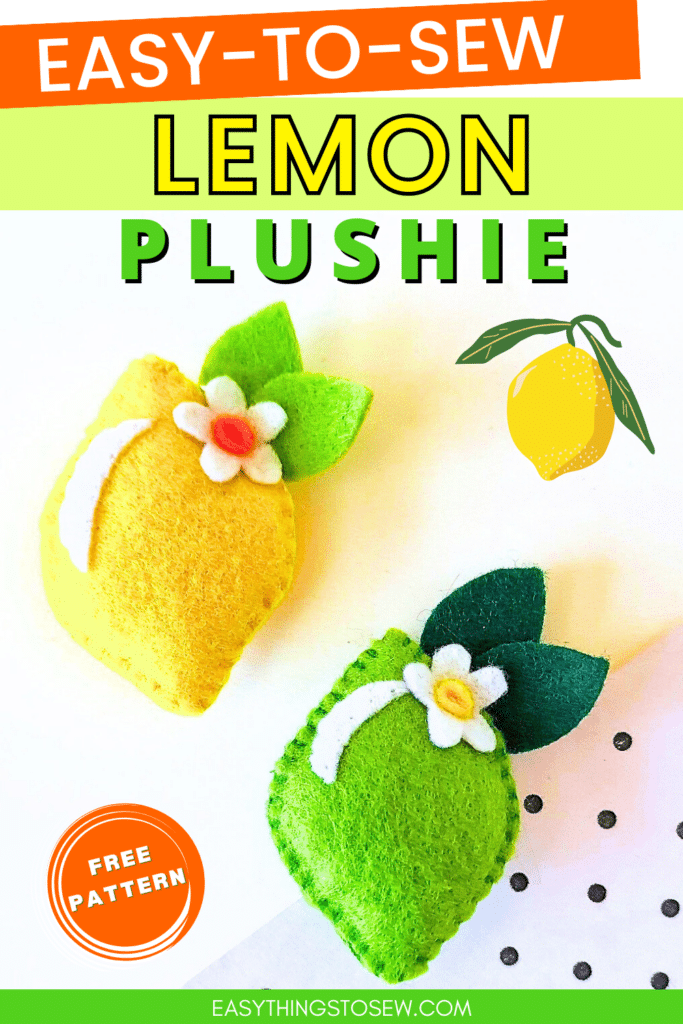
Use our free pattern to hand sew a felt lemon softie with a pretty citrus bloom. The same pattern can be used to make a felt lime, just use a green felt instead of yellow.
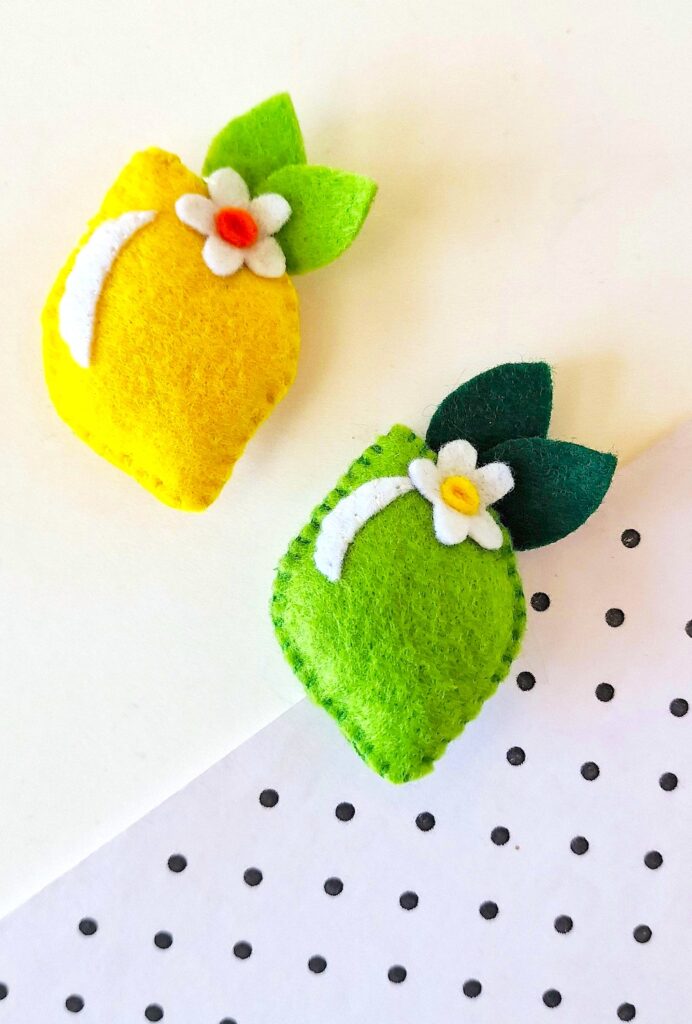
These felt lemon plushies are a great summer sewing project! Every time I look at them I smile because the citrus fruits are so cheerful and remind me of fresh squeezed lemonade!
These citrus fruit plushies would look great displayed in a bowl or used to decorate your kitchen, especially on a tiered tray.
If you or your child are having a lemonade stand, make a bunch of these felt lemons as decorations or to sell.
This is just one of our many felt crafts with free patterns.
How to Sew a Felt Lemon Plushie
Supplies
- Free Felt Lemon Pattern
- Felt fabrics
- Matching threads
- Needle
- Pencil, fabric marker or chalk
- Scissors (See our Guide to the Best Scissors for Cutting Felt)
- Polyfill, stuffing or scrap felt
Directions
Step 1
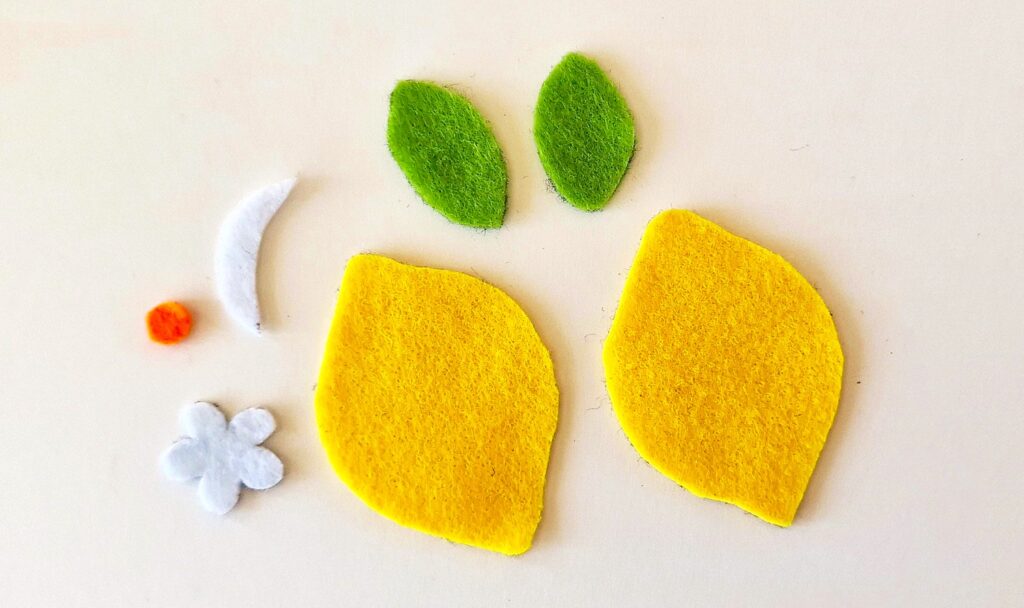
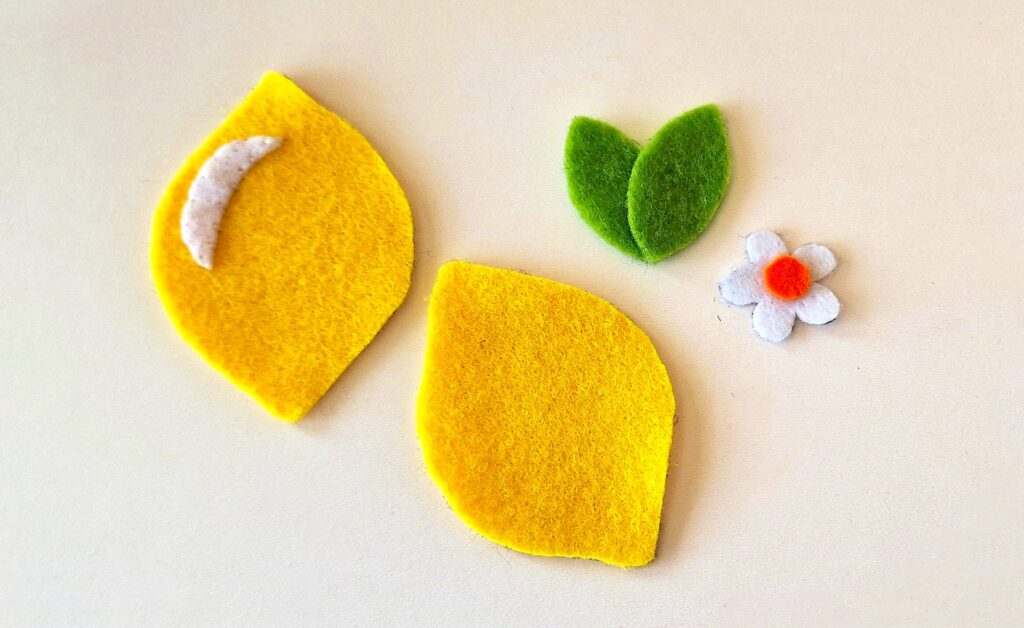
Download, print and cut out the lemon pattern.
Trace the patterns on the felt fabrics and then cut them out.
We used the following felt colors:
- Lemon: Yellow (Use green if making a lime)
- Leaves: Green
- Flower: White
- Center of Flower: Orange or Yellow
- Crescent Shape: White
Step 2
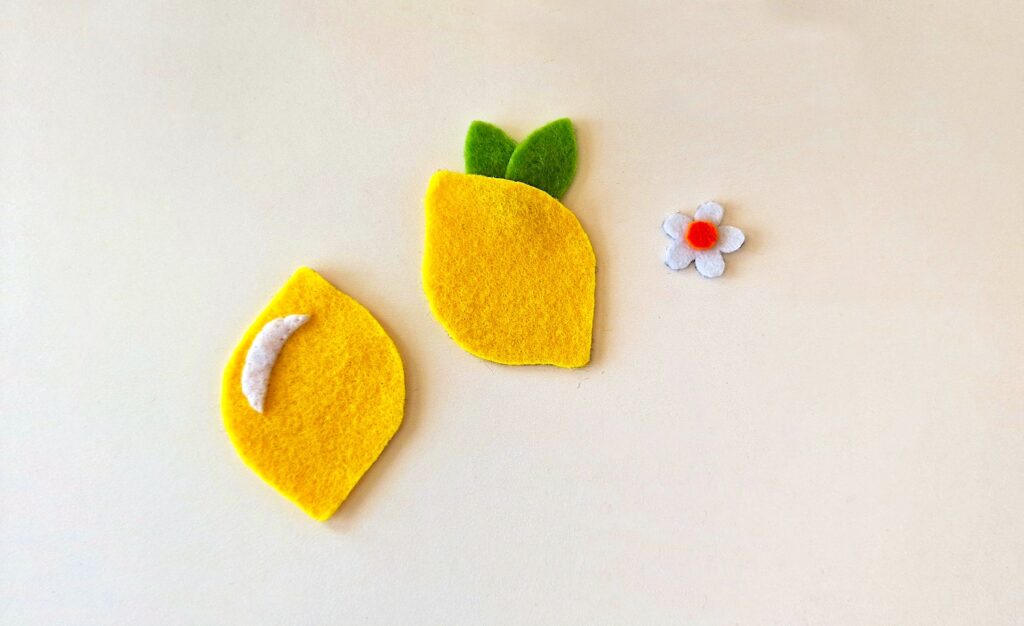
Place the small round cutout in the center of the flower cutout.
Then place any one pointy end of a leaf on top of the pointy end of the other leaf pattern, slightly overlapping the pieces.
Finally, place the crescent shape cutout on a side of a lemon base cutouts.
Step 3
Stitch the crescent shape to the lemon base with white thread.
On the other lemon base, place the double leaves behind the lemon, with about ⅓ of the leaves behind the lemon cutout.
Step 4
Place the lemon with the crescent shape on the top of the plain lemon cutout with the leaves behind it.
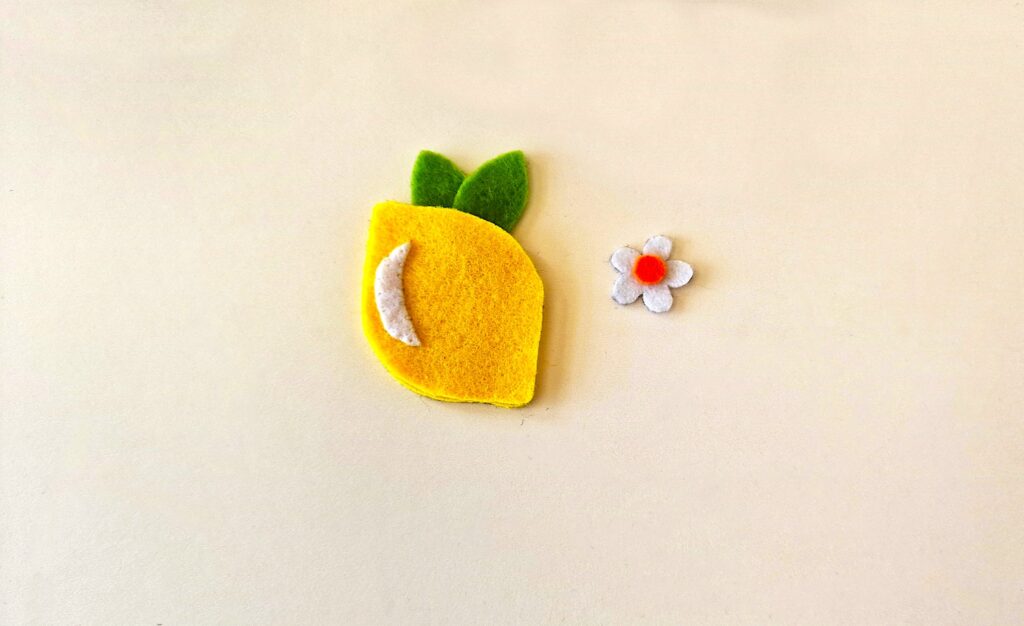
Then place the flower on the top of the lemon, overlapping the edge of the lemon cutout and slightly over the leaves.
Step 5
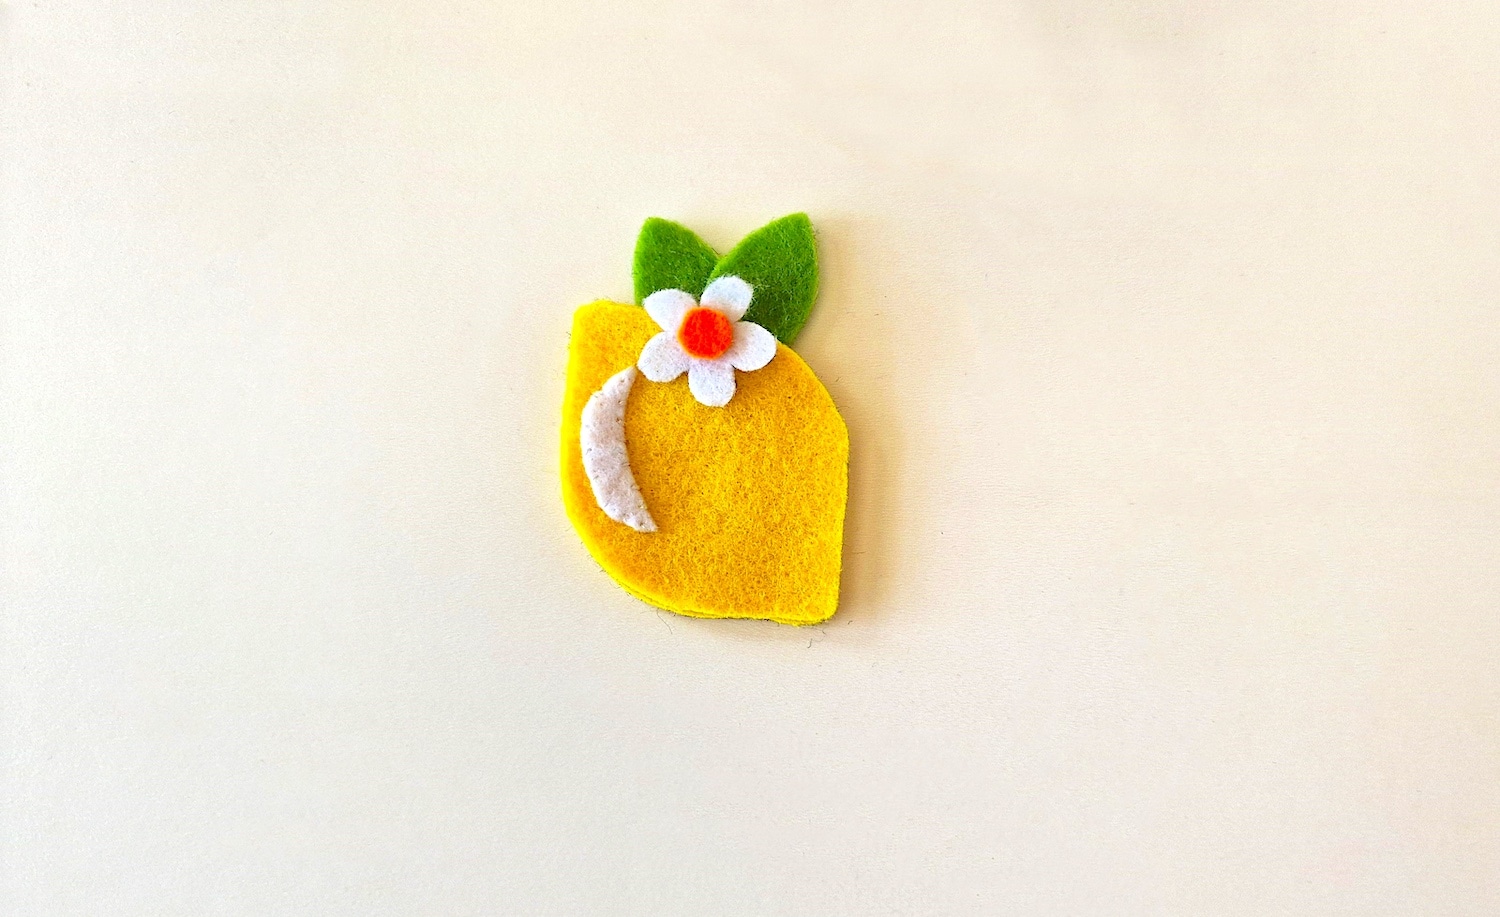
Using a thread that matches the felt color of the center of the flower, add a simple cross stitch (in the shape of an X) in the center of the circle, making sure to go through all layers, including the flower, lemon and leaves.
Knot that thread in the back and cut off the excess.
Next, thread a needle with yellow thread that matches the lemon.
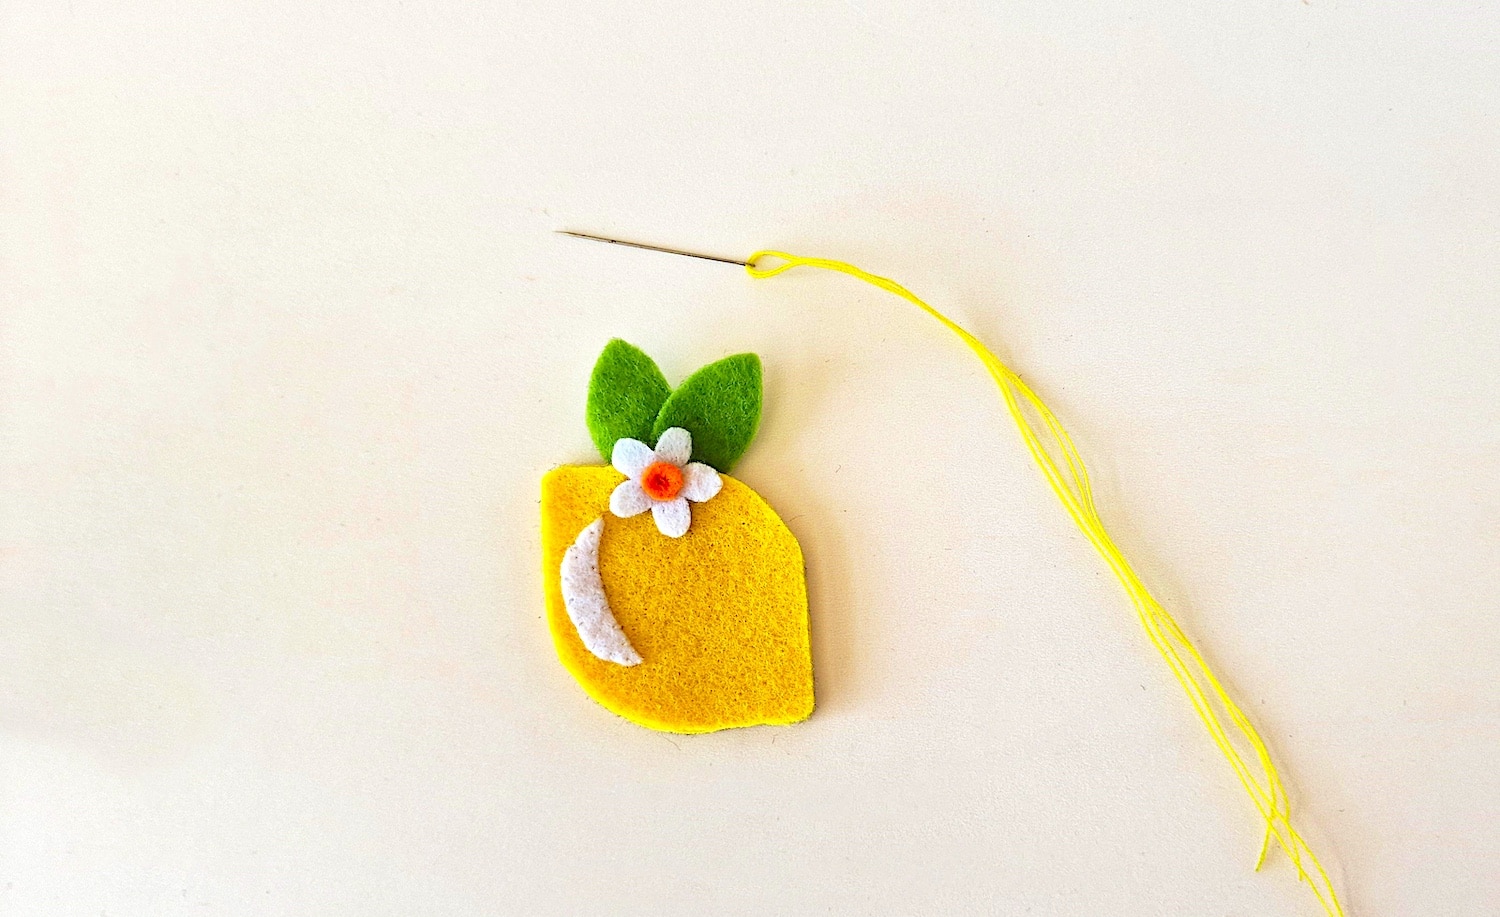
Stitch along the sides of the lemon bases to close them together. We used a flat blanket stitch around the sides.
Keep a small opening on the top to stuff the lemon.
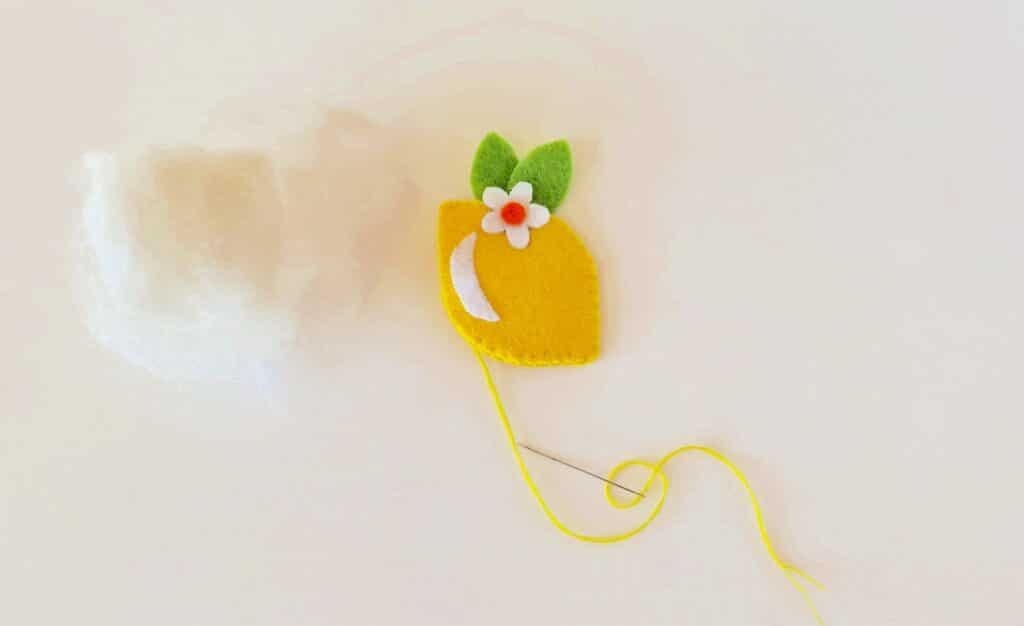
Step 6
Using Polyfill, stuffing or small fabric or felt scraps, stuff the felt lemon. Don’t stuff it too much or else the edges won’t be able to close.
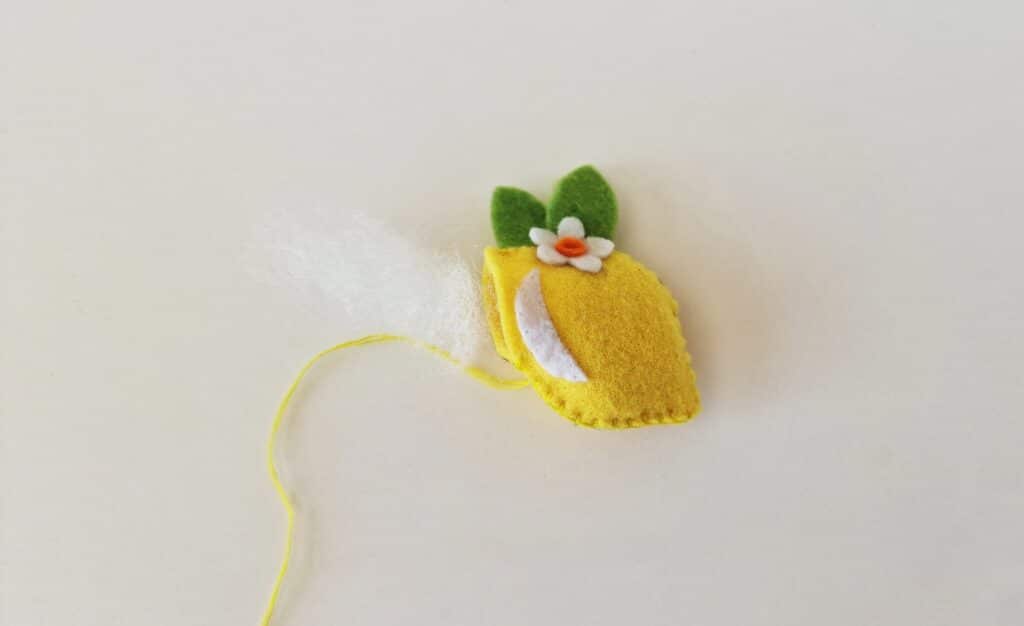
Step 7
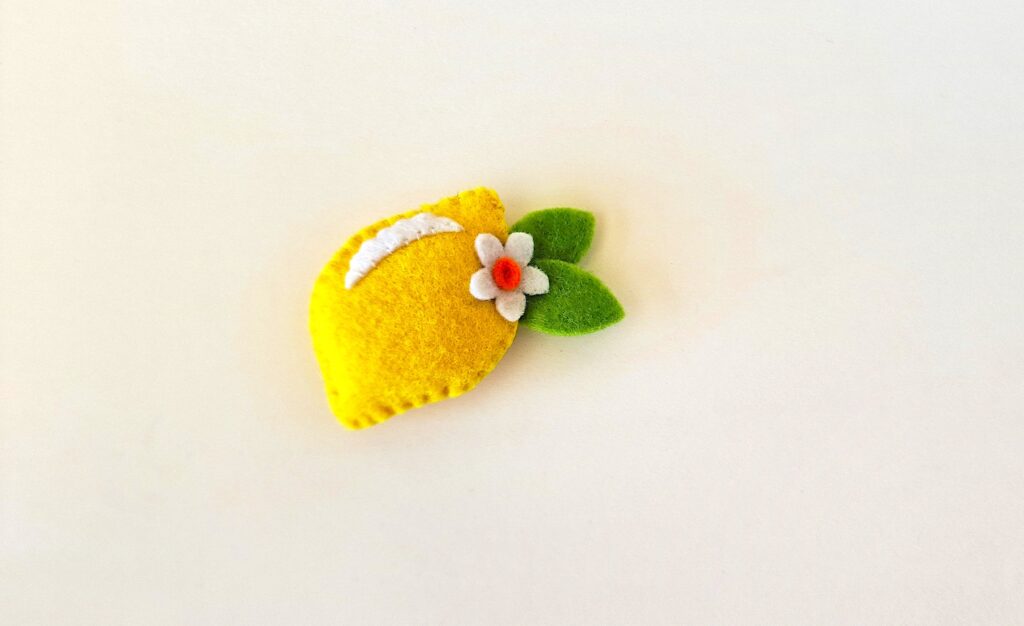
After stuffing, continue to stitch around the lemon to close it shut.
Tie 2-3 knots in the thread in the back to secure the stitching, then cut off the extra thread.
Save this felt lemon plushie sewing pattern by Pinning It to Pinterest.
Want more free felt food sewing patterns? Be sure to see these easy ideas, too: