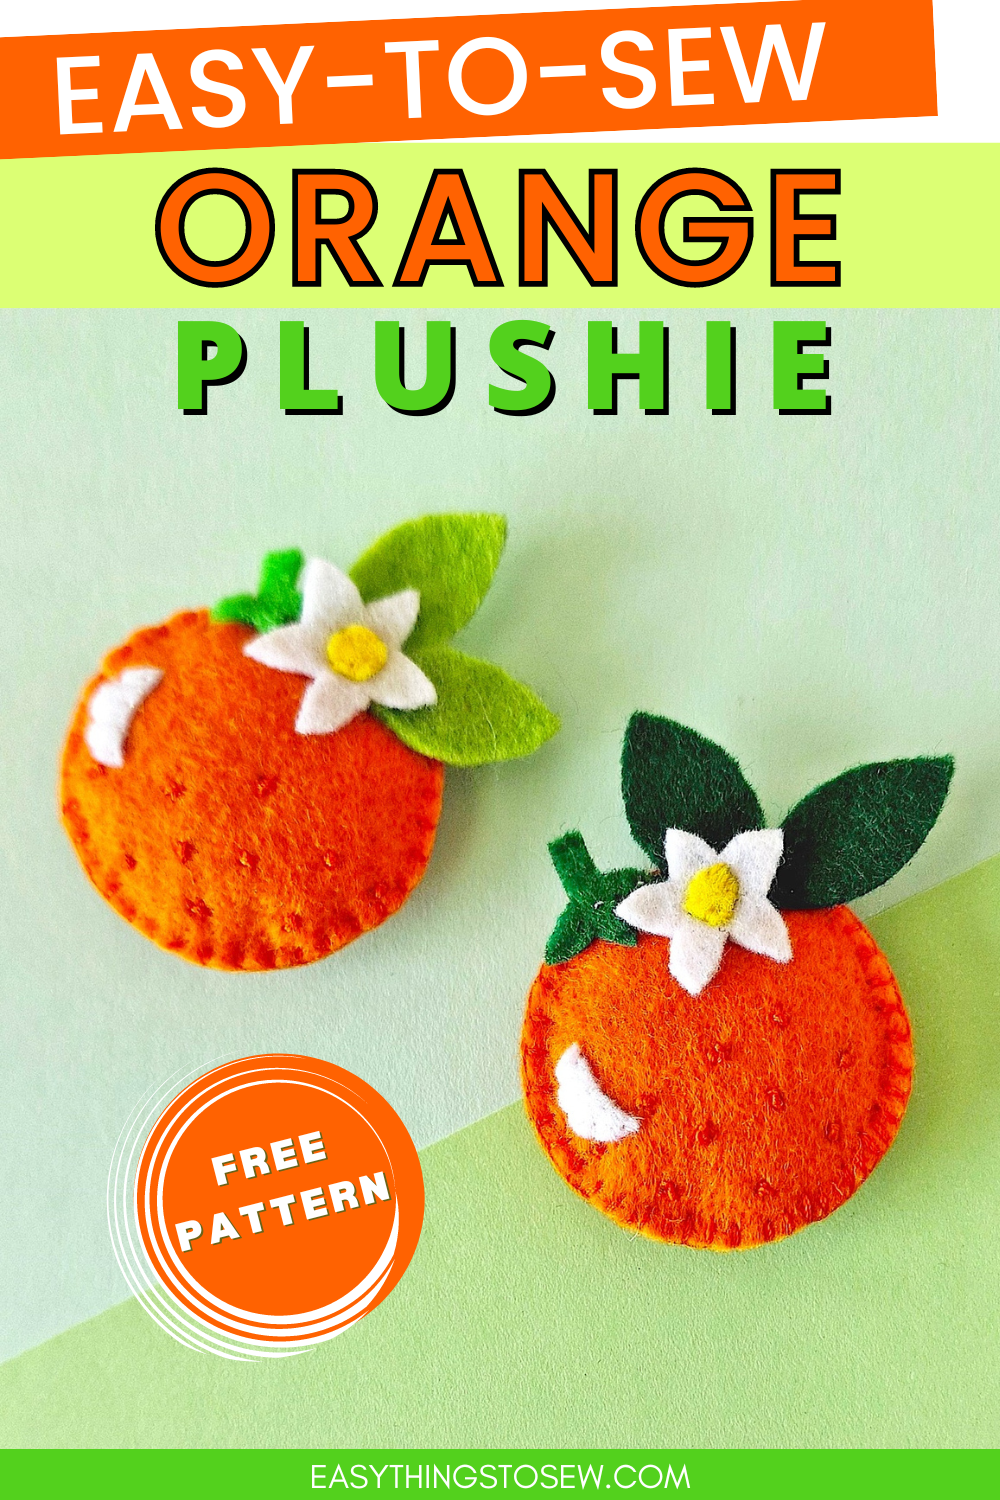
Felt Orange (Free Pattern)
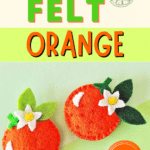
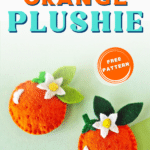
Celebrate orange season with these cute felt orange plushies. Use our free pattern to hand sew these felt foods.
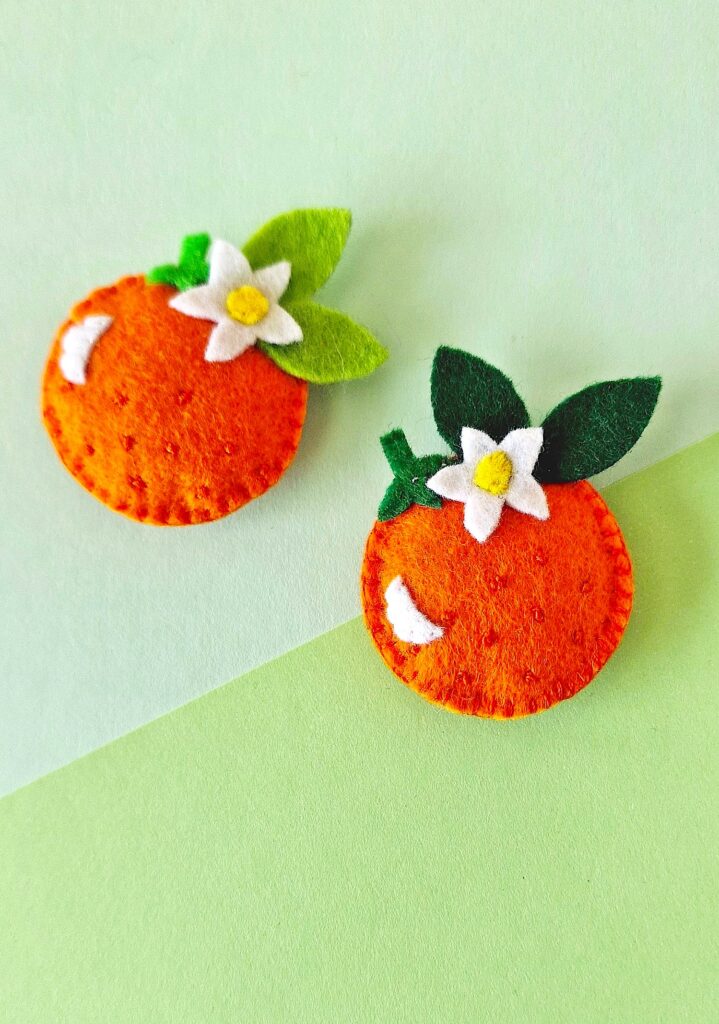
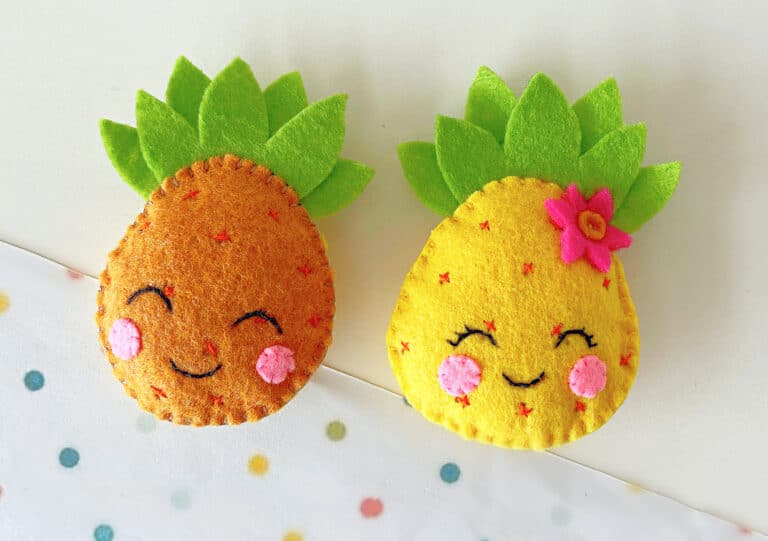
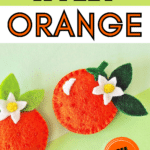
These orange plushies would look great displayed in a bowl or used to decorate your kitchen, especially on a tiered tray.
They would also make cute magnets or brooches. Just glue a magnet strip or a pin clasp to the back.
This is just one of our many felt crafts.
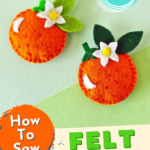
How to Sew a Felt Orange
Materials
- Free Felt Orange Pattern
- Felt in Different Colors (we used orange, white, green and yellow)
- Matching Threads
- Marker (preferably a water soluble erasable marker)
- Scissors (See our Guide to the Best Scissors for Cutting Felt)
- Hand-Sewing Needle
- Polyfill or Cotton
Directions
Step 1
Download, print and cut out the free orange pattern.
Trace the pattern shapes on the selected colors. These are the colors we used:
- (2) Orange Fruit: Orange
- (2) Leaves: Green
- Stem: Green
- Flower Petals: White
- Flower Center: Yellow
- Crescent Shape: White
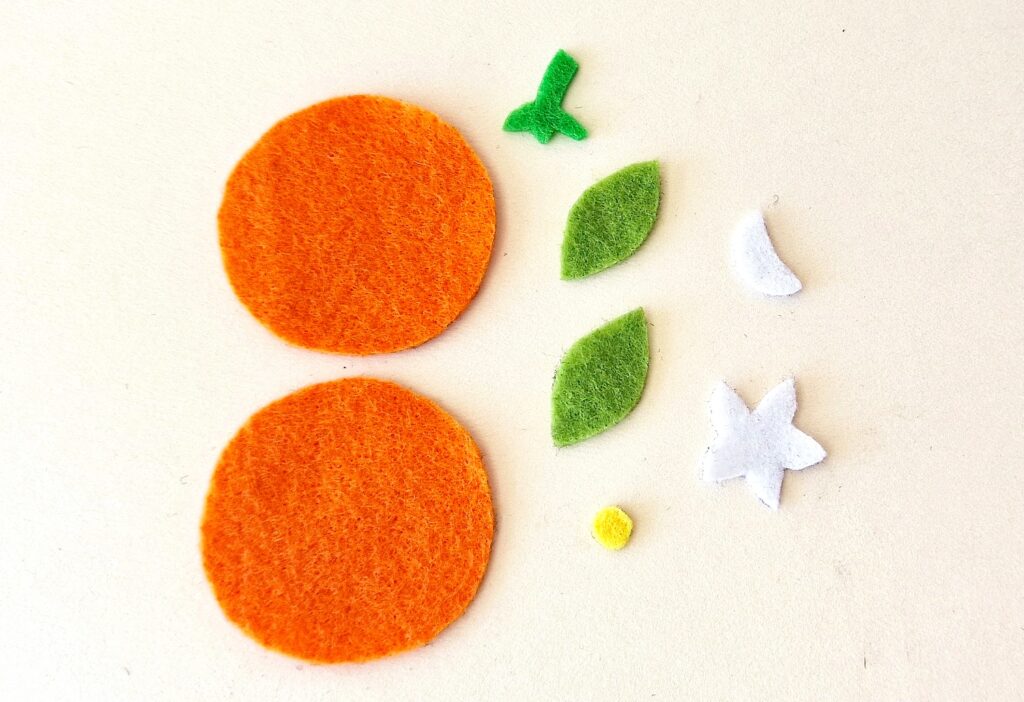
Cut out the pattern pieces.
Step 2
Draw small dots over half of one of the orange base patterns.
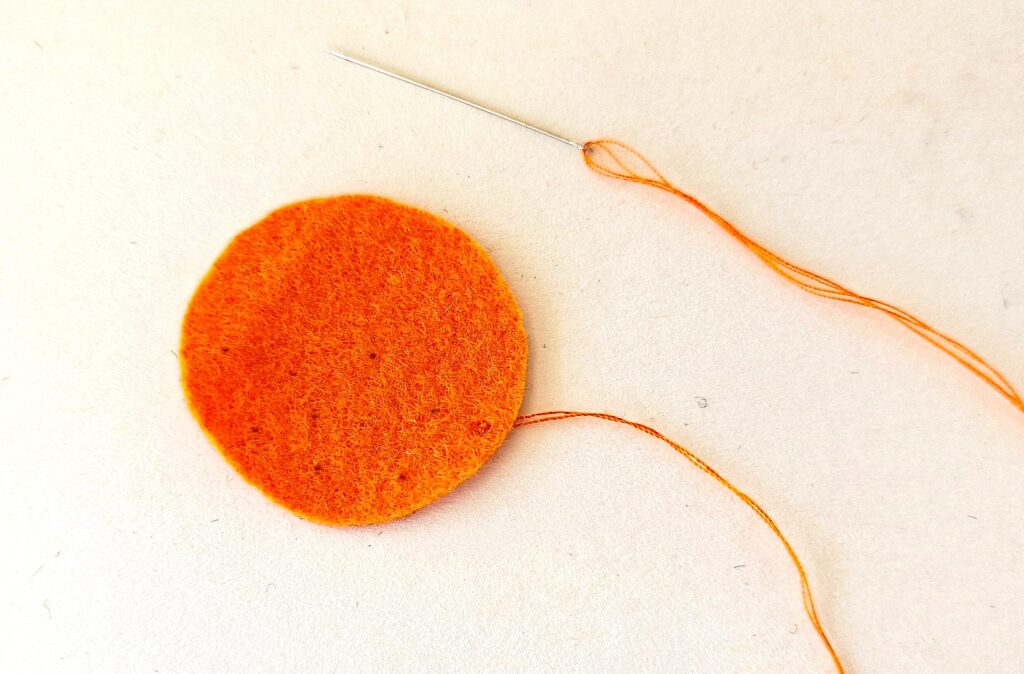
Thread a needle with matching thread color. Cut a long piece of thread because you will be stitching quite a lot with it.
Stitch over the dots. You can use simple cross stitches or a French knot stitch.
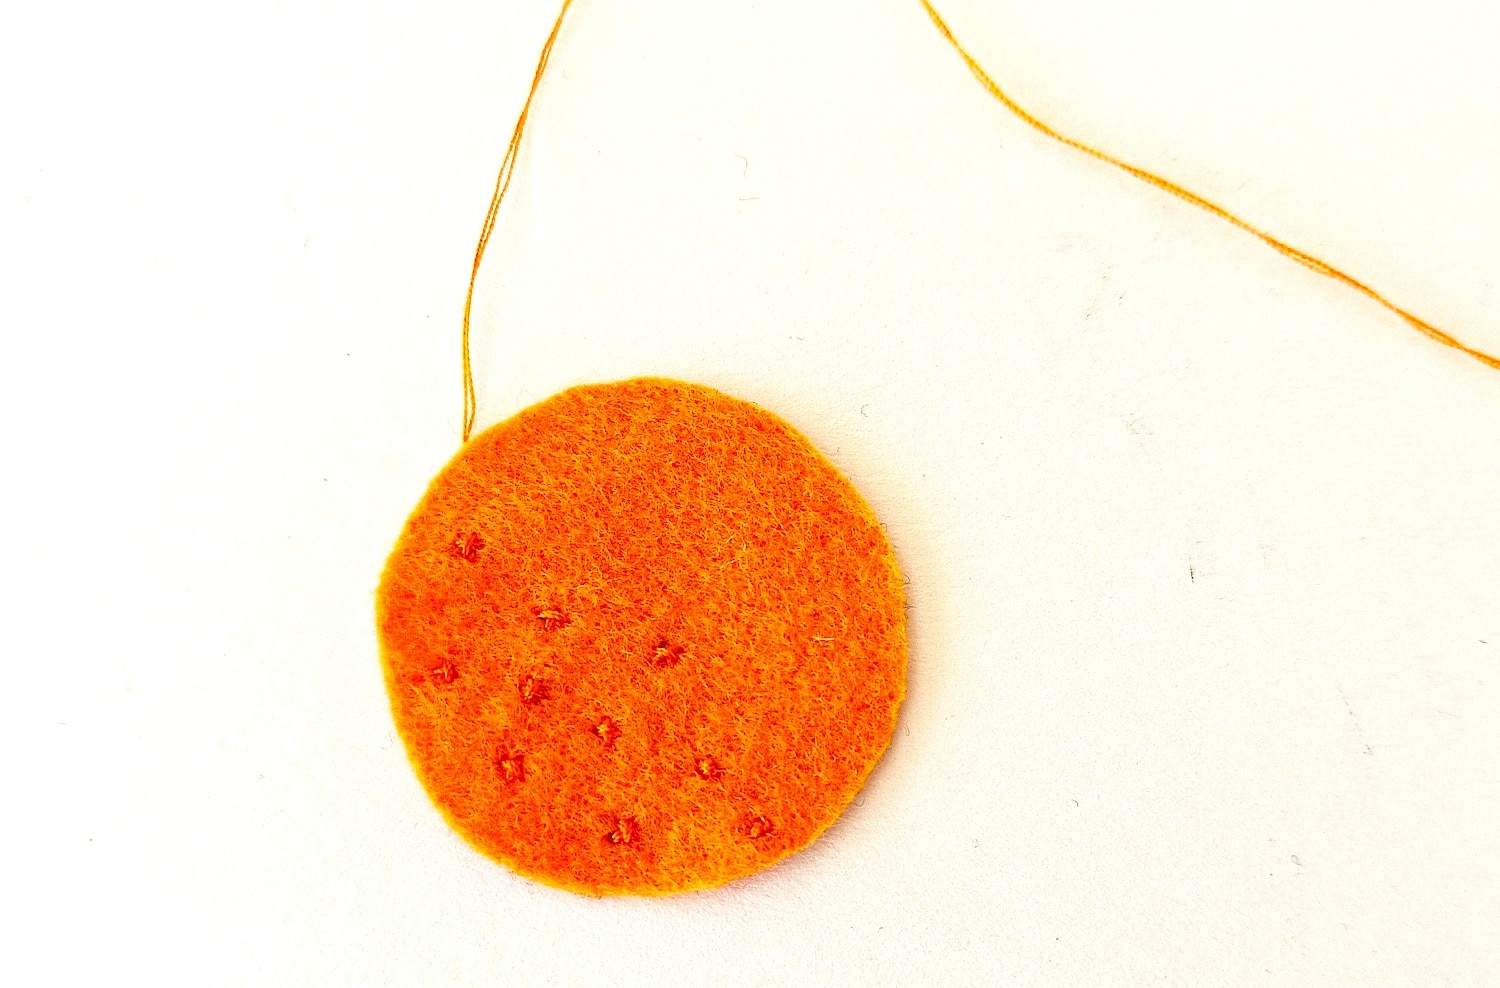
Do not cut the thread off yet.
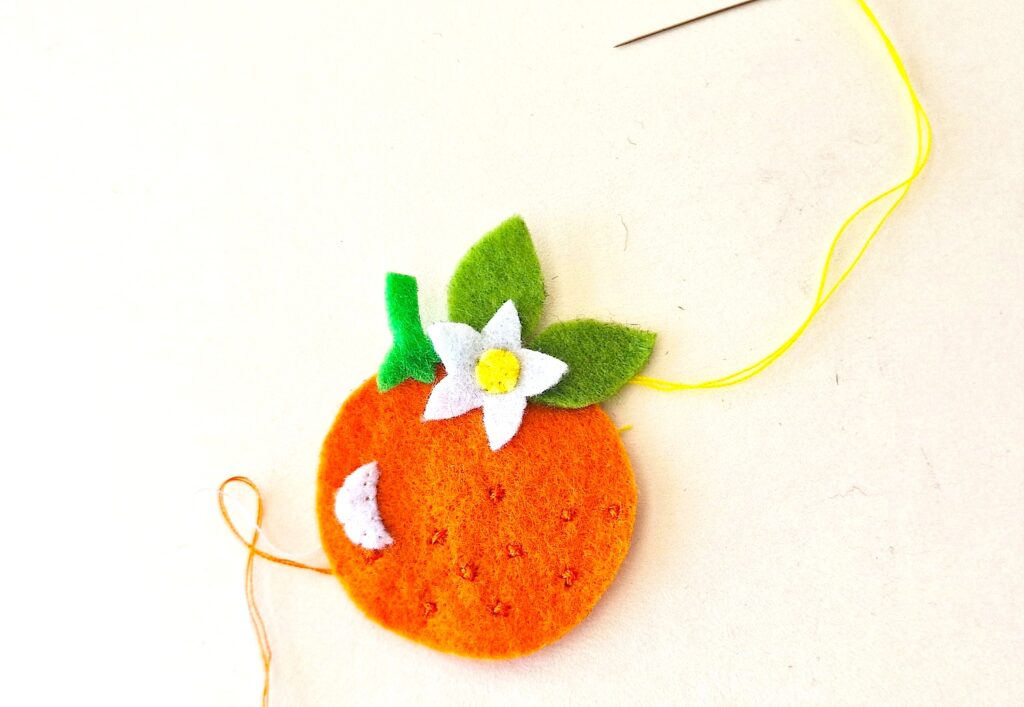
Step 3
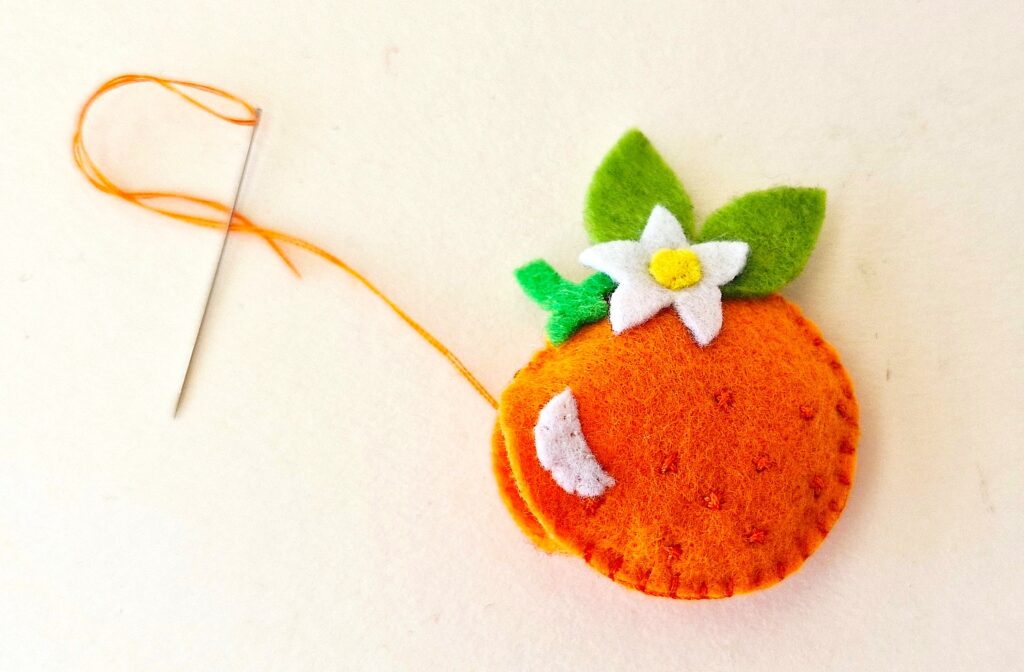
Place the small crescent cutout on the side of the orange base with the stitched dots. Place the round edge facing outwards, as seen in the photo below.
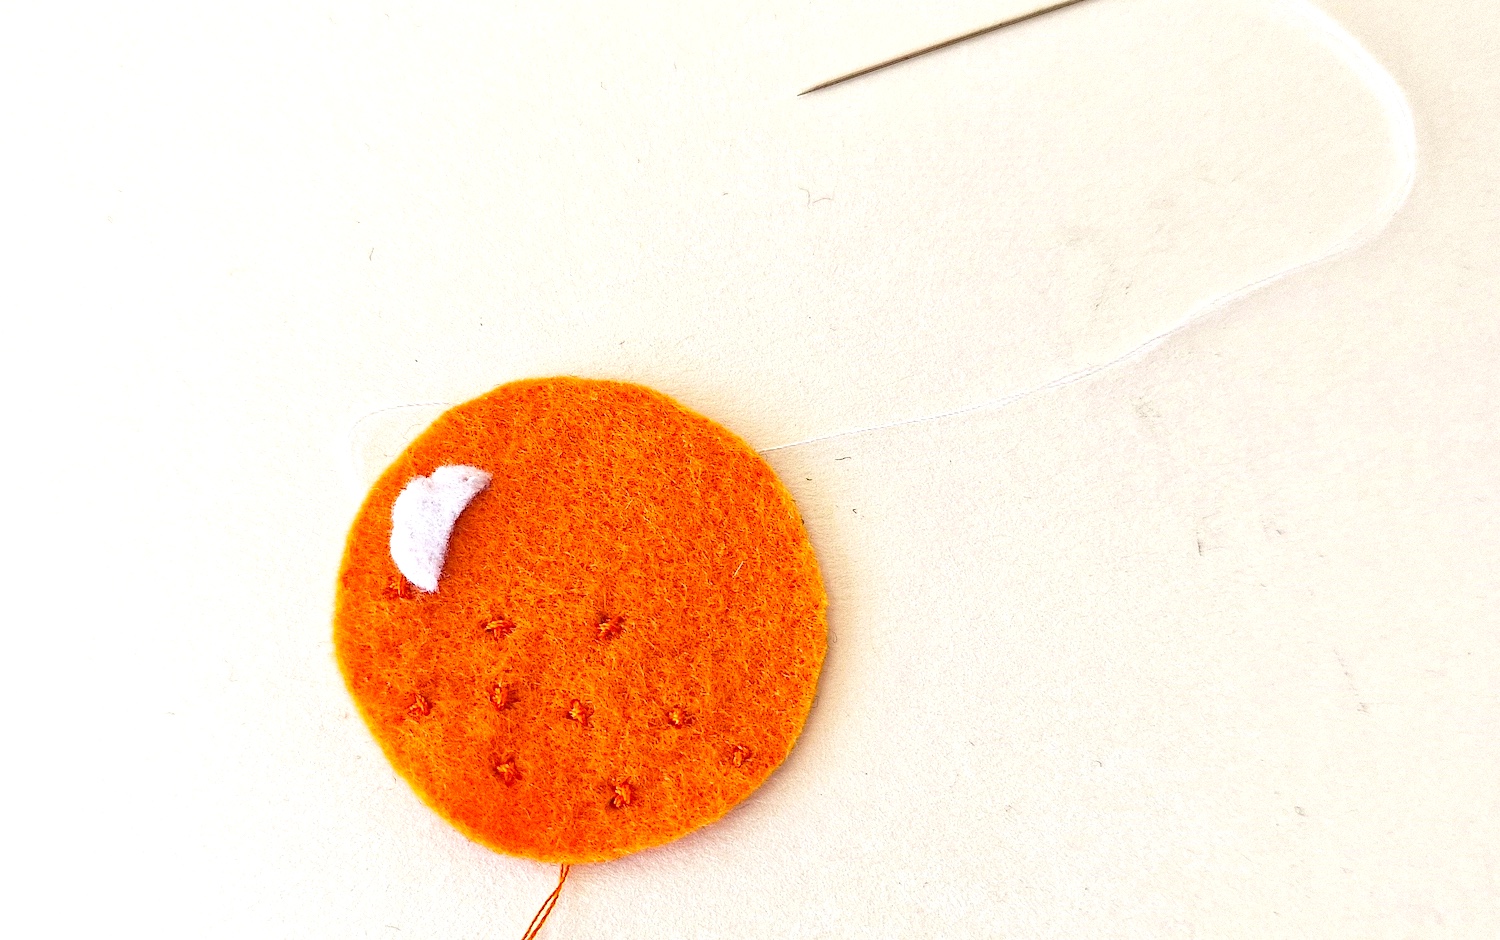
Thread a needle with white thread and stitch around the crescent to secure it to the base. Knot the thread in the back when done and cut off the excess.
Step 4
Place the stem cutout on the top side of the orange base with dots.
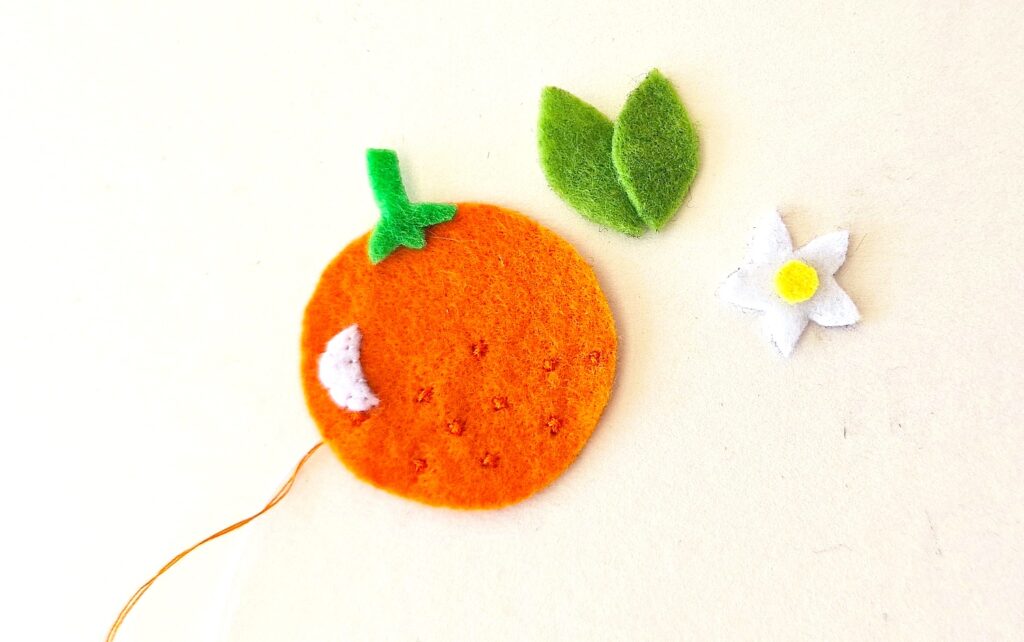
Then place the center of the flower in the middle of the flower petals.
Place the two leaves on the orange, overlapping the stem slightly. Then add the flower on top of the leaves, covering the pointed ends.
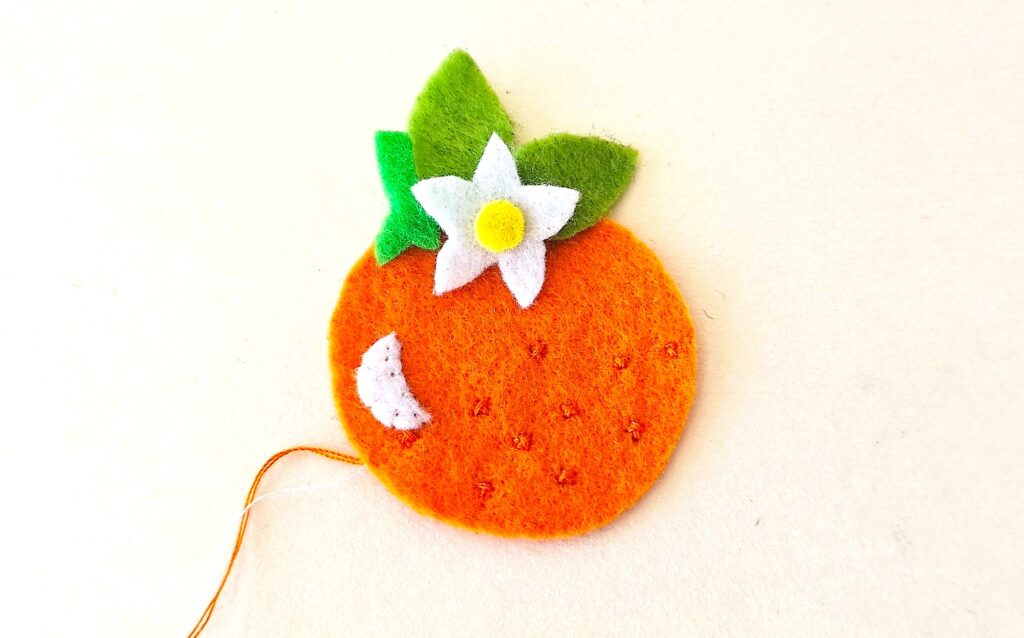
Thread a needle with yellow thread. Stitch a large cross stitch in the middle of the flower center, making sure to secure the flower petals, leaves and stem in the same stitch.
Tie 3-4 knots in the back to secure the thread and cut off the excess thread.
It may be difficult to get the stem underneath the yellow cross stitch depending on placement. You can attach the stem with orange thread in the next step, or do a few stitches with green thread if you would like.
Step 5
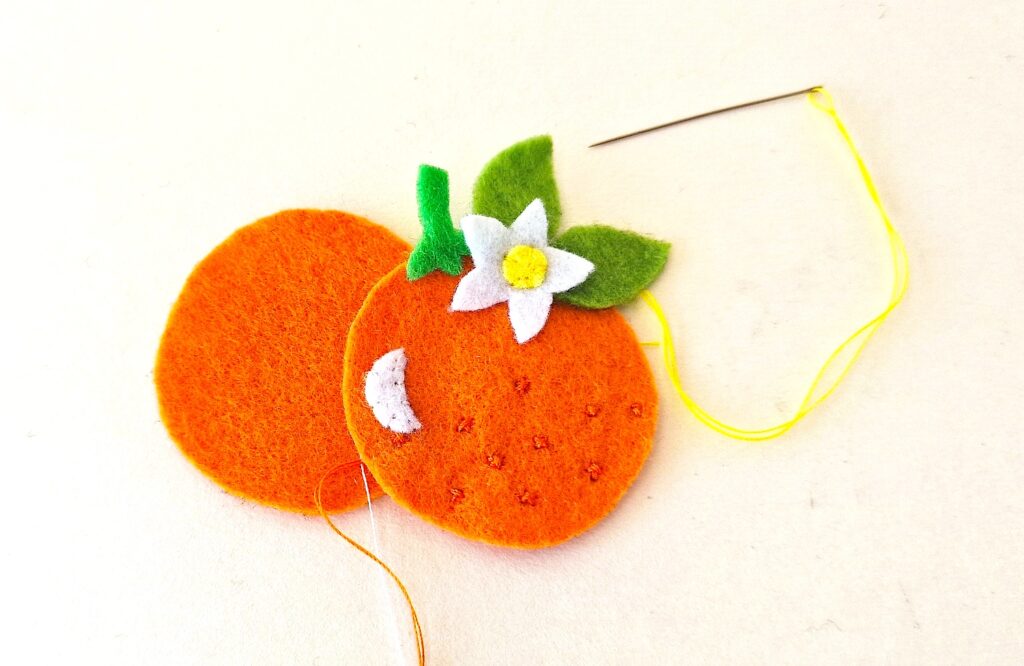
Place the plain orange base under the stitched one.
Using the orange thread that is still attached to your pattern piece, do a blanket stitch around the sides to join the bases, being sure to leave a small opening to stuff the orange.
Do not cut the thread off yet.
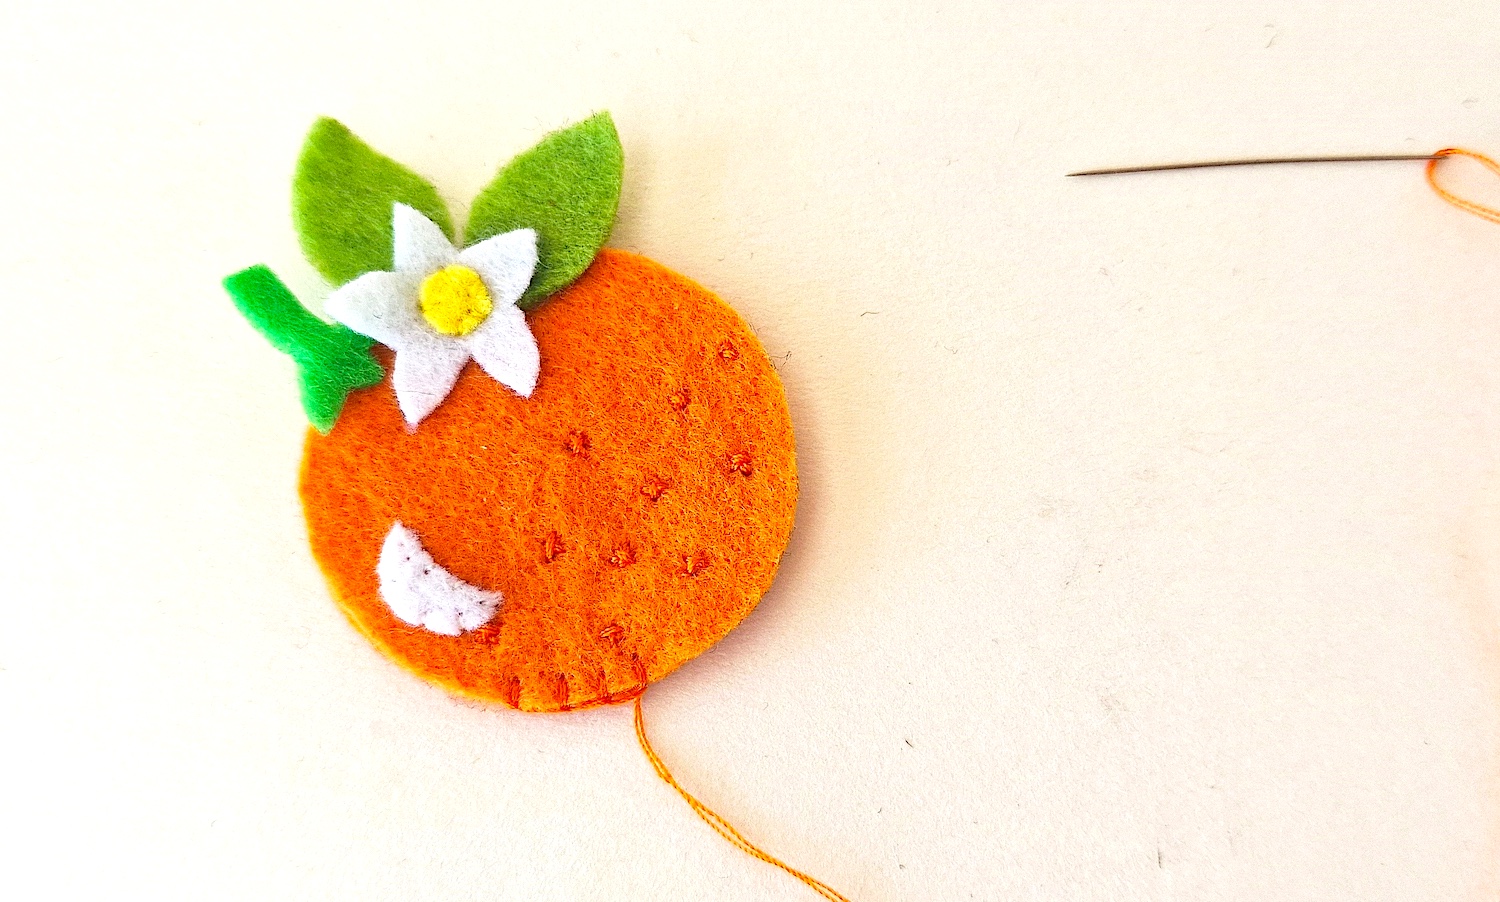
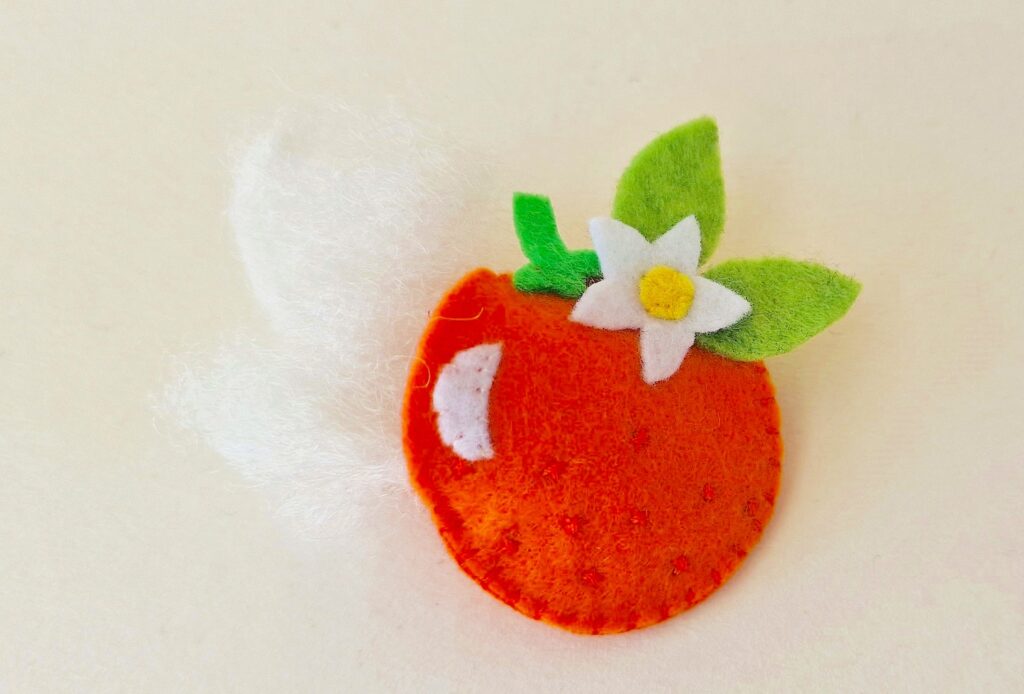
Step 6
Stuff a small amount of Polyfill or cotton stuffing into the orange until it is as plush as you would like.
Step 7
Continue stitching around the orange to close the opening. Tie a knot 3-4 times in the back to secure and cut off the extra thread.
Want to save this project for later? Just Pin It on a craft board to reference in the future!
Want more free felt food sewing patterns? Be sure to see these easy ideas, too: