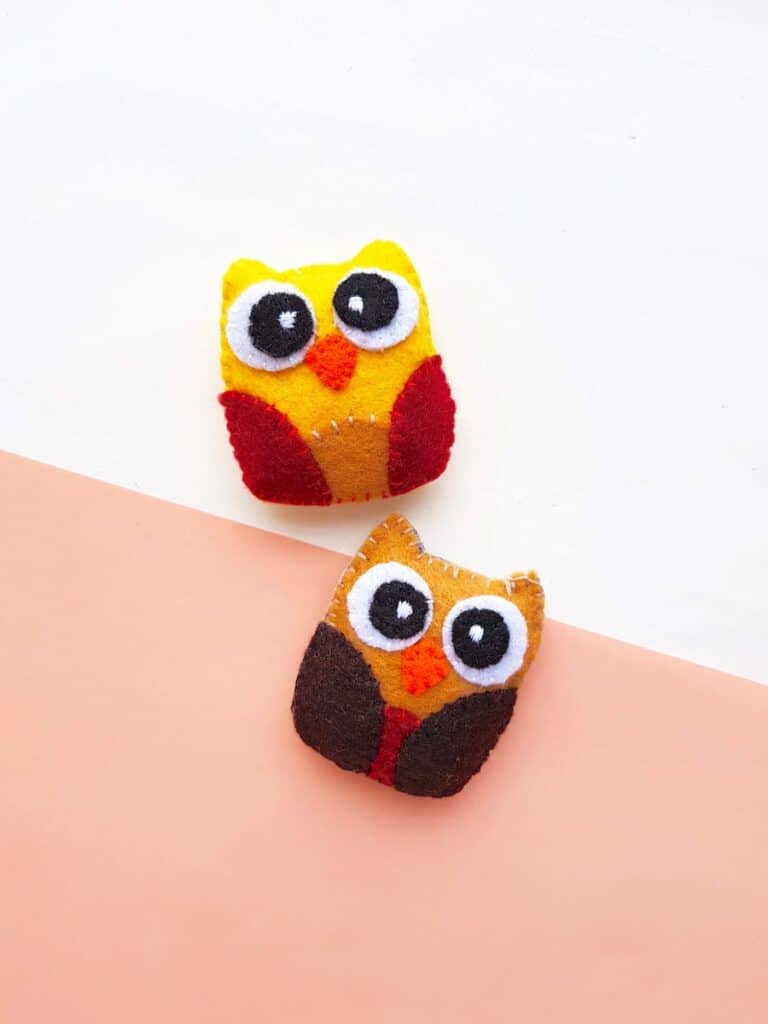
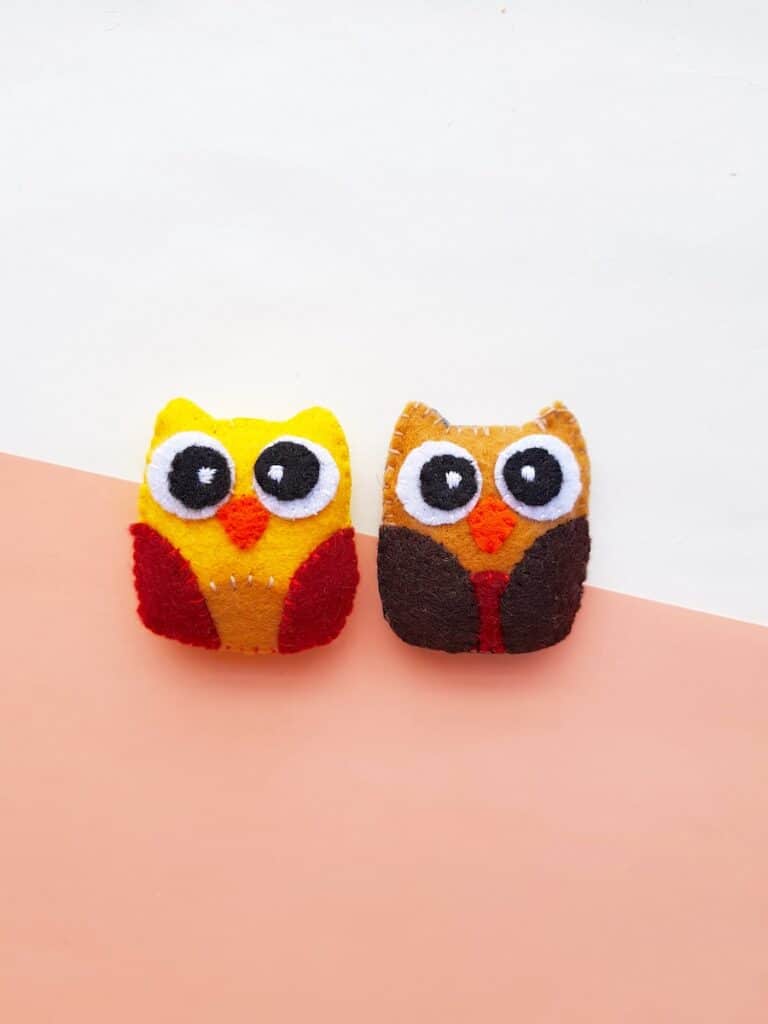
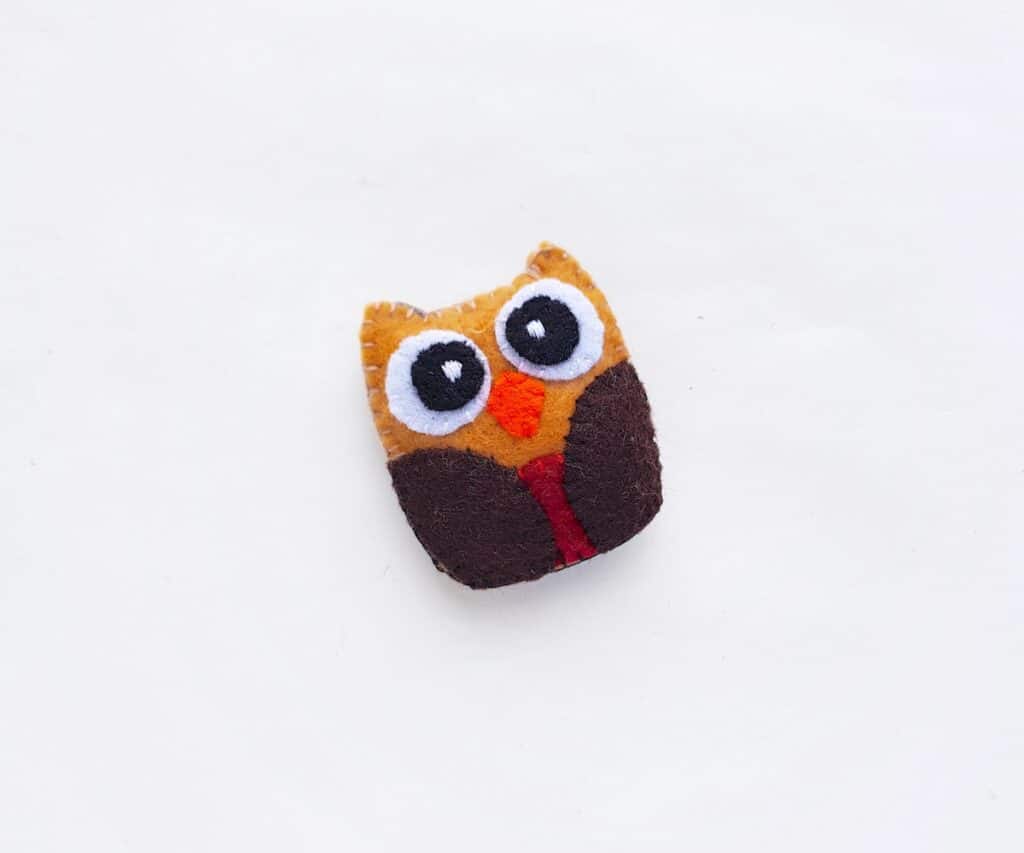
Felt Owl Sewing Pattern (Free Template)
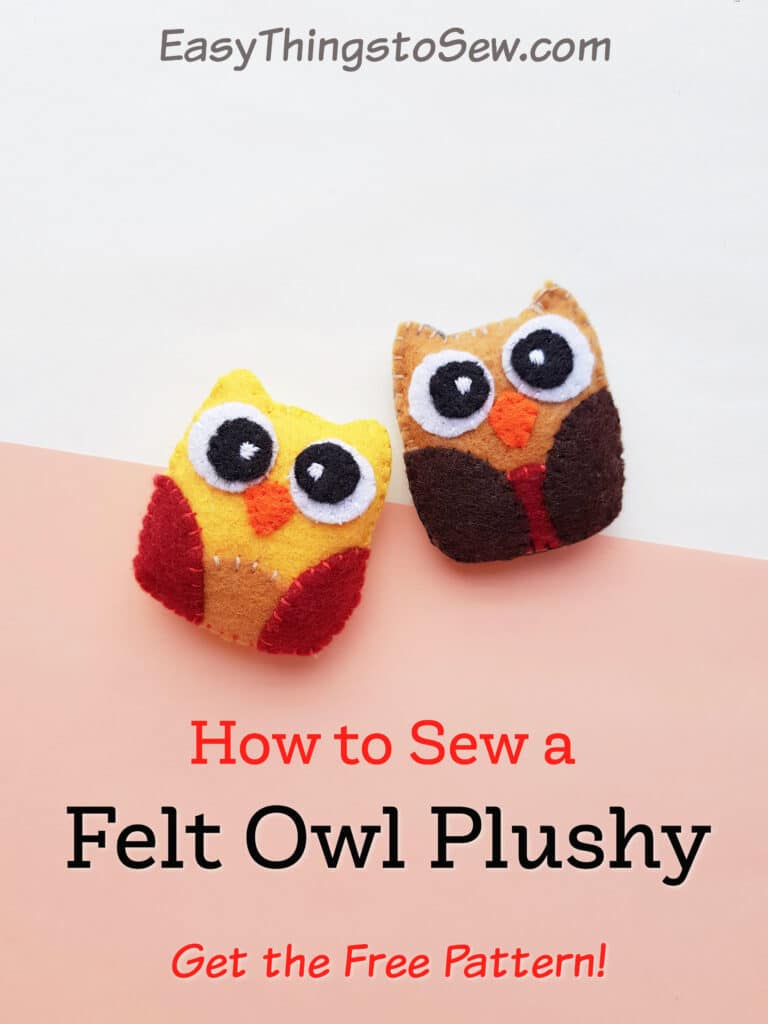
These cute felt owls are easy to hand stitch! Get the free sewing pattern to make the DIY owl plushies with felt scraps.
This felt owl pairs well with our felt mushroom if you are doing a woodland theme wreath, play toys, etc.
These cute birds are just one of our fun felt Cottagecore crafts. Be sure to see them all!
How to Sew a Felt Owl Plushie
Supplies
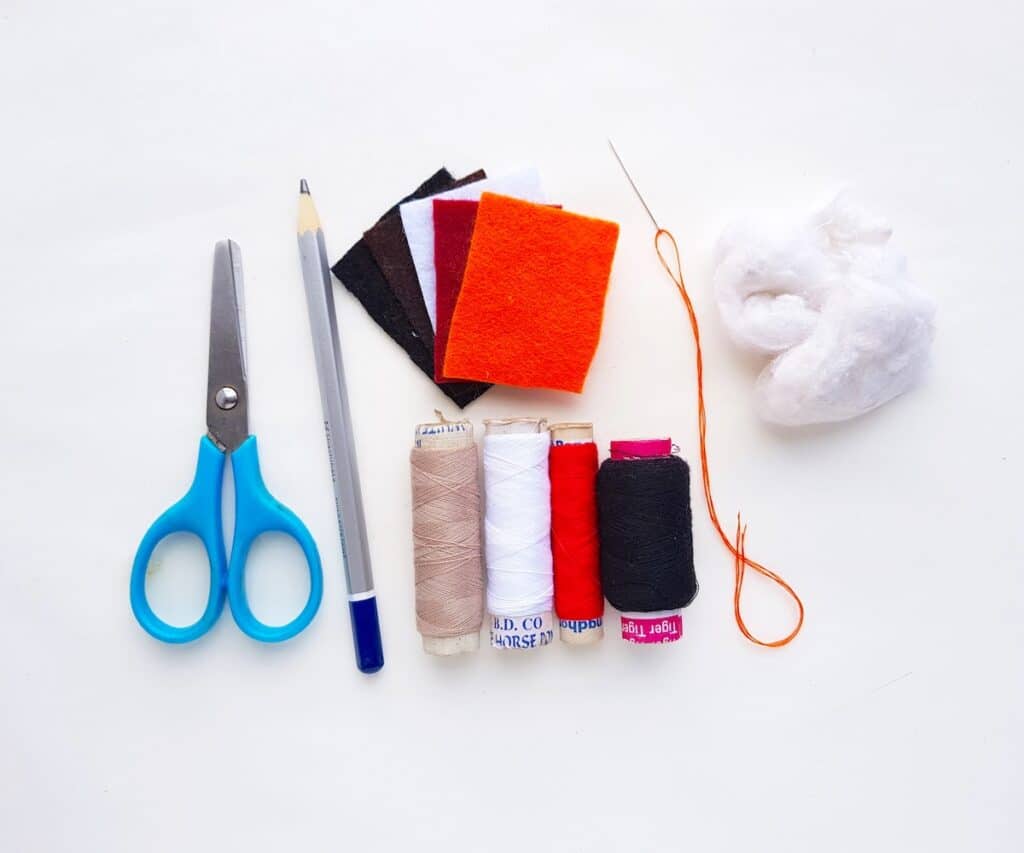
- Free Owl Pattern
- Felt (I like these inexpensive multi-packs of colors)
- Matching threads
- Polyfill, stuffing or small felt scraps
- Needle
- Pencil or fabric marker
- Scissors
Did you know you can buy other crafter’s felt scraps for a bargain price? They are a perfect for this craft!
Instructions
Step 1
Download, print and cut out the owl pattern.
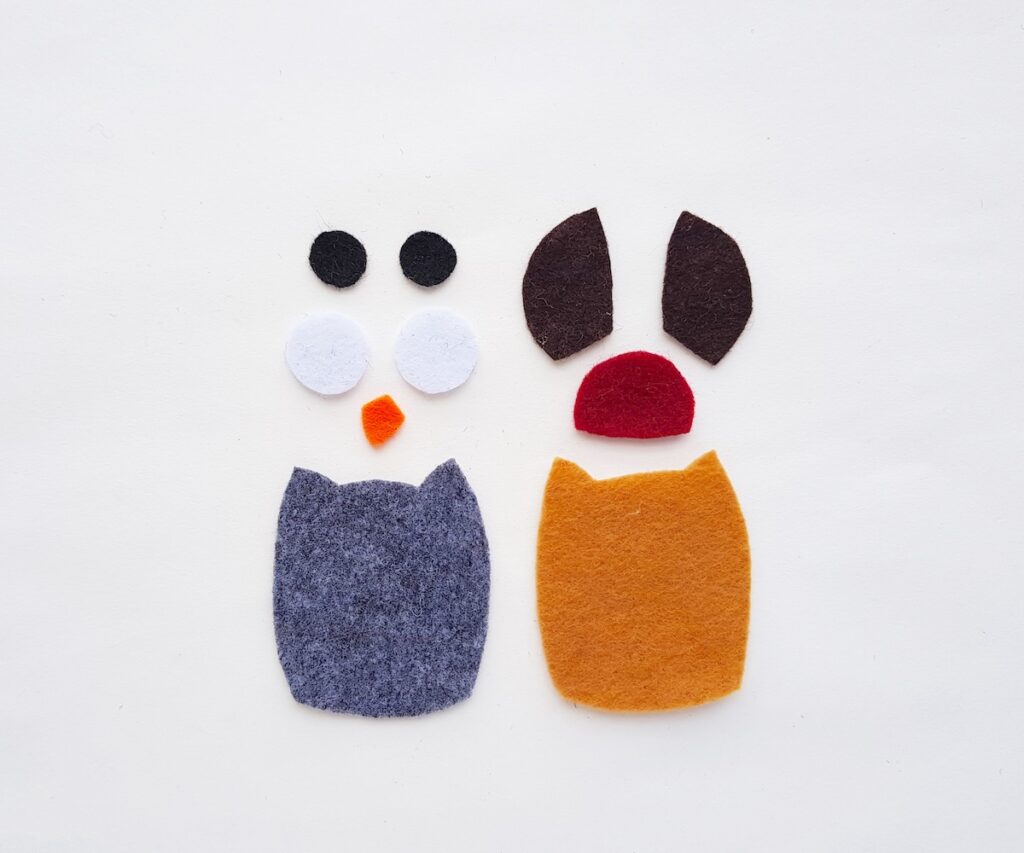
Select 3 different colored felt fabrics for the owl pattern. You will also need black and white felt for the eyes and orange felt for the beak.
Trace the patterns on your chosen color of felt and cut out.
Step 2
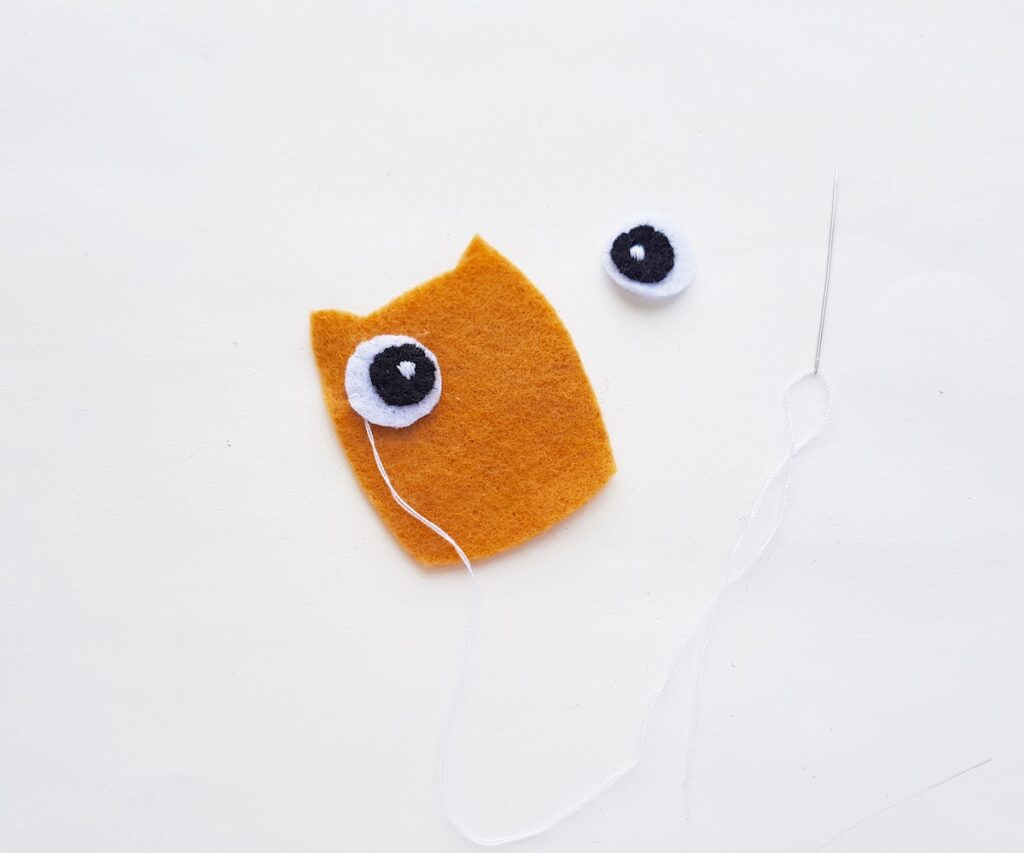
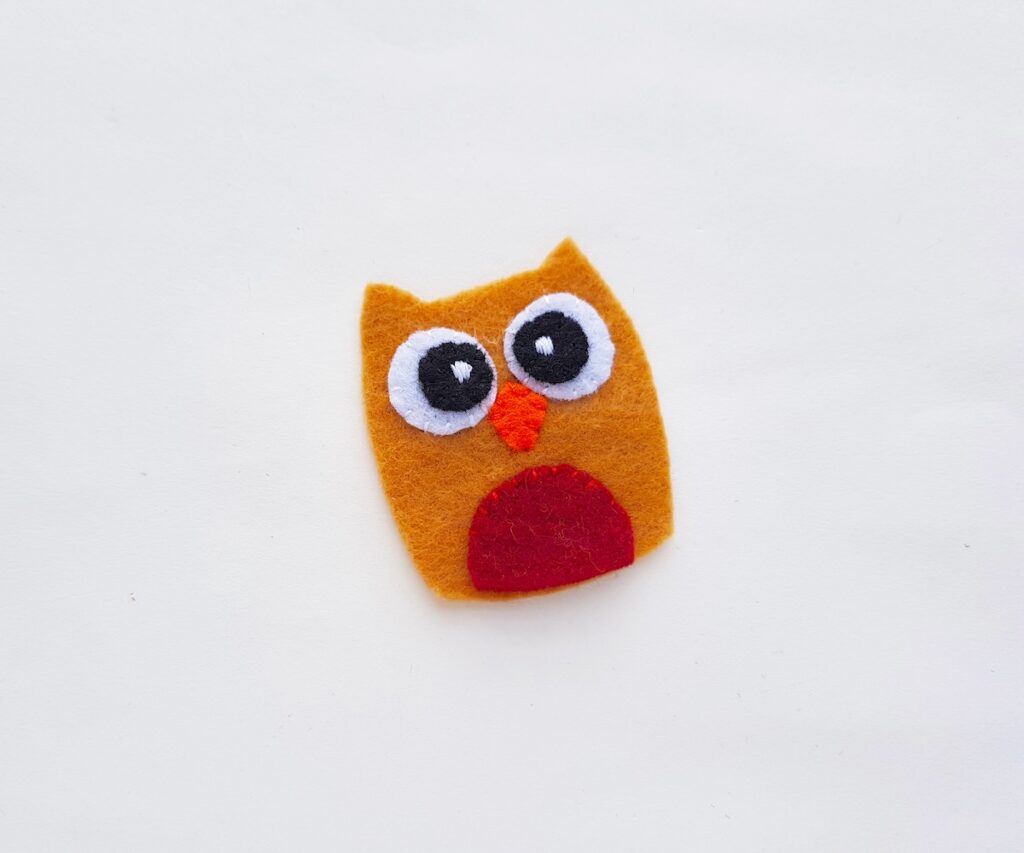
To make the eyes, stitch the small black round piece on the top of the white circle piece. Do this with a small white dot pattern you make with simple straight stitches.
Place the eyes on the right side of the owl body cut out.
Step 3
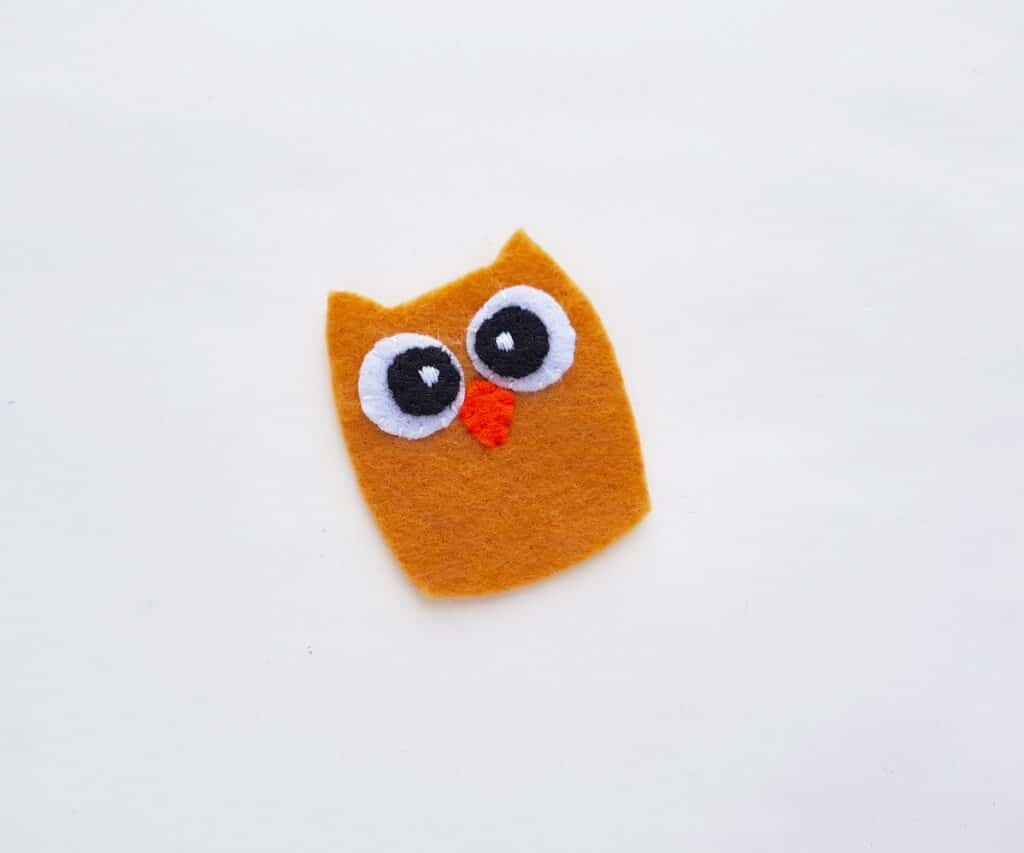
Stitch around the side of the white felt eyes with white thread to secure them to the owl body.
Stitch the orange triangle beak in between the middle part of the eyes using orange thread.
Step 4
Place the half circle piece on the bottom of the owl body base. Make sure the edges line up together on the bottom. Hand stitch around the top of the curved part to secure to the body.
When you add the wings in the next step, it will cover the unstitched parts so don’t use more time and effort than you have to!
Step 5
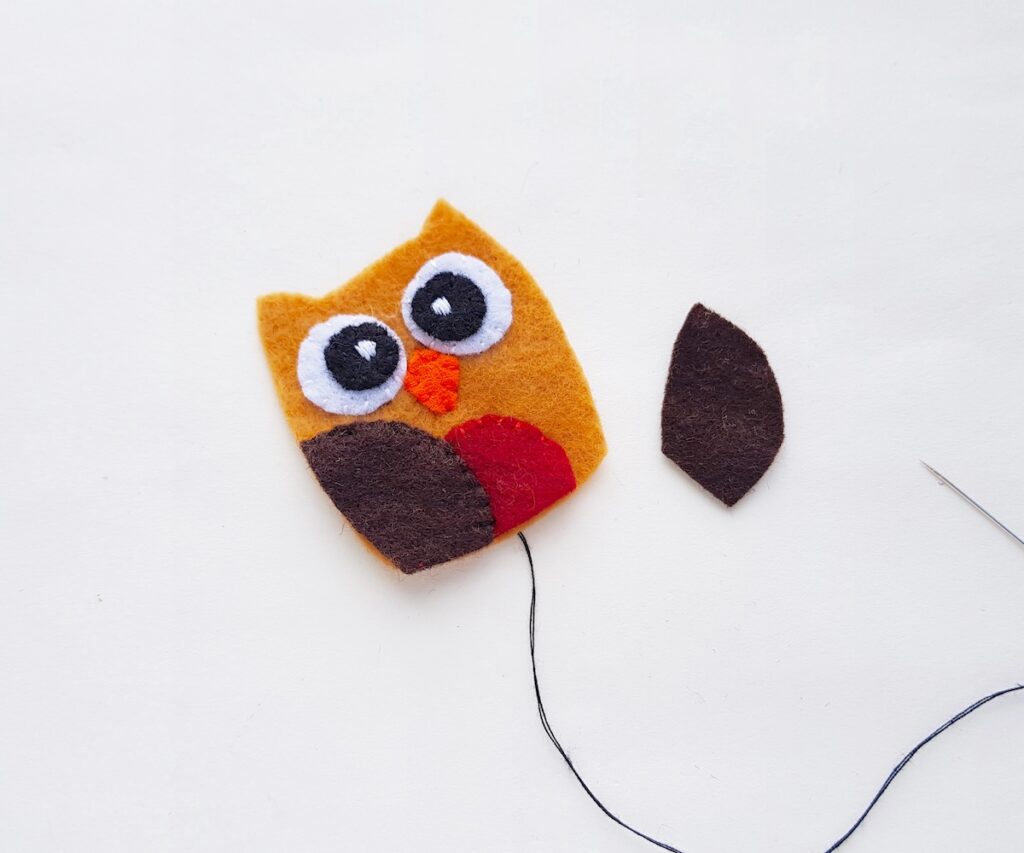
Add the wings to each side, lining up the outer straighter edges and keeping the half circle side facing towards the center of the owl. Hand stitch them to the base with a coordinating color of thread.
*Note: You only have to stitch around the half circle part. The edges will be stitched in next step.
Step 6
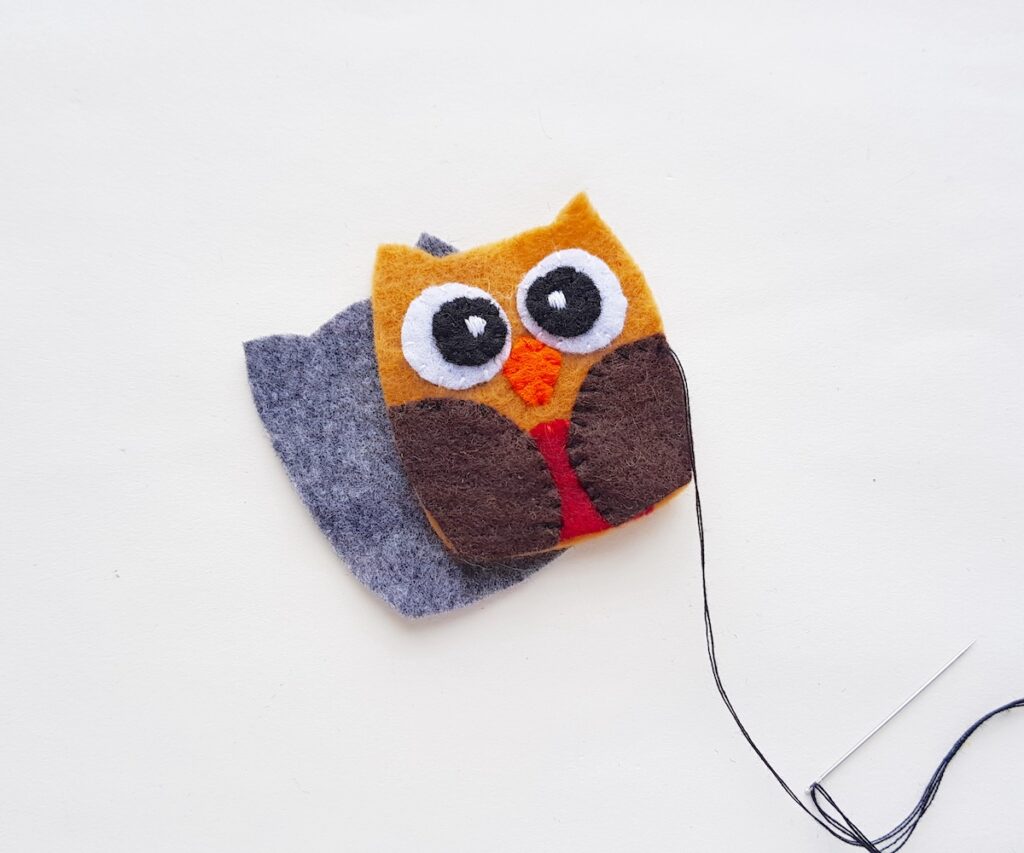
Place the plain body base on the back side of the stitched body base. Now attach the front owl piece to the back owl piece, leaving a small opening on top to stuff the owl.
You can use coordinating colors of thread to stitch through each section if you’d like the stitches to not be seen.
For instance, I used a brown thread to sew through the wings to secure the pieces together. Then I used a tan thread to stitch through the face of the owl.
Step 7
Use polyfill batting or even cotton balls to stuff the felt owl plushy.
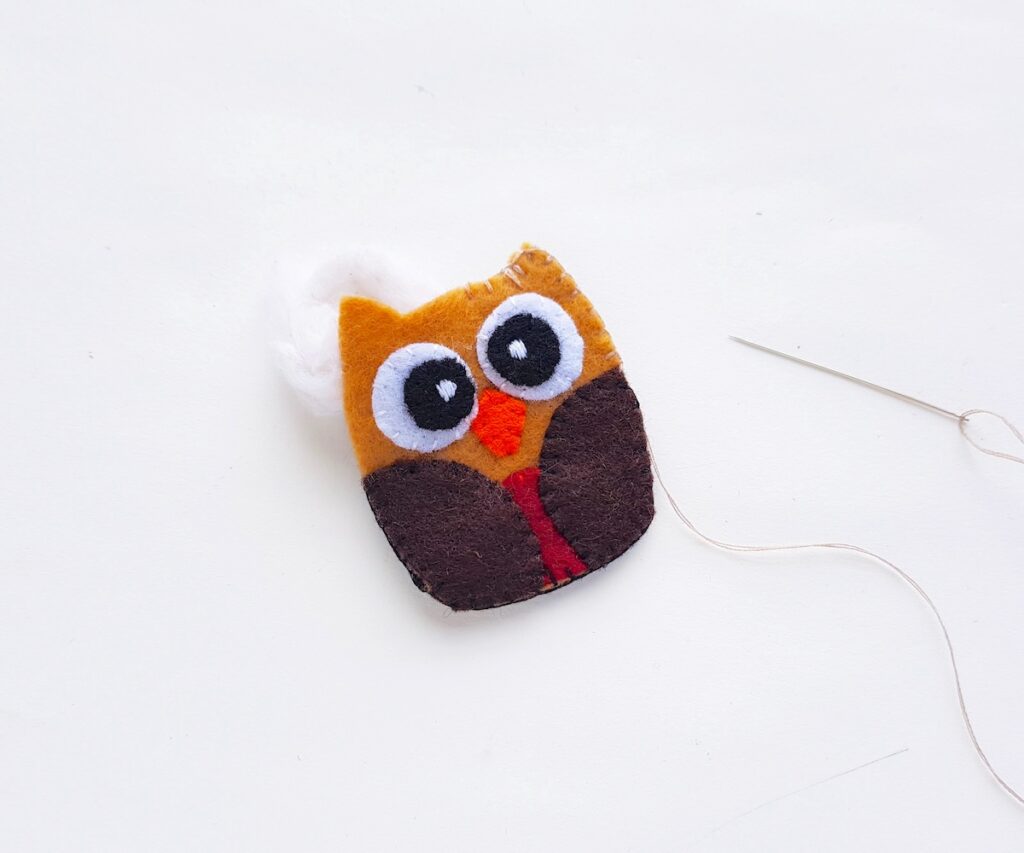
Step 8
Hand stitch the small opening together after done stuffing.
Don’t lose this owl pattern! Pin It to your sewing or craft boards on Pinterest!
Want more felt plushie patterns? See these free sewing patterns next: