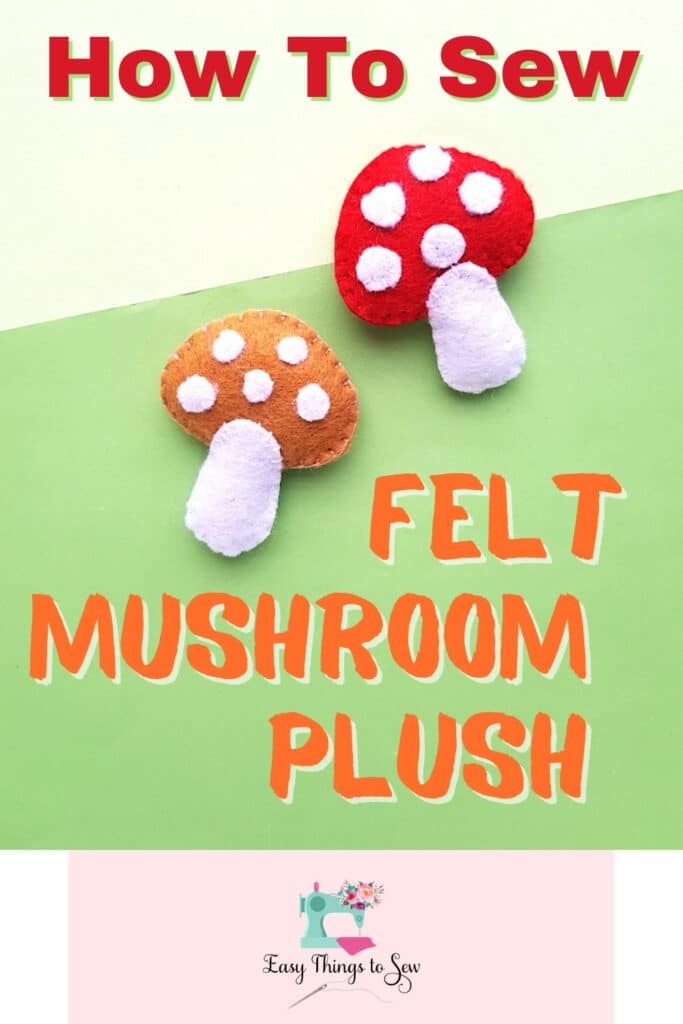
How To Sew a Felt Mushroom Plushie
Use our free mushroom pattern to sew these small felt mushrooms using hand sewing.
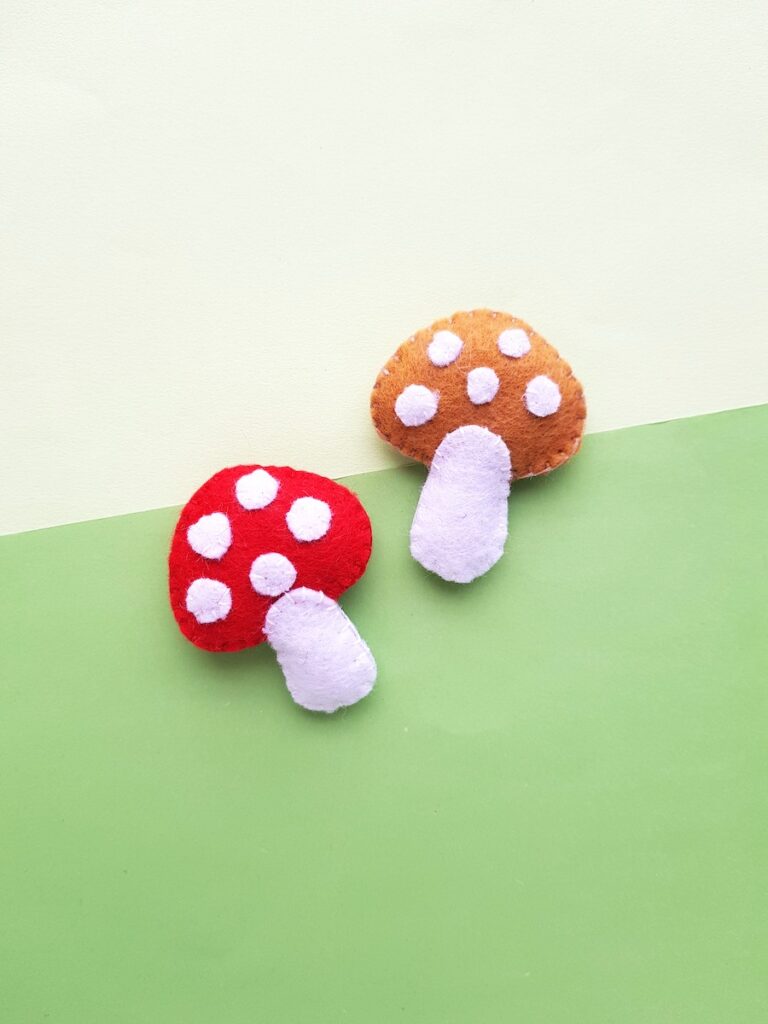
Whatever you decide to do with these tiny mushrooms (maybe glue them to the end of a wooden skewer for a cute plant stick or add to a faux greenery terrarium), I hope you appreciate their whimsy as much as I do!
This is just one of our fun felt Cottagecore crafts. Be sure to see them all!
How to Make Plush Mini Mushrooms
Supplies
- Free Mushroom Template Pattern
- Felt
- Needle and thread
- Polyfill / Stuffing
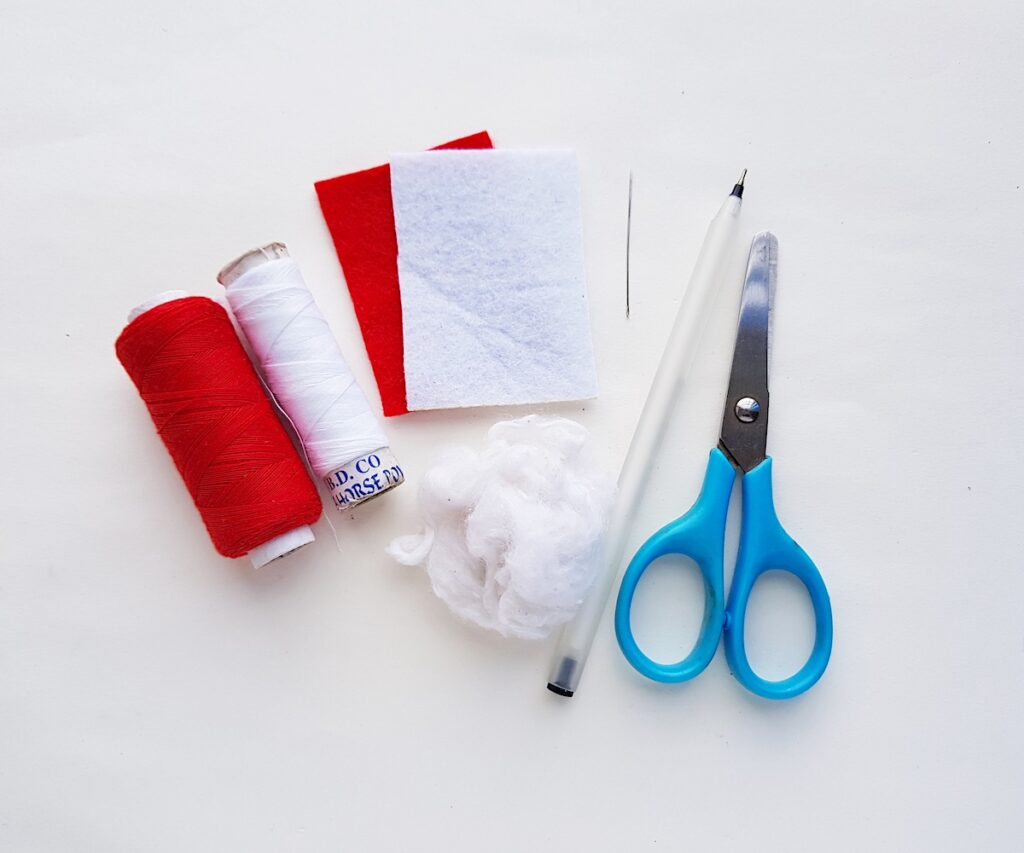
✅ This is a great source for getting lots of different colored felt for sewing projects.
Instructions
Step 1
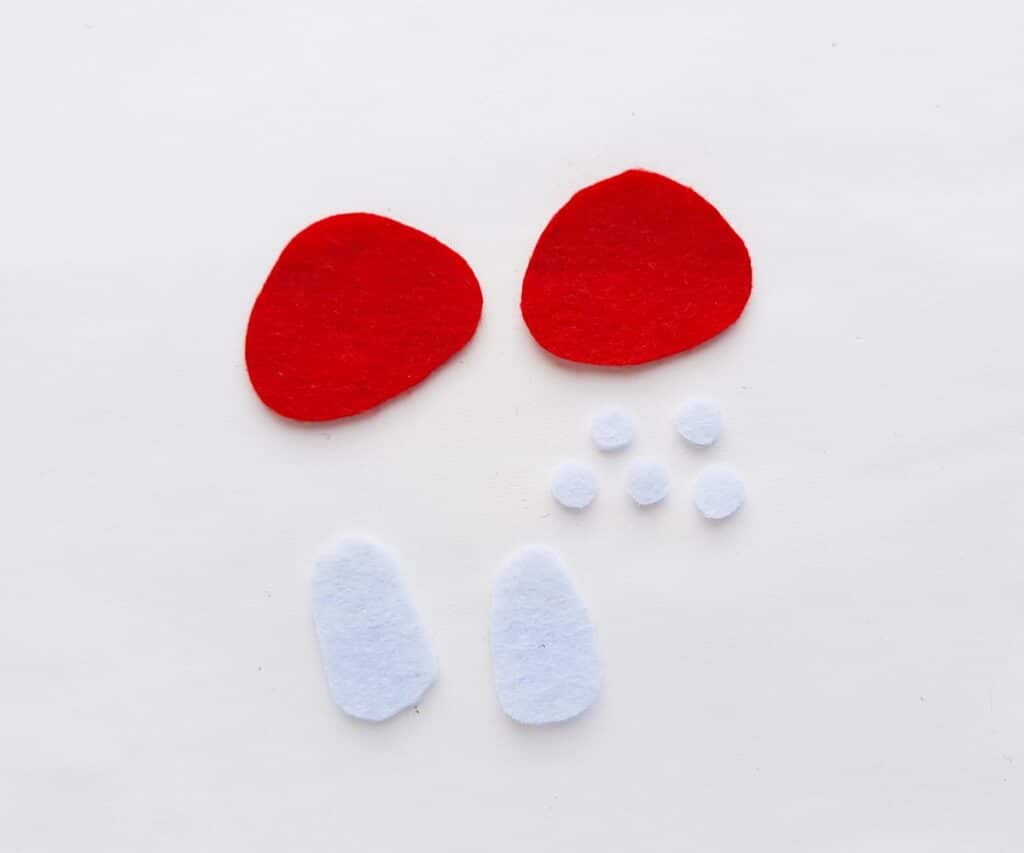
Download, print and cut out the free mushroom template.
Select white (or any light colored felt) for the dots and the stem of the mushroom. Choose any colored felt for the top part (known as the cap) of the mushroom. (I used red felt.)
Trace the template patterns on the felt and cut them out.
Step 2
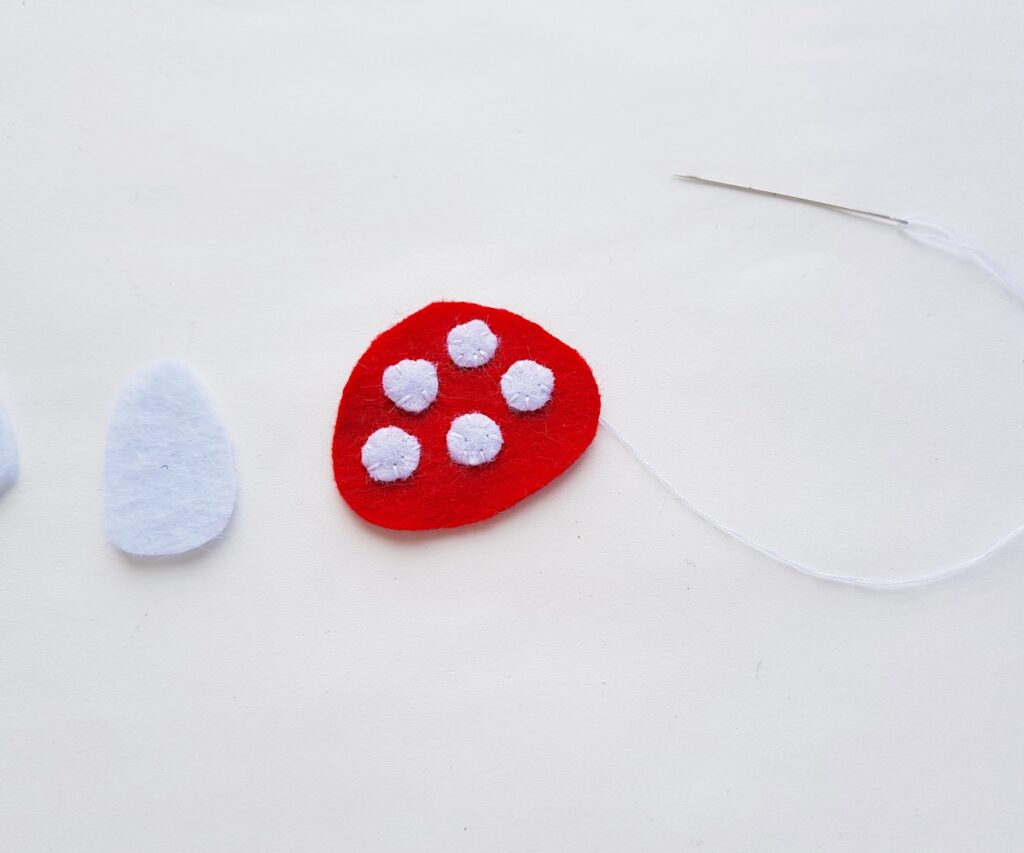
Stitch the small circle cutouts on the cap using a matching thread and needle.
Step 3
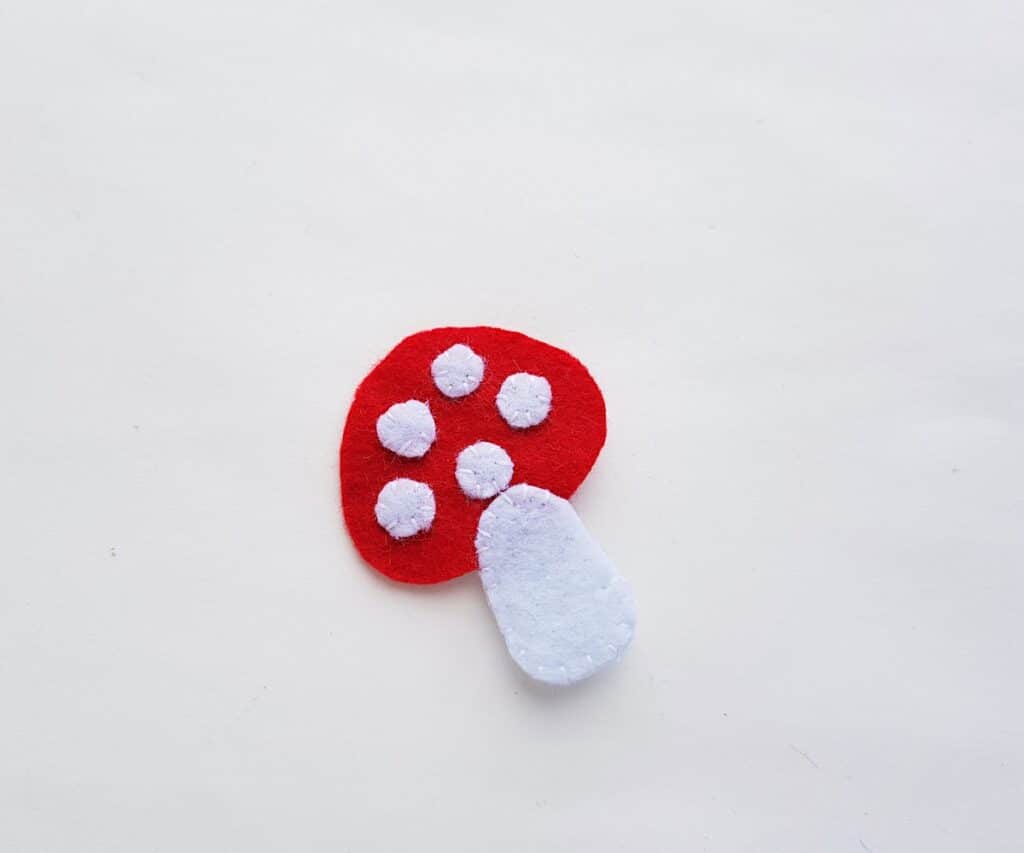
Place a stem pattern near the bottom side of the cap. Overlap about one centimeter. Stitch the overlapped parts together with coordinating thread and a needle.
Step 4
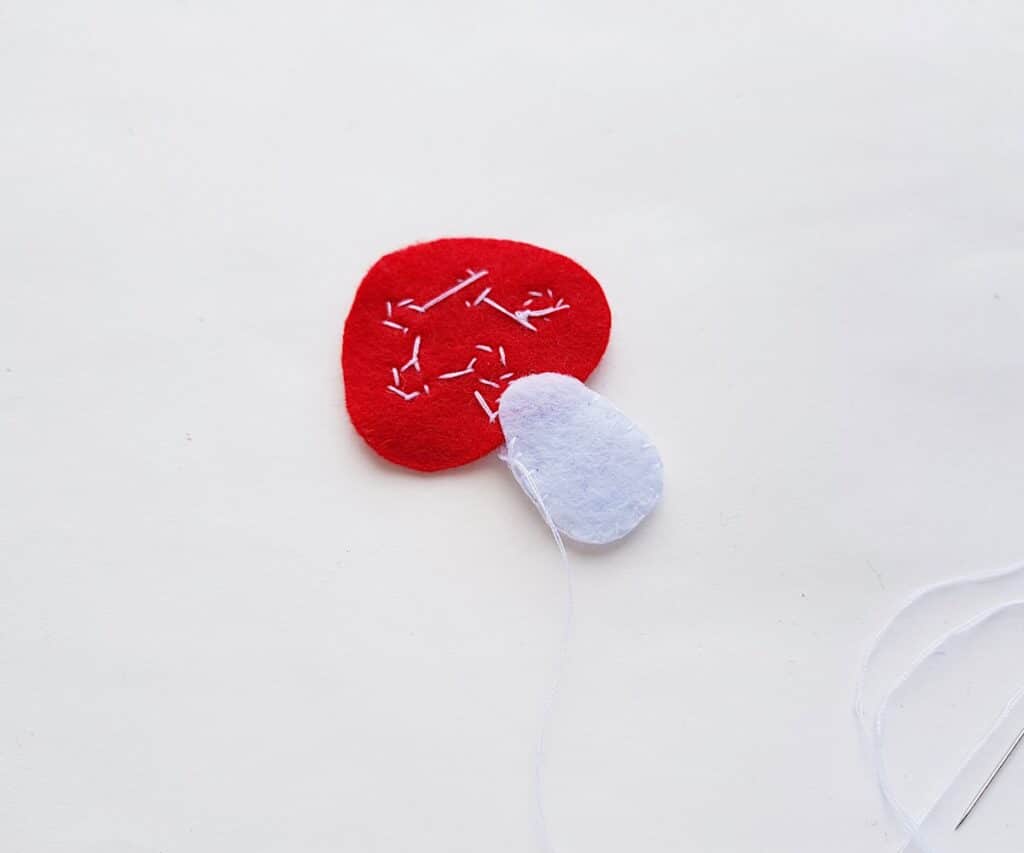
Now place the other stem part on the top of the stitched stem. Stitch around the side and the bottom of both the stems to join them together.
Leave the top side of the 2nd stem unstitched for now.
Step 5
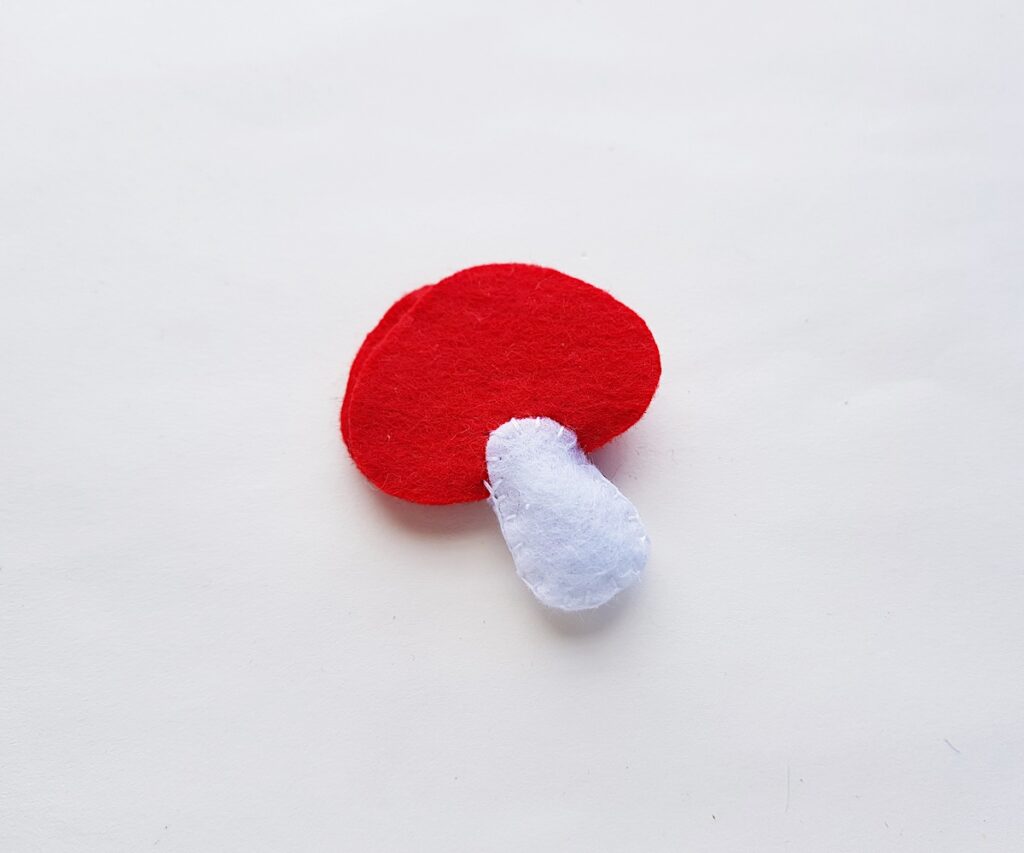
Place the other cap pattern on top of the stitched cap. Tuck the bottom of the second cap under the top part of the second stem that you left unstitched previously.
Now stitch them together at the top of the stem.
Step 6
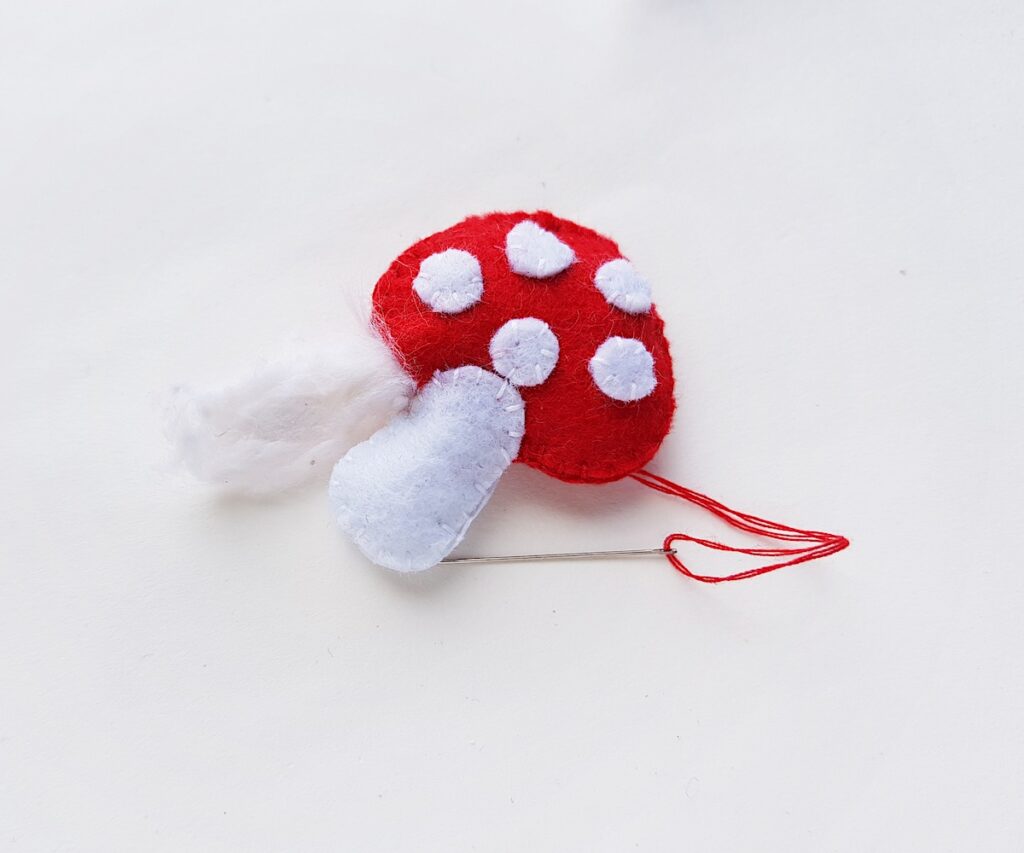
Hand stitch around the outer side of the caps to join them with a matching thread and needle. Keep a small opening to stuff the mushroom.
Stuff the plush mushroom with cotton through the opening, making it look puffy with plenty of stuffing.
Step 7

Stitch the small opening closed. Knot the thread close to the stitching and cut off the remaining thread.
Be sure to Pin This felt mushroom plushie craft to save for later!
These DIY mushroom plushies are just one of our free felt food patterns. I think you will want to check out these fun sewing projects next!: