DIY Crayon Bag (with Video)
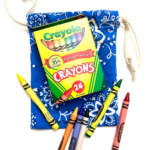
Giving crayons is more fun when you make a cute bag to hold them. Our easy drawstring crayon bag is the perfect way to store coloring supplies.
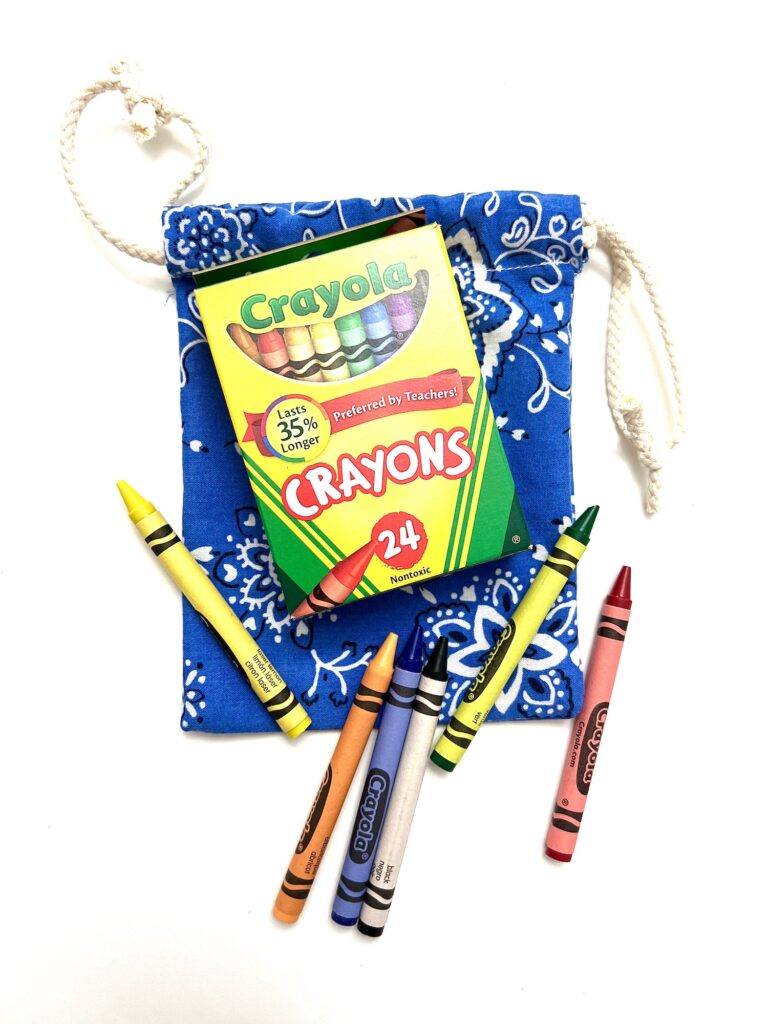
These easy drawstring bags are great to make for party favors, as you can customize the fabric to match your theme.
They also are a thoughtful way to give crayons any time of the year, in Easter baskets, Christmas stocking stuffers, or to use on a road trip.
This crayon bag is just one of our many Operation Christmas Child gift ideas, which is a Samaritan’s Purse project that delivers fun and essential supplies to children in need around the world. Crayons are one of the most popular items to include in these shoebox gifts.
However, every parent knows that crayon boxes rip easily and often don’t last long. Children that don’t have much will not have another bag or box to put their crayons in if the original box gets damaged.
These mini drawstring bags ensure that the child will have a place to store their art supplies, as well as an extra storage bag once the crayons have been used.
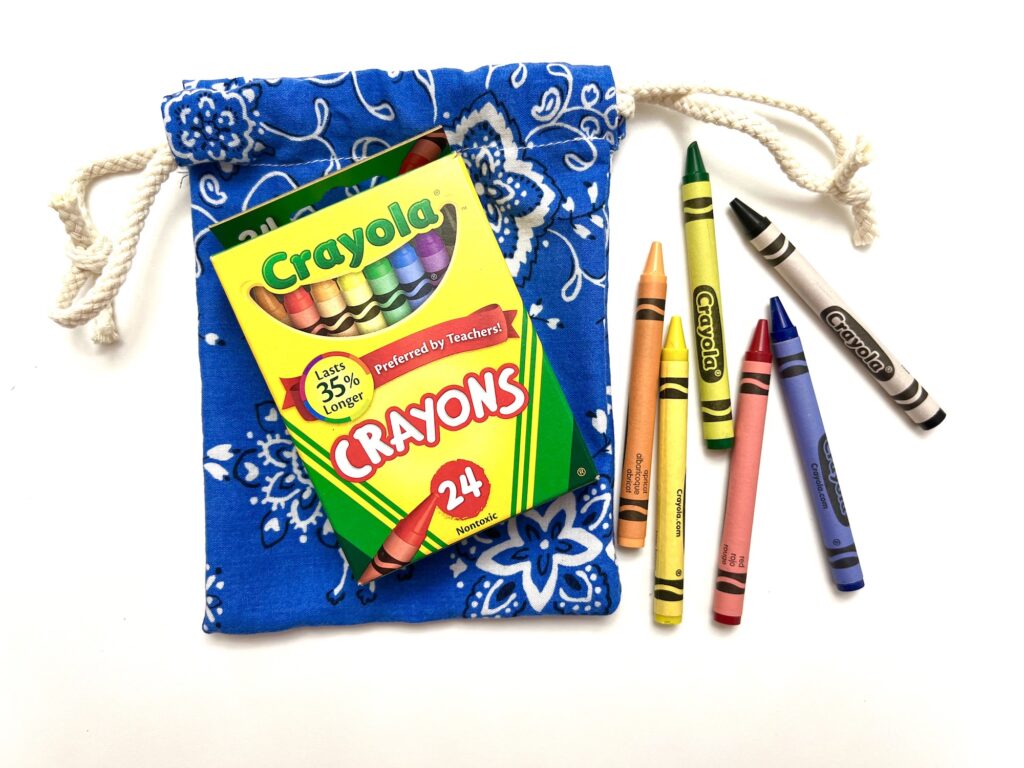
How to Sew a Crayon Bag
If you would like an ad-free tutorial to download and use any time you’d like, get our free DIY crayon bag eBook.
Supplies
- (2) Pieces of 6 in X 8 in fabric (15.25 cm X 20.3 cm)
- (2) pieces of cord or ribbon, 22 inches long (56 cm)
- Thread
- Straight Pins
- Scissors
- Sewing Machine
- Tailor’s Chalk, Fabric Pen or Erasable Marker (optional)
- Safety Pin or Sewing Bodkin
Directions
Step 1
Cut two 6″ X 8″ pieces of fabric.
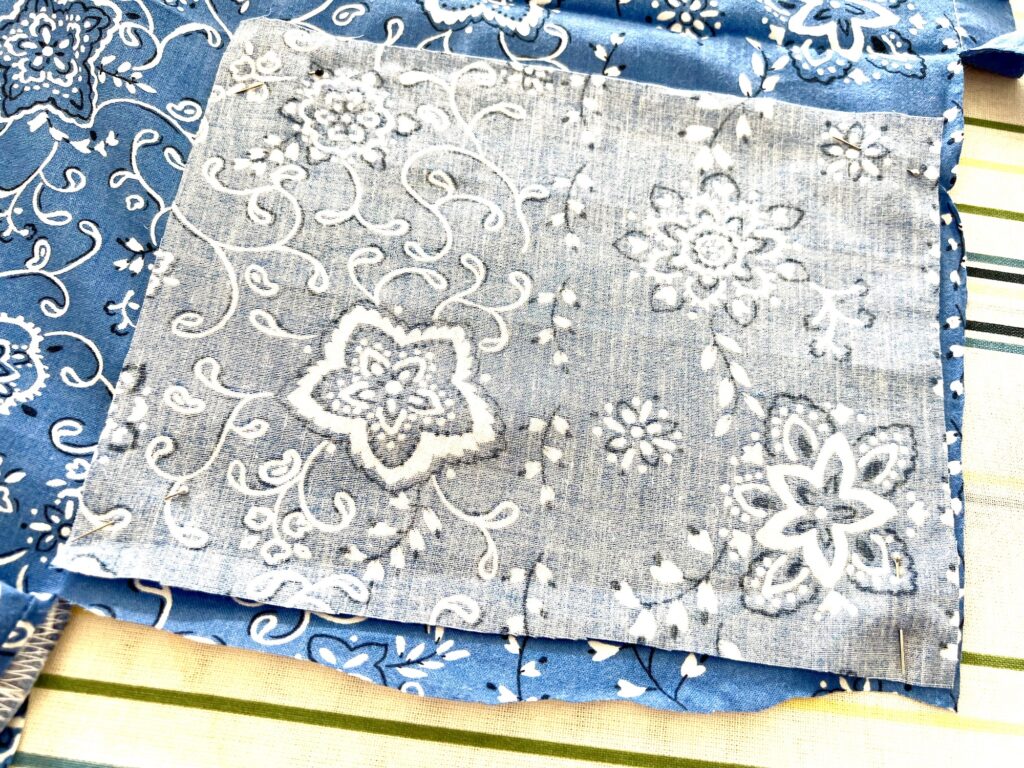
Place wrong sides together and sew the bottom edge together with a 3/8 inch seam allowance (1 cm).
Press open the seam with an iron.
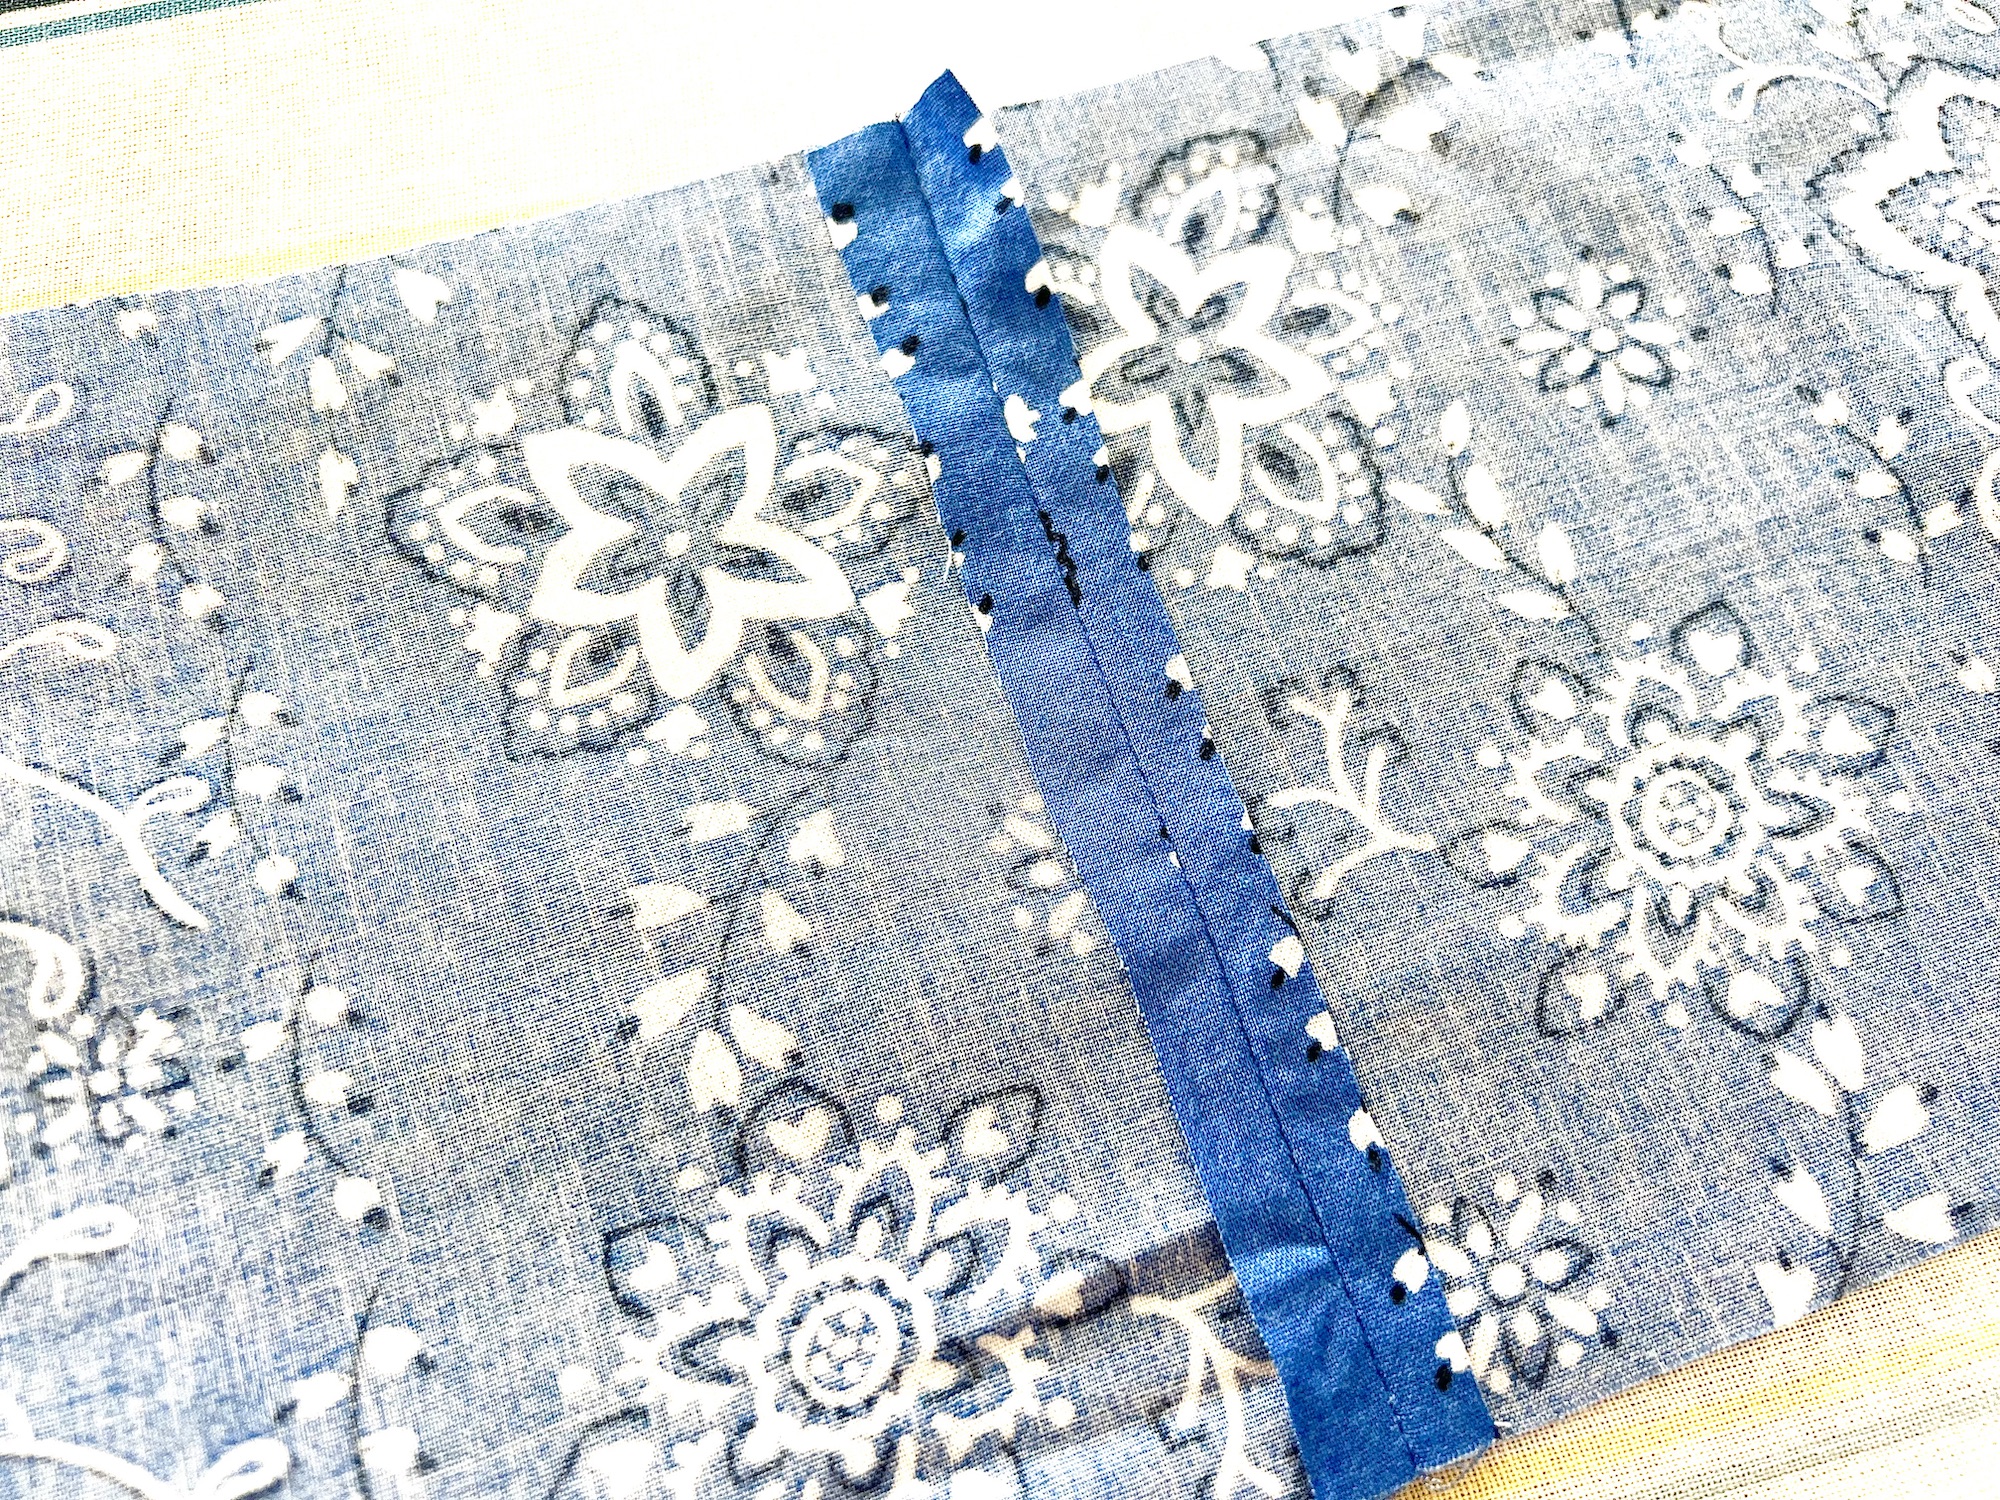
Alternatively, you could cut one 6 X 15 inch (15.25 X 38 cm) rectangle of fabric and not need to sew a bottom seam.
Step 2
Fold the fabric together, with the wrong sides facing each other and the edges lined up. Pin the fabric together so that it does not move around while measuring.
On the outer edge of the folded piece of fabric, measure 2 inches (5 cm) down from the top open edge of the short side. Make a mark with tailor’s chalk, an erasable fabric marking pen, etc.
Then measure 3/8 inch (1 cm) inwards from the outer long edge. Draw a straight line from the outer edge to the 3/8 inch mark that is 2 inches from the top.
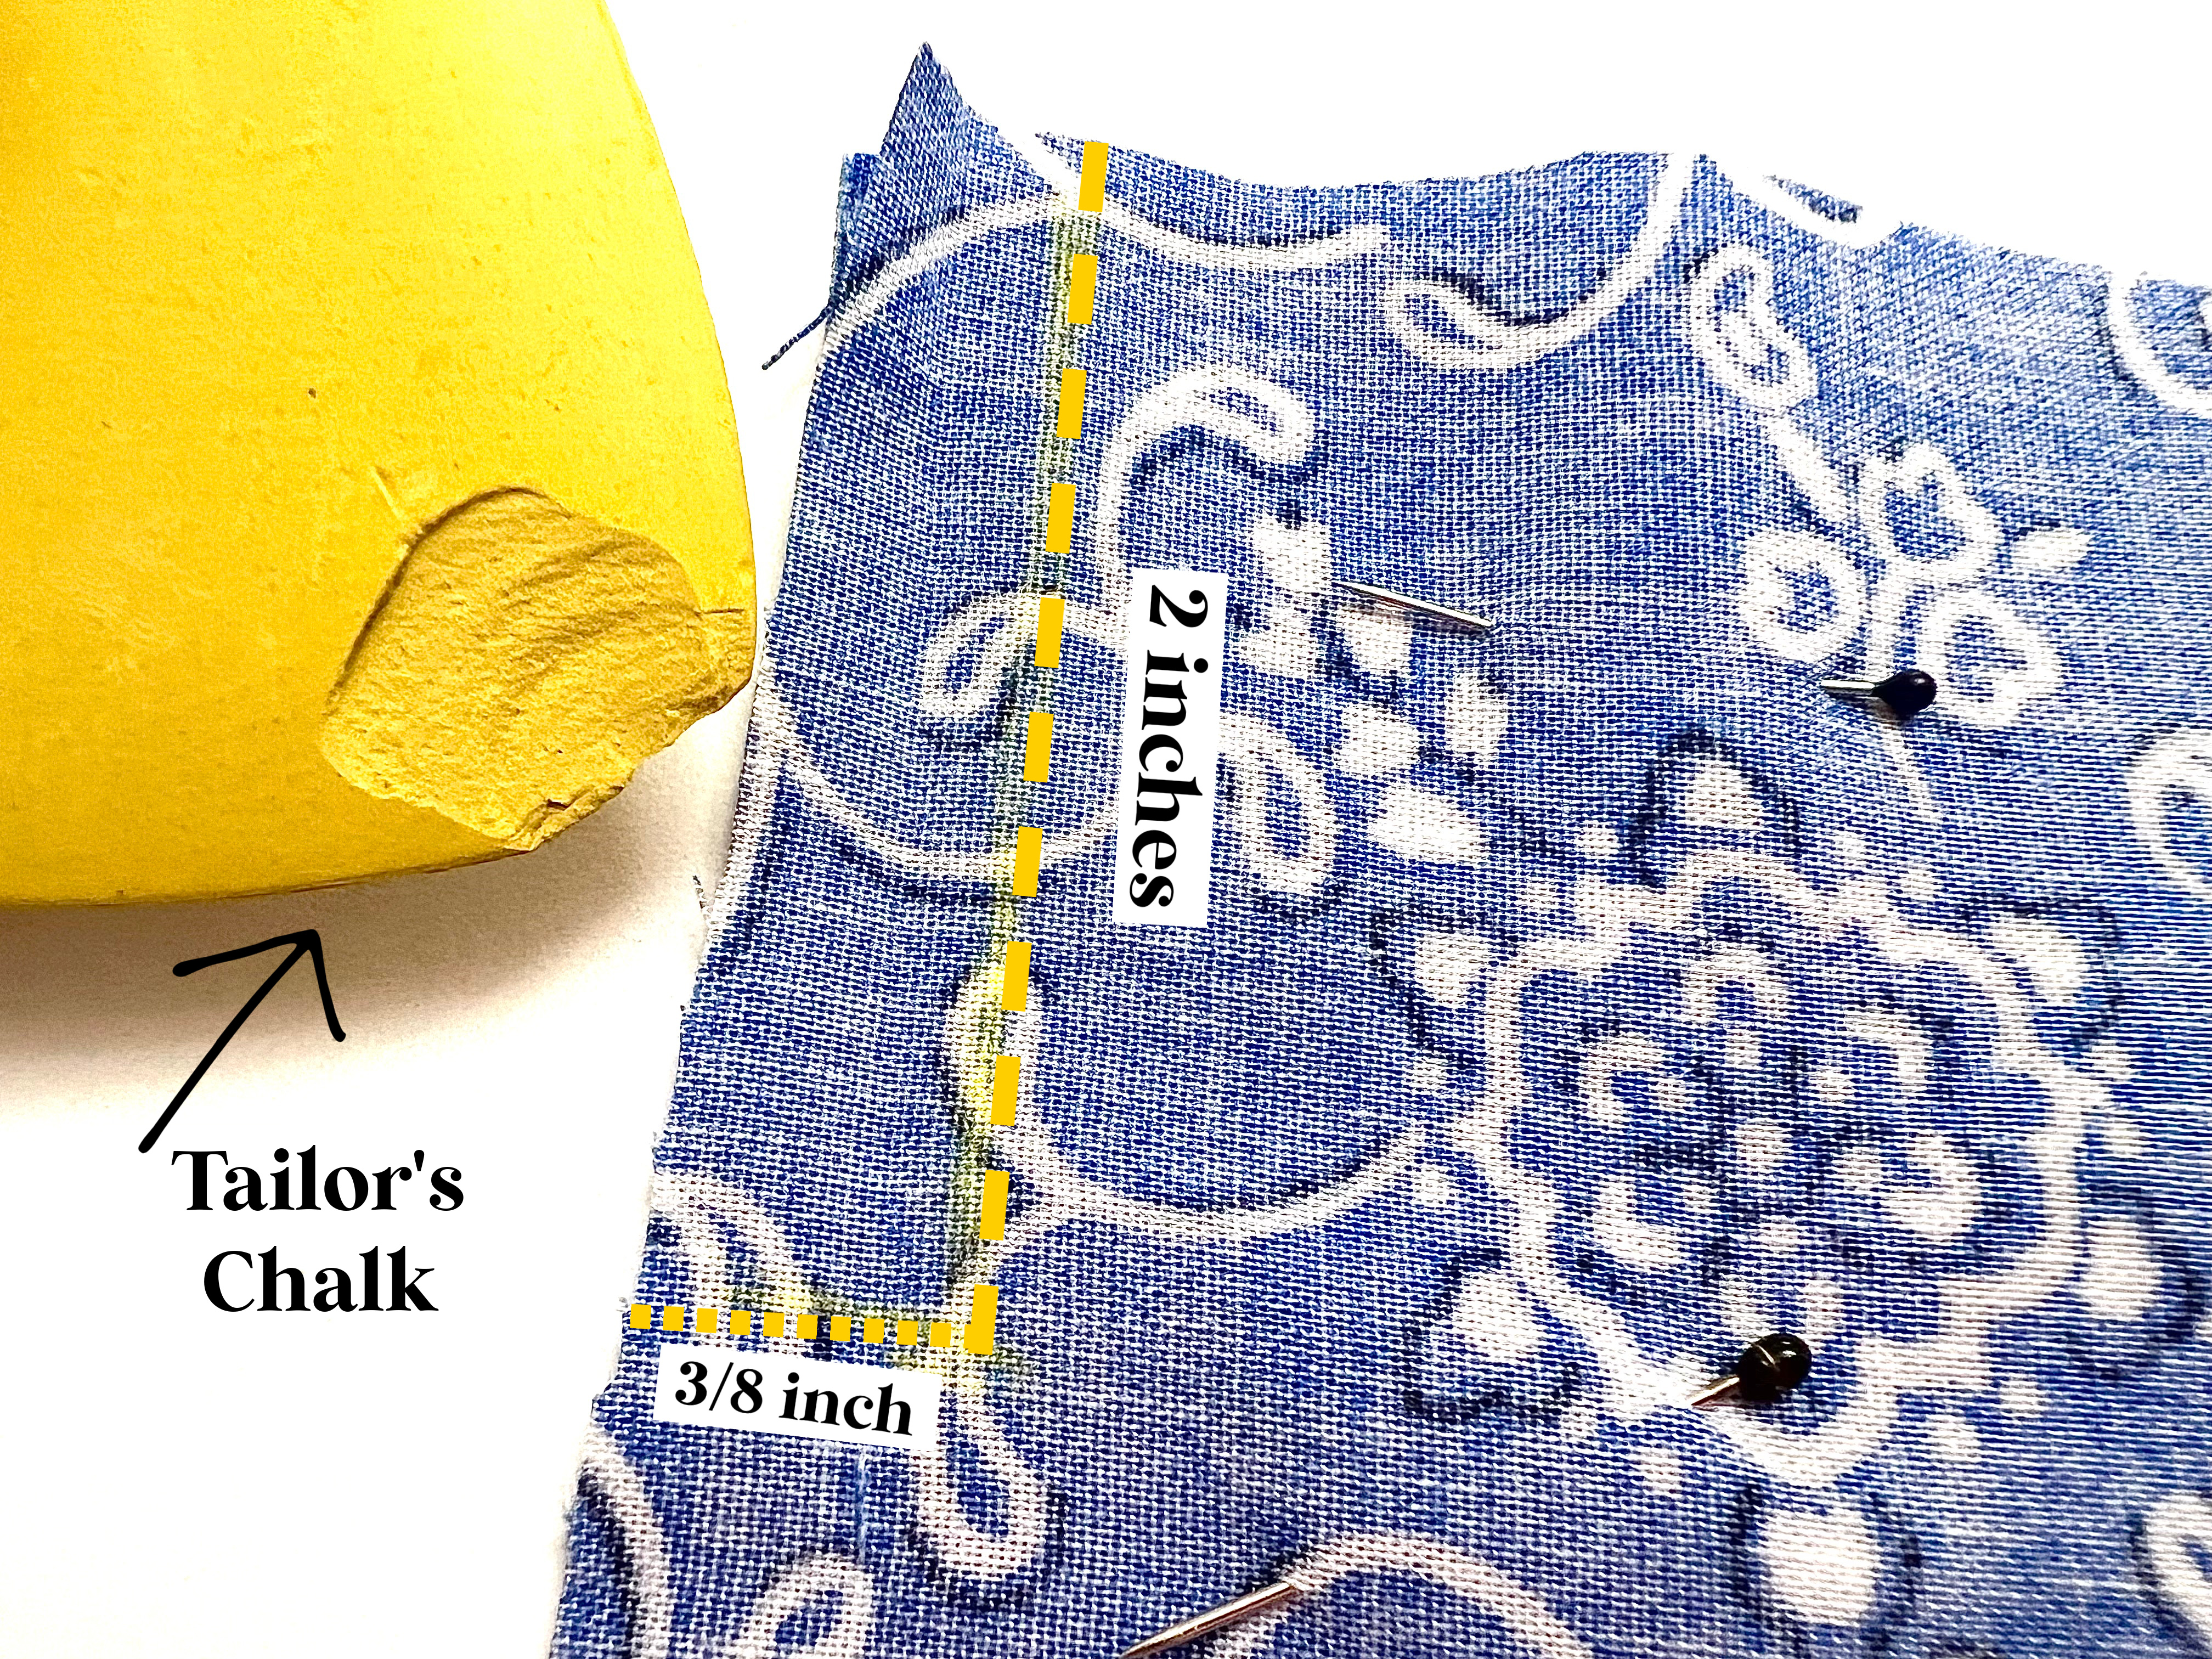
Repeat the same process on the other side of the fabric.
NOTE: Instead of using chalk or a marker, you could use pins instead.
Step 3
Make a small cut along the line that you drew on each side. Be sure to cut through both layers of fabric.
Step 4
Open up the fabric to be one long piece, with the wrong side facing up.
On one end, fold the seam allowance (the small piece that you just cut) inward, with right side facing up. Fold the fabric over in a straight line.
(It should be turned in 3/8 inch. You can draw a line with chalk or marker if that helps. Otherwise, just eyeball it to be straight.)
Press the fabric down with your fingers to crease it or press with an iron.
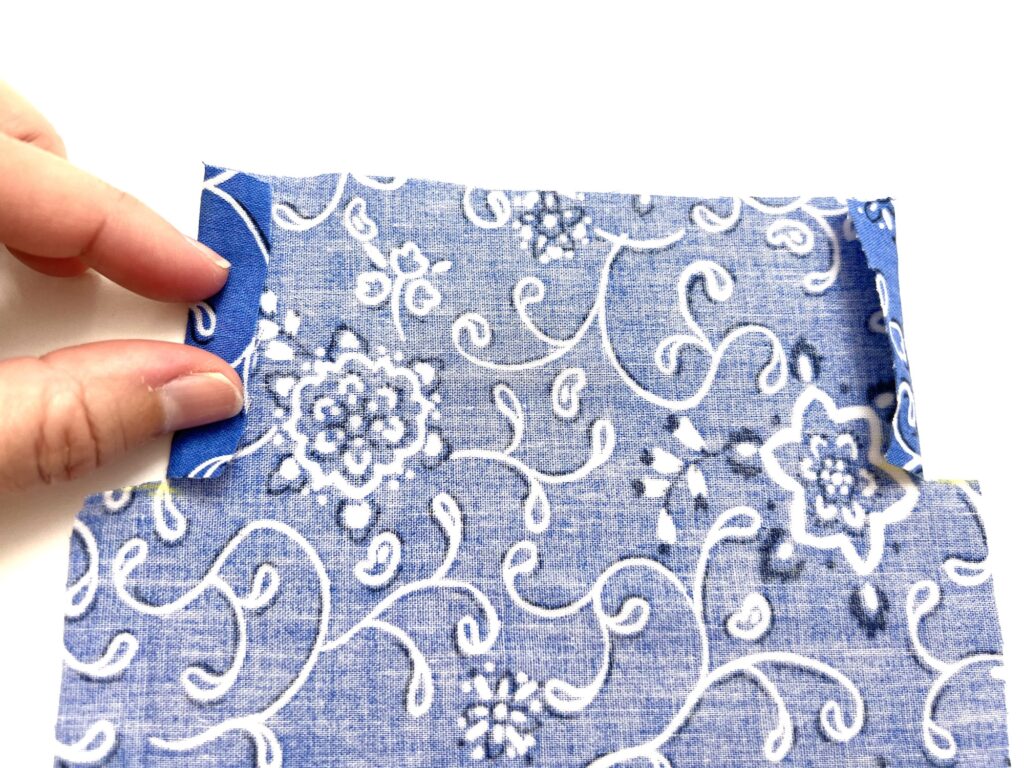
Repeat this process on all four sides of the fabric.
Step 5
Fold the top 2 inch piece of fabric that has the seams pressed in down to meet the cut marks.
The right side of the fabric will now be facing up, and the folded-over piece should be about 1-inch tall, making the drawstring casing.
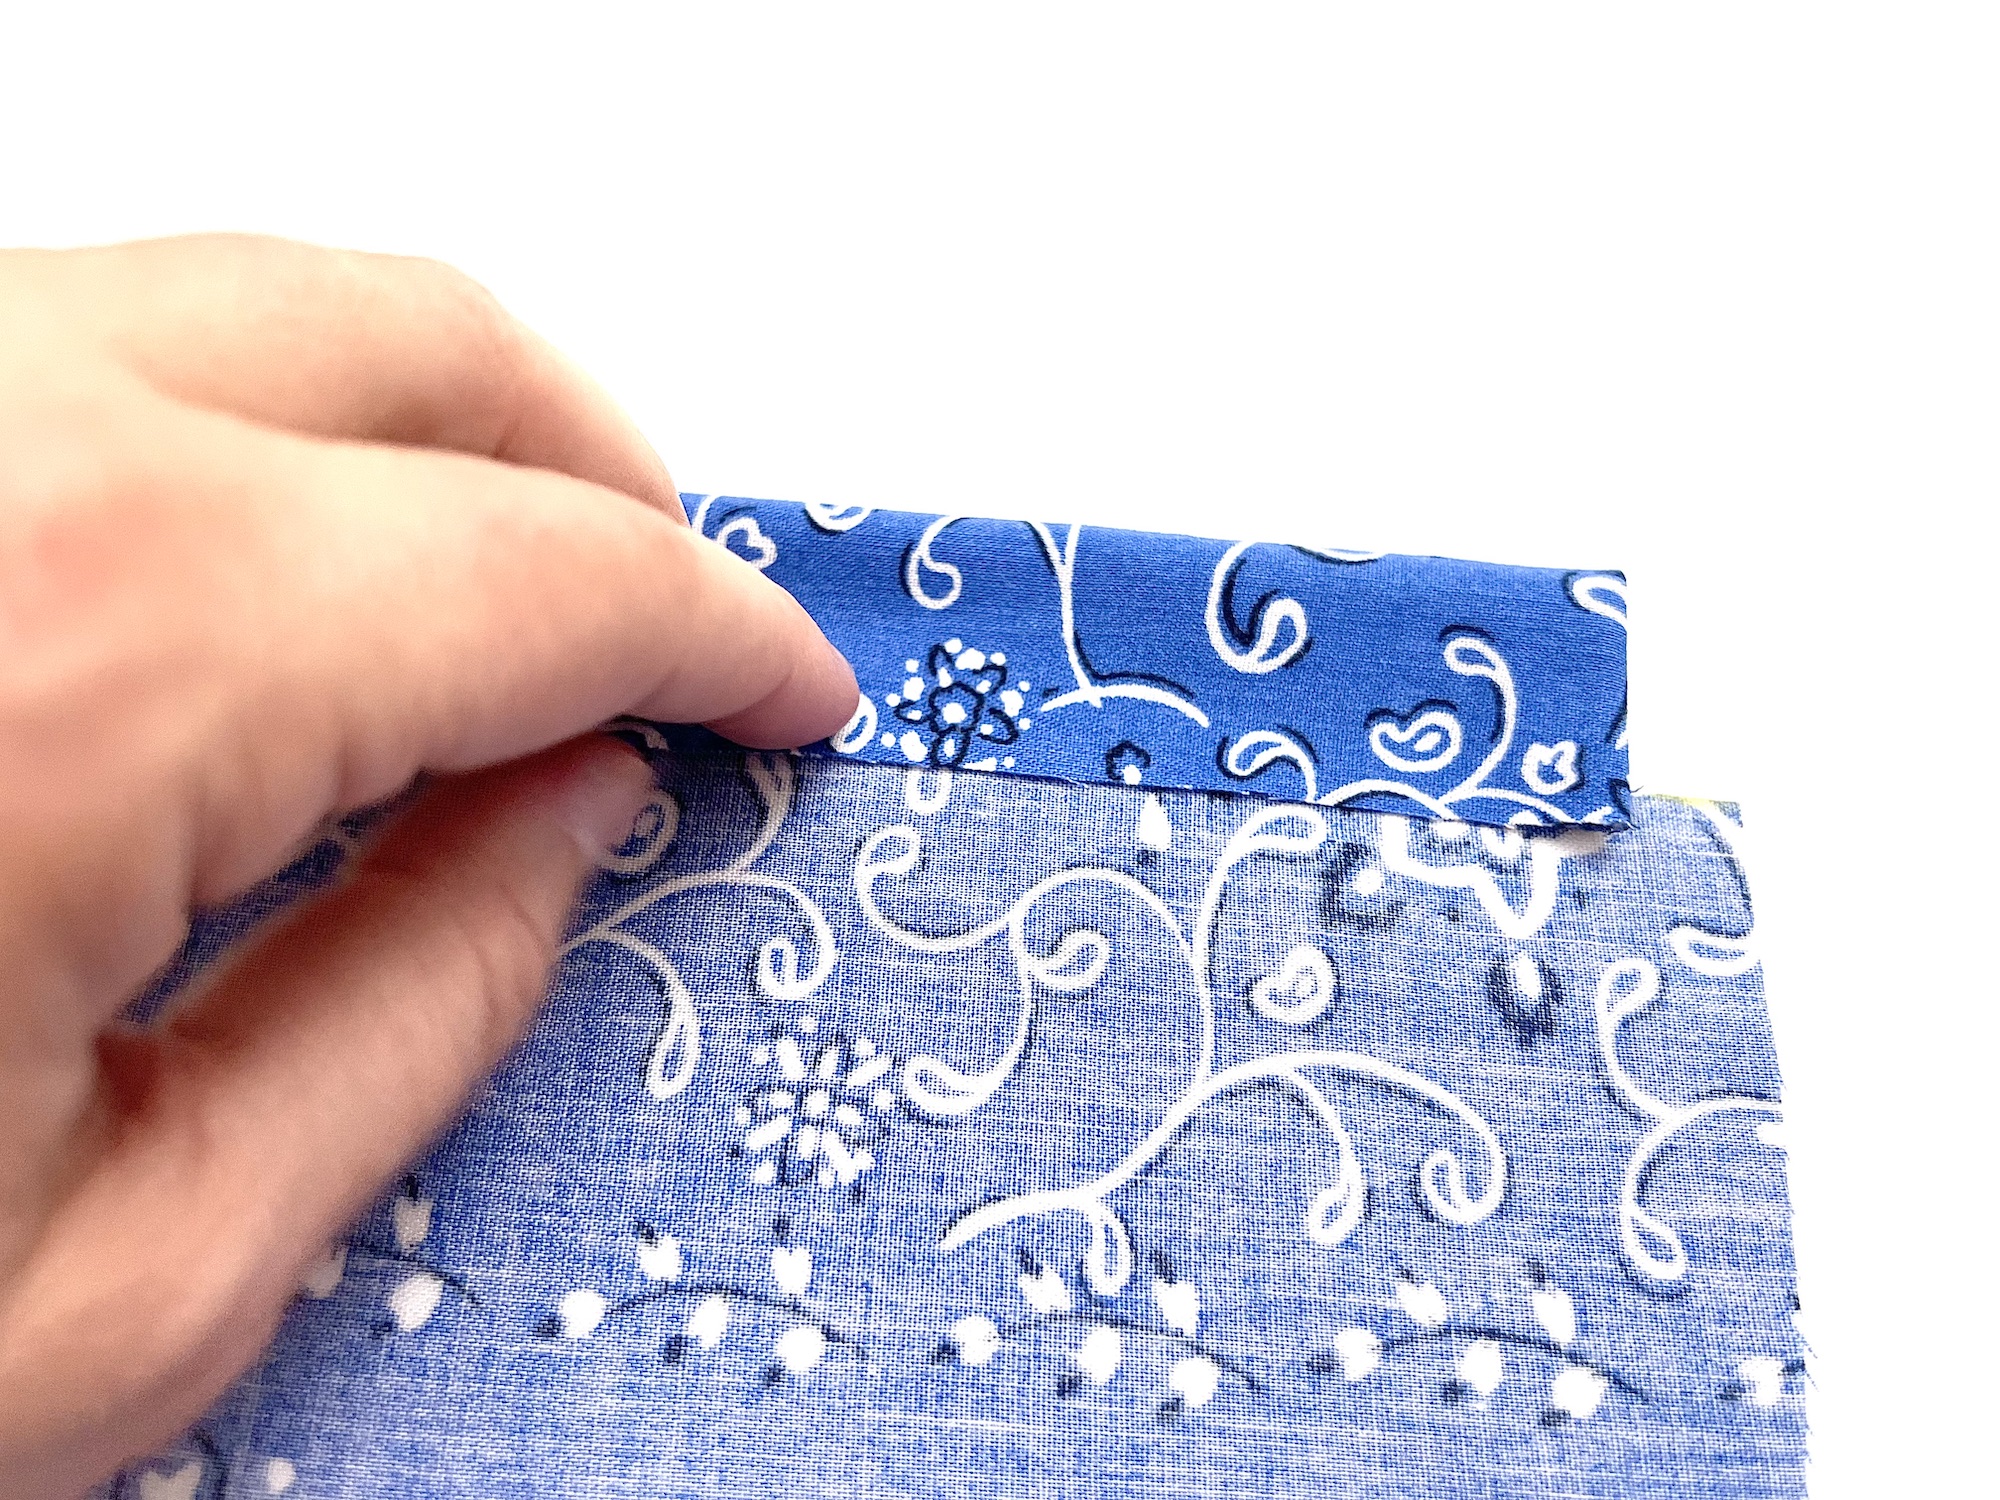
Pin the fabric in place.
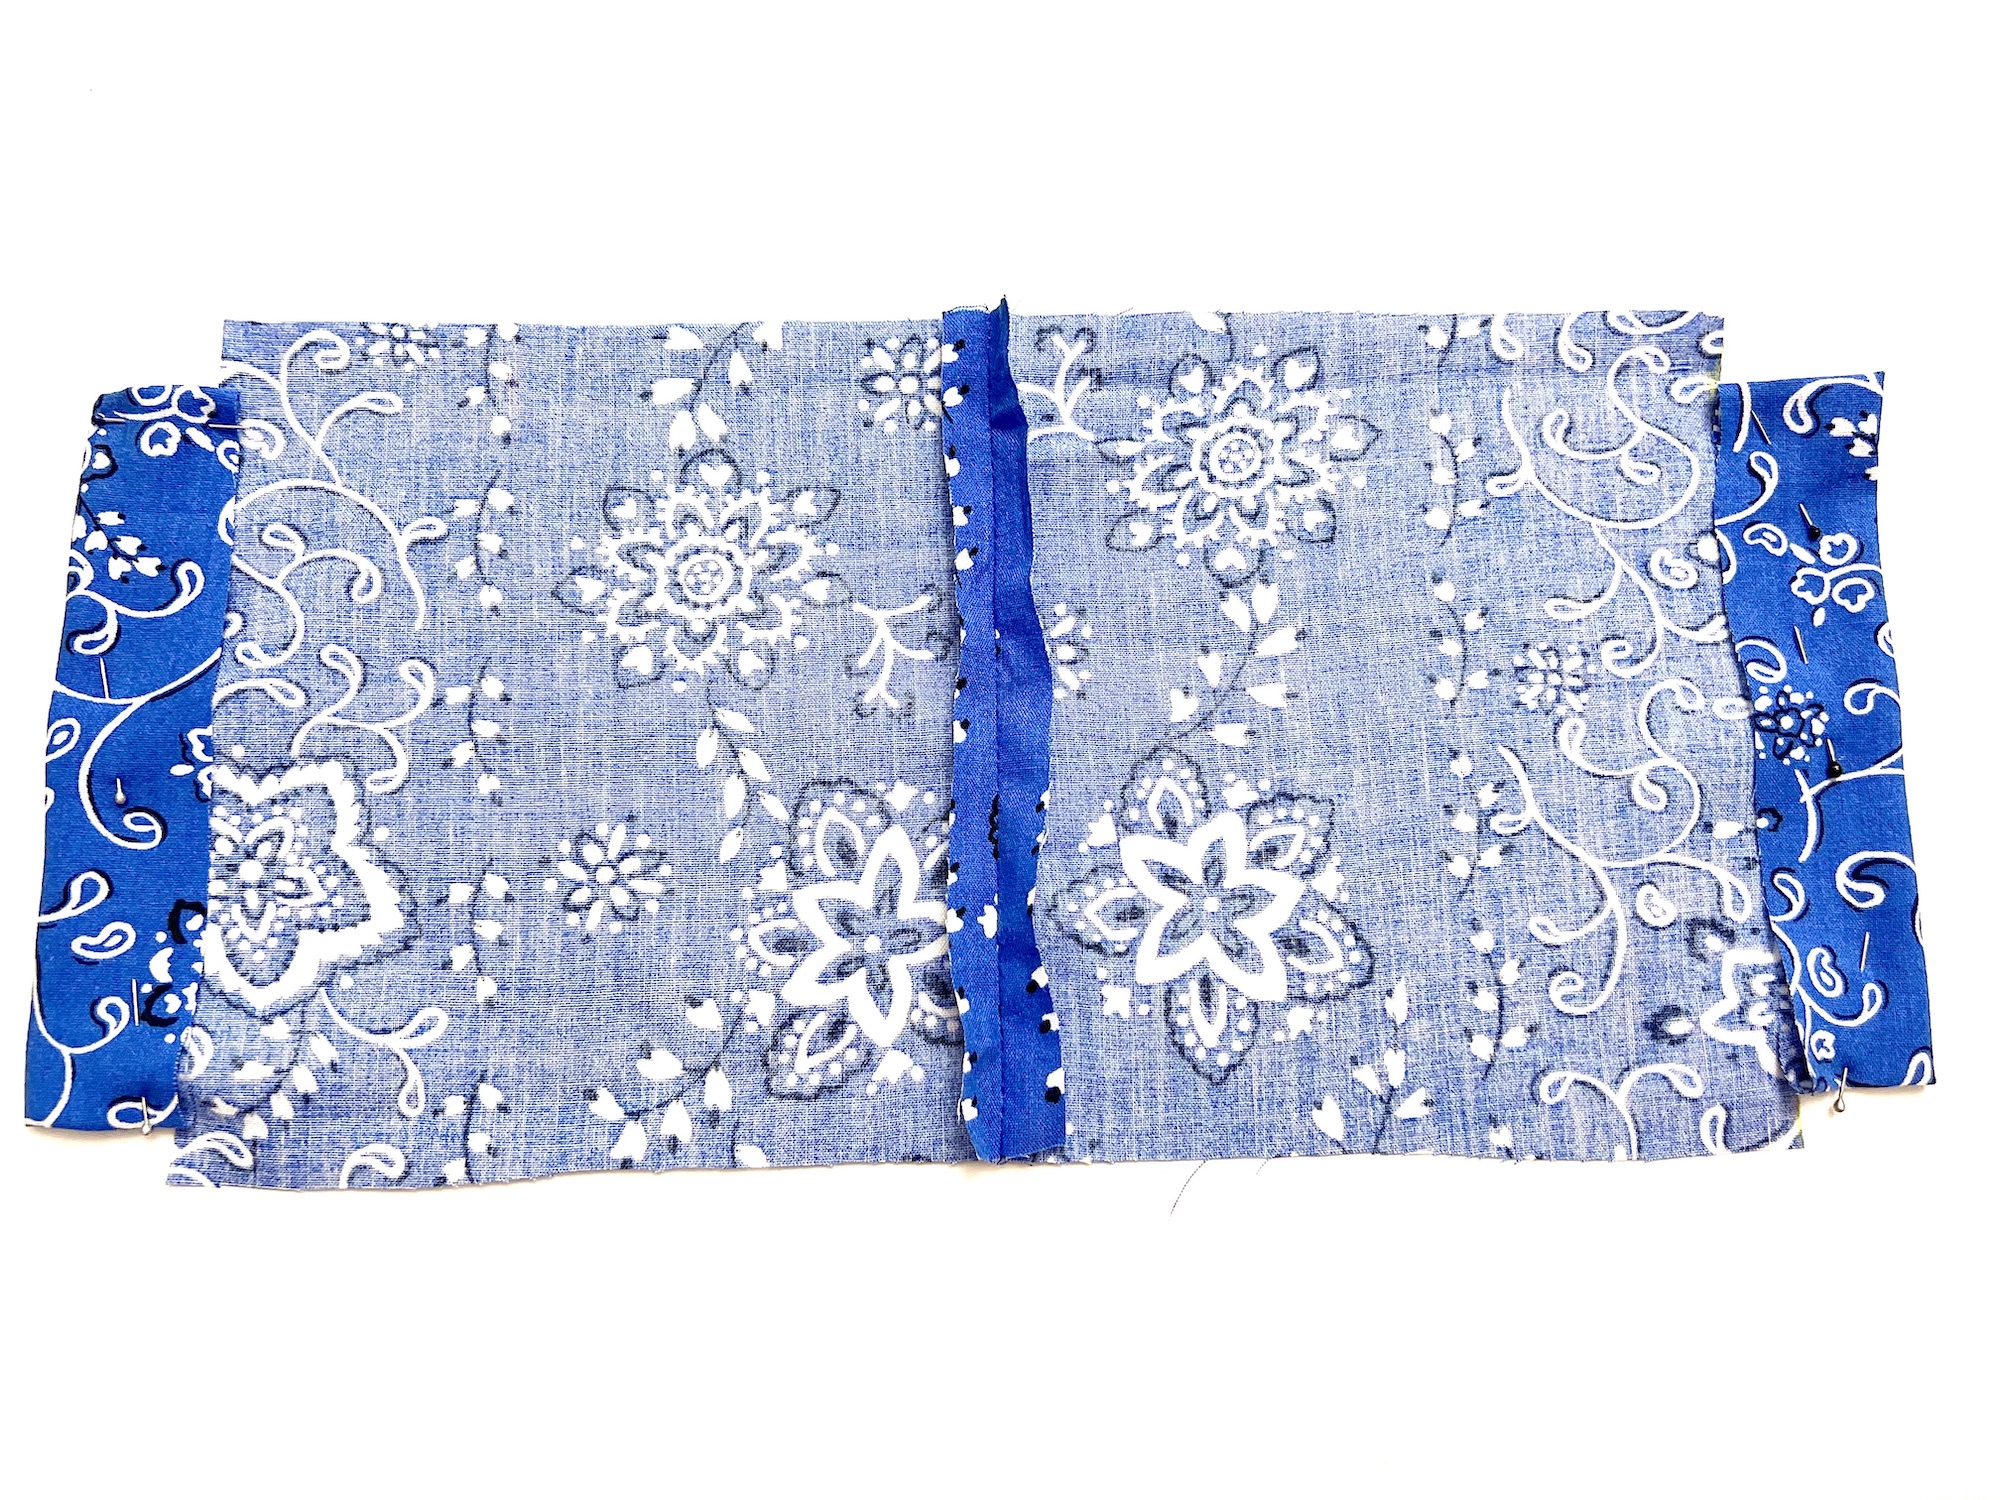
Sew along the bottom edge of the fold, close to the cut edge. You do not want to use a 3/8 inch seam allowance here.
Step 6
Fold the fabric in half, with the right sides together, matching the edges at the top.
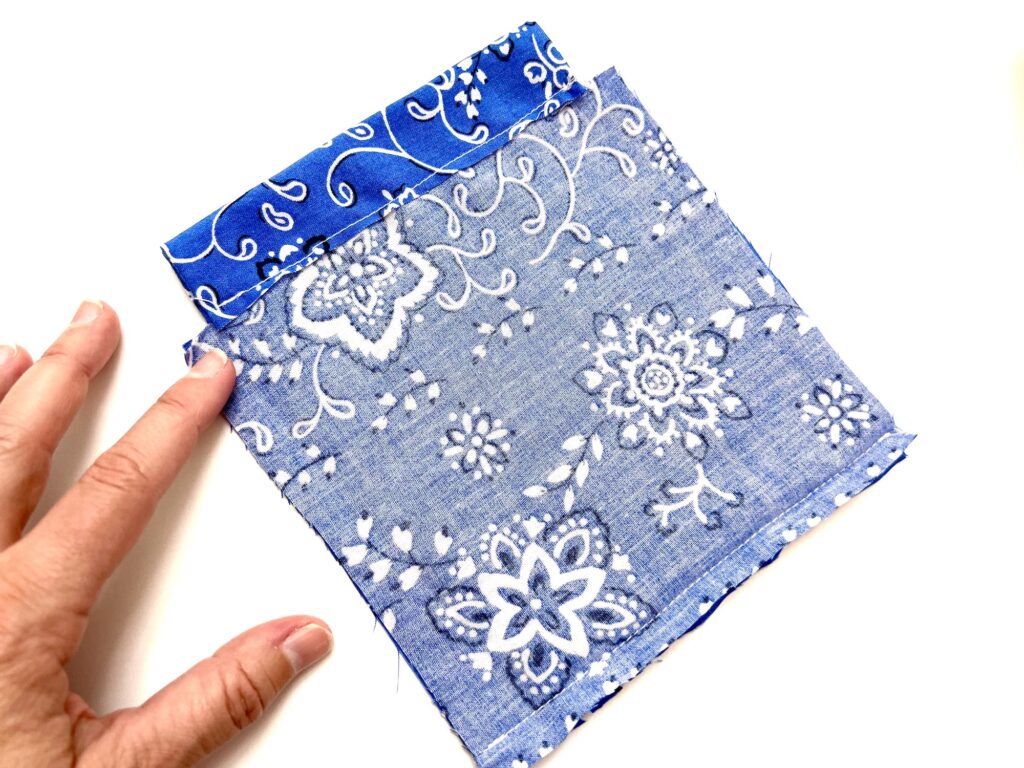
Pin the fabric together to stay in place.
Stitch down a long side with a 3/8 inch seam allowance. The stitching should start at the corner where the drawstring casing meets the wider piece of fabric. Backstitch at the beginning and end of your stitching.
Repeat on the other side.
Step 7
Cut the corners diagonally to reduce bulk, being careful not to cut the stitched seams.
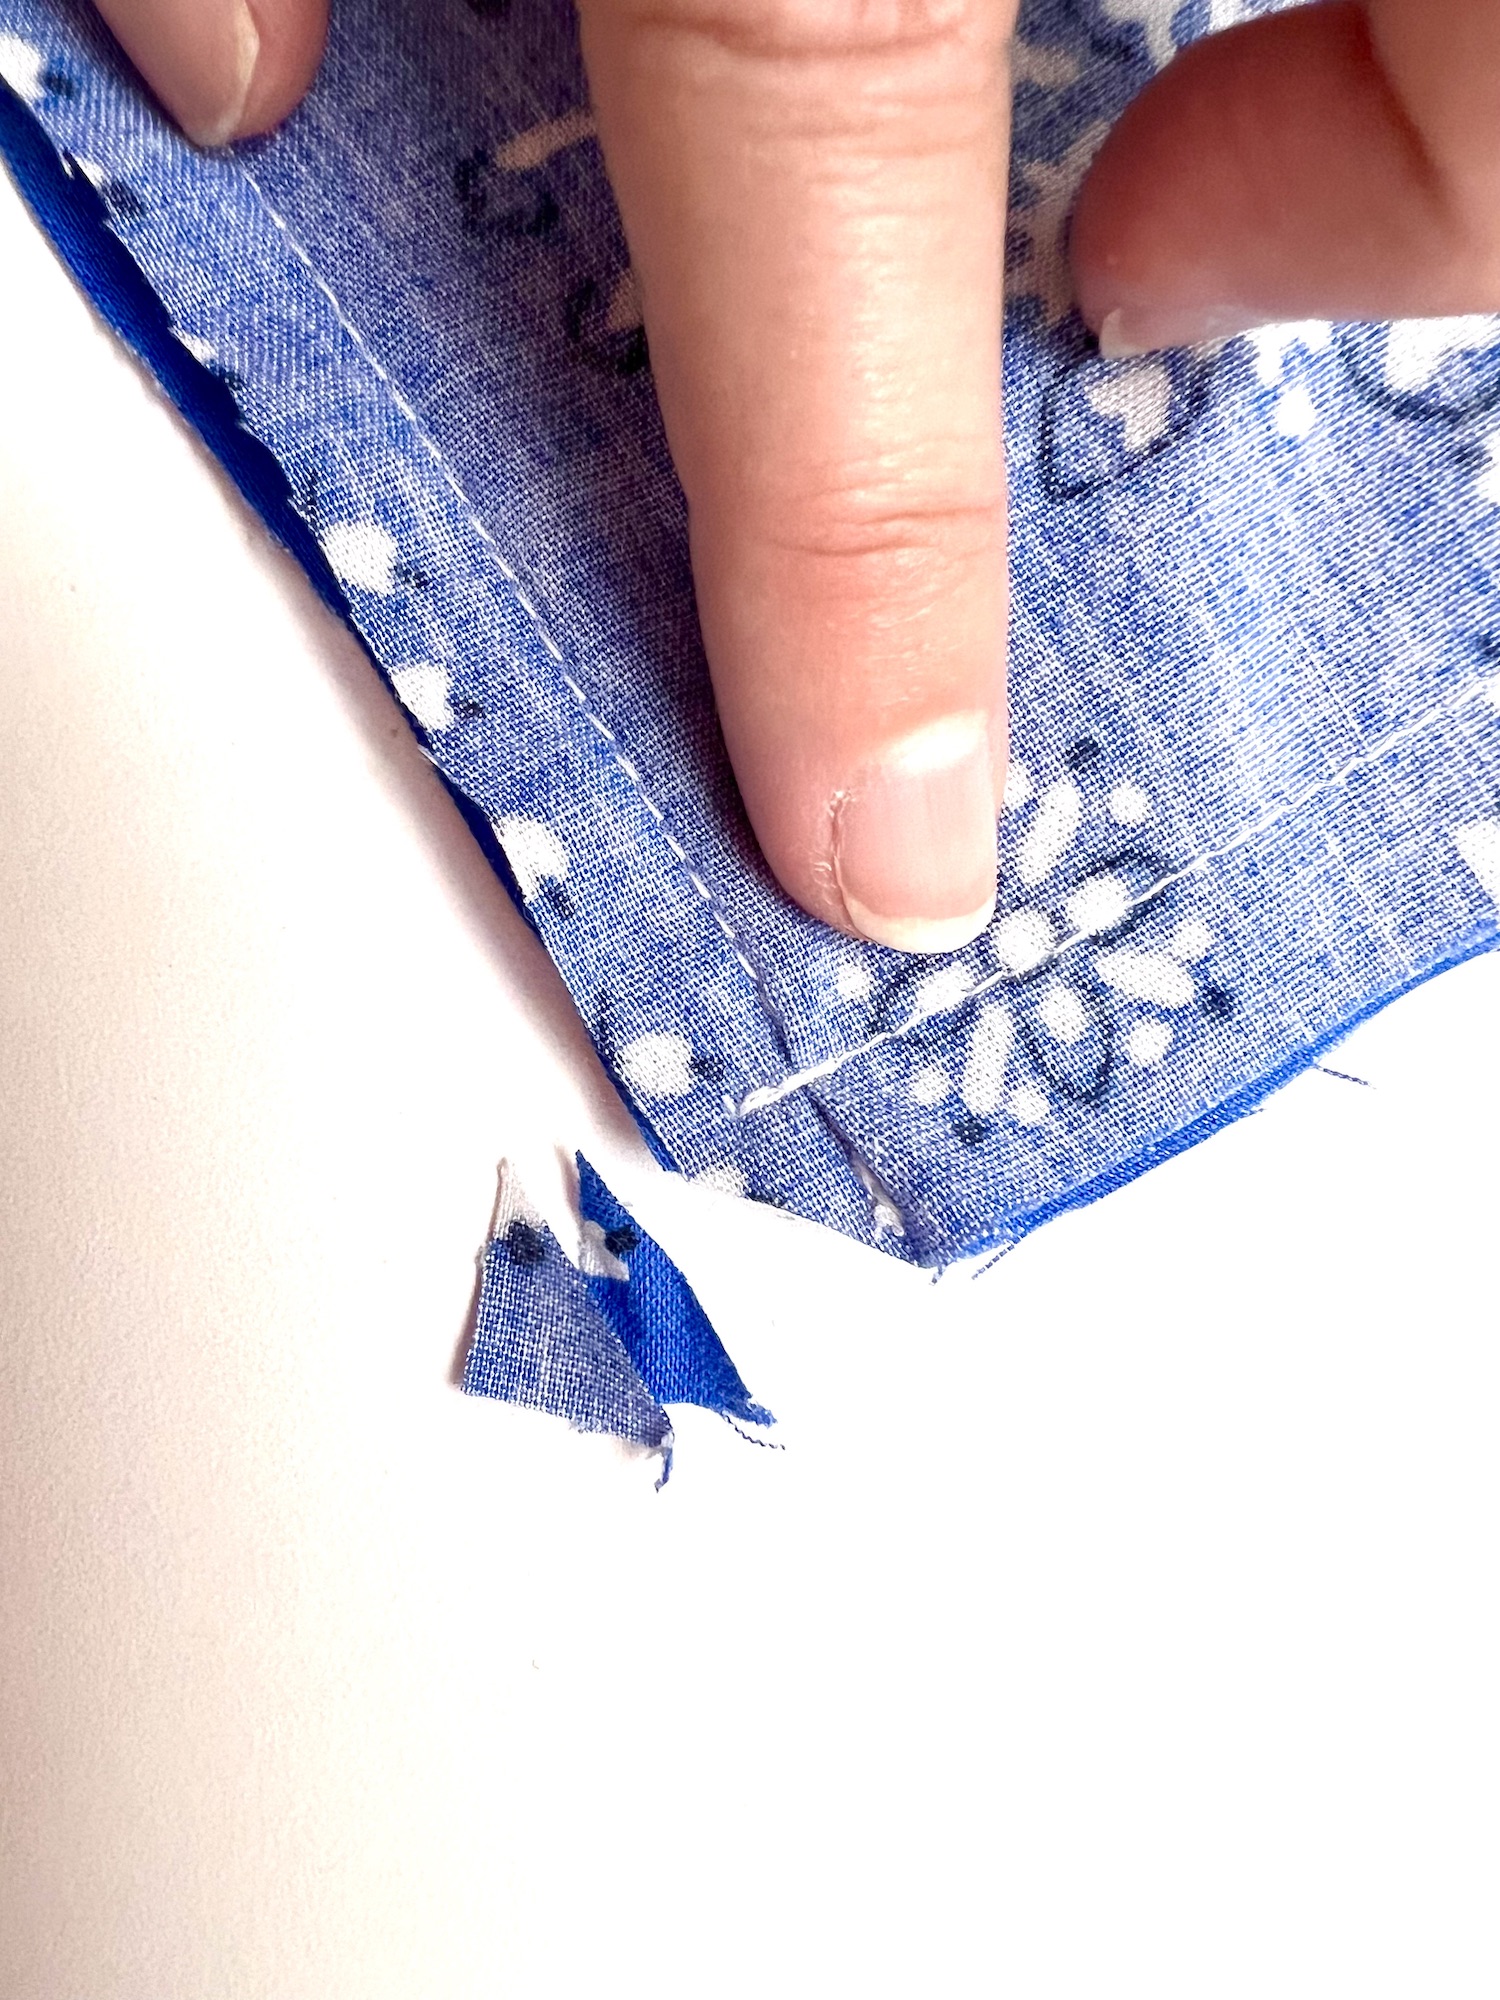
Turn the bag inside out, pushing out the corners with your fingers or a turning tool.
Step 8
Attach a safety pin to the end of one piece of cord. You could alternatively use a sewing bodkin.
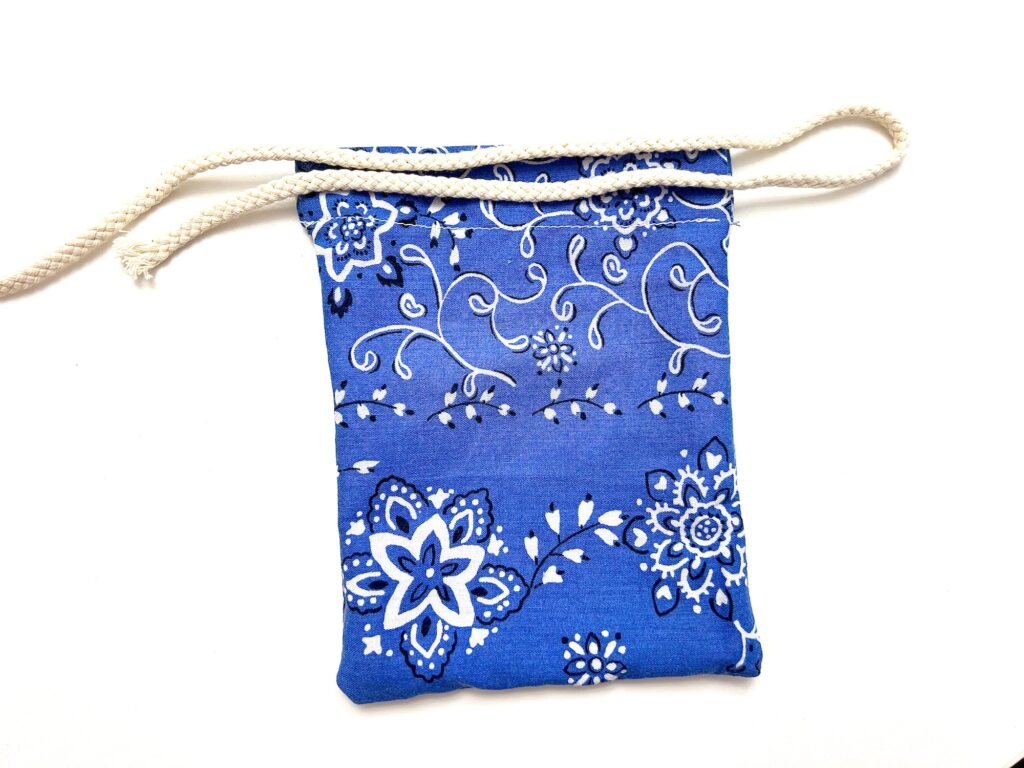
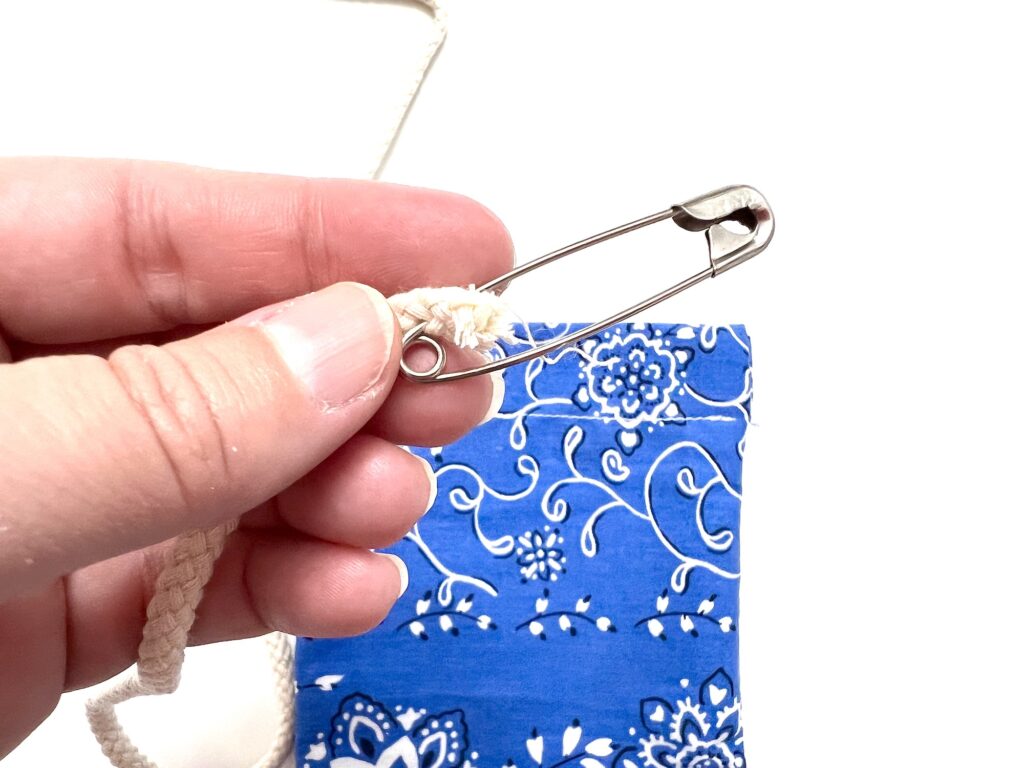
Insert the safety pin through the casing and work its way across the fabric. Pull out the cord, being sure that there are a few inches left on the other side and the cord is not pulled all the way through.
Put the safety pin through the other casing, working the cord through the casing until it comes out the other side. You will now have a cut end hanging out of each of the casings on one side.
Now, repeat the process but in the opposite way. Insert the safety pin into the casing on the side where the cord is looped (and not cut). Draw the cord through the casing, then bring it back through the second casing.
You will now have two cut ends of cord on each side of the bag, as well as a looped piece of cord on each side.
Step 9
Tie a knot with the two cut ends of cord on one side. Repeat on the other.
If using a cord or ribbon that frays, you could wrap the ends with clear tape or apply a little clear craft glue to prevent fraying.
To use, put crayons inside the bag and then pull on the knotted ends of each cord until the drawstring bag closes.
Want to save this project for later? Be sure to Pin It on Pinterest!
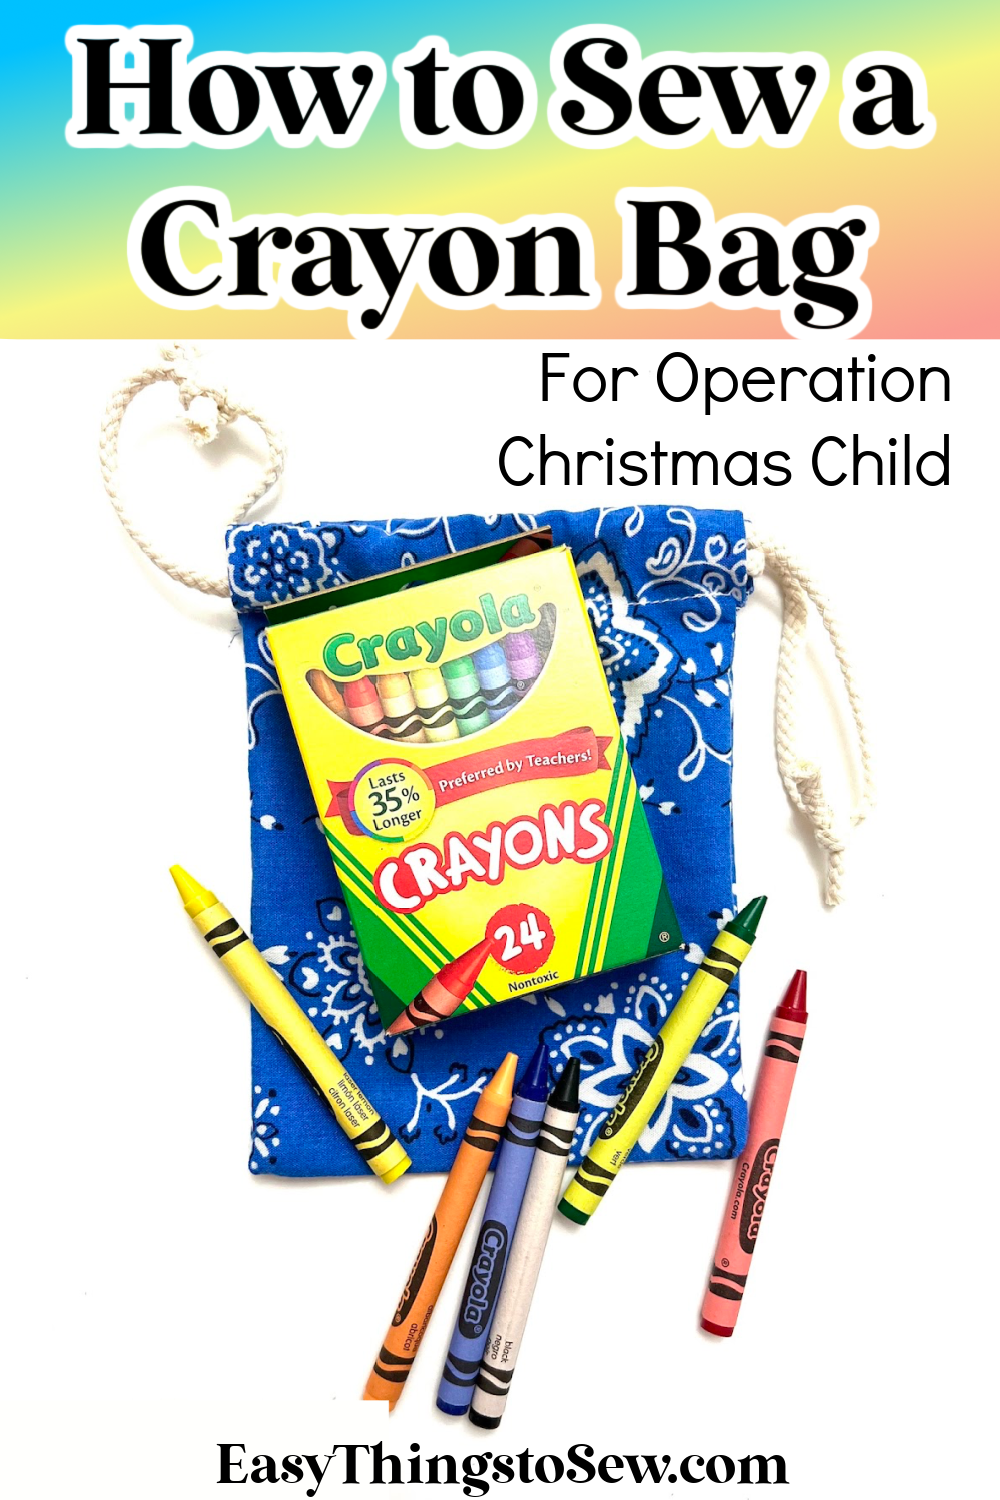
We would be thrilled if you share this project on Facebook with others who might like the easy instructions to make a crayon bag!
Be sure to see our other easy bag sewing projects next:
- Easy Lined Zippered Pouch
- Fabric Gift Bag with Liner
- DIY Marble Bag (with Free Printable Game Instructions)
- Round Drawstring Pouch

