How to Sew a Lap Pillow for Reading
Reading in bed is so much fun for kids, but it can be difficult to hold up the book while laying down. Our easy lap pillow for reading is the perfect solution because you can prop up the book while enjoying the story, and then store the book in the attached pocket when you are not reading it.
A kids reading pillow is a great DIY gift, especially for Christmas when reading holiday stories is so much fun!
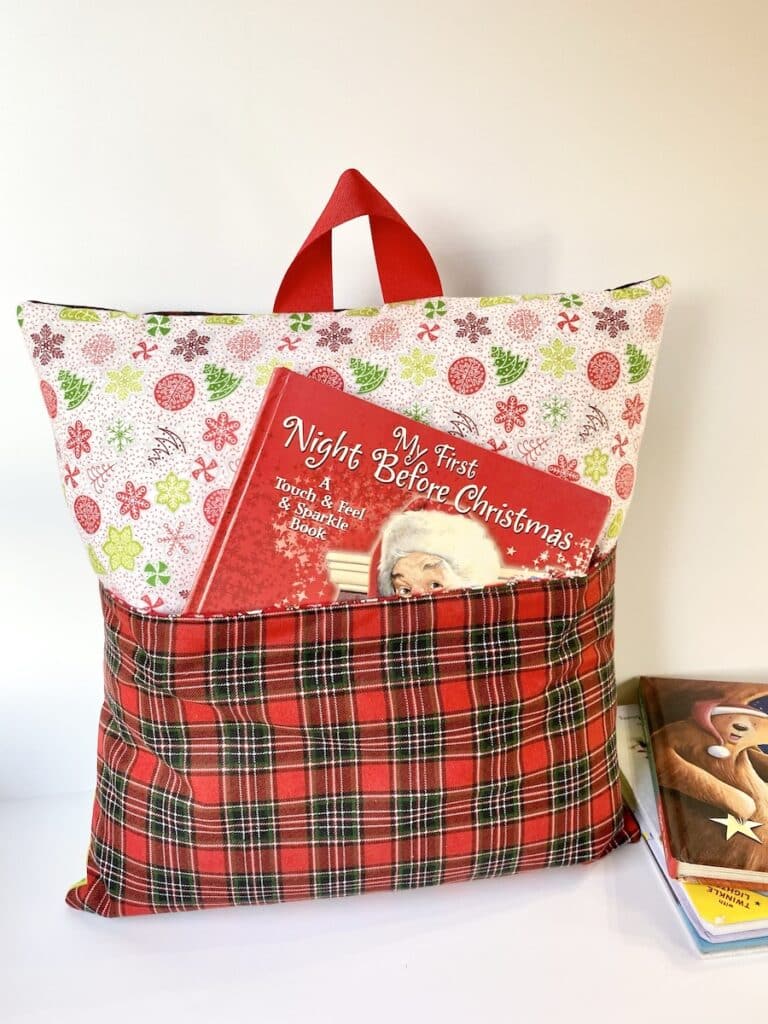
This handmade pillow is also a great book nook pillow. Kids or adults can curl up in the chair or on a bench and easily read their favorite novel or chapter book.
How to Sew a Lap Pillow for Reading
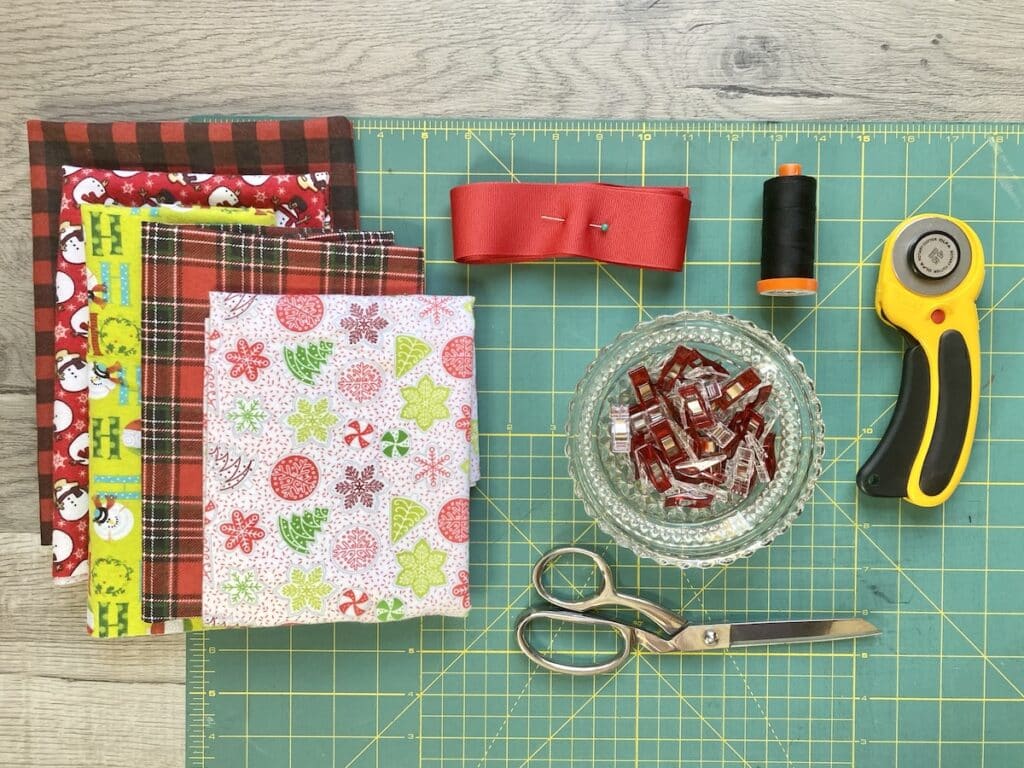
Supplies
- 5 Flannel Fat Quarters in complimentary colors and patterns
- 16 inches of 1 1/2″ wide Ribbon
- Coordinating thread
- 18″ Pillow form
- Ruler
- Rotary cutter
- Cutting mat
- Sewing clips
- Fabric scissors
- Sewing machine
- Iron (optional)
Instructions
Step 1
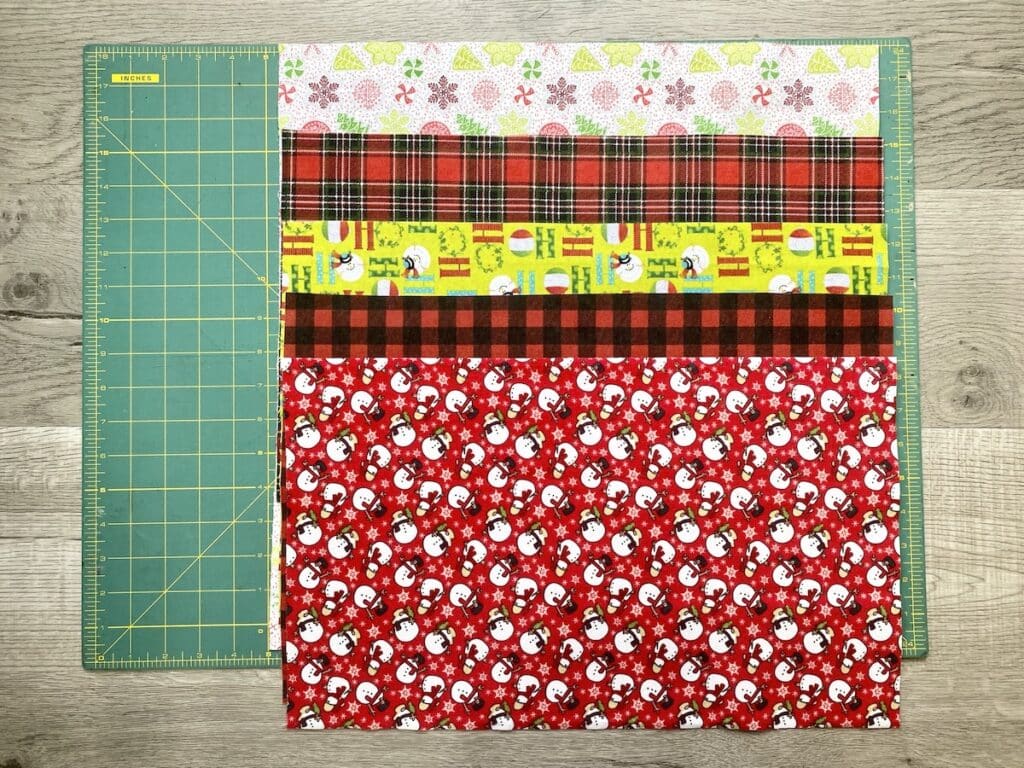
Cut fat quarters of fabric to the following dimensions:
- Pillow front – 18” x 18”
- Pocket front – 11” x 18”
- Pocket lining – 11” x 18”
- Pillow back – (2) 12” x 18”
Step 2
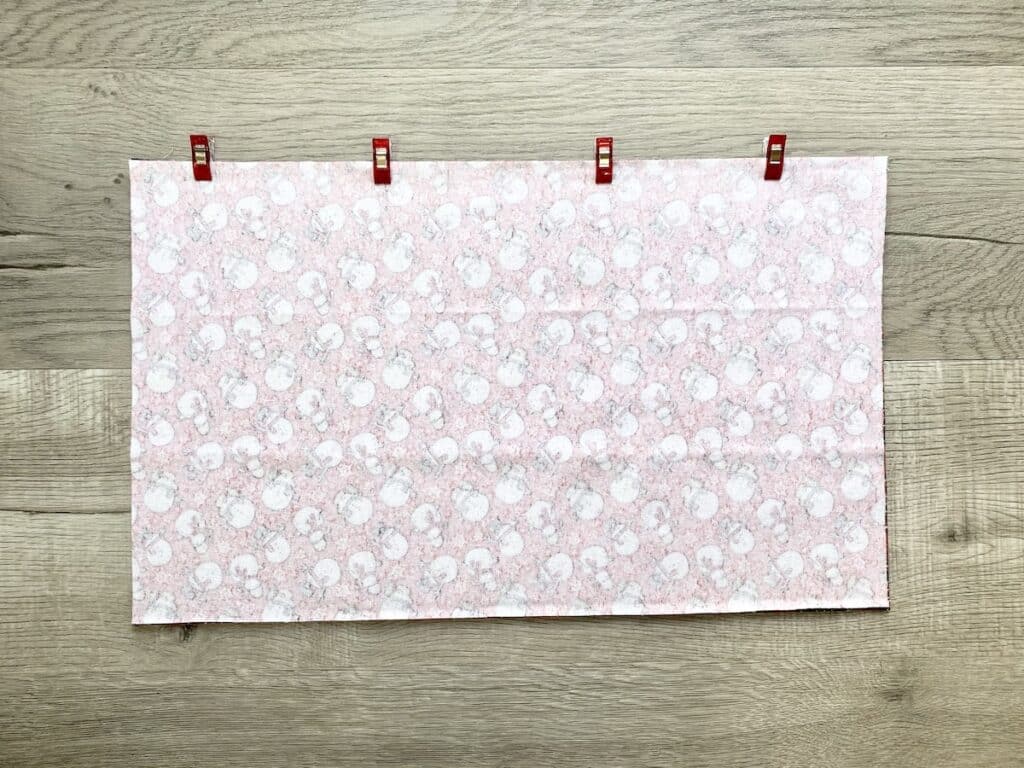
Place pocket pieces right sides together and clip.
Step 3
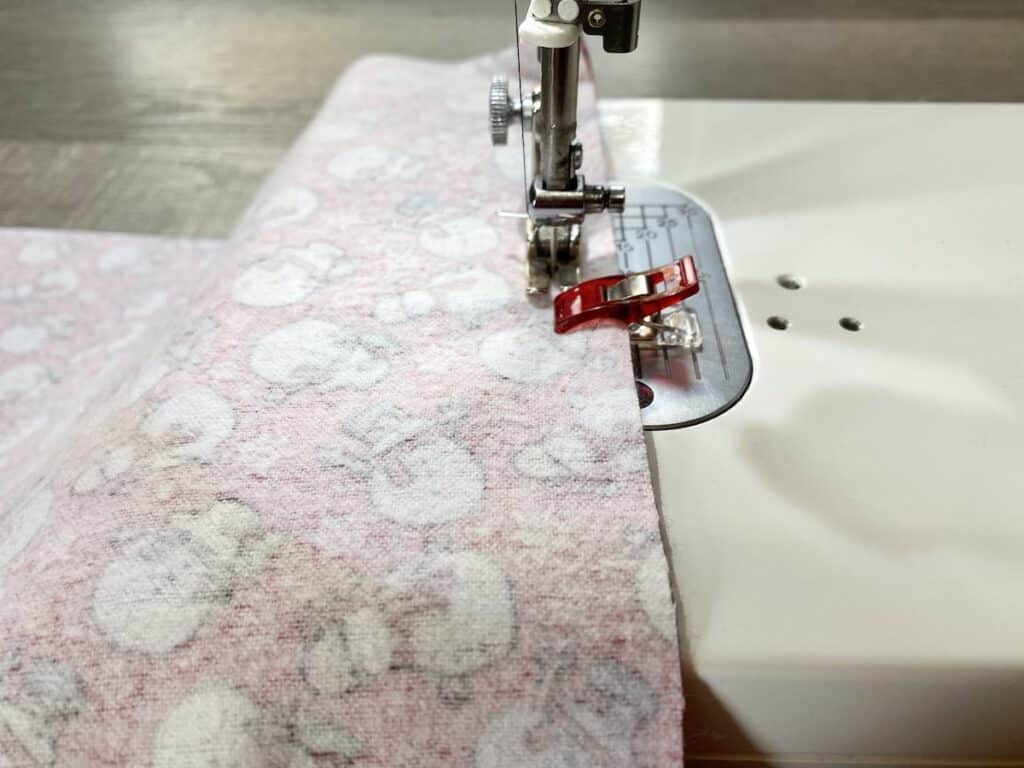
Sew across top of pocket with ½” seam allowance.
Step 4
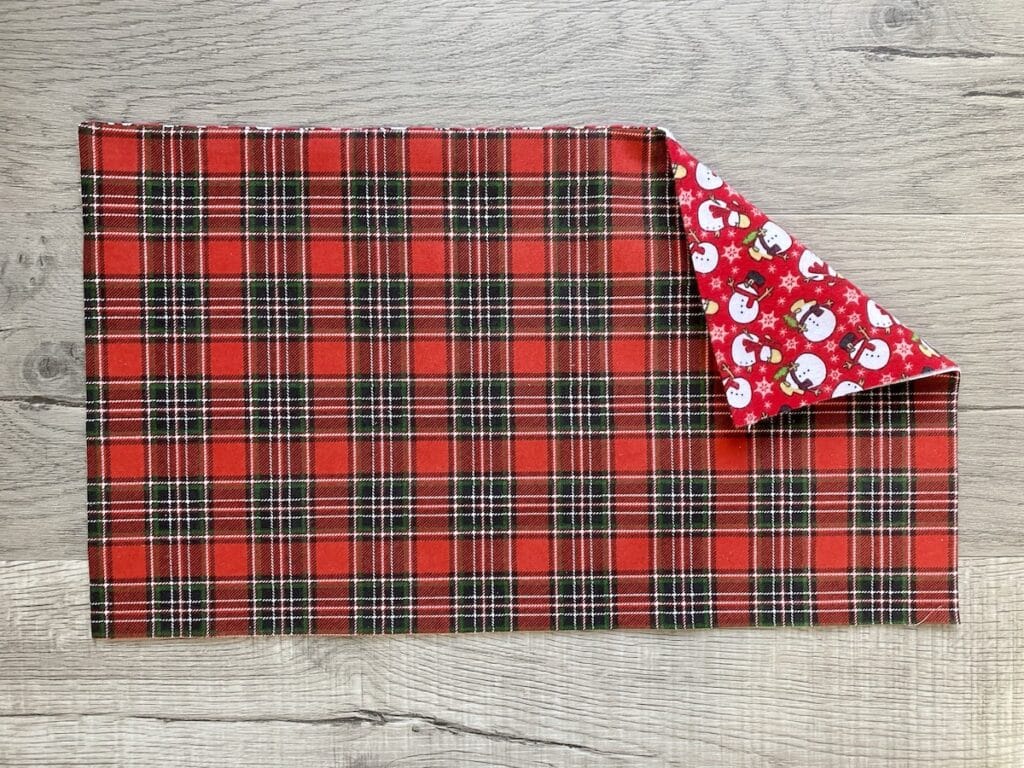
Open the seam and press open with an iron. Then turn pocket right side out.
Step 5
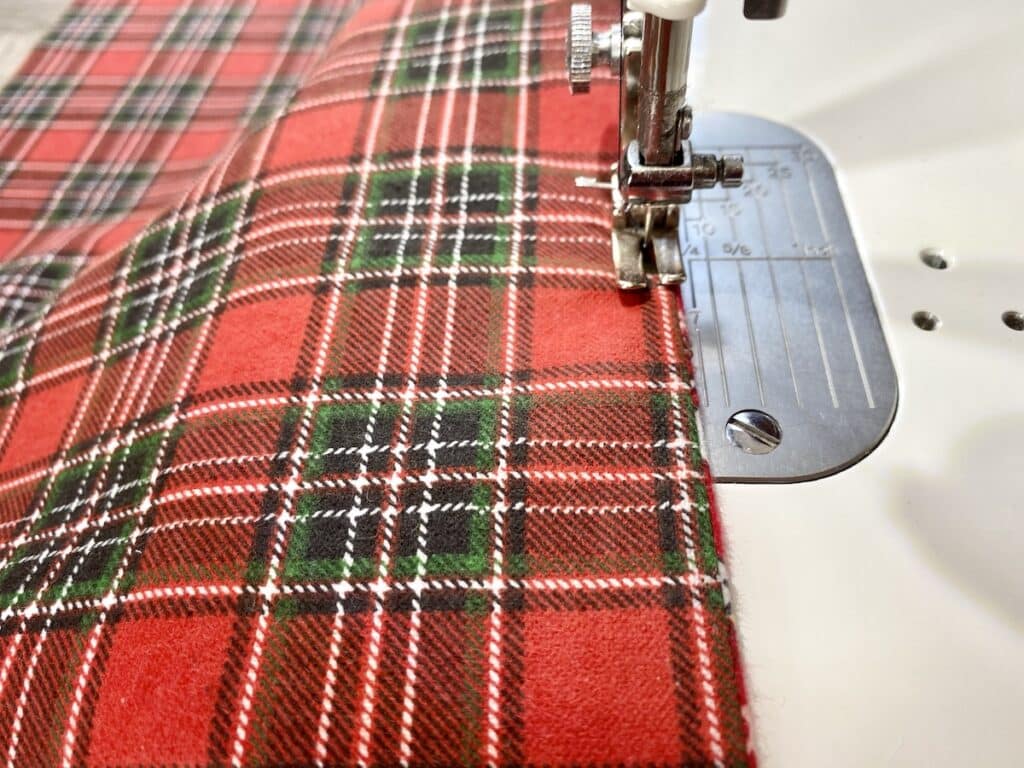
Top stitch across the top of the pocket. Set aside.
Step 6
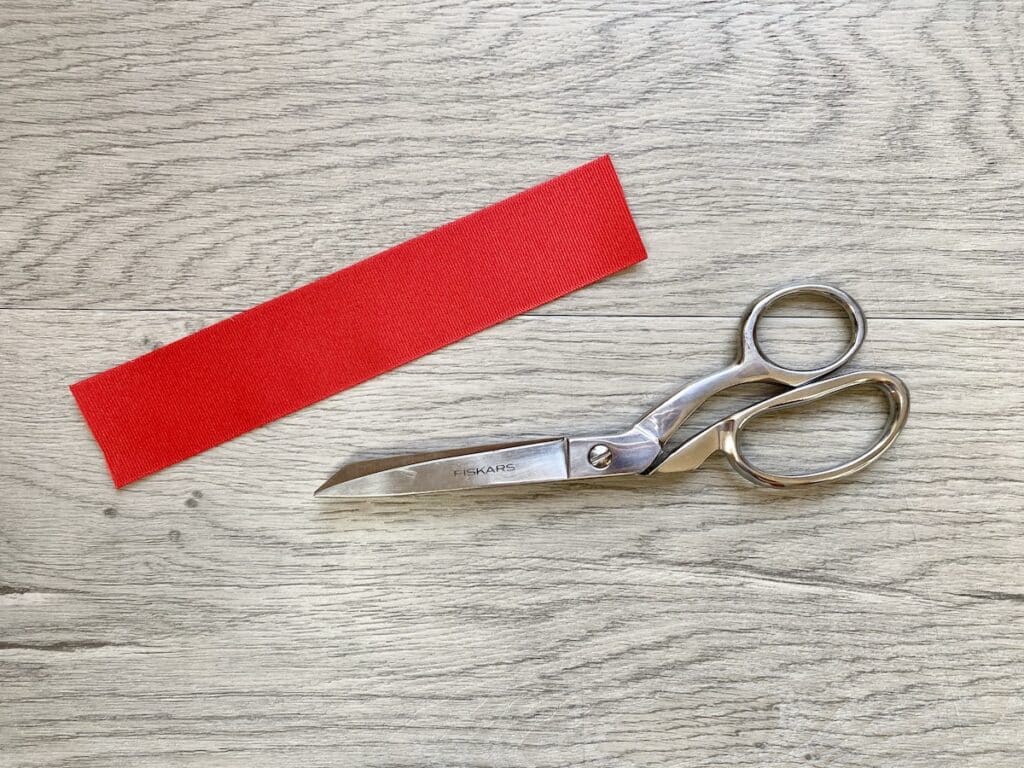
Cut ribbon to 8 inches long.
Step 7
Fold the ribbon into a handle shape and clip to the top, right side of pillow front fabric.
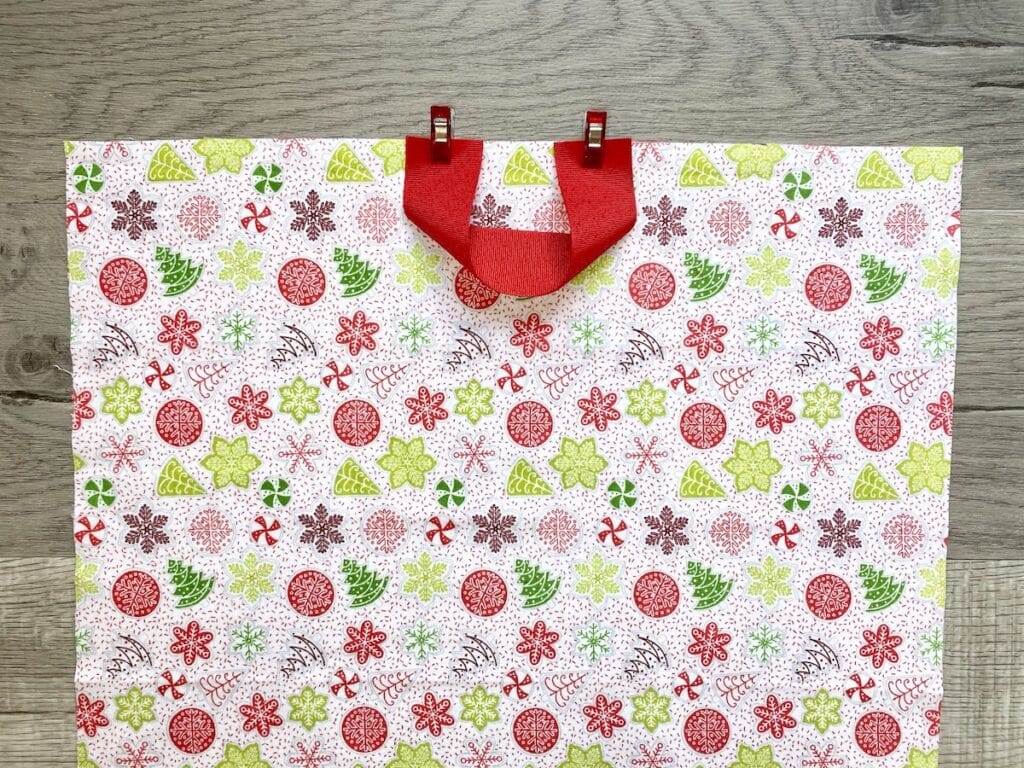
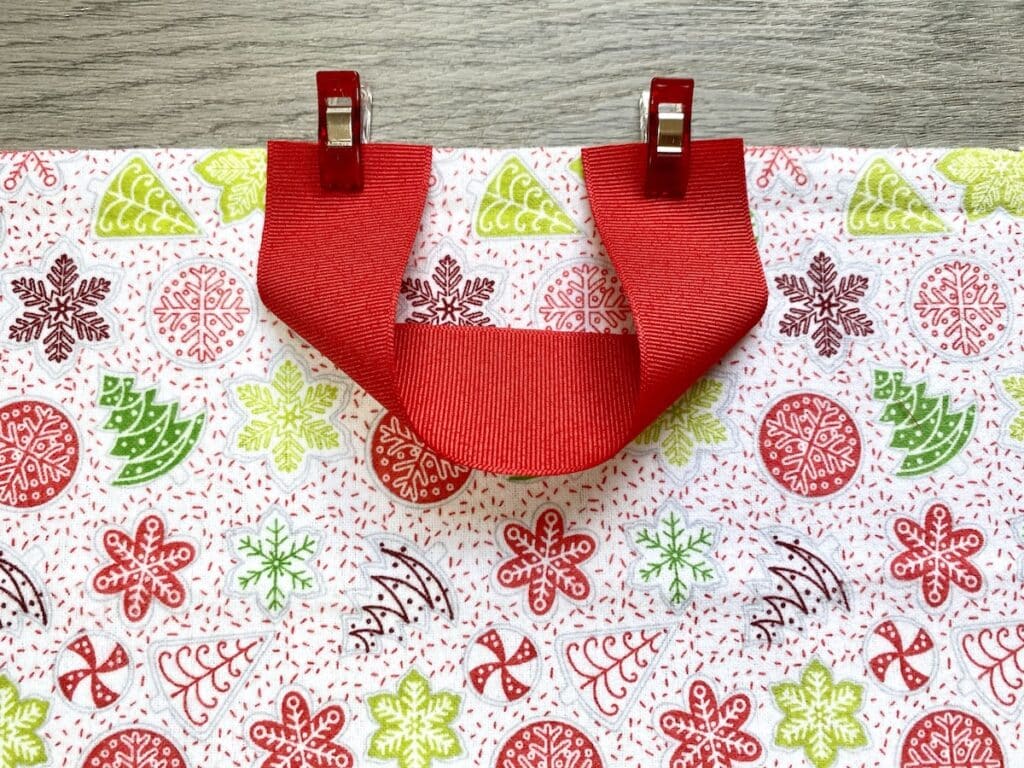
Step 8
Sew across ribbon edges on each side.
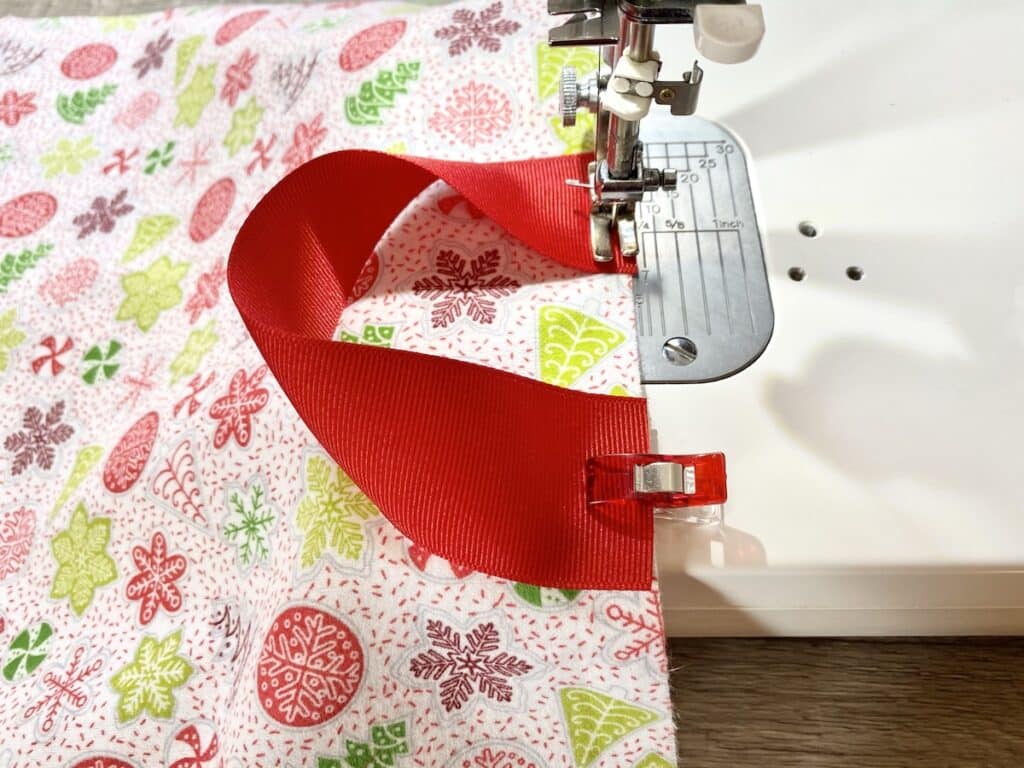
Step 9
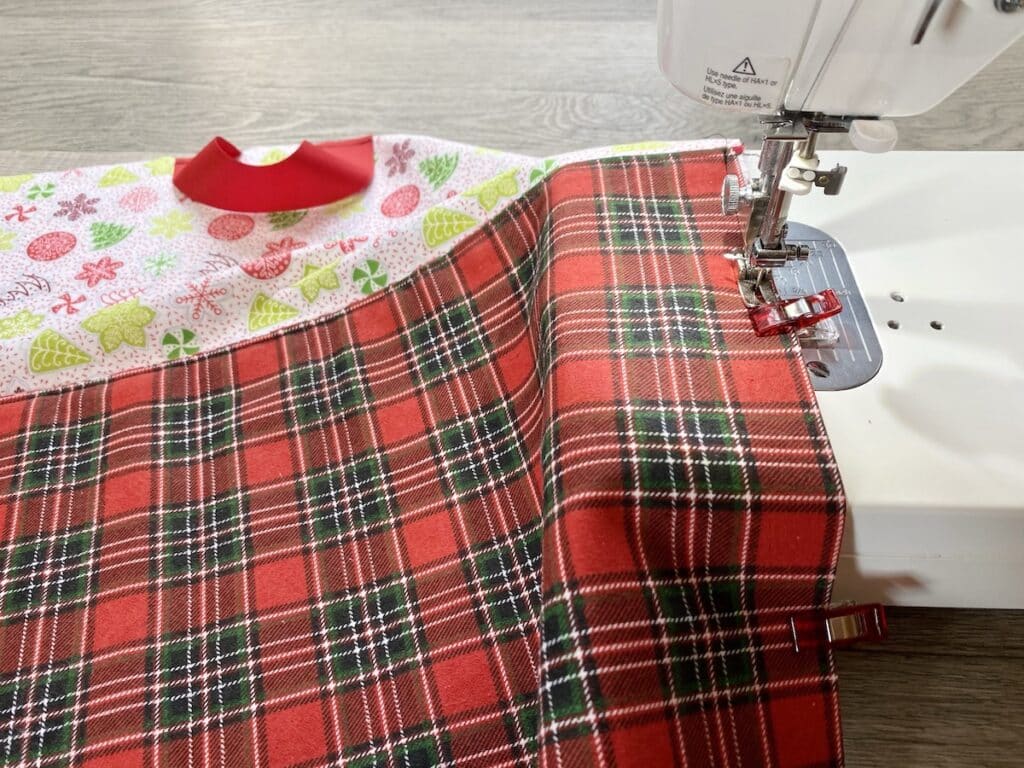
Place the pocket on top of pillow front with the bottom edges aligned. Clip the sides together.
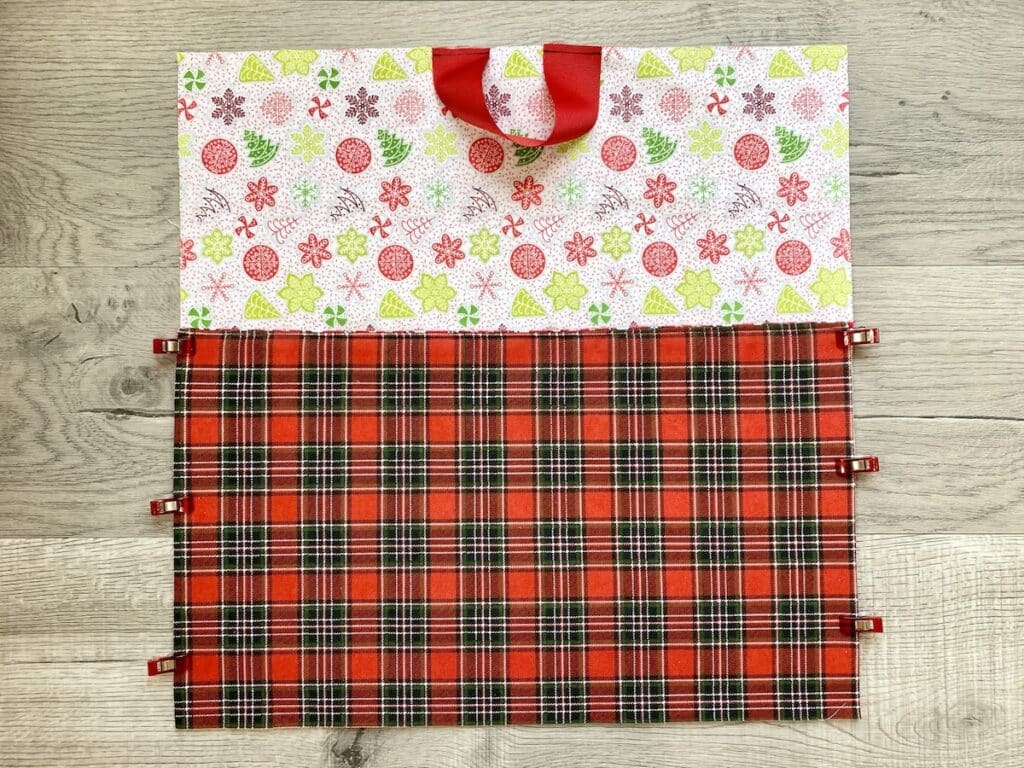
Step 10
Sew down the sides of the pocket with ½” seam allowance. Backstitch at top of pocket to reinforce the seams.
Step 11
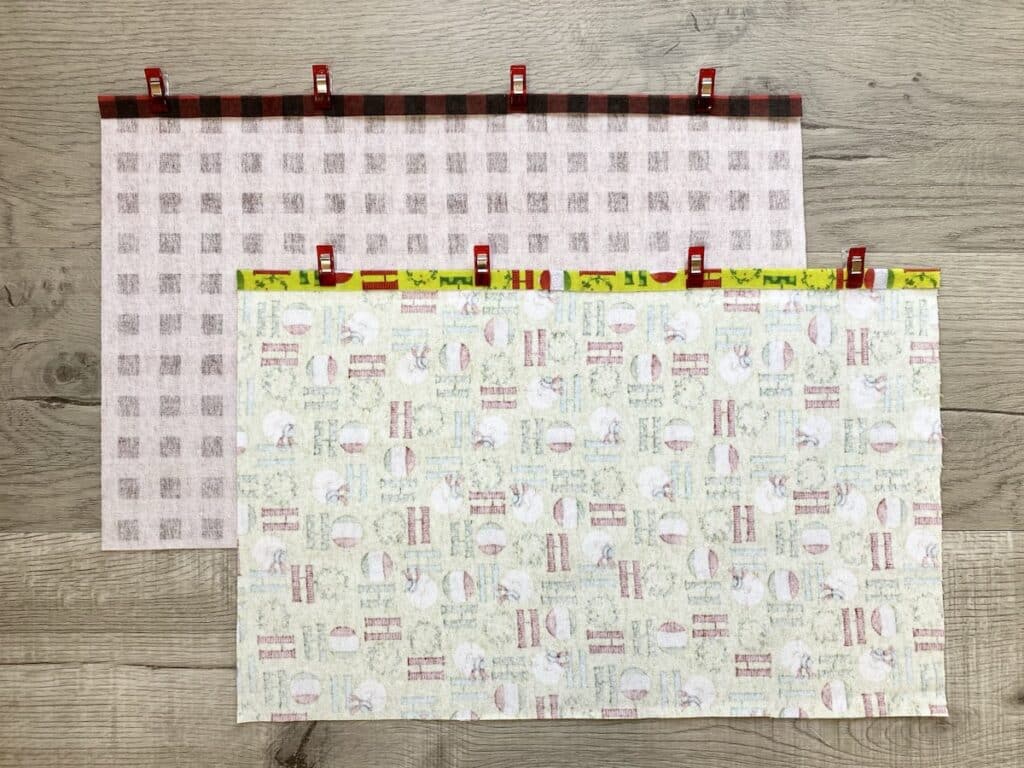
For the back, fold under one of the 18” sides on each fabric. Press the seam with an iron and then clip or pin.
Step 12
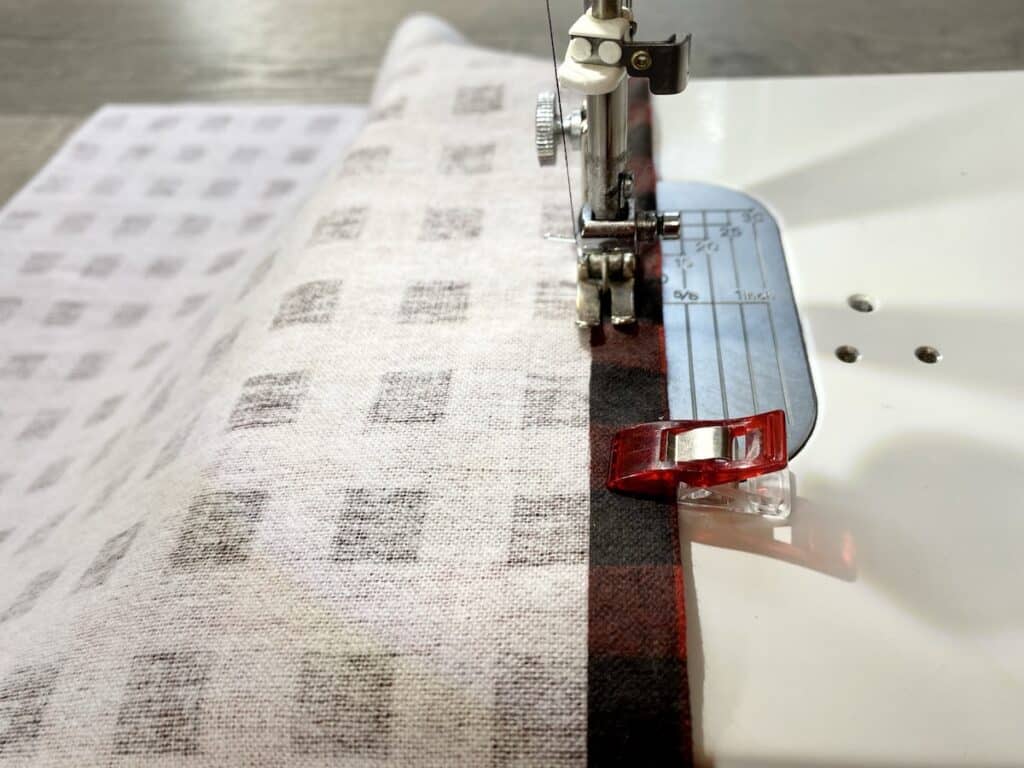
Sew across the fold with ¼” seam allowance.
Step 13
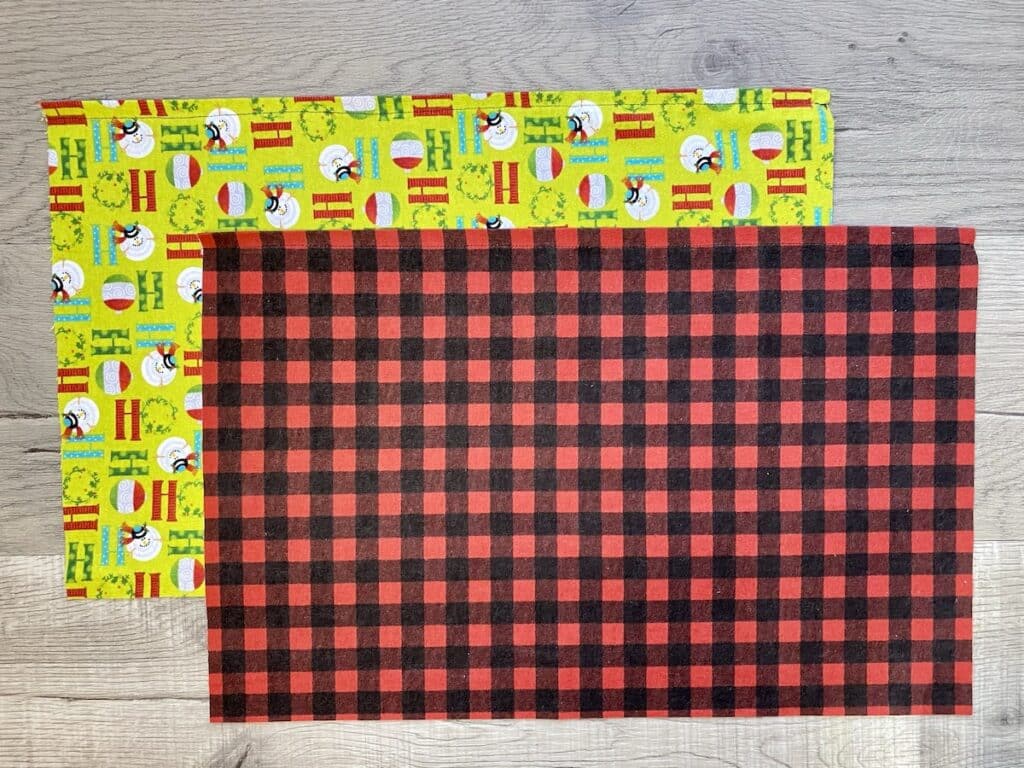
Place one back fabric on top of the pillow front, top edges aligned and right sides together. Clip to hold.
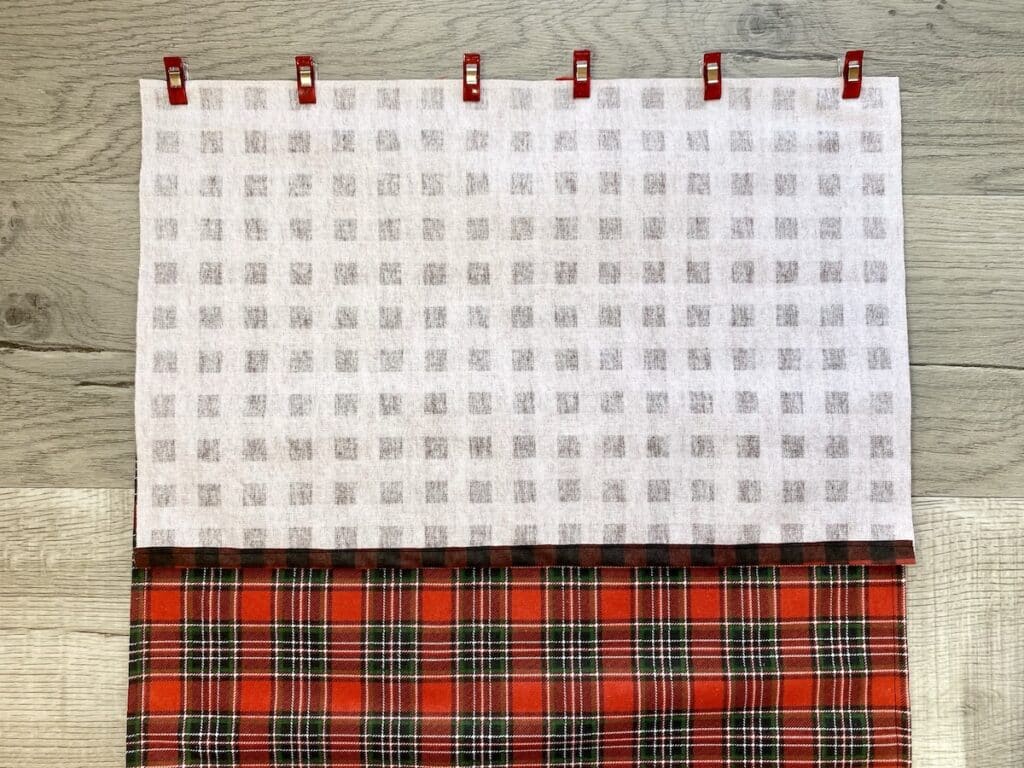
Step 14
Place the remaining back fabric on top of pillow front with bottom edges aligned, right sides together. Clip together.
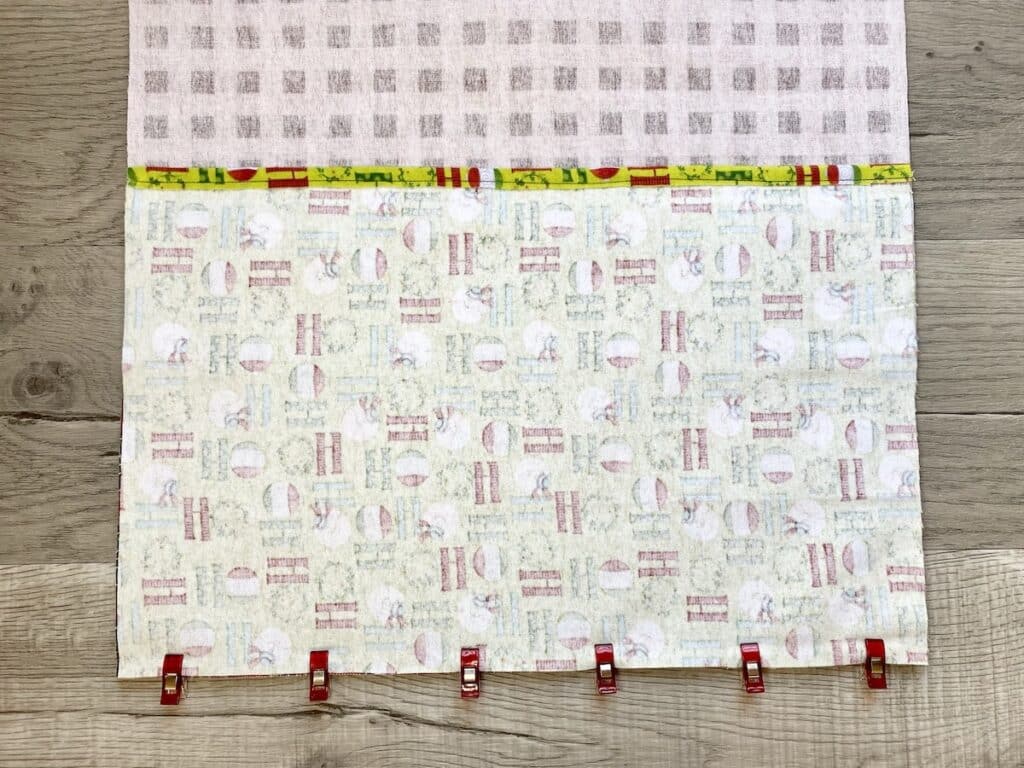
Step 15
Sew around entire pillow perimeter with ½” seam allowance.
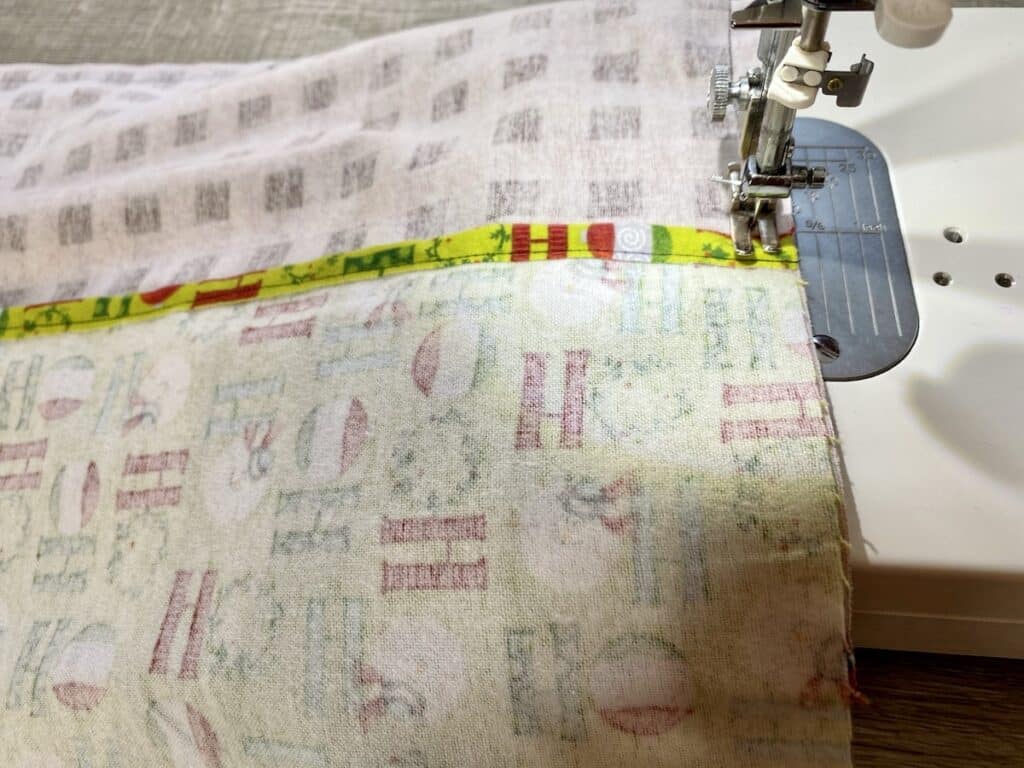
Step 16
Clip corners to reduce the bulk.
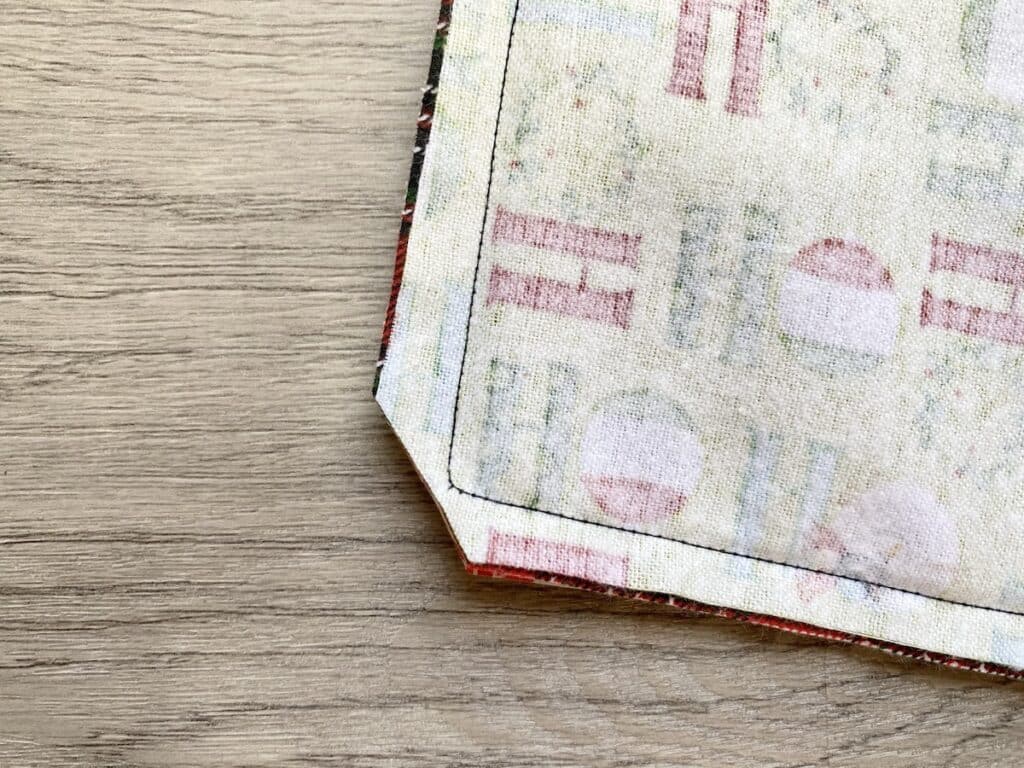
Step 17
Turn the pillow cover right side out. Poke out the edges with a turning tool, chopstick or pencil.
Iron the fabric to be wrinkle free.
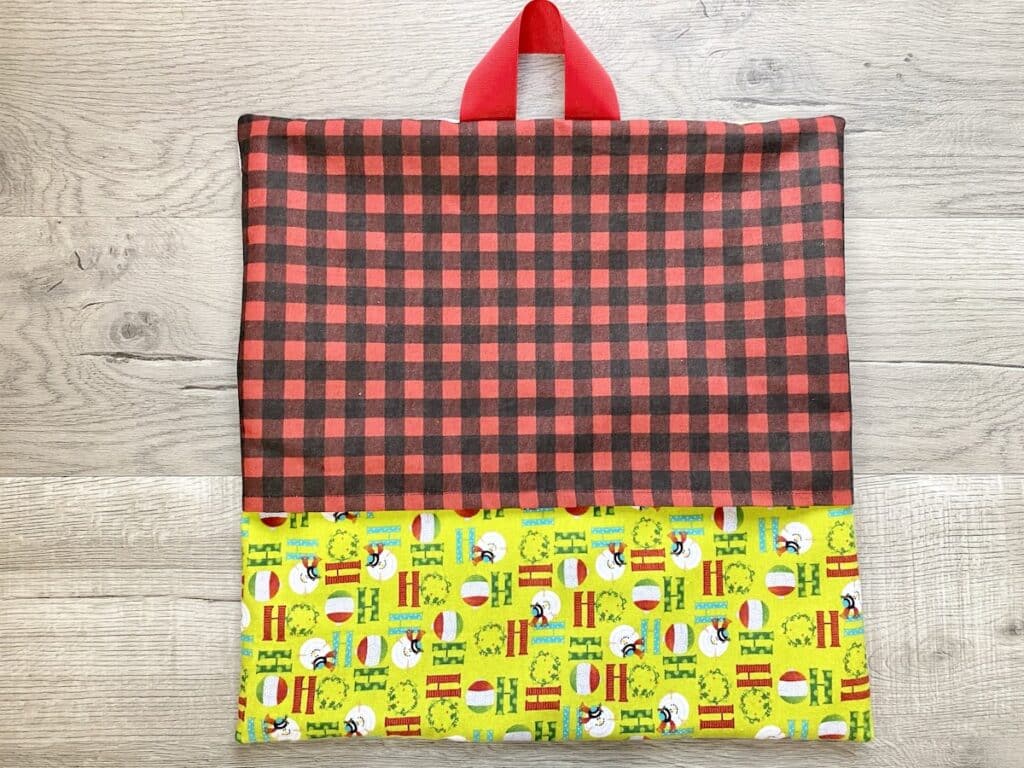
Step 18
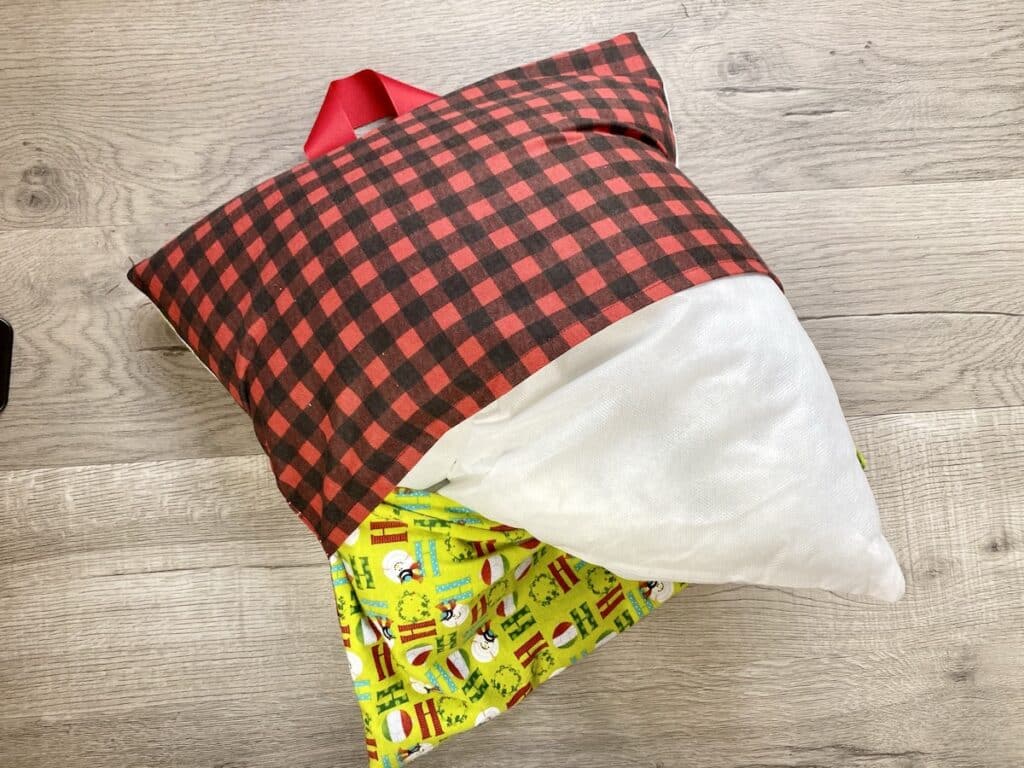
Insert pillow form.
If you like this lap reading pillow project, be sure to Pin It to save for later!
This is just one of our pillow sewing projects. See these ideas next:
For book lovers, be sure to see these easy bookmark crafts, too:

