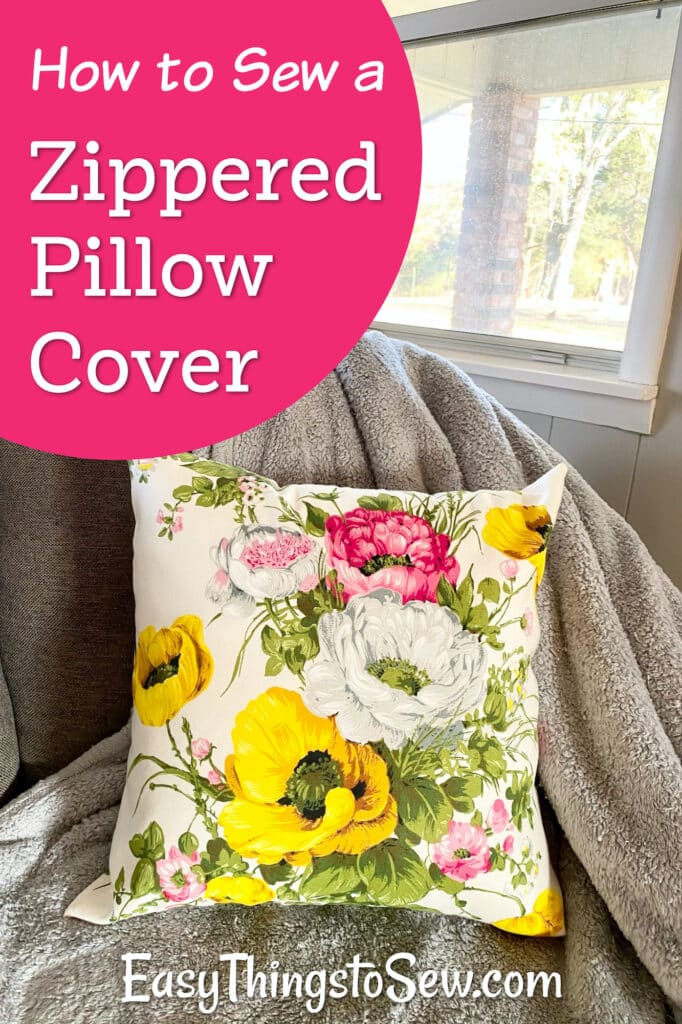
How to Sew A Pillow Cover with a Zipper: Tutorial for Beginners
If you’re dreaming of updating your decor, then you will want to know how to sew a pillow cover with a zipper! This easy tutorial for total beginners shows you how to make customized throw pillow covers to quickly change the look of your pillows.
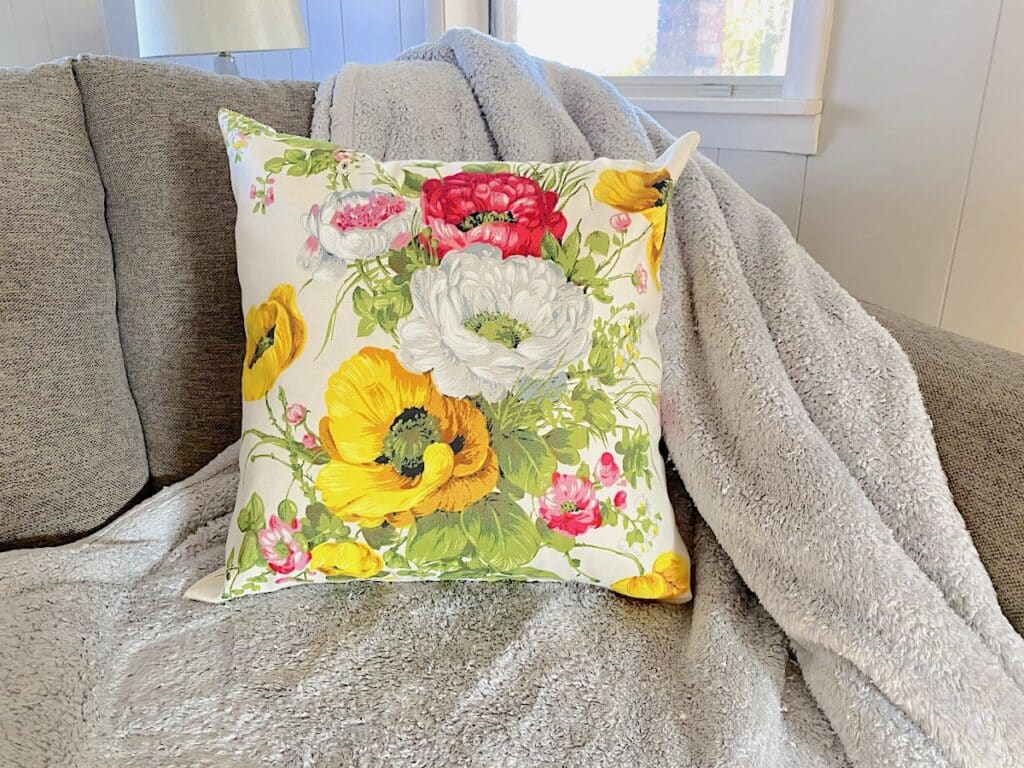
Zippered pillow covers make it easy to instantly change the look of your throw pillows without having to spend a lot of money.
It is also easier to store multiple throw pillow covers rather than lots of different pillows. So if you have one pillow form that you use all of the time, you can make it look different for every season and holiday by making zippered pillow covers that can be put on and taken off easily.

What Kind of Pillow Can I Use?
These DIY zippered pillow covers can be used on any throw pillow that you have. However, my dimensions are made for a 20 inch X 20 inch square pillow, which is a common size for living room or bedroom pillows.
You don’t have to buy a new pillow form if you do not want to. If you have an ugly pillow, or you find one at a thrift store, the cover you make will instantly transform it into something pretty. You won’t see the pattern underneath, which is why this is an inexpensive way to update home decor.
If you love your throw pillows, you can just update them for the seasons or a holiday with these simple pillow covers. Just cover the pillow when you want, and then unzip the cover and store away for later.
Making the Pillow Puffy
You will notice that this tutorial uses a 20 inch X 20 inch piece of fabric to cover a 20″ square pillow form. But we’ll be sewing hems along the seams, which will make this cover less than 20″ wide. Why?
By sewing the pillow cover to be a little smaller, you can stuff your pillow form inside and it will appear thicker and more puffy. No more thin throw pillows!
This works because the pillow is easy to squeeze and stuff, so you don’t need to worry about it not fitting. Just be a little careful when inserting it into the pillow cover if your pillow is overstuffed. You can make it fit, just give it a little time.
How to Make a Zippered Pillow Cover for a Different Size
A 20″ square throw pillow is common and is one of the most widely used pillow sizes for the living room or bedroom. However, there are a variety of other sizes of pillows.
You can customize this cover to fit your pillow dimensions. If you had an 18″ pillow, then you would cut two 18″ X 18″ squares of fabric but your zipper would need to be 16 inches. The zipper needs to be two inches shorter than the length of the side that you are sewing it on.
If you had an oblong pillow or a pillow that wasn’t square, then you’d cut a size of fabric that would fit your pillow size. Again, the zipper would need to be 2 inches shorter than the size of the side that you are adding it to.
How to Sew a Pillow Cover with a Zipper (Tutorial for Beginners)
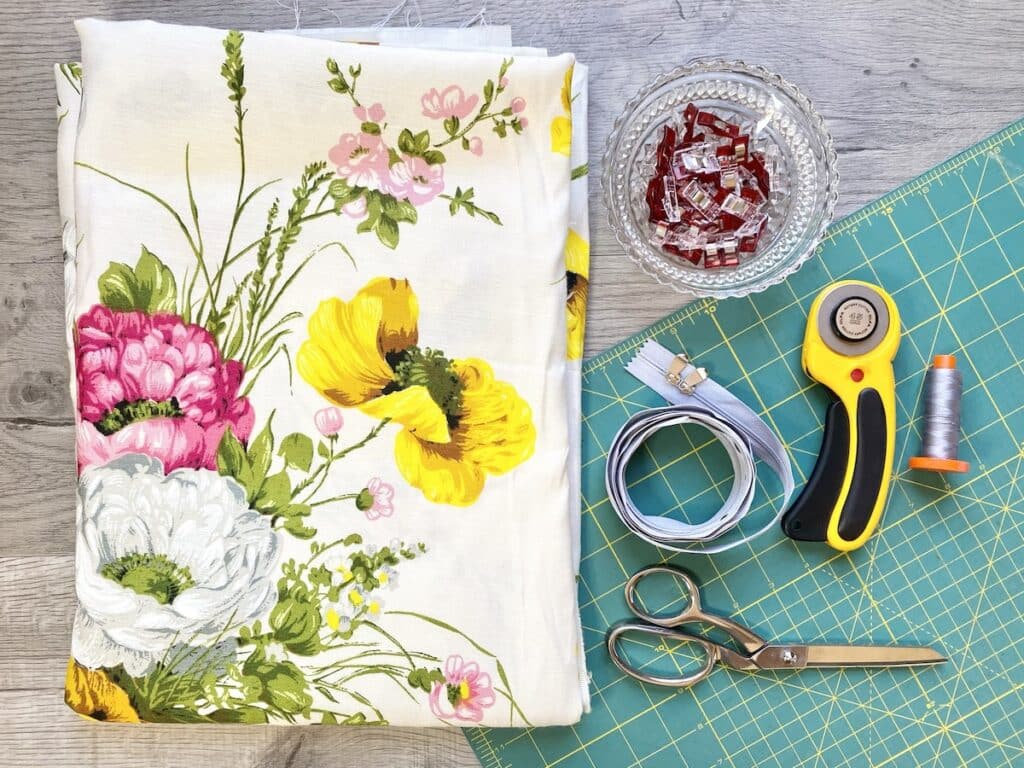
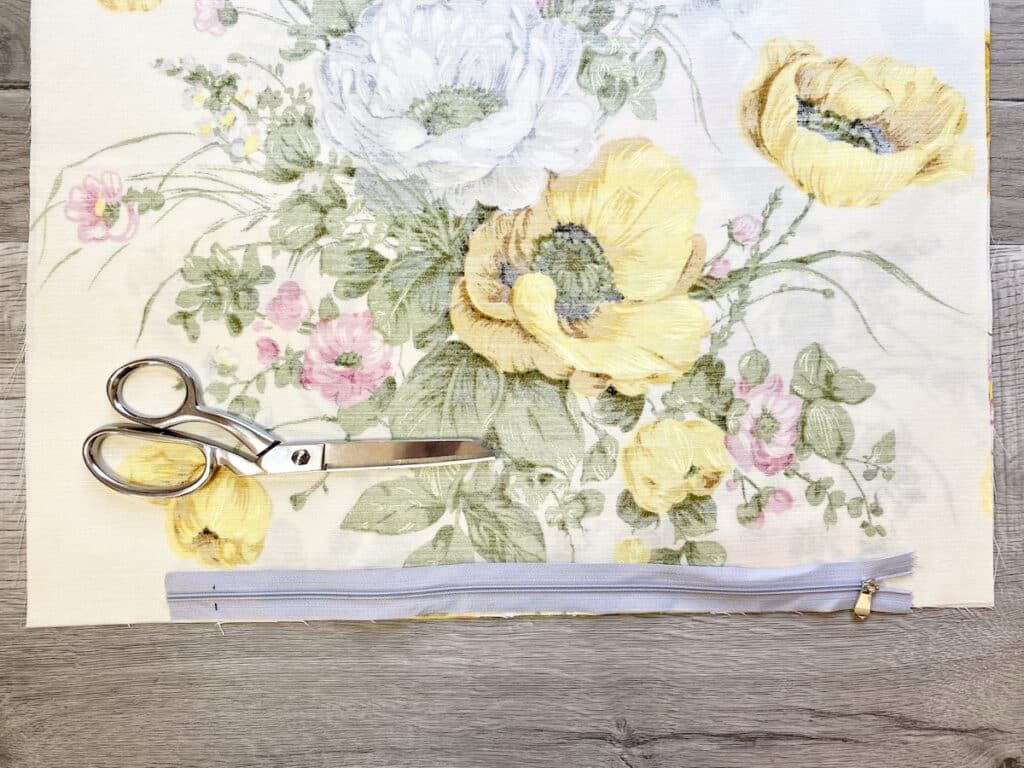
Supplies
- 1 yard upholstery weight fabric
- Pillow Form (I used a 20” X 20″ form)
- 18” Zipper
- Coordinating Thread
- Ruler
- Cutting Mat
- Rotary Cutter
- Sewing Clips or Straight Pins
- Fabric Scissors
- Sewing Machine
Instructions
Step 1
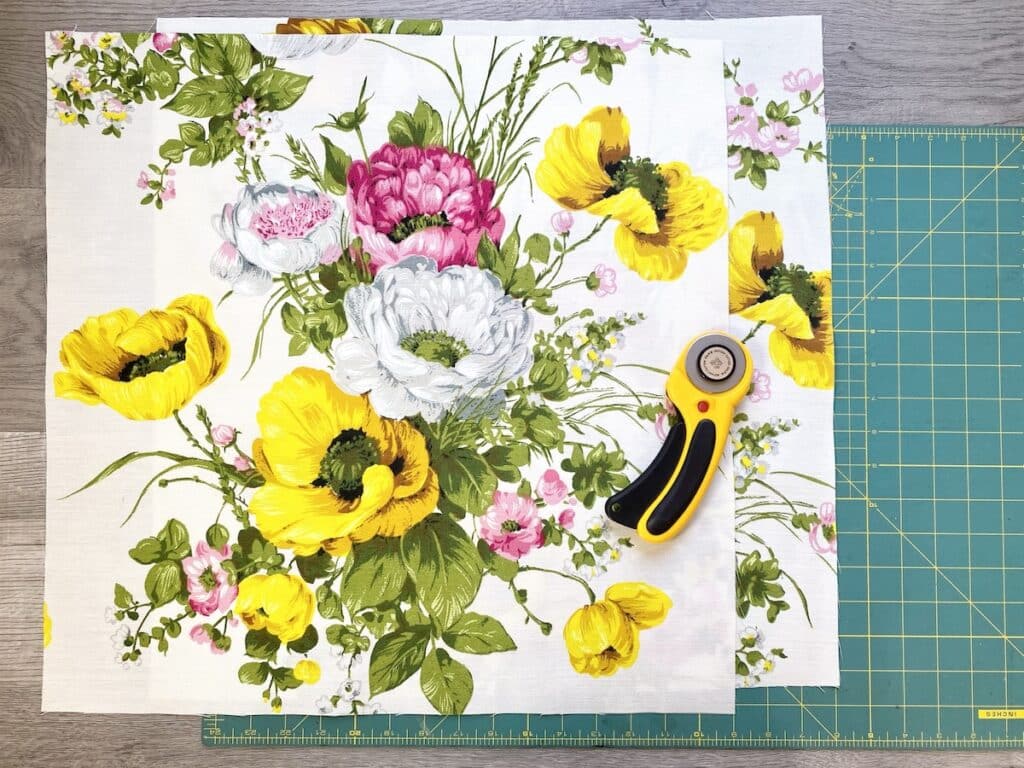
Cut two pieces of fabric the same size of your pillow form. For a 20” pillow form, cut two 20” x 20” squares of fabric.
Step 2
Place fabric squares on top of each other with the right sides together. Make sure the pattern is going the same direction, if necessary.
Lay the zipper along one edge with roughly 2” on one side and mark 2” from the other side on the zipper.
Step 3

Place clips or pins on the fabric to mark ½” from each side of the zipper.
Step 4
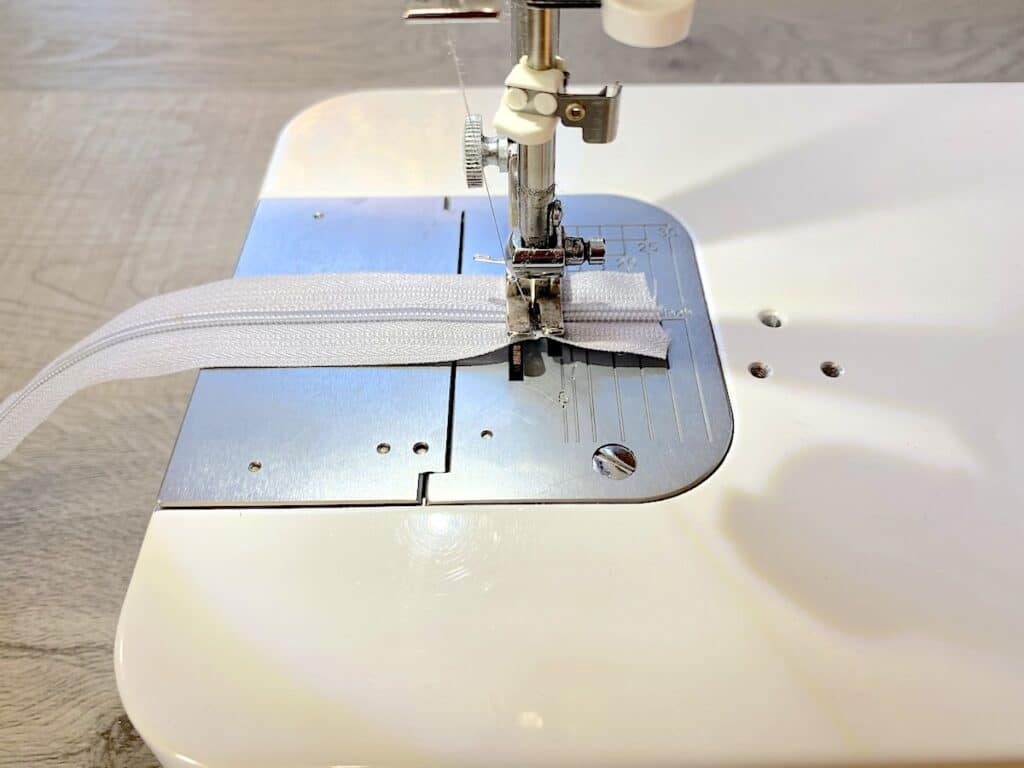
Use a zig zag sitch or straight stitch to sew across the zipper ½” from the end several times. This is to create a stop for the zipper when using it.
Step 5
Sew from each bottom corner to the clip or pin with a ¼” seam allowance. Back stitch at beginning and end.
Step 6
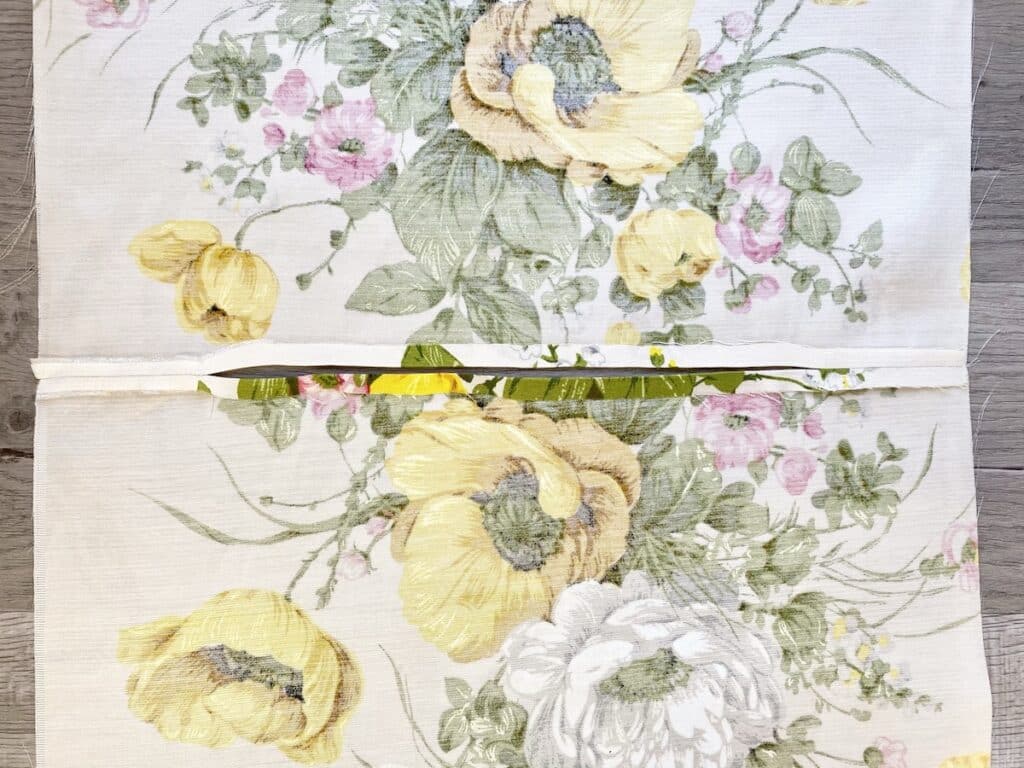
Press open the entire length of the seams with an iron. For the part not sewn, fold under ¼ inch and press flat.
Step 7
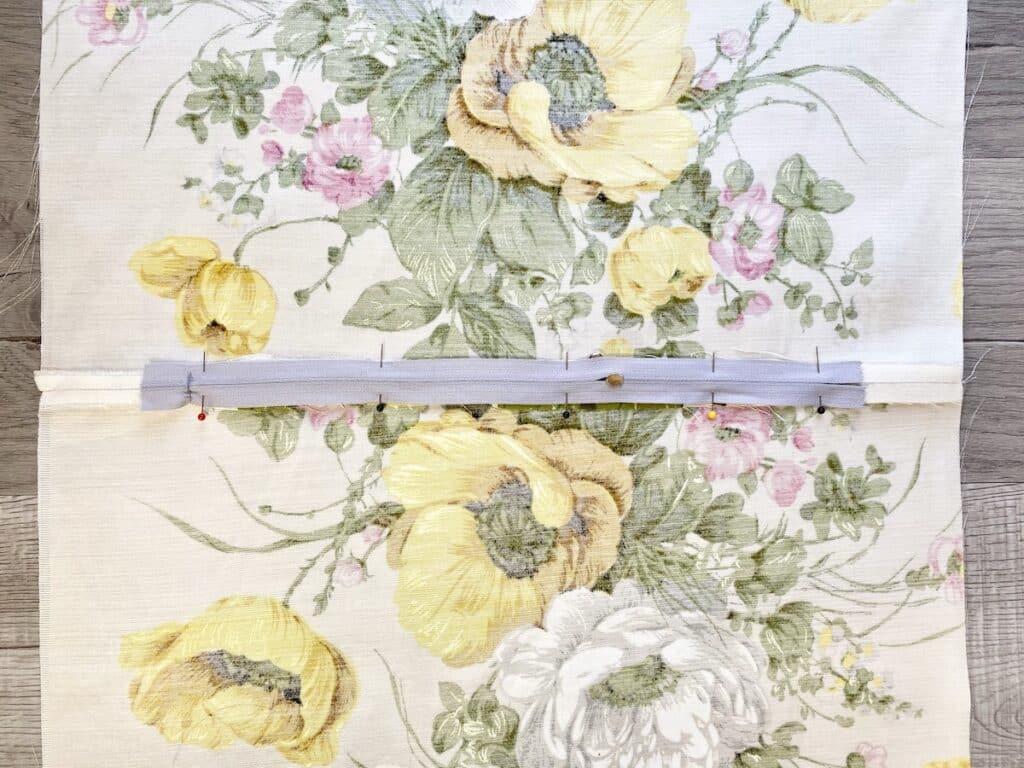
Lay zipper face down in the center on top of the seam. Pin it in place.
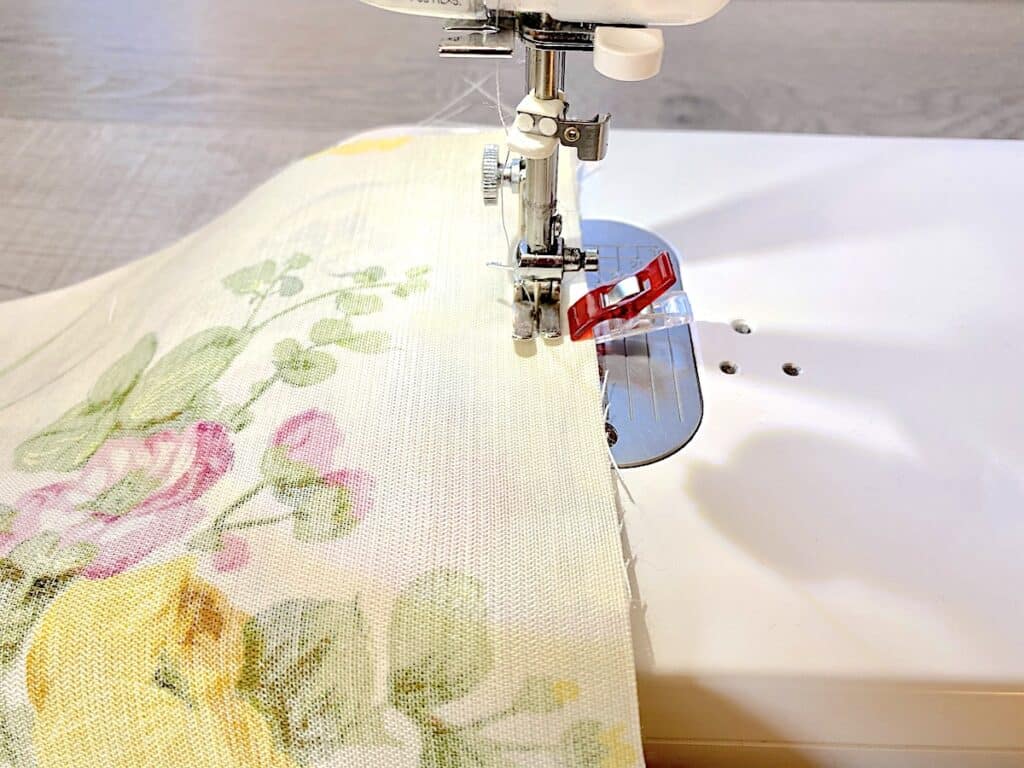
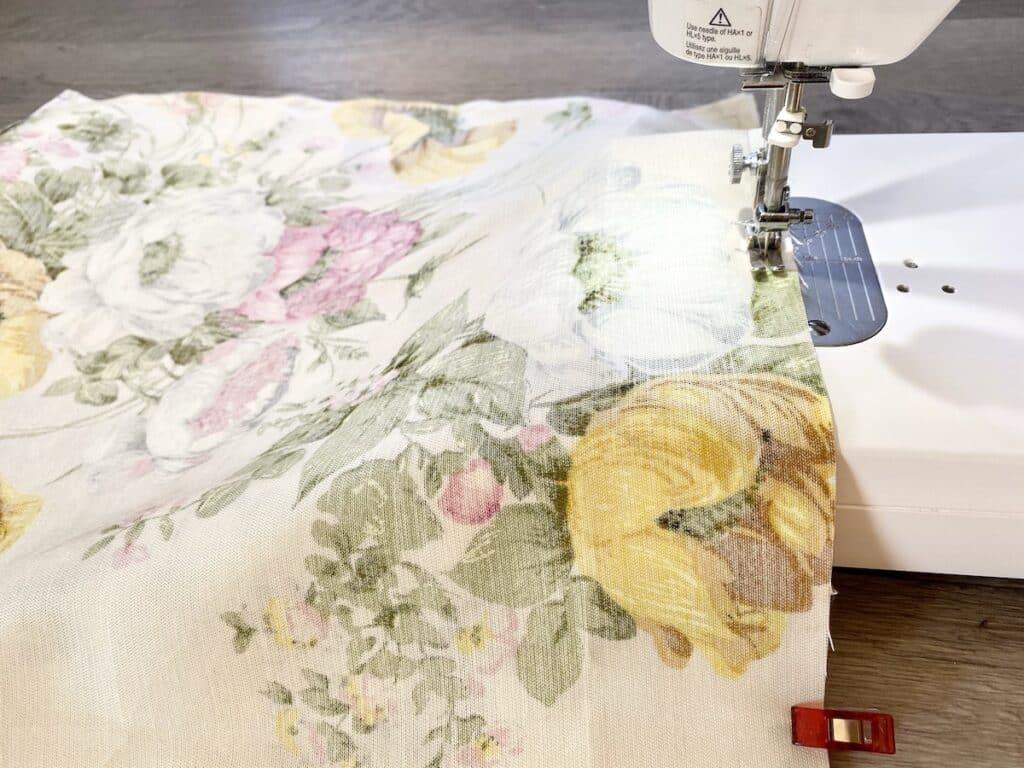
Step 8
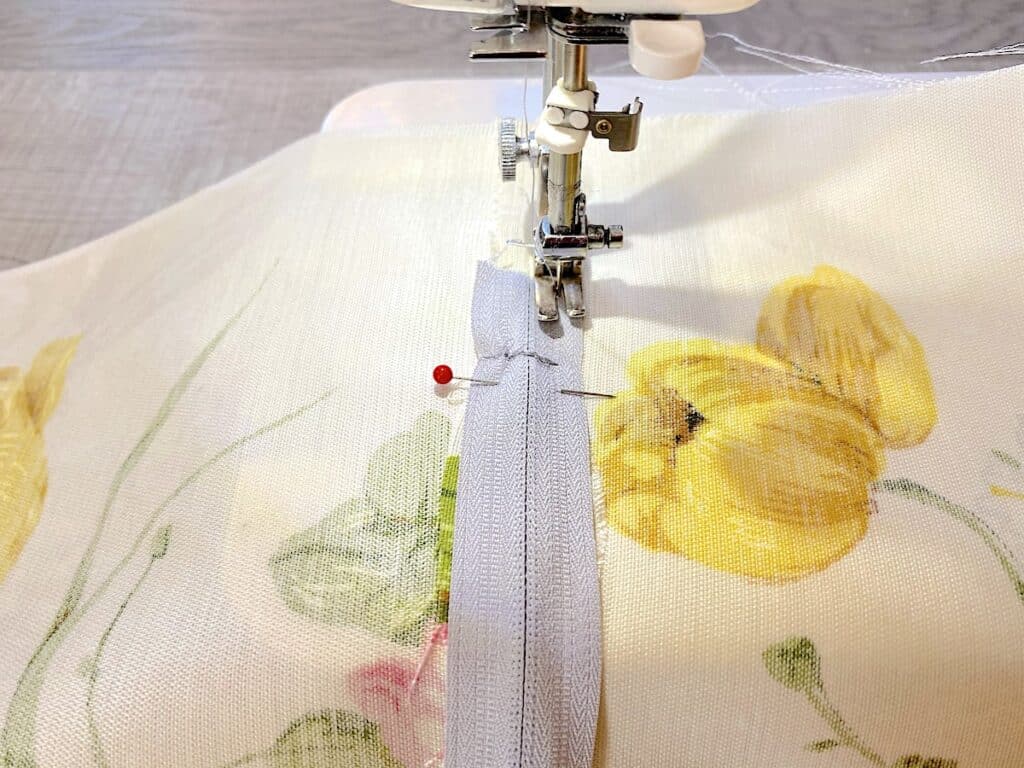
Use a zipper foot to sew along right side of zipper. Just before reaching the zipper pull, lift the presser foot and move the pull past the foot. Then continue sewing.
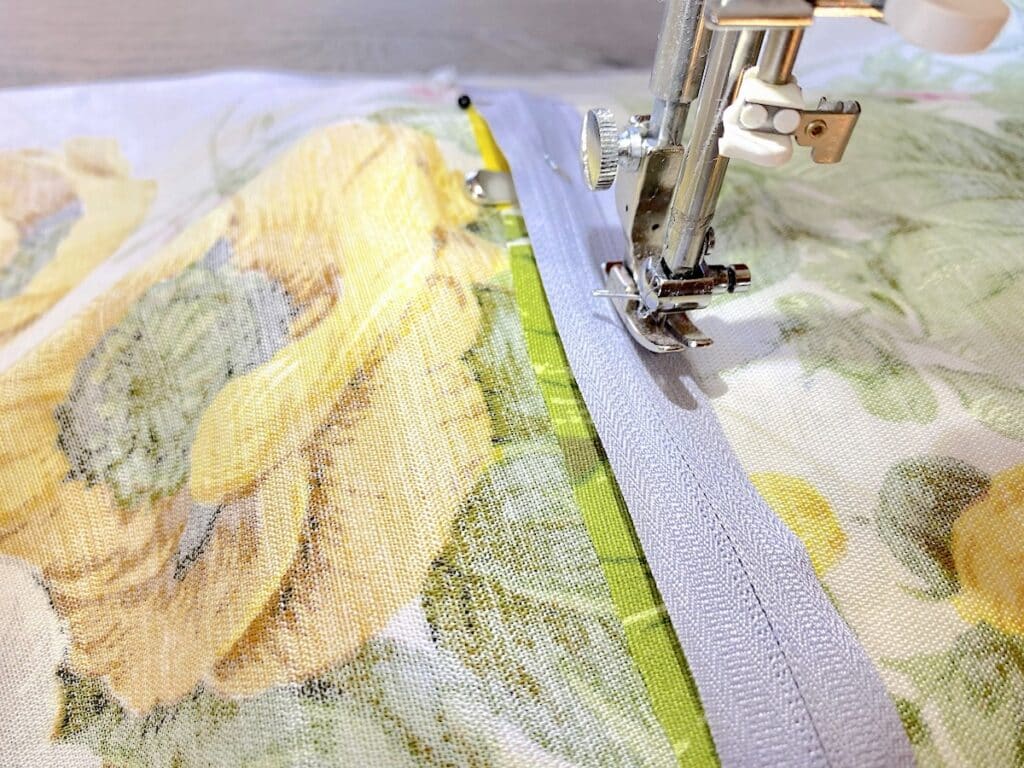
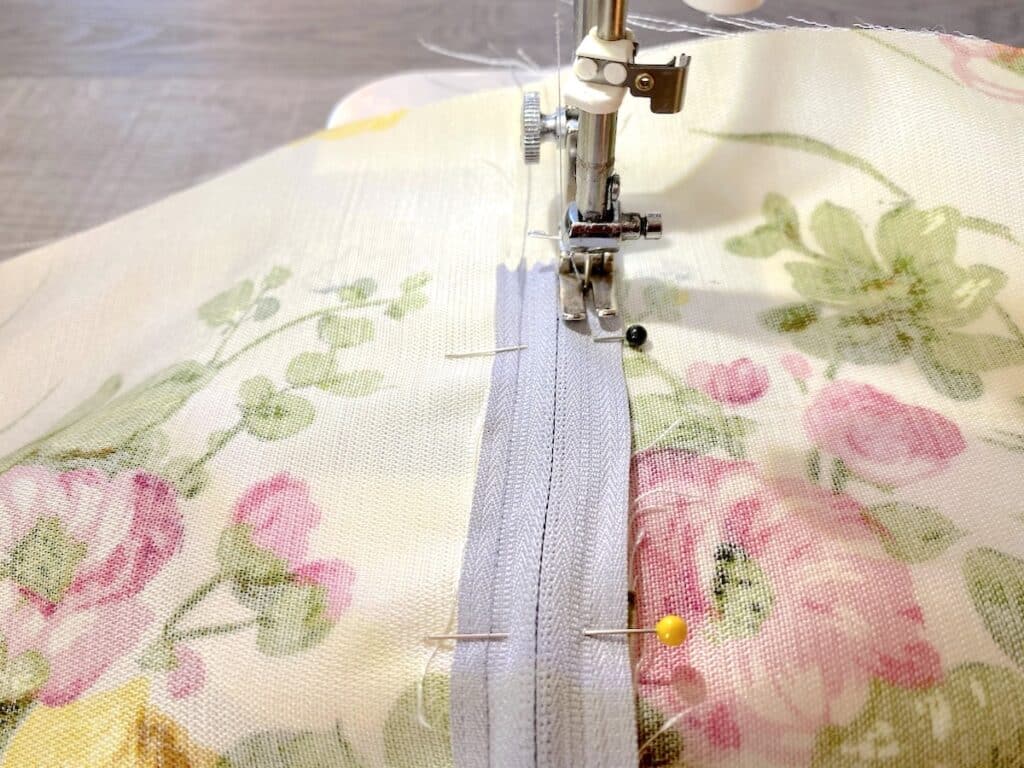
Turn pillow and repeat along the other side of the zipper. Move the pull as needed.
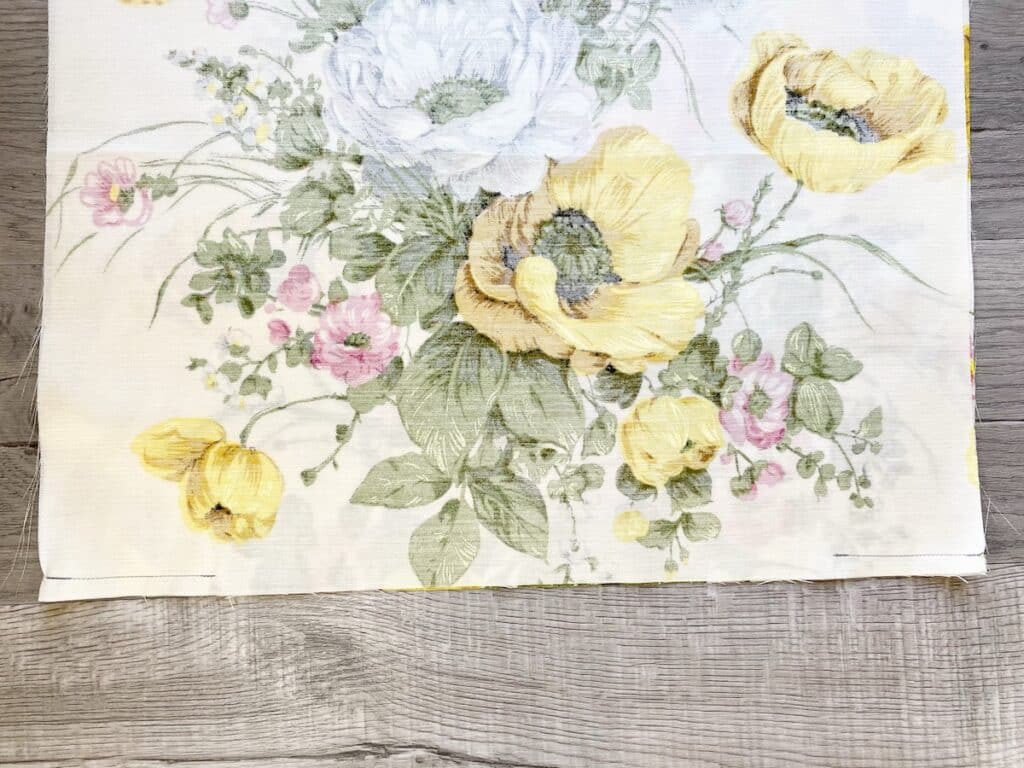
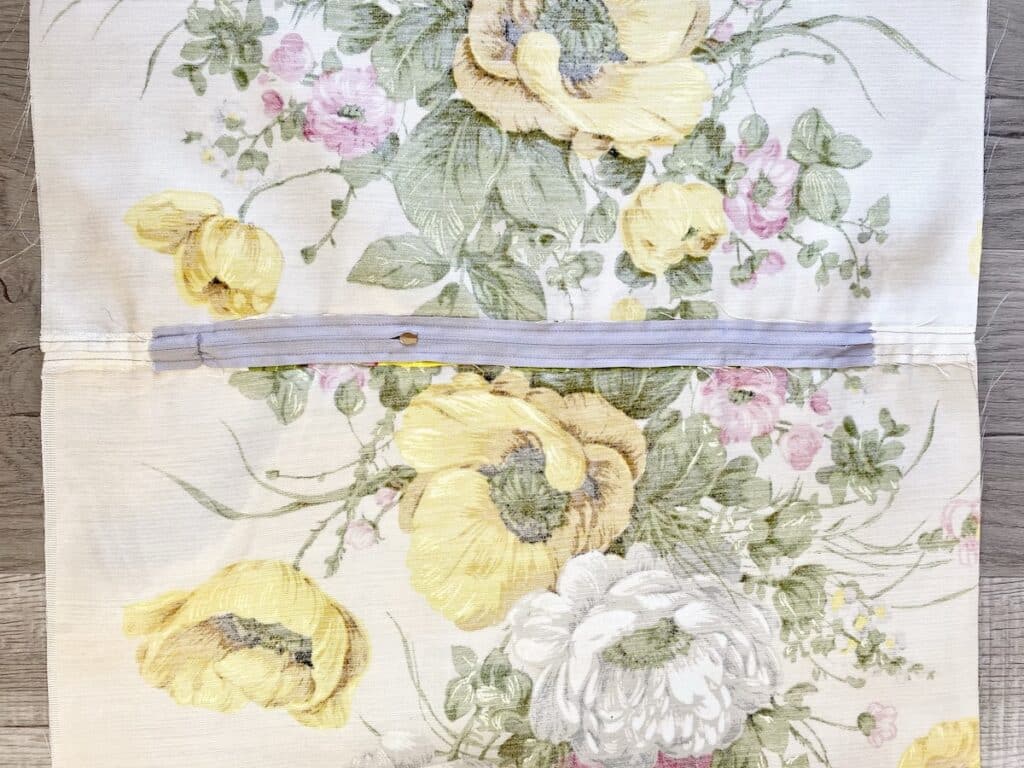
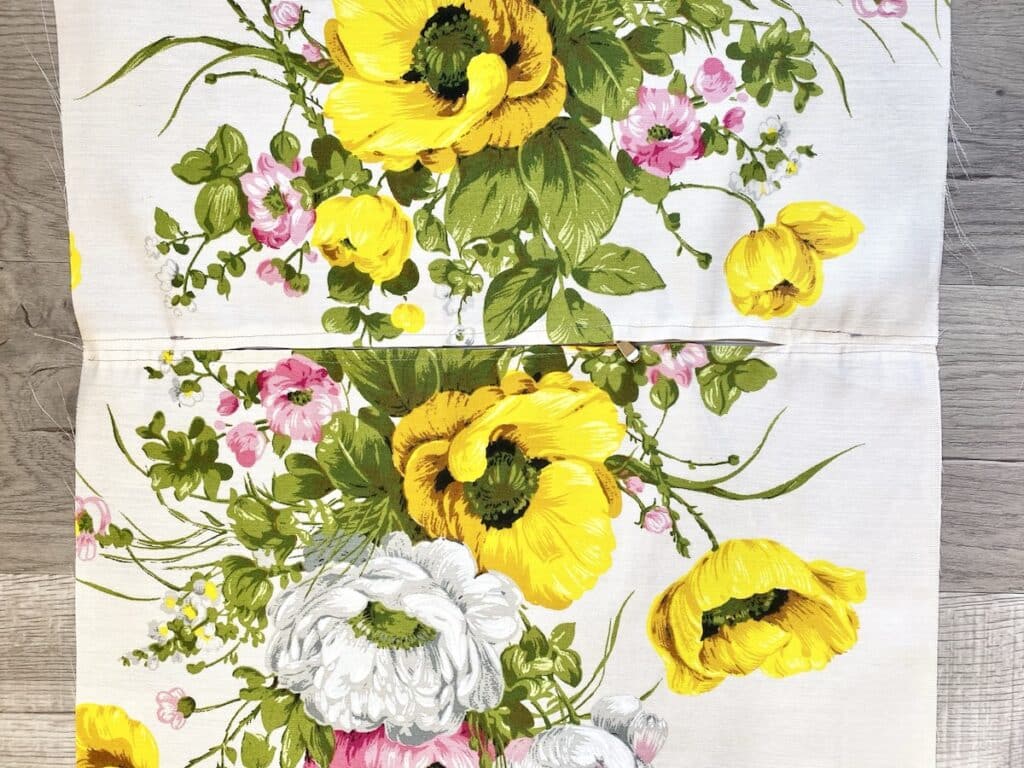
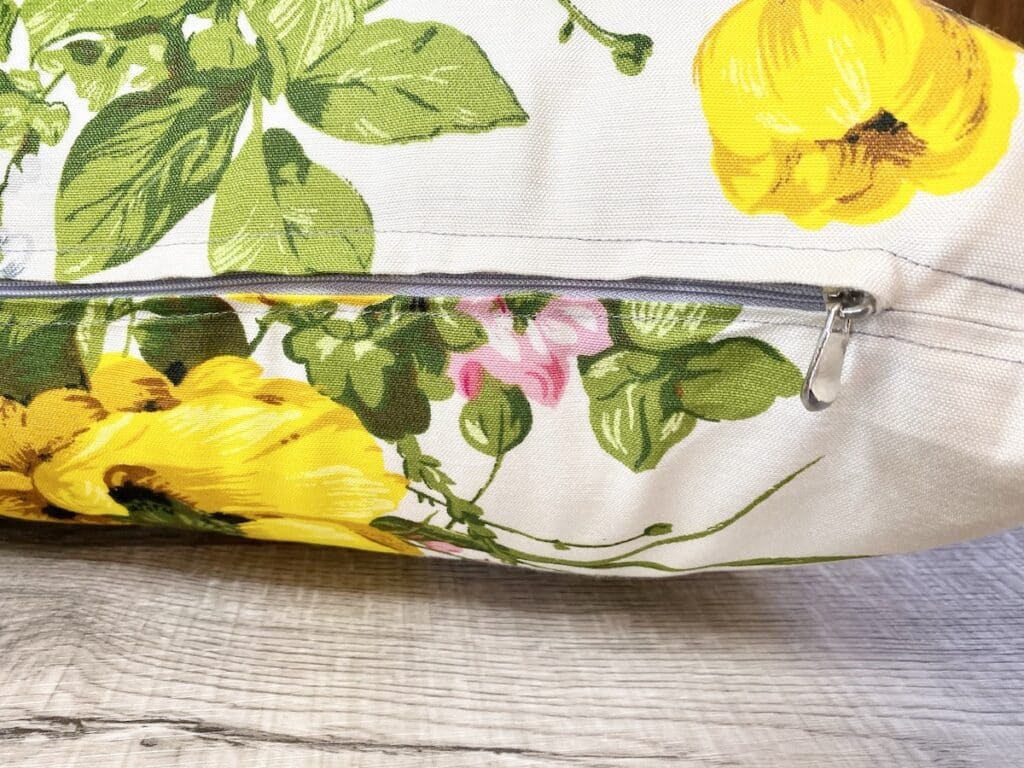
This is what the front and back should look like with the zipper sewn in place:
Step 9
Open the zipper at least half way. Fold the pillow cover in half again with the zipper along the bottom. Clip or pin along the top and sides of the other sides of the fabric to hold together.
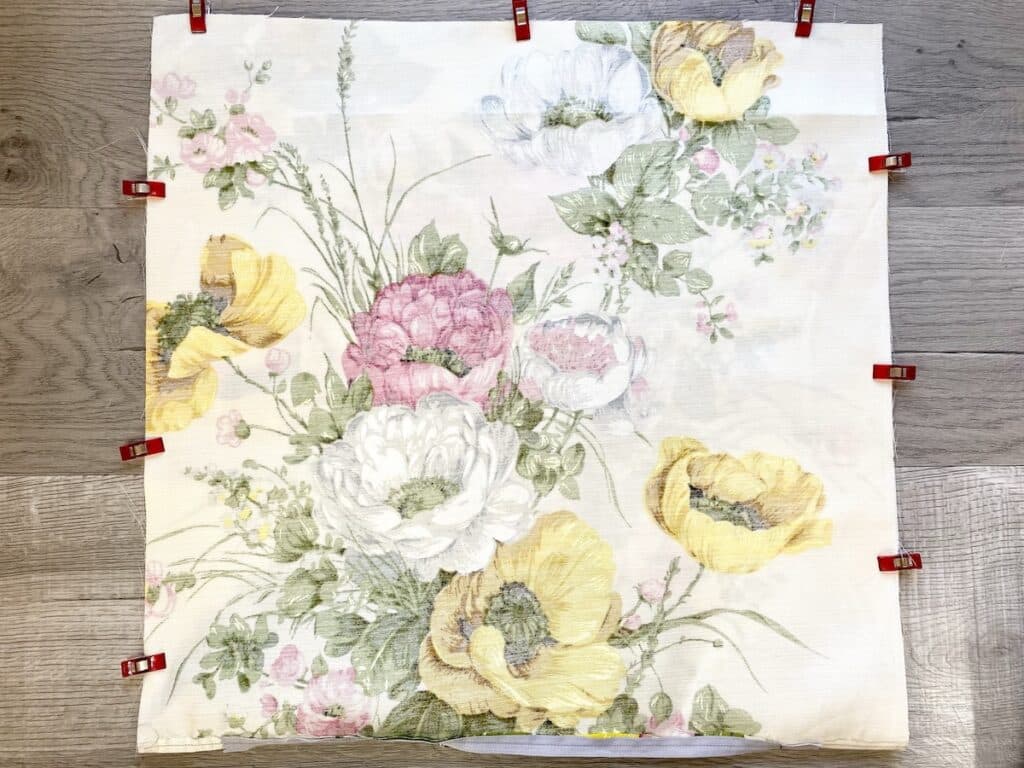
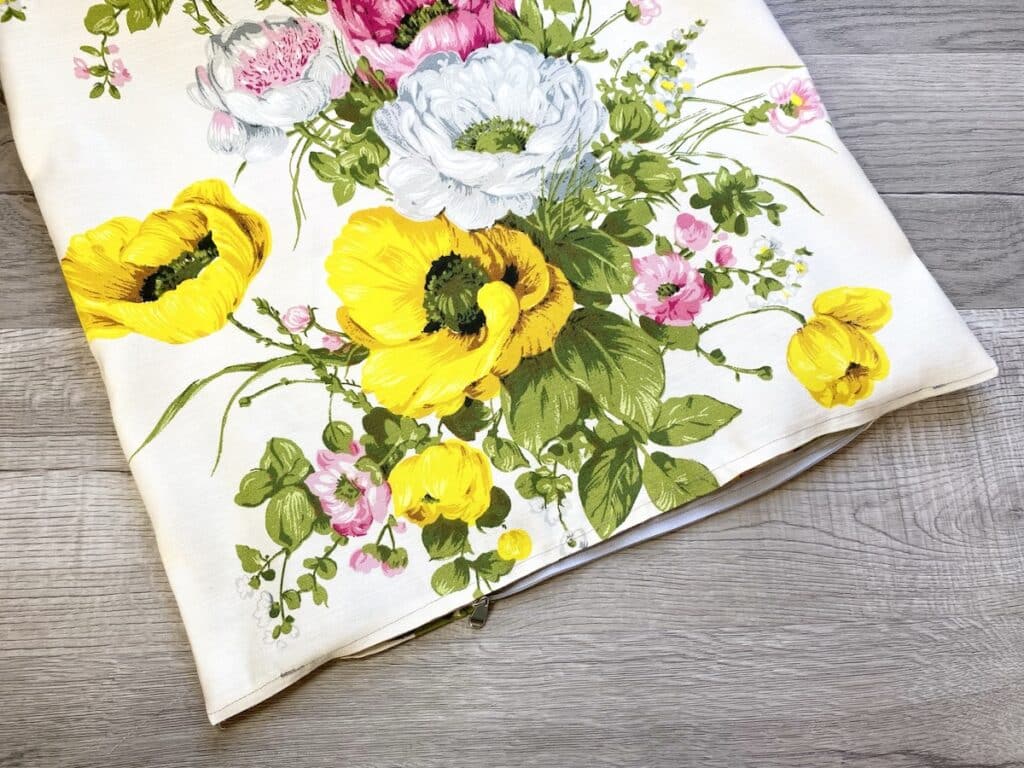
Step 10
Sew seams with a ½” seam allowance. Start on one side, then sew across the top and down the other side.
Step 11
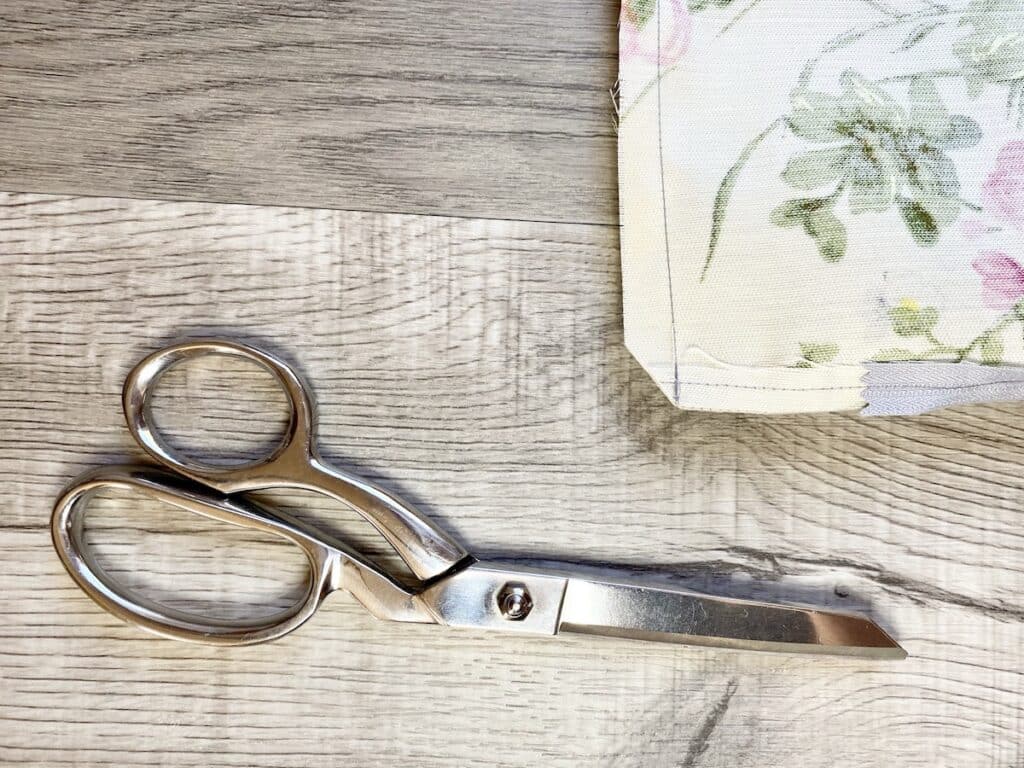
Clip off the corners of the fabric with scissors in order to reduce the bulkiness when you turn the pillow cover inside out. Don’t cut the sewn seams or get too close to them!
Step 12
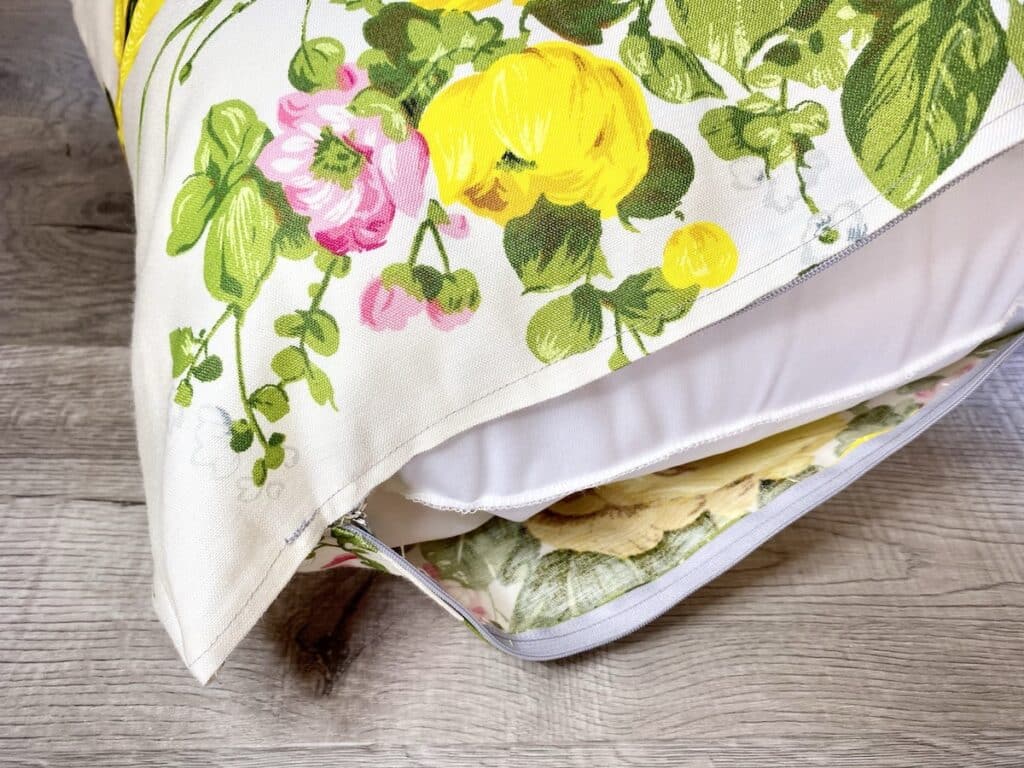
Turn the pillow cover right side out. You might want to use a chopstick or turning tool to poke out the corners to be straight, if necessary.
At this point, you can iron the pillow cover to remove wrinkles that have occurred when sewing.
Now it’s time to add your pillow inside and zip closed!
These zippered pillow covers can easily customize your home. Here are some more fun ideas to add your personal style to your decor: