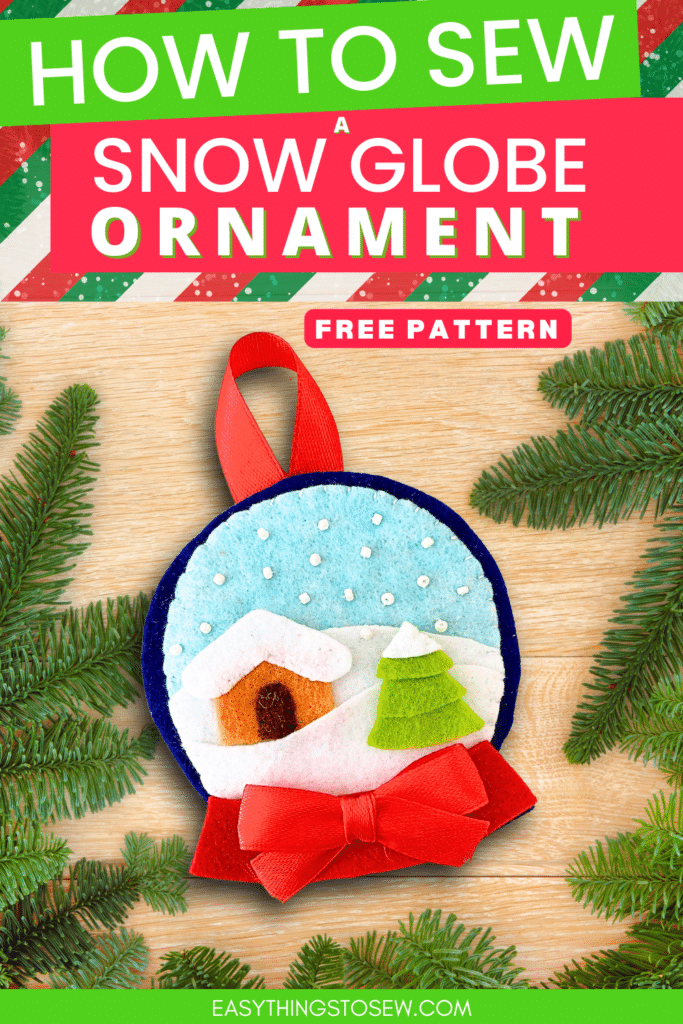
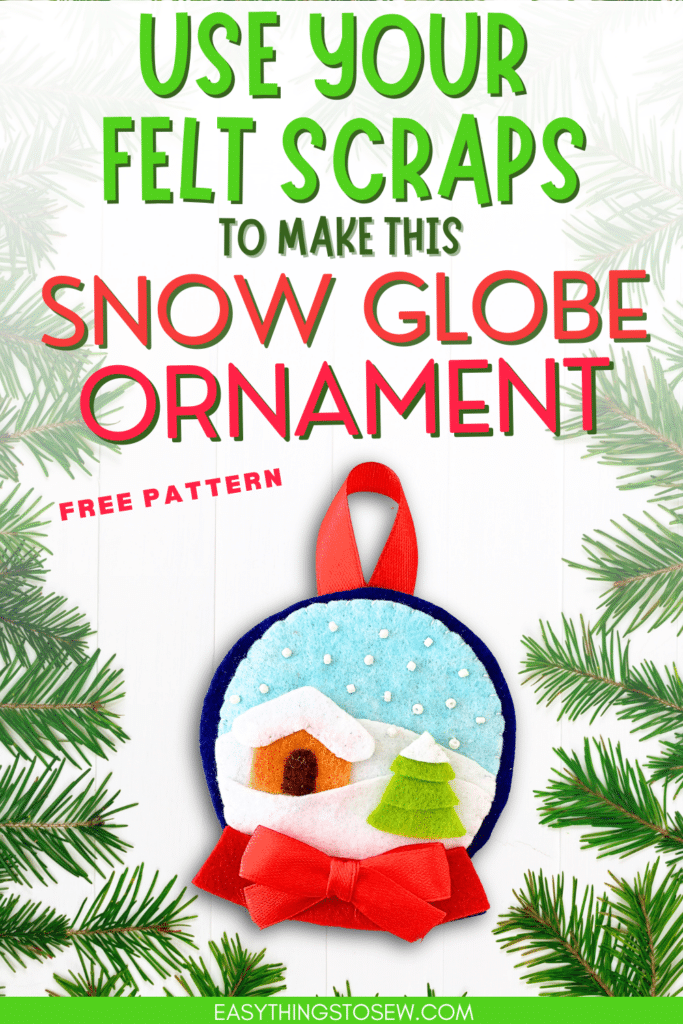
DIY Felt Snow Globe Ornament (Free Pattern)
This felt snow globe ornament is very easy to hand sew using our free pattern download!

Use small felt pieces and scraps to make a handmade ornament with a snowy winter scene.
This is just one of our many free Christmas ornament sewing patterns. Be sure to see them all!
How to Sew a Felt Snow Globe Ornament
Supplies
- Free Snow Globe Ornament Pattern
- Felt fabrics in a variety of colors
- Matching thread (especially white thread)
- Needle
- White Seed Beads
- Ribbon
✅ This is a great source for getting lots of different colored felt for sewing projects.
Instructions
Step 1
Download, print and cut out the snow globe ornament template patterns.
Trace the pattern pieces on the different colors of felt fabrics that you want for your design. Cut out the patterns.
These are the colors that I used for my ornament:
- Snow Globe Base: Dark Blue
- Snow Globe Glass: Light Blue
- Snow: White
- Snow Globe Decorative Base Cover: Grey (I also used red in my final images)
- Christmas Tree Layers: Green and White
- House: Light Brown
- Door: Dark Brown
- Roof: White

Step 2
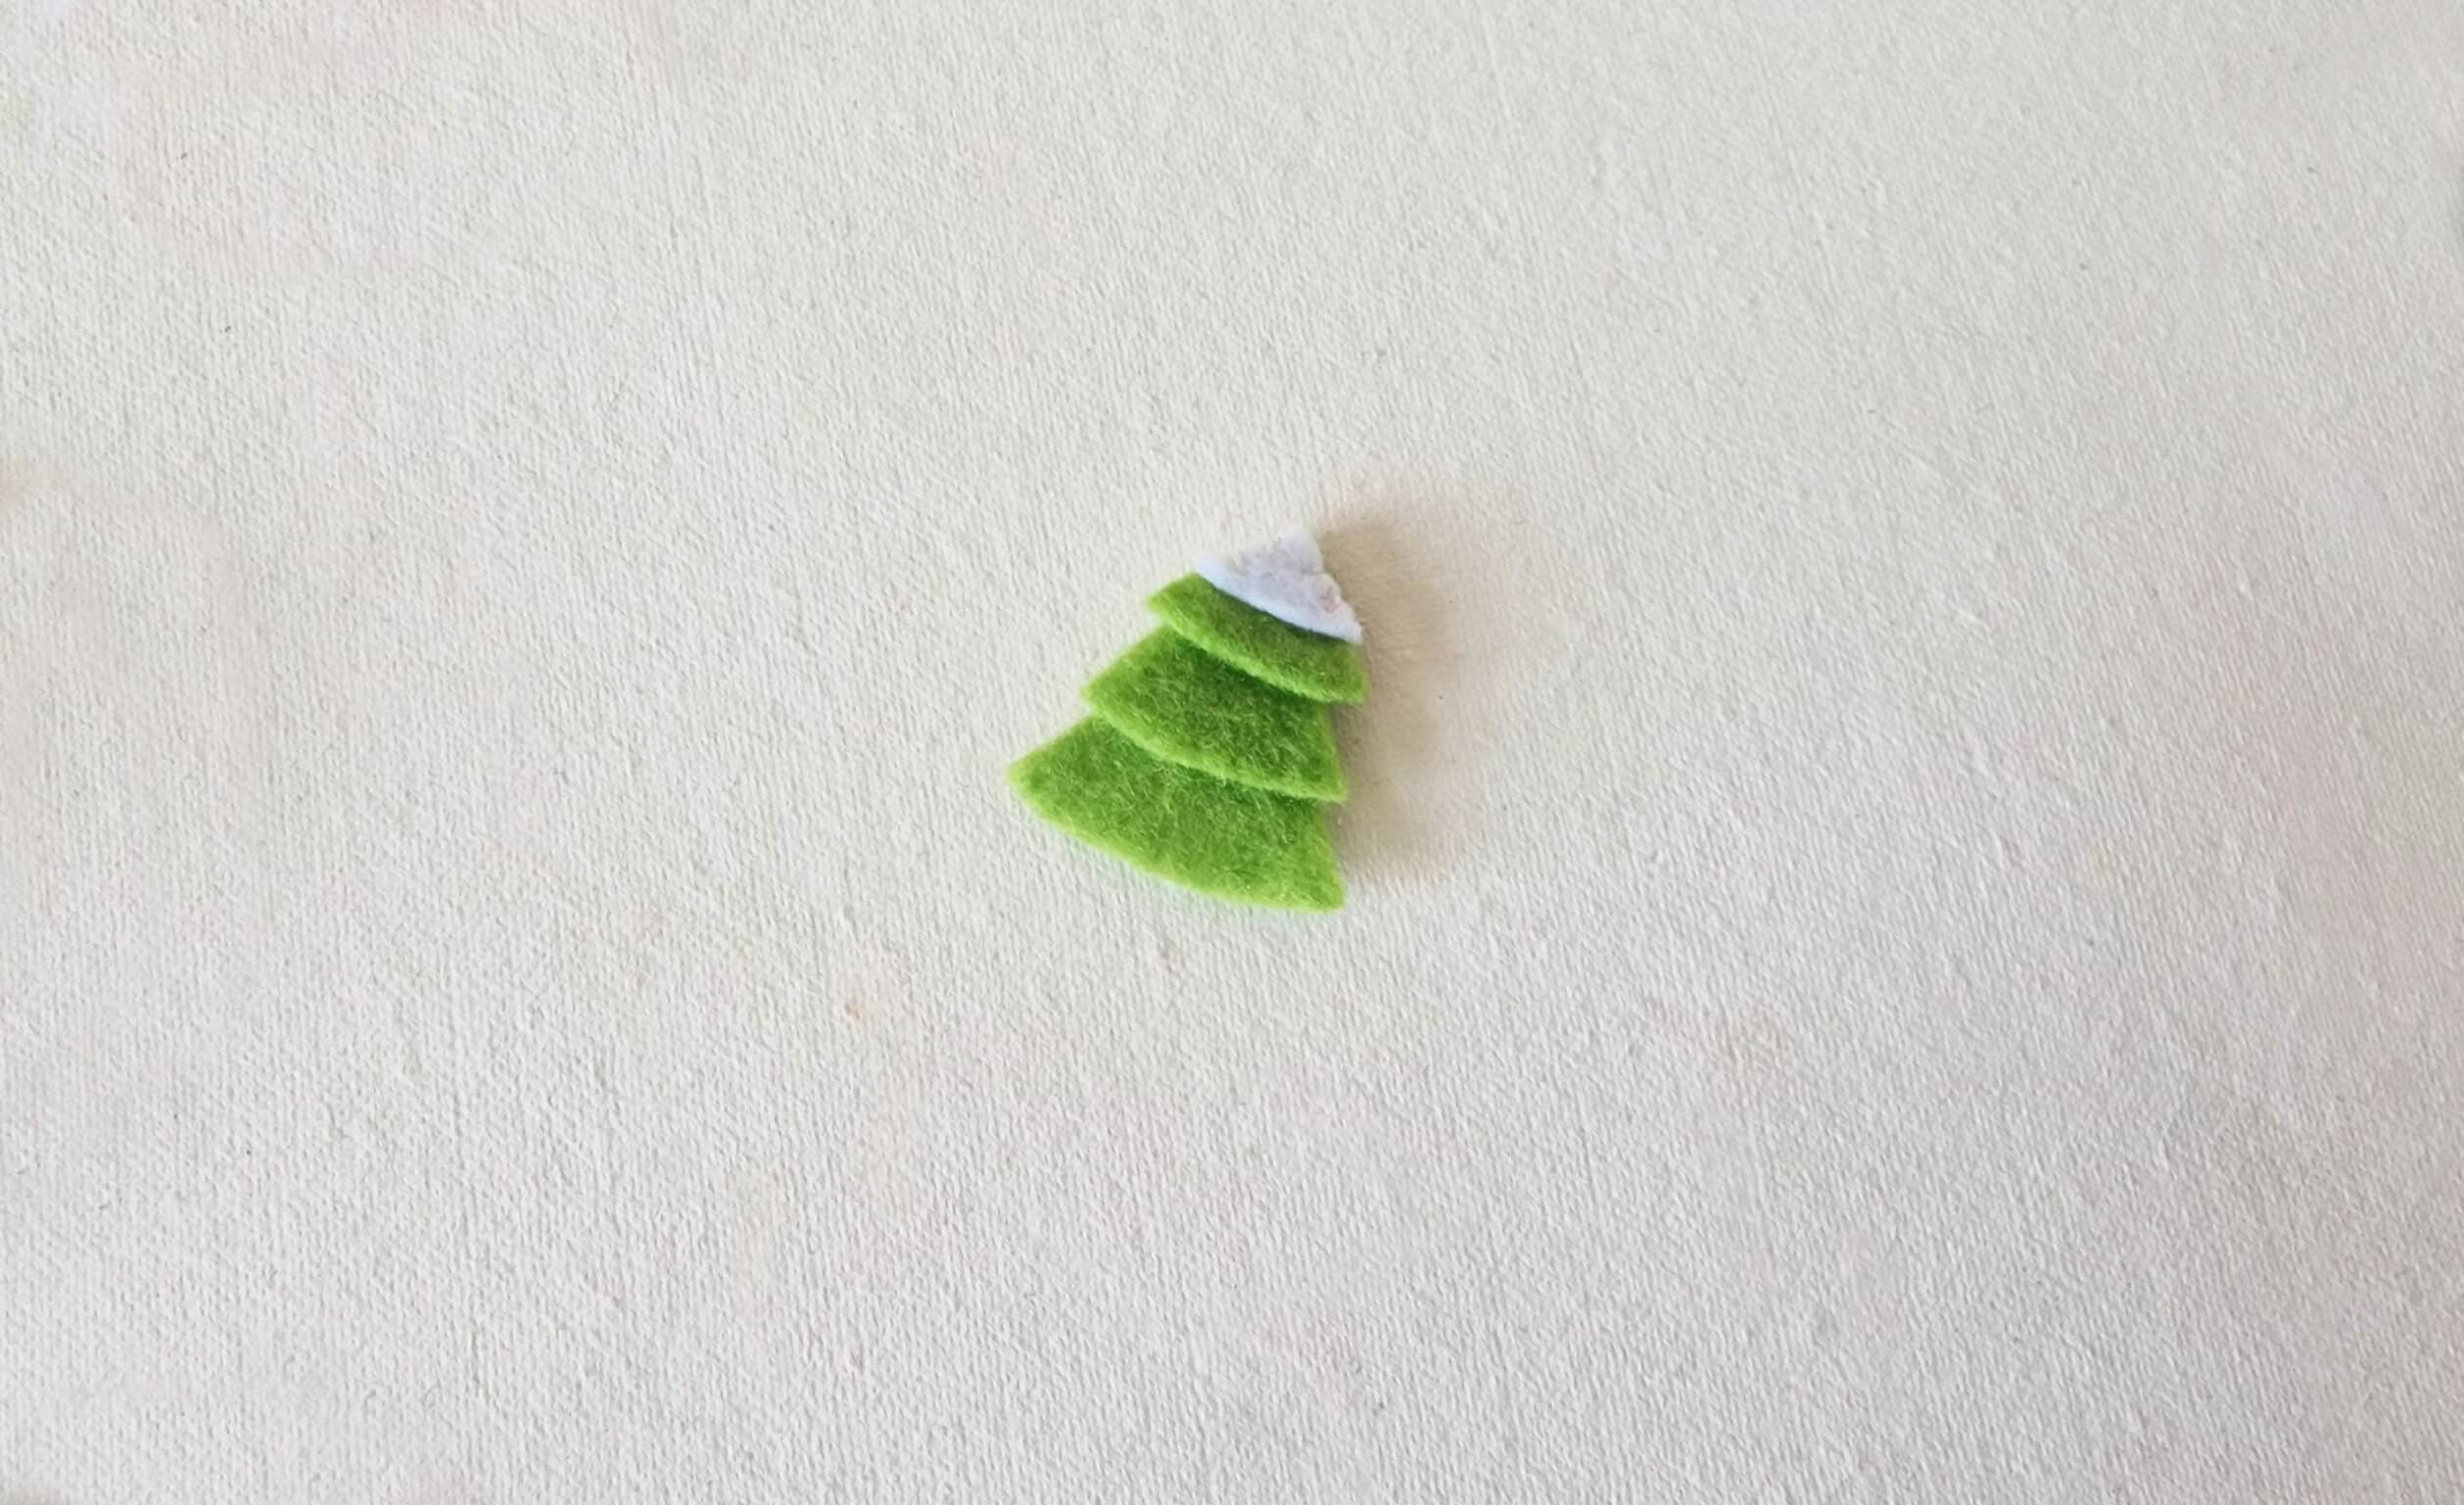
Gather the tree pattern pieces, which are the small rectangle and 4 layers. Place the rectangle cutout vertically on your work surface.
Then place the large tree layer cutout on the rectangle felt cutout horizontally.
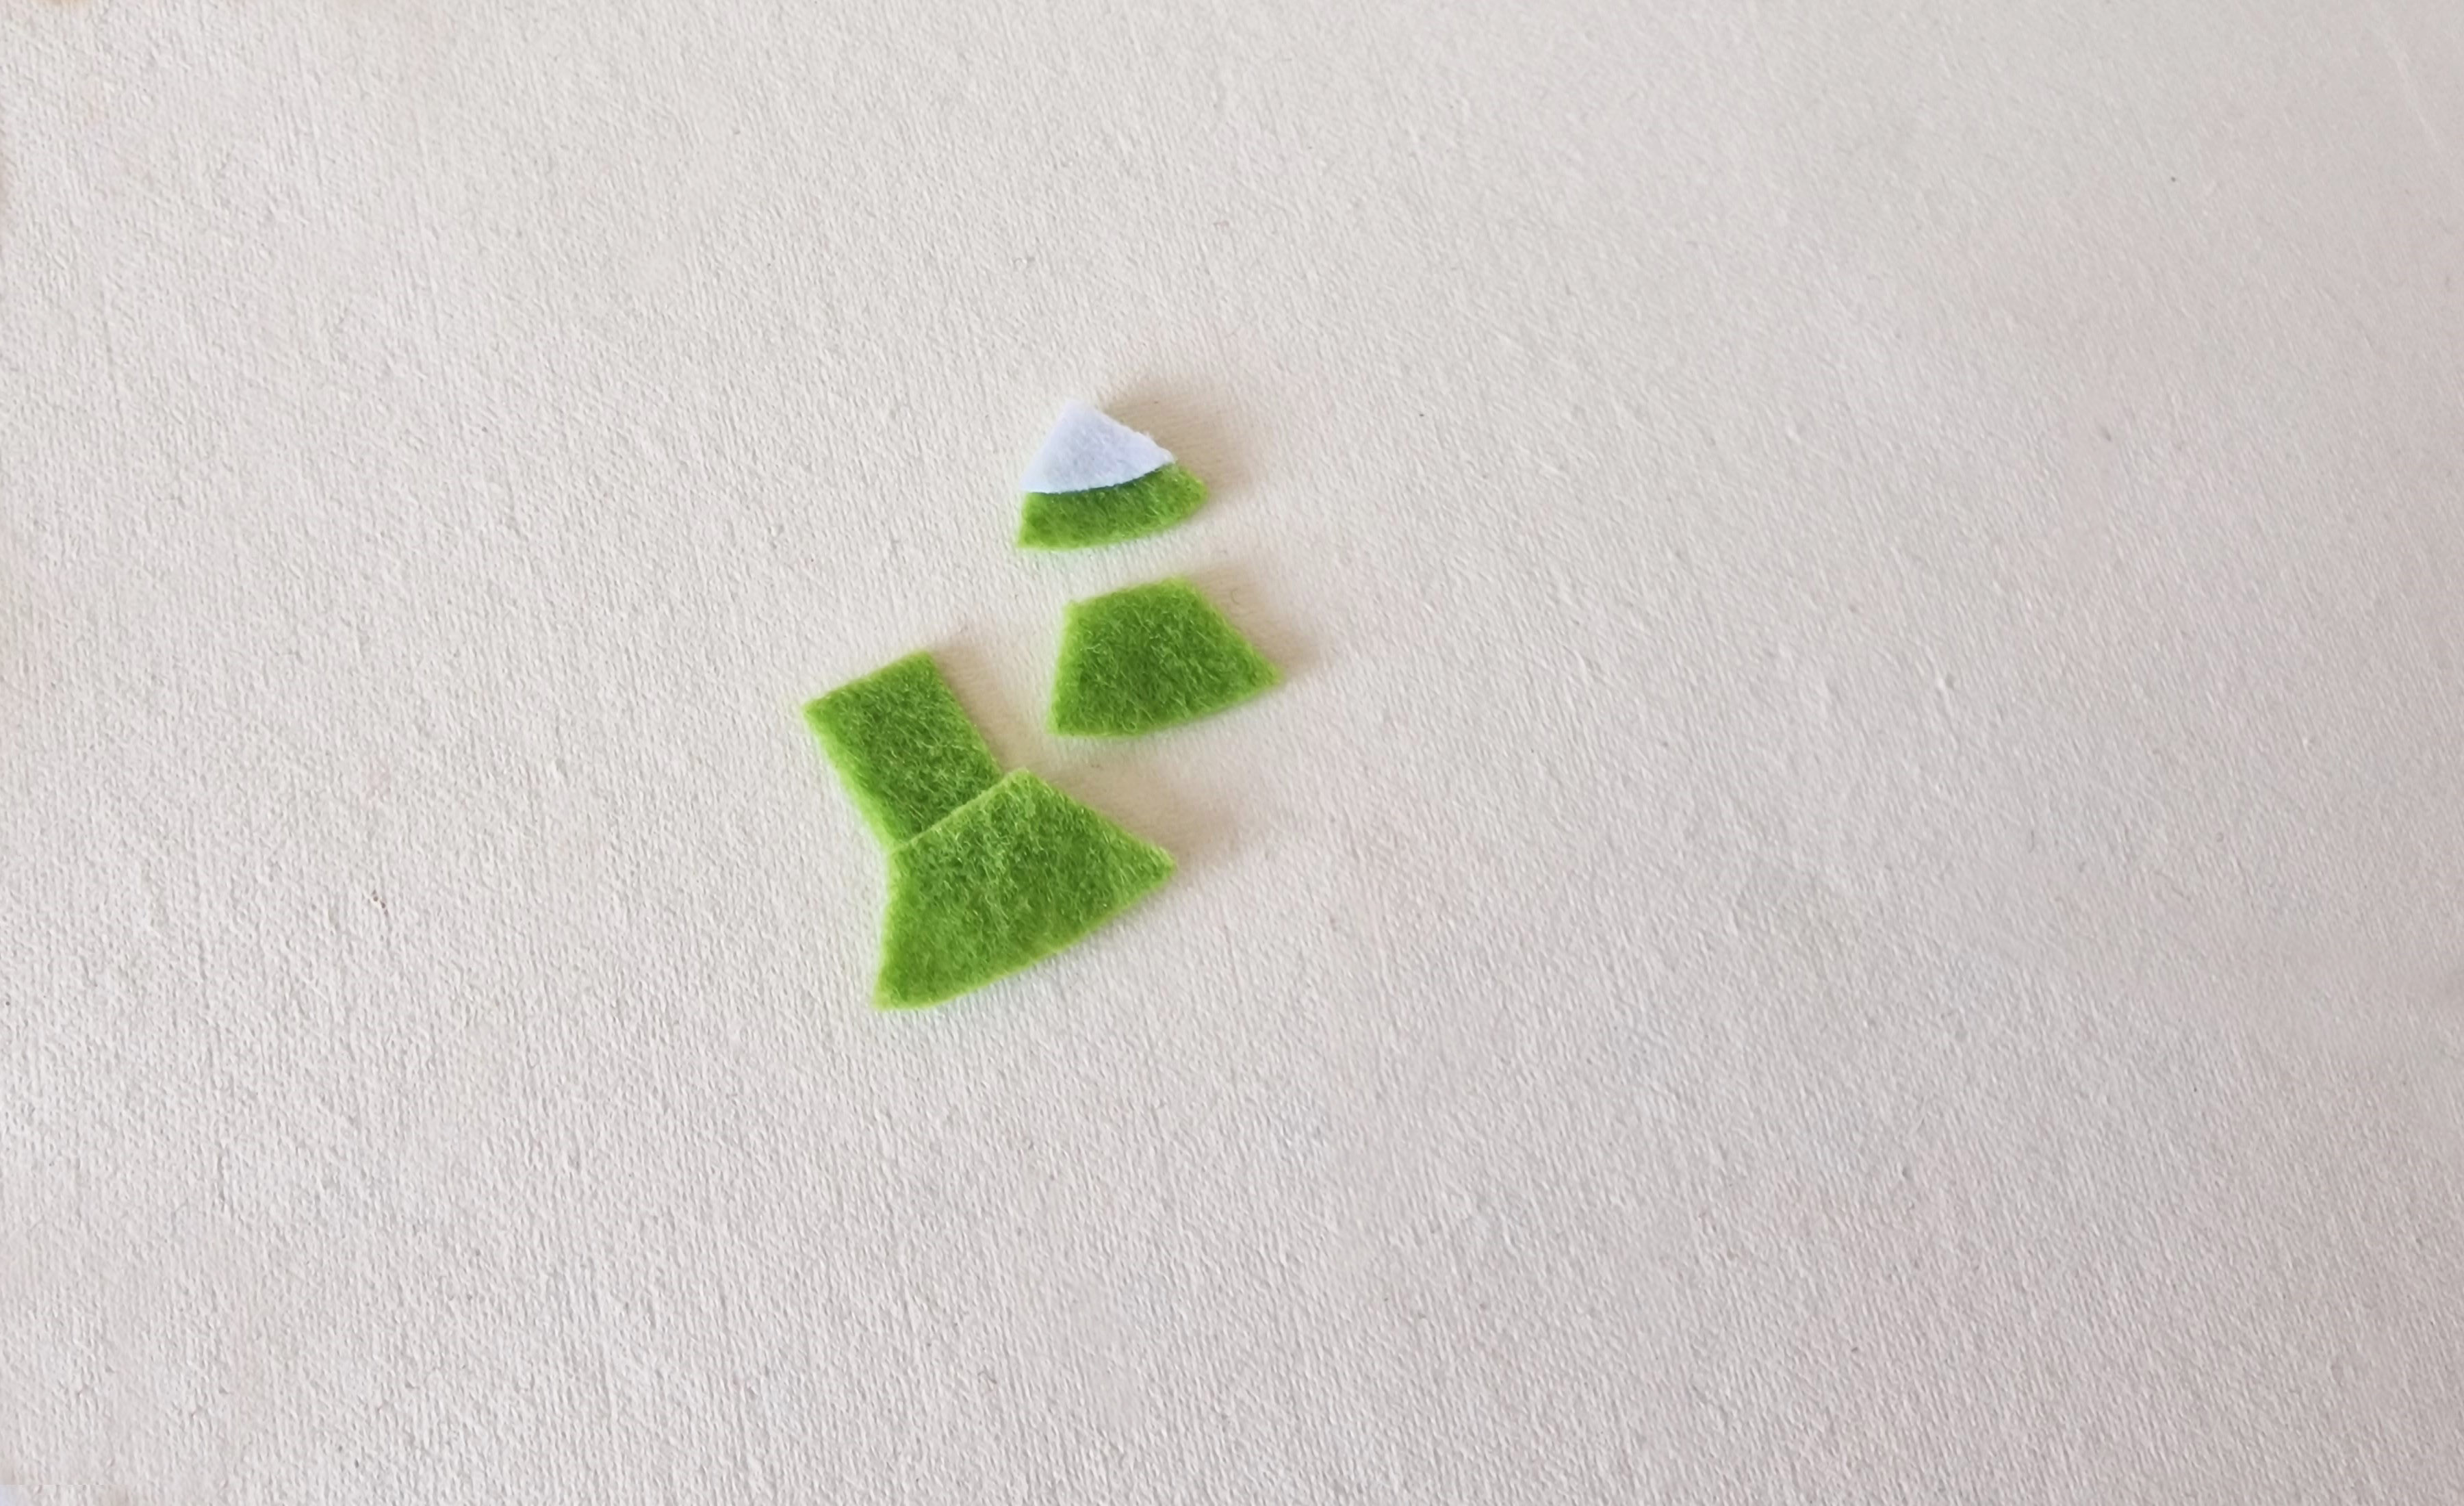
Hand stitch the tree layer cutout to the rectangle base on the very top of the pattern piece.
Step 3
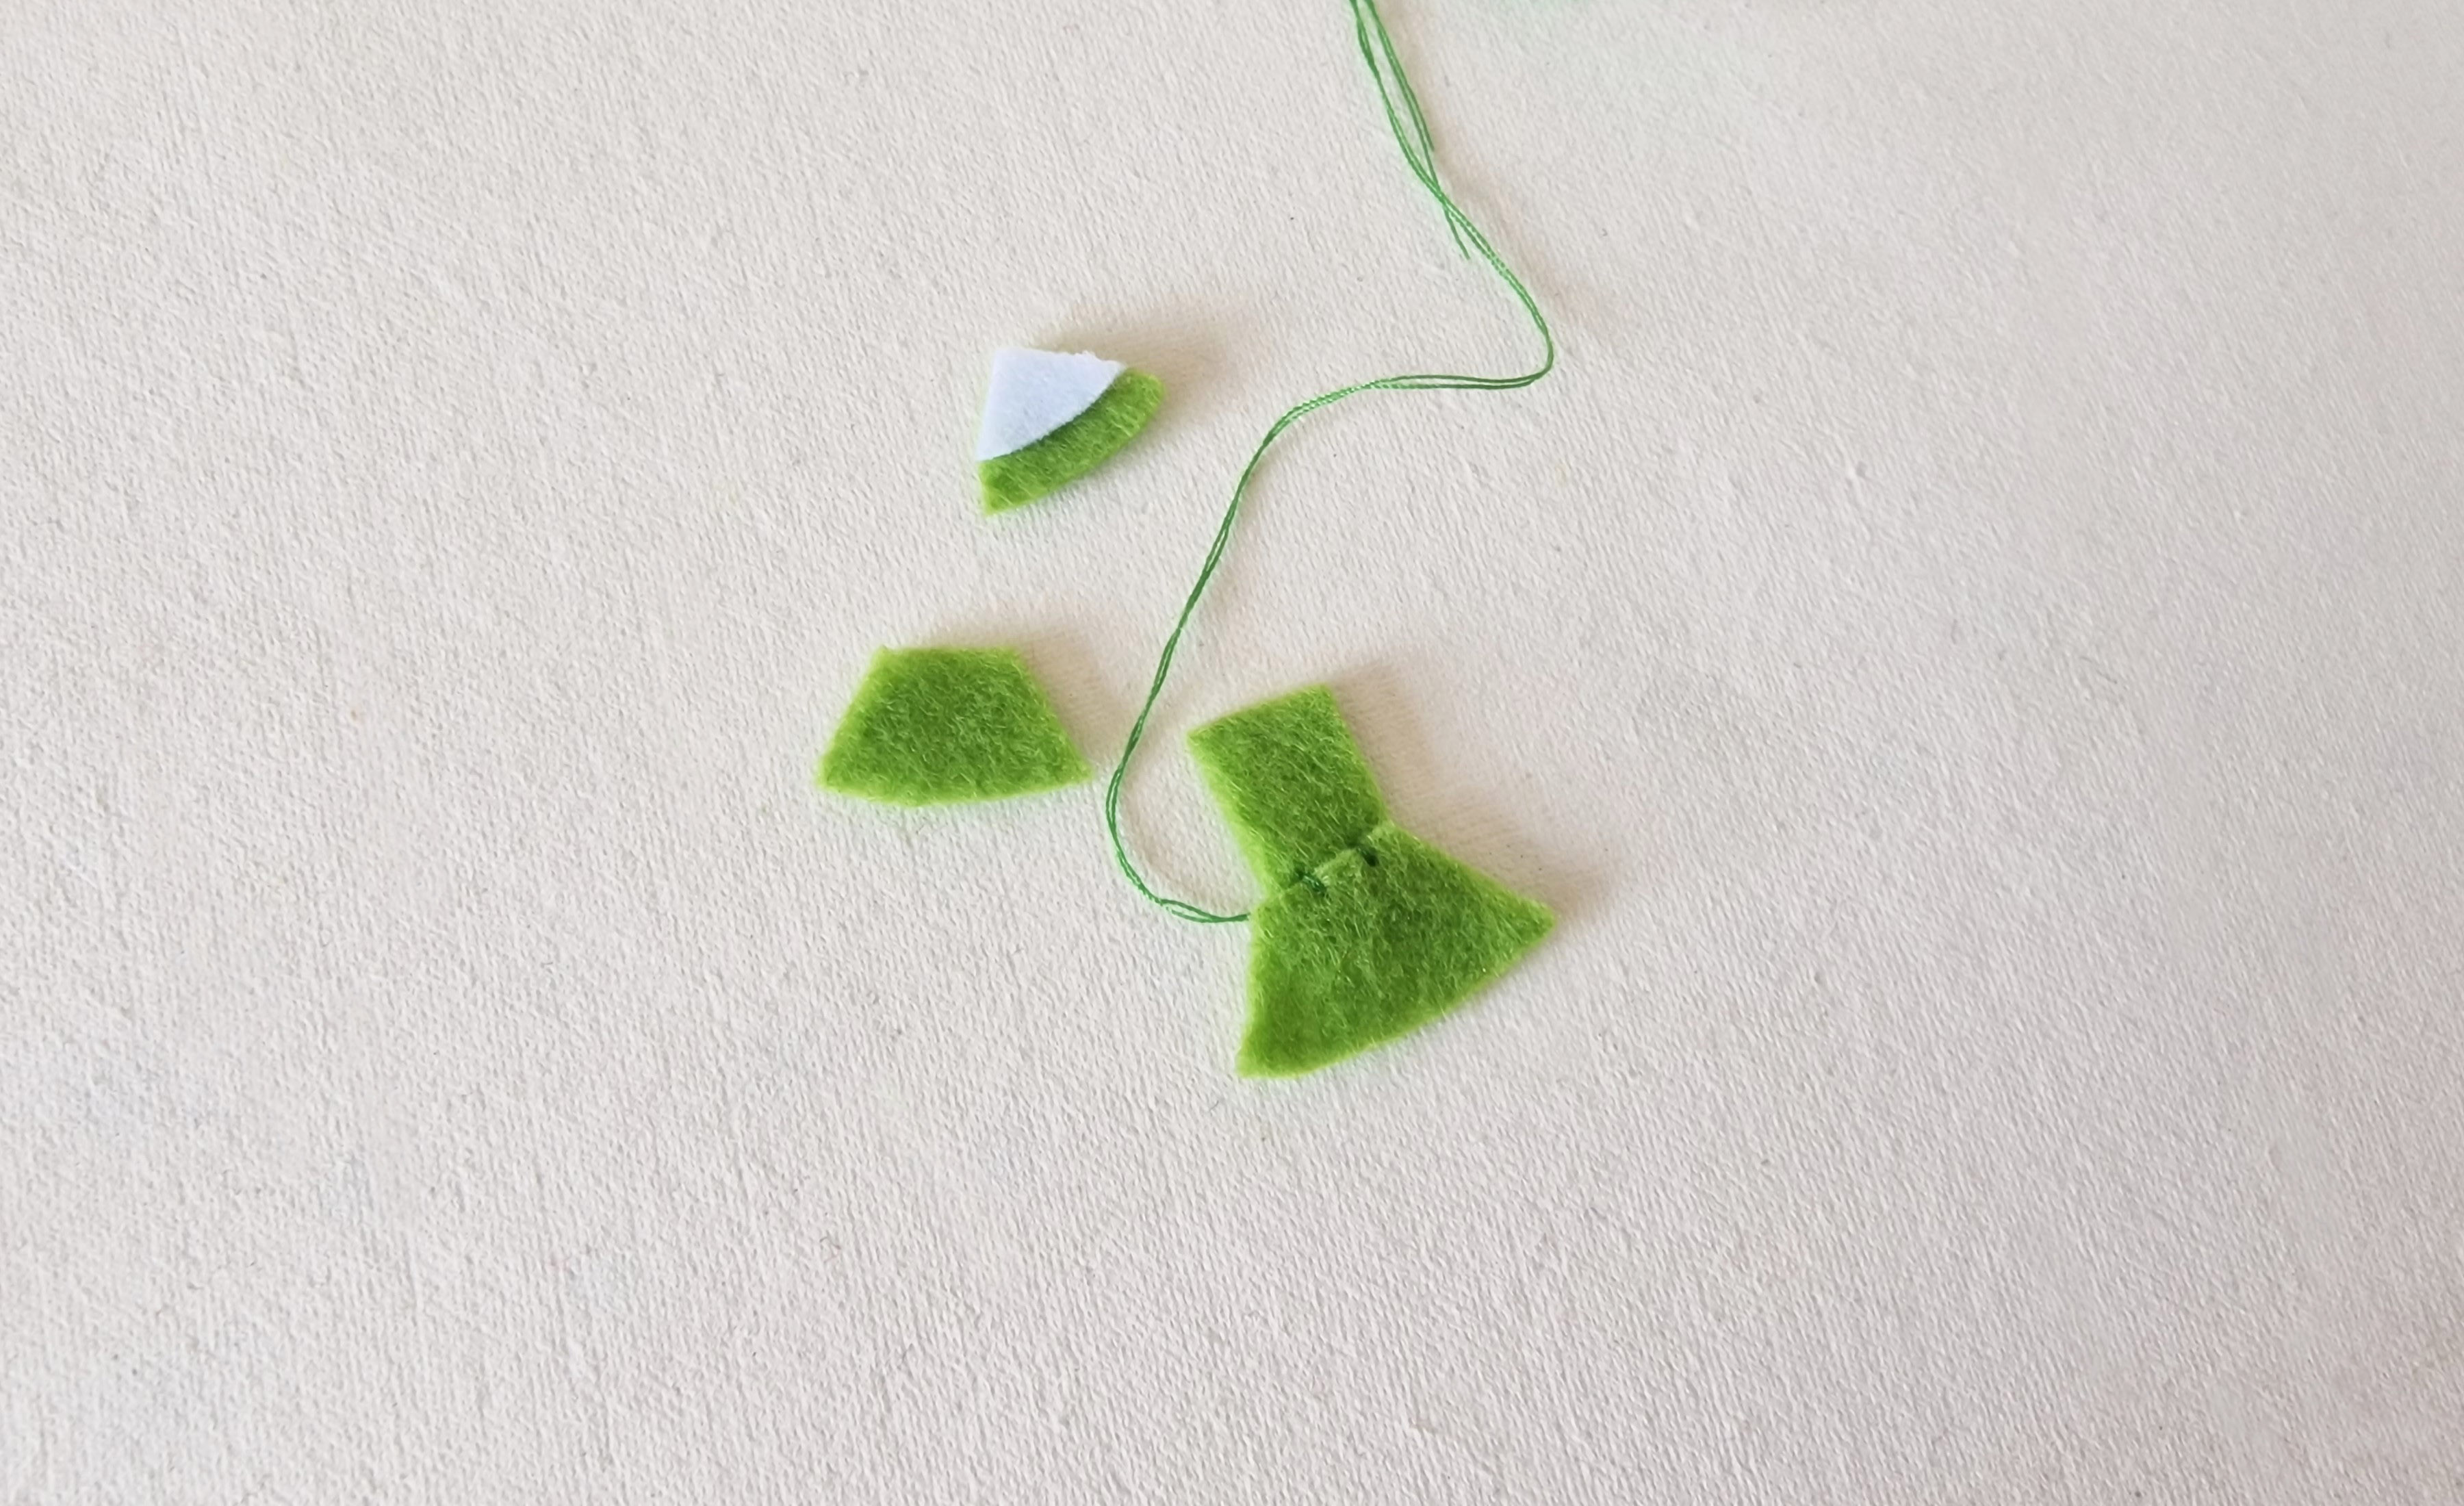
Place the medium tree layer over the bottom layer, covering the stitching. Then stitch this layer to the rectangle base.
Then add the small tree layer over the medium-sized layer, covering the stitching. Hand stitch this layer to the rectangle base on the top of the pattern piece.
Finally, lay the smallest white layer (the snow top) on the top of the small tree layer, covering the stitching. Hand stitch this layer to the tree using white thread.
Step 4
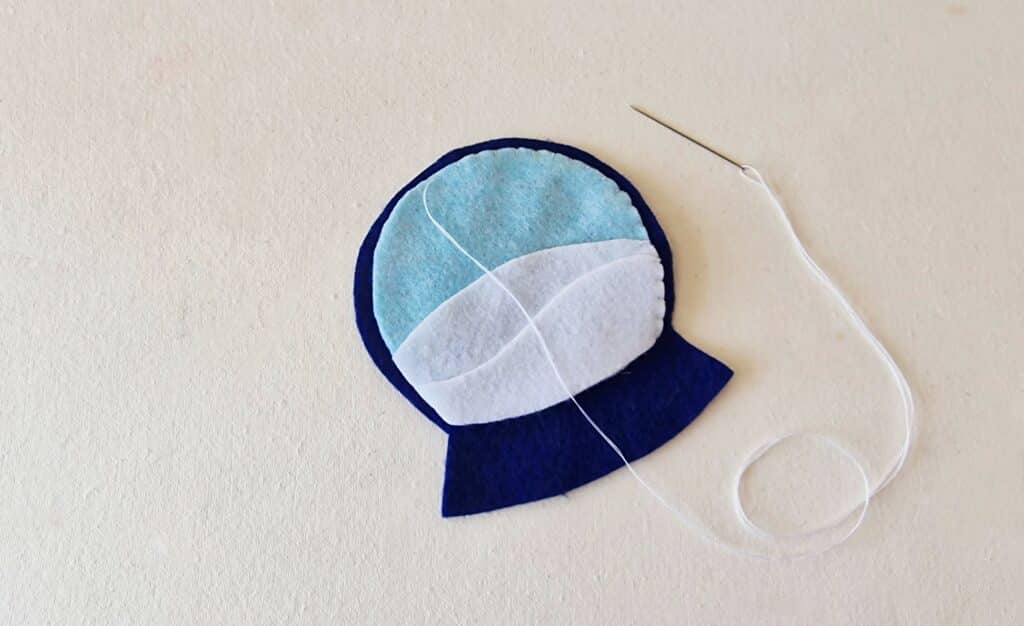
Now use the circular cutout, which is the snow globe glass. Place the large snow layer along the bottom of it.

Then place the small snow layer along the bottom side of the previous snow layer.
Then place the 3 layers on top of the snowglobe base.
Step 5
With white thread, hand stitch the snowglobe glass and the 2 snow layers to the snow globe base around the side.
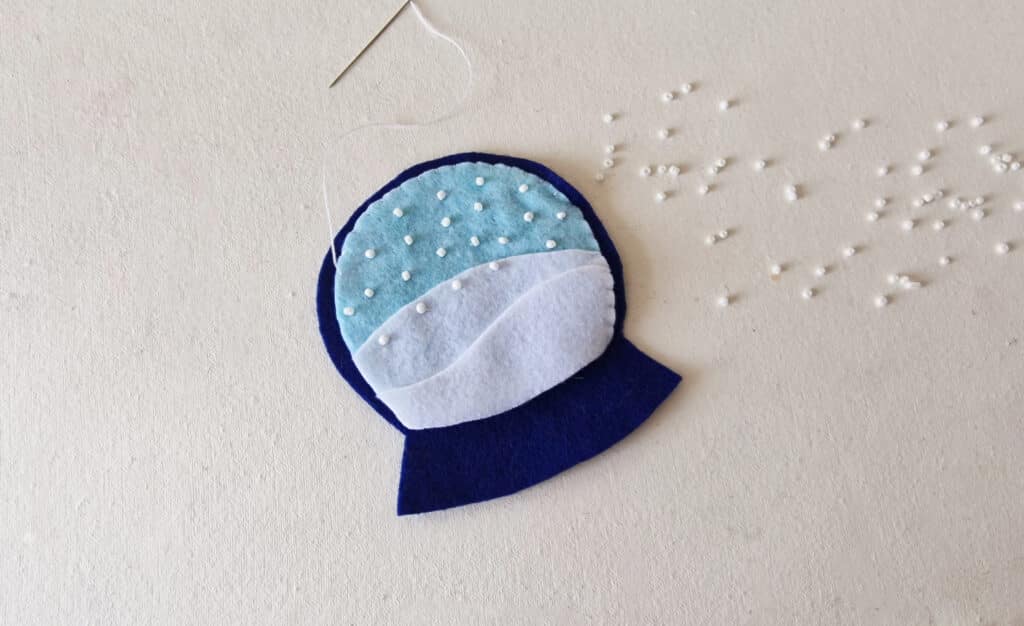
Step 6
Using a few white seed beads, hand stitch the beads to the glass layer in a random pattern to look like snow.
Step 7
Place the house cutouts on top of the snow globe towards the left hand side of the ornament. Using the house base, slightly tuck the bottom of the pattern piece underneath the snow layer to nestle the house in the snow.
Then add the door piece to the middle of the felt house base, slightly tucking the door in underneath the snow if you would like.
Finally, add the roof to the top of the house pattern.
Helpful Tip: You can assemble the house pattern pieces directly on the snow globe base or assemble the house separately and then add it to the base ornament, whichever is easiest for you.
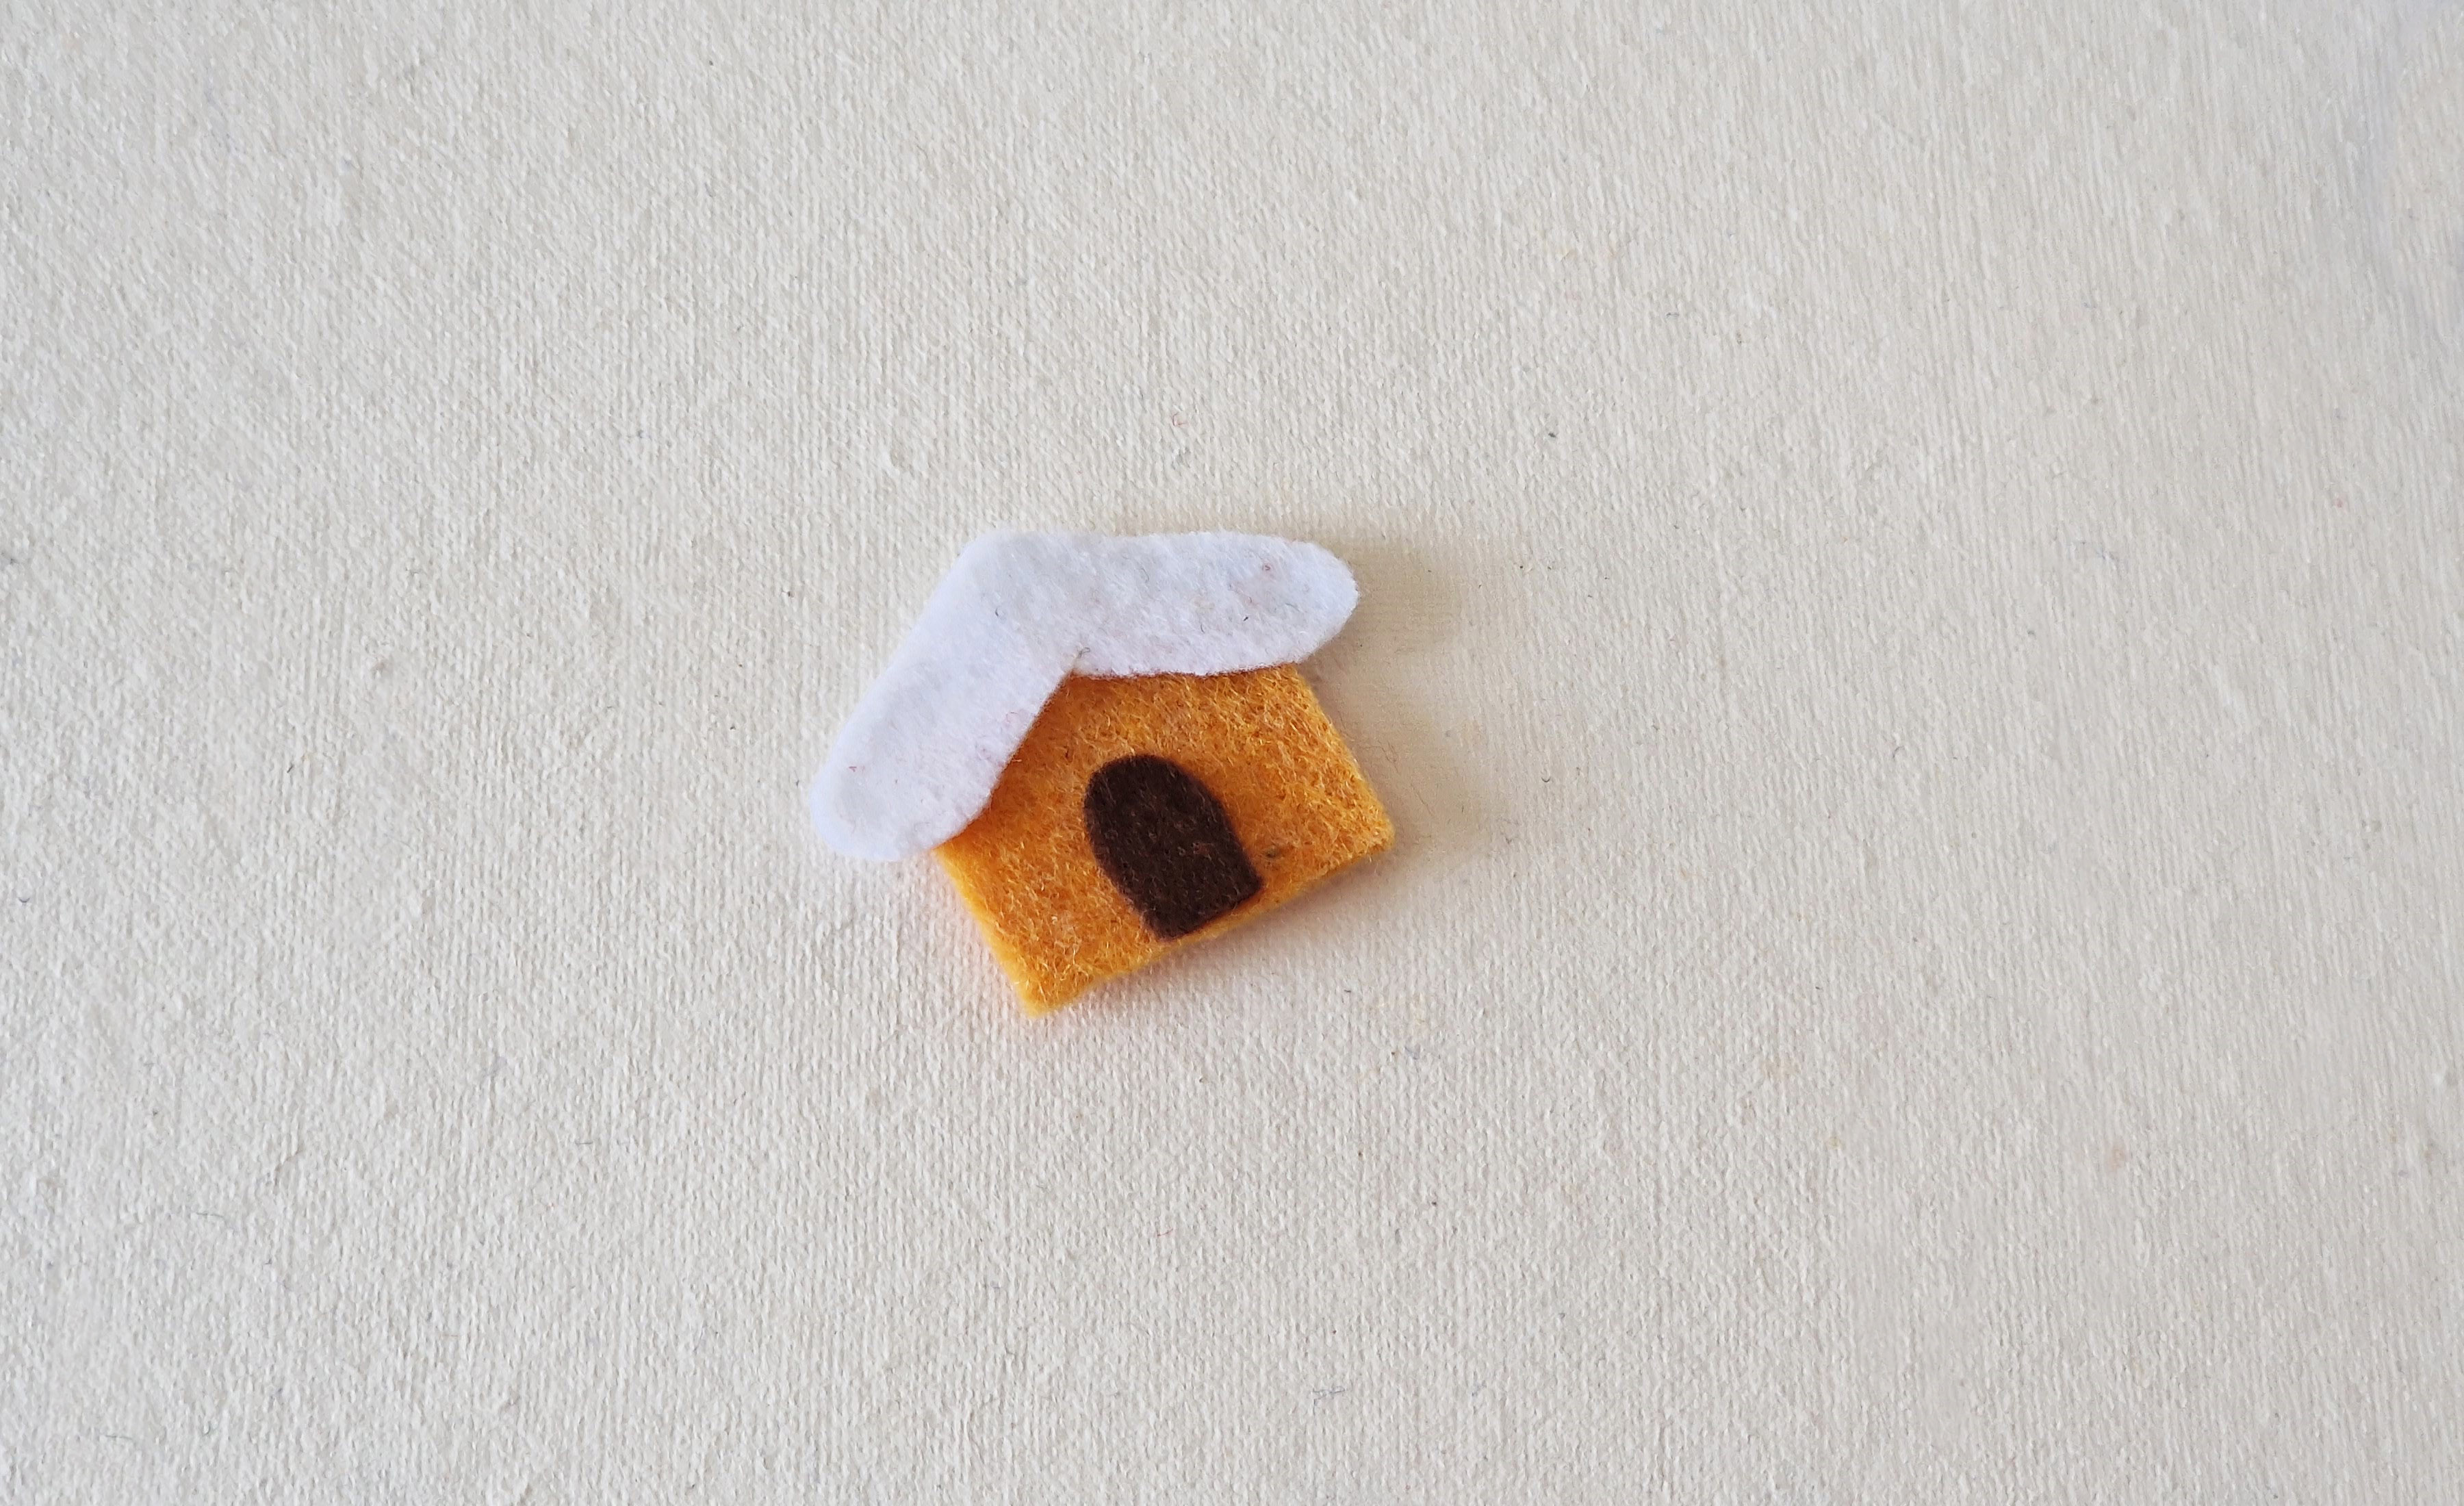
Stitch the house to the ornament base.
Step 8
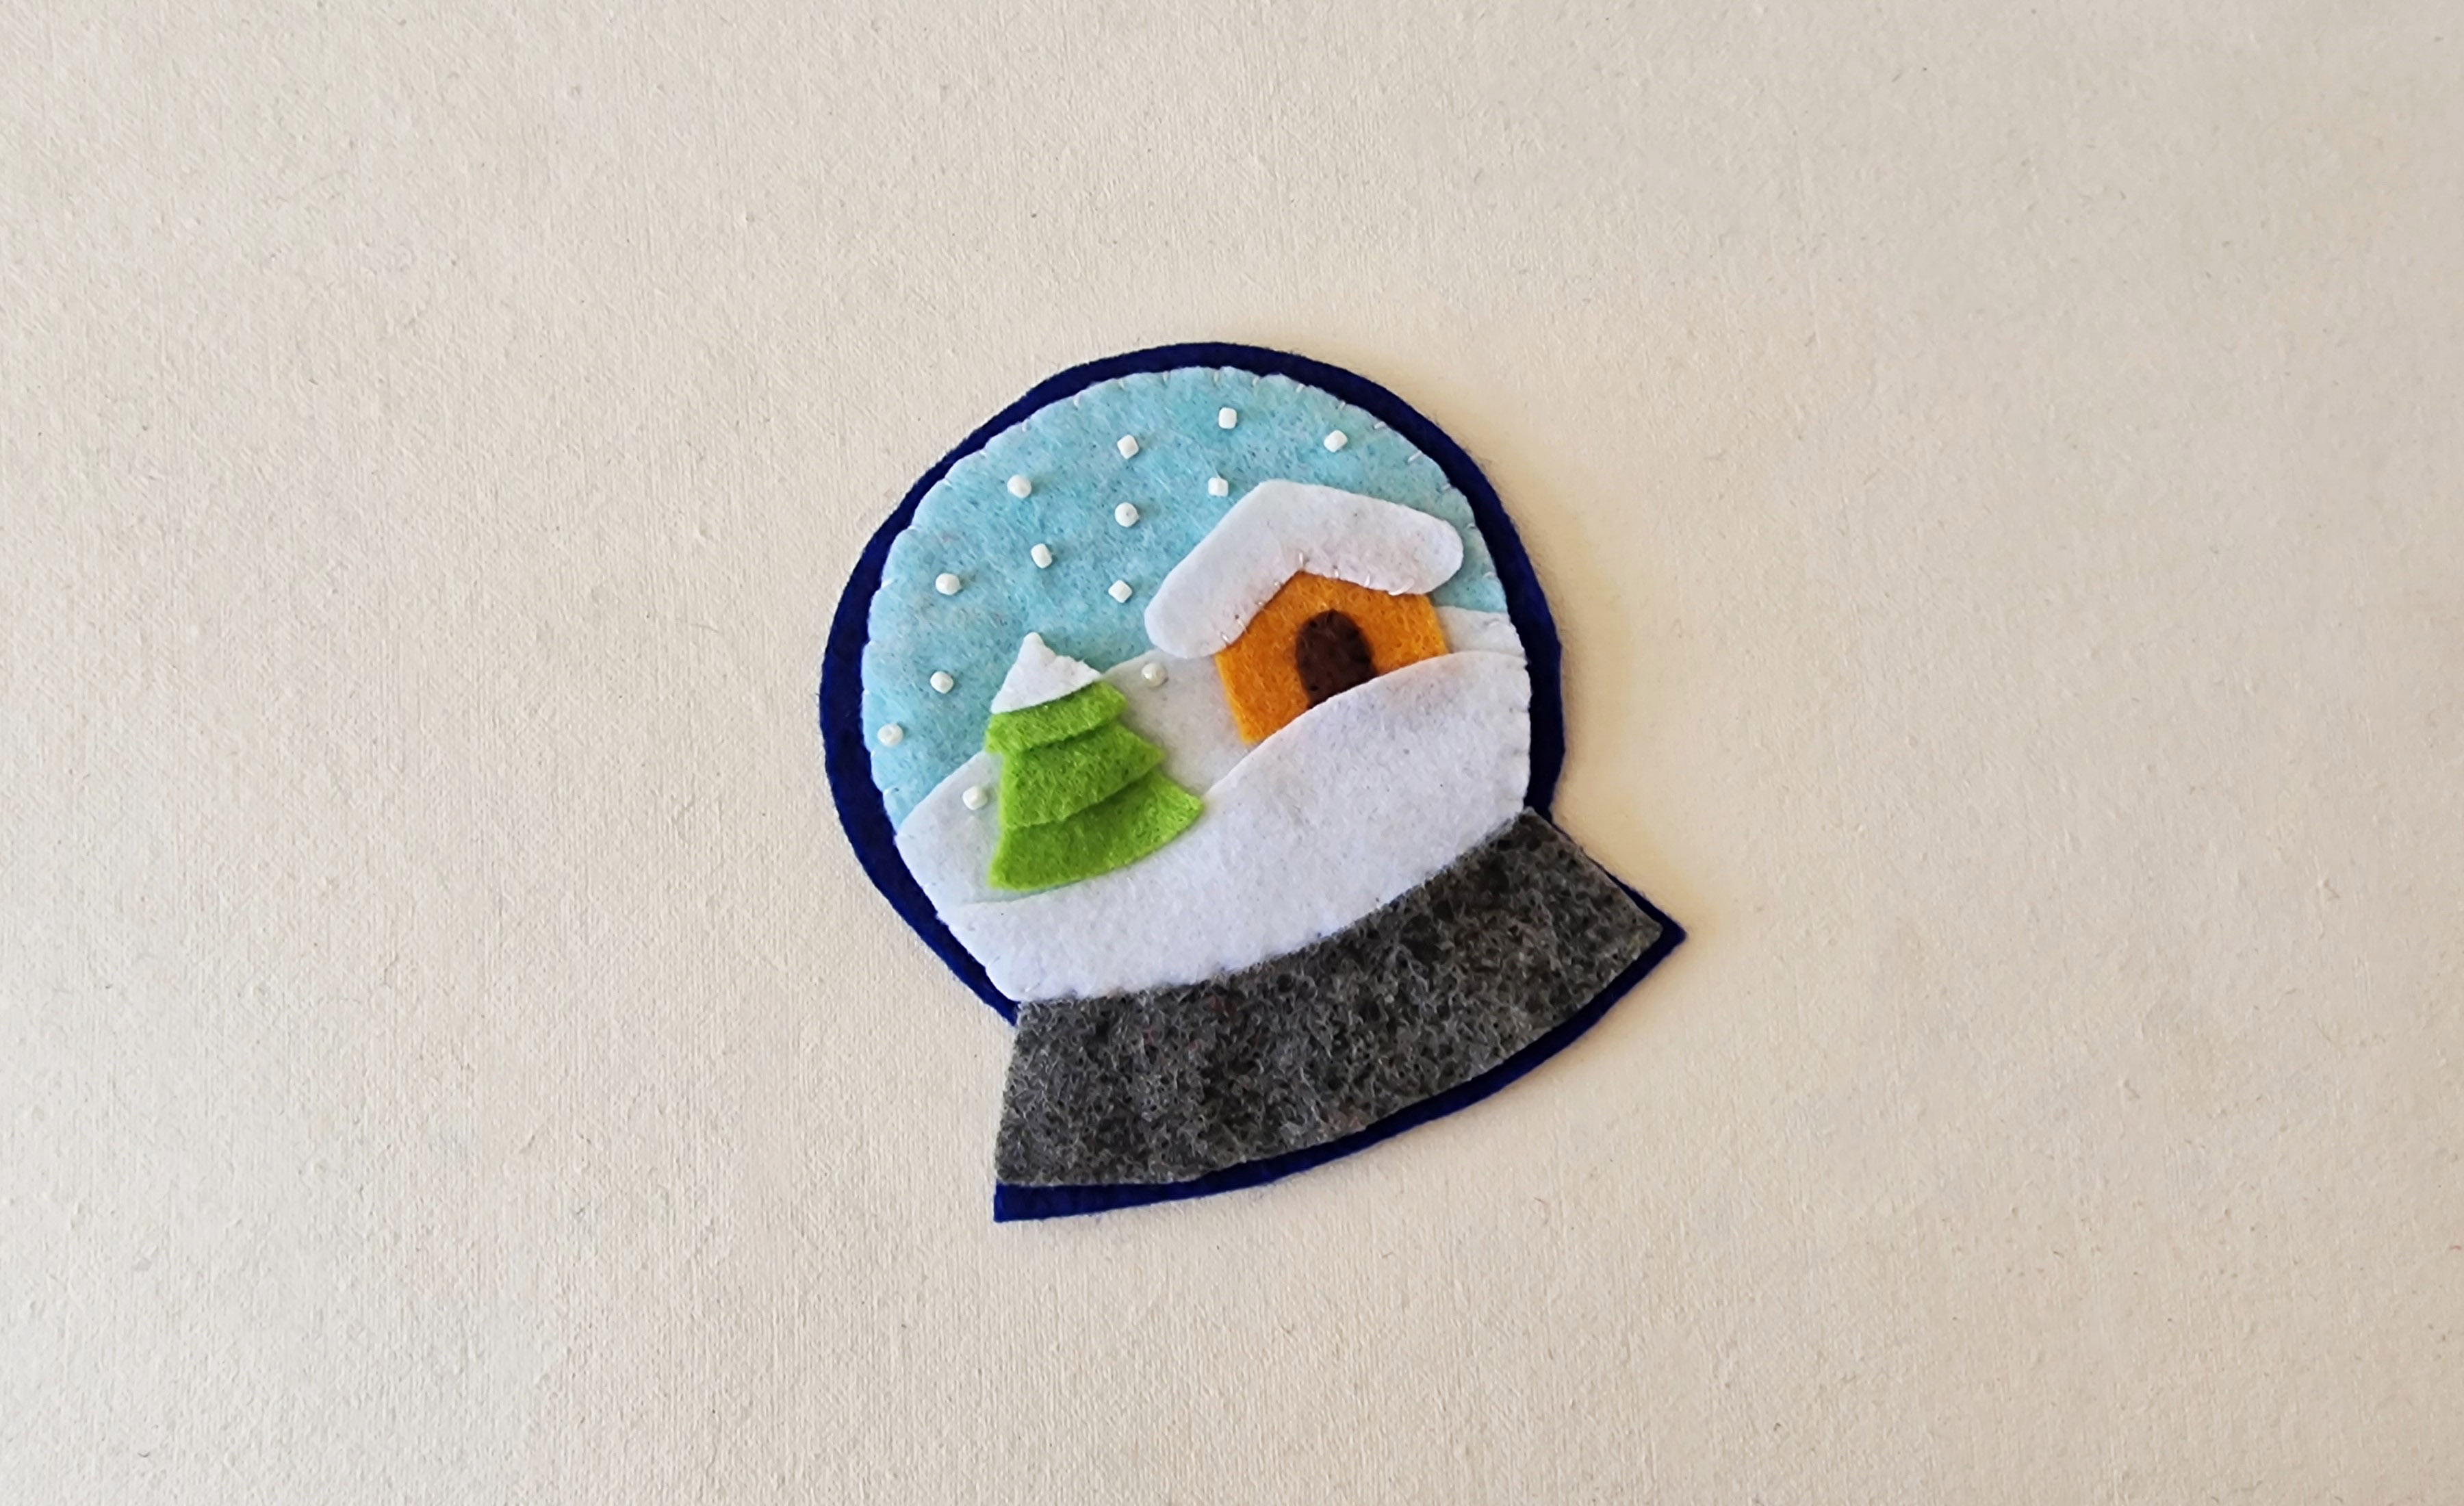
Place the tree towards the right-hand side of the felt snow globe. Stitch it down to the lower part of the base.
Step 9
Stitch the curved base pattern on top of the snow globe base.
Step 10
Attach a ribbon loop on the backside of the felt snow globe as an ornament hanger.
Using the same ribbon, tie a small bow and attach to the from bottom part of the snow globe.
Helpful Tips
- Many of these pattern pieces could easily be glued down rather than sewn. It is up to you as to whether you want to hand stitch every piece or not.
- The free pattern template includes 2 sets of 2 different sizes, with one being slightly smaller than the other. The instructions are the same for each size.
Be sure to Pin This free sewing pattern to Pinterest to save for later!
Want more DIY Christmas ornament ideas? Check out these crafts: