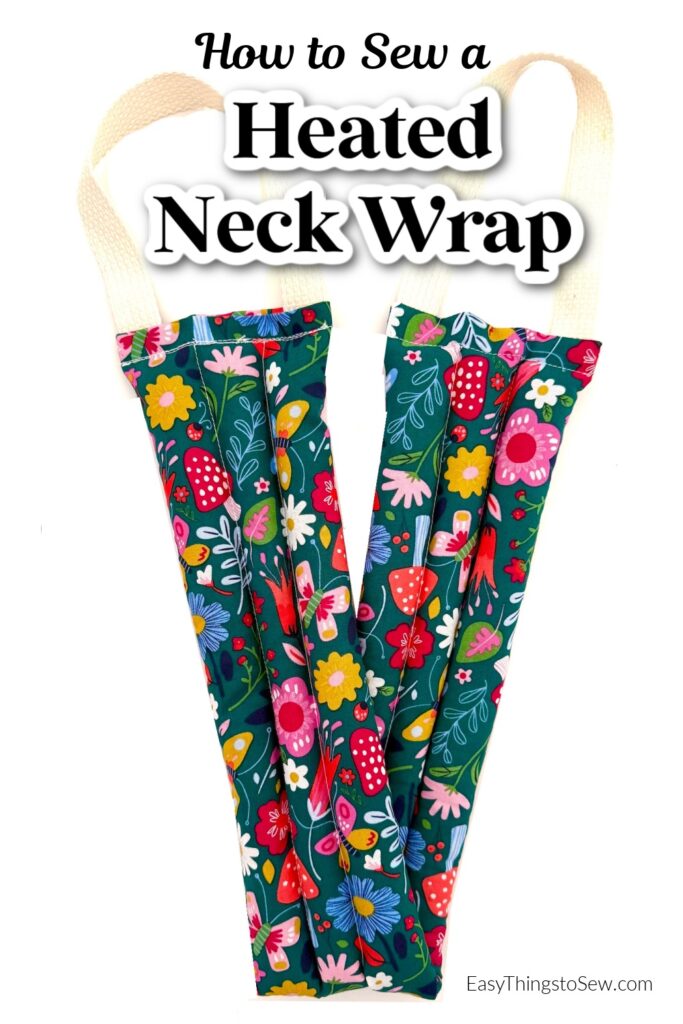
DIY Heated Neck Wrap with Handles
Our microwavable DIY heated neck wrap with handles can be used to bring soothing warmth to your upper body. The long neck wrap can be held in place against your neck, shoulders, back or mid-section with the convenient handles so that the wrap doesn’t move or slip as you are enjoying the warmth.
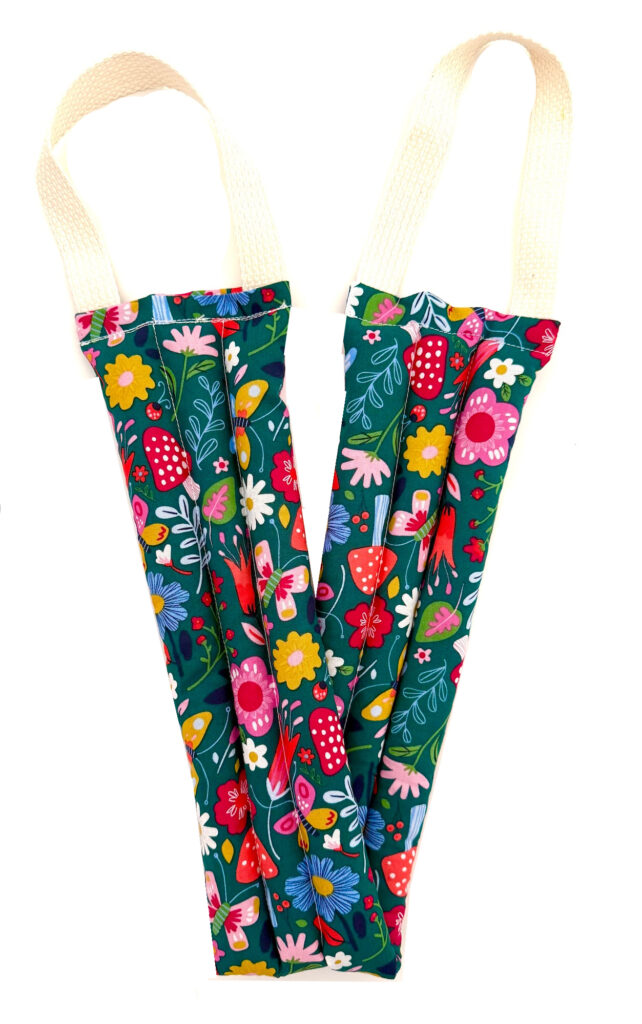
This neck wrap is similar to our DIY rice heating pad and DIY heating pad for neck and shoulders although this version is longer, thinner and has handles.
If you want to make this a scented heating pad, you can add dried flowers or herbs, essential oils or fragrance oil. Our easy DIY lavender eye pillow uses dried flowers, too, so you could make both!
It can also be used cold, too! Just put the neck wrap in the freezer to make a cold pack.
This is a great beginner sewing project and is very similar to our rice trivets. You can easily make these heating pads in an hour or less.
If you have extra rice, you can easily make these heart hand warmers or DIY hand warmers, too!
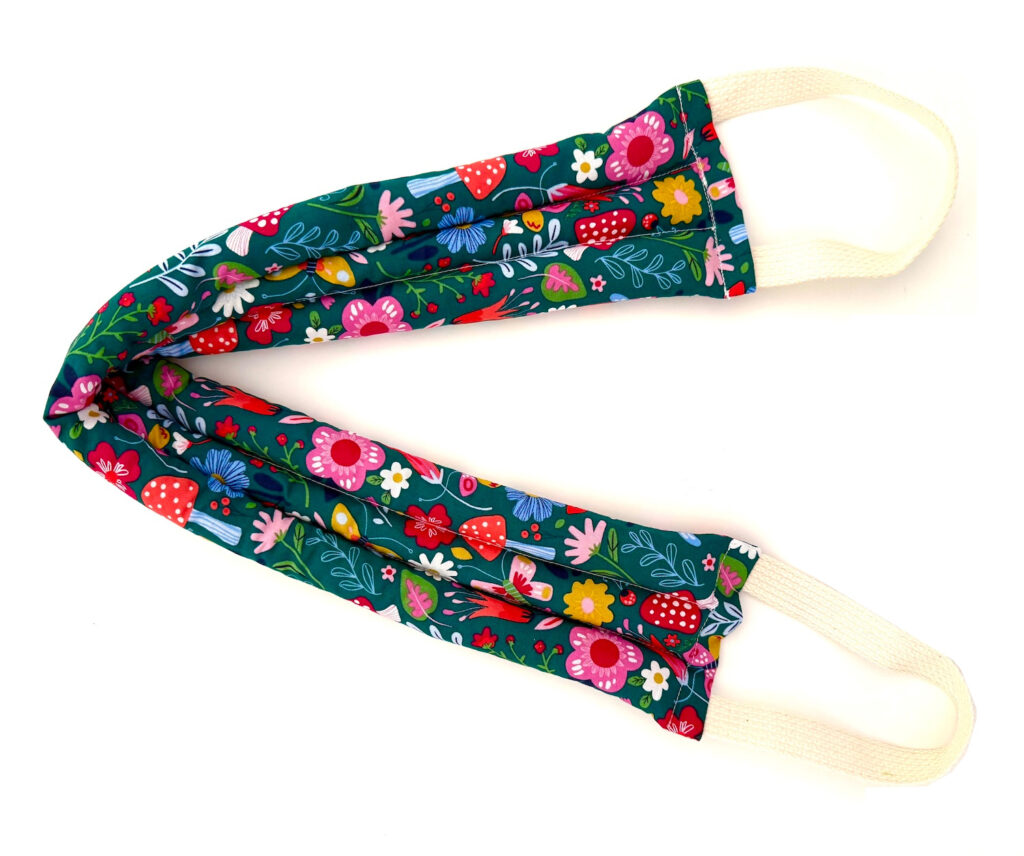
Selling at Craft Fairs
This is an excellent sewing project for craft fairs because heated neck wraps are always in high demand and make excellent gifts.
The cost of materials is low, you can make one in less than an hour, and you can sell for a nice profit.
Here are the cost details:
- ⅓ yard fabric: $1.70 (based on Hobby Lobby fabric at $5 a yard on sale, and you’d still have fabric leftover for other projects)
- 20 inches cotton webbing: $0.25 (based on this inexpensive webbing)
- 4 cups rice: $0.80 (based on bulk rice at Sam’s Club)
Total Cost: $2.75 each
How much can you sell a neck wrap for at a craft fair? The price will vary depending on location but you can sell for $10-15.
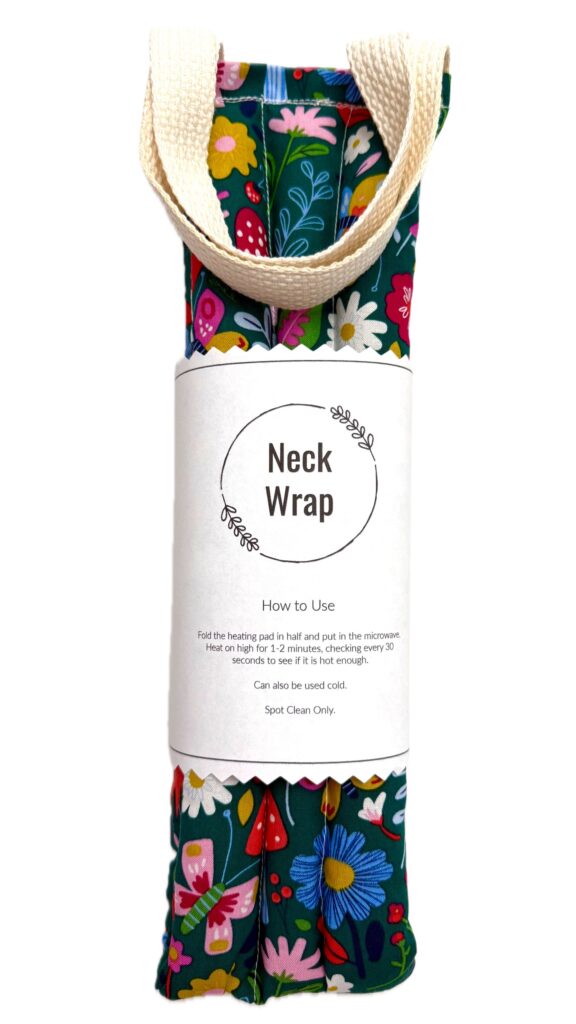
***I’ve made a free printable label for you to add to the handmade neck wraps that you sell or give as gifts. Fold the neck wrap in half and tape the label around the wrap. (I used pinking scissors to cut out the label.)***
How to Sew a Rice Heating Pad
If you would like a more flexible heating pad, add less rice.
You must use 100% cotton fabric and thread because they will not melt in a microwave. Do not use polyester. The same thread can be used to make a Reusable Microwave Popcorn Bag.
Supplies
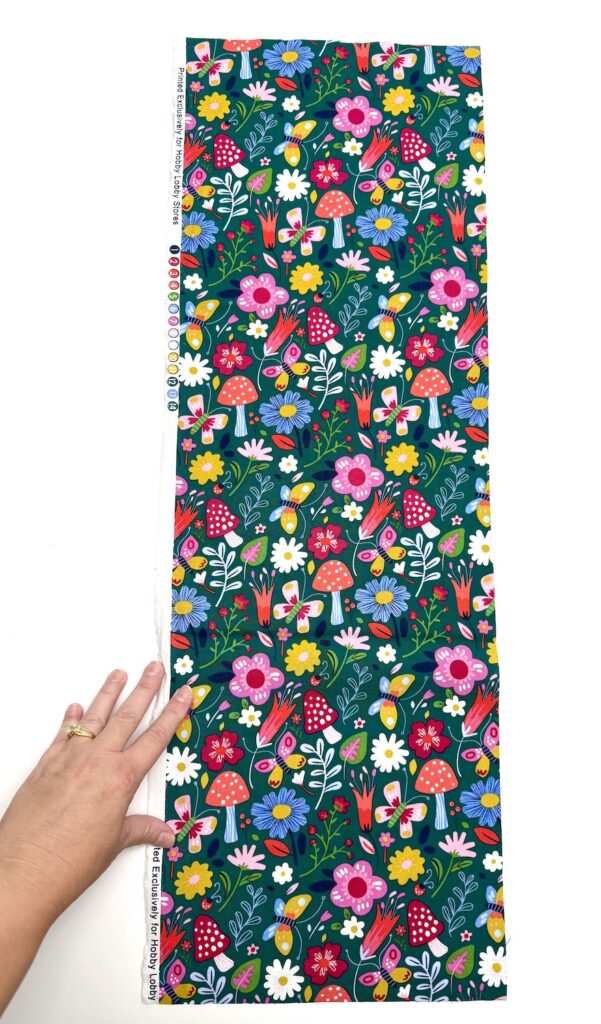
- 10 X 29 inch (25.5 X 74 cm) cotton fabric rectangles (MUST be 100% cotton!)
- 20 inches (51 cm) Cotton Twill Tape or Webbing
- 100% Cotton Thread
- 4 cups uncooked white rice
- Disappearing ink pen (not a heat erasable pen)
- Sewing pins
- Funnel (optional)
- Dried flowers or herbs, essential oil or fragrance oil (optional)
Directions
Step 1
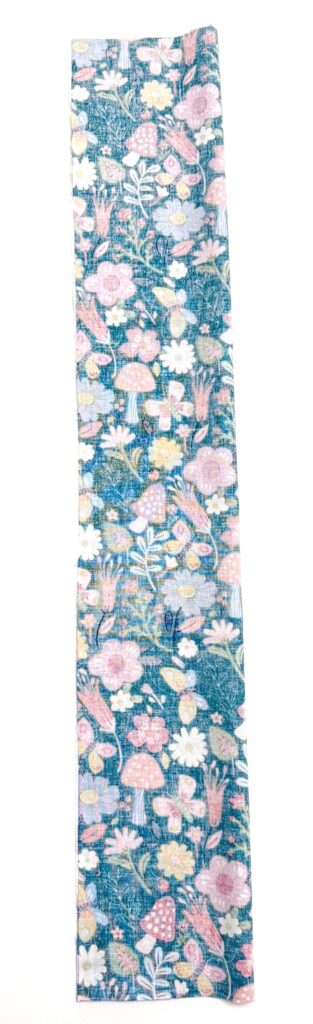
Fold the fabric in half vertically, with right sides together.
Step 2
Cut the cotton twill tape in half.
Using one half of the cotton twill tape, create a handle on one end of the neck wrap.
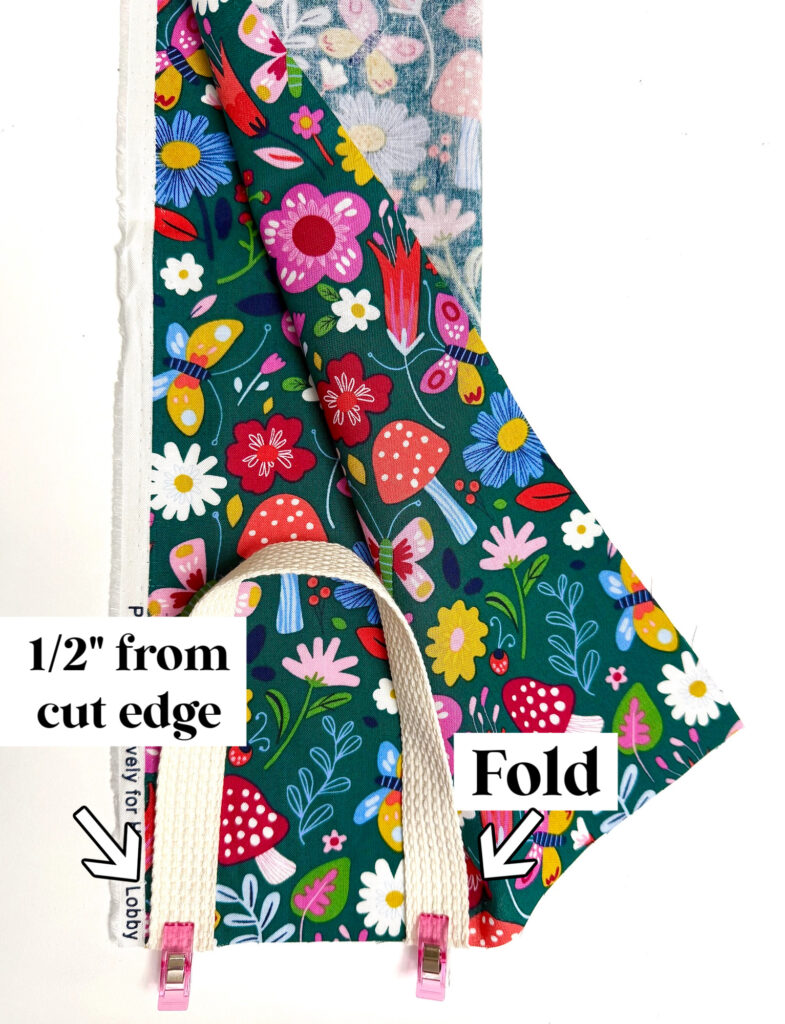
Fold back the fabric at one of the short ends, and match up the raw edges of the tape and cotton twill tape, positioning the outer edges of the tape at the fold and just a smidge more than ½ inch in from the long cut edge.
Clip in place and be sure the handle is not twisted.
Step 3
Fold the fabric back over the handle.
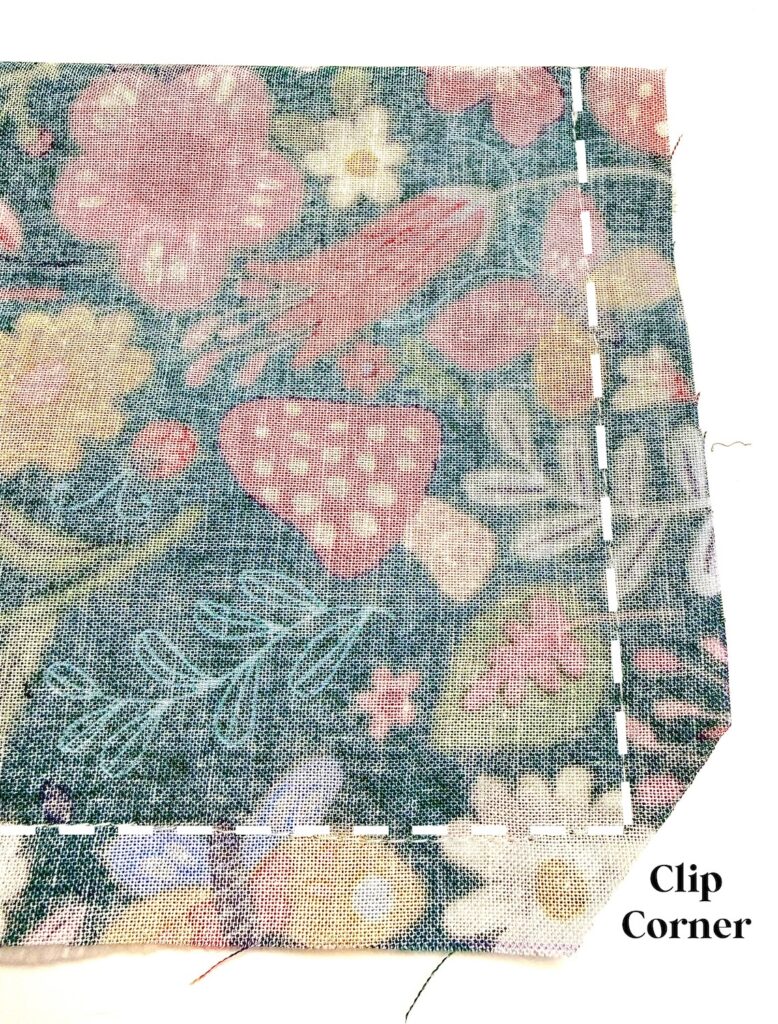
Sew the short edge across the handles and the long edge, using a ½ inch seam allowance, backstitching at beginning and end. Position the cotton twill tape handle so that you do not sew over it as you sew along the long edge.
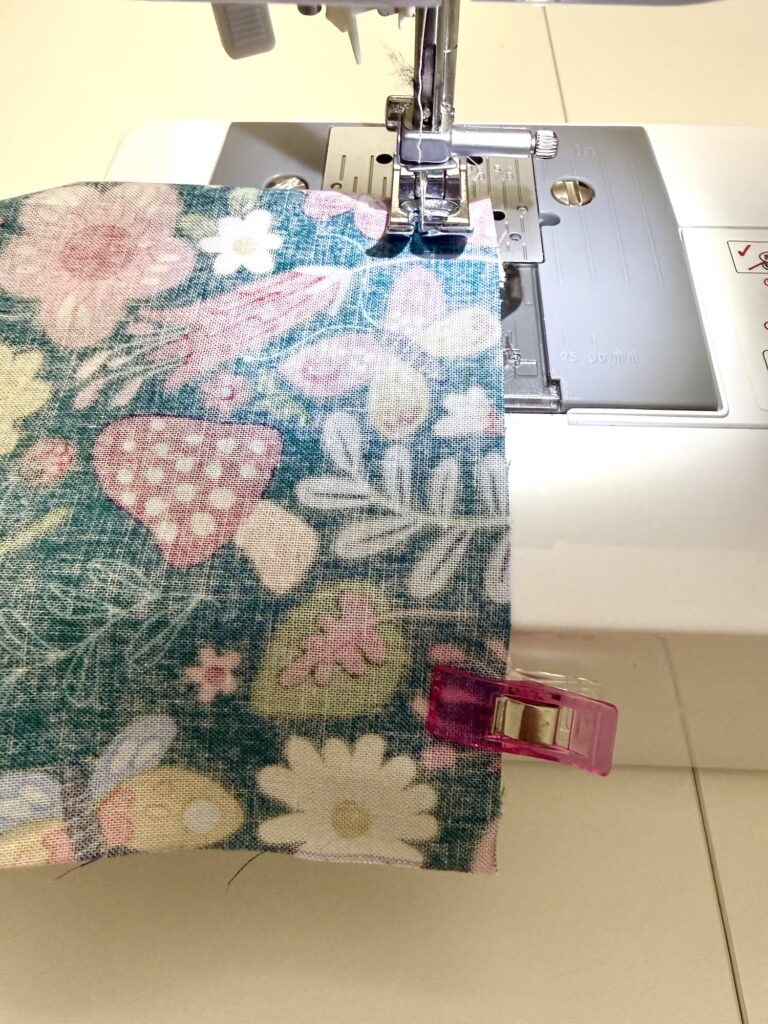
Clip the one corner at the raw edges to reduce bulk.
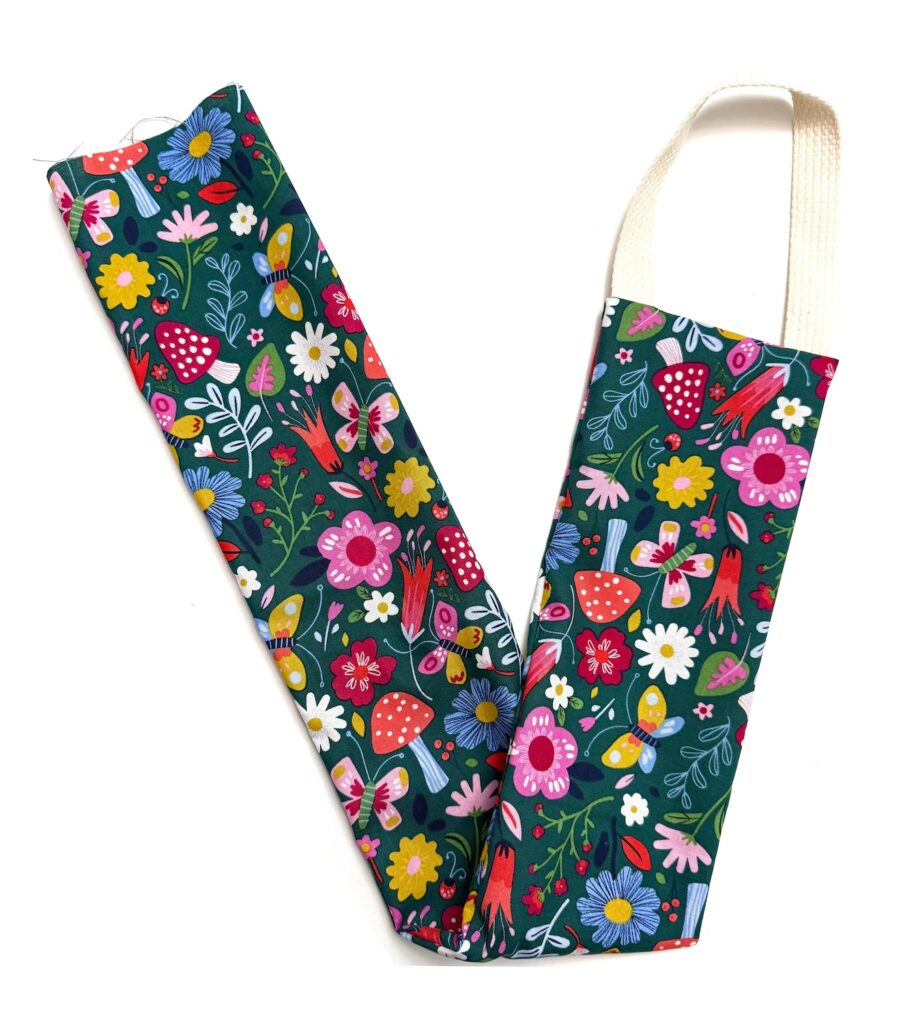
Turn the fabric inside out and push out the corners (if needed) using your finger or a turning tool.
Step 4
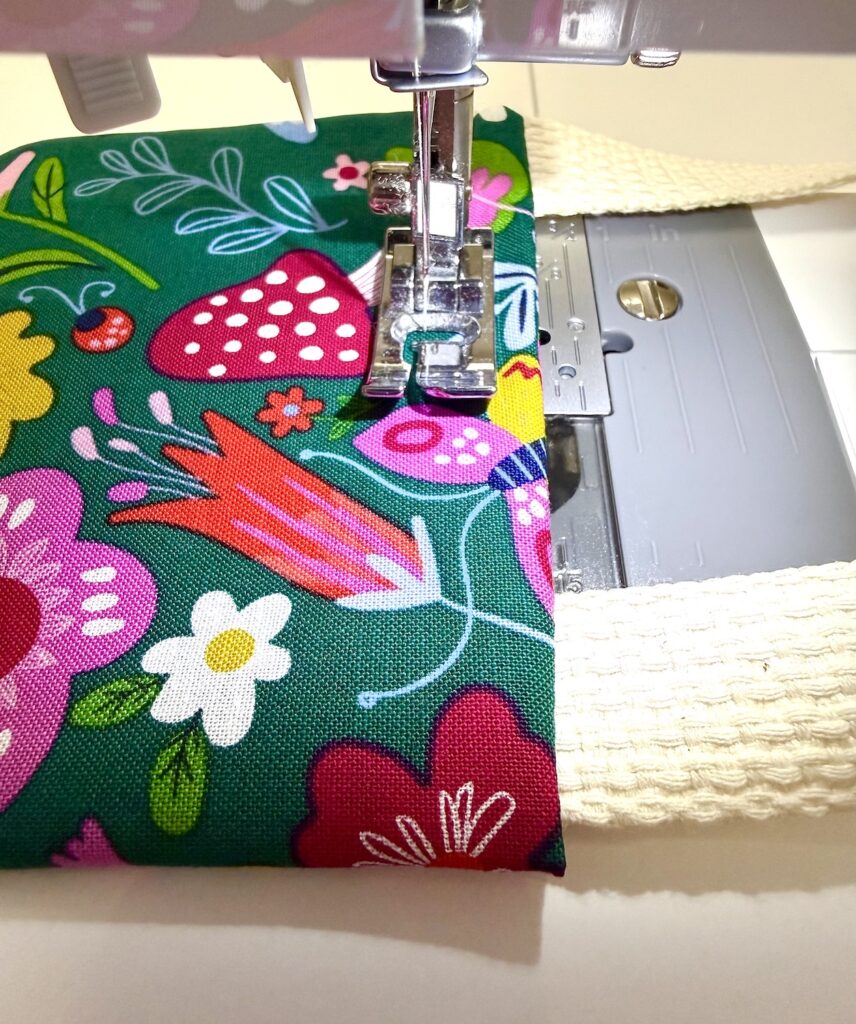
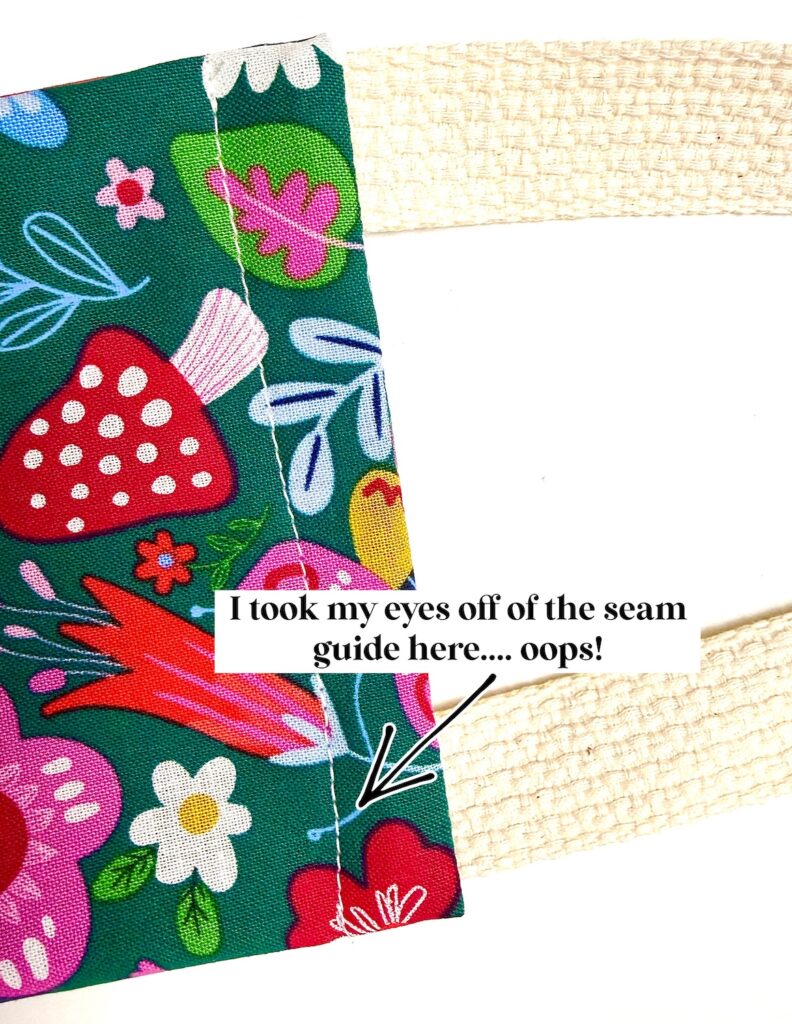
Sew a straight line across the short edge with the handles, using a ½″ seam allowance.
Step 5
On the open end, fold under the raw edge ¾ inch, opening up the seam allowance and pressing flat as you turn under the fabric.
Using the second piece of cotton twill tape, add handles to the open end, placing the outer edges along the fold line and the stitched seam allowance and inserting the ends ¾ inches down from the folded edge.
Be sure the handle is not twisted.
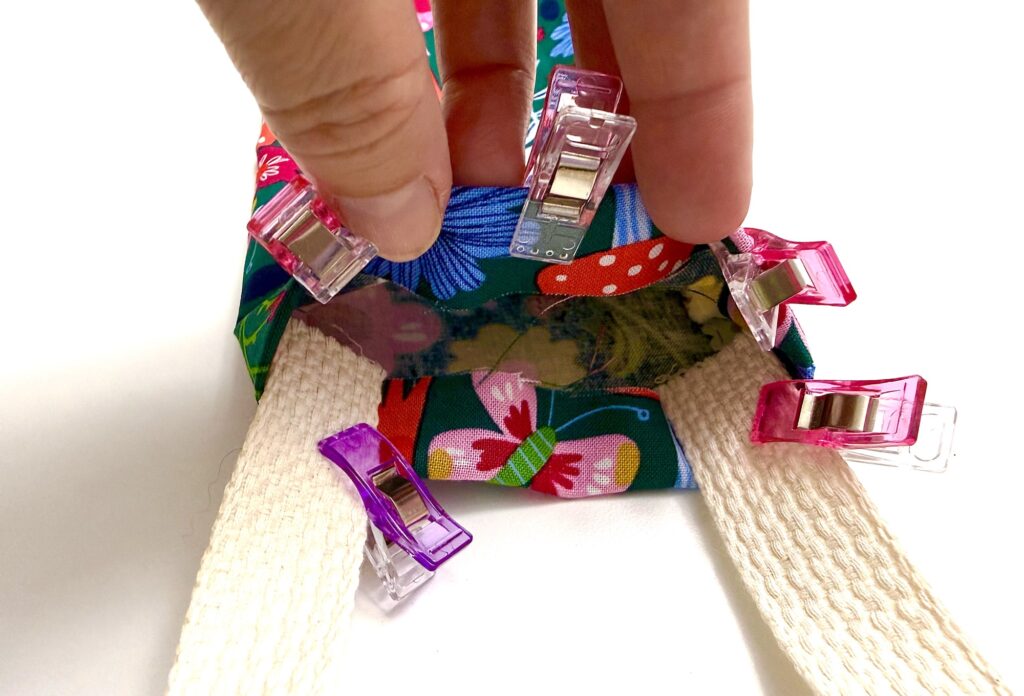
Stitch around the opening, securing the handles as you do, using a ½ inch seam allowance.
Step 6
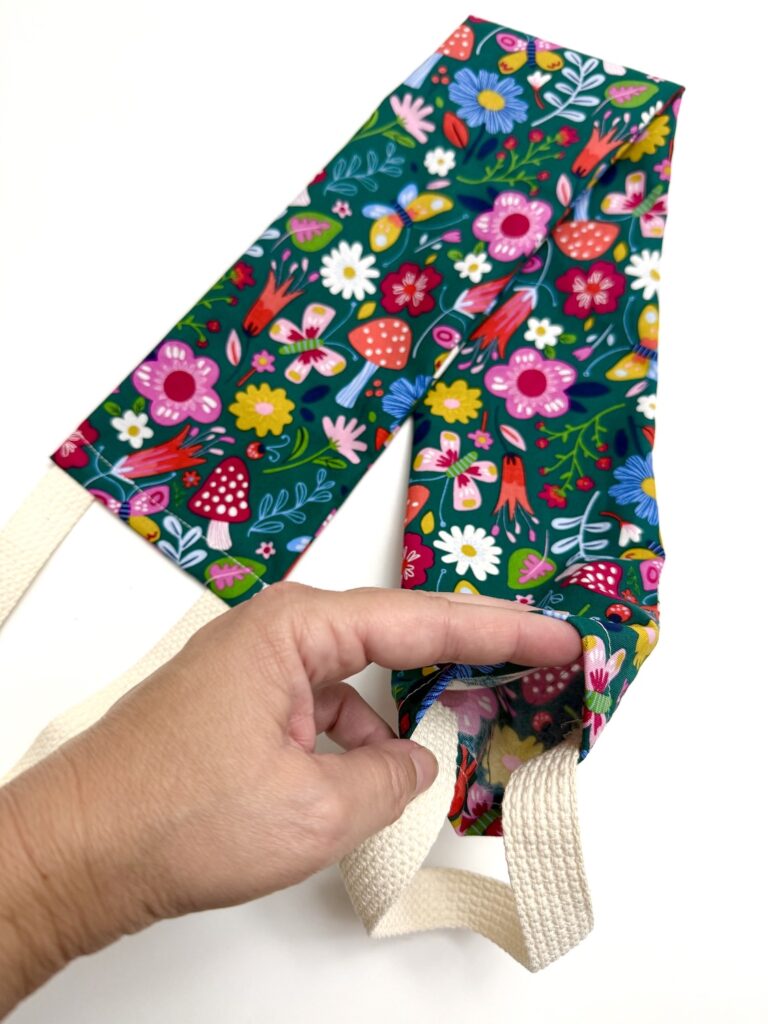
Measure 1 ½″ in from either side and draw a line from the sticking at the top to the stitching at the bottom of the neck wrap.
Top stitch on each line, backstitching at the beginning and end.
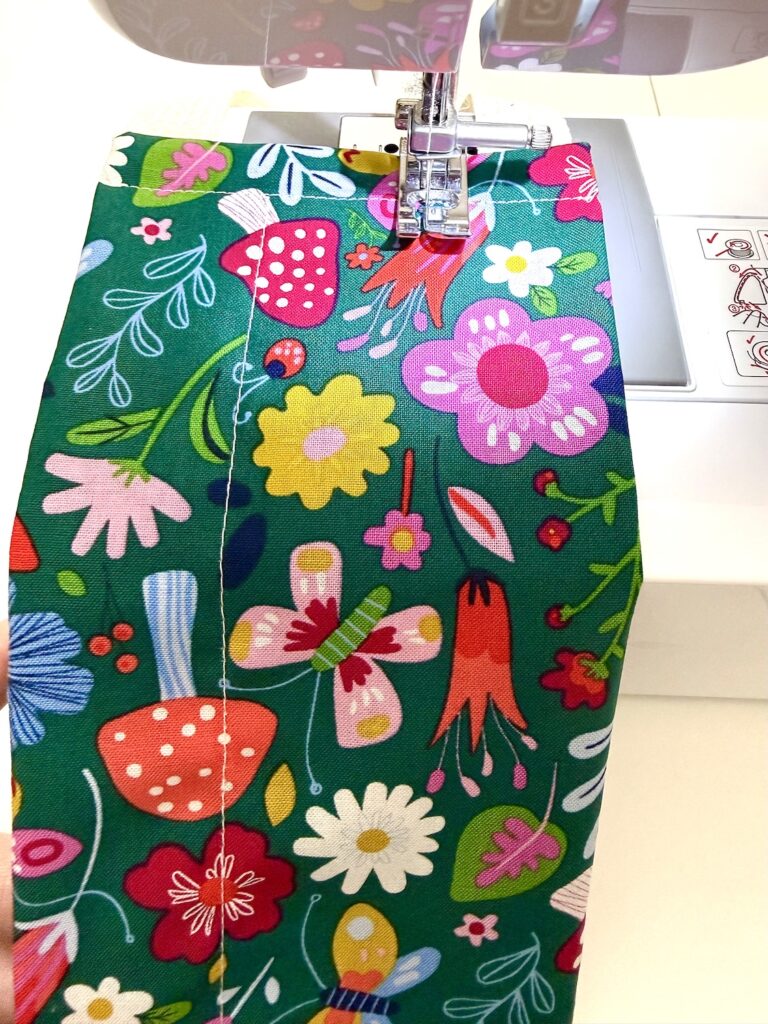
I used my seam allowance guide on the sewing machine to stitch 1 ½″ lines without needing to draw lines. If you do not have a seam guide, you can draw lines using a disappearing ink pen. This sewing ruler makes it really easy to see where to mark.
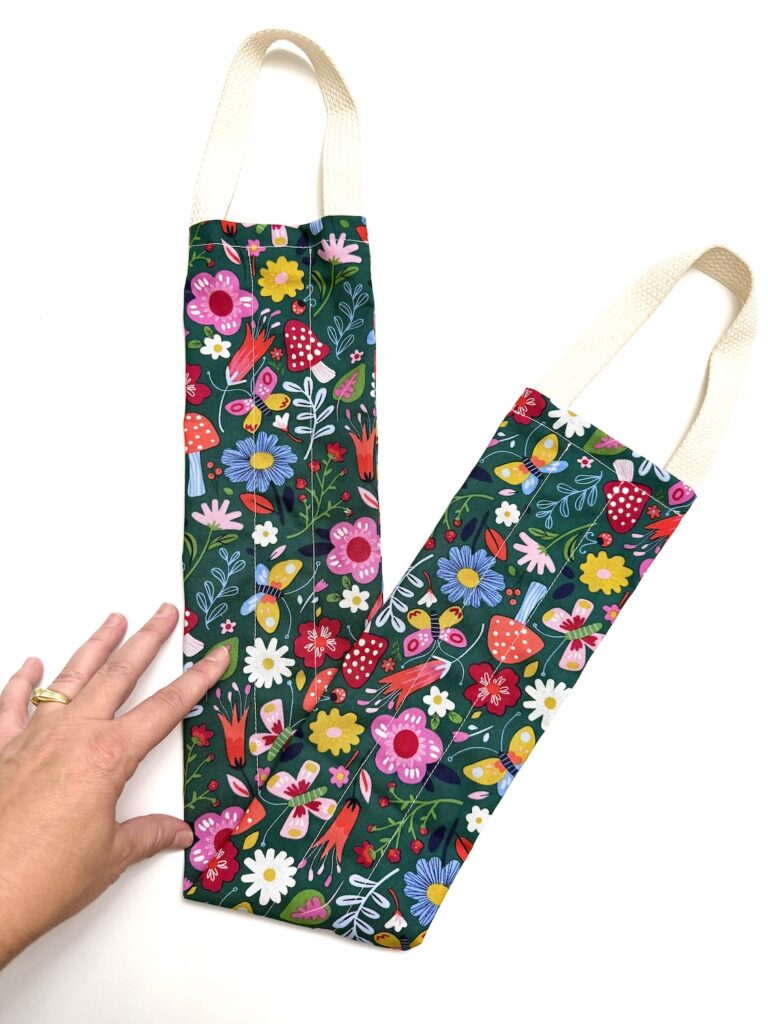
Step 7
If desired, mix the rice with 4 tablespoons of dried flowers or herbs, such as lavender and/or 20-30 drops of essential oil. If using fragrance oil, use fewer drops because it is so strong.
Fill each column with rice. Using a funnel is the best way to get the rice into the fabric channels. (I bought an inexpensive set of funnels at Harbor Freight and I only use them for crafts.)
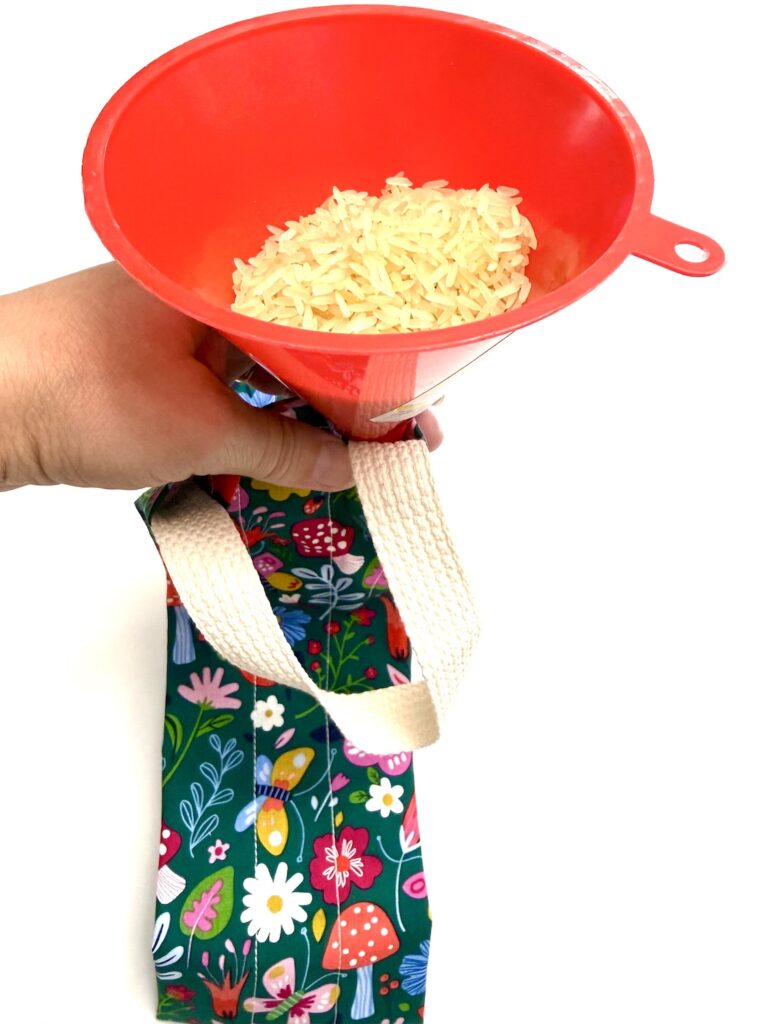
Fill to about 1 inch below the top stitching. The less you fill, the more flexible the neck wrap will be.
Place a straight pin across the top of the column to hold the rice in and keep it from spilling out as you are sewing.
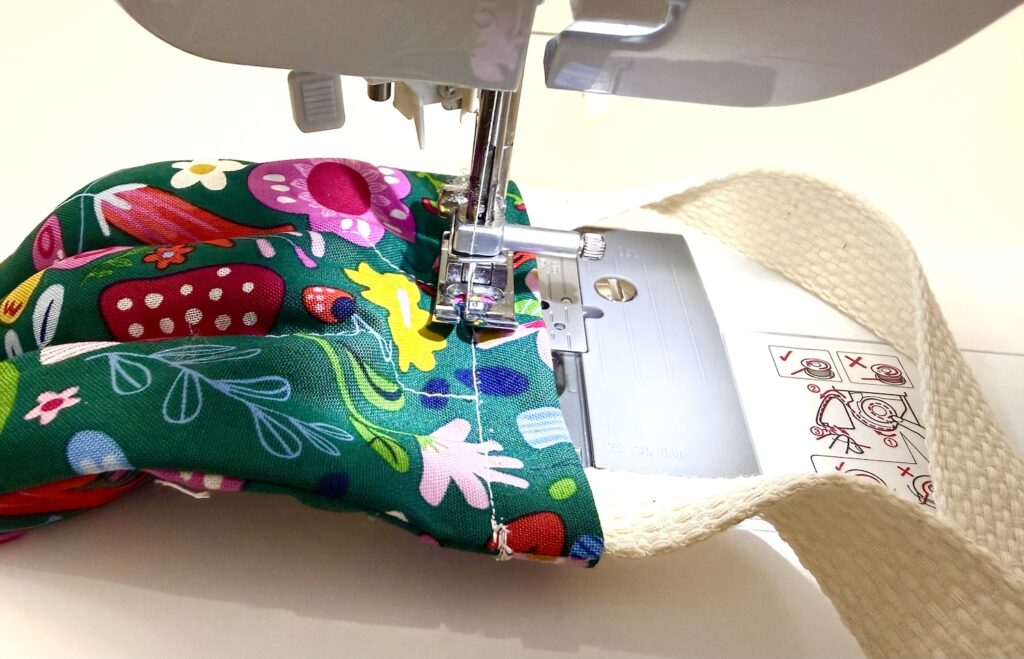
Step 8
Top stitch along the existing stitch line that goes across the neck wrap, being sure to backstitch at beginning and end.
How to Use the Heating Pad
Fold the heating pad in half and put in the microwave.
Microwave on high for 1-2 minutes, checking every 30 seconds to see if it is hot enough.
Helpful Tips I Learned While Making These Heating Pads
- Instead of rice, you could also use flax seed.
- Brown rice is not suggested because it has oils and can stain the fabric over time.
- Dried flowers or herbs and essential oils can be mixed in with the rice. However, these natural fragrances aren’t very strong and they will fade over time.
- Fragrance oil can be added to the rice before putting in the heating pad. This synthetic fragrance will last longer and be stronger.
- Do NOT use any fabric that can’t be exposed to high heat, such as polyester or silk.
- When drawing the lines, disappearing ink is the best solution because you will be drawing on the visible side of the fabric. Don’t get a heat- or water-disappearing pen because you won’t be able to iron the heating pad after stuffing it!
- If the measurements aren’t perfect drawing the lines, that’s okay! Once you add the rice it won’t be noticeable!
How to Clean
If the heating pad becomes stained, spot clean with a damp towel. Do not soak or put this in the laundry machine!
Want to save this idea? Pin it to Pinterest, or Flip it to Flipboard or save to Facebook (sharing buttons on top of webpage)!
If you like this easy DIY rice heating pad, be sure to see these self-care sewing projects next: