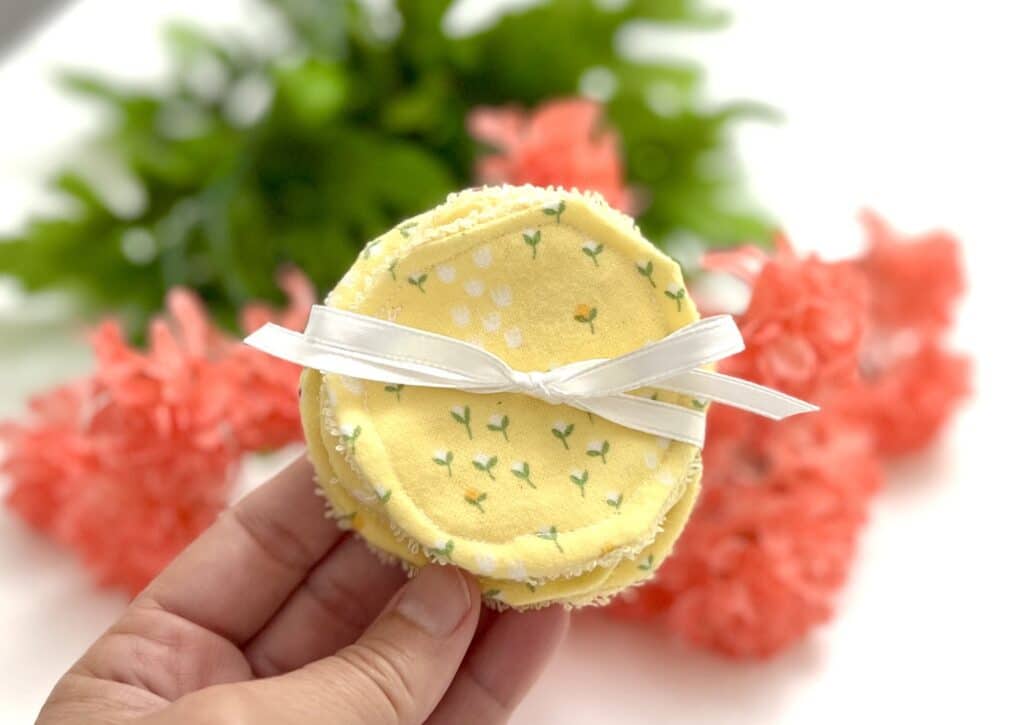
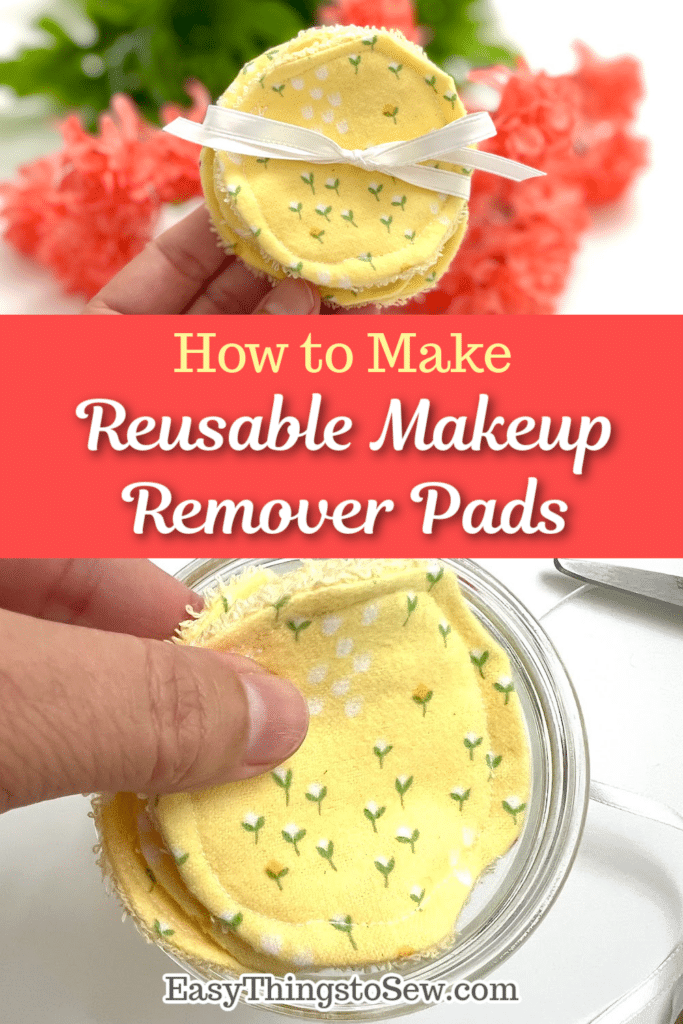
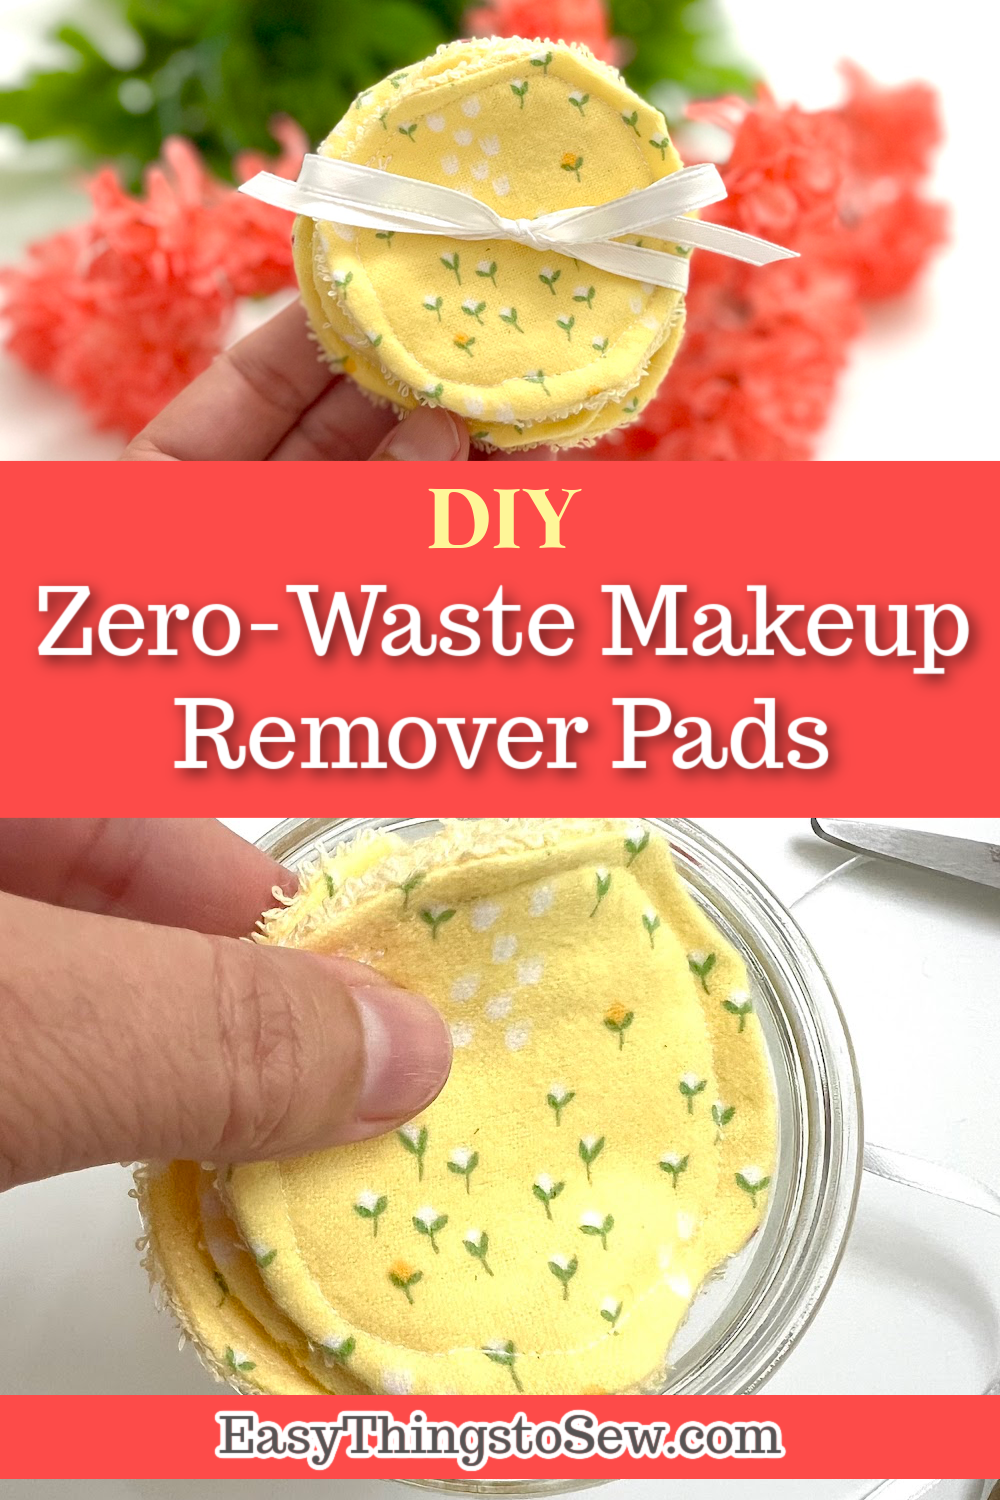
DIY Reusable Makeup Remover Pads
Reusable makeup remover pads are a great way to save money and to reduce waste in your beauty routine. These zero-waste makeup remover pads can be put in your washing machine and can last for years!
Not only are these DIY makeup remover pads budget-friendly, they also make an excellent gift!
Makeup remover pads are among the easiest beginner sewing projects EVER!
Seriously, these DIY makeup remover pads require only two lines of stitching and no sewing notions. Plus, you can use fabric scraps, including old clothing or towels, to start to learn how to sew.
They may even be easier to sew than scrunchies, which is usually one of the first things that beginners start to sew.
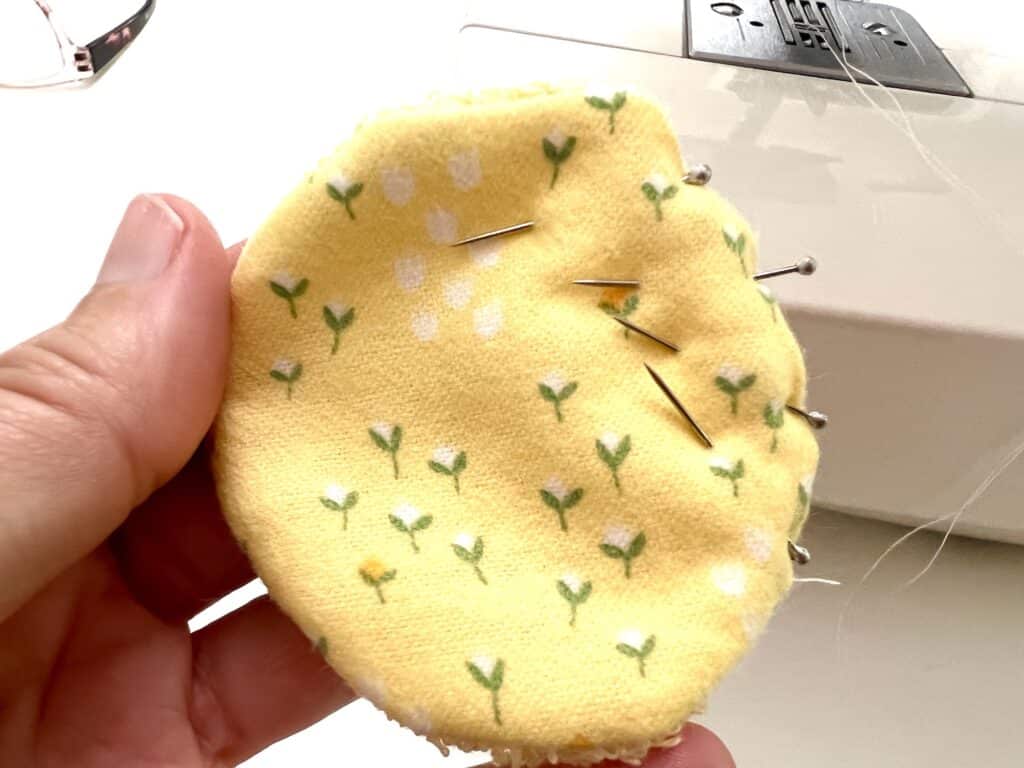
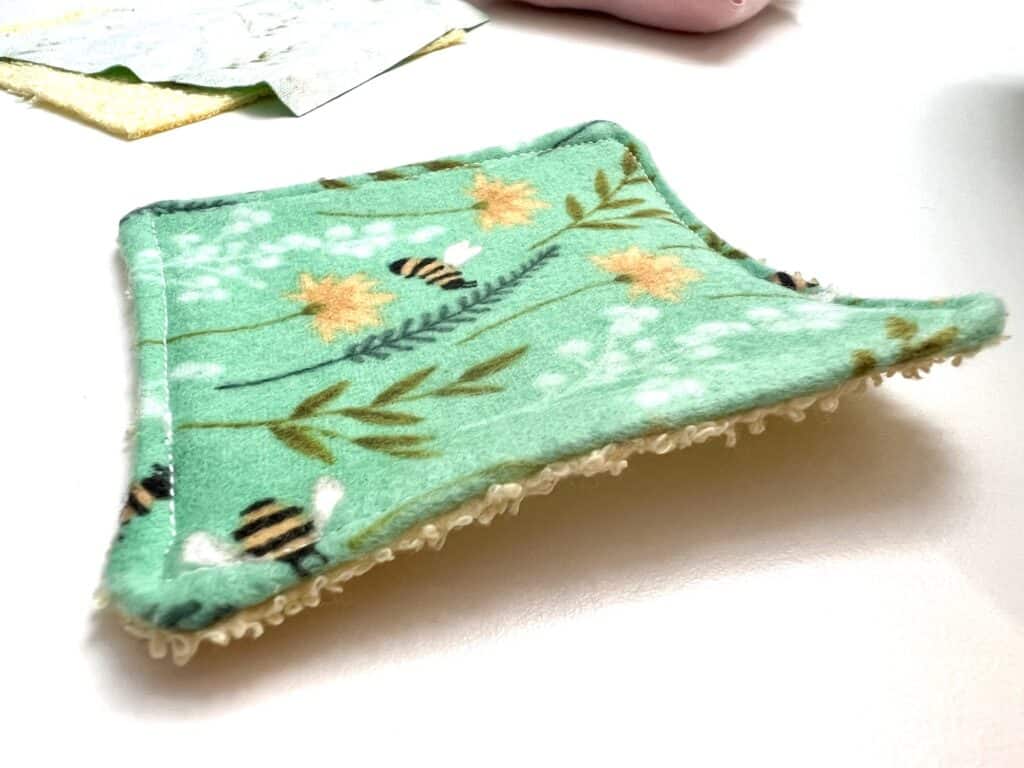
I suggest the square pads versus the circle pads if you are new to sewing. The circle pads are very fussy because you have to sew in a circular motion, picking up the presser foot a lot, and because turning the seam under is a bit difficult to keep it looking round. I thought the circle makeup remover pads were annoying to make and I never did get the circles to all be the same, but you may not have a problem!
What Type of Fabric Should I Use?
One of the wonderful things about sewing makeup remover pads is that you can use your fabric scraps to make beautiful items. Upcycling textiles, such as clothing or towels, is also a great idea for this sewing project.
The type of fabric or fabrics that you use is up to you and the texture that you prefer when washing your face. Some people like the smooth soft feel of a t-shirt or flannel, while others prefer the scrubby action of a towel or microfiber cloth.
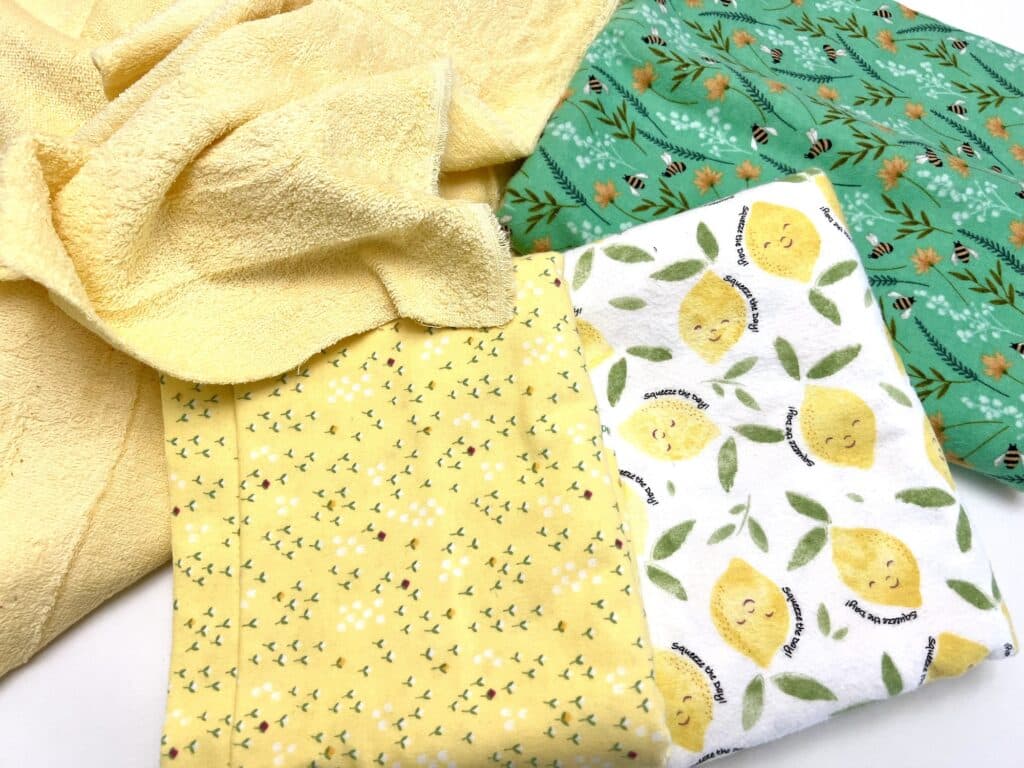
Use one or two of these types of fabrics when making your makeup remover pads:
- Cotton quilting fabric (especially when you want to make beautiful pads as gifts when the aesthetic is important)
- Flannel fabric
- Old flannel shirts
- Terry cloth (also known as toweling fabric; this is often found in the nursery fabrics in the store)
- Old towels
- Microfiber cloth
- Old t-shirts
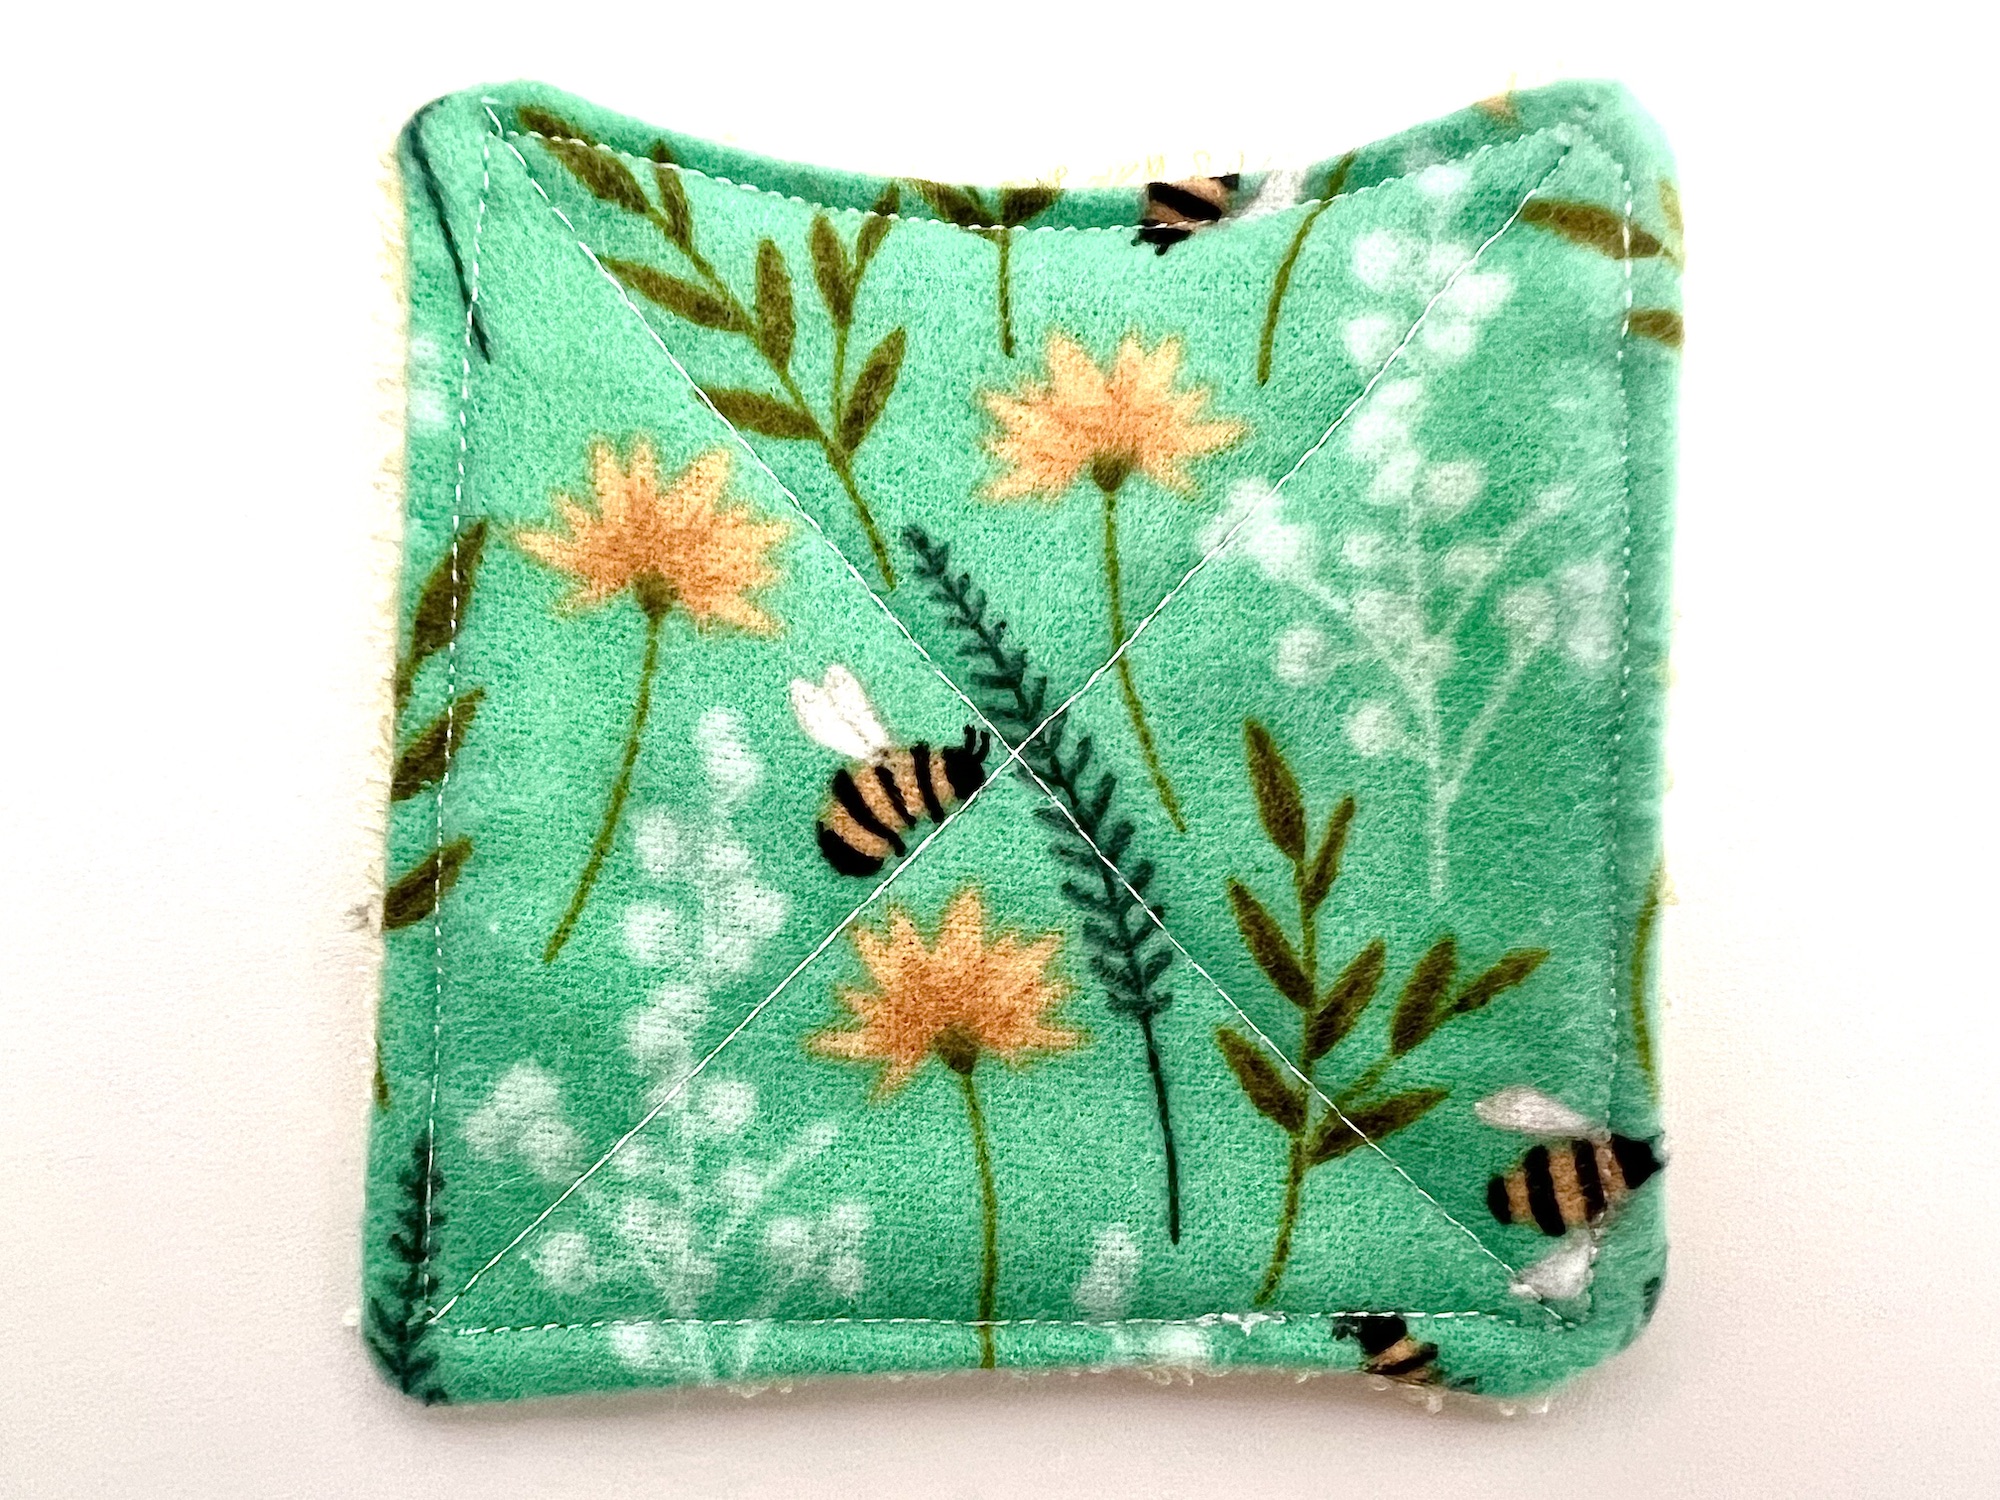
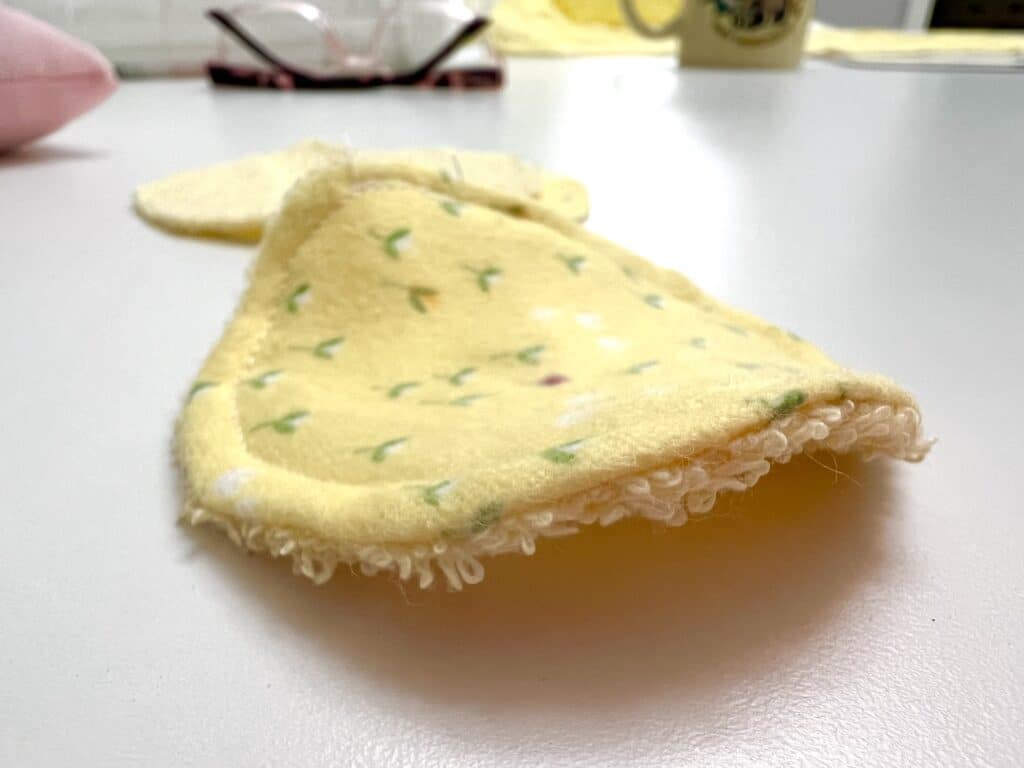
Each side of the makeup remover pad can be a different type of fabric, if you would like. Consider making one side flannel, to be smooth, with the other side Terry cloth, to scrub. This is what I did in this tutorial.
Important Tip: Be sure to prewash the fabric in hot water (or the temperature of water you use for washing) BEFORE sewing the fabric! You do not want the makeup remover pads to shrink after putting them in the laundry so do the pre-shrinking FIRST!
How to Sew Reusable Makeup Remover Pads
The fabrics I used were purchased at JoAnn. The printed fabrics are Super Snuggle flannel and the yellow terry cloth was from the nursery fabrics section.
Supplies
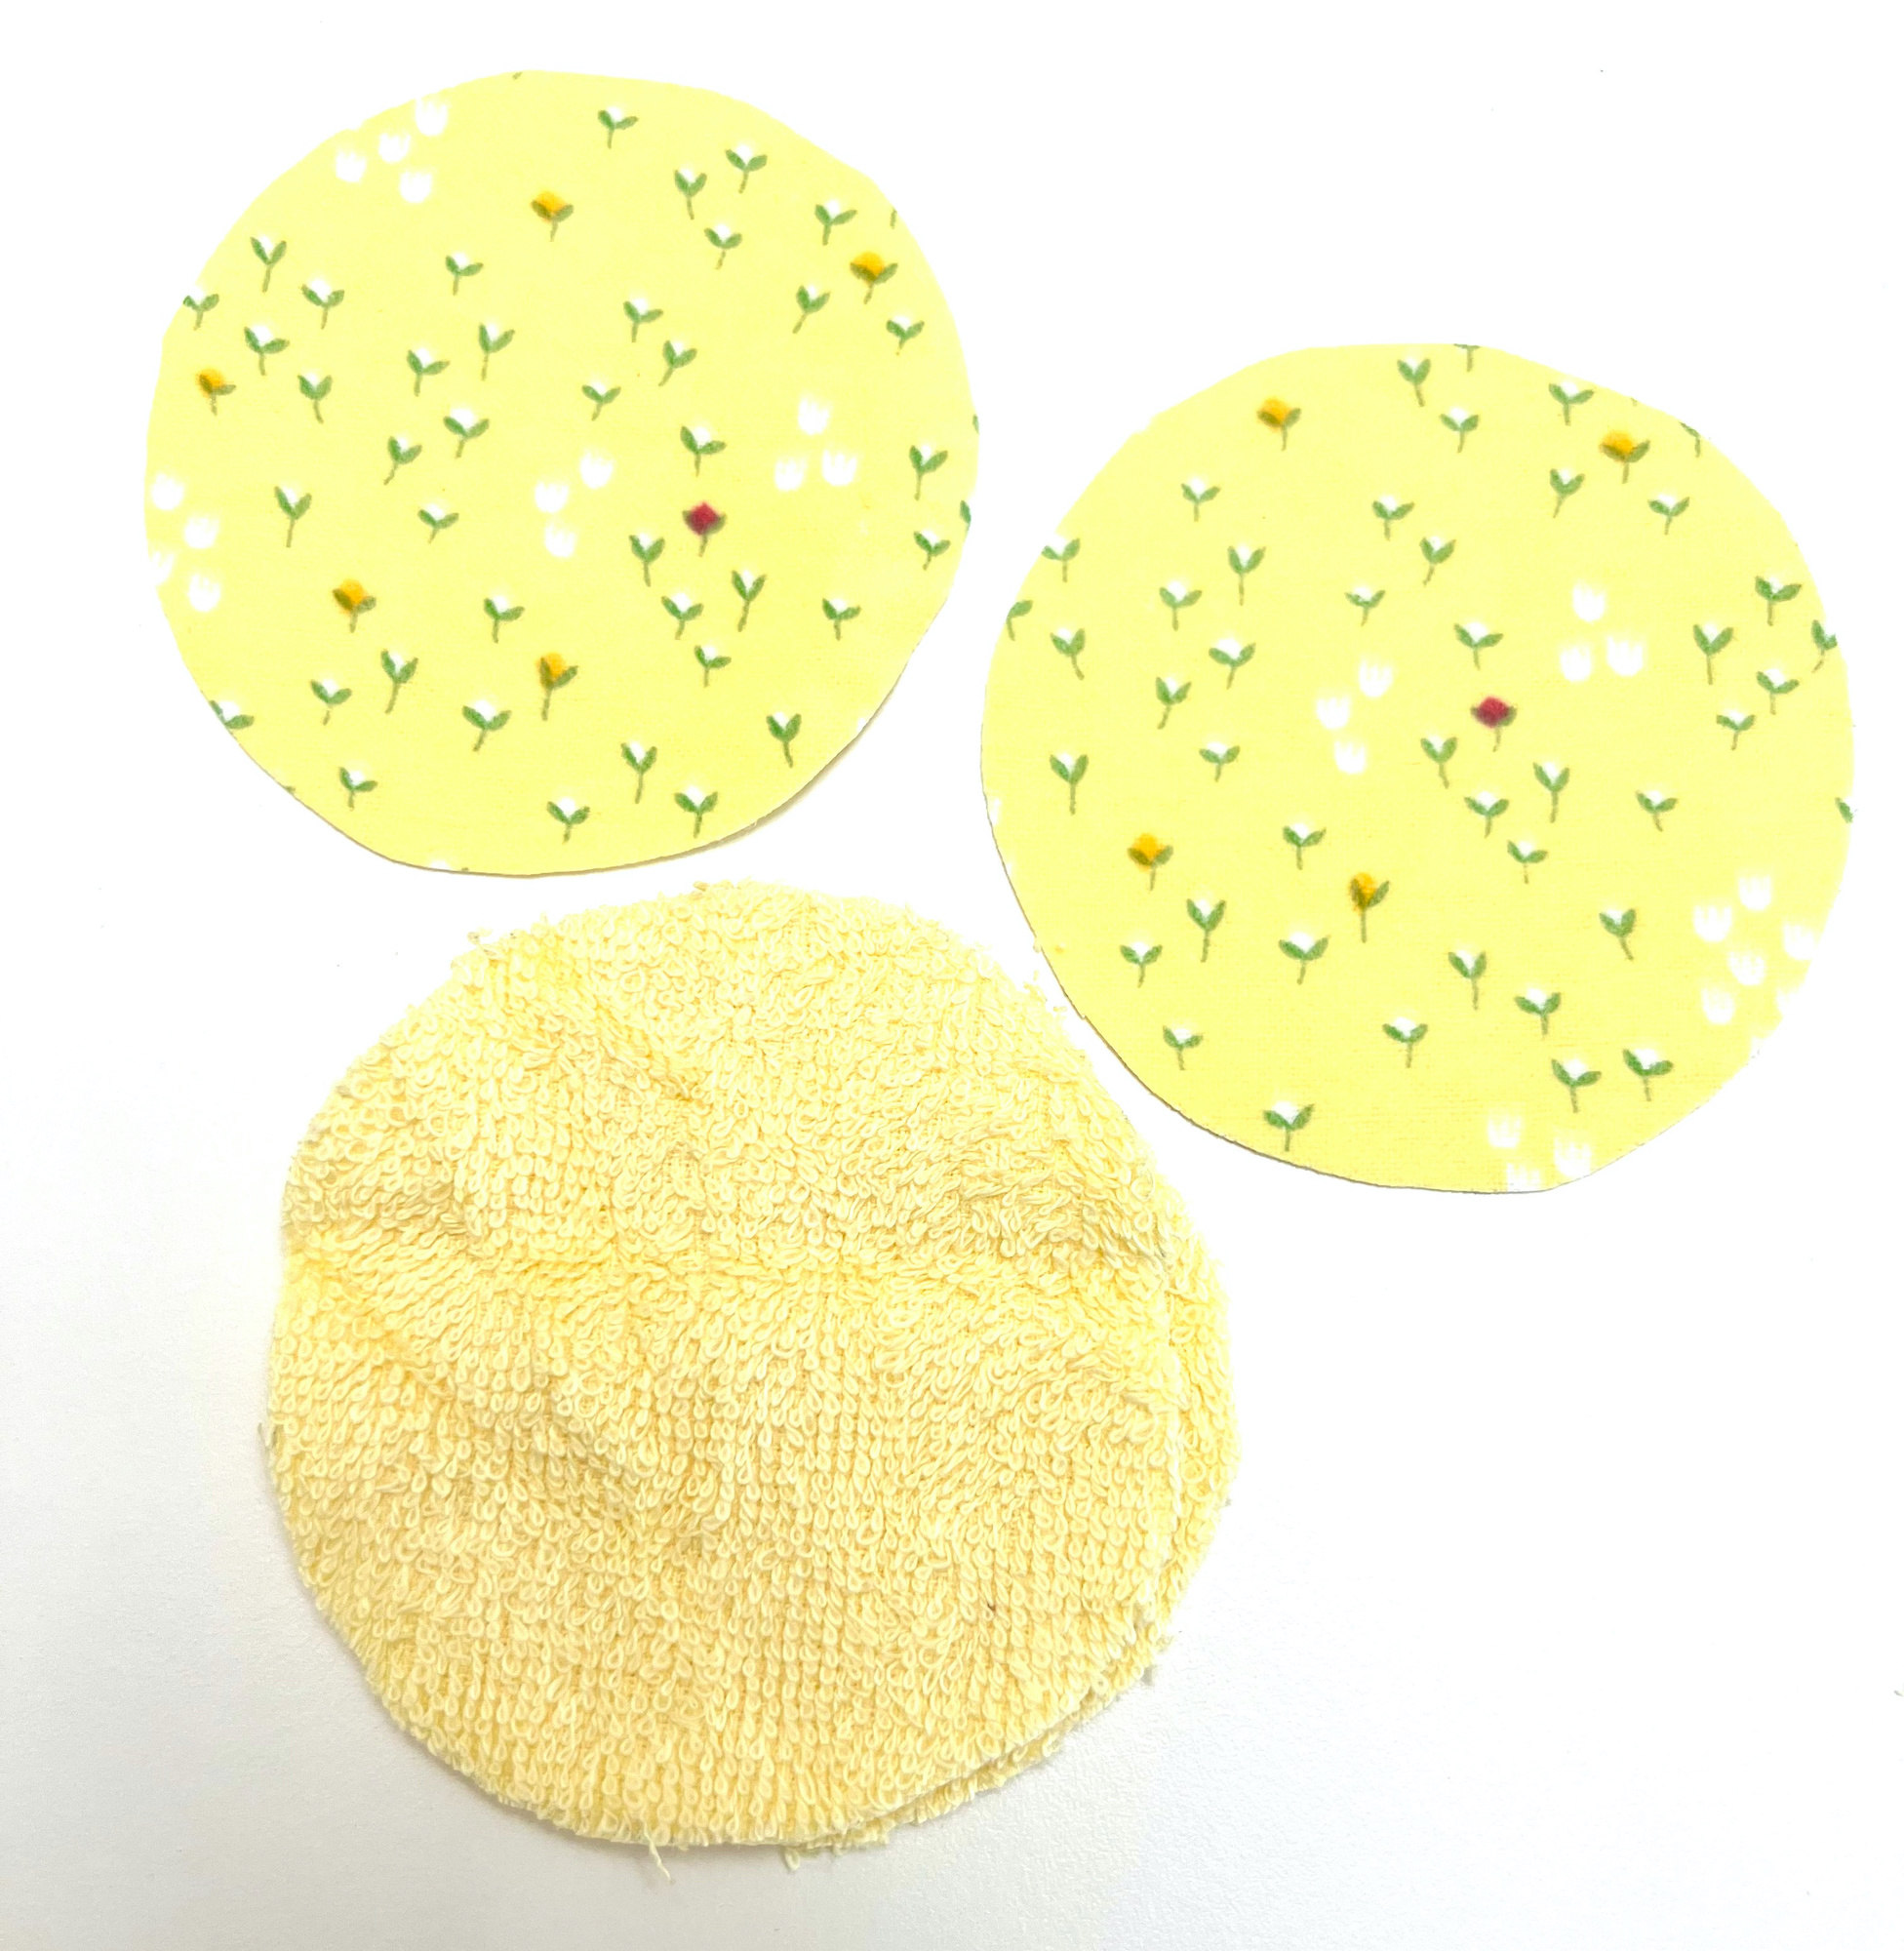
- Fabric (Two pieces for each pad; Each piece should be 4 X 4 inches {10 X 10 cm} or less)
- Matching Thread
- Scissors
- Sewing Machine
Directions
Step 1
Cut your fabrics into the shape that you would like.
For a square makeup remover pad, cut a 4 X 4 inch square (10 X 10 cm).
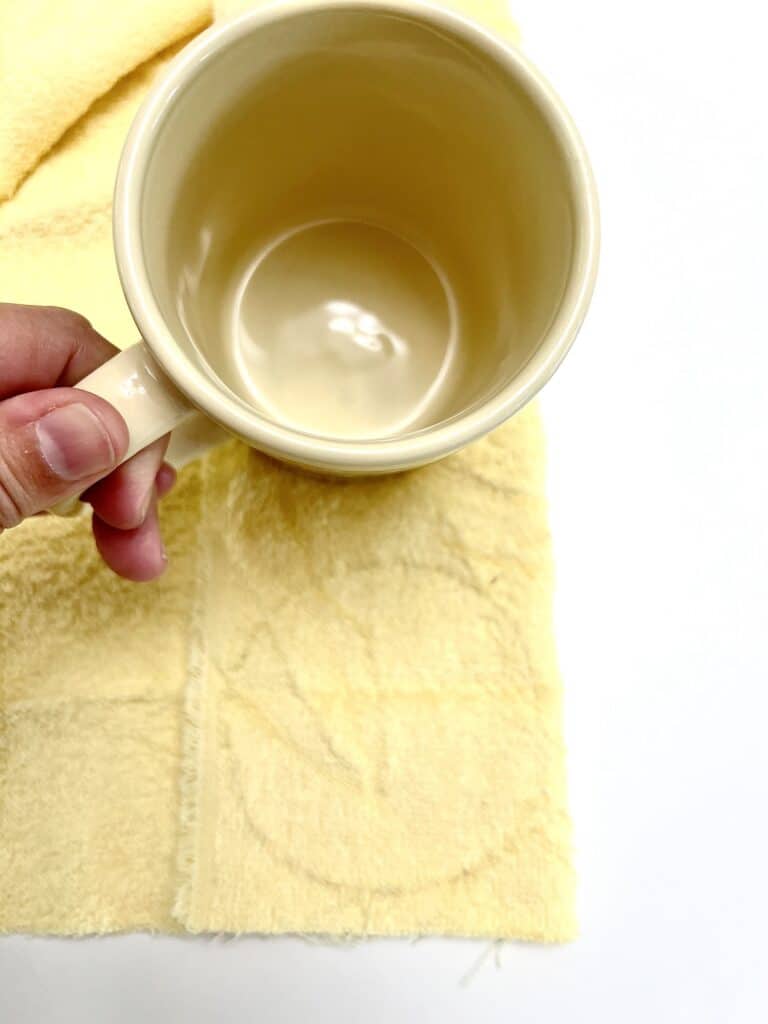
For a circle makeup remover pad, trace a circle onto the fabric using a mug, bowl, jar or other circular pattern. We used a 3 inch (8 cm) circumference mug.
For each pad you will need two pieces of fabric. They can be the same kind of fabric, such as two flannel pieces, or two different types of fabric, such as one flannel and one terrycloth.
Step 2
Place the fabrics with right sides facing each other.
Note: For towels and terry cloth, there might not be a “right” side. Just choose the side that you want showing as the right side.
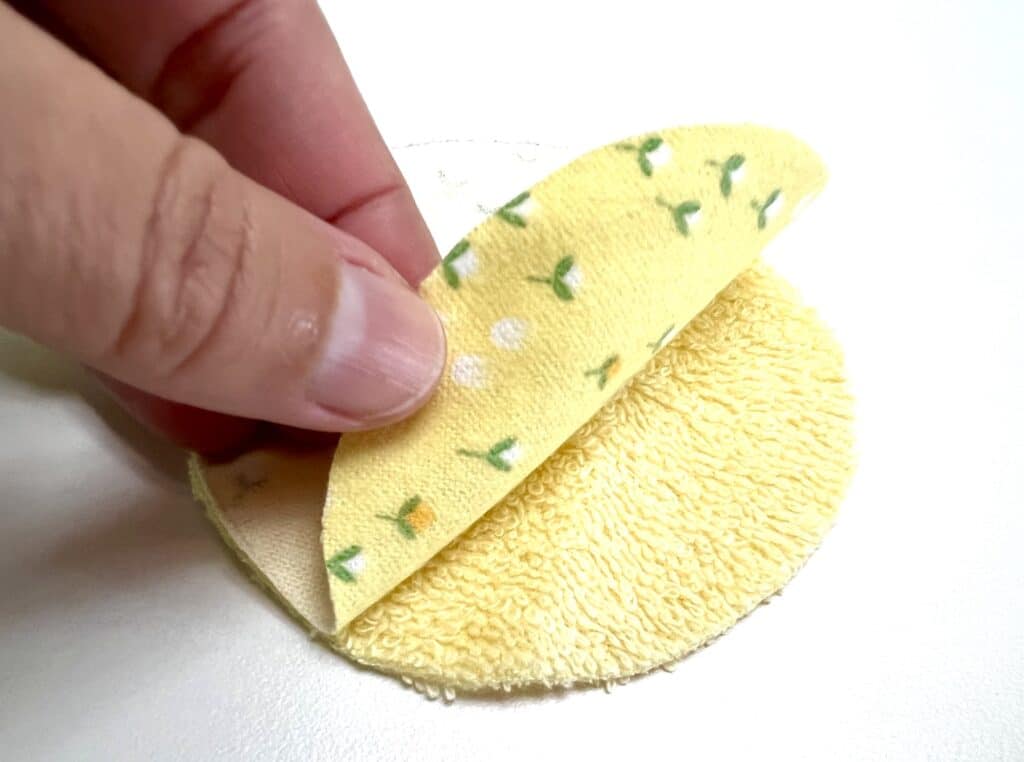
Pin or clip the fabrics together if you would like.
Step 3
Sew around the outer edge of the fabric layers. Leave an opening, about 1 ½ inches wide (4 cm), so that you can turn the fabric inside out in the next step.
Be sure to backstitch at the beginning and end of your stitching since these pads will be put in the wash a lot and you want the seams to be secure.
I used a ¼ inch seam allowance (¾ cm), however you can sew even closer to the edge if you like.
- For the square pads, leave the opening in the middle of a square side, not at the corner.
- For the circle pads, you will probably need to lift your presser foot up quite often while sewing to make the circular pattern. Be sure that your needle is inserted into the fabric before lifting the presser foot so that your stitching line doesn’t get messed up.
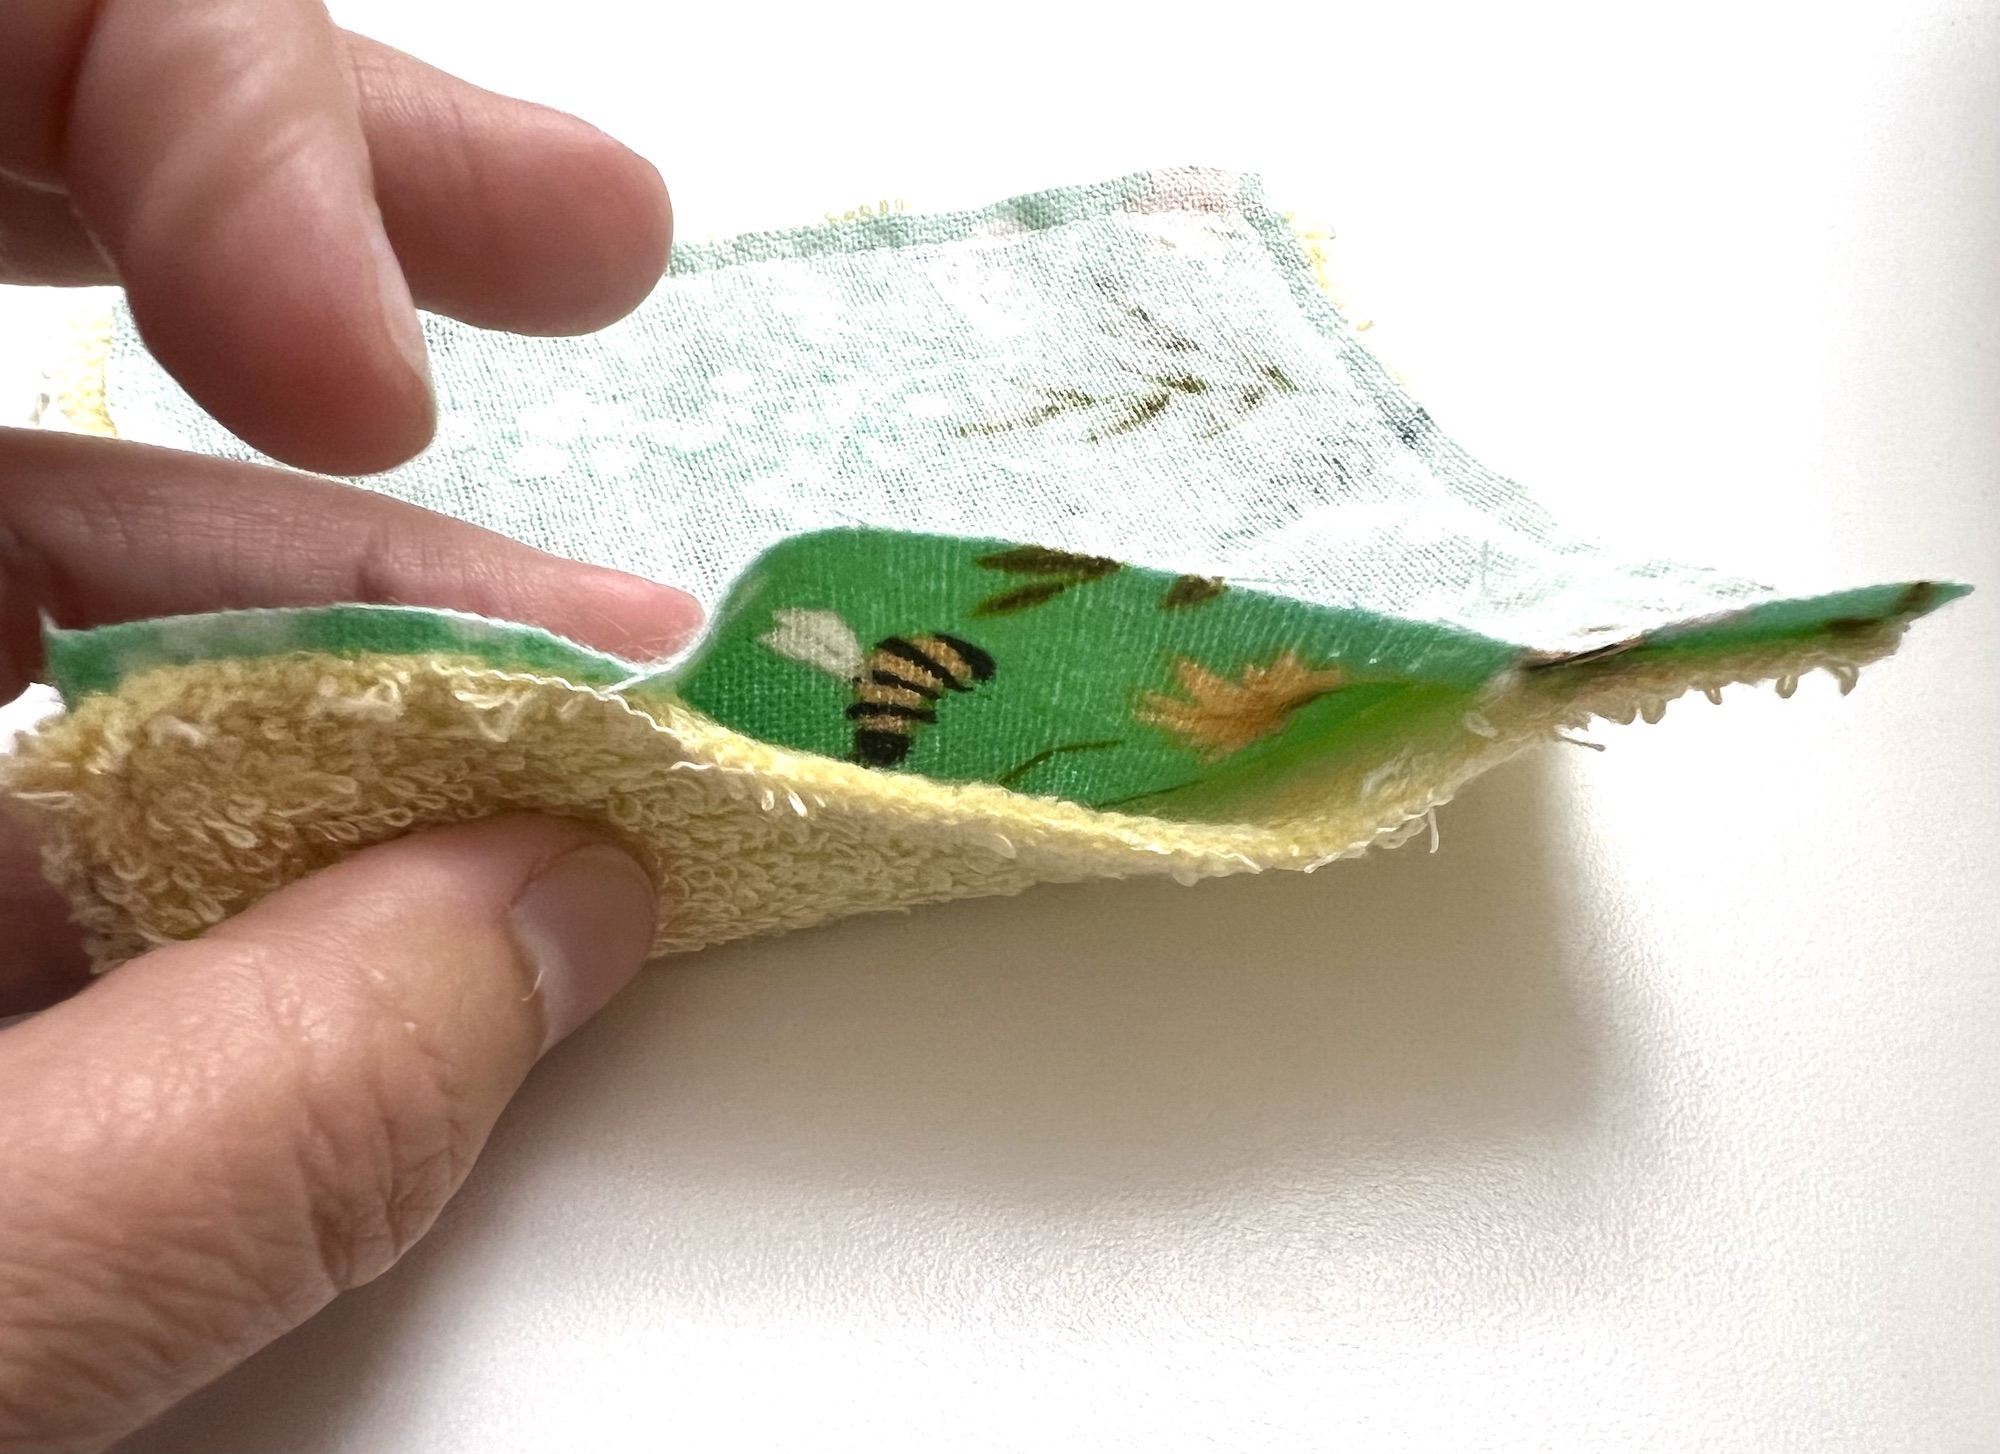
Step 4
You will want to clip the corners and trim the seams before turning inside out, especially if you are using a bulky fabric such as an old towel or terrycloth.
- For square pads, clip the corners diagonally, being careful not to cut the stitching! Trim the seam allowances to get rid of excess without cutting too close to the stitching.
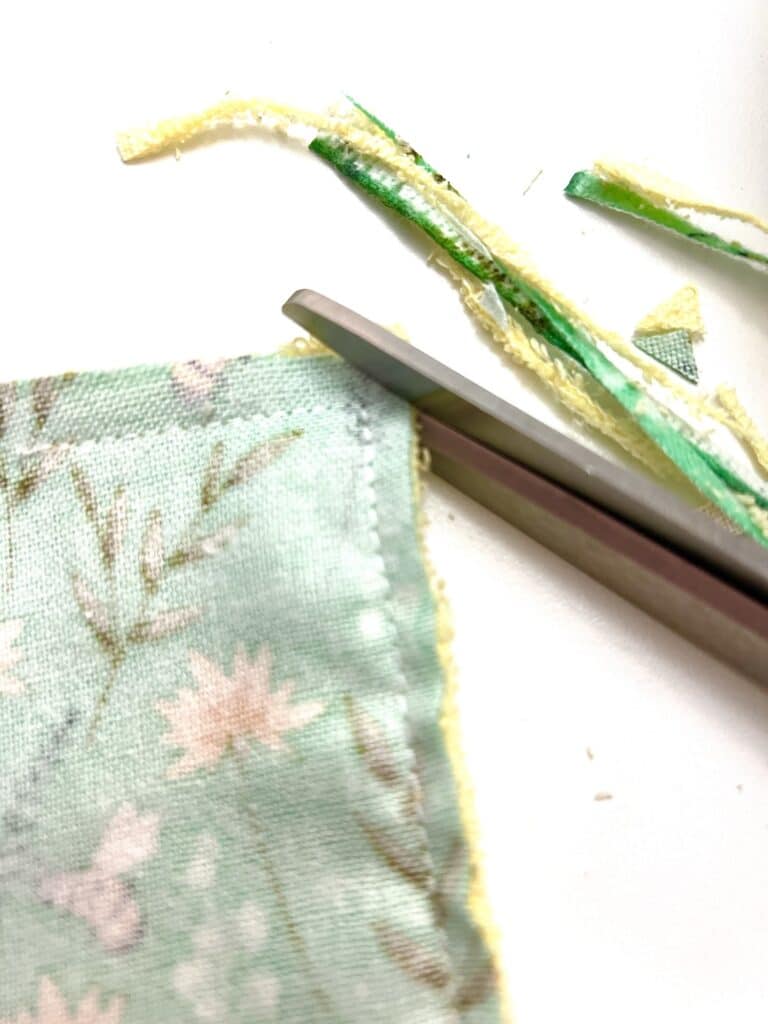
- For circle pads, cut out small notches around the circle so that the pad will lay flat when you turn it inside out. Be sure not to cut the stitching, just close to the stitching. This reduces the bulk of fabric that will be puckering up inside the pad.

Turn the pad inside out.
Push out the corners of the seams with a turning tool.
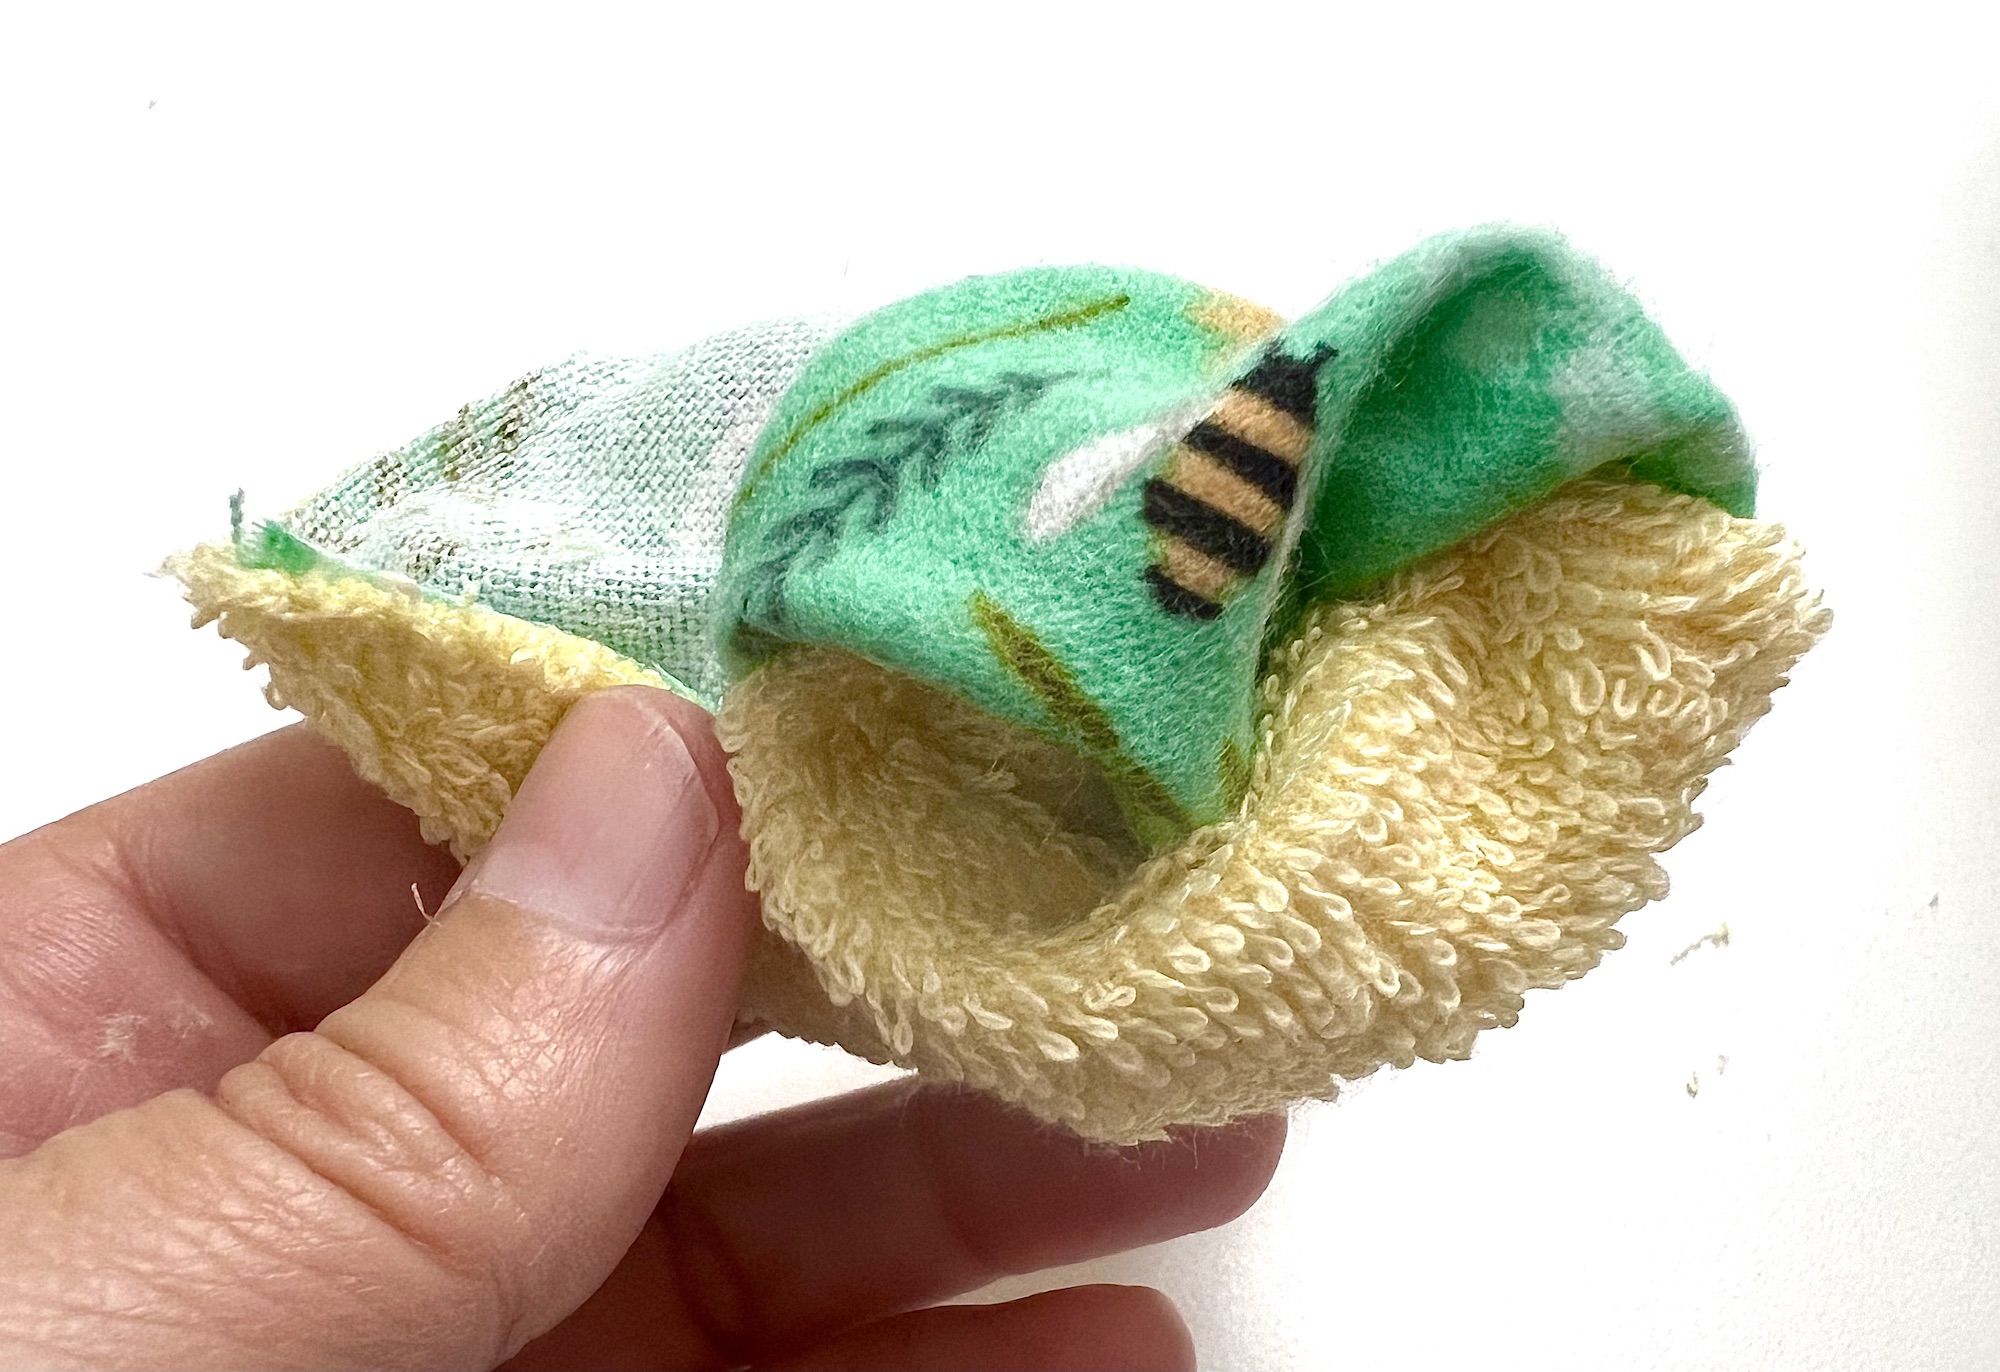
Step 5
Turn under the raw edge of the fabrics where the gap is. Fold each piece of fabric inward. Pin or clip this seam closed.
Optional: Press the pad with a hot iron. I highly suggest doing this because it flattens the fabric before topstitching. Be sure to remove the pins or clips before pressing the seam open.
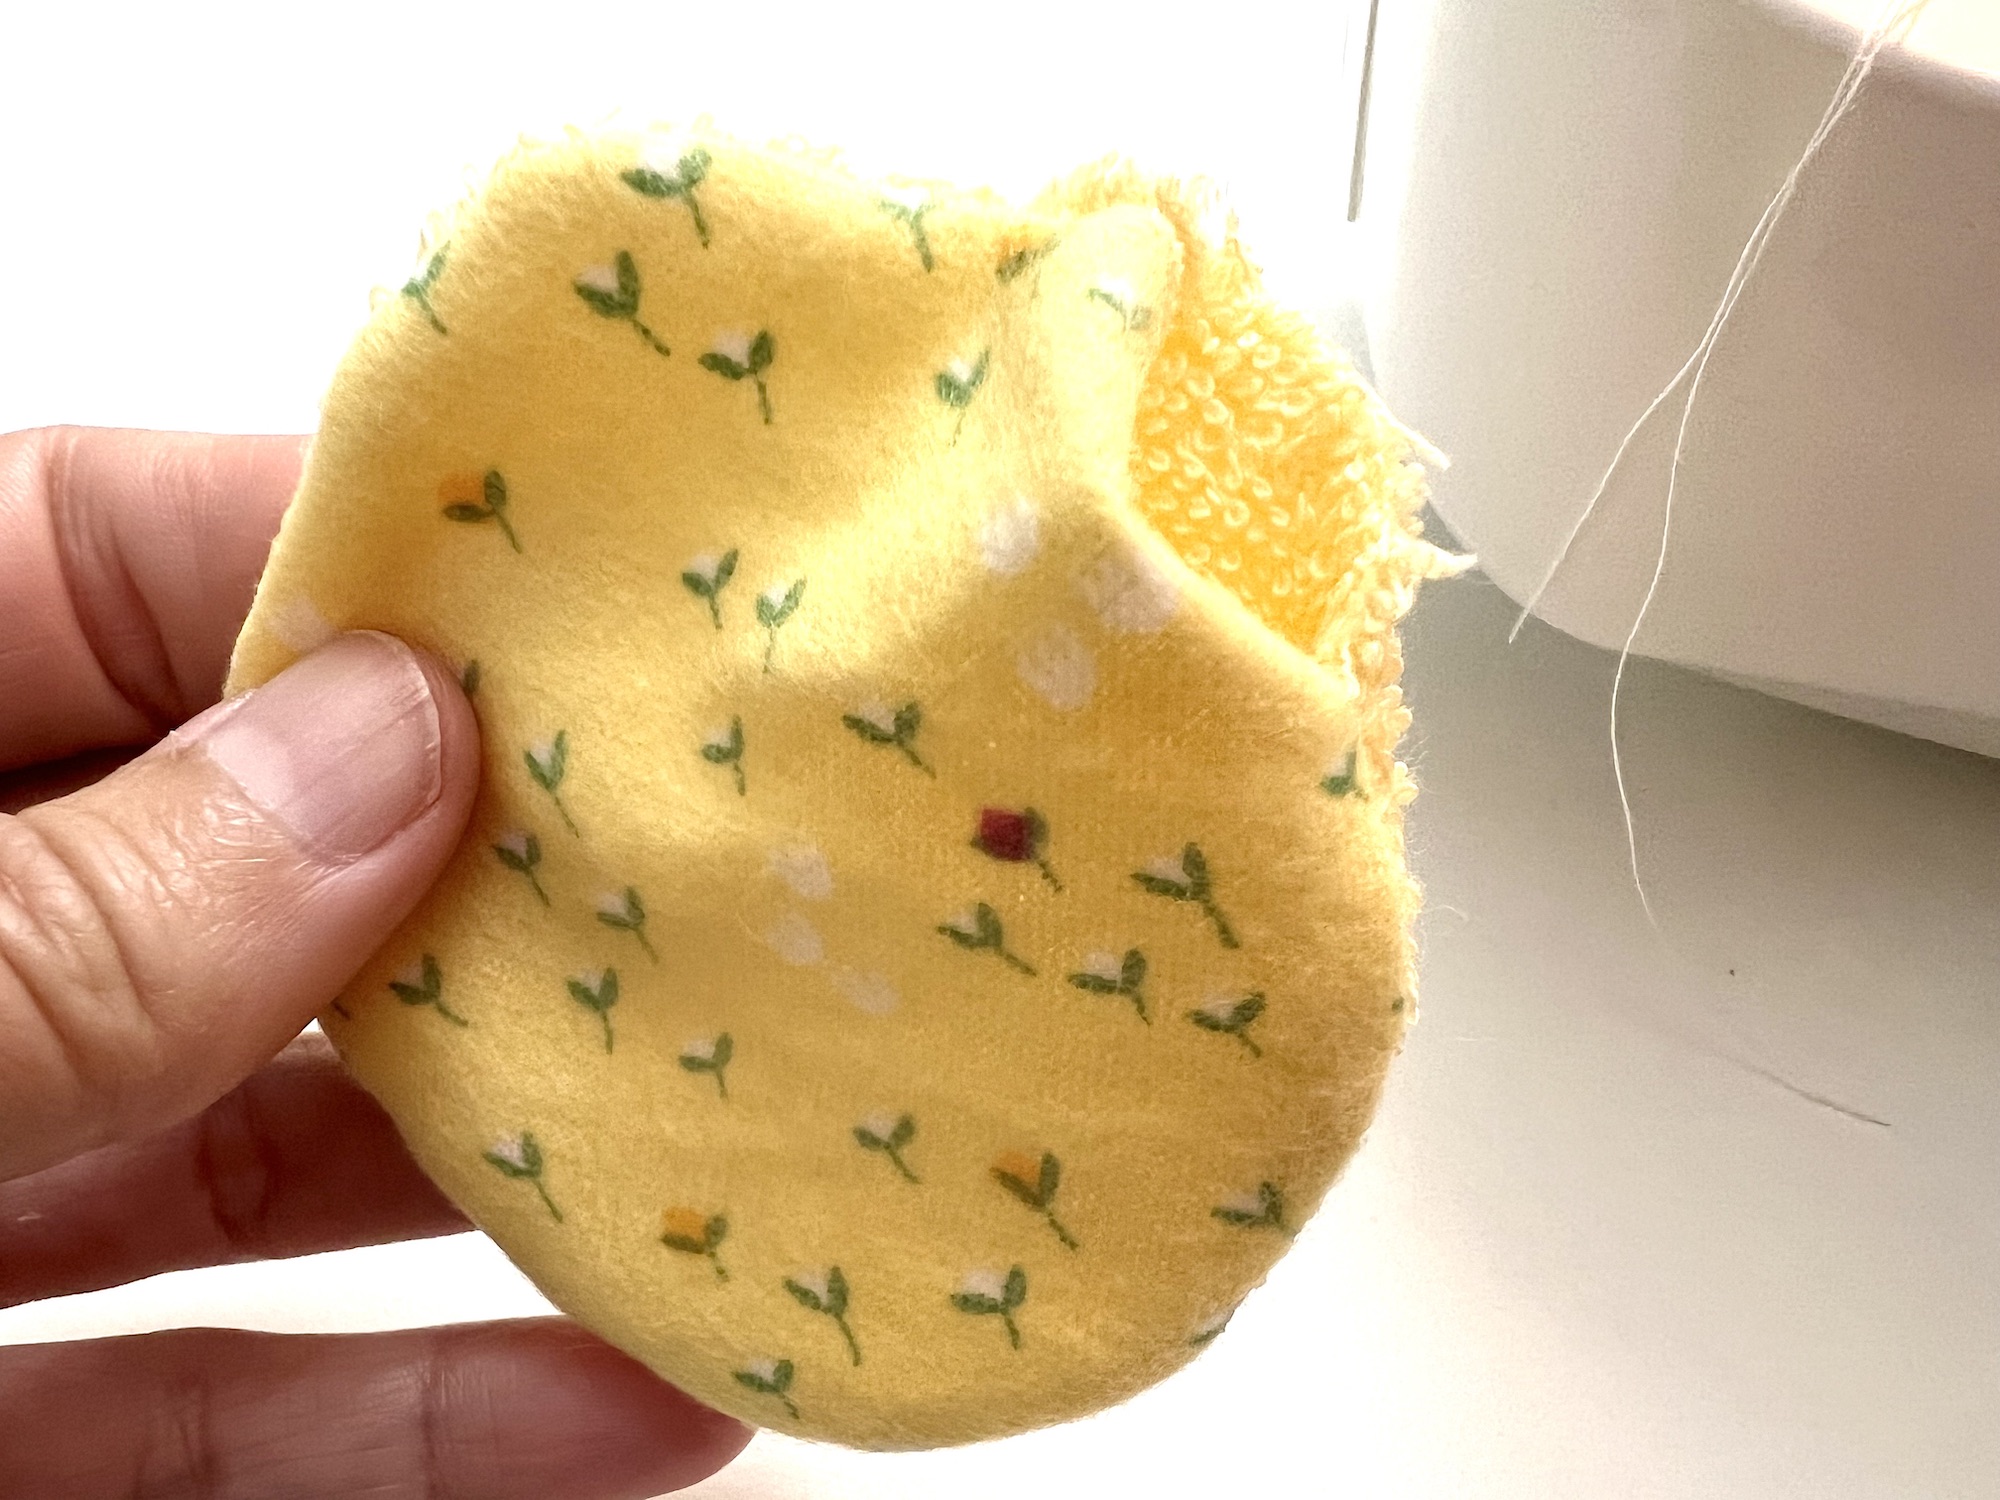
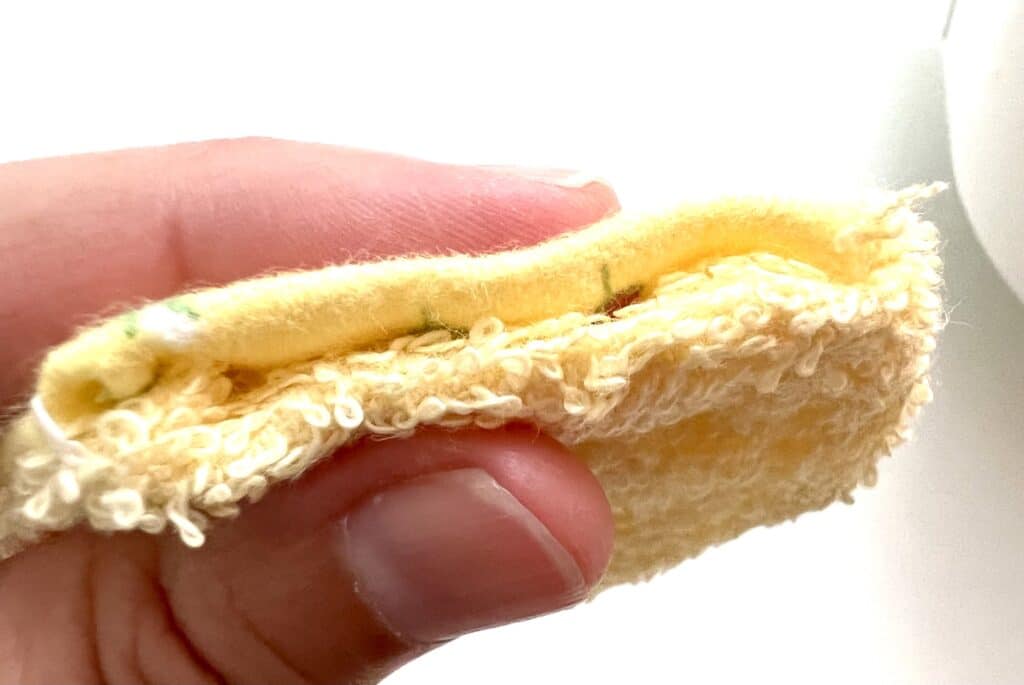
Top stitch around the outer edge of the makeup remover pad, being sure to sew the open seam closed. I used a ¼ inch or less seam allowance for top stitching.
Optional: You can stitch a diagonal “X” across the pad to prevent fabric from moving around after multiple washings. This is not necessary, but it does add a decorative finish.
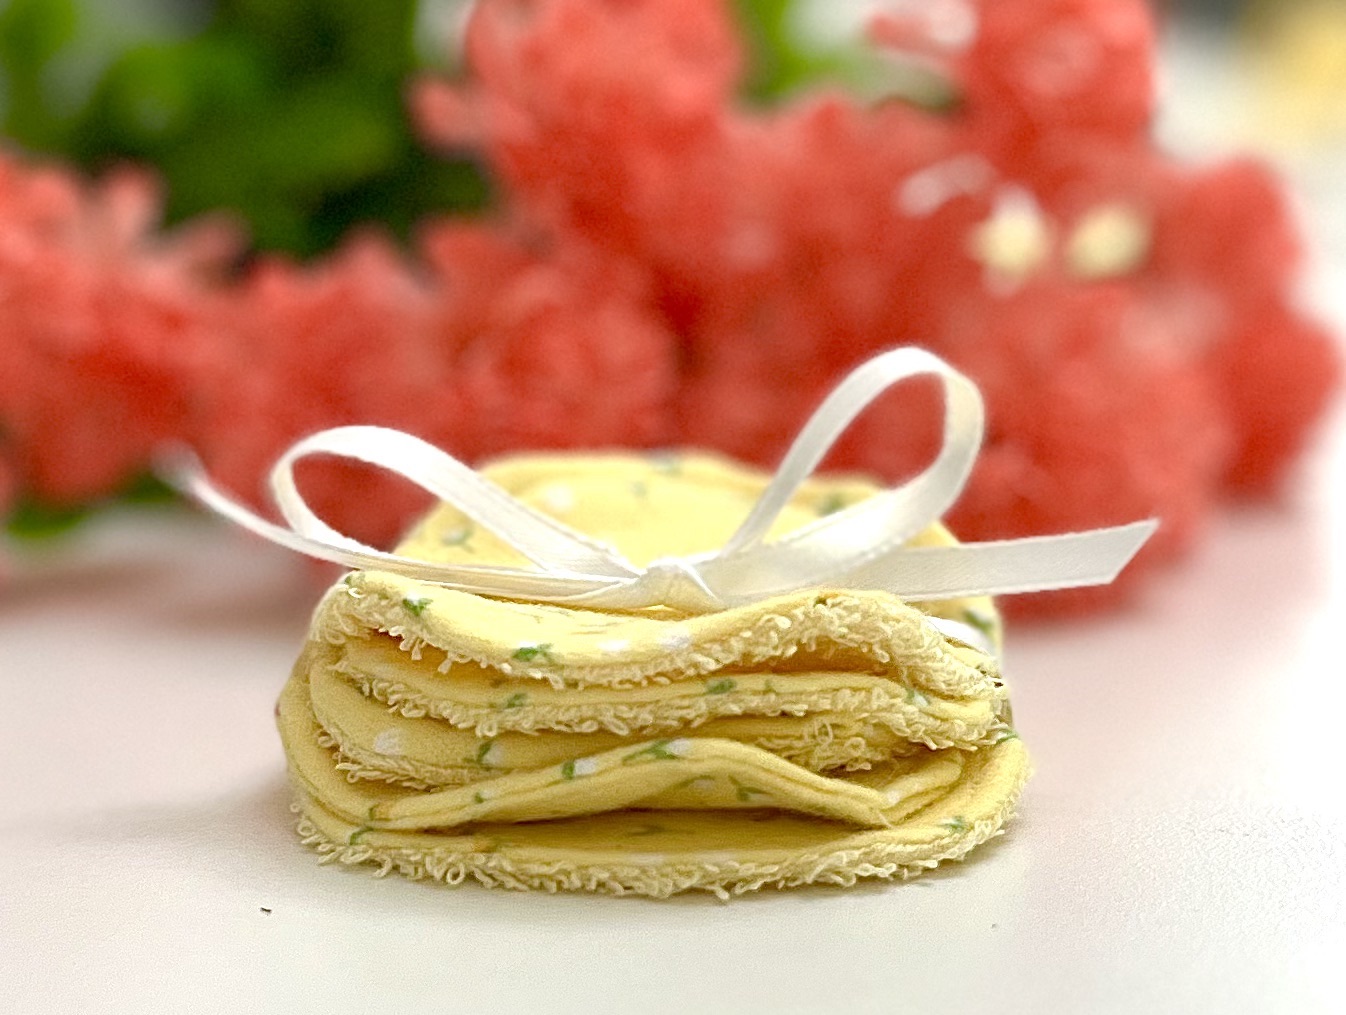
Making Reusable Makeup Remover Pads As a Gift
When giving these makeup wipes as a gift, you should give about 7-10 pads, which will allow for using one a day for at least a week.
Stack the pads on top of each other and tie with a ribbon to make pretty.
Alternatively, you could stack the pads in a pretty glass jar or a square box and then tie with a ribbon.
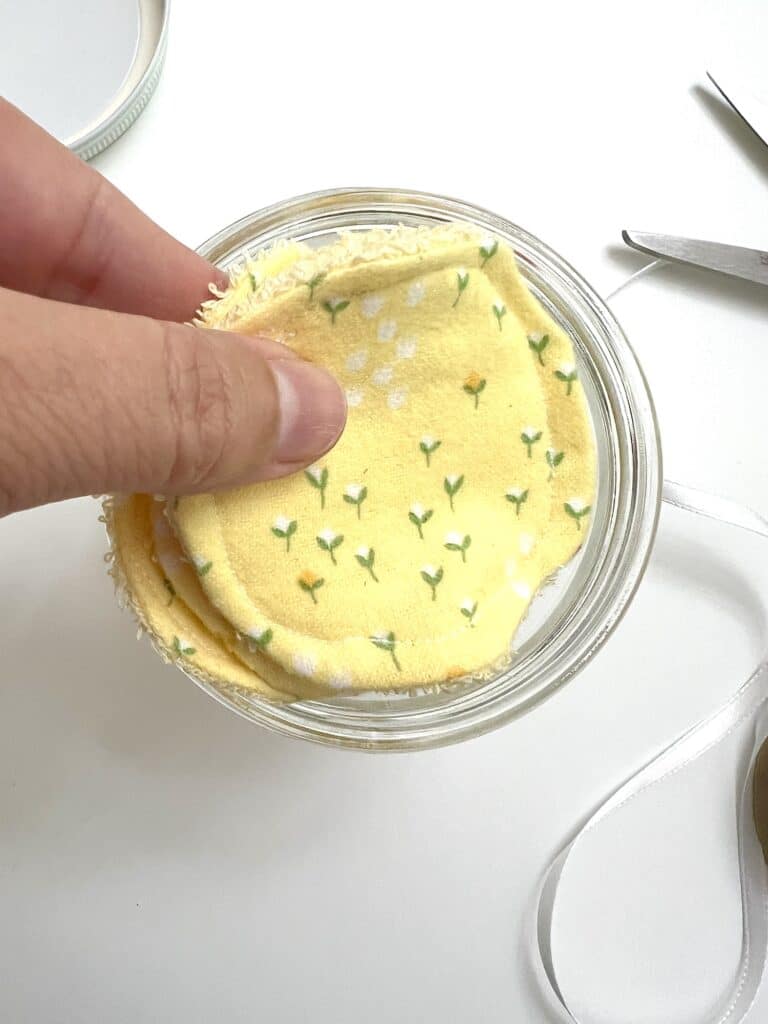
We suggest adding a small mesh bag with your gift for washing the zero waste makeup remover pads.
Helpful Tips I Learned Sewing This Project
- These pads can be customized to the size that works best for you. If you want a larger pad, just increase the size of the circle or square.
- These circle makeup remover pads will be a little bit larger than the disposable cotton pads you would buy in the store. If you prefer the small size, I suggest using a circle pattern that is 2 ¾ inches (7 cm).
- When sewing with terrycloth or towels, the seams can get thick and may be hard to sew. If your needle seems stuck and just won’t move forward, use a slower speed when pressing your foot pedal and very slightly tug or push the fabric as you are stitching. Alternatively, you can hand crank the needle while slightly pushing or pulling the fabric to get it over the hump of the thick seam.
- Cutting terry cloth or towels is messy! Be prepared for little bits of fabric everywhere! Using a lint roller is an easy way to remove it.
- Making pretty makeup remover pads is nice, but the pretty fabric could get stained after repeated uses. Choosing dark colors for the fabric can reduce the amount of stains that you see on these no-waste makeup remover pads. We do not suggest using a white fabric or print unless you will be using a stain remover on the fabric or bleach.
- I found that these pads don’t lay flat very easily! They do tend to twist and curl up at the edges. The circle pads look like Pringles chips and curling up at the ends. Pressing them with a hot iron keeps the remover pads flat.
Want to save this idea for later? Be sure to Pin It to Pinterest!
Want more money-saving zero-waste sewing projects? See these ideas next: