Dish Soap Apron
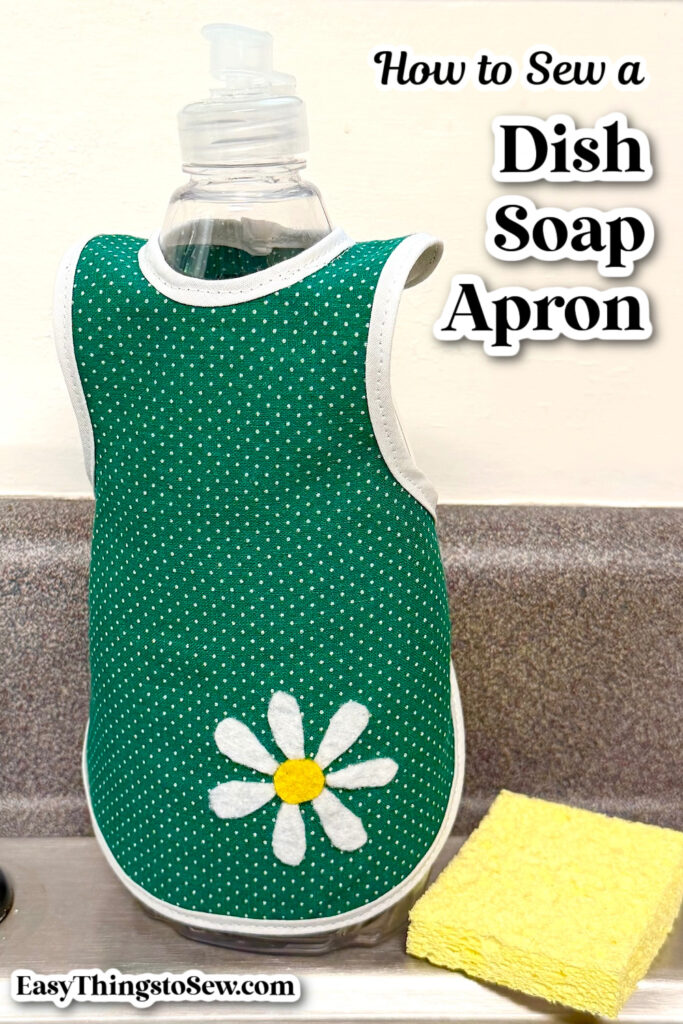
This dish soap apron tutorial makes a decorative cover for a dish soap bottle just like your grandma would have had!
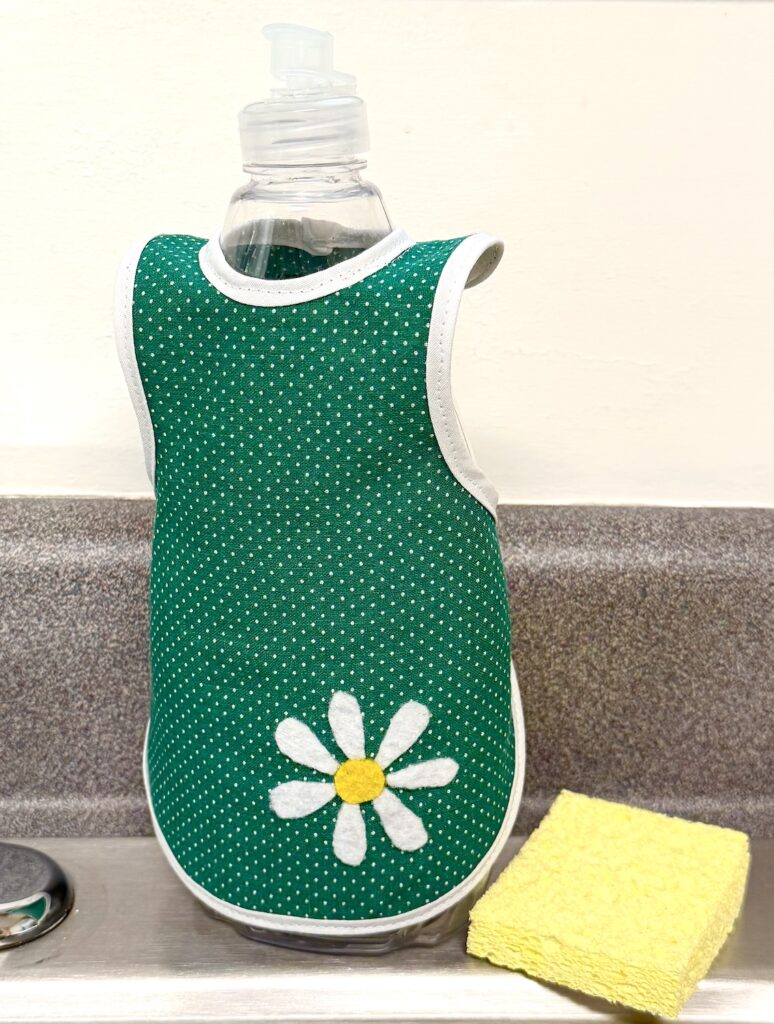
This vintage sewing pattern is quick and easy and adds a lot of style to your kitchen sink.
You could even make a matching DIY jar opener, reusable kitchen sponge or turtle mop for matching kitchen accessories.
Make a different dish soap bottle apron for every holiday!
This pattern fits a 9 inch (23 cm) high bottle. I tested this pattern on a Seventh Generation and a Publix brand dish soap bottle.
Different brands can have different sizes and shapes, so I suggest that you cut out the pattern on paper and do a test run on your bottle before cutting fabric to make sure it will fit.
Supplies
- Free Dish Soap Apron Sewing Pattern
- Two Cuts of 8″ X 10″ Fabric (20.5 X 25.5 cm)
- 50″ (1.4 yards) Bias Tape (I used Single Fold, but Double Fold will also work)
- Small pieces of felt (optional)
Pre-wash your fabric before cutting out the patterns! You will likely need to wash this apron and you don’t want it to shrink!
Directions
Step 1: Cut Out Pieces
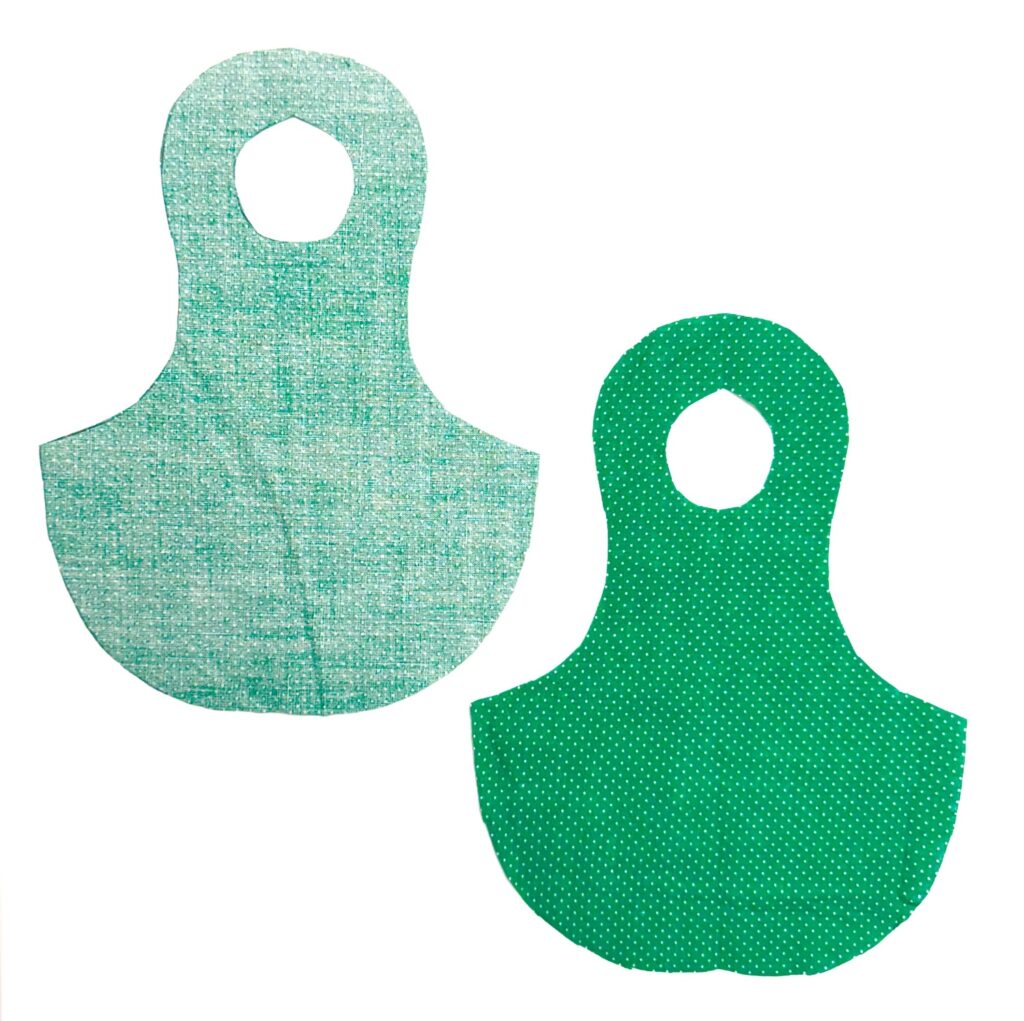
Place the pattern on the fold of fabric, trace, then cut out. Cut out the circle near the top to create the opening. You will need two pattern pieces.
Step 2: Creating the Ties
Cut two 8″ (21 cm) pieces of bias tape.
Open one piece of bias tape and fold one end under about ½ inch.
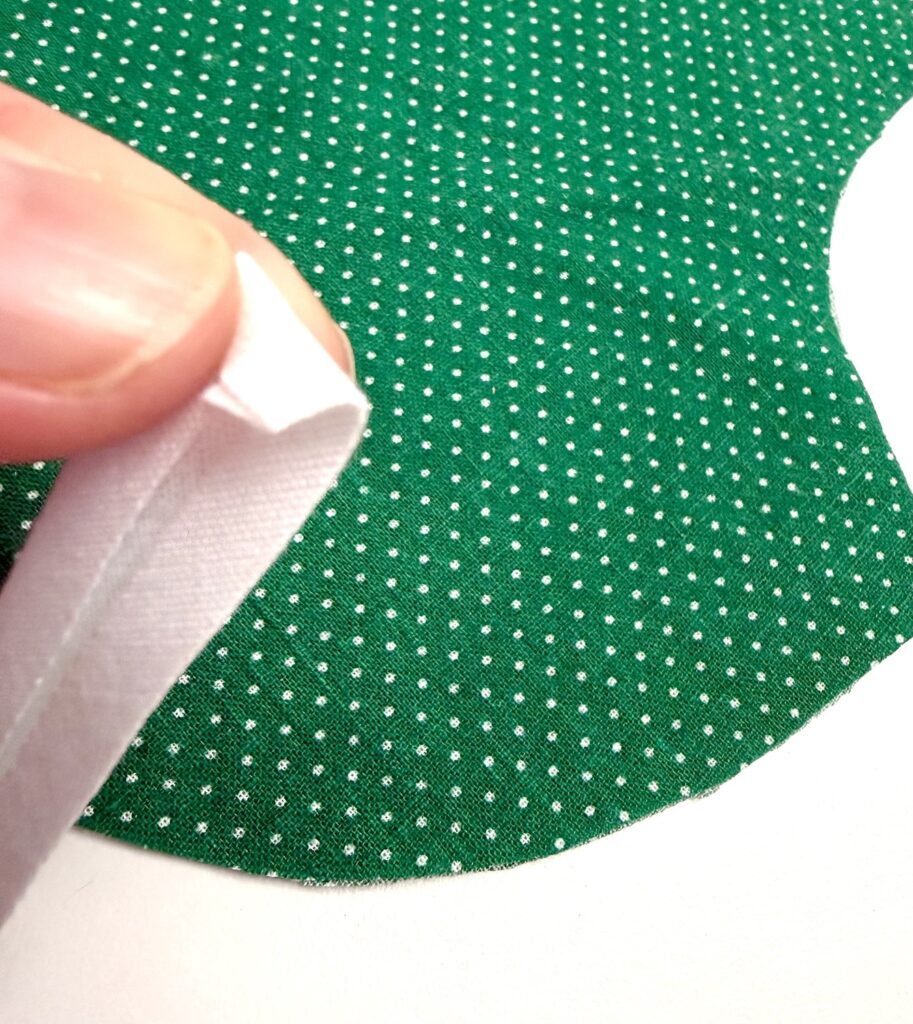
The fold the bias tape closed again.
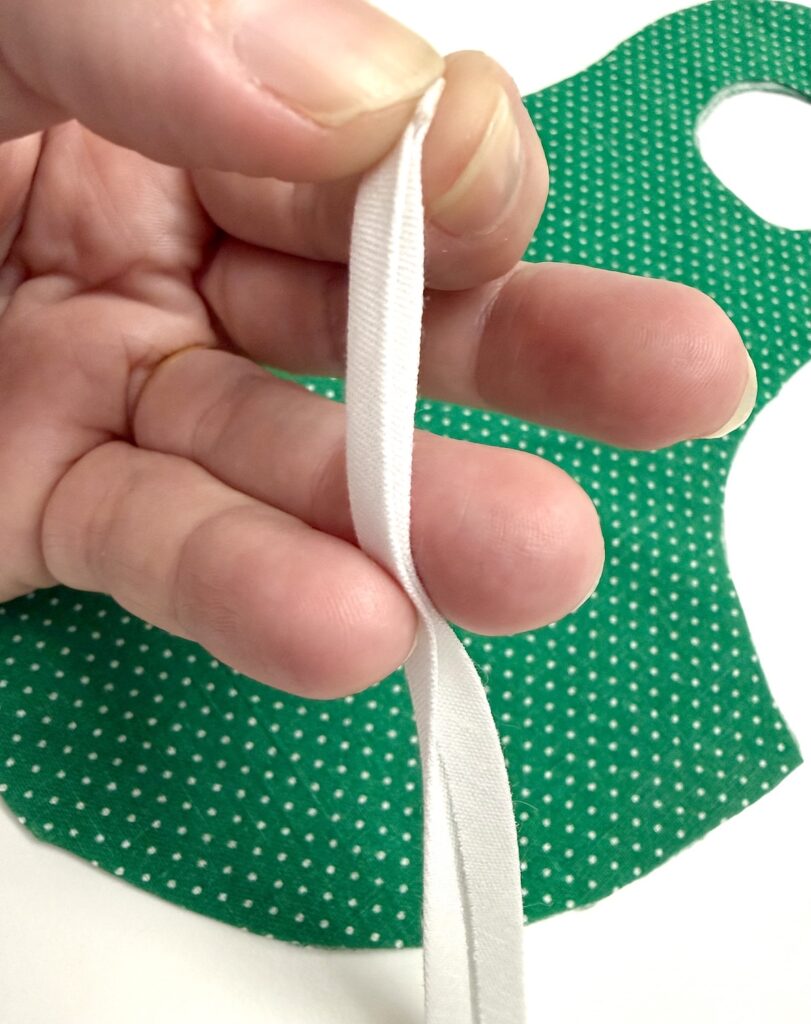
Sew the open edge of the bias tape closed, stitching close to the open edges. Repeat with the second piece.
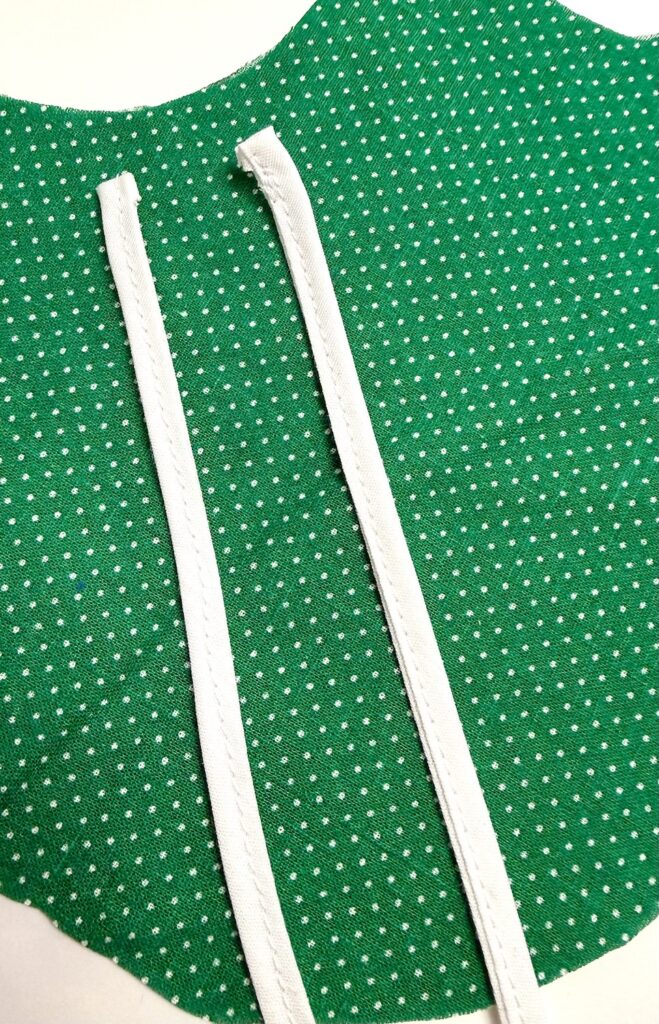
Step 3: Assembling
Place the two pieces together, right sides facing out.
Starting at the top, insert the two pieces of fabric in the fold of the bias tape and continue to bend the bias tape around the curves of the apron pattern.
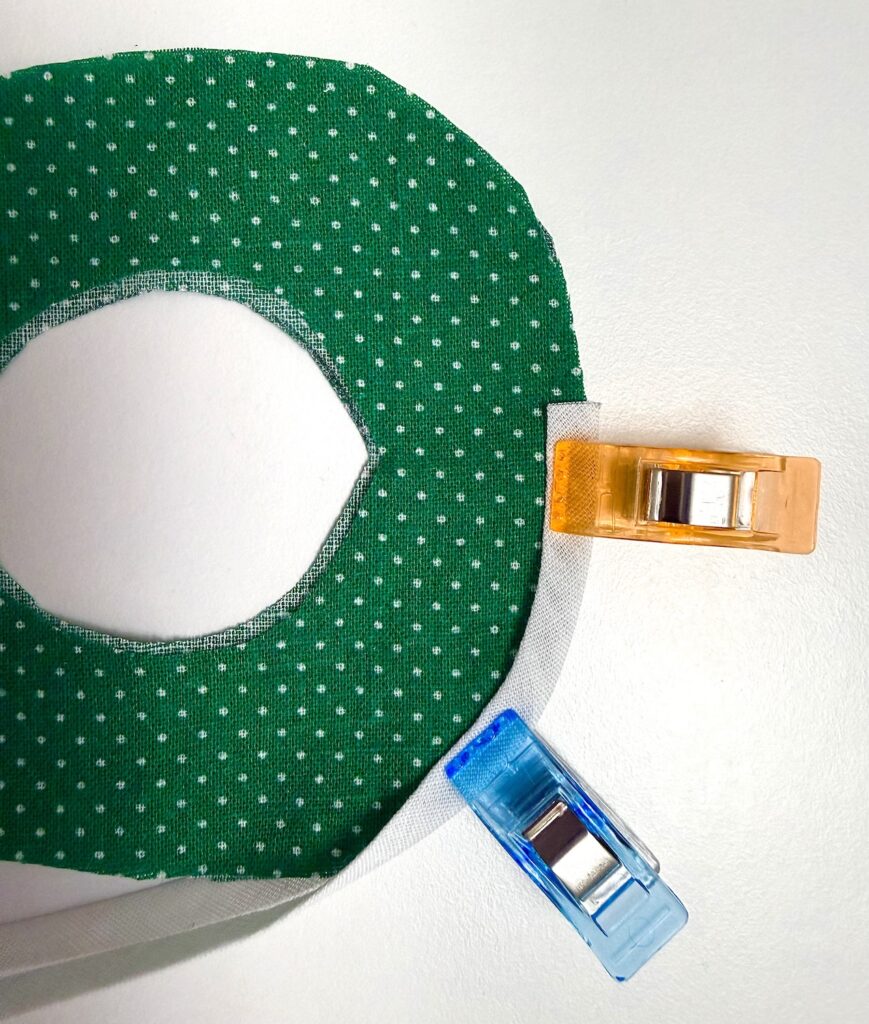
You can pin or clip the bias tape to the pattern, however I found it was easier to stitch in small sections and attach the bias tape as I went.
Stitch the bias tape along the open edge.
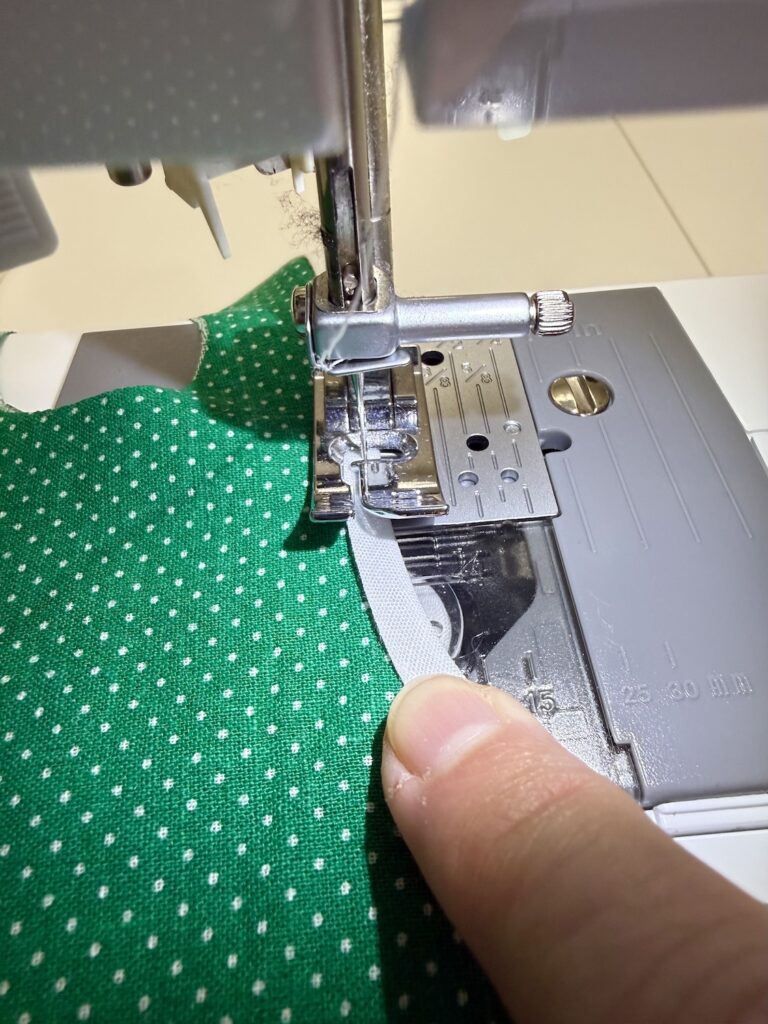
When you get to the widest point on the apron on each side, insert the raw edge of one of the bias tape ties underneath the bias tape on the back and secure as you stitch.
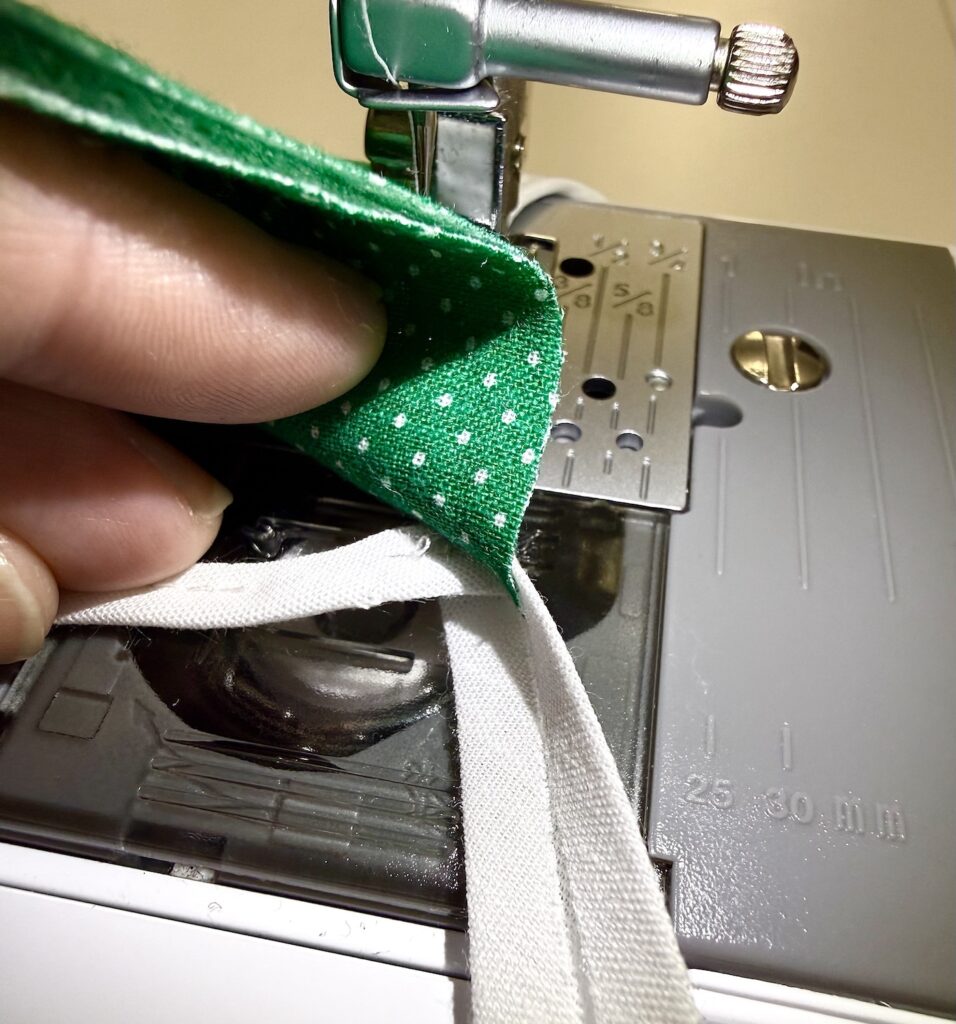
Once you get back to the top, cut the bias tape to overlap about ½ inch. Open the tape, fold under the raw edge about ¼ inch, then fold the tape and finish your stitching. The bias tape should overlap the beginning and cover the raw edge.
Next, sew the binding around the circular opening using the same method.
And you’re done!
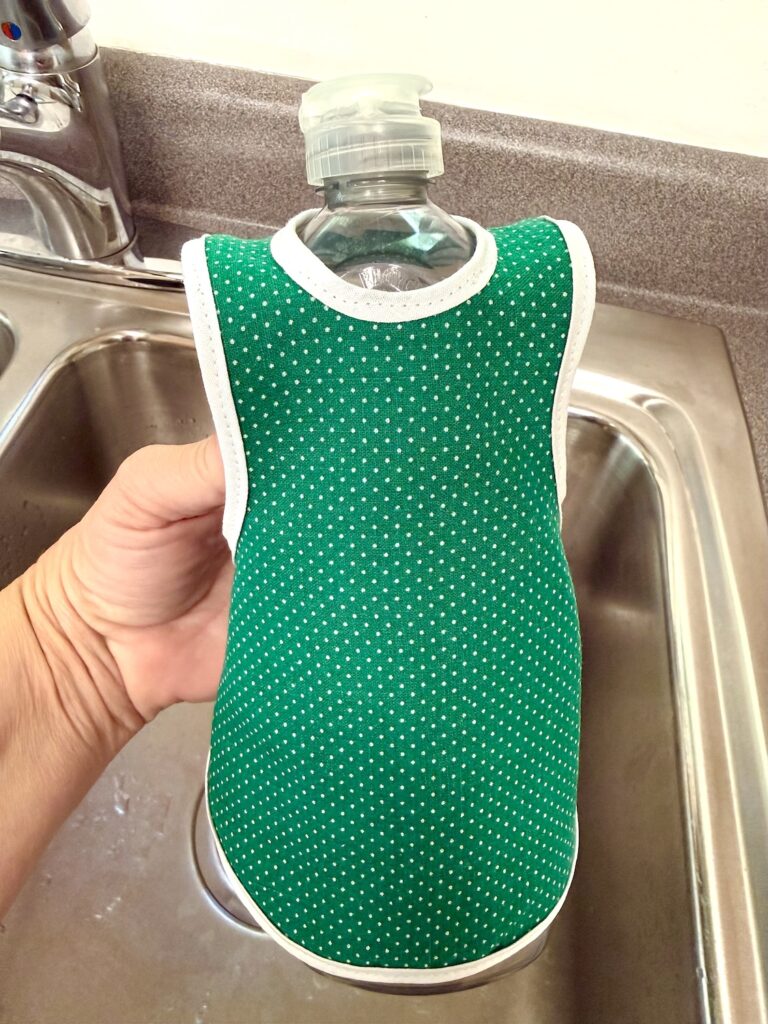
I wanted to add a flower to my dish soap apron, so I cut out some petals from felt and attached. It’s not necessary, but definitely adds extra charm!
How to Put the Apron on the Dish Soap Bottle
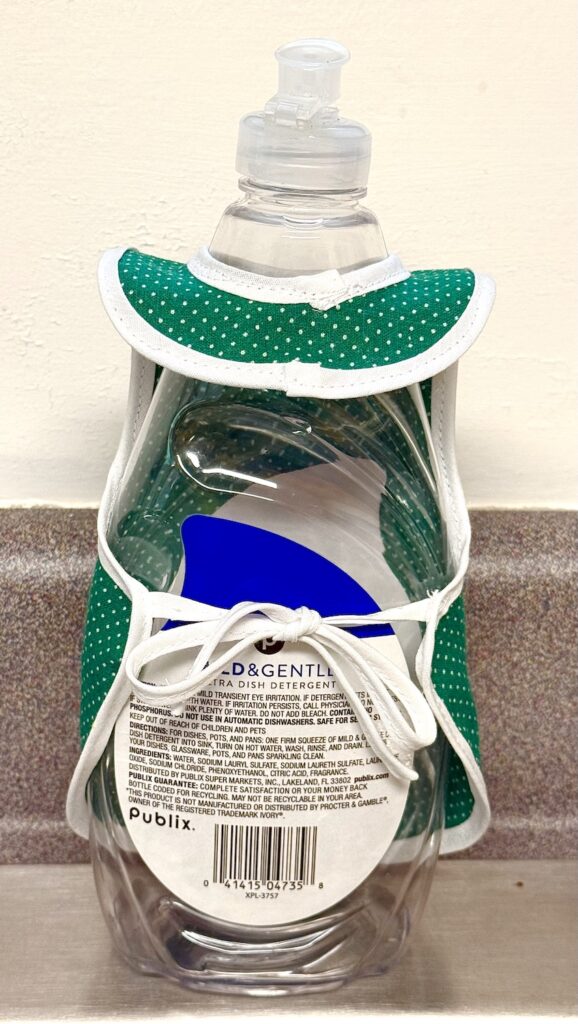
Place the circle opening over the top of the bottle. Then wrap the ties towards the back and tie in a bow.
Be sure to Pin This idea to Pinterest to save for later! You could also flip to Flipboard or post to Facebook to see on your profile, too!
Want more easy kitchen sewing projects? Check out these easy sewing tutorials next: