Easy Bandana Tote Bag (2 Different Ways)
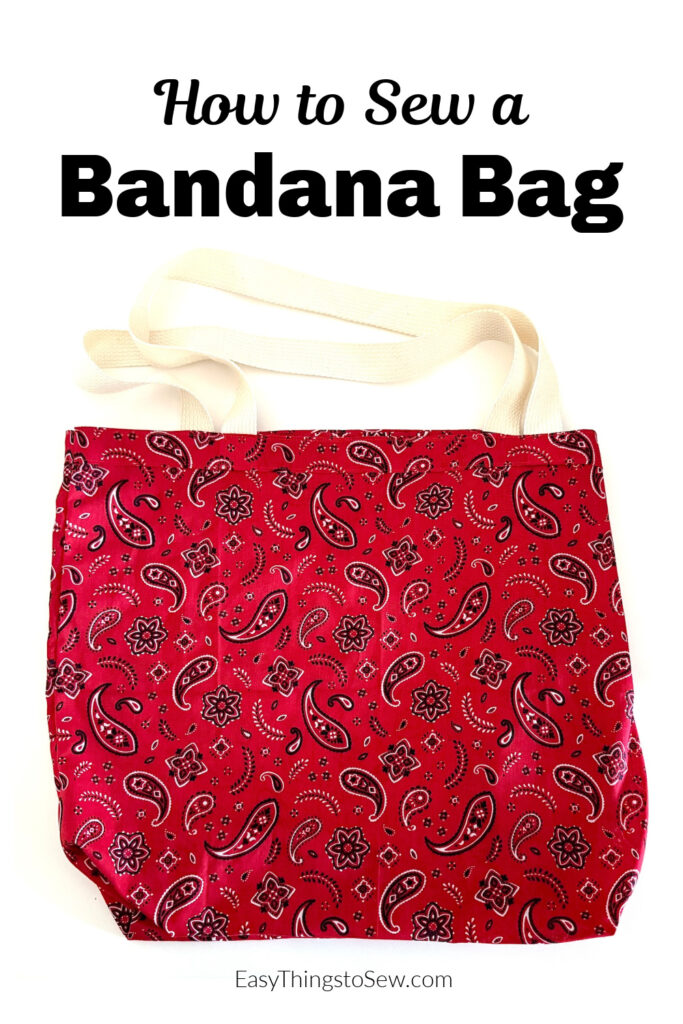
DIY Bandana Bags are all the rage right now, but most require multiple bandanas and fleece, along with lots of time to quilt the fabric. Our handmade bandana bag is the opposite – you can make it in less than an hour with only 2-4 bandanas and some webbing for straps.
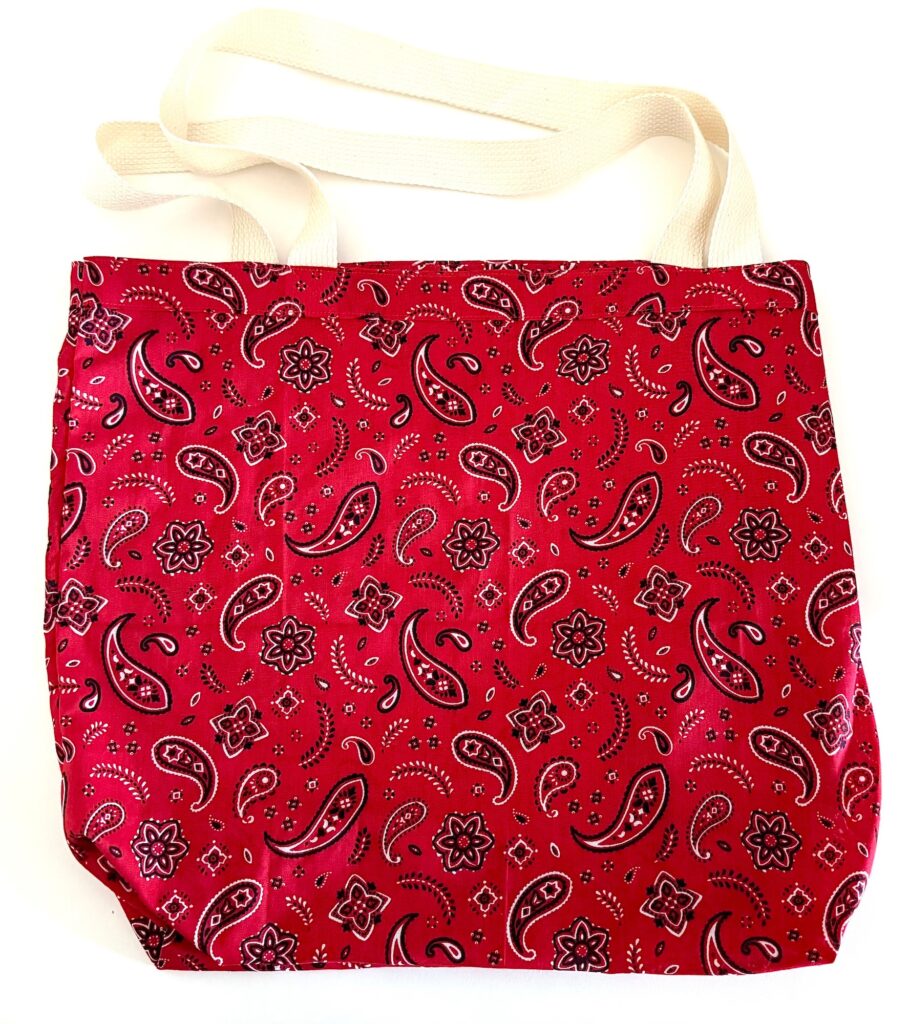
This sewing project can be done in two styles:
- Unlined bag using 2 bandanas
- Reversible bandana bag using 4 bandanas
The methods are very similar and make a bag the same size.
Be sure to pick up a couple extra bandanas to make this DIY bandana dress, too!
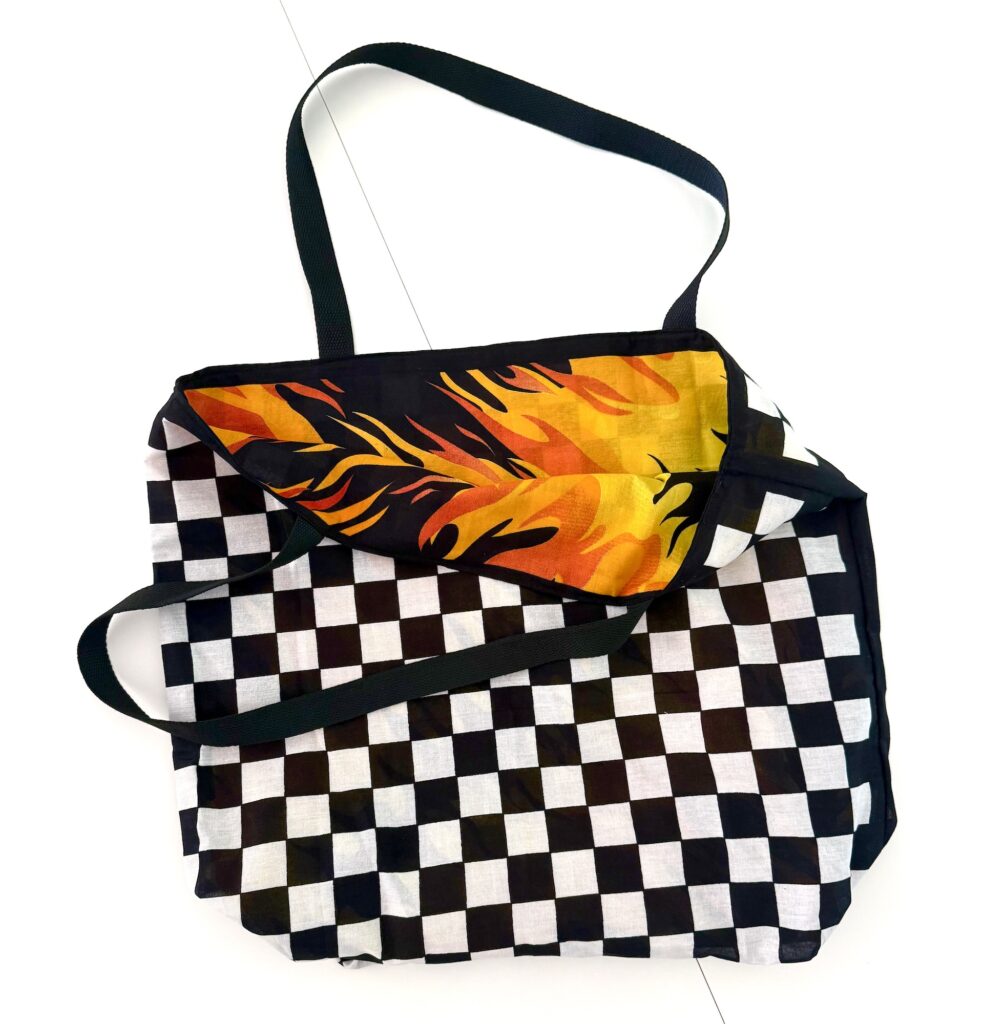
These tote bags are perfect for kids, teens and adults! It’s a great summer sewing project for a bag that is perfect for the pool, beach, sports practice or farmers market.
It’s a great Operation Christmas Child sewing project, too!
Why You’ll Love This Sewing Project
- No need to cut fabric!
- You’ll use the finished seams so that you don’t need to serge or finish off the edges.
- This oversized bag holds a lot of stuff and is bigger than many tote bags.
- Bandanas are inexpensive (.99 cents at Hobby Lobby) which makes this a budget-friendly sewing project.
- You can mix and match bandanas for different looks!
- A great sewing project for kids to learn sewing.
How to Sew an Unlined Bandana Bag
There’s no need for a liner because most bandanas look the same on both sides.
The bag size is 20″ X 18″ X 6″
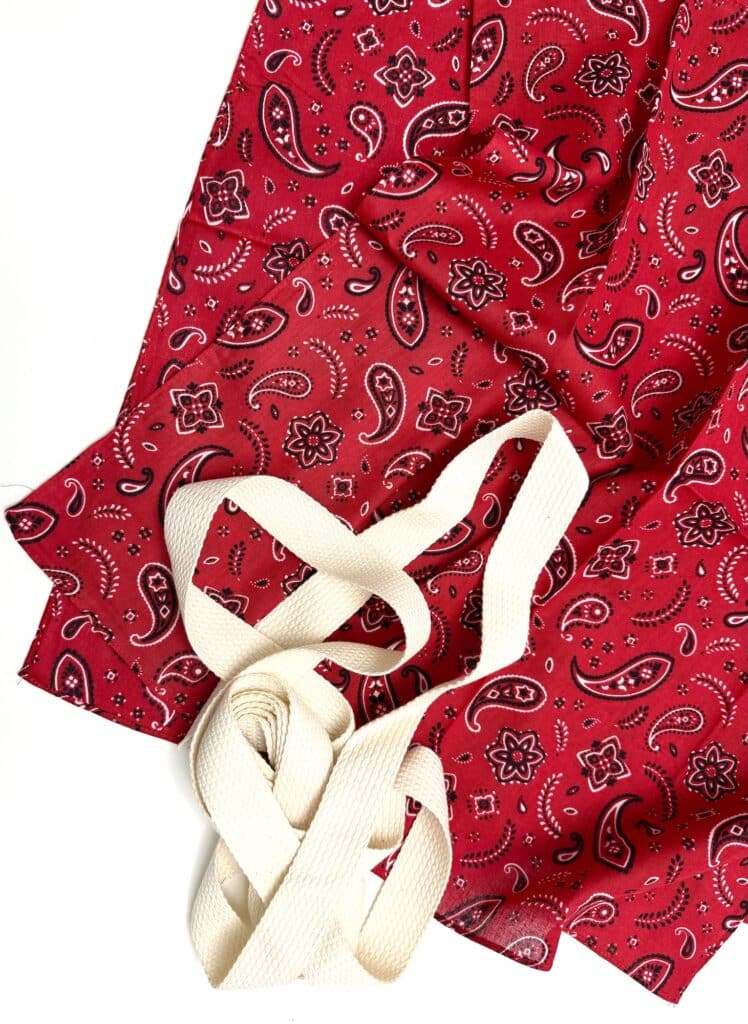
Supplies
Step 1: Sew the Bag
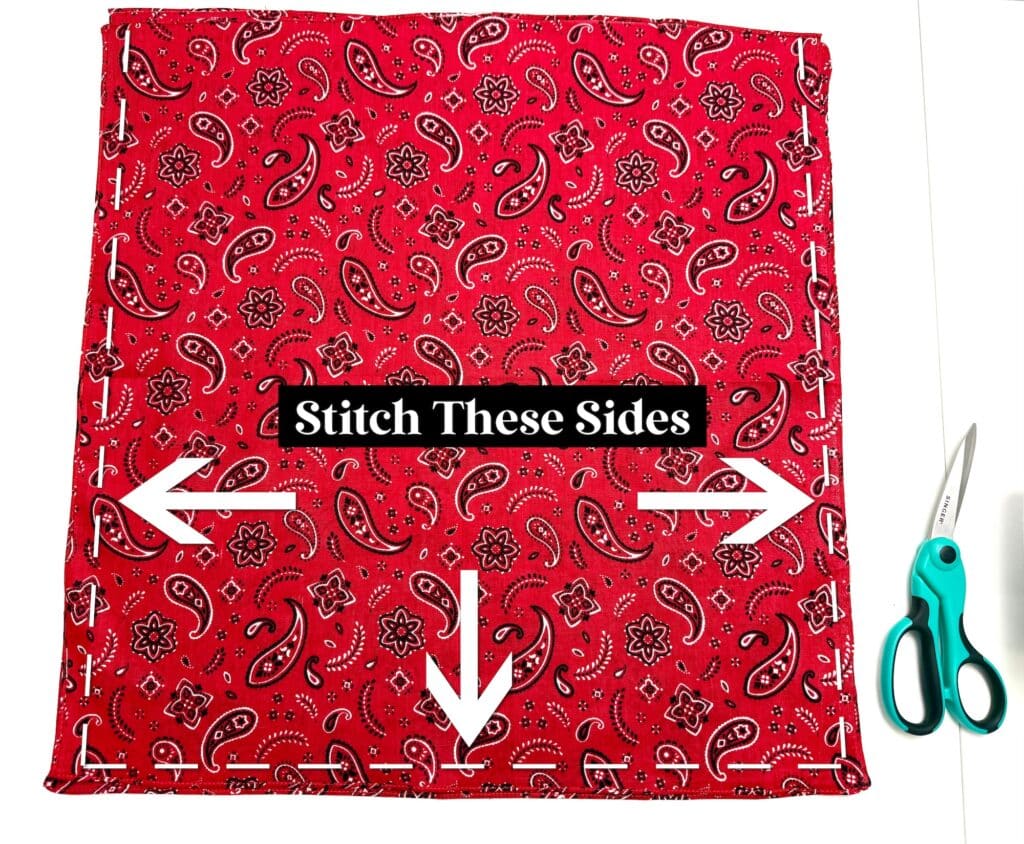
Place the bandanas right sides together.
Sew around three edges, keeping the top edge open. Use a ¼ inch seam allowance.
Important Tip: Most bandanas are not even, so you can measure the seam allowance from the smallest (or most narrow) side, even if some fabric peeks out beyond that on the other layer.
Step 2: Box the Corners
Push out each corner by placing your hand inside and folding the fabric together to create a triangle, matching the bottom seam with the side seam and having the seams in the center of the triangle.
Press open the seam (either finger press or use an iron).
Measure 3 inches from the outer point of the triangle and draw (or pin) a straight line across.
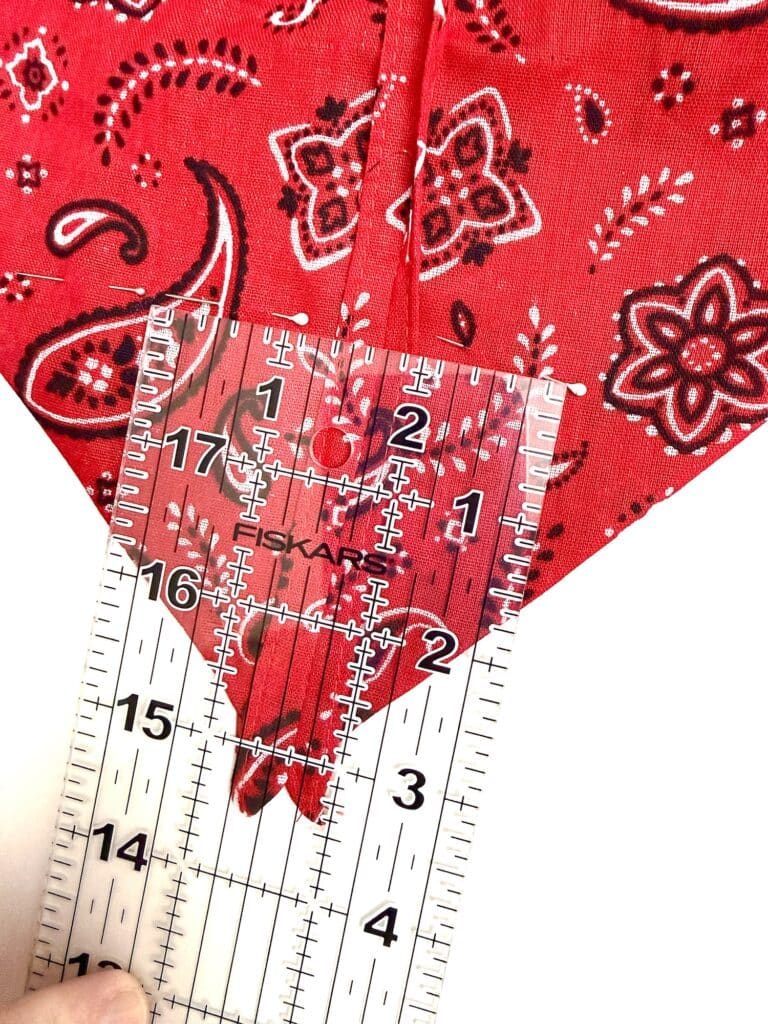
Stitch across this line, making sure to backstitch at the beginning and end.
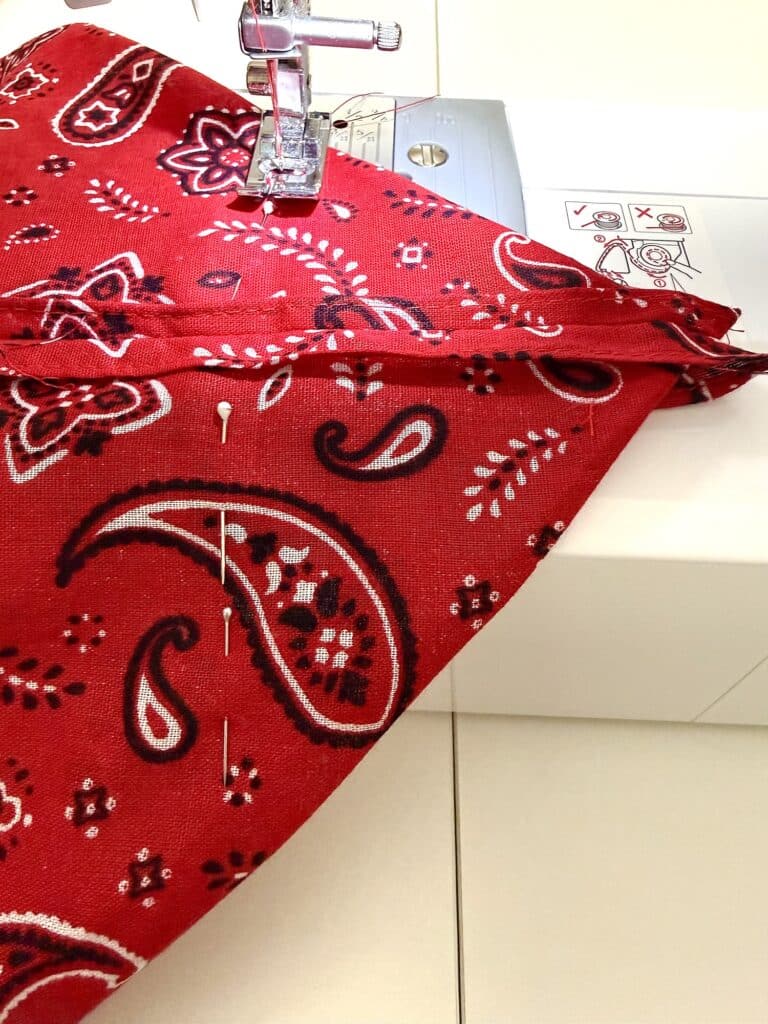
Optional: If you have a serger you could cut off the bulk of the triangle and serge the seam, however I left the fabric as is.
Step 3: Add Handles
Fold the top edge of the bag down by 1 inch. Press the fold with an iron.
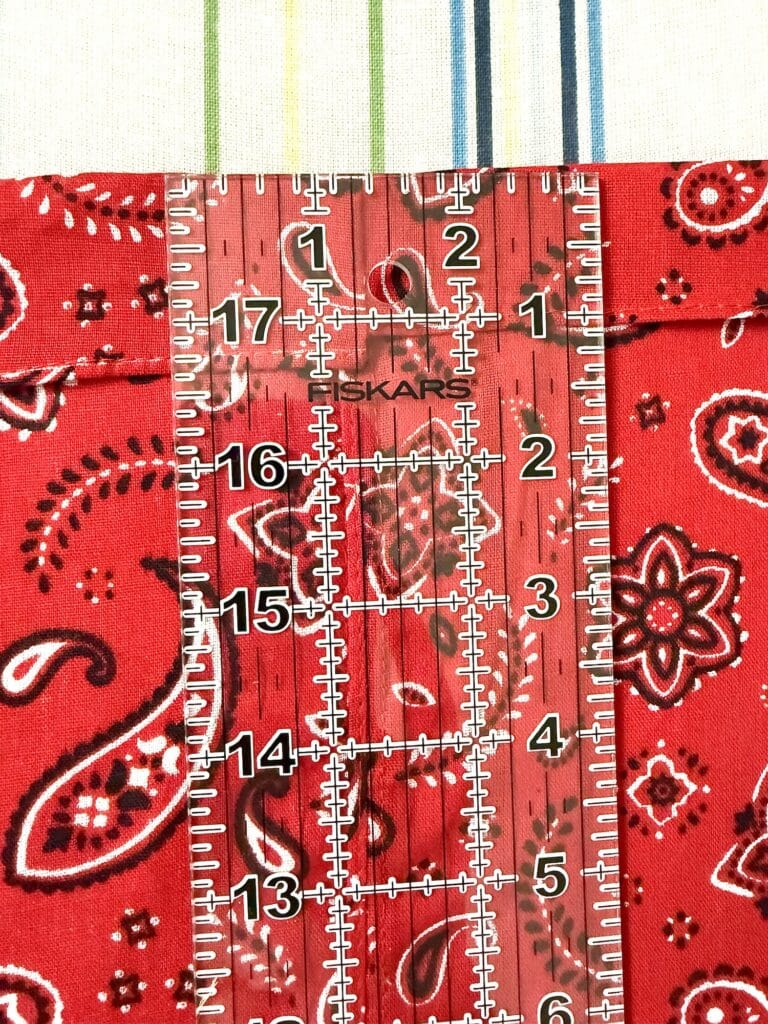
Cut the webbing in half to create two 26″ pieces.
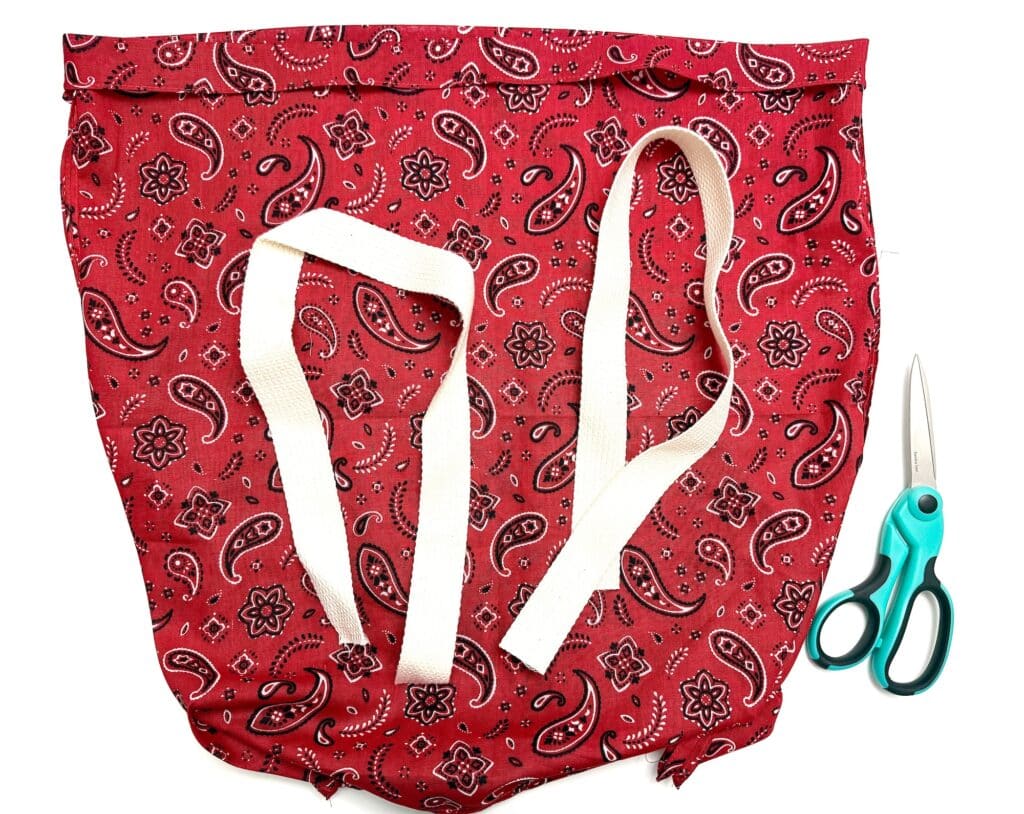
Measure 5″ in from each side. Center the webbing on the 5″ mark and tuck the raw edge under the folded bandana top, pushing the raw edge to the fold. Clip or pin to secure.
For my 1 ½″ webbing, the outer edge was placed 4 ¼″ from the side. If you use wider or more narrow handles, the measurement could be different.
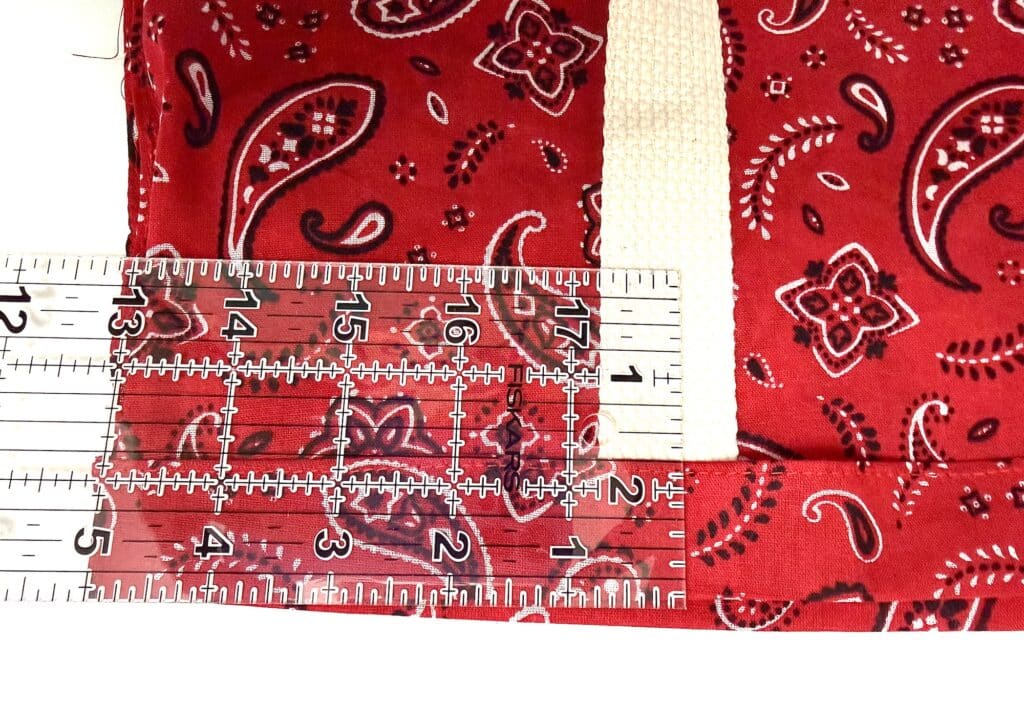
Repeat the same process on the opposite side. Check to make sure the webbing is not twisted as you position the handle.
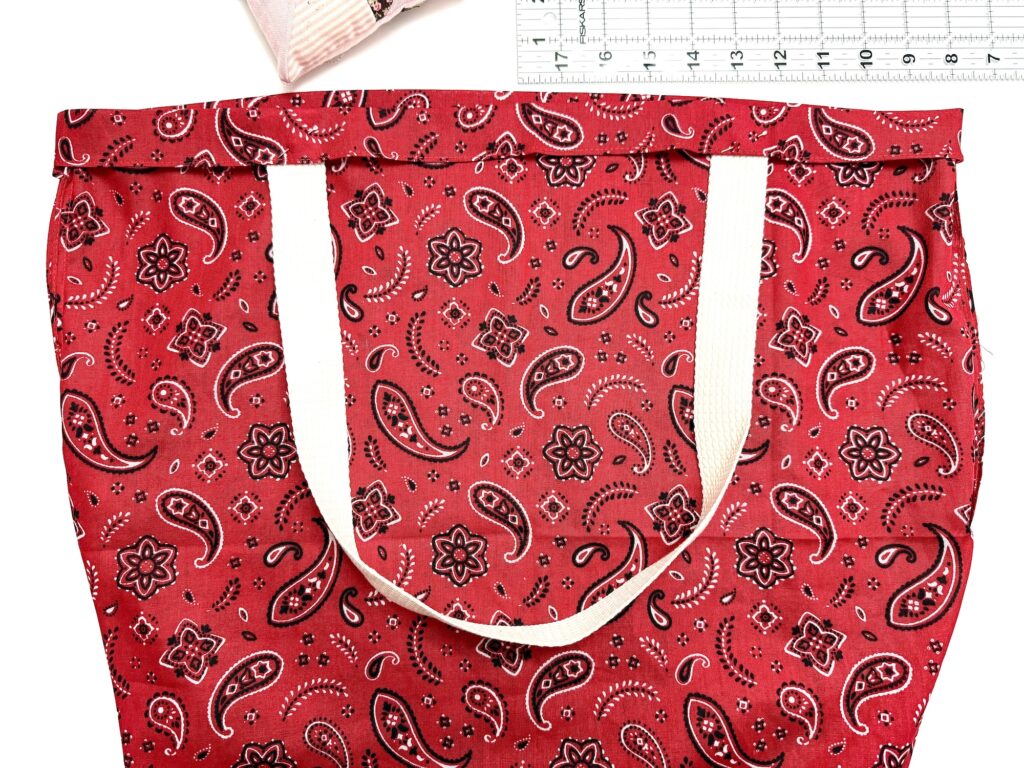
Now repeat both steps to make the second handle on the opposite side of the bag.
Time-Saving Tip: You can skip the measuring on the second side and just position the handle straps opposite the pinned straps on the first side. This also makes sure that the handles line up perfectly opposite each other.
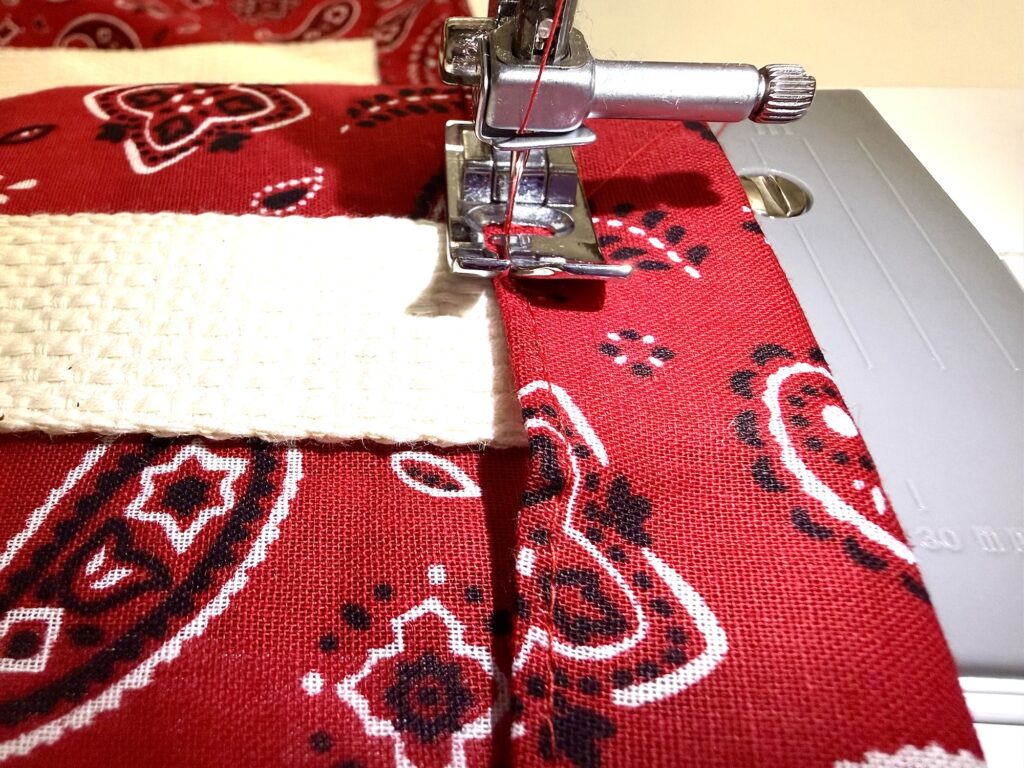
Sew across each handle near the edge of the bandana, being sure to backstitch at beginning and end.
Step 4: Finishing Details
Turn the bag inside out, pushing out the corners with your fingers or a turning tool.
Flip the top edge of the bag outwards, so that the handles are facing up and the top of the bag is folded over an inch.
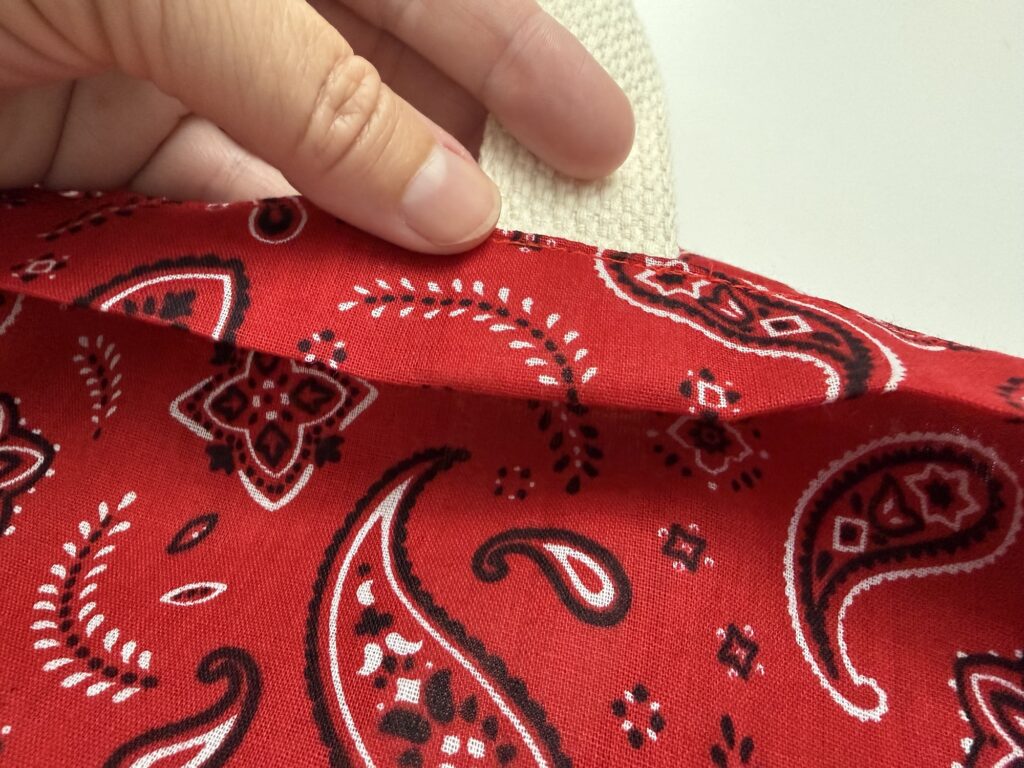
Press the fold with a hot iron. Then topstitch along the bottom edge all the way around the bag, being sure to backstitch at the end of your stitching.
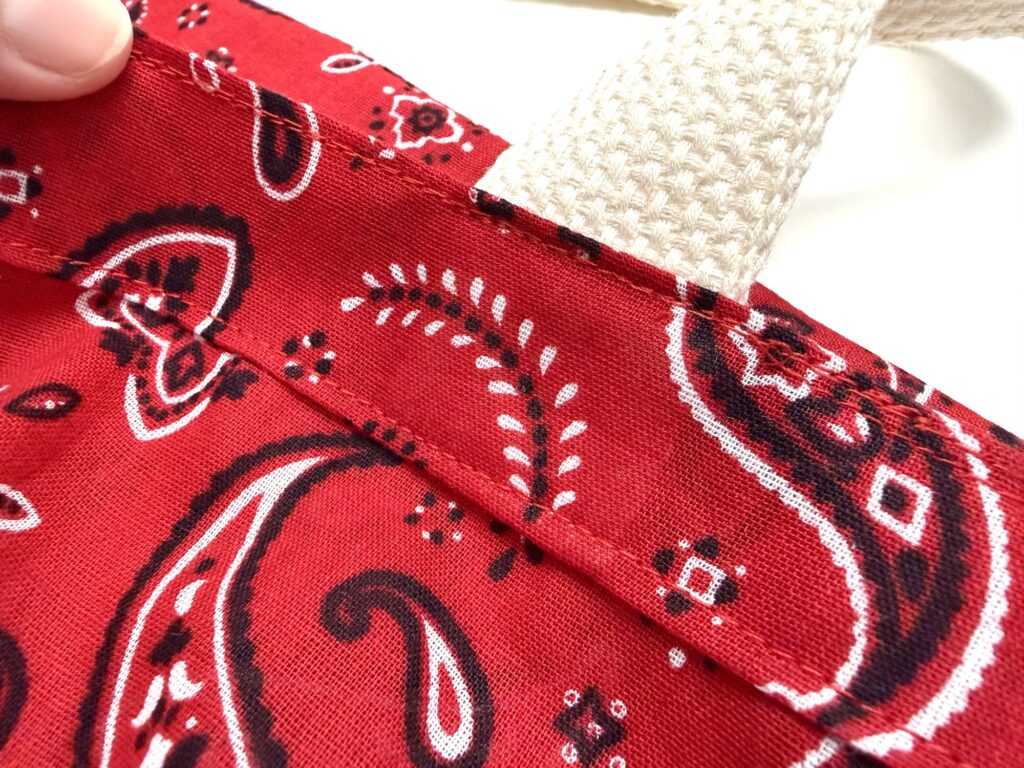
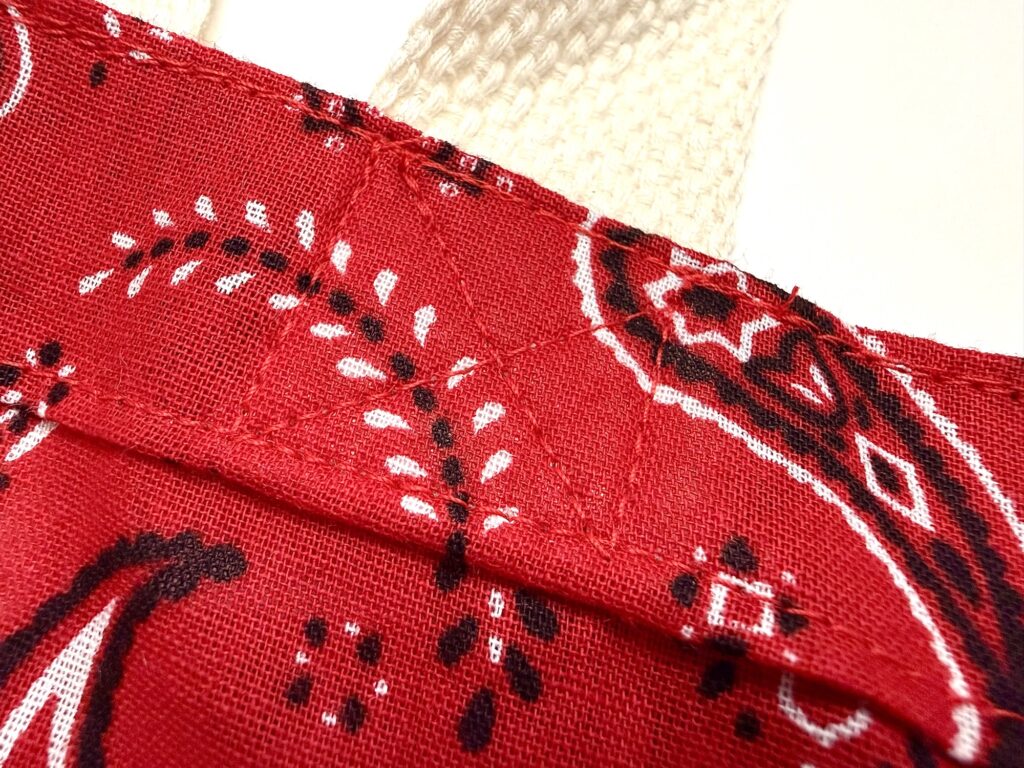
For extra strength and stability, you can sew an “X” across each side of the handle.
How to Sew a Reversible Bandana Bag
The bag size is 20″ X 18″ X 6″
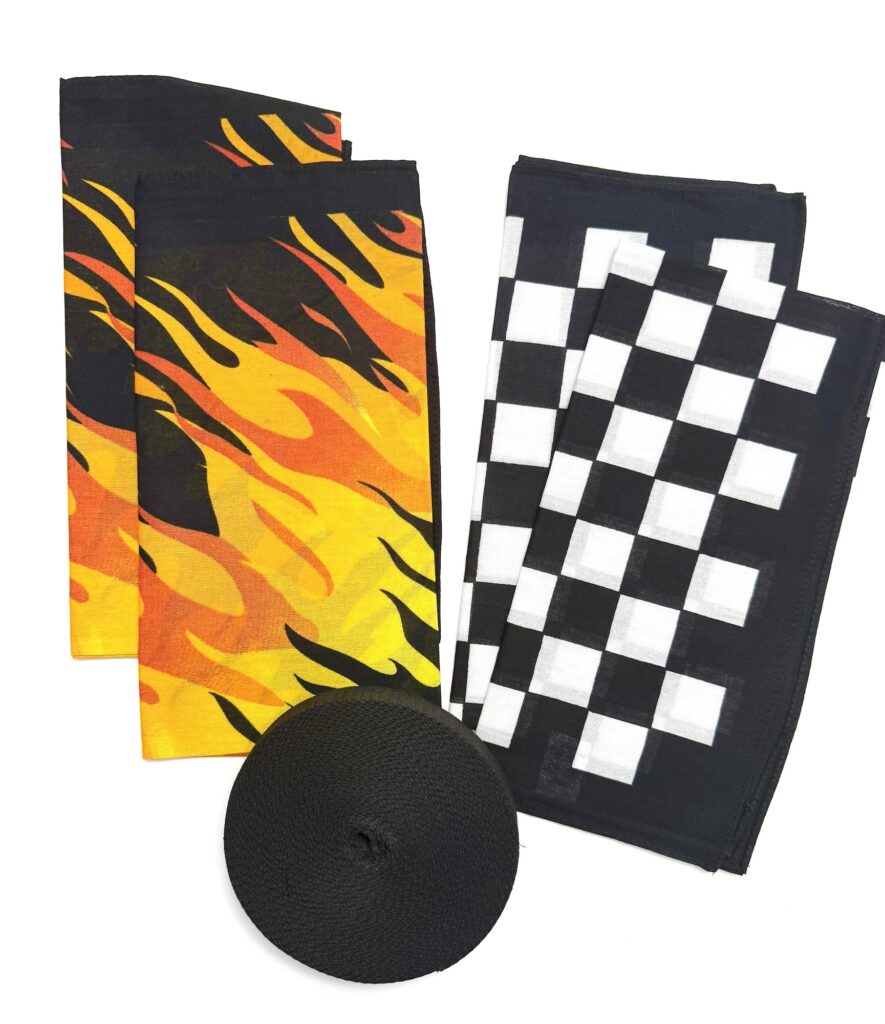
Supplies
Step 1: Sew the Bag
Use the same method as the unlined bag, the only difference is that you will put the two exterior bandanas together for one bag and the two interior lining bandanas together to make a different bag.
Step 2: Box the Corners
Use the same method as the unlined bag, boxing the corners on each of the two bags.
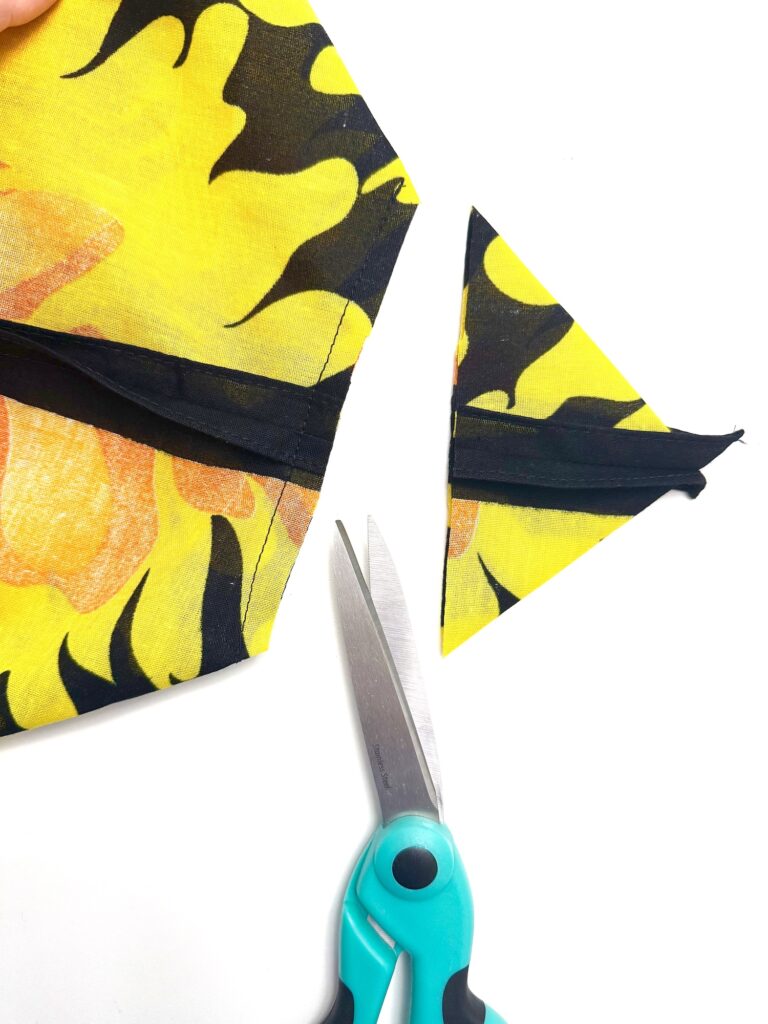
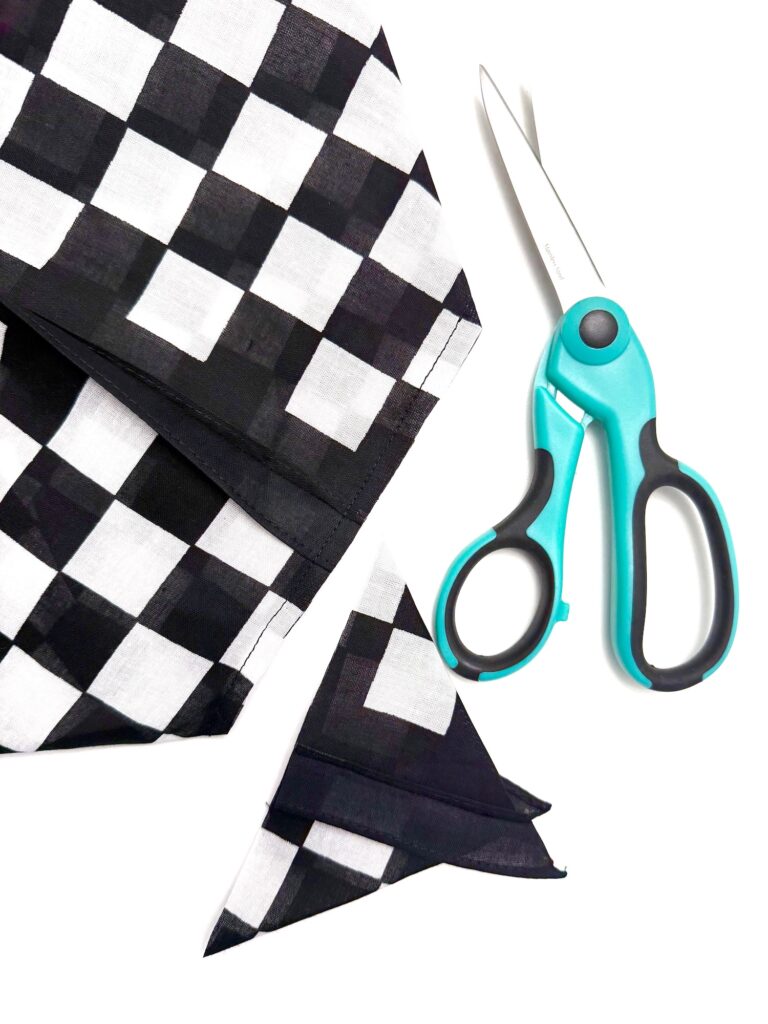
You will cut off the excess fabric on each of the 4 triangles, leaving about ¼ inch seam allowance.
Step 3: Add Handles
Turn the interior lining bag inside out, pushing out the corners with your finger or a turning tool.
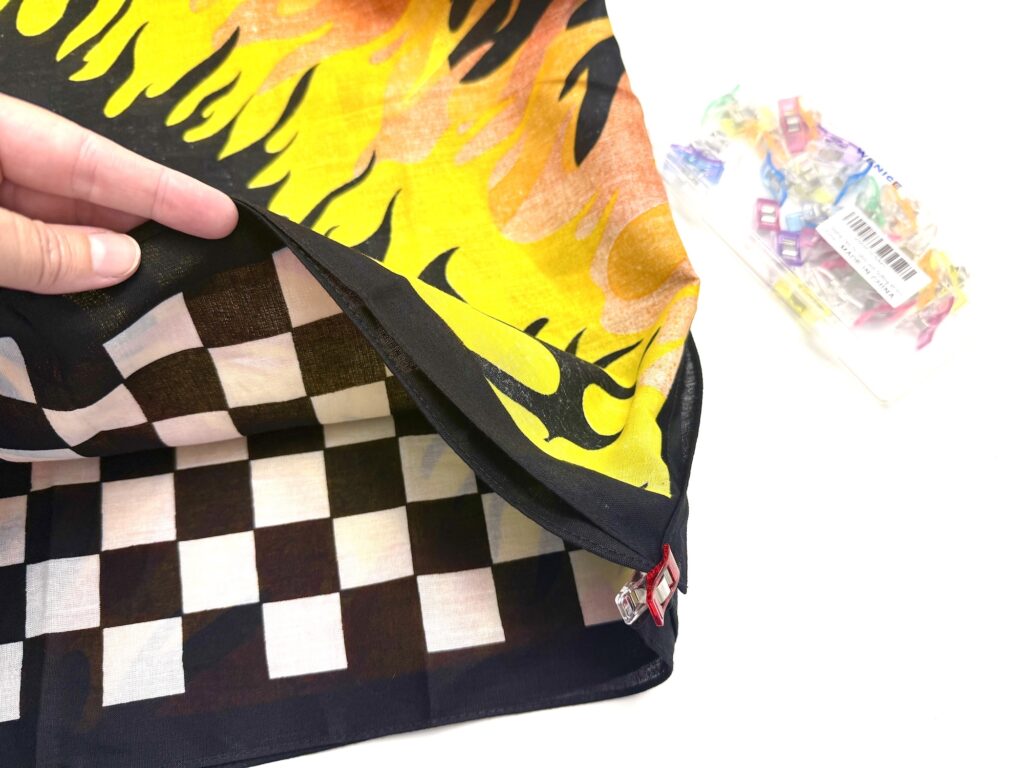
Place the interior bag inside the exterior bag with the right sides facing together. Match up the side seams and clip together.
Cut the webbing in half to create two 26″ pieces.
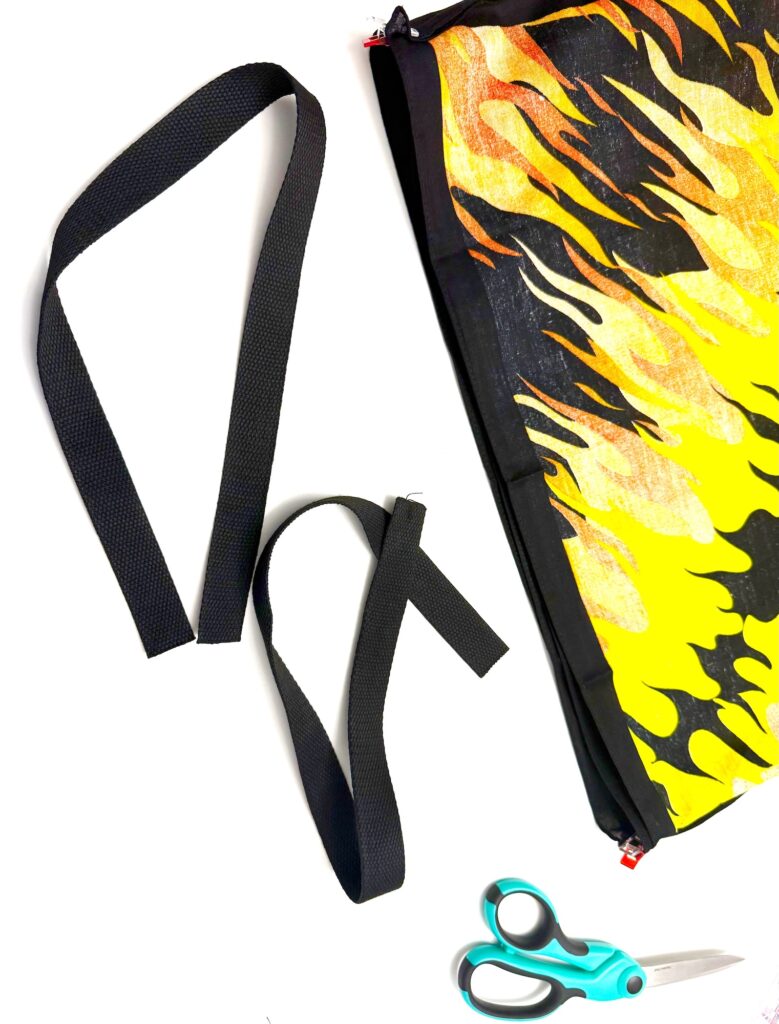
Insert one of the handles between the exterior and interior bandana on one side.
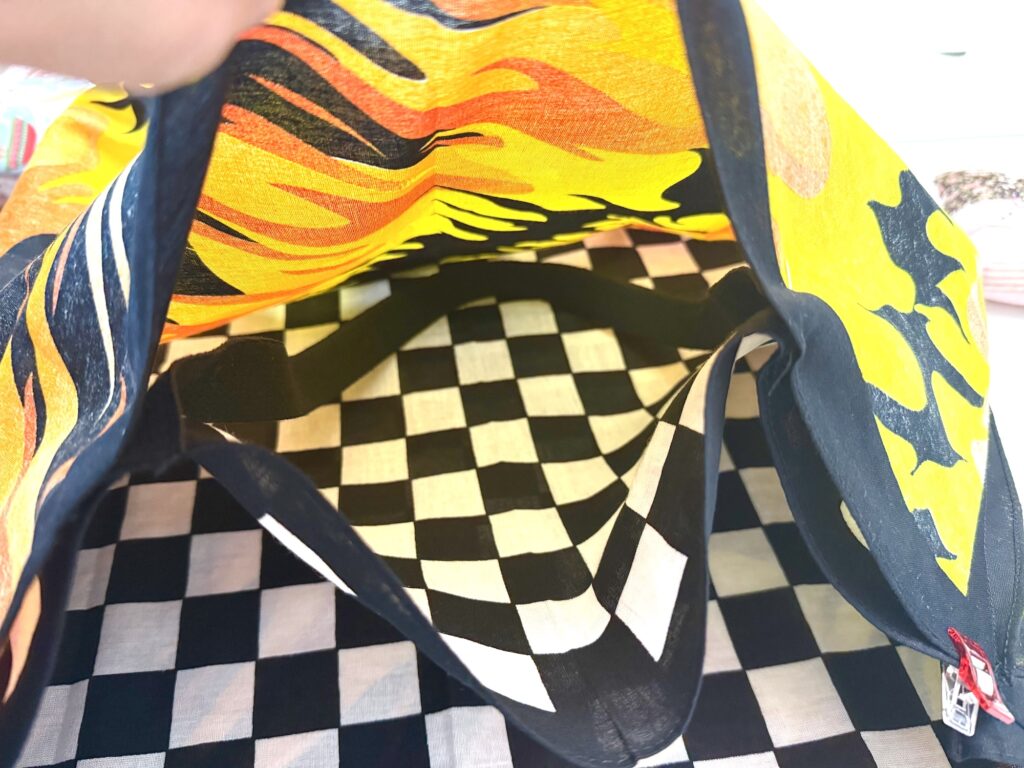
Measure 5″ in from each side. Center the webbing on the 5″ mark and clip or pin to secure between the two layers. Be sure that the webbing isn’t twisted as you position the handle.
Repeat the same process on the opposite side.
Time-Saving Tip: You can skip the measuring on the second side and just position the handle straps opposite the pinned straps on the first side. However, you will have to “feel” for the handle straps through the fabric, rather than seeing the position. This method also makes sure that the handles line up perfectly opposite each other.
Sew around the top of the bag using a ¼ inch seam allowance, making sure to leave a 4″ opening between the two handles on one side.
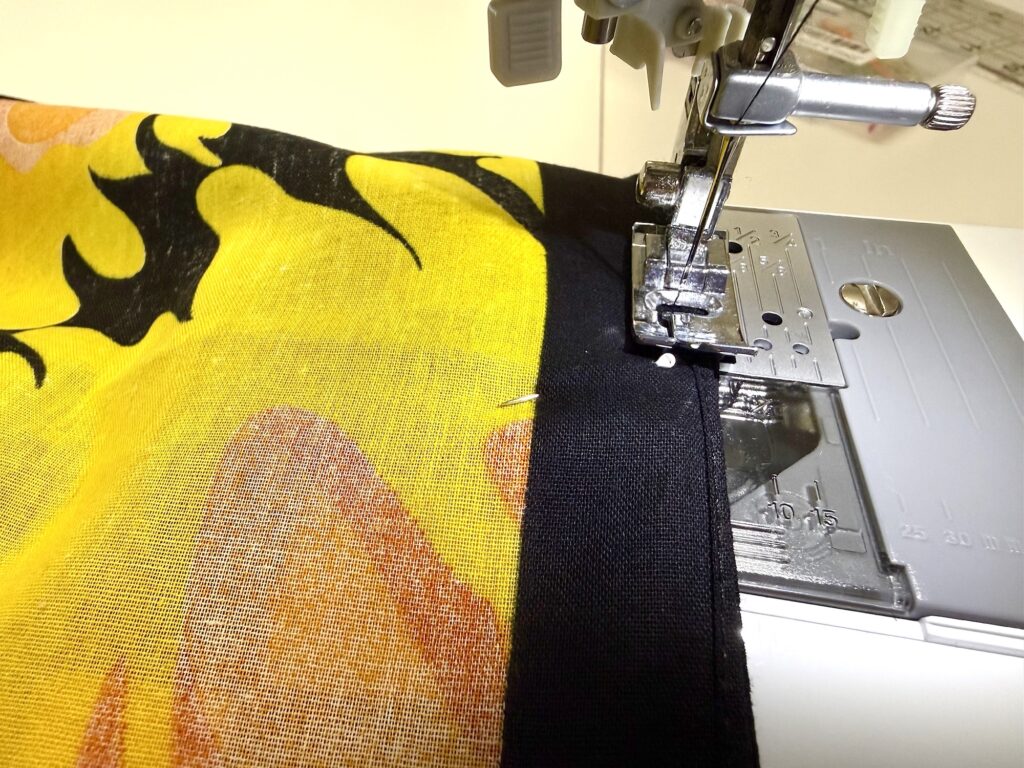
Backstitch at the beginning and end of the stitching. I suggest backstitching across each of the webbing handles for extra strength, too.
Step 4: Finishing Details
Turn the bag inside out through the opening.
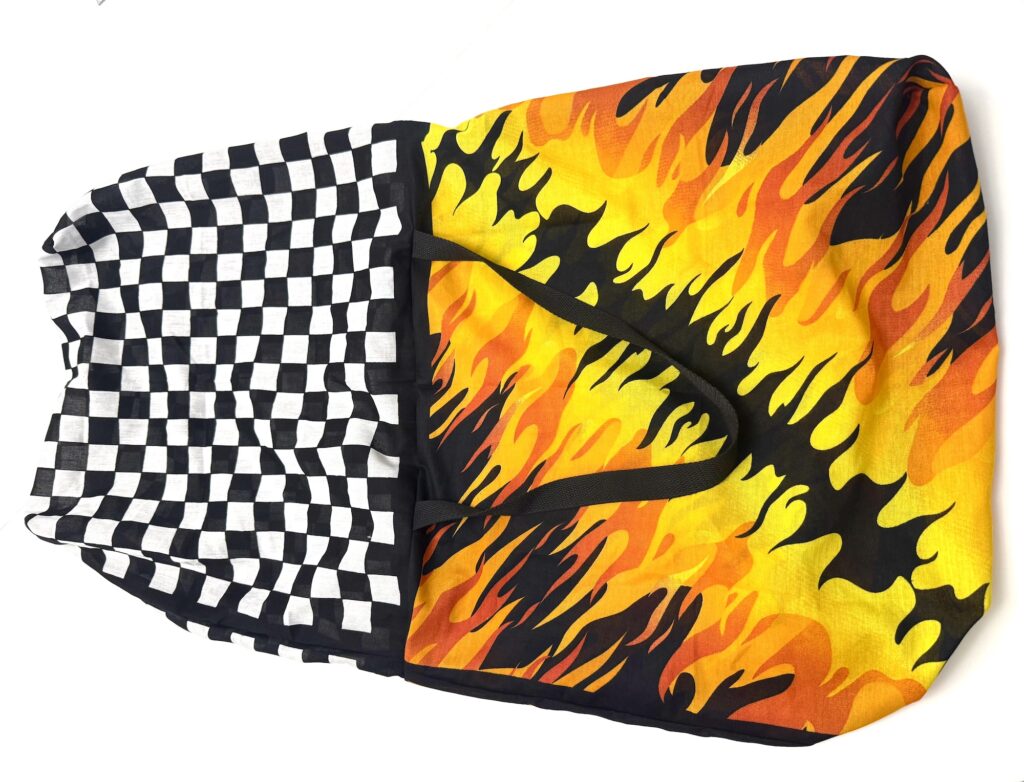
Push the lining fabric into the exterior fabric.
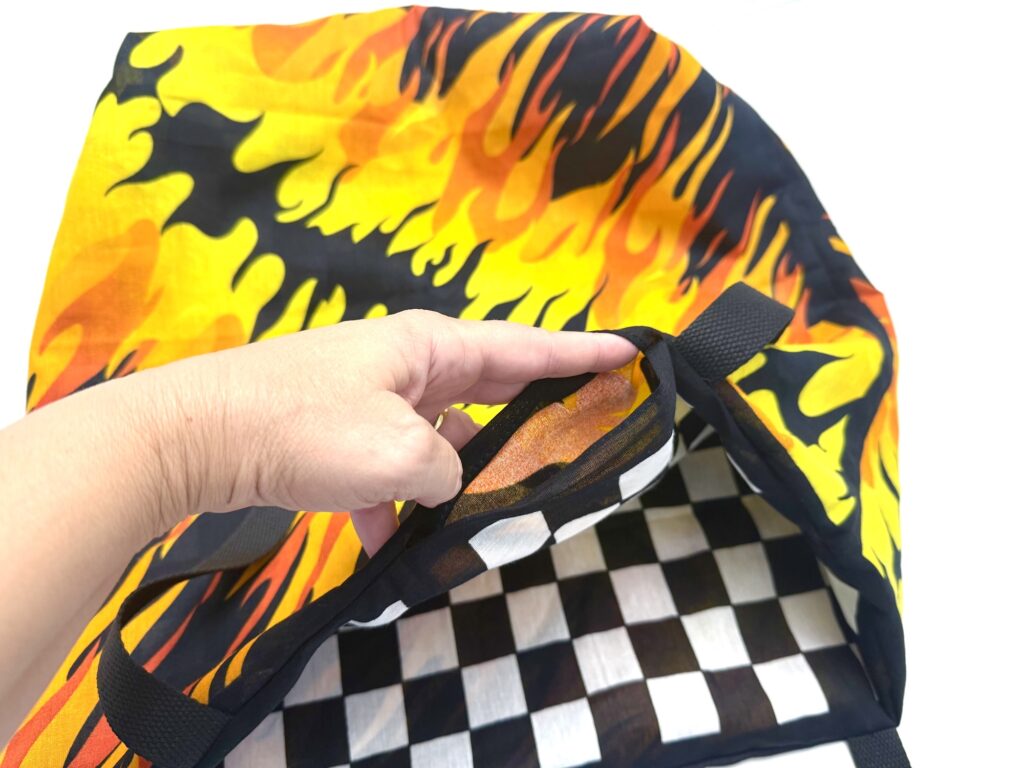
Iron the top seam of the bag, turning under the raw edges of the open gap to match the top seam.
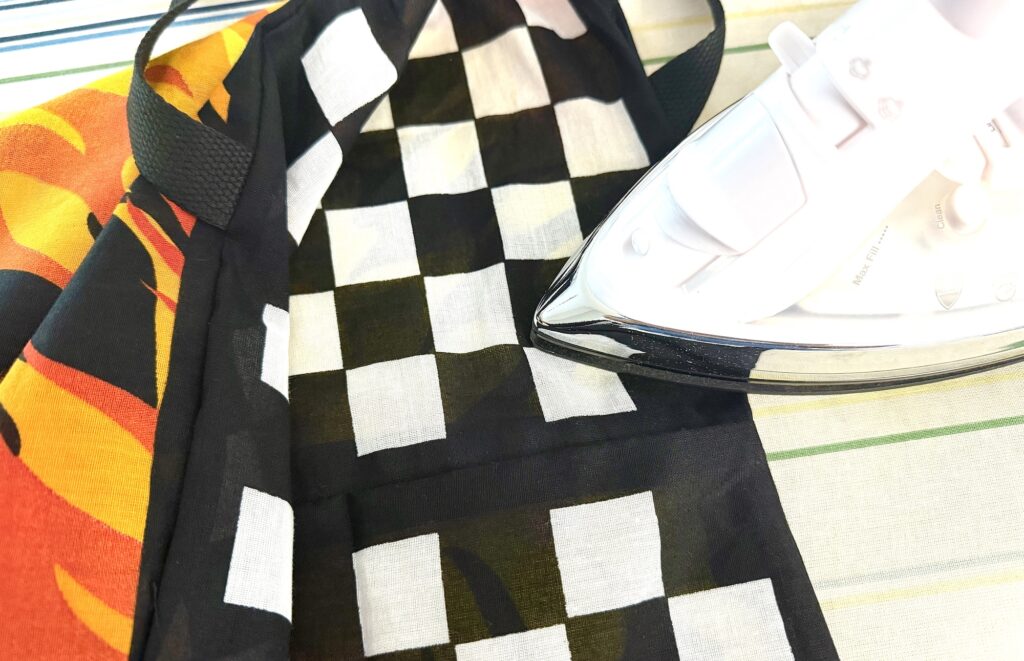
Topstitch about 1/8″ along the top edge all the way around the bag, being sure to backstitch at the end of your stitching.
Iron out the wrinkles in the bag, if needed.
Helpful Tips For Sewing a Bandana Bag
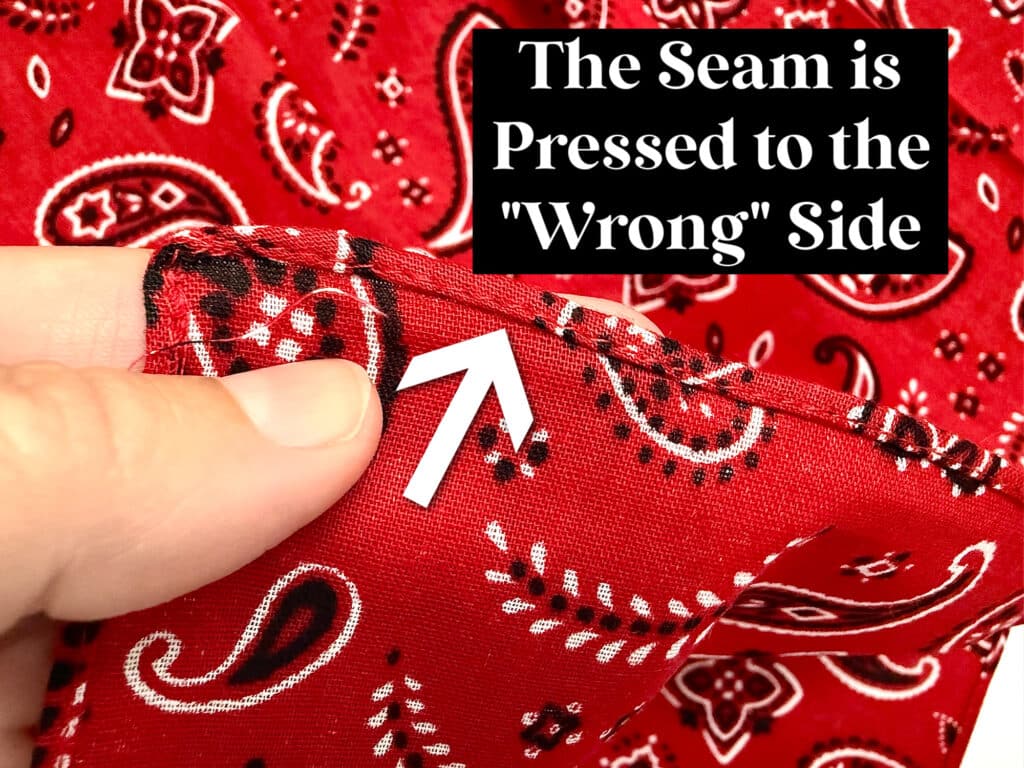
- While most bandanas look the same on the front and back, there is an easy way to tell which is the “right” side and the “wrong” side. The outer edge will have the seam pressed to the “wrong” side of the bandana.
- Bandanas are not always the same size, and the edge may not line up evenly. That’s okay. We are not cutting the fabric to be perfectly even because then you would have an unfinished edge which could fray. Just sew a seam allowance that will catch both layers. Once you turn the bag inside out it will look fine.
- You can make a smaller or bigger boxed corner if you prefer. If you use a 2″ or 2 ½″ measurement, the bag will be more narrow, but slightly taller. If you use a 4″ measurement, the bag will be wider at the base, but slightly shorter.
- Handles can be made shorter or longer, too. The 26″ size is perfect for putting over your shoulder.
- This is a thin fabric, so don’t put anything too heavy in your handmade bandana tote bag. Clothing, toys or snacks should be fine, but don’t use it for lots of books.
- Bandanas can often be stiff with starch, so you can prewash the fabric before sewing. This will reduce stiffness and also pre-shrink the fabric, which is important if you think you may wash the bag in the washing machine.
- Webbing comes in variety of colors to customize with your bandanas.
- Instead of webbing, you can use a wide ribbon, or use fabric strips to make a strap.
Want to save this idea for later? Be sure to Pin it to Pinterest, flip to Flipboard or save to Facebook!
If you love sewing bags, be sure to see these sewing projects next: