Pen Holder Bookmark
If you are looking for a creative scrap fabric idea, this pen holder bookmark project is about to become your new favorite quick sewing project! I made these adorable bookmarks for some friends who are avid journalers, and let me tell you, they were a huge hit.
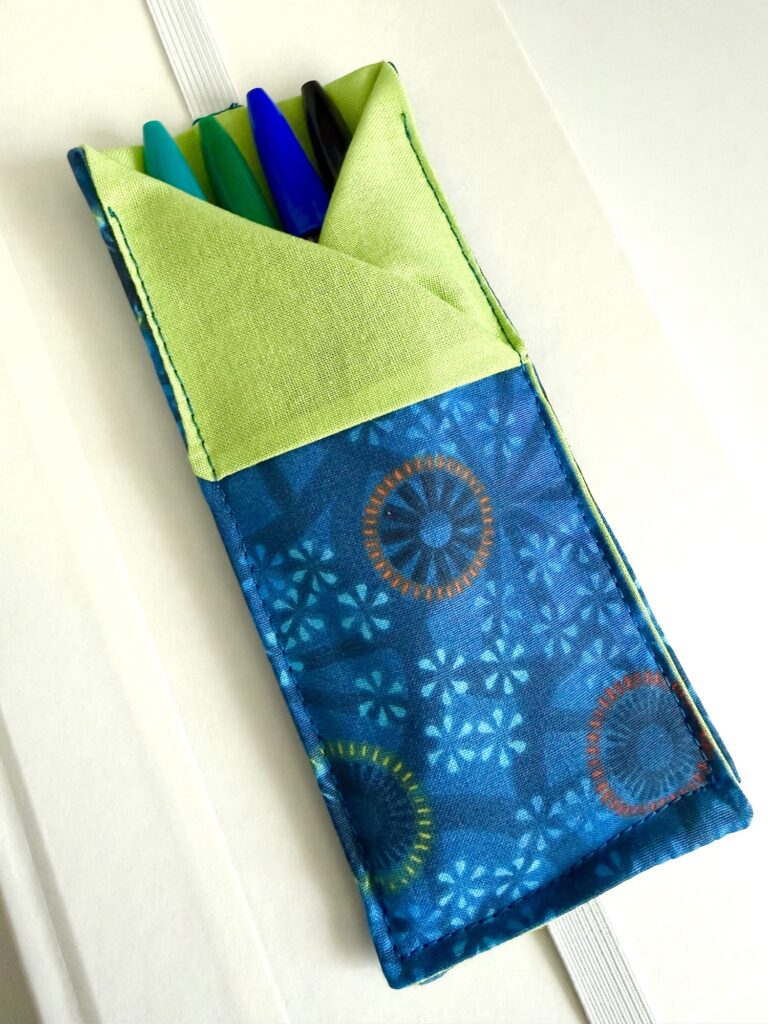
This tutorial is perfect for beginners and comes together so quickly. You can whip up several of these bookmarks in an afternoon, making them ideal for gift giving, craft fair items, or just treating yourself to some pretty planner accessories.
They work beautifully with journals, planners, notebooks, and even textbooks. The elastic band keeps your place while the handy pocket holds a pen or pencil right where you need it.
This is just one of our many easy DIY bookmarks to sew. It is similar to our felt planner pen pocket, but with contrasting fabrics and folded accent pieces.
Supplies
- 2 Pieces of Fabric (see measurements below)
- Matching Thread
- 9-12 inches (23-30 cm) of Elastic (3/8 to ¾ inch wide)
- Sewing pins or clips
Instructions
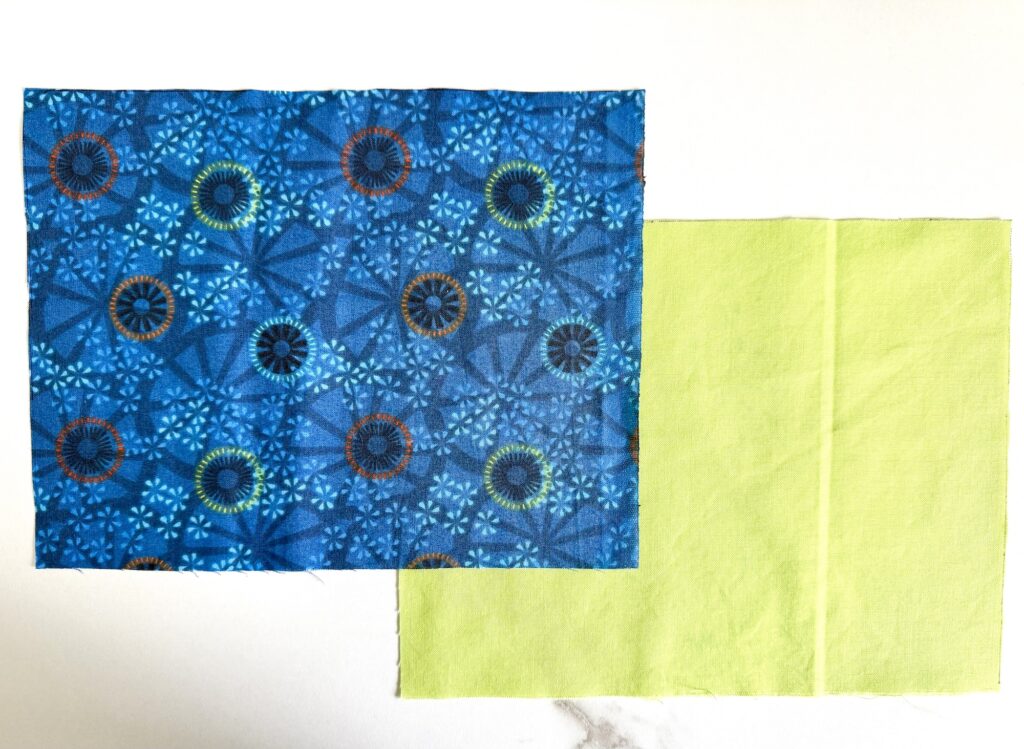
Step 1: Cut Your Materials
Choose your bookmark size and cut fabric and elastic.
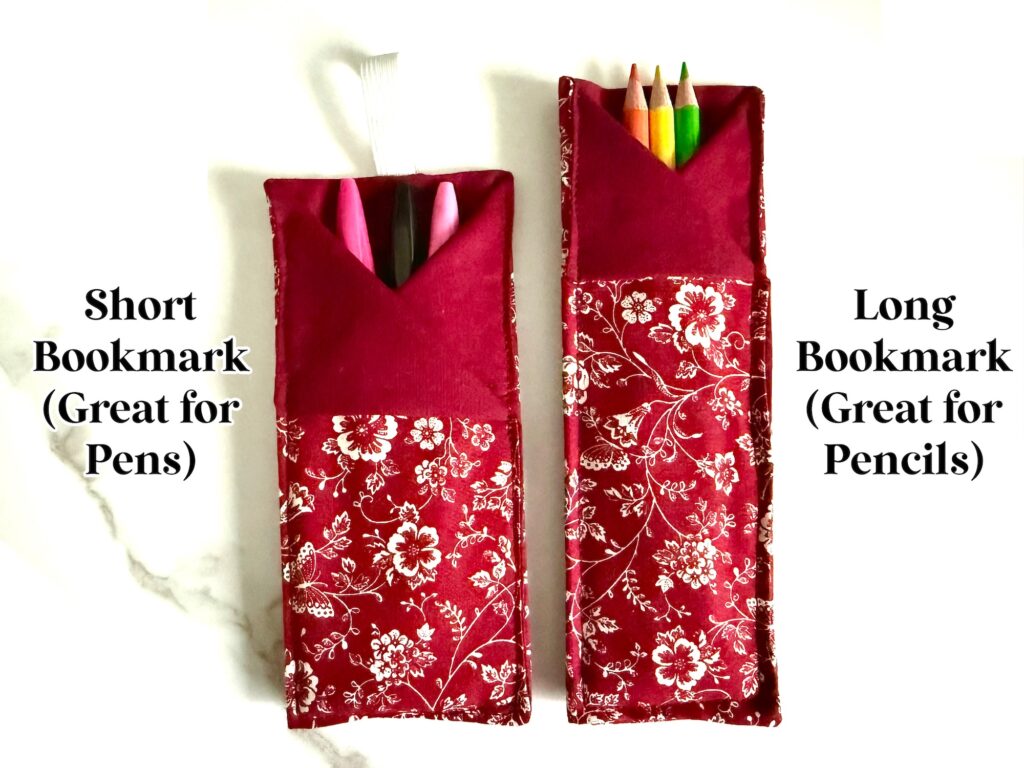
Long Bookmark (for journals, hardcover books, composition books, pencils)
- Two pieces of fabric: 8 x 8 inches (20 x 20 cm)
- One piece of elastic: 11 inches (28 cm) for books and journals / 12 inches (30 cm) for notebooks and composition books
Short Bookmark (for paperbacks, smaller books, pens)
- Two pieces of fabric: 7 x 9 inches (18 x 23 cm)
- One piece of elastic: 9 inches (23 cm)
Step 2: Attach the Elastic
Fold one fabric piece in half lengthwise to find the center, then unfold.
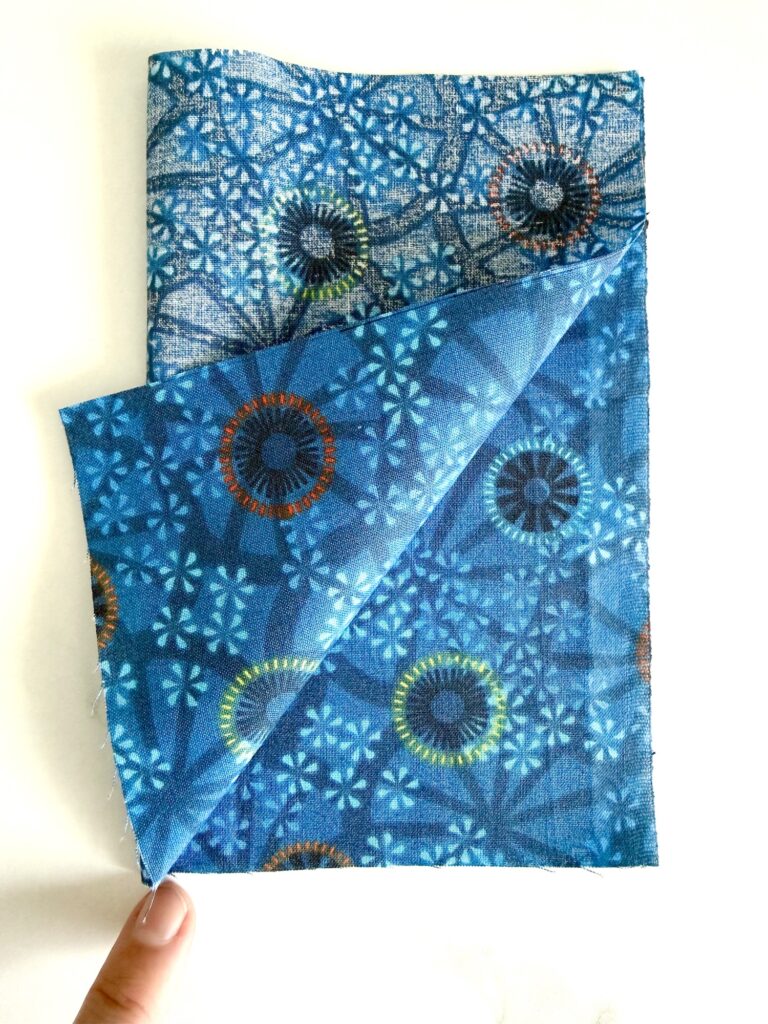
Pin one end of the elastic to the center point at the top edge and the other end to the center point at the bottom edge.
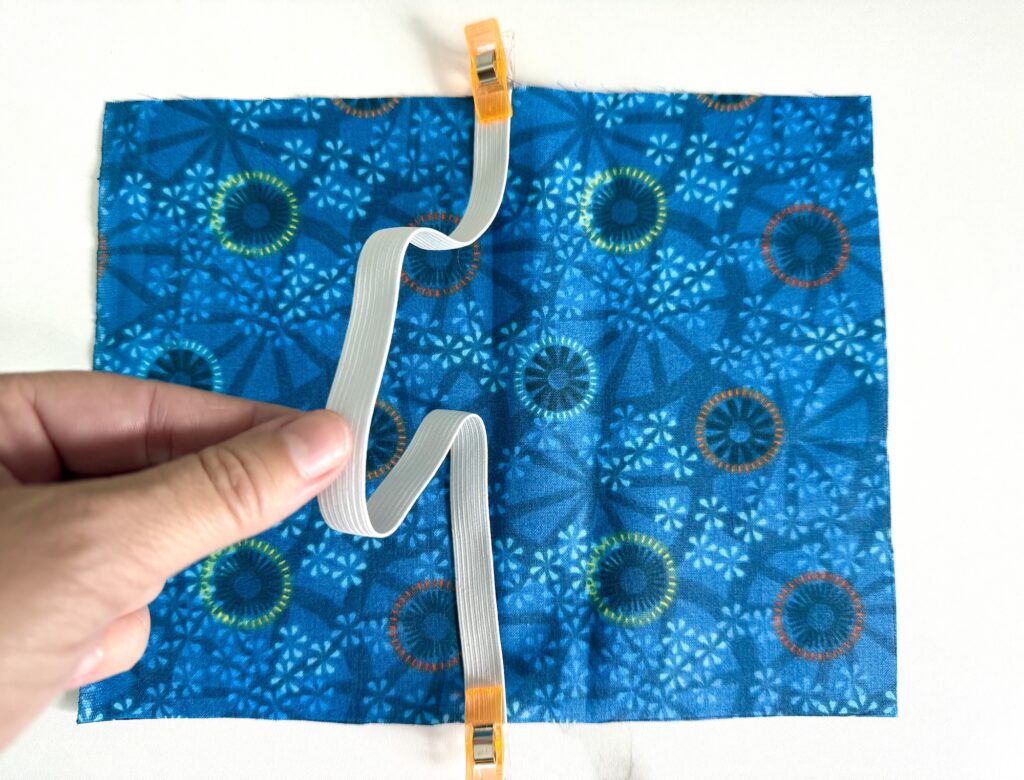
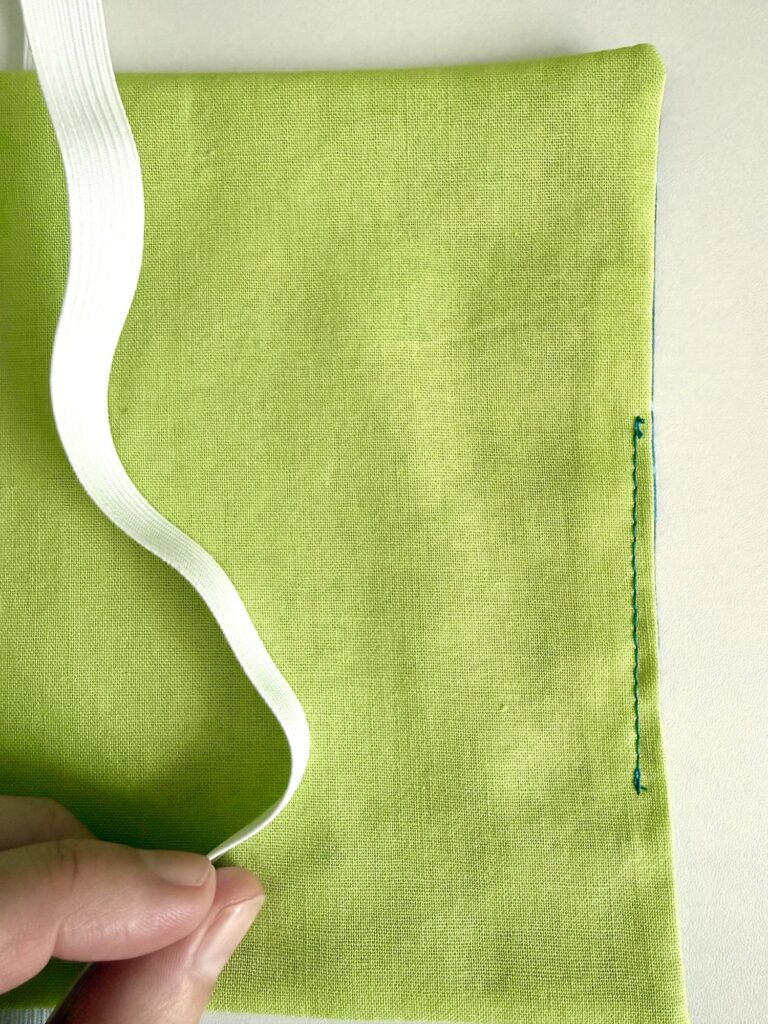
Sew both ends using a 3/8 inch seam allowance. Backstitch at the beginning and end for strength.
Step 3: Sew and Finish the Bookmark
Place the second fabric piece on top and pin or clip the edges.
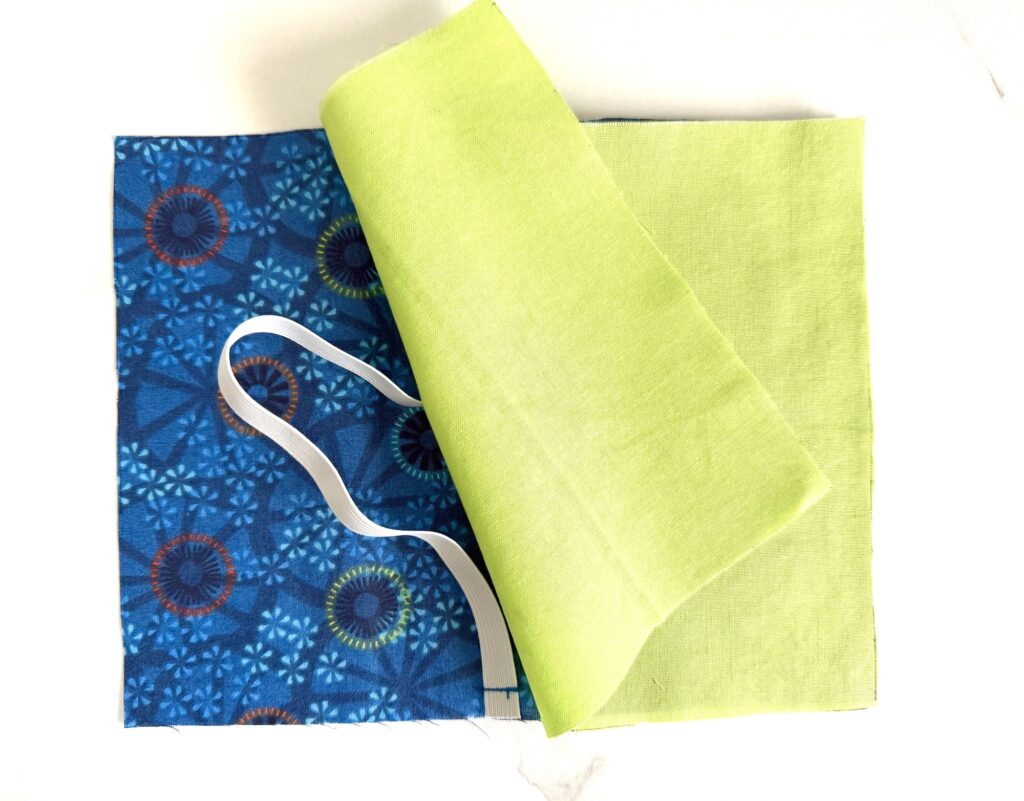
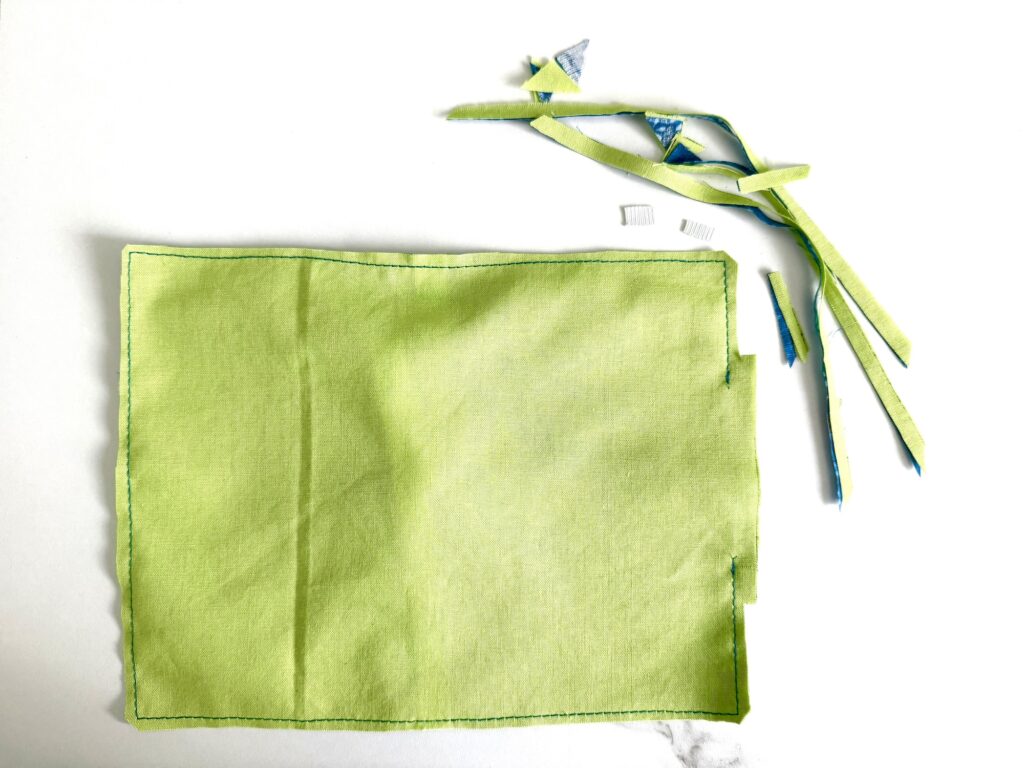
Sew around all four sides with a 3/8 inch seam allowance, leaving a 3-inch opening on one side.
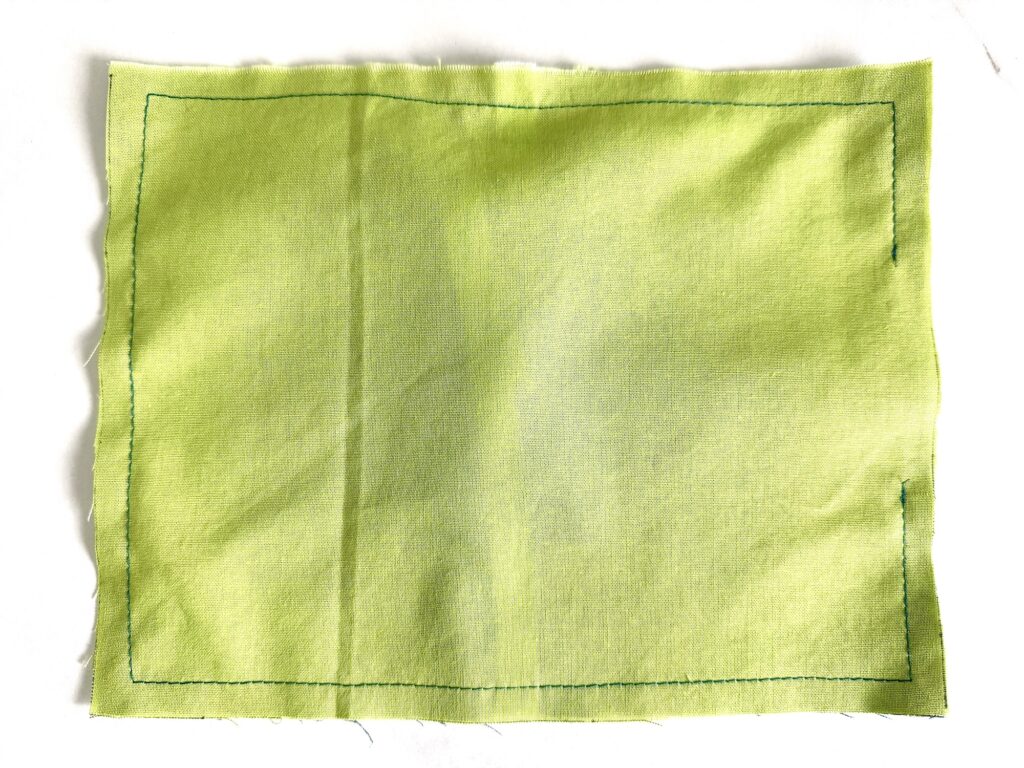
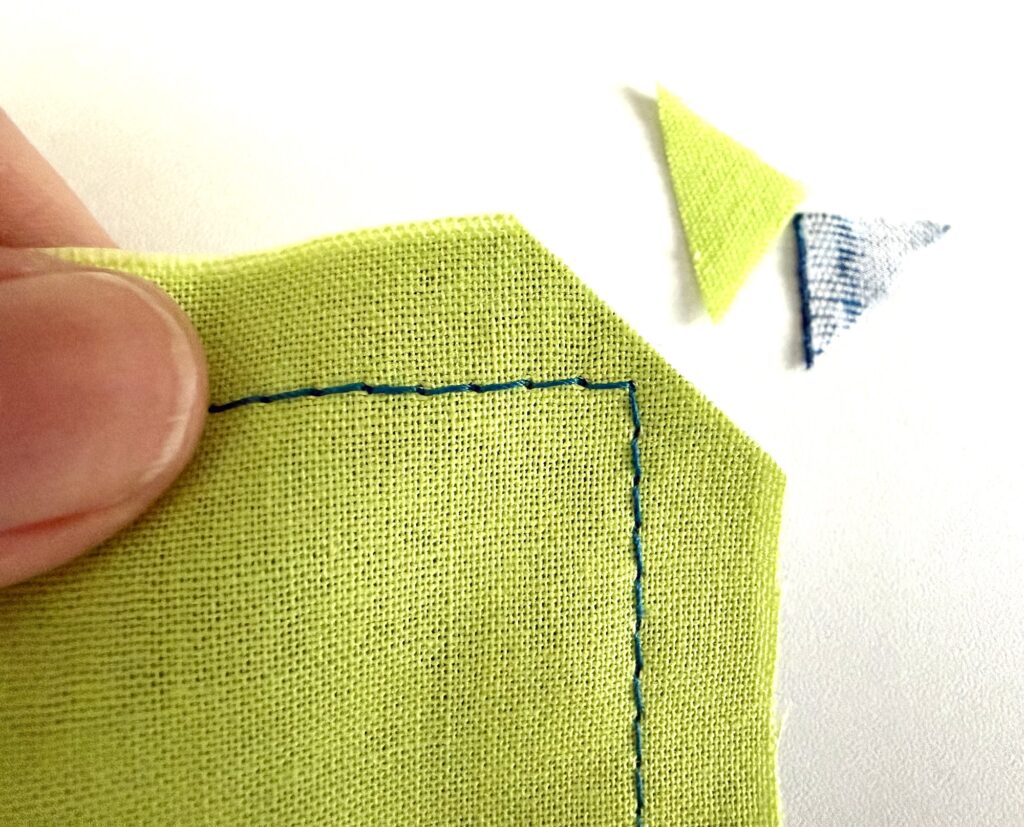
Clip the corners and seam allowances to reduce bulk. Leave a large seam allowance at the open gap (as seen in the photo below) so that you can turn it under later.
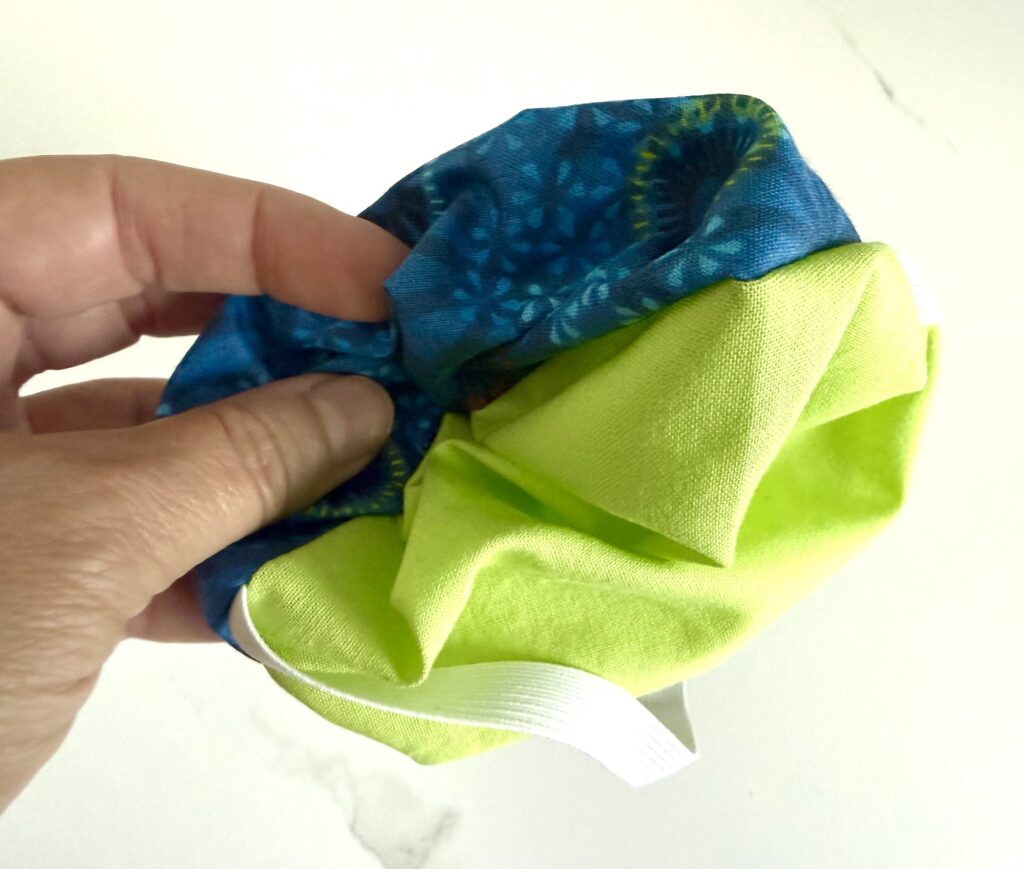
Turn right side out and press with an iron, folding the opening edges inward.
Topstitch the opening closed.
Step 4: Create the Pocket
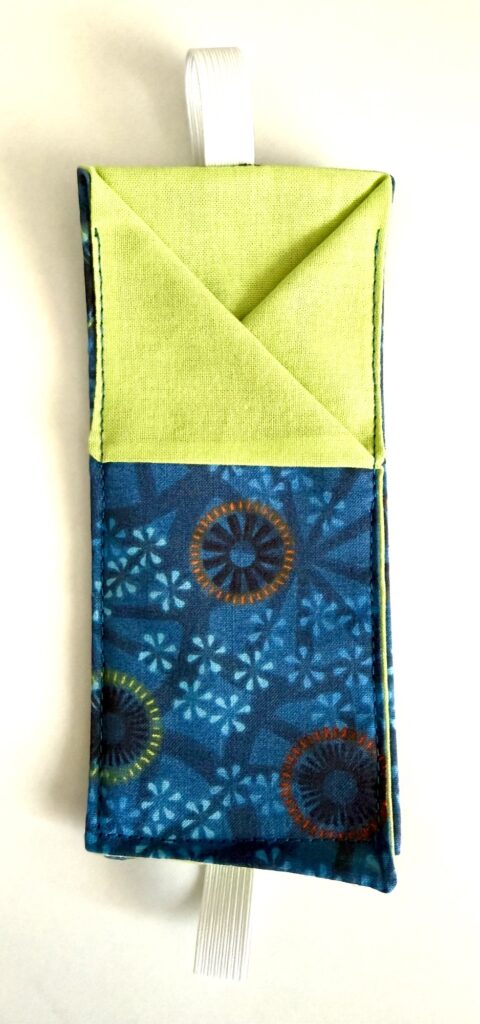
Place the bookmark with the interior fabric facing up.
Fold the right side over by ⅓, then fold the left side over by ⅓ on top.
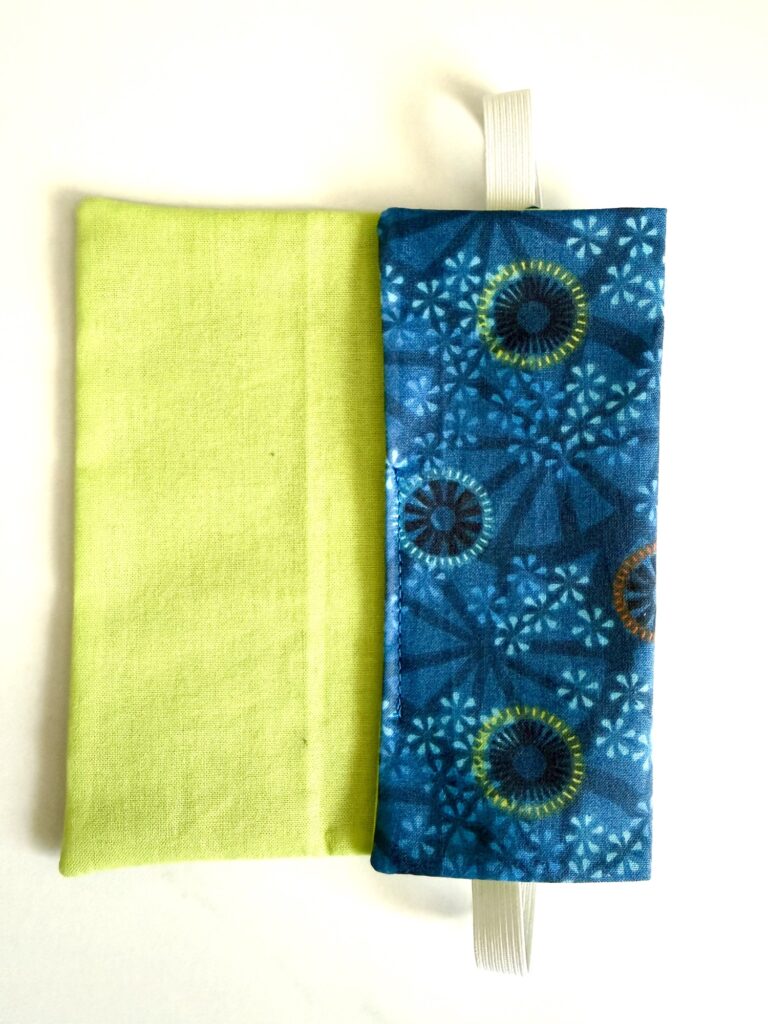
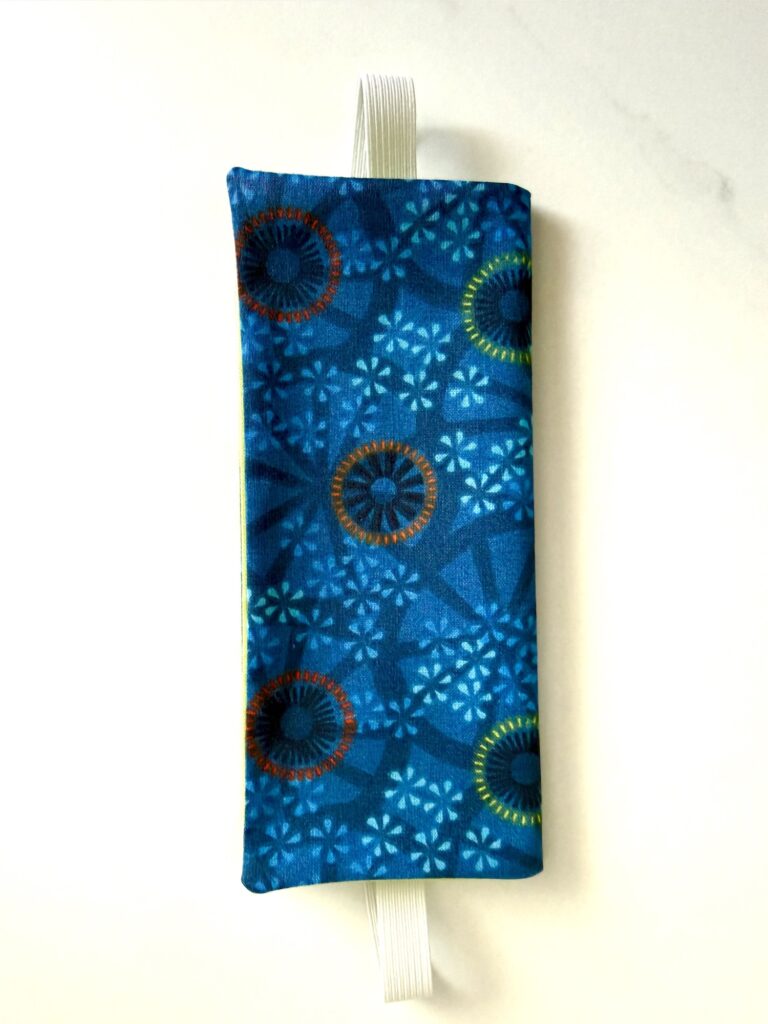
Fold the top right corner down to the left edge to form a triangle, then fold the top left corner down to match.
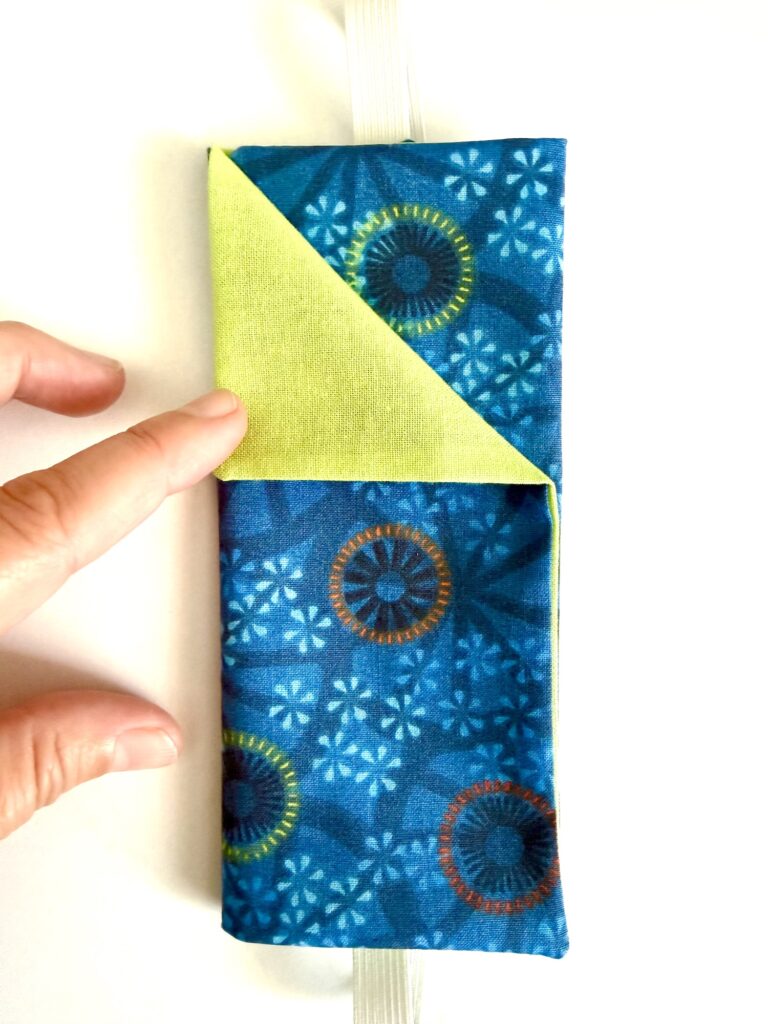
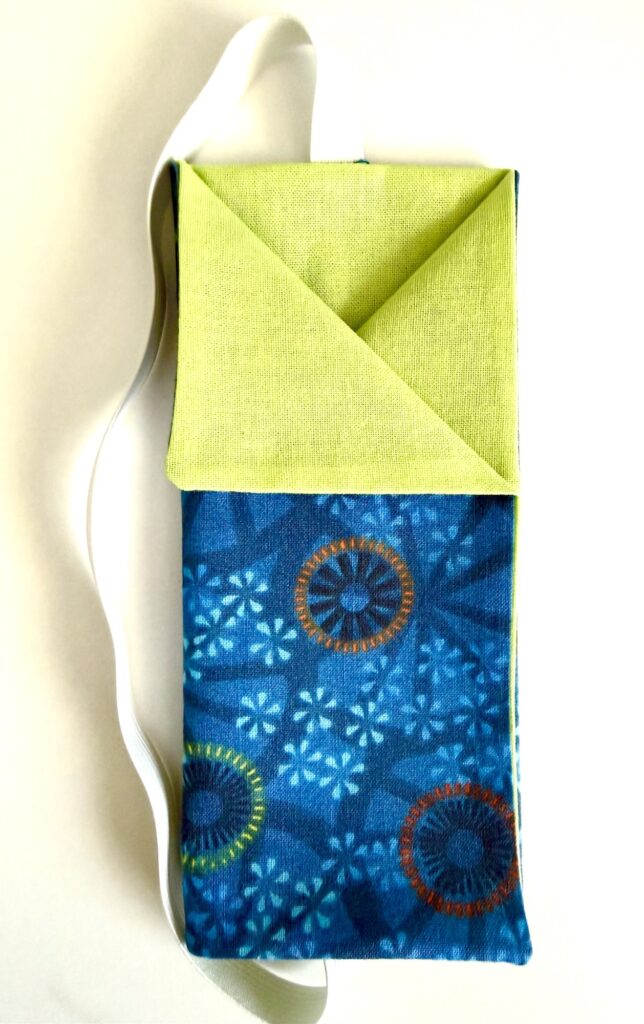
Topstitch along the left, bottom, and right edges to secure. I started stitching about ½ inch down from the top edge.
Save this idea for later by Pinning It to Pinterest, flipping to Flipboard or sharing on Facebook.
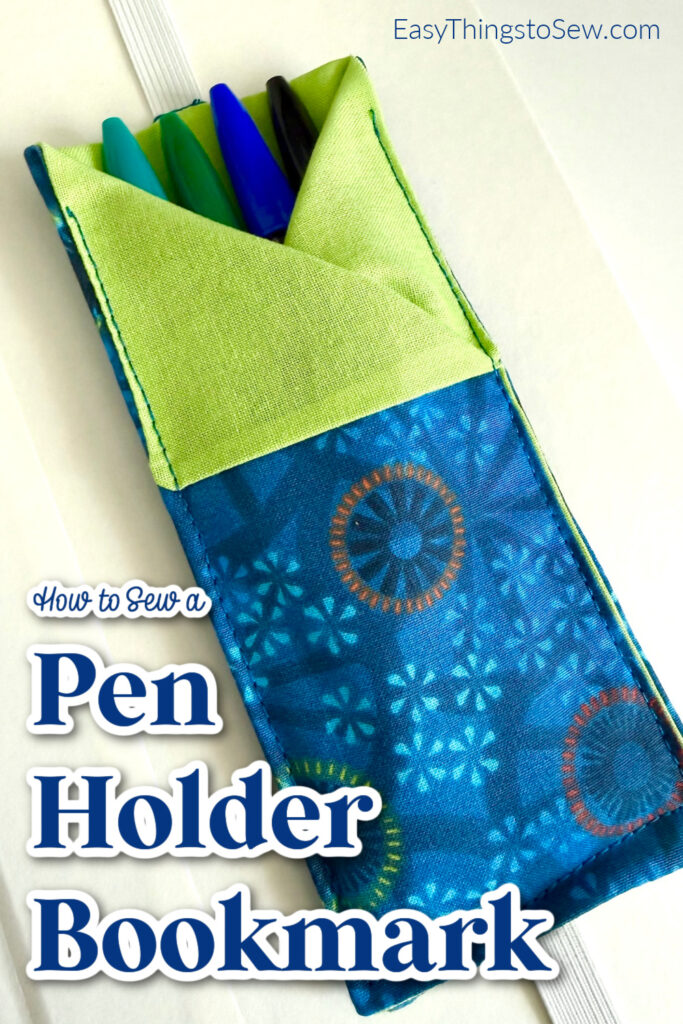
These bookmarks are perfect for DIY stocking stuffers and they also are great sewing projects for Operation Christmas Child.
Another great sewing project for the office are these easy mouse wrist rests to prevent wrist strain while working.
Thanks for sharing! These are easy to follow instructions and anyone can make it.
You’re very welcome!