Felt Pig Plushie
This simple felt pig stuffed animal is a great beginner sewing project. The easy pattern can be made in just an hour or two.
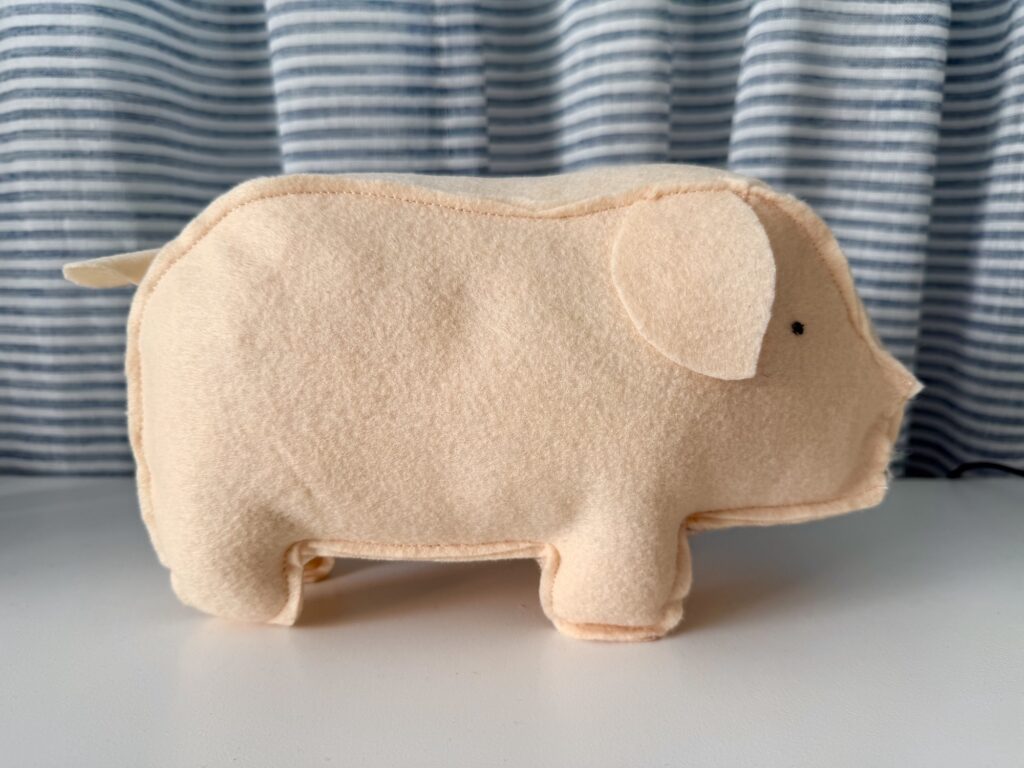
The homemade pig plushie is made from felt so you don’t have to worry about finishing off seams or fraying fabric.
In fact, the rustic plushie toy has exposed stitching, creating a primitive or farmhouse-style stuffed animal that is perfect for imaginative play.
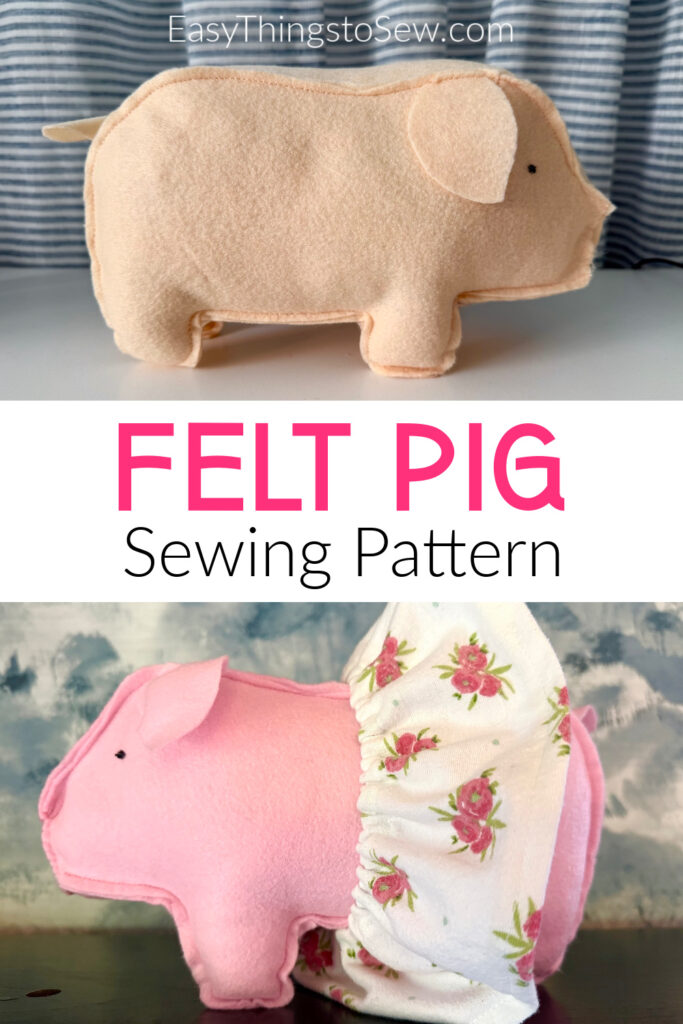
We made a simple skirt for a girl pig, to add some fun accessories for play time. The skirts are so easy to make you can sew several for a rotating wardrobe.
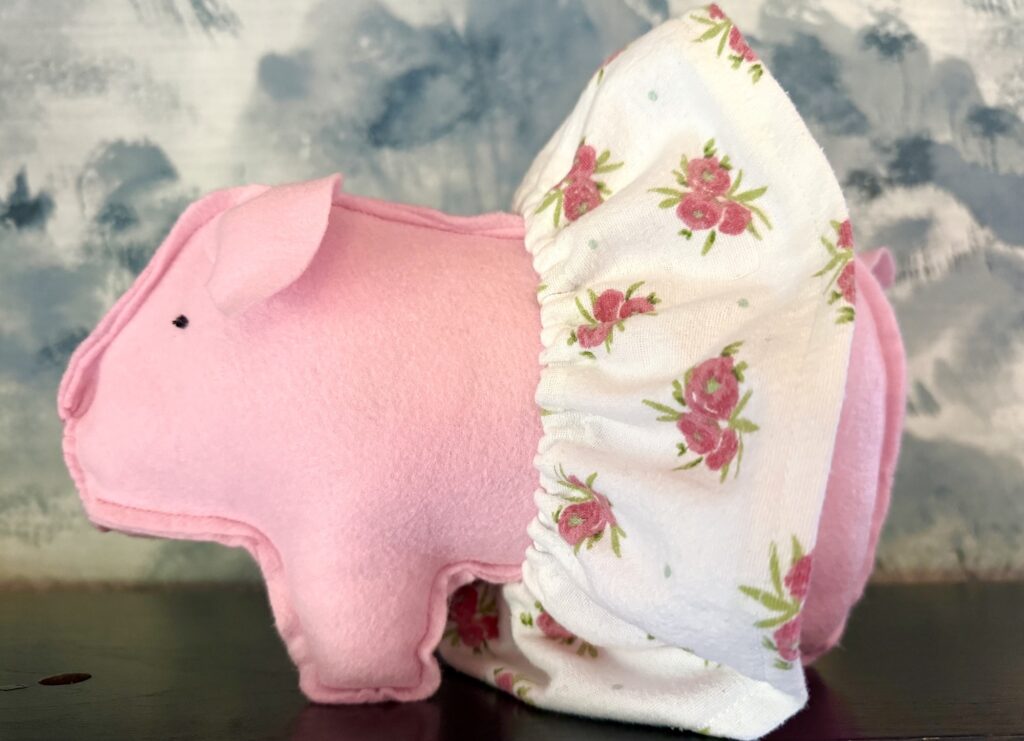
This is one of our easy felt crafts that I know you’ll love!
Supplies
- Pig Pattern Pieces (Purchase the Pattern in My Online Store)
- Felt*
- Matching Thread
- Sewing pins
- Scissors (see our list of the best scissors to cut felt)
- Poly-fil or Cotton Stuffing
- Hand sewing needle
- Embroidery floss and/or buttons for eyes
*While you can use 3 felt pieces from a craft store, at least one piece needs to be 14″ (36 cm) diagonal. We suggest using larger felt pieces or a roll of felt for the best results. I used this large felt sheet.
Supplies for Skirt (Optional)
- 5″ X 30″ Fabric (13 cm x 76 cm)
- 12″ (31 cm) piece of ¼″ elastic
- Safety pin or bodkin
Instructions
Step 1: Sew All Darts
Sew straight darts on:
- Tail (pinch together in middle)
- Underbelly
- Ear on both body pieces
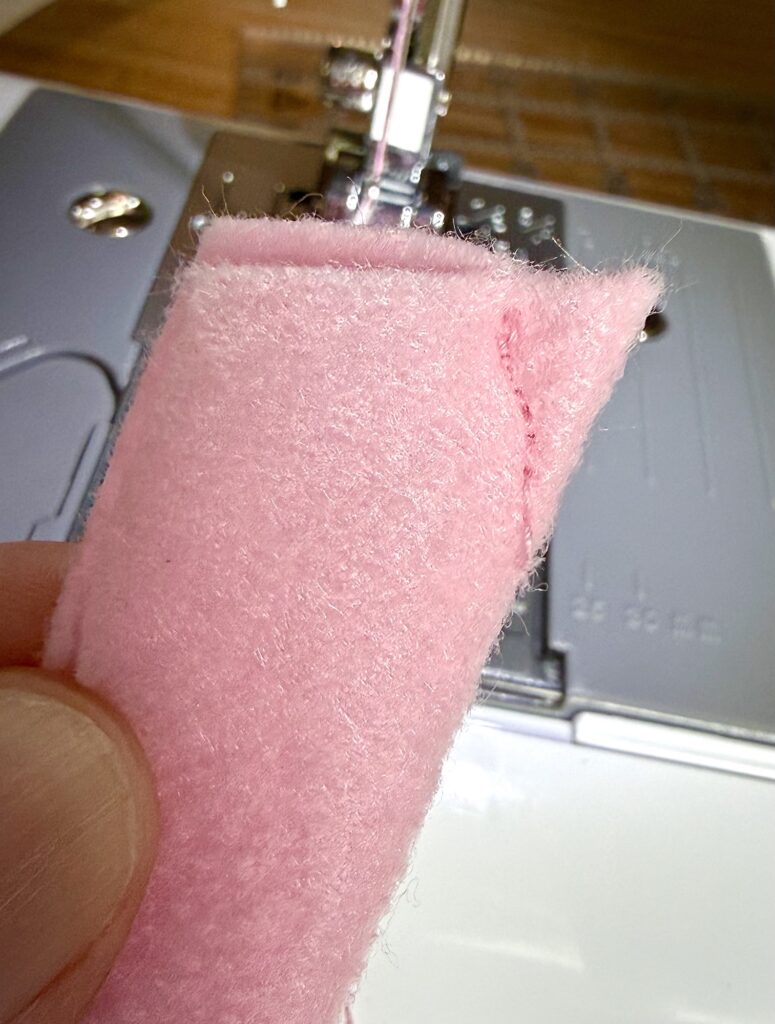
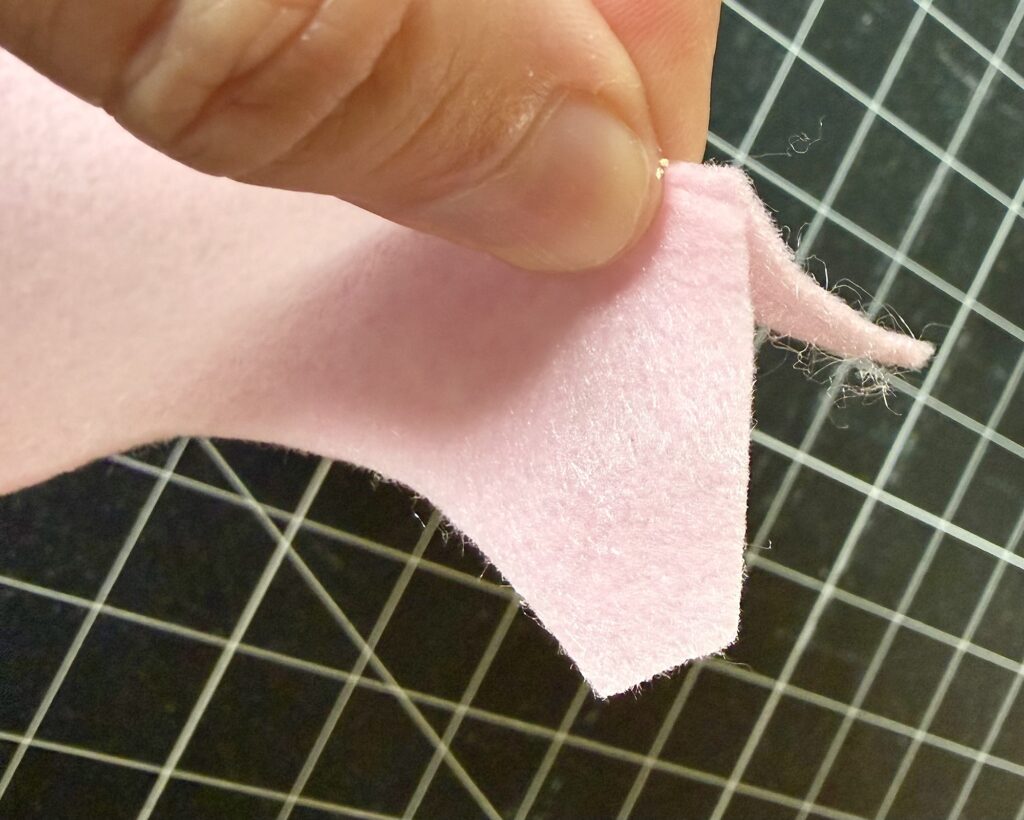
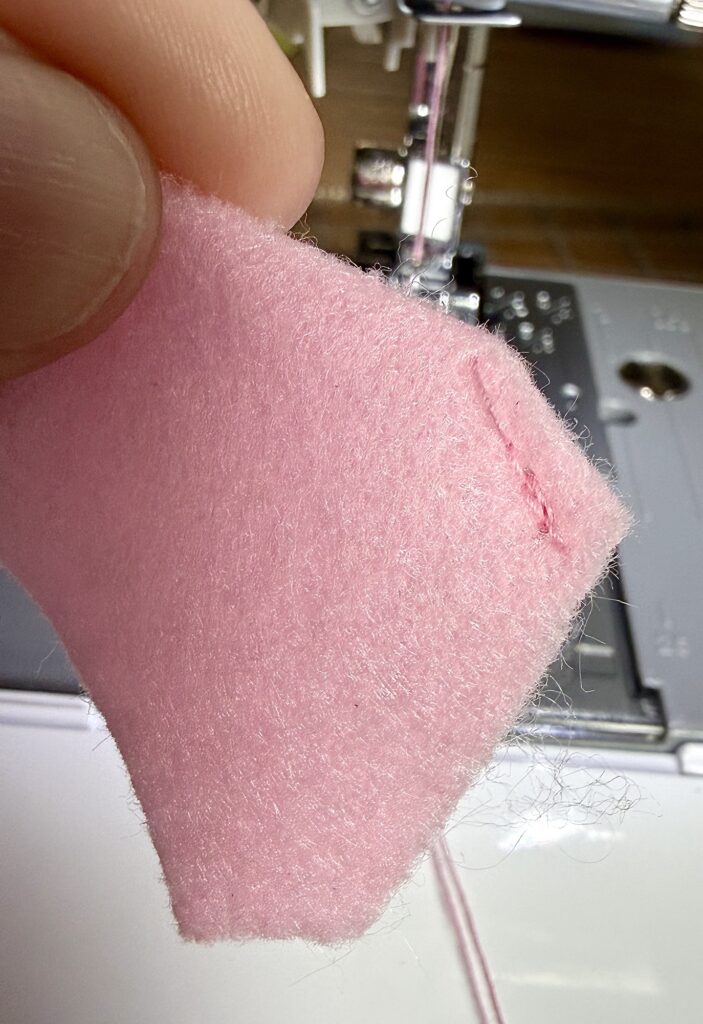
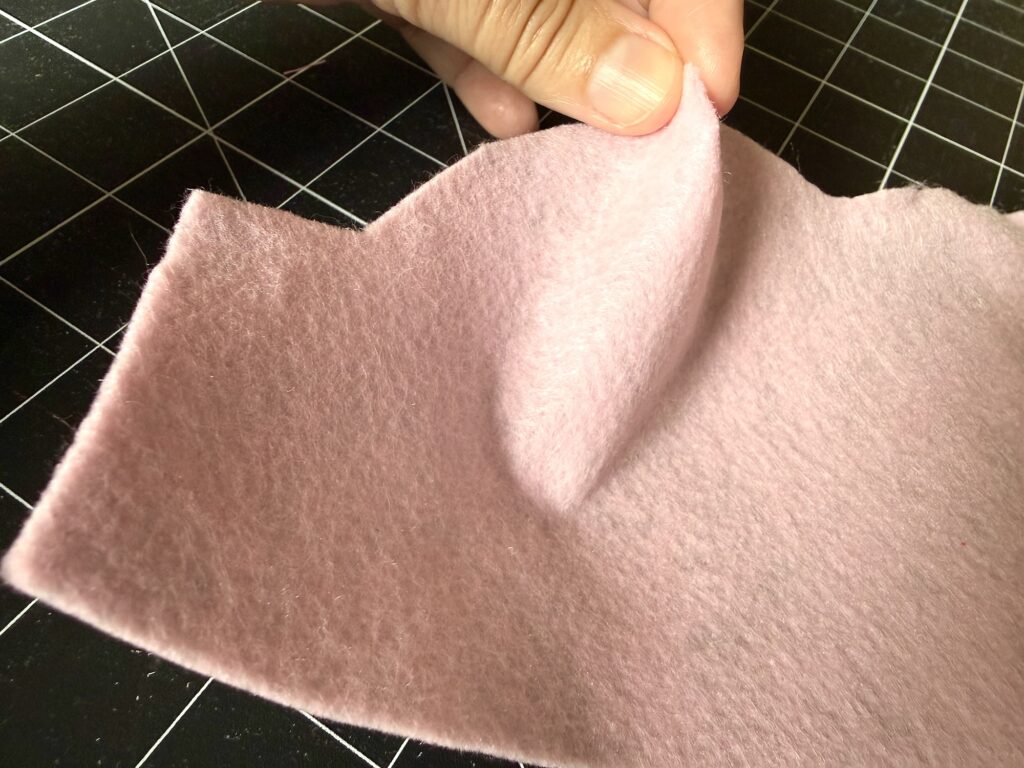
To sew these darts, pinch the open edges together. Sew a straight line about ¼″ from the edge to join the seams. For the tail, simply pinch the middle together and sew a long triangle, starting with a wider seam at one end and tapering to a narrow seam towards the other end.
Step 2: Attach Tail
Insert tail into tail opening with folded part on top, opening pointing down. Tail seam should be inside, with part of tail hanging out.
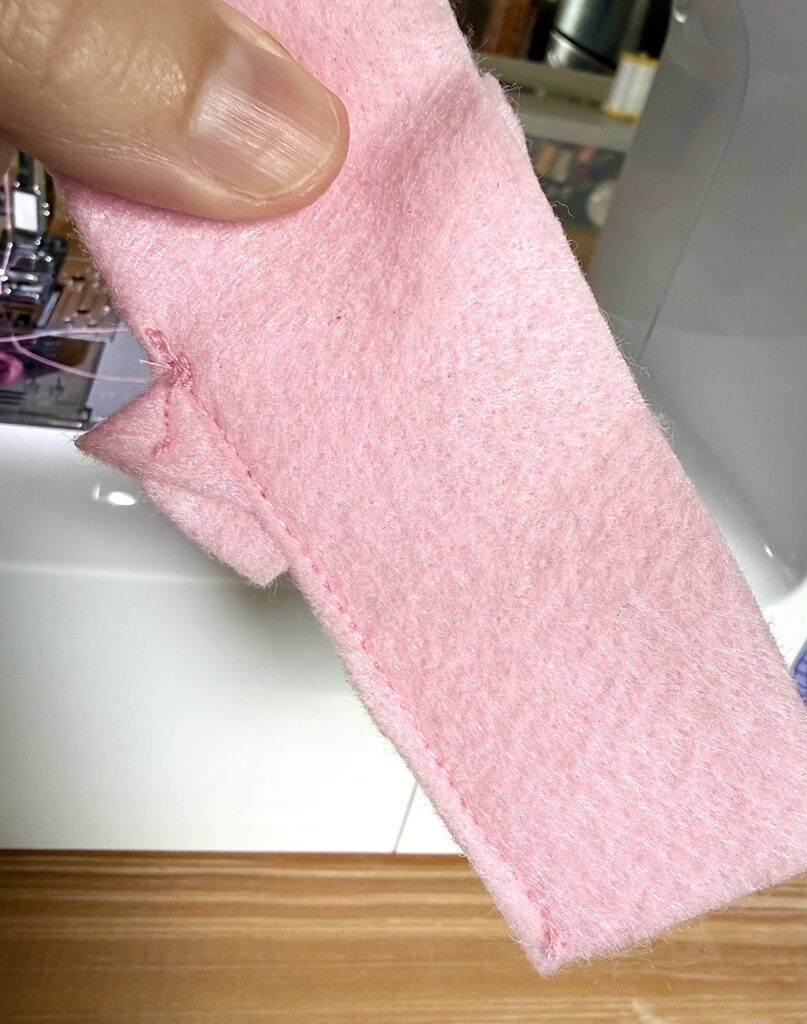
Sew butt dart closed.
Step 3: Attach Legs
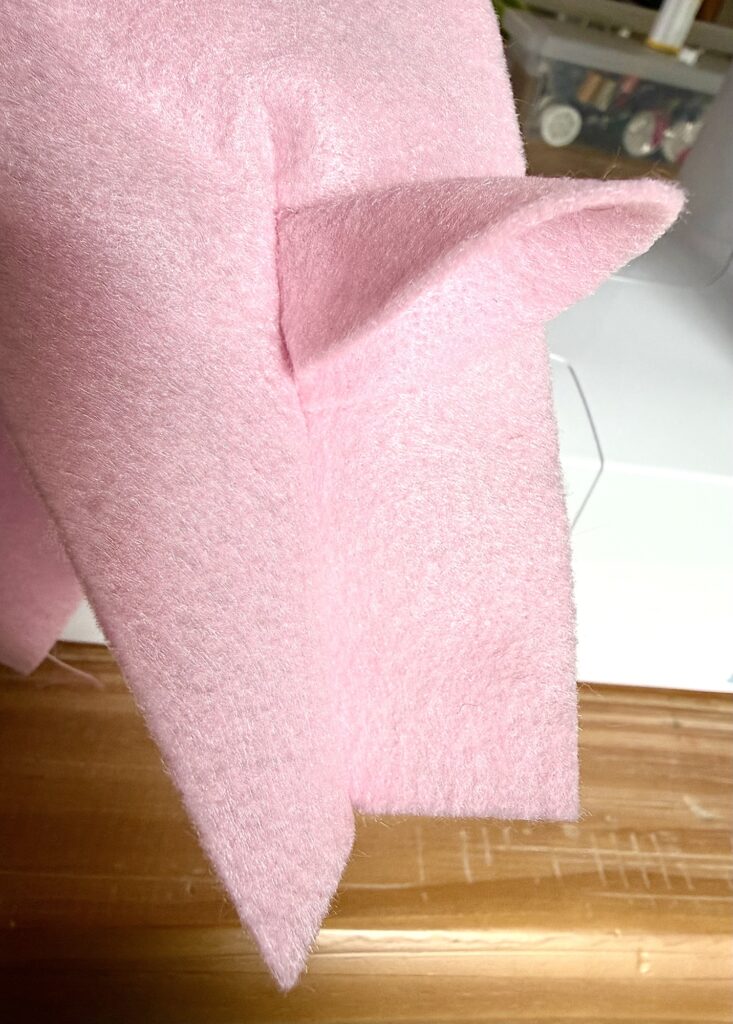
Sew legs to underbelly on opposite side from dart seam. Line up curves and sew 1/8 inch from edge.
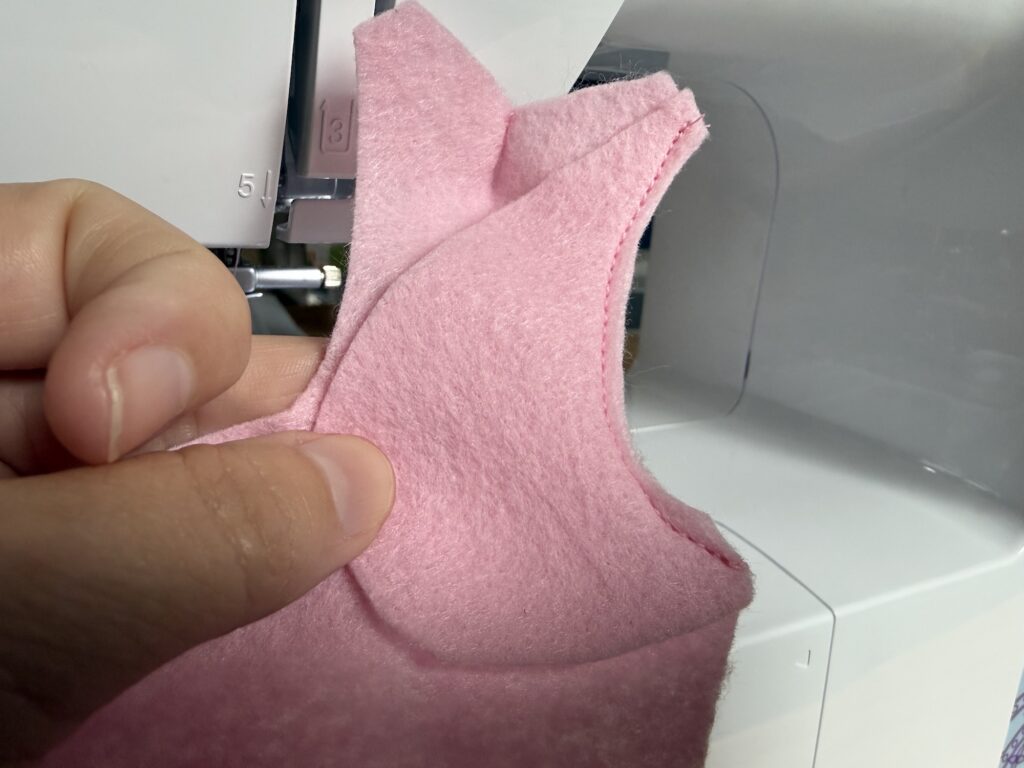
Complete one side, then the other. Keep opposite leg clear when sewing.
Step 4: Join Top and Bottom
Place top and underbelly right sides together at tail area. Match dart seams and sew ¼ inch from edge.
Move legs aside while sewing.
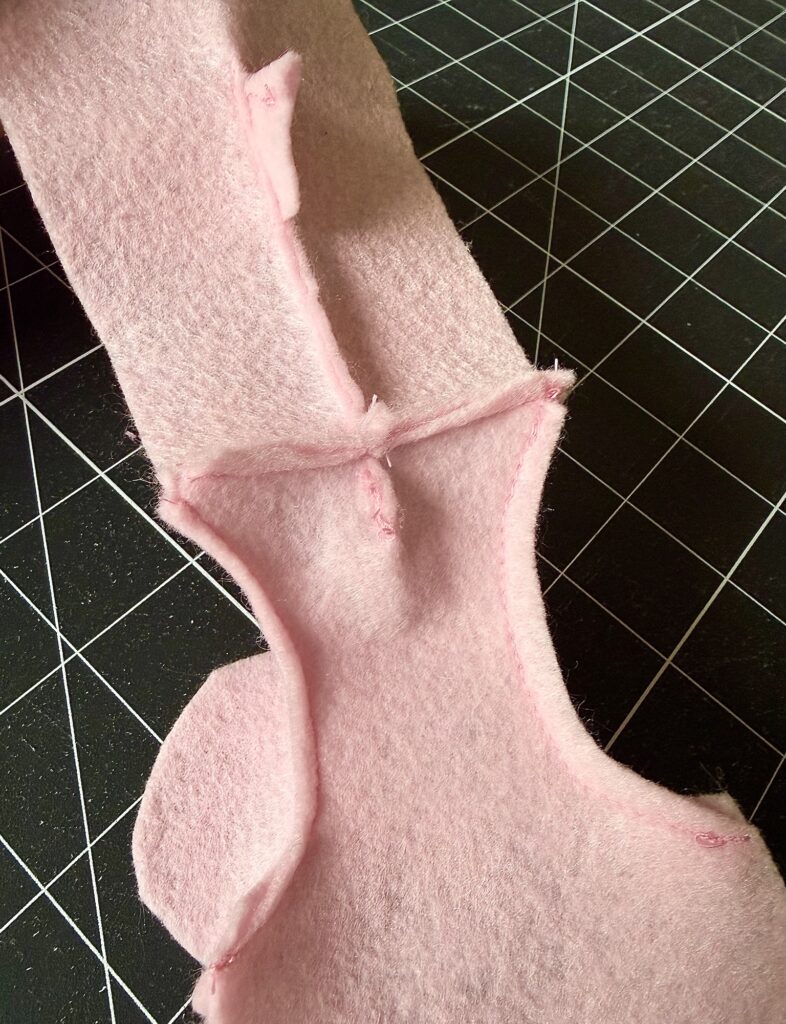
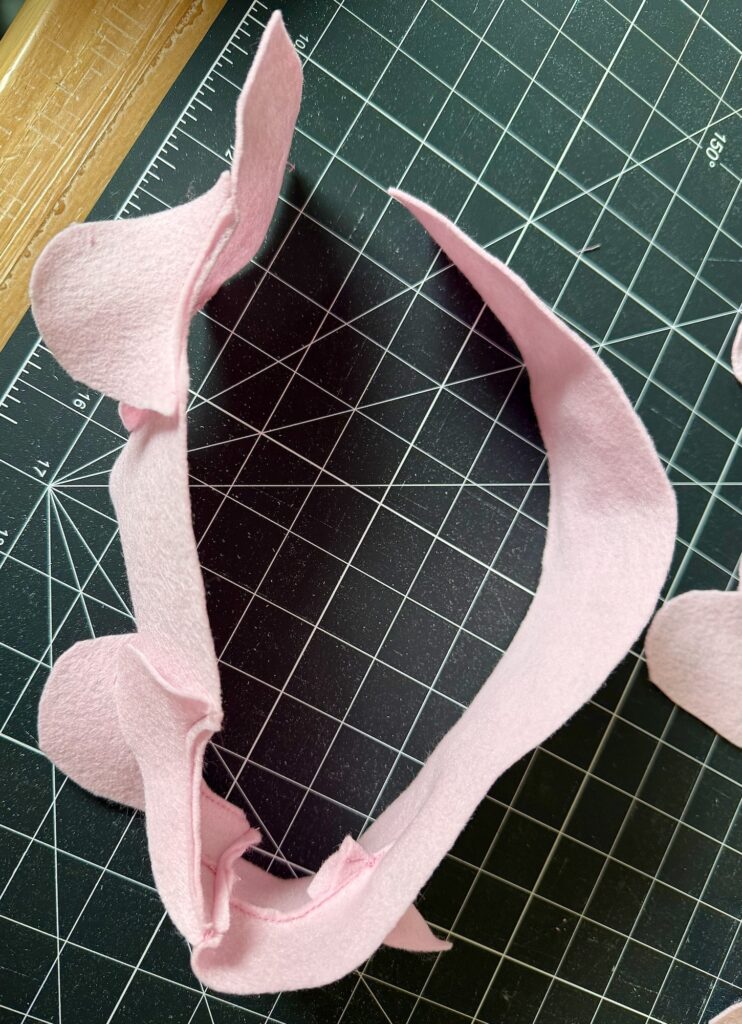
Step 5: Attach Body Pieces
Pin one body piece to top/underbelly assembly, wrong sides together. Match top of pig to top of nose, continuing to bottom of nose. Pin edges as you go.
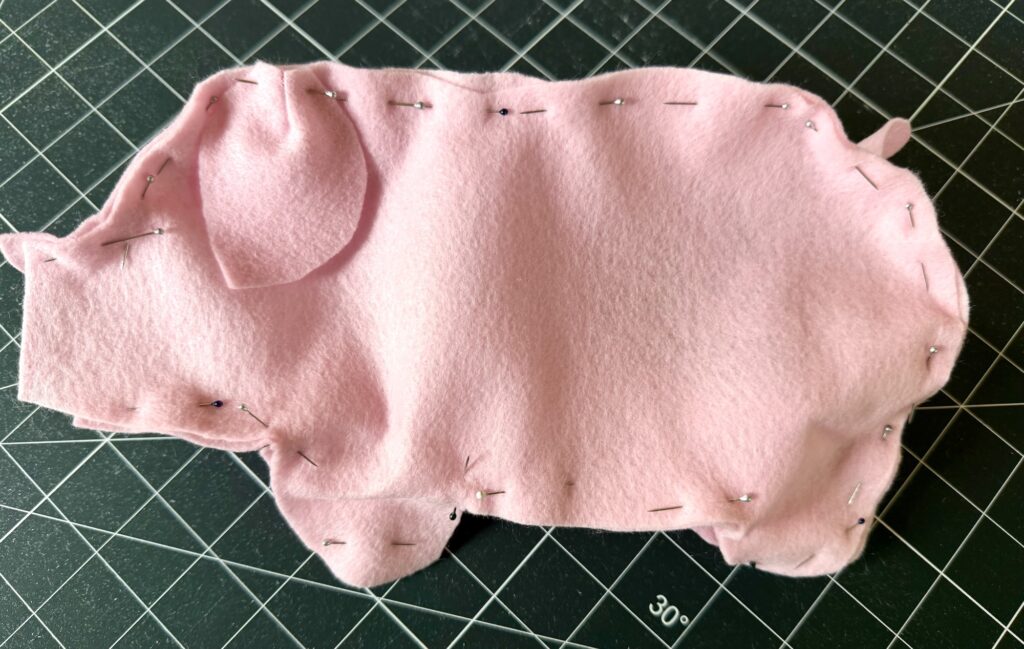
Sew 1/8 to ¼ inch from edge.
Repeat with second body piece.
Note: Optionally sew eyes now (see Step 7) before closing body.
Step 6: Stuff Pig
Stuff through nose opening. Use chopstick or spoon to push stuffing into legs. Fill to desired firmness.
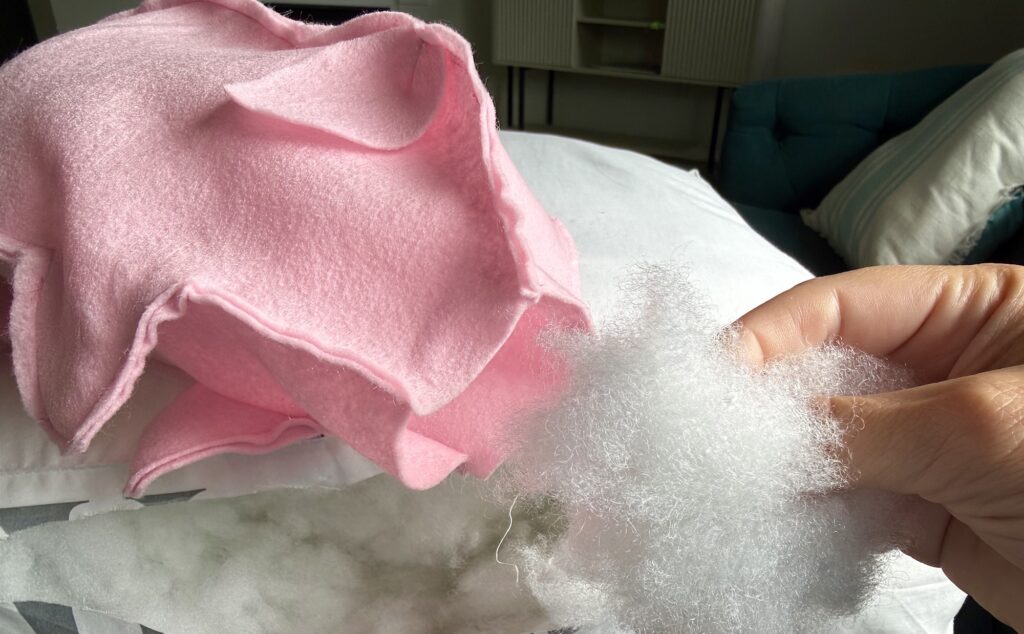
Step 7: Finish
Hand stitch nose piece over opening using straight stitches.
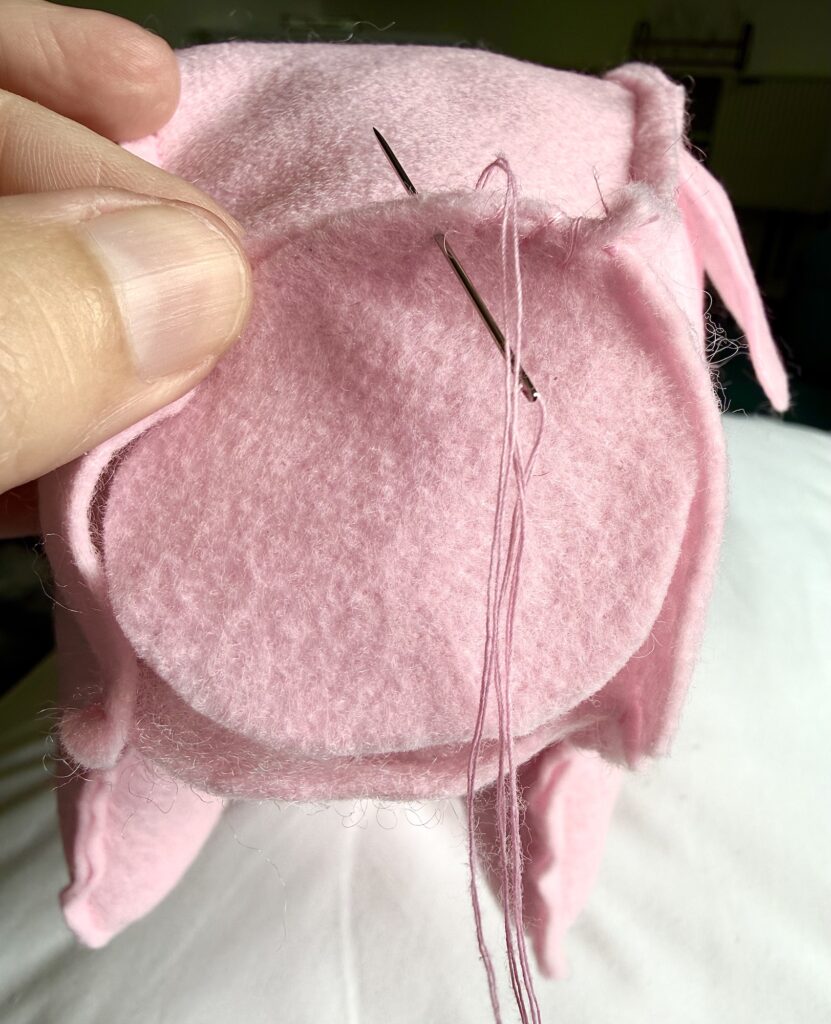
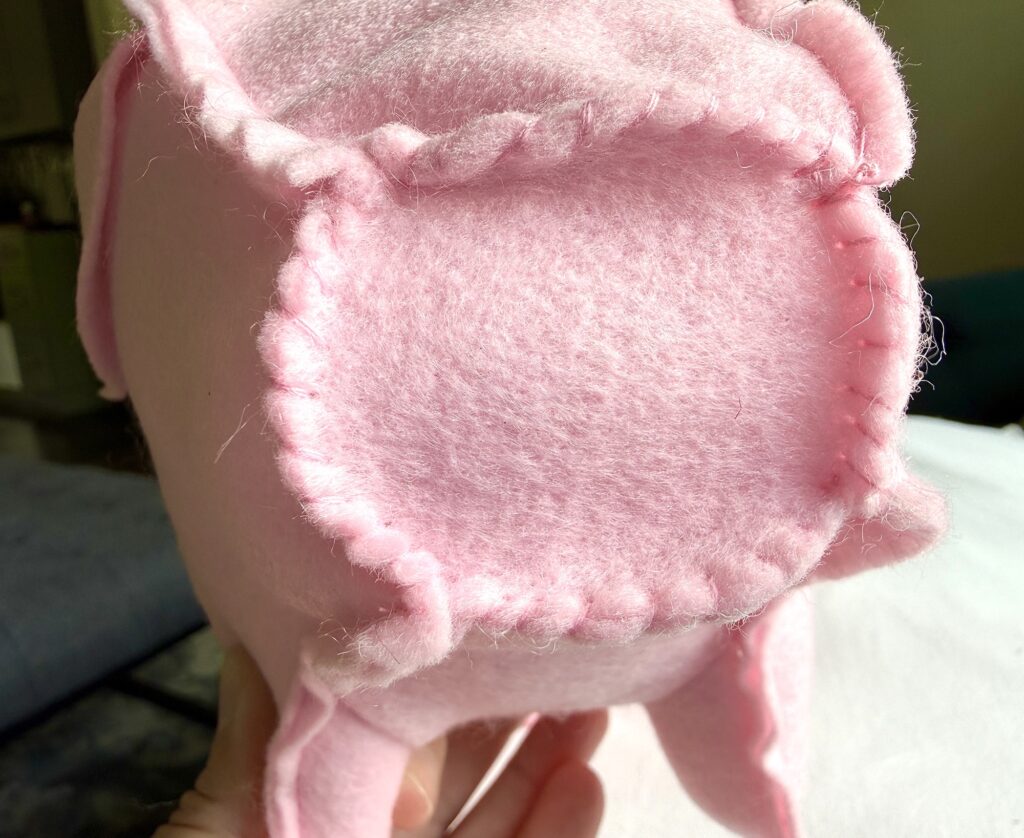
Add eyes using embroidery floss or small buttons.
Optional: Pig Skirt
1. Hem the short ends. Fold each short end ½ inch toward the wrong side and sew straight across.
2. Create rolling hems on long edges. On both the top and bottom long edges, roll the fabric ½ inch twice toward the wrong side. Stitch along the folded edge using a ½ inch seam allowance.
3. Thread the elastic. Attach a safety pin to one end of the elastic. Insert it into the top hem and push it through, holding the other end so it doesn’t slip inside. Once through, triple knot the ends together.
4. Close the skirt. Match the short hemmed edges with right sides together. Sew a ½ inch seam, keeping the elastic knot in the seam allowance, not inside the waistband.
Save this sewing project for later when you pin it to Pinterest or save to Flipboard or Facebook.
We’ve got more imaginative play sewing projects! See these next: