DIY Phone Pillow Stand (Phone Plop)
Have you ever struggled to keep your phone upright while you try to watch a sewing tutorial, follow a recipe video or binge-watch a favorite show? I know that I have, and it’s so annoying!
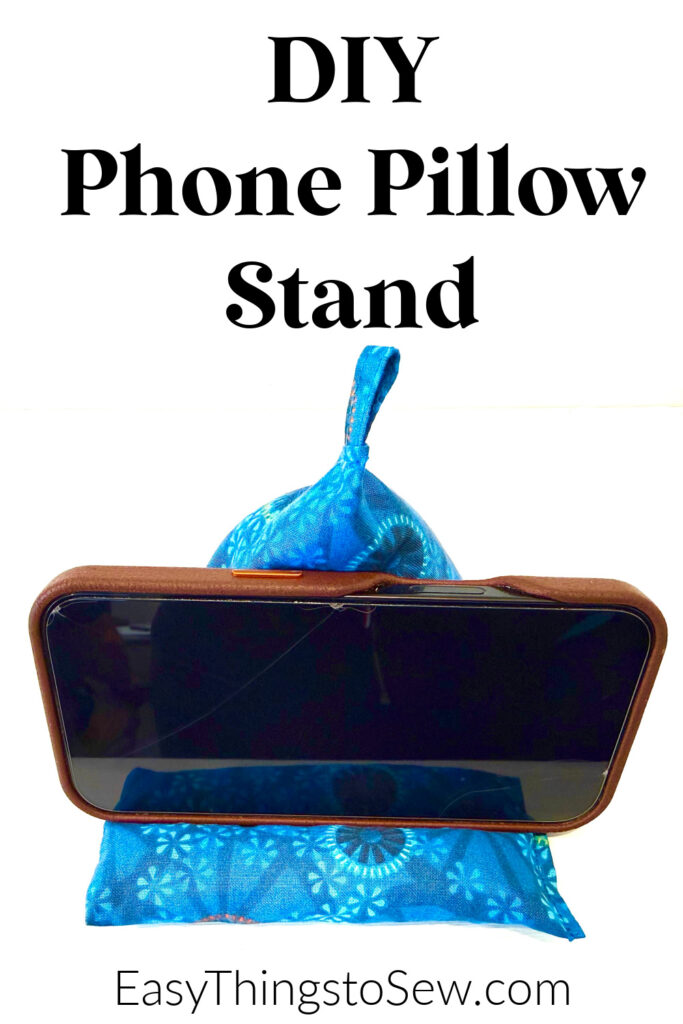
Which is why I decided to make a cell phone pillow for an easier way to use my phone. This DIY Phone Pillow Stand is soft and cradles your phone to keep it upright and hands-free.
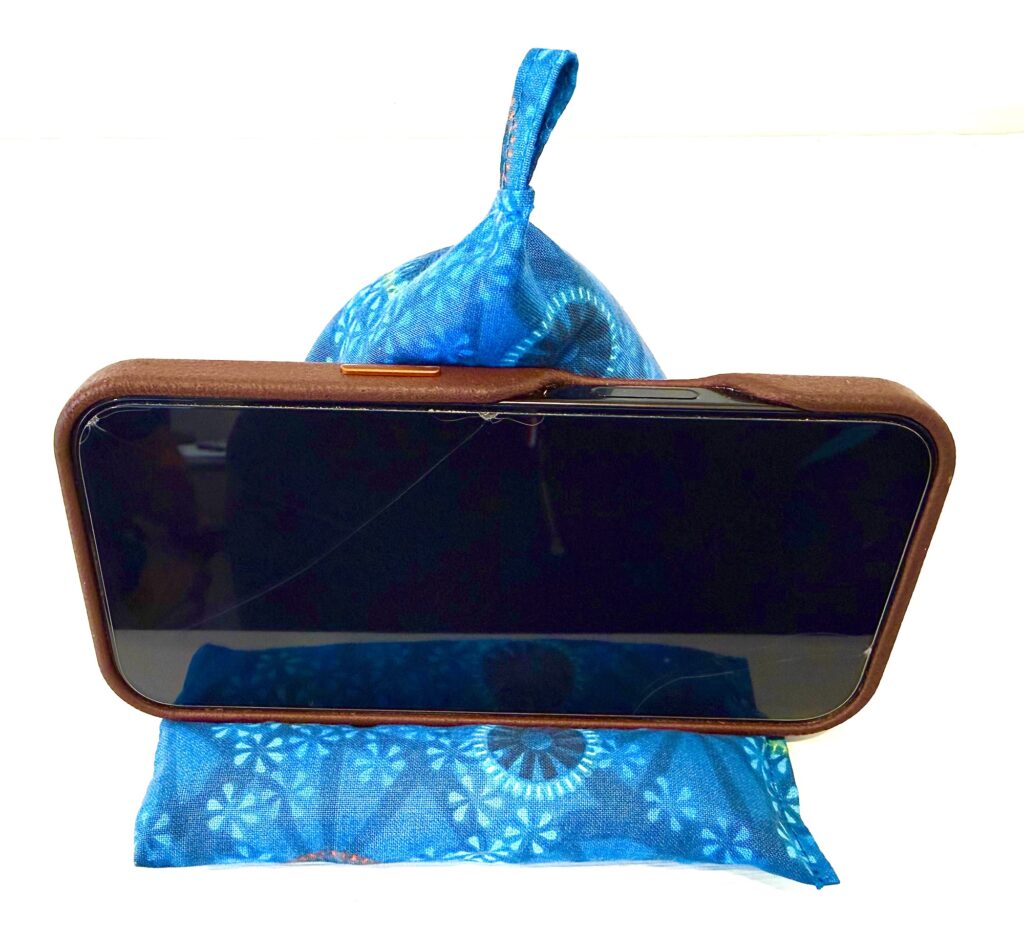
This bean bag cell phone holder can be used to keep your phone in either in a vertical position or horizontal position. It’s effortless to use and inexpensive to make!
It’s also perfect for FaceTime and video conferencing because you don’t have to hold your phone for a long time.
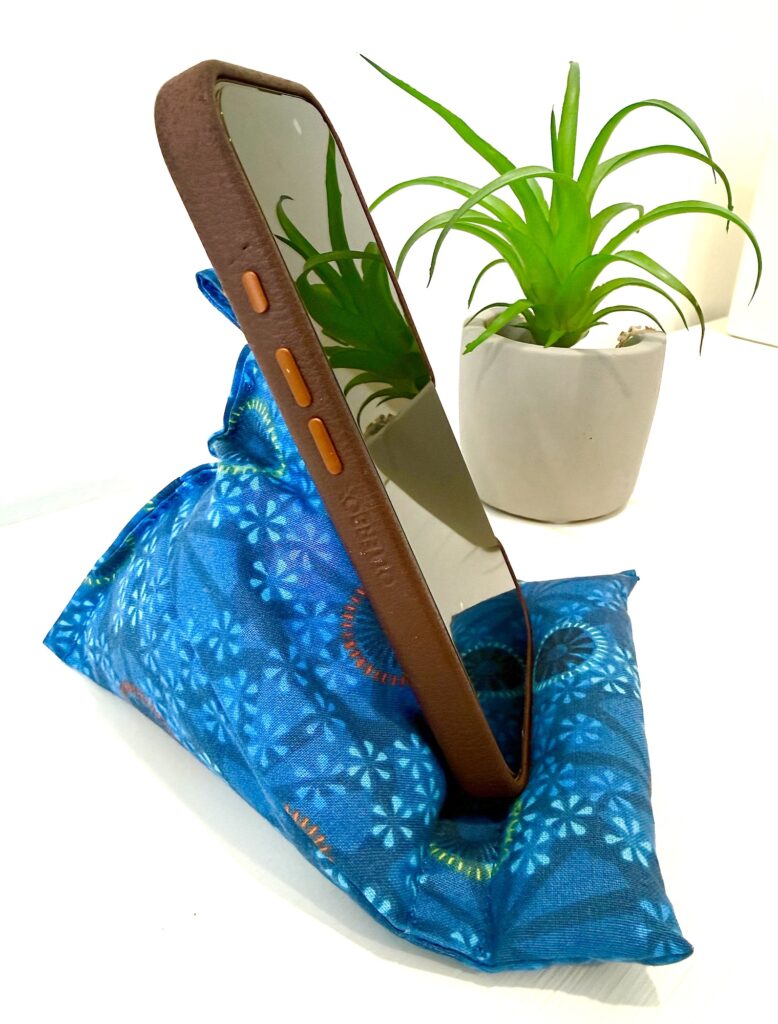
This handmade phone stand is sometimes called a “phone plop” because it’s easy to pick up and plop down where you need to use it.
I made one of these for my teenage nephew for Christmas and he loved it! These are especially great DIY gifts for men and teens because they can be so challenging to find great gift ideas for.
Supplies
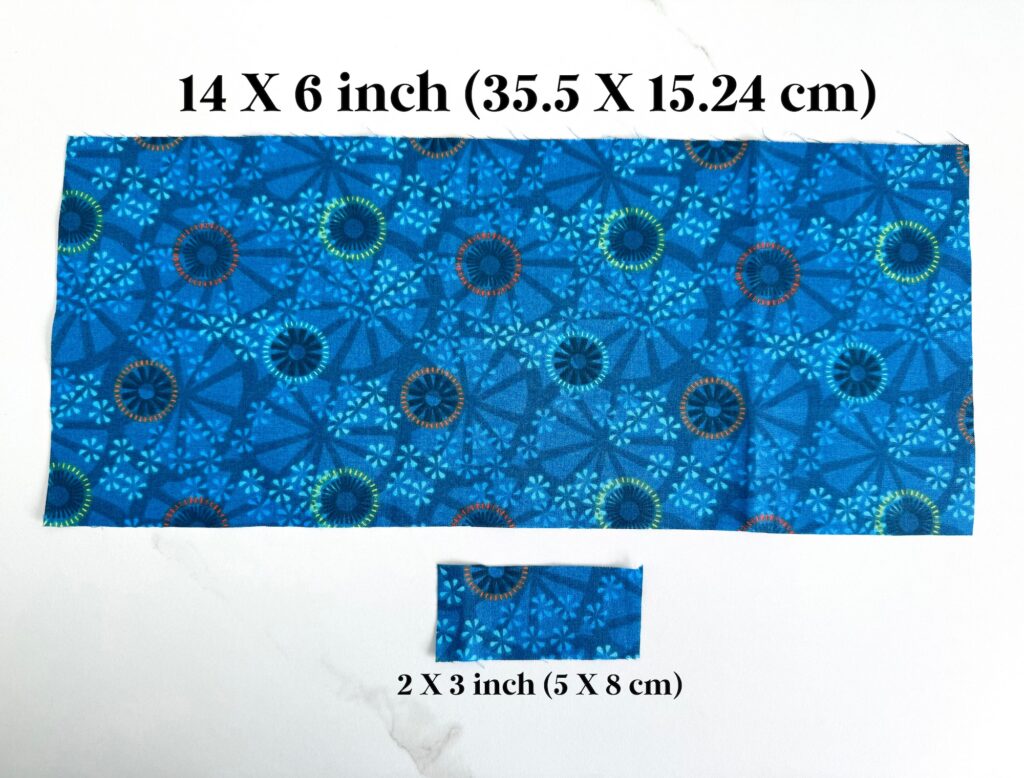
- 14 X 6 inch (35.5 X 15.24 cm) Fabric
- 2 X 3 inch (5 X 8 cm) Fabric OR 3-inch piece of ½ inch ribbon
- Matching thread
- Marker or Disappearing Ink Pen
- 1 ½ cups rice, dried peas, or Poly-Pellets
- Poly-fil or stuffing
Instructions
Step 1: Create Loop
Fold a 2 X 3 inch (cm…..) piece of fabric in half lengthwise. Iron to create a crease.
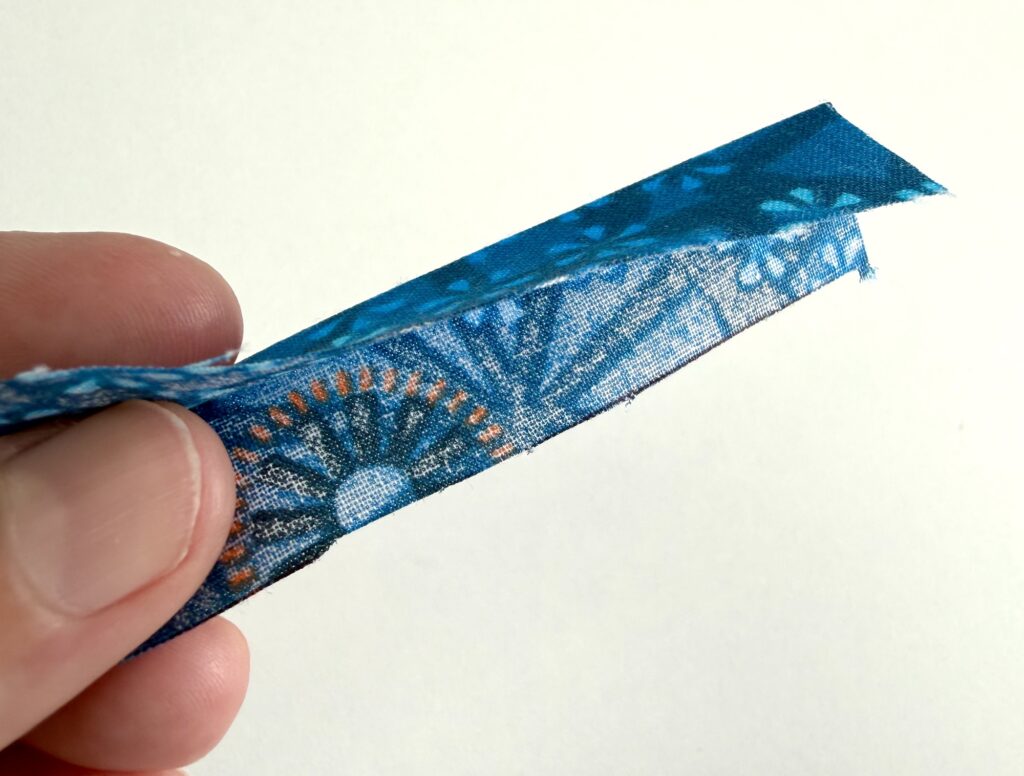
Unfold the fabric. Fold in one side to meet the crease in the middle. Repeat on the other side.
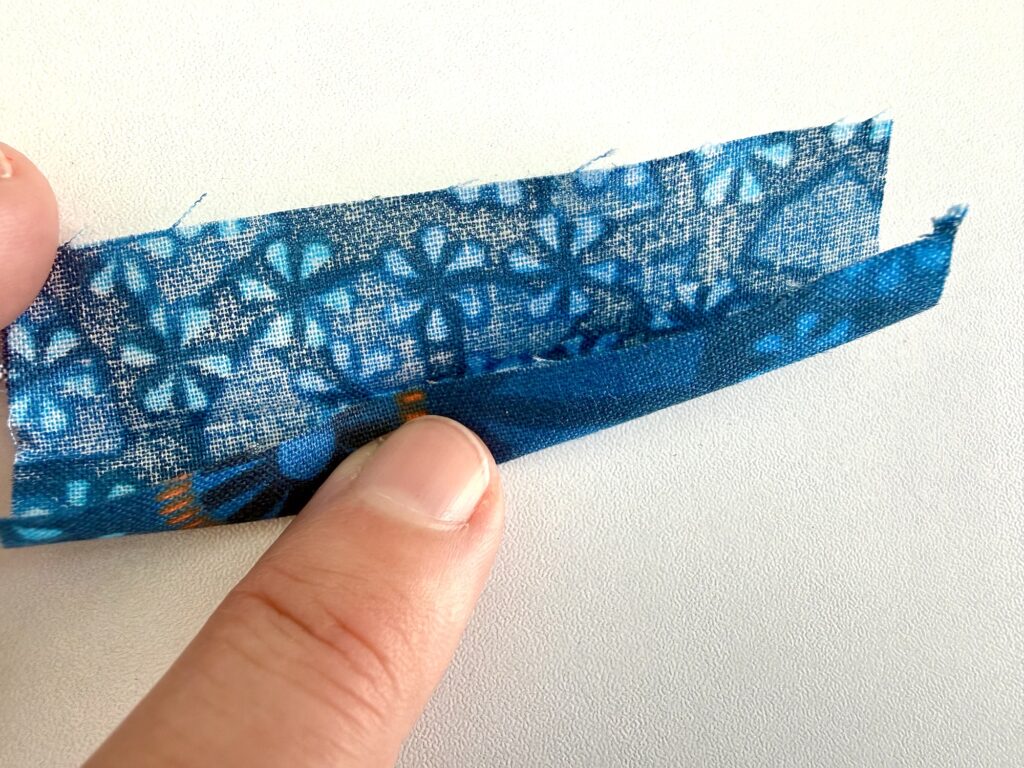
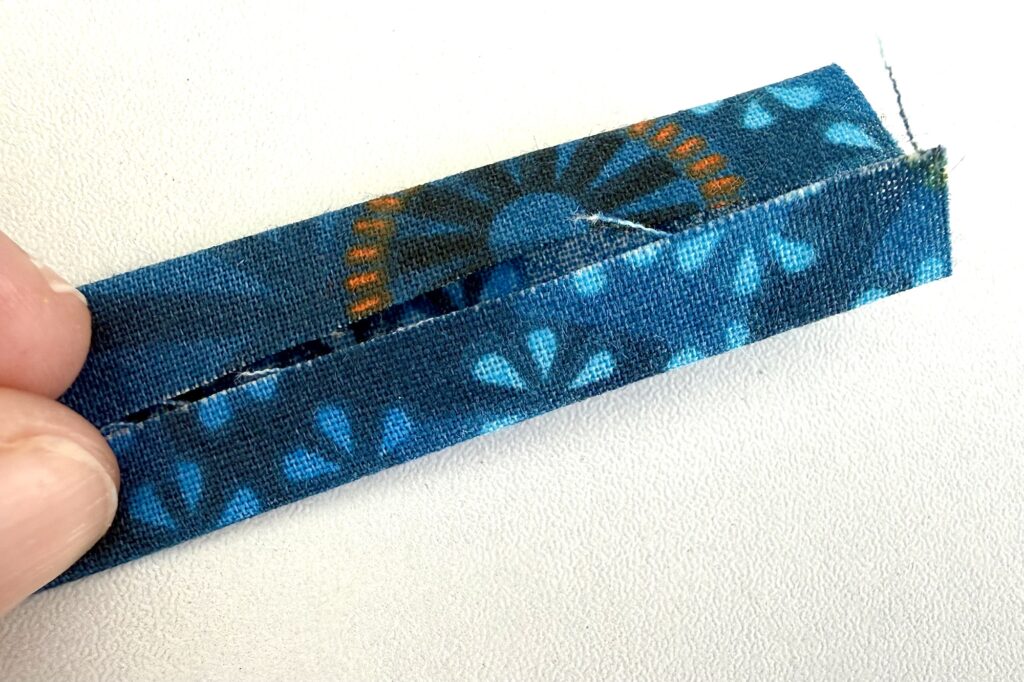
Fold in half again.
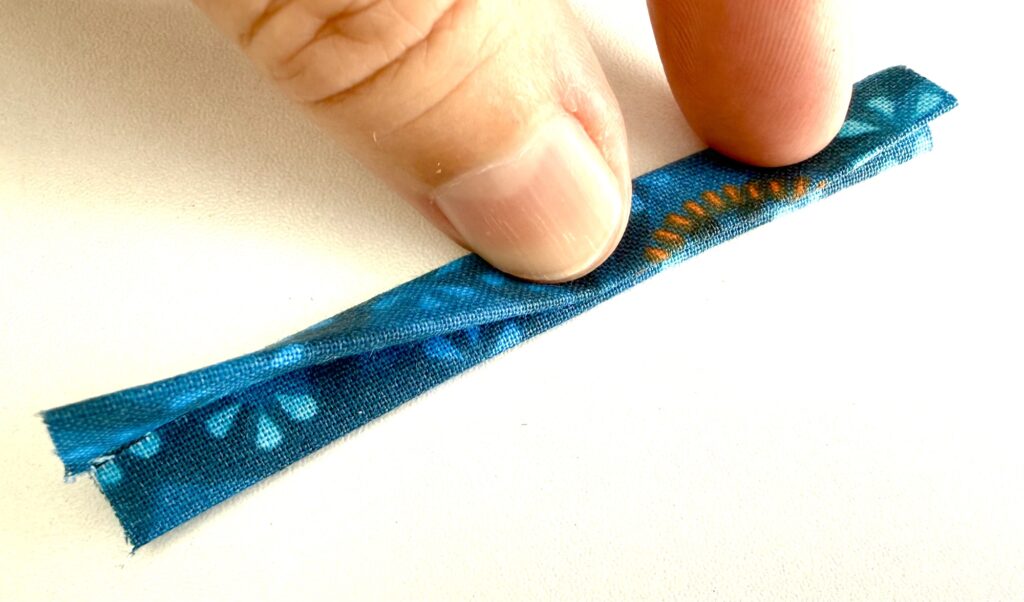
Top-stitch each side.
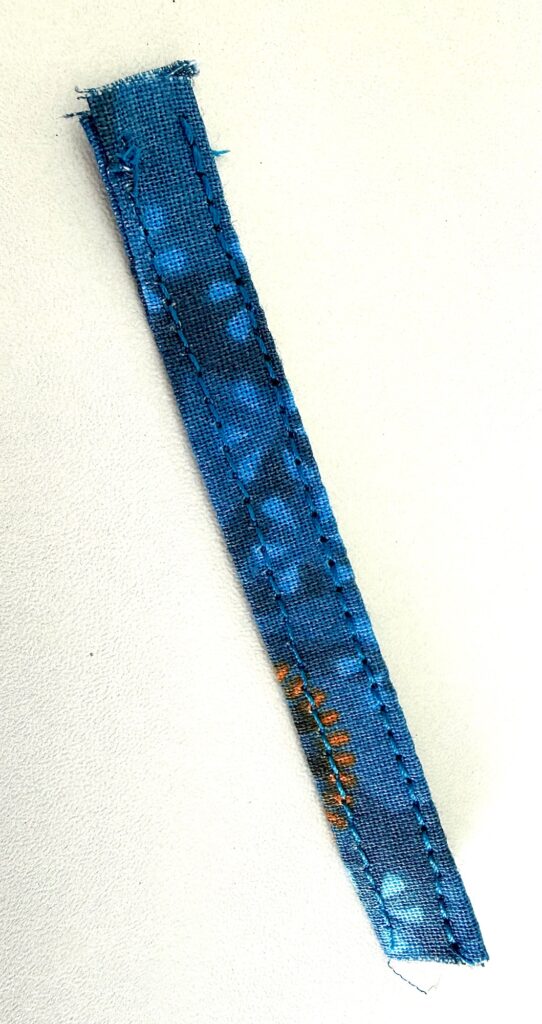
Optional: Use a 3-inch piece of ½ inch ribbon instead of the fabric. Or skip the loop if you don’t want it.
Step 2:
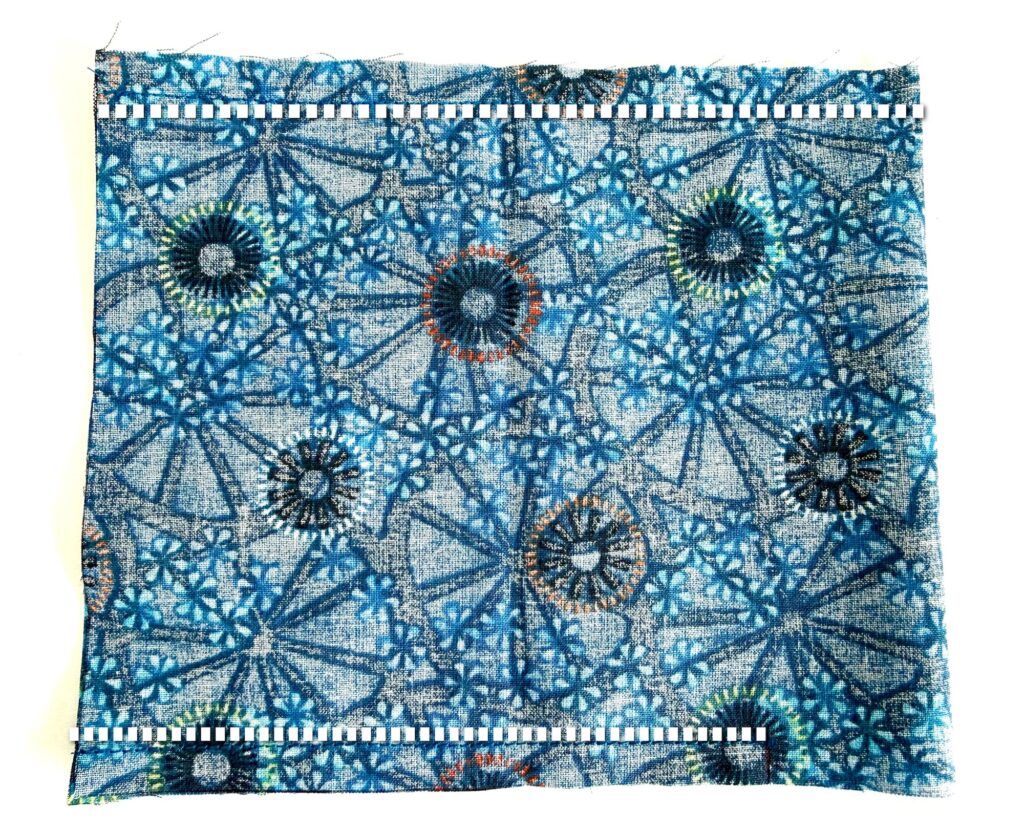
Fold large piece of fabric in half lengthwise, matching right sides together.
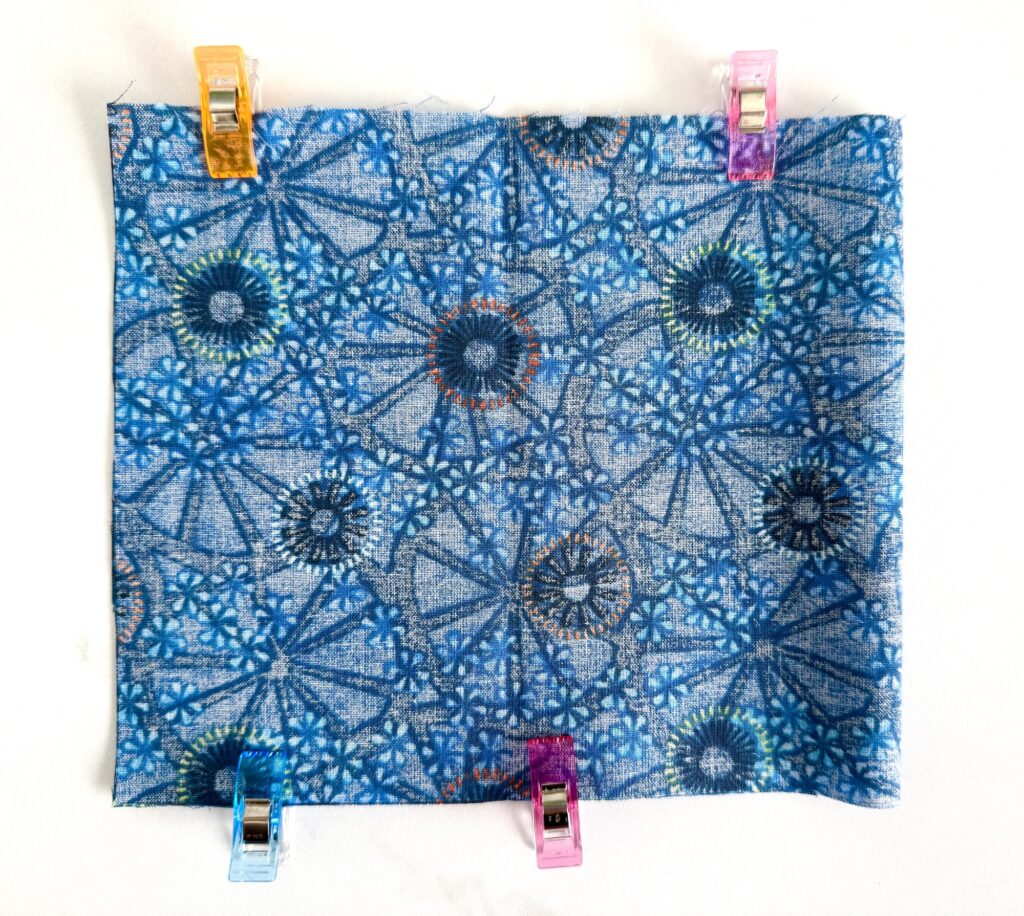
Make a mark 1 ½ inches (3.8 cm) above the fold on one side. (I used a Sharpie because the fabric is dark, but you will want to use disappearing ink for light-colored fabric.)
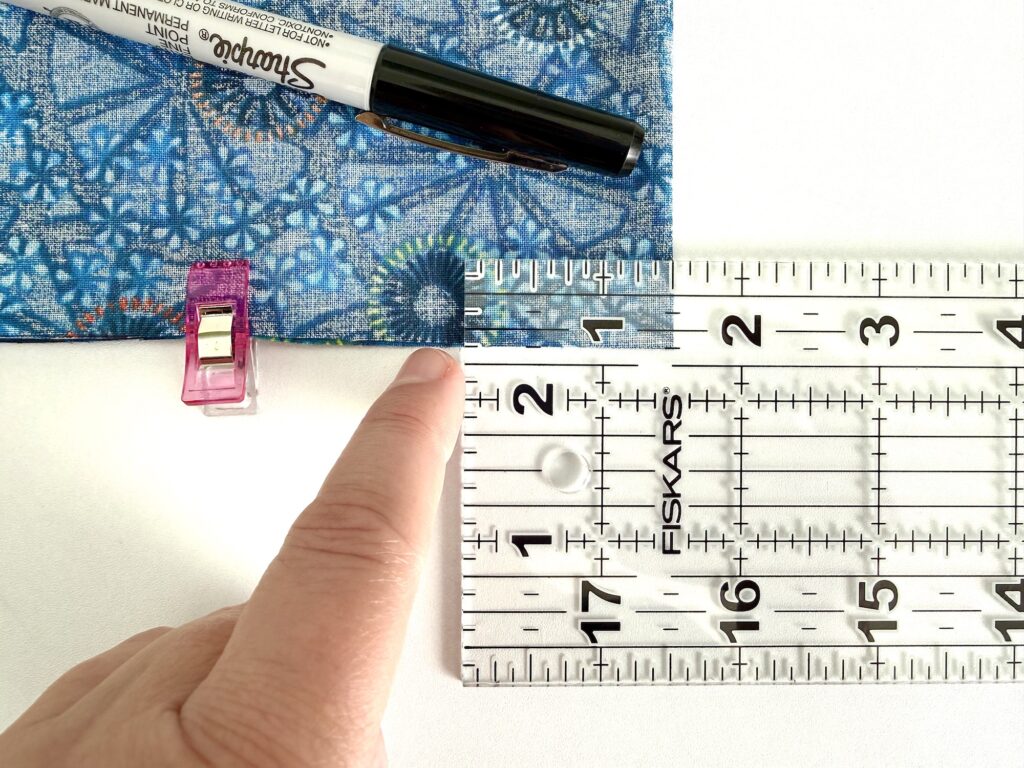
Stitch along each long edge, starting at the 1 ½ inch mark on the one side.
Use a 3/8 inch seam allowance. Be sure to backstitch at beginning and end.
Step 3:
Turn inside out. Push out corner.
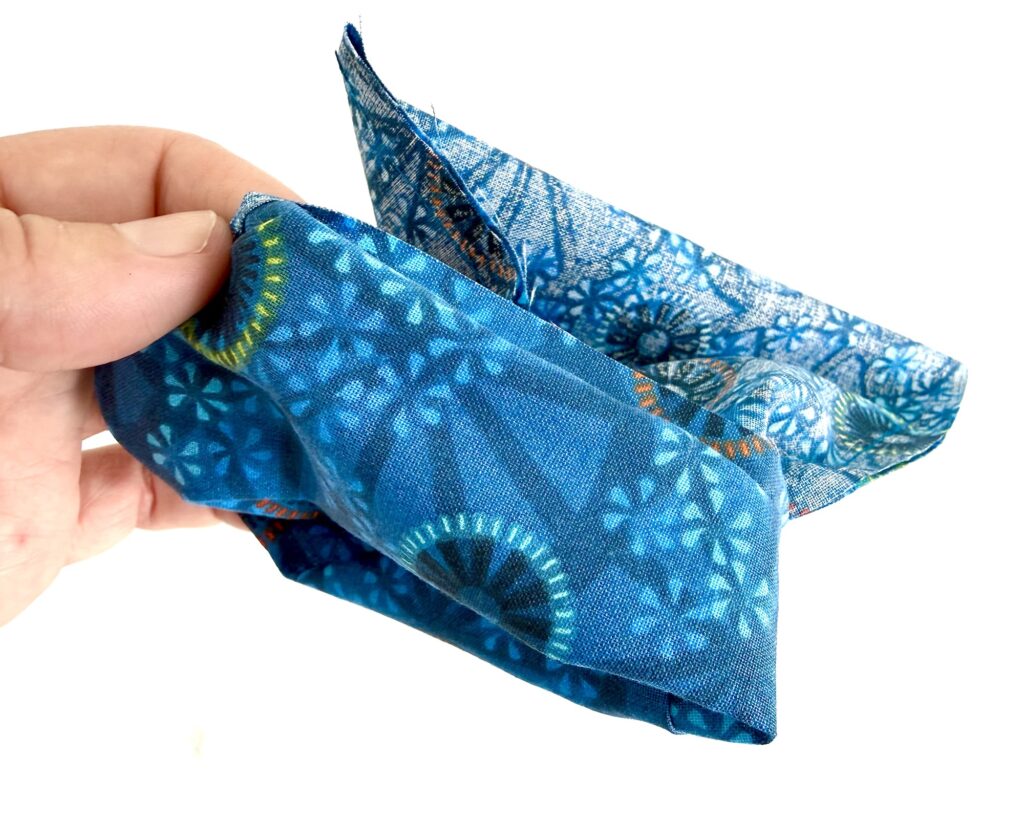
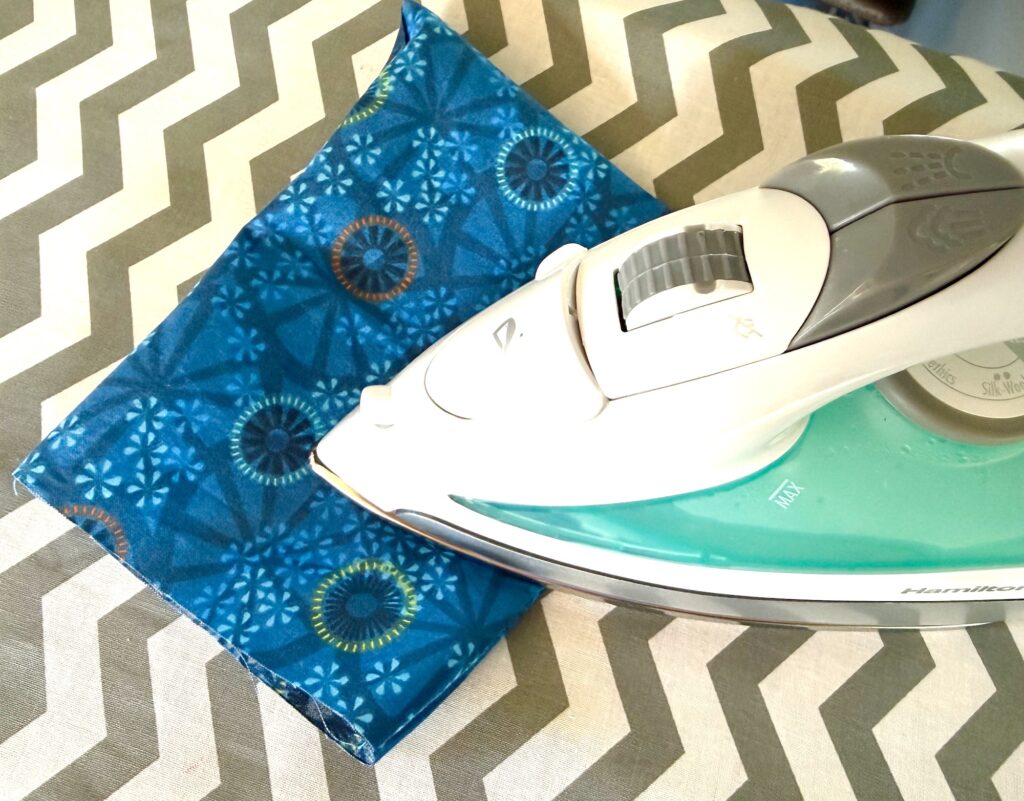
Iron seams flat.
Mark a line 1 ½ inches above the fold.
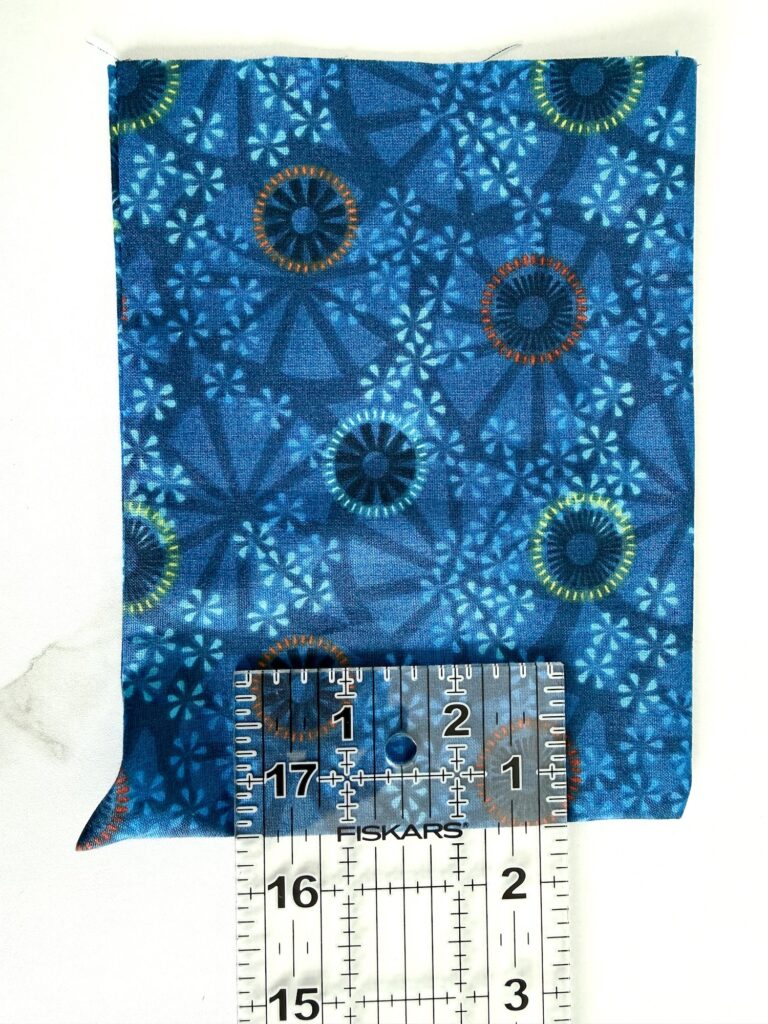
Mark a line 2 inches above the fold (½ inch above the line you just made).
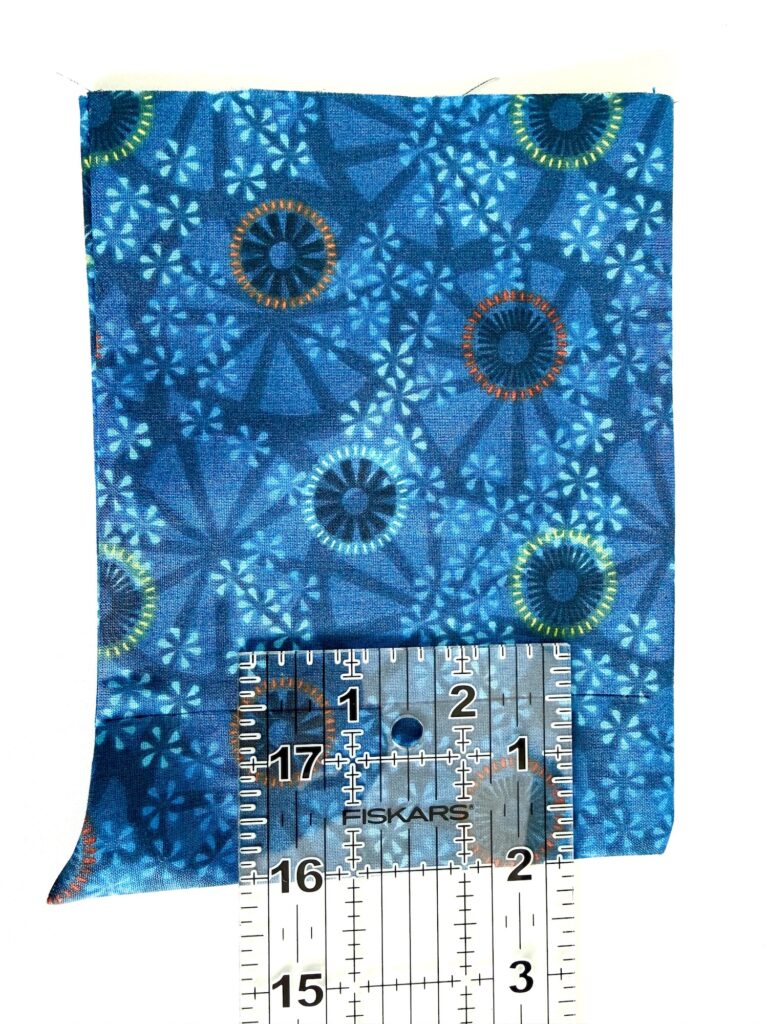

Sew along each of these lines, backstitching at beginning and end.
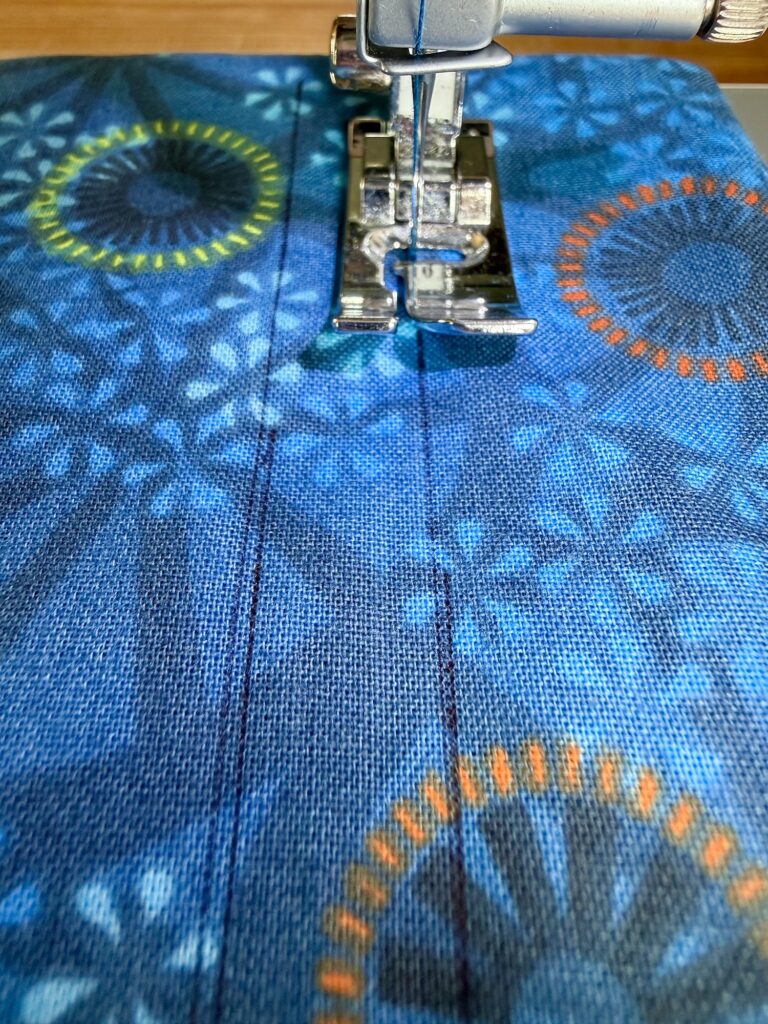
Step 4: Stuff the Pillow
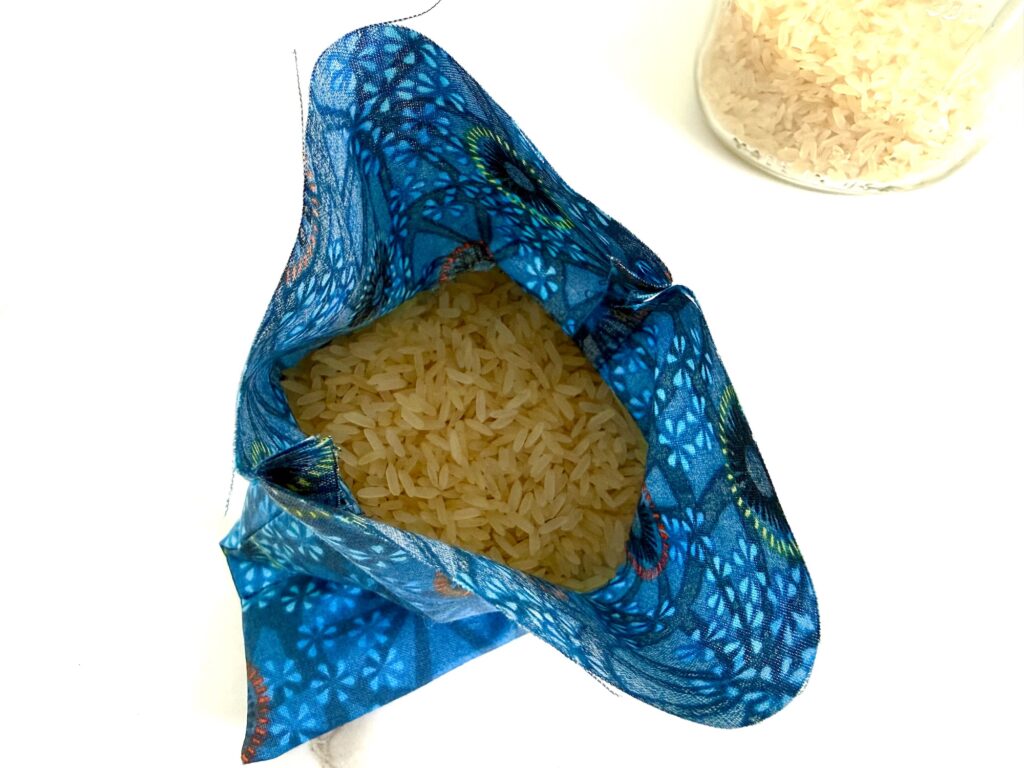
Open up the bag and fill ⅓ – ½ with rice.
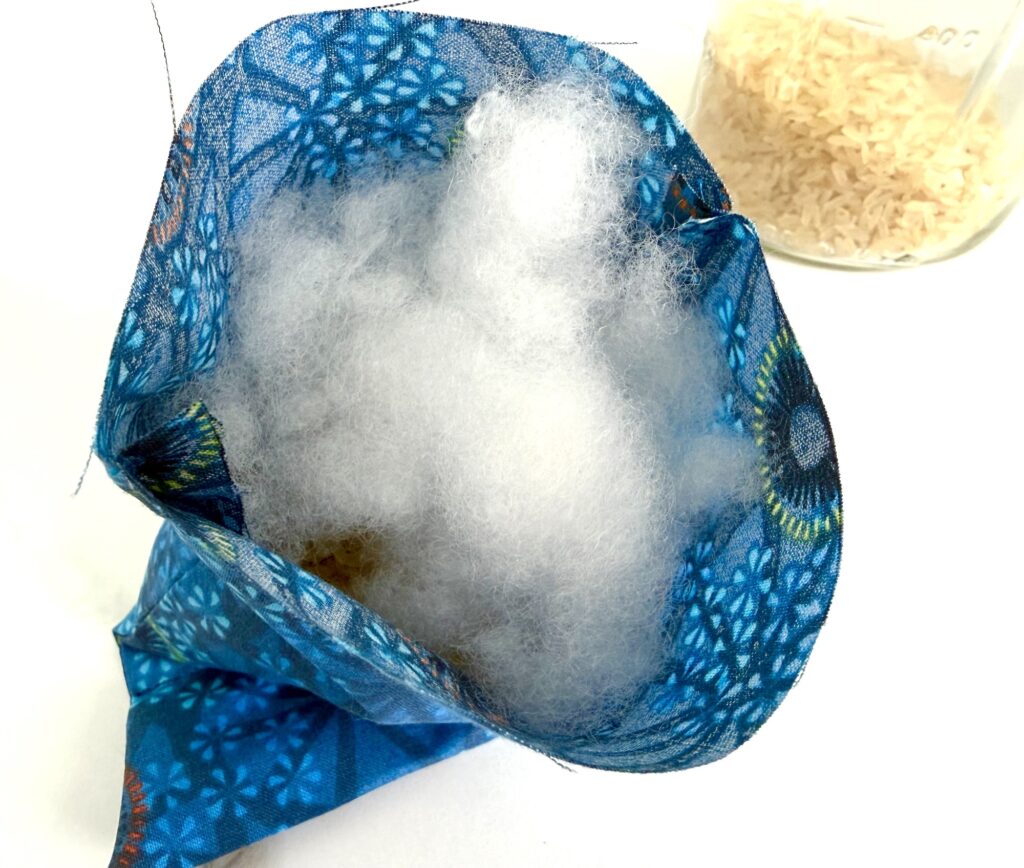
Fill the rest of the bag with Poly-fil or stuffing.
Push seams together and turn under the raw edges ½ inch.
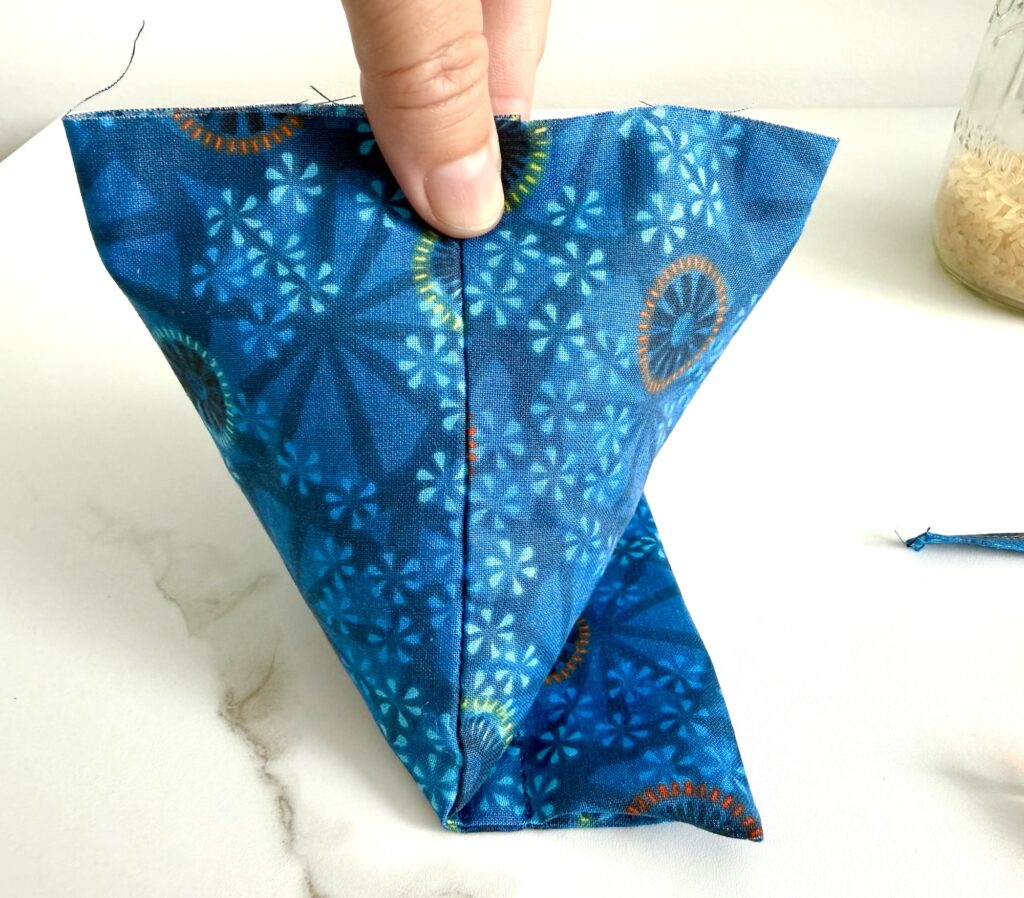
Fold the small loop piece in half. Insert the cut edges into open seam allowance, tucking it towards the back edge. Be sure the loop is inserted far enough that it will be sewn into the seam allowance.
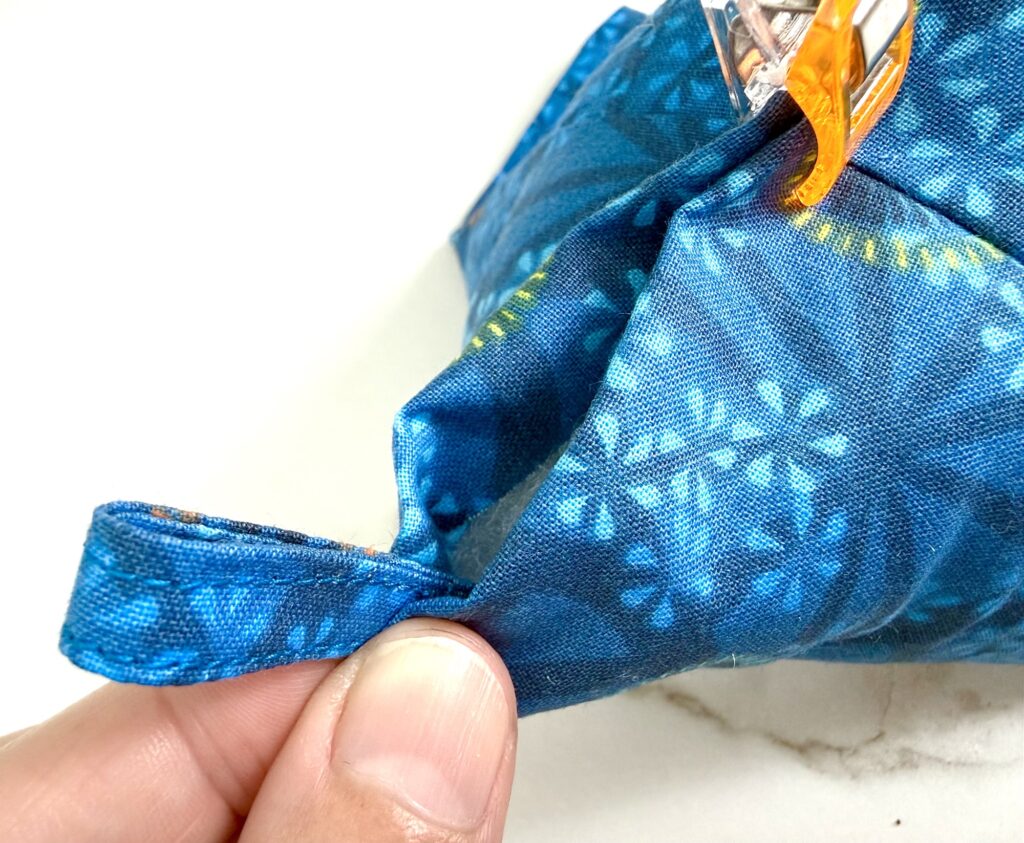
Clip edges together.
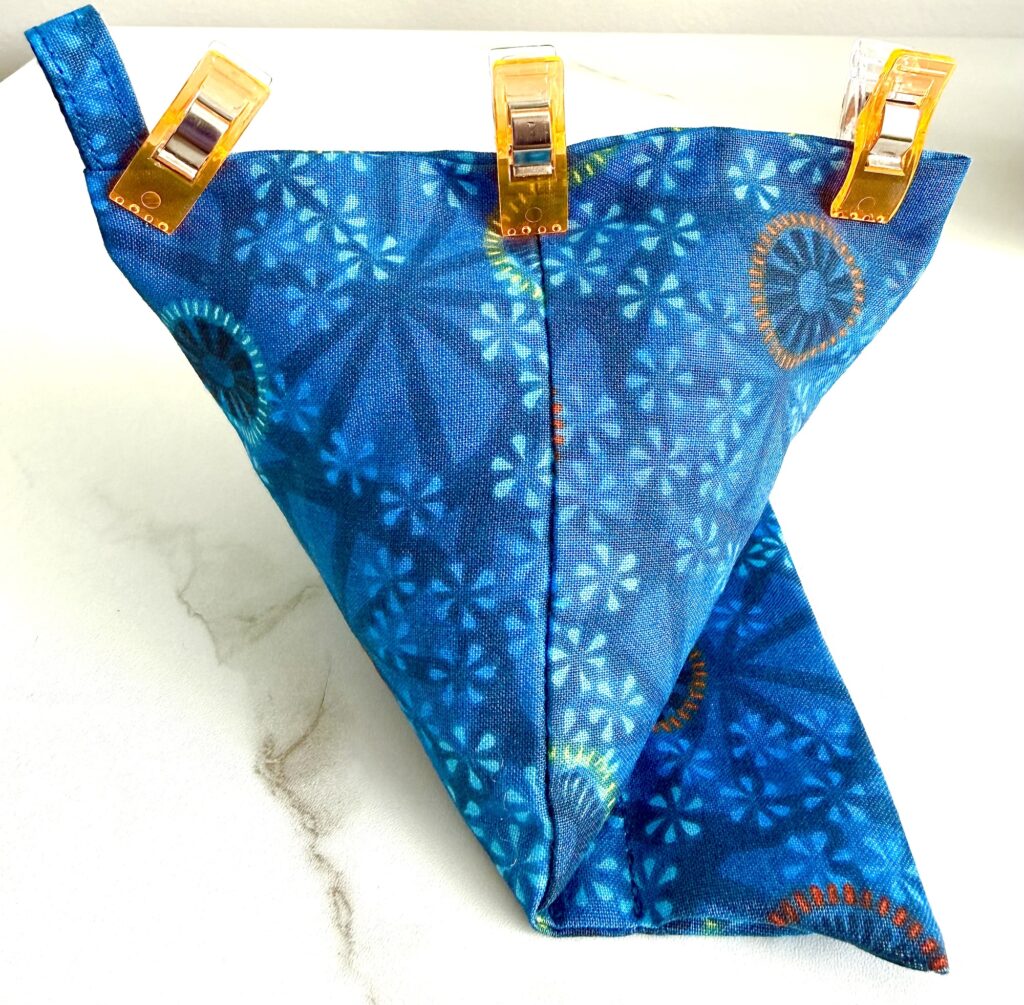
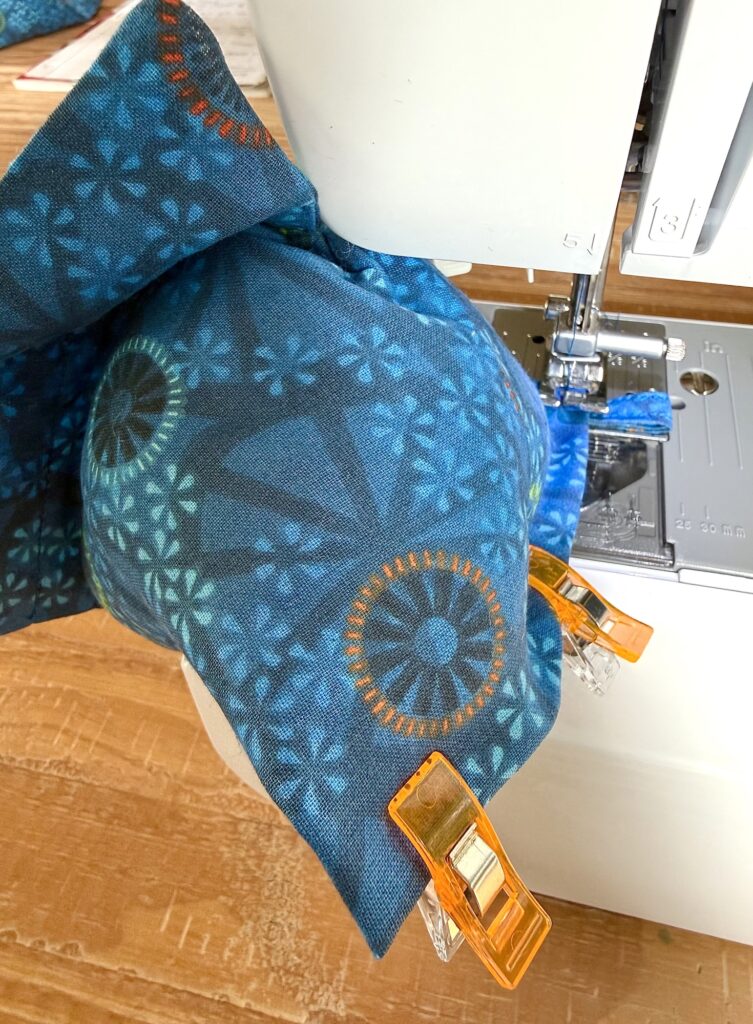
Push the stuffing and rice away from the stitching area. Sew seams together, being sure to backstitch at beginning and end. (I used a ¼ inch seam allowance on the top because it can be a little challenging to get the pillow underneath the sewing machine.)
Step 5: Fill the Channel
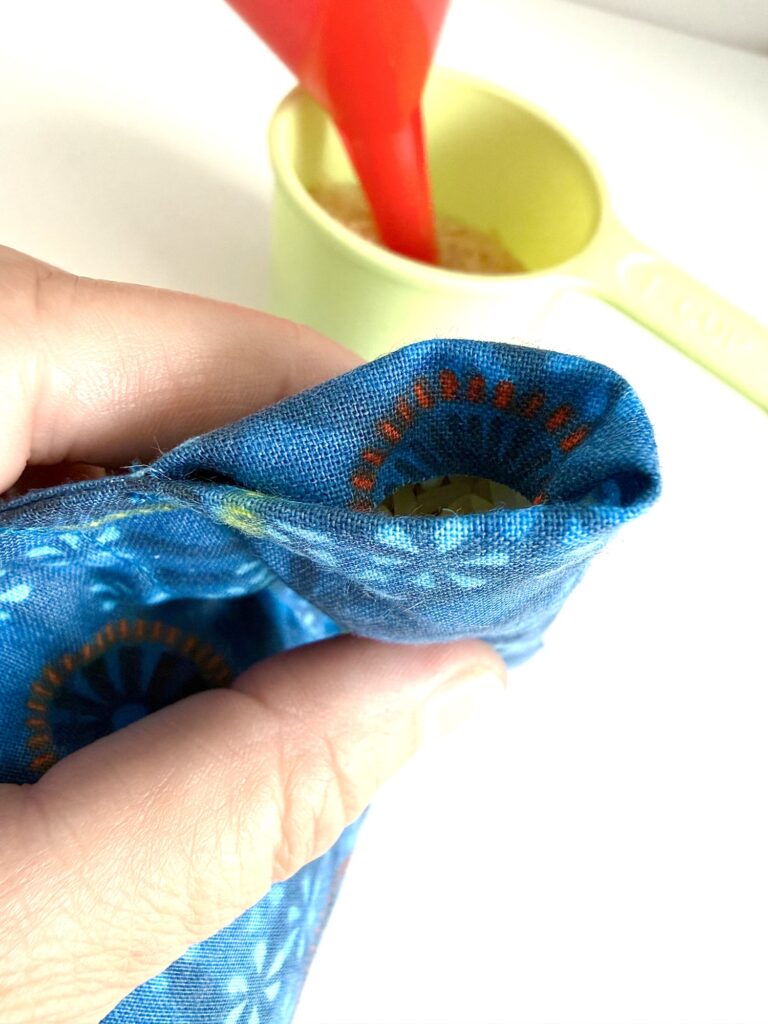
Using a funnel, fill the 1 ½ wide channel through the opening, leaving about 1 inch open at the end.
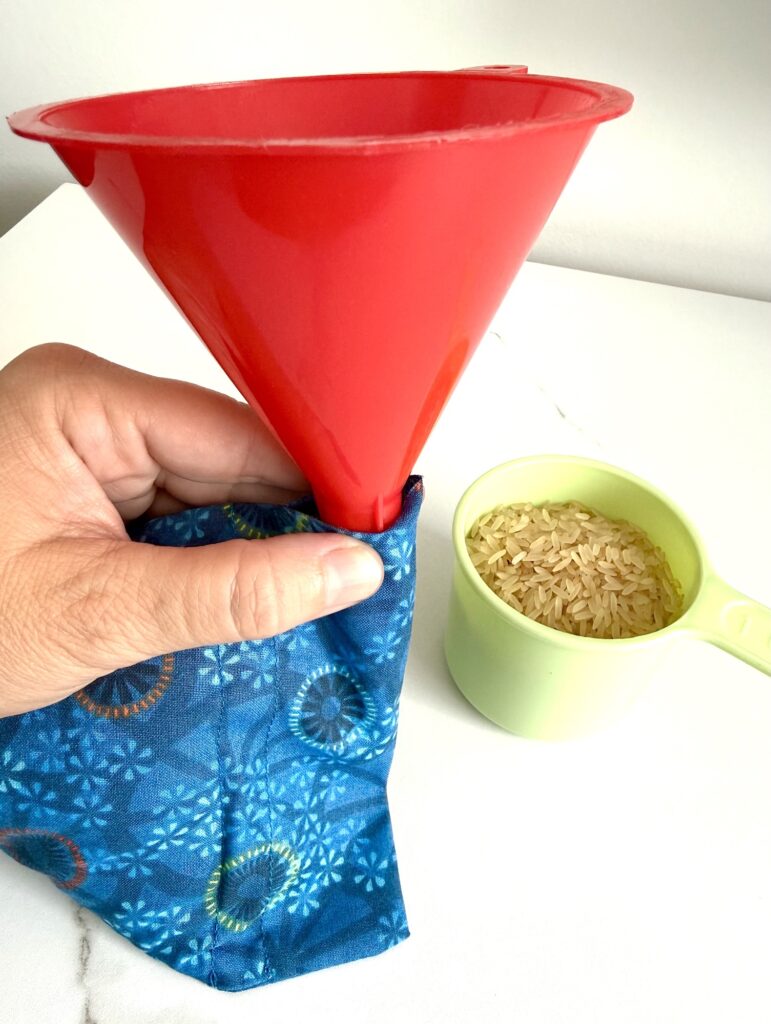
Fold under the raw edges, then sew seam closed using a ¼ inch seam allowance. Be sure to backstitch at beginning and end.

Save this easy sewing project for later by pinning it to Pinterest, flipping it on Flipboard or saving to your profile on Facebook.
This phone pillow stand makes a perfect gift. Here are even more handmade gift ideas to sew: