How to Make a Scrunchie
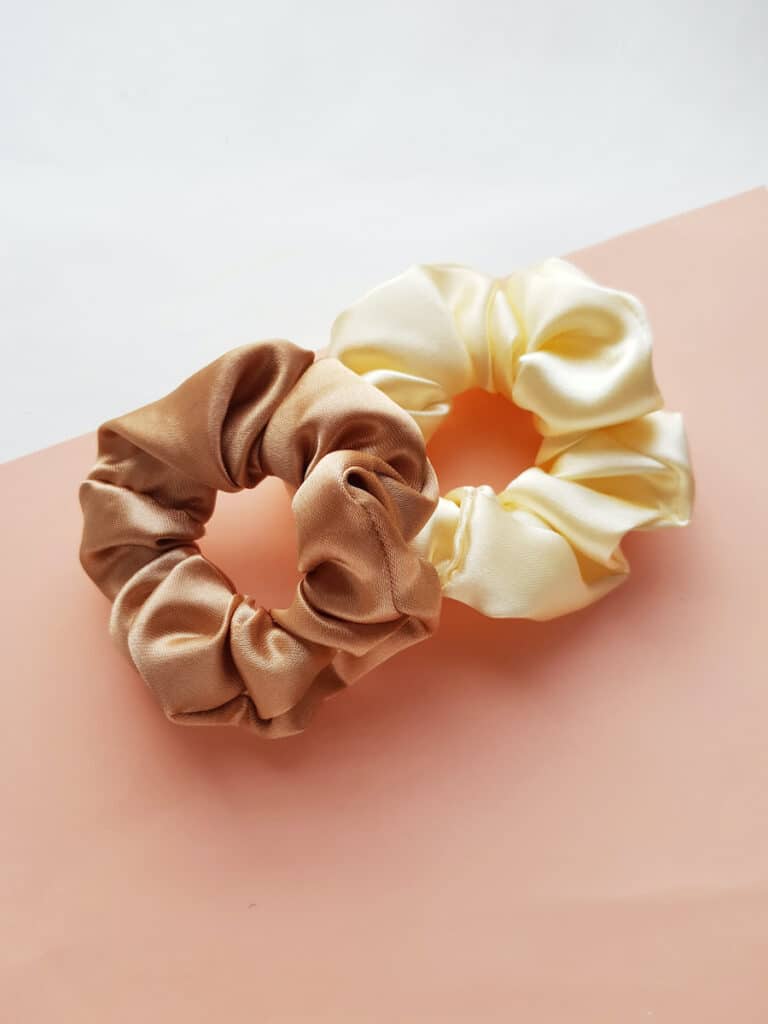
This easy DIY scruchie tutorial can be used for fabric, silk, satin or velvet scrunchies. You can use either a sewing machine or hand stitch to make it. A perfect beginner sewing craft!
When I was in high school, my mom and I made DIY scrunchies a lot. It was a way to save money and personalize hair accessories. The hair ties are still popular, even decades later, so I wanted to share how to make a scrunchie with you.
If I can find any of my original hair scrunchies from the 90s, I’m going to post a picture here! I kept them because I love them so! They are like a snapshot of my childhood.
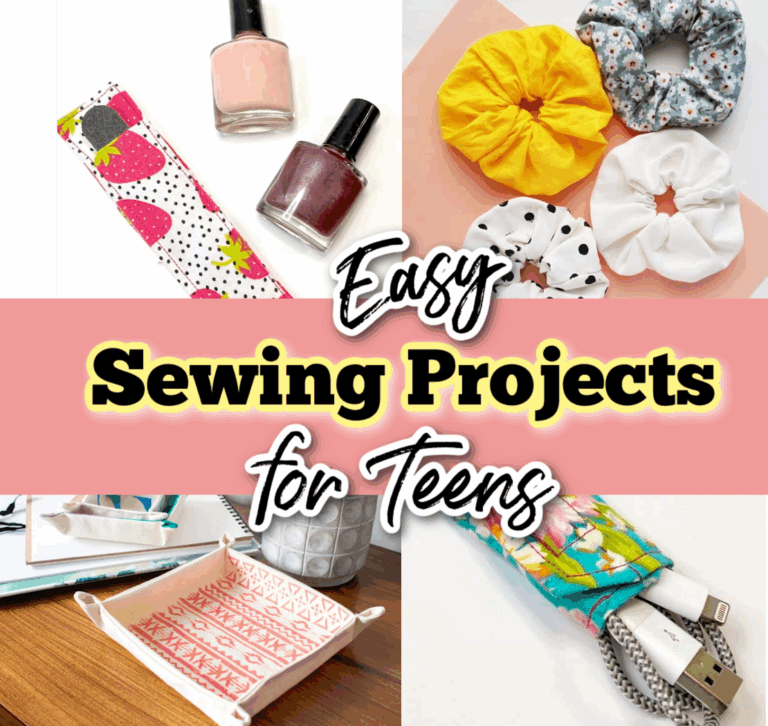
This is a very easy beginning sewing craft. It is perfect for teens and tweens to learn how to sew while also expressing their personality.
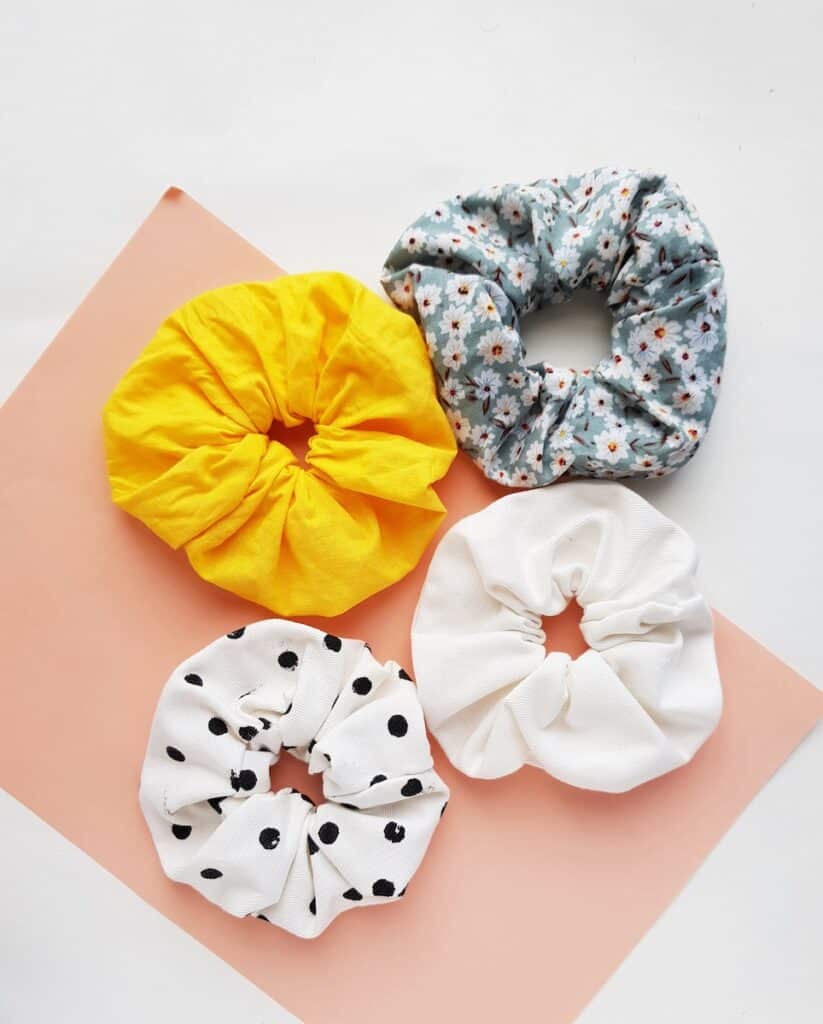
It is easy to match your hair scrunchie with your outfit when you make your own. These instructions are so simple, that you can make beautiful scrunchies for your friends and family, too.
How to Sew a Scrunchie
Supplies
- 4 inch X 18 inch piece of fabric (any type of fabric, including satin, silk, velvet, flannel, etc.)
- Hand Sewing Needle and Thread
- Elastic
- Safety pins
- Pencil or fabric chalk or marker
- Candle or lighter (for satin scrunchies)
Directions
Fold the cut fabric into half width wise, with its wrong side facing out. (The fabric will then be 2 inches wide, with the less pretty side facing outwards.) Stitch or sew along the open length (the 18-inches long part). Keep the 2 small ends on both sides open for now.

Turn the right side out through one of the open ends.

Iron the fabric to remove wrinkles after turning it inside out.
Cut a piece of elastic long enough to stretch and make a comfortable hair band. Attach one safety pin on one end of the elastic.

Insert the safety pin into one open end. Move it through the fabric until you get to the other open end. Then secure the elastic to the other end of the fabric with the safety pin. (A little bit of elastic can be hanging out, it’s fine.)
Scrunch up the fabric tube to expose the other end of the elastic.
Remove the safety pin from the elastic. Tie a very tight knot using the both open ends of the elastic.
Use a needle and thread to stitch the open ends of the fabric to complete the DIY scrunchie. Fold 1 cm of the open end inwards on each side before stitching the open ends together.

Helpful Tips I Learned While Making a Fabric Scrunchie
- If you’d like, you can keep this same ratio and cut out wider and longer pieces of fabric to make an oversized scrunchie.
- Are you making a silk scrunchie or satin scrunchie? These fabrics fray easily. You can singe the ends of the satin fabric by quickly holding the end over a candle flame or lighter flame. This will slightly melt the fabric at the end so that it doesn’t unravel. With silk fabric (or any fabric really), one of the most effective things to use is Fray Check.
- You can use any type of fabric, including velvet, quilting fabric, flannel, satin, or silk. We love using fabric scraps to make hair scrunchies in all kinds of colors. This is a great way to use up leftovers!
- Don’t worry about matching the thread to the fabric. It should be a close enough match, but if you don’t have the right color, use what you have. You won’t see the thread.
- Consider using old flannel shirts, dresses, etc. for fabric scraps.
- Do you have to use a safety pin? No. It just makes things easier. If you only have a straight pin, that’s fine.
- I tied a knot in the elastic to secure the hair scrunchie. You could also use a sewing machine to sew it together. I would NOT recommend hand stitching the elastic together because it probably wouldn’t be strong enough for repeated use.
- When choosing a length for the elastic, try creating a pretend loop before cutting and see what size works in your hair. Adults with thick hair will need a larger scrunchie than children with thin hair. When you find a size that works for your unique situation, keep in mind you’ll want to add a little extra to tie a knot or to overlap and machine stitch together.
Be sure to Pin this on your craft boards to share with others and keep in mind for your easy sewing crafts!
We have two more variations of DIY scrunchies, including our DIY scrunchie with a bow and how to make scrunchies using hair elastics.