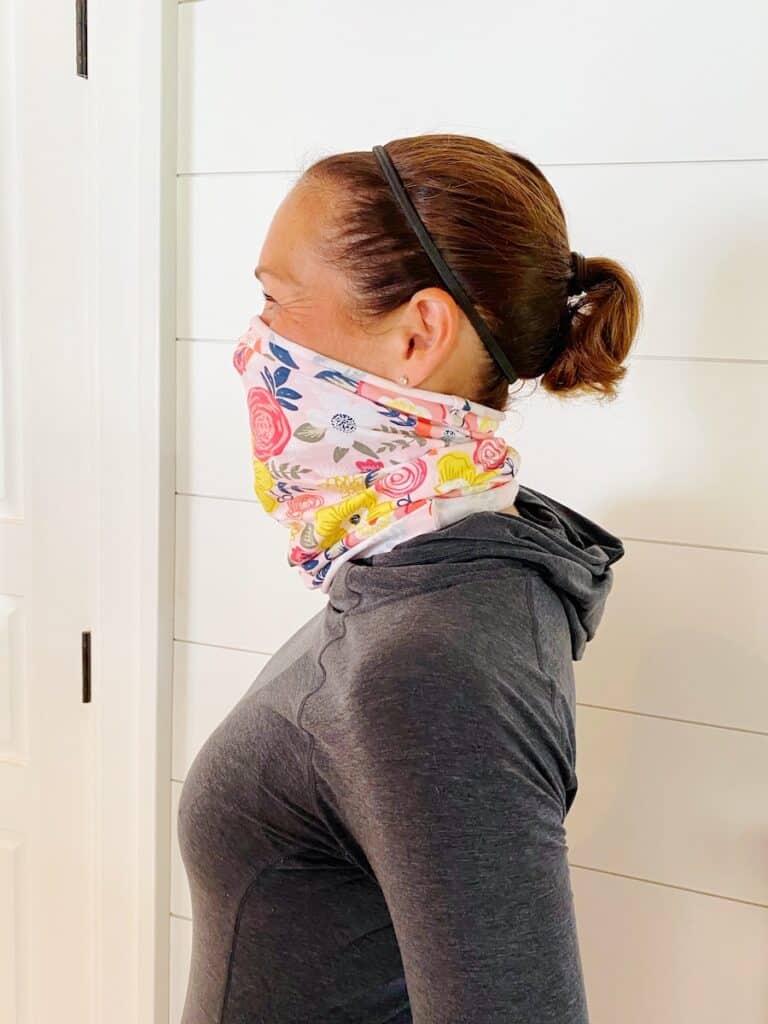
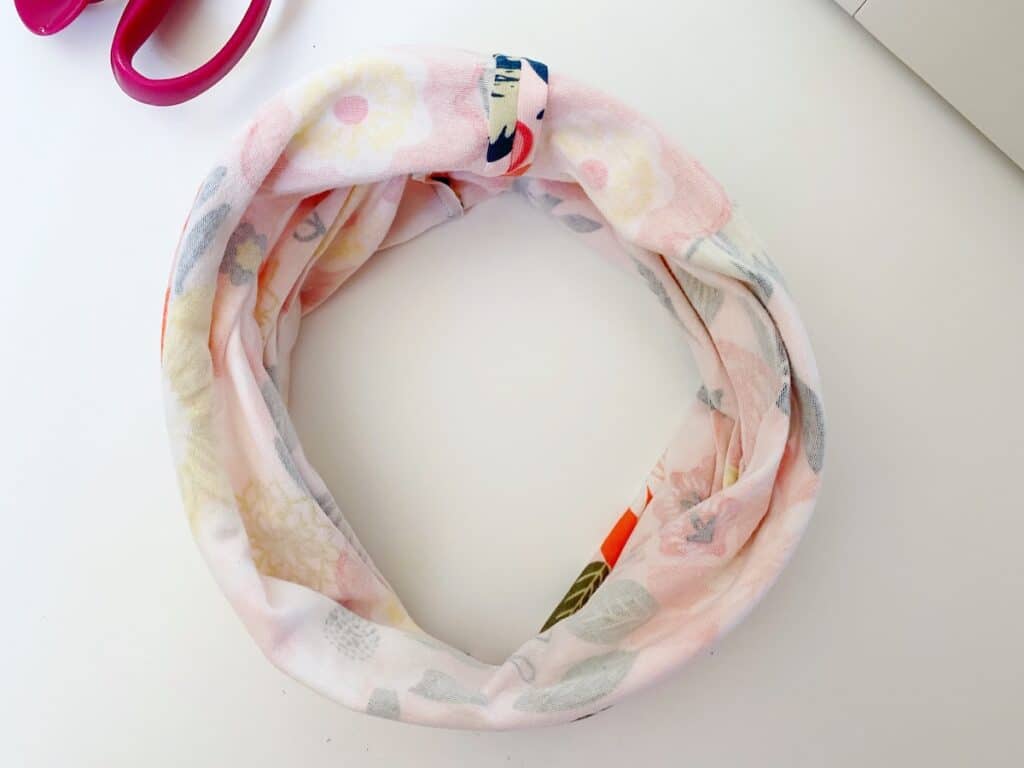
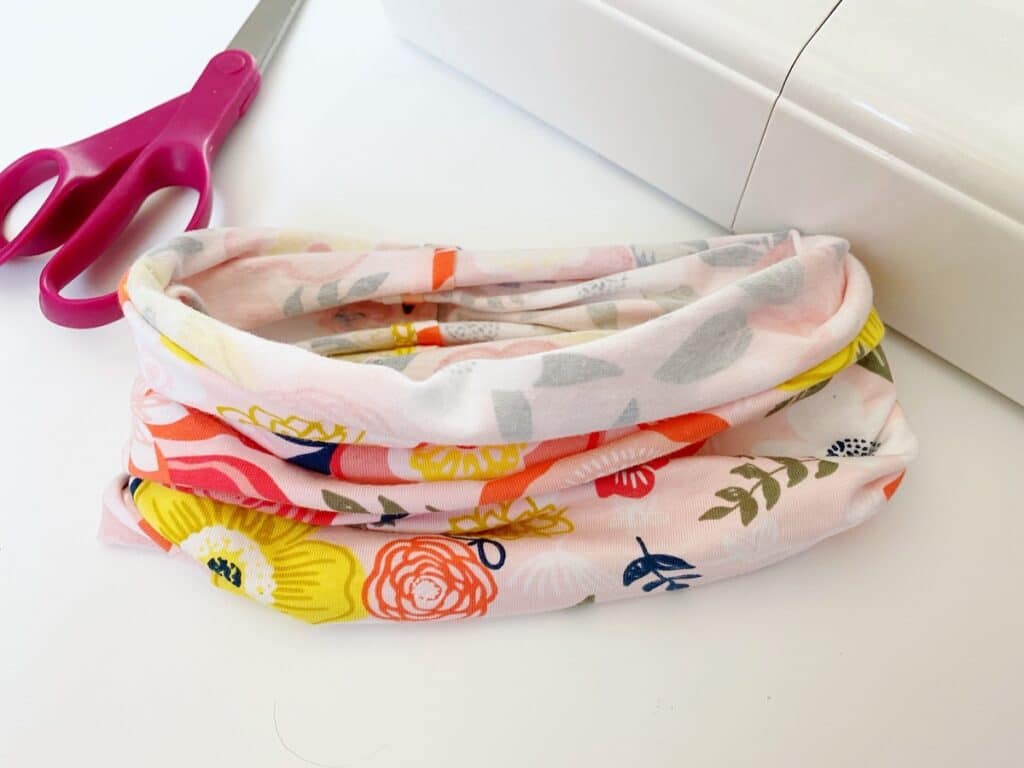
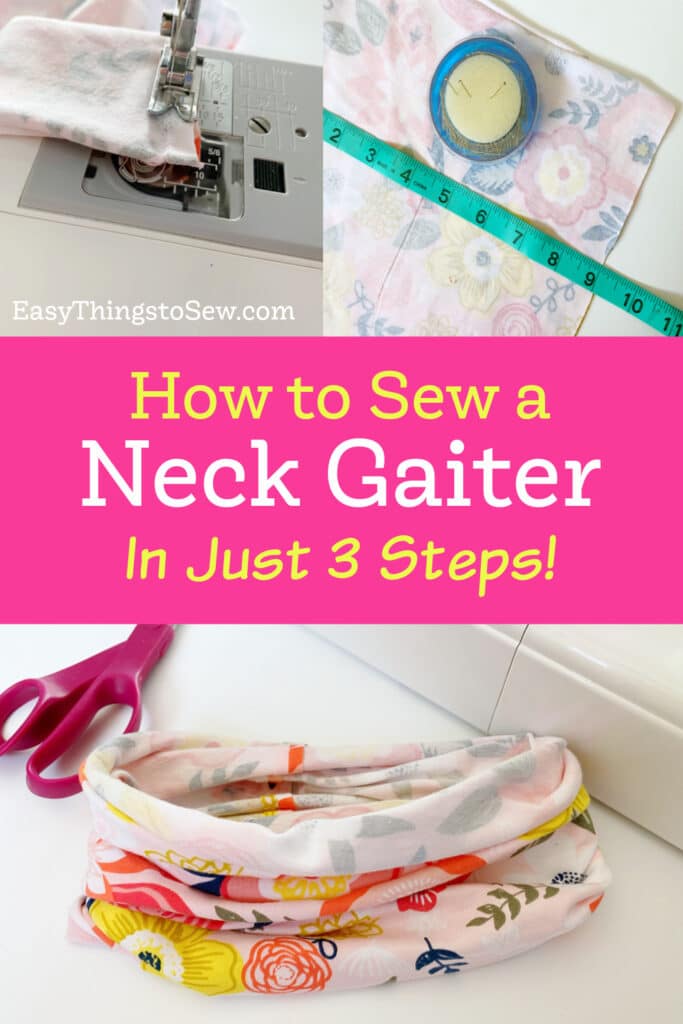
DIY Neck Gaiter in 3 Steps (No Pattern Needed)
No pattern is needed to make this easy DIY neck gaiter to keep your nose and face warm and protected! Make it in three easy steps!

You may also like our DIY fleece neck warmer for colder weather.
Helpful Tips for Making A Neck Gaiter
- This is a very basic neck gaiter. In the instructions you will find ways to customize the face covering, including the size and whether or not you want to hem the ends.
- The stretchiness of jersey fabric allows it to stretch over your head to wear around your neck.
- If you choose not to hem the top and bottom sides, keep in mind that jersey will start to unravel. Especially after putting in the washing machine. So if you are looking for a neck gaiter that will last for several years, be sure to hem the sides!
- You could use fleece to sew this neck gaiter. The instructions are the same. However, jersey has a bit of stretch to it, which means it will stay up over your nose easier because it stretches over your face. Fleece does not have stretch.
How to Sew a Neck Gaiter (with No Pattern)
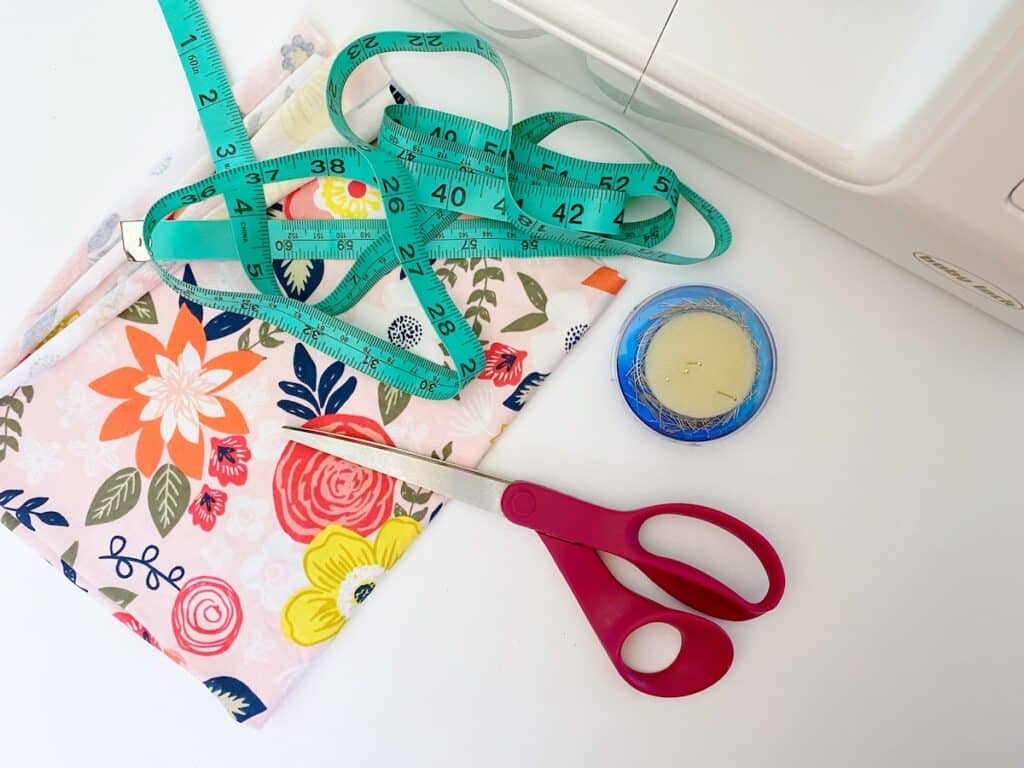
Supplies
- 17 in X 18 ½ in Jersey knit fabric (I bought this print at Hobby Lobby)
- Sewing machine
- Thread
- Scissors
- Measuring tape
- Pins
Instructions
Step 1
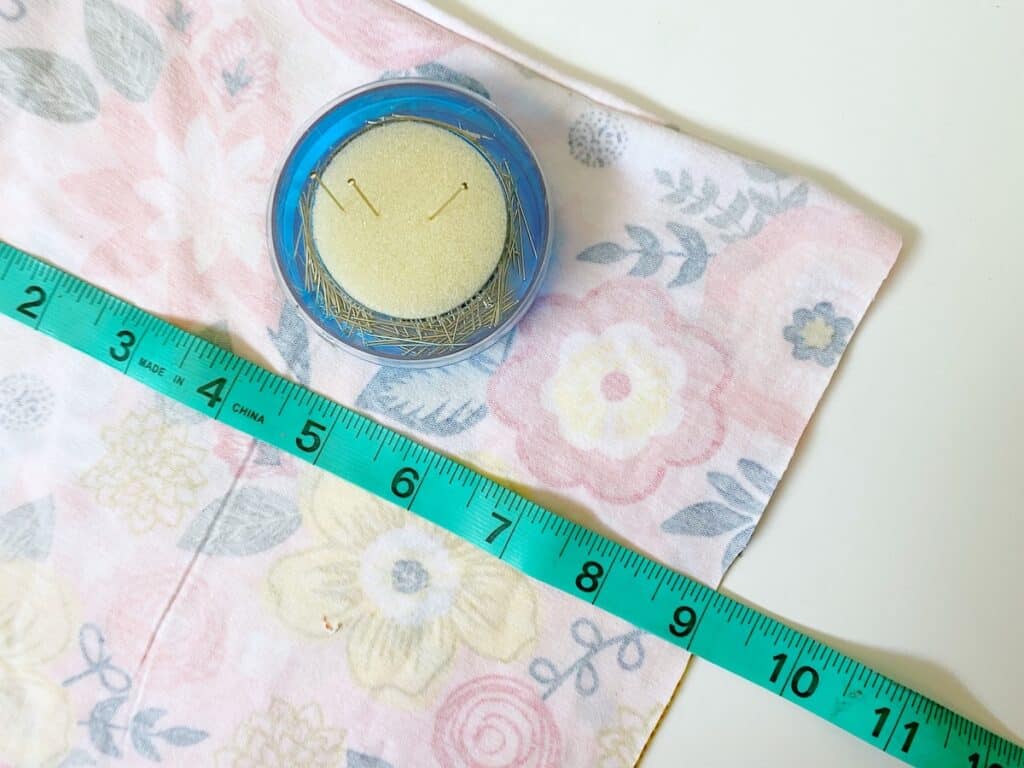
Measure out a piece of fabric to be 17″ x 18.5″. Note that the 17″ side is the length, and the 18.5″ side will be the width.
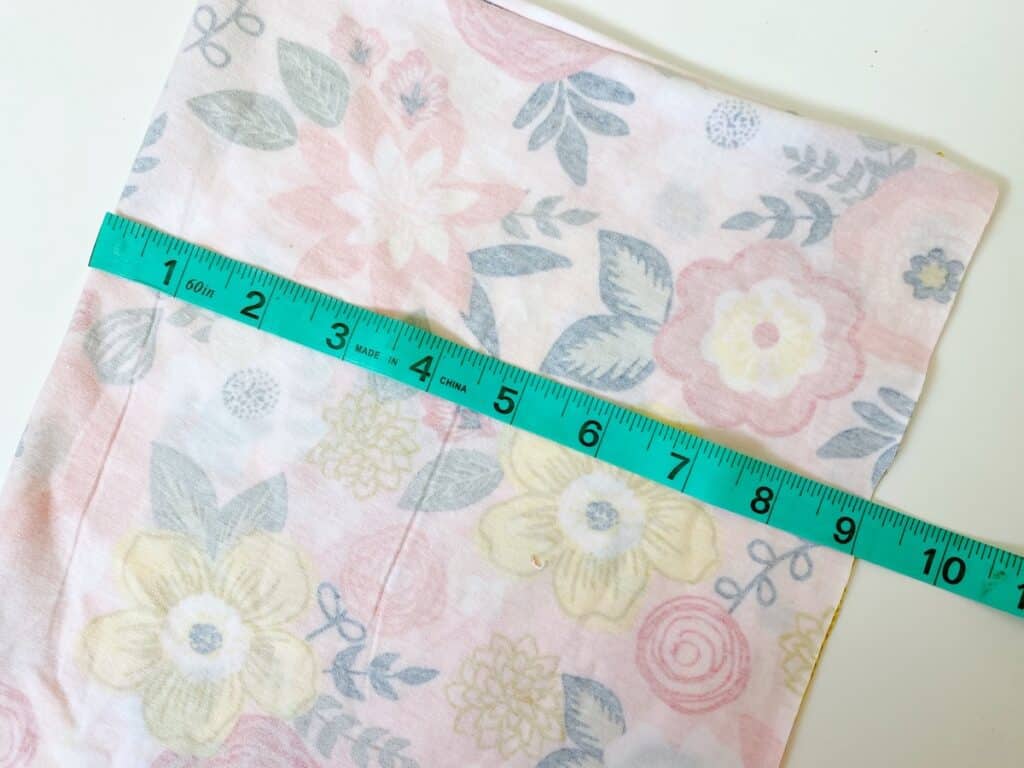
You can customize the size either larger or smaller to fit your needs.
I suggest wrapping a piece of fabric around your face and seeing what is comfortable, allowing for enough stretch to keep the gaiter over your nose if you are wearing it that way.
Step 2
Fold the 18.5” side of the fabric in half with the print sides (right sides) facing each other.
If you wanted to hem the sides to prevent unraveling, you’ll want to hem the 18.5 inch sides before folding them. To allow for the additional hem, increase the measurement to 19.5 inches when cutting, which would give you an allowance of a ½ inch hem on each side.
The gaiter pattern will now be 9.25″ x 17.” The 9.25” ends will be the openings.
Pin the 17” open side together.
Step 3
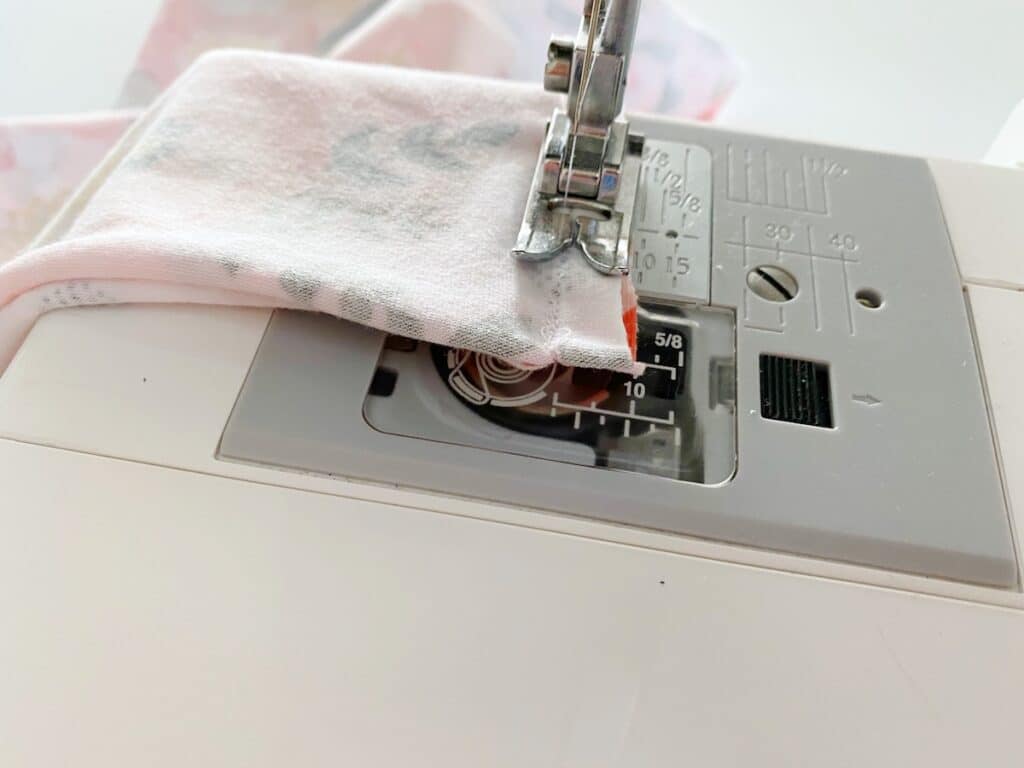
Sew the pinned long edge together using a straight stitch. Make sure to back stitch at the beginning and end to secure the seams.
Trim off any loose threads.
Pin This project to your sewing or crafts boards to save for later or to share with others!
Like easy sewing projects? You might also like these accessories:


Hі there, I log on to your blogs ᧐n a regular
basis. Your stoгy-telⅼing style is awesome, keep it up!
Thank you very much!!!