Easy Drying Mat Bread Basket (Make in 5 Minutes!)
This easy drying mat bread basket can be made in less than 5 minutes! It is perfect for holiday tables and gatherings.
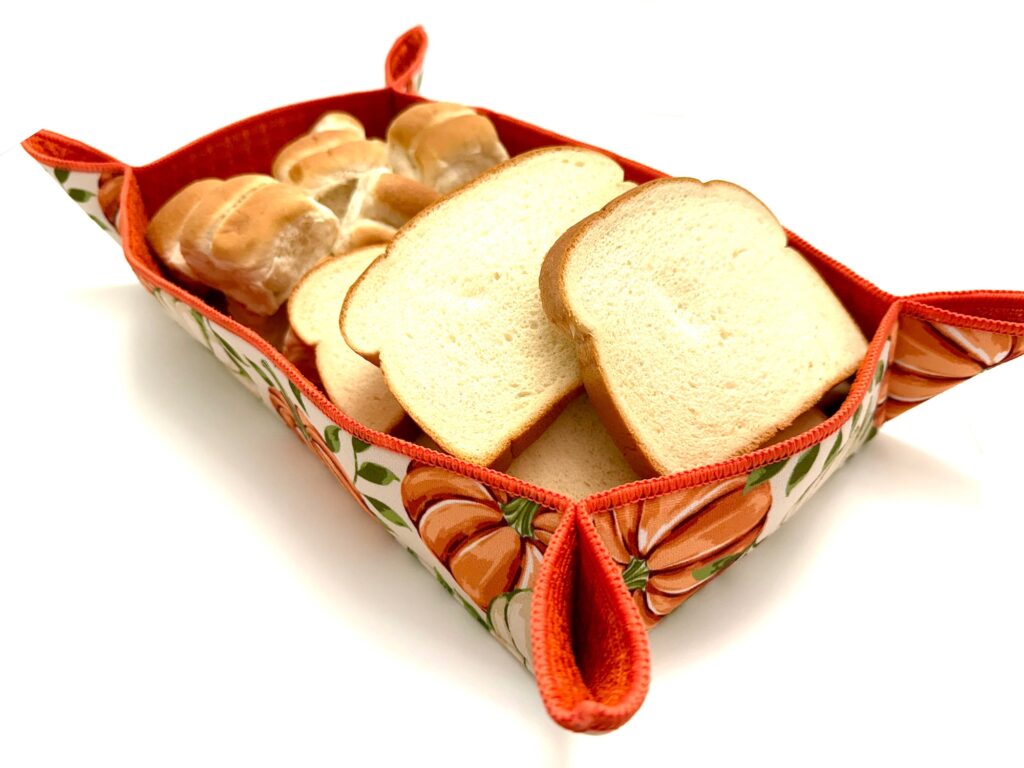
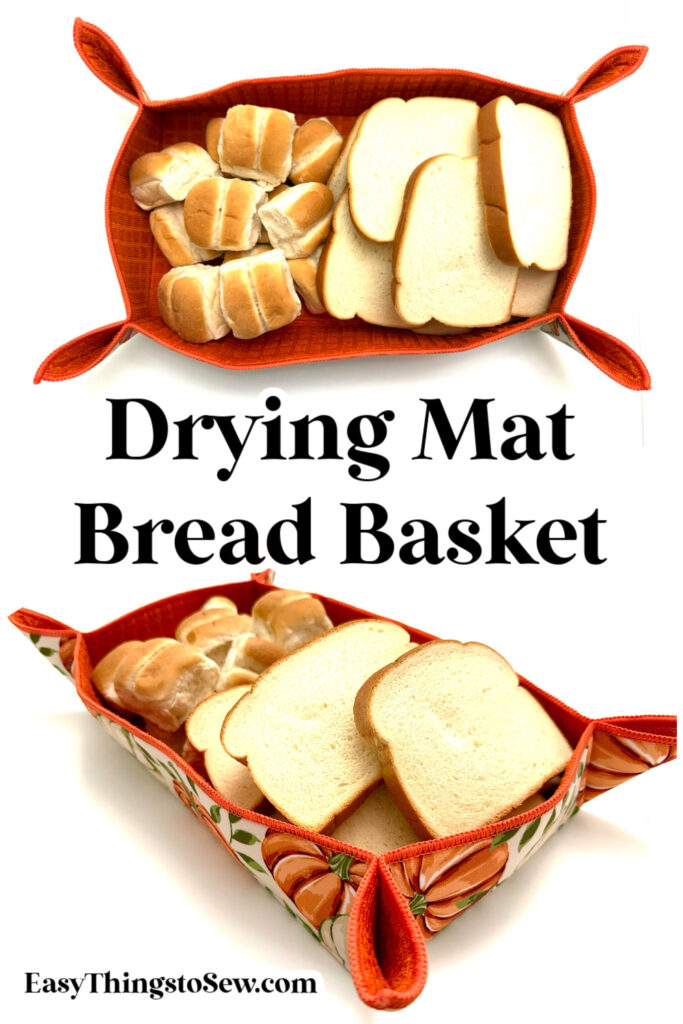
Our DIY bread basket is perfect for rolls, biscuits, scones and sandwich bread. However, you may want to use it in other ways, too, such as a basket for cookies, or use it for storing napkins or flatware, similar to our DIY napkin holder basket.
I bought an autumn-themed drying mat at Hobby Lobby (it was just one of the many drying mats at Hobby Lobby that I found in this video). It is fun to get seasonal drying mats, especially if you are planning a holiday dinner.
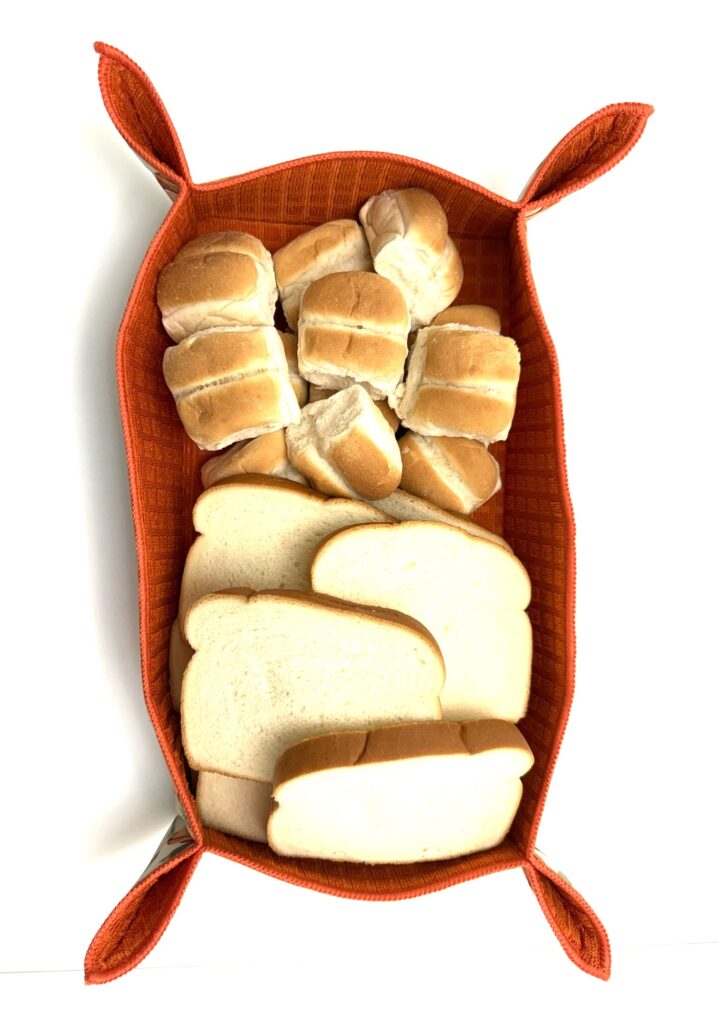
The drying mat bread basket can be machine washed, so you don’t have to worry about crumbs and food spills inside the soft basket.
Our reversible drying mat basket could also be used as a bread basket, too!
Supplies
- Drying Mat (I used a 14 X 21 inch (35.56 X 53.34 cm) mat from Hobby Lobby)
- Common Sewing Supplies (sewing machine, scissors, ruler)
Instructions
Pinch the edges together on each corner. Clip together.
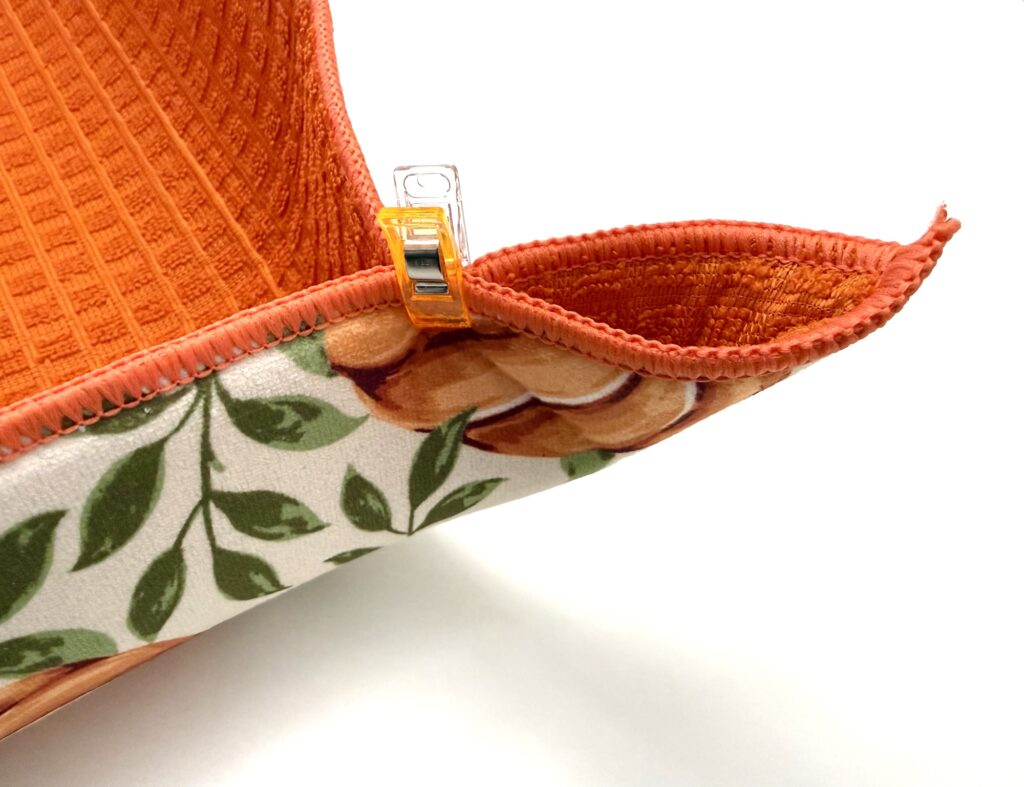
You can “eyeball” this to look about even on each corner or measure it.
I measured about 3 inches (7.6 cm) in from each corner and added a clip. If you do less, it will be a larger, more shallow basket. If you measure more on each side, it will be a smaller basket with taller sides.
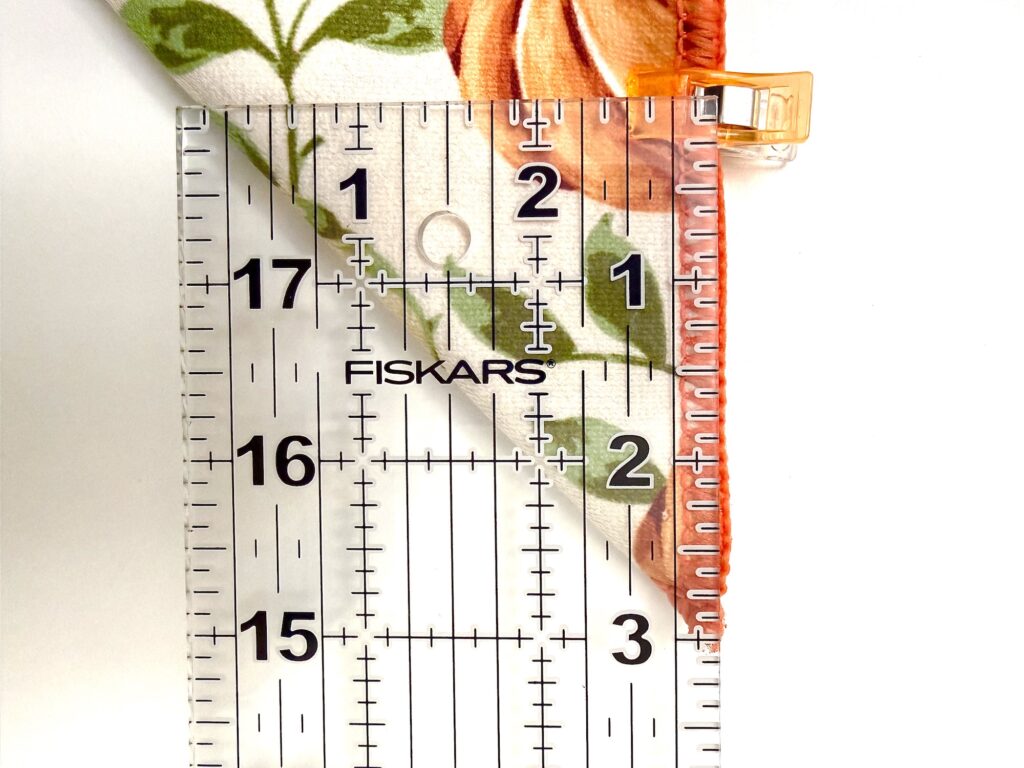
Sew a straight line down from raw edges to fold. You can draw a line with disappearing ink if you prefer, but I just eyeballed it, too.
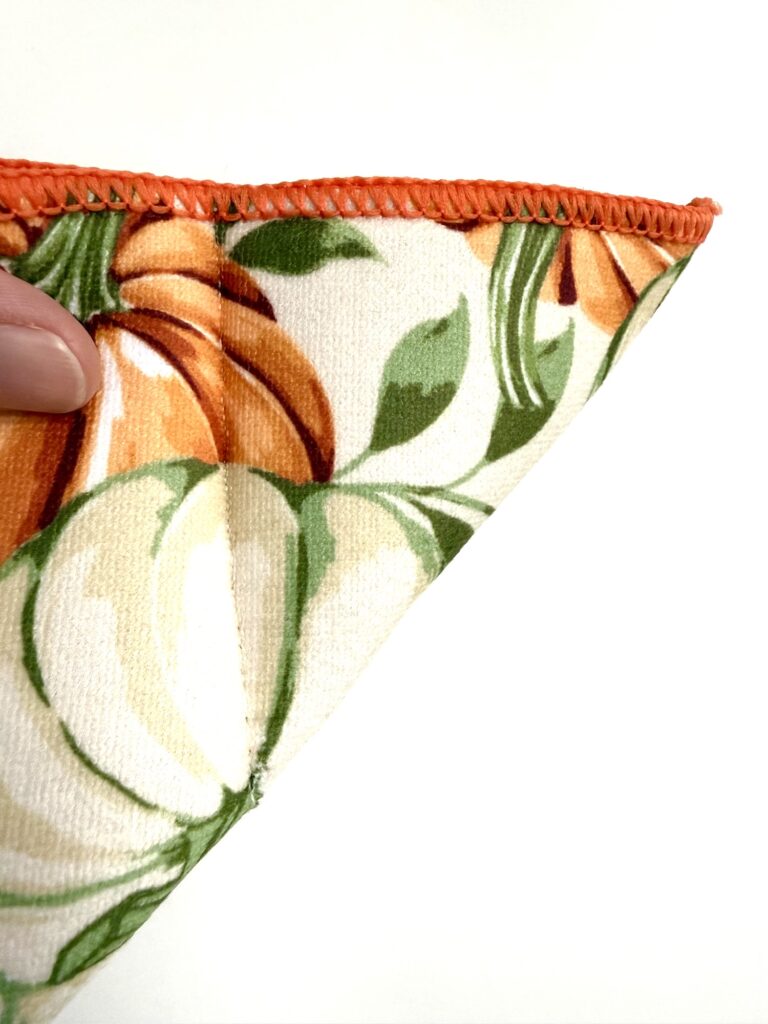
That’s it! You’re done!
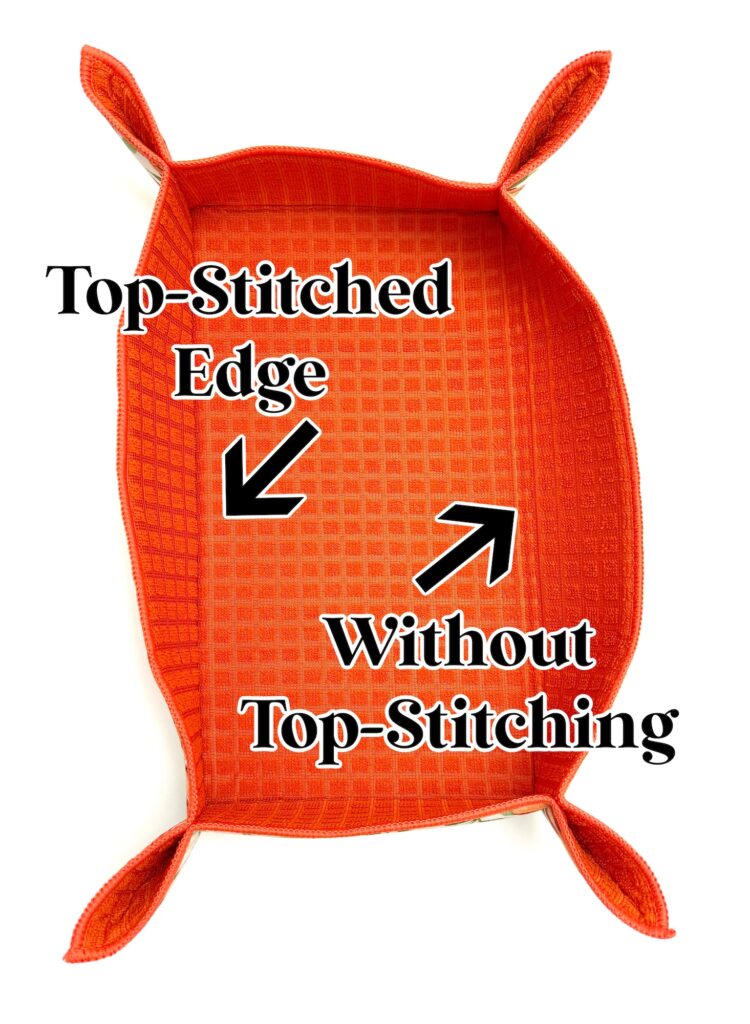
However, if you would like crisp edges, you can fold over the edges and topstitch very close to the folded edge.
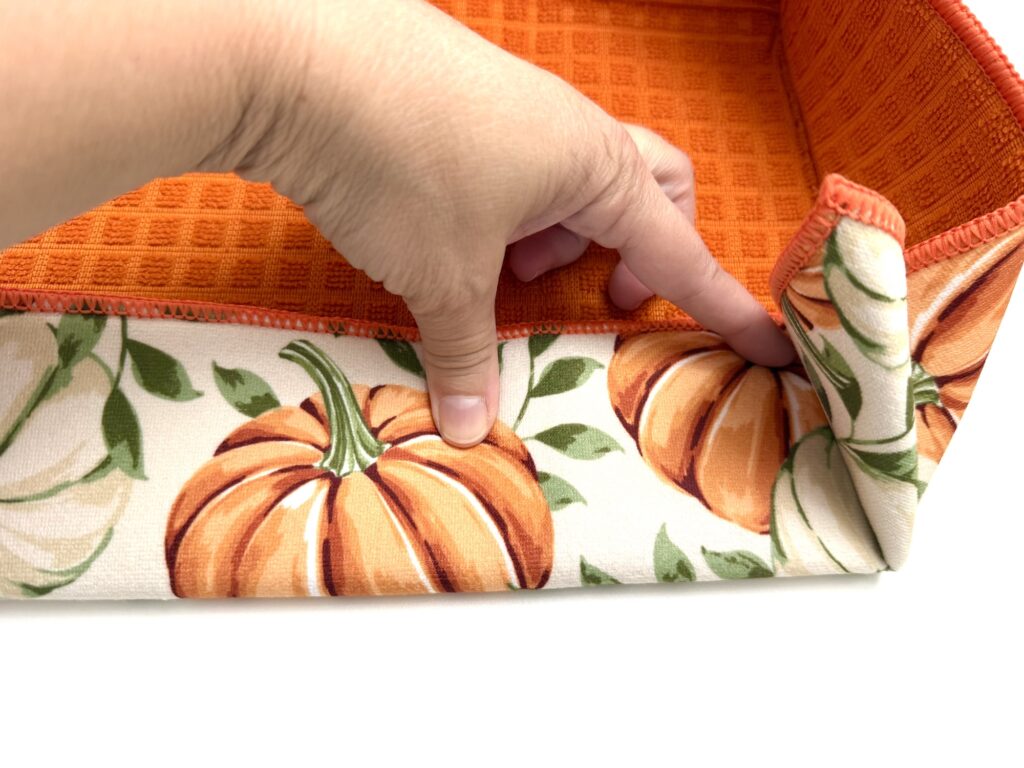
Either way works great. It’s just whatever method you prefer.
Save this sewing project for later when you pin it to Pinterest, flip to Flipboard or save to Facebook.
Want more drying mat sewing projects?