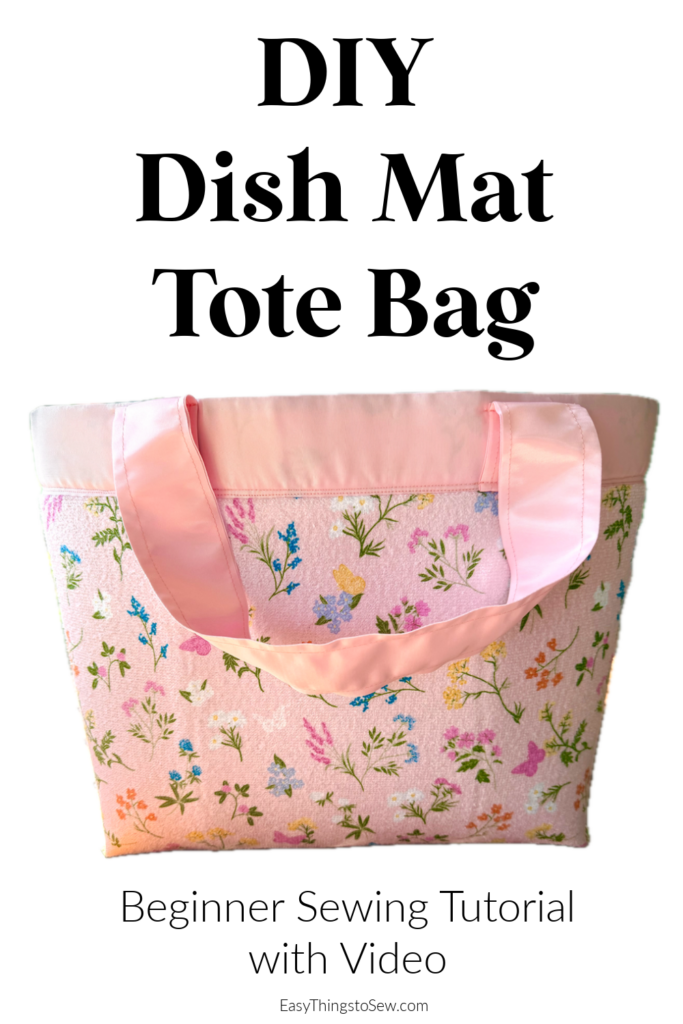
Dish Mat Tote Bag (with Video Tutorial)
This easy sewing tutorial shows you how to make a DIY tote bag using two dish drying mats and some ribbon. You can make a beautiful handmade bag with a finished interior right now!
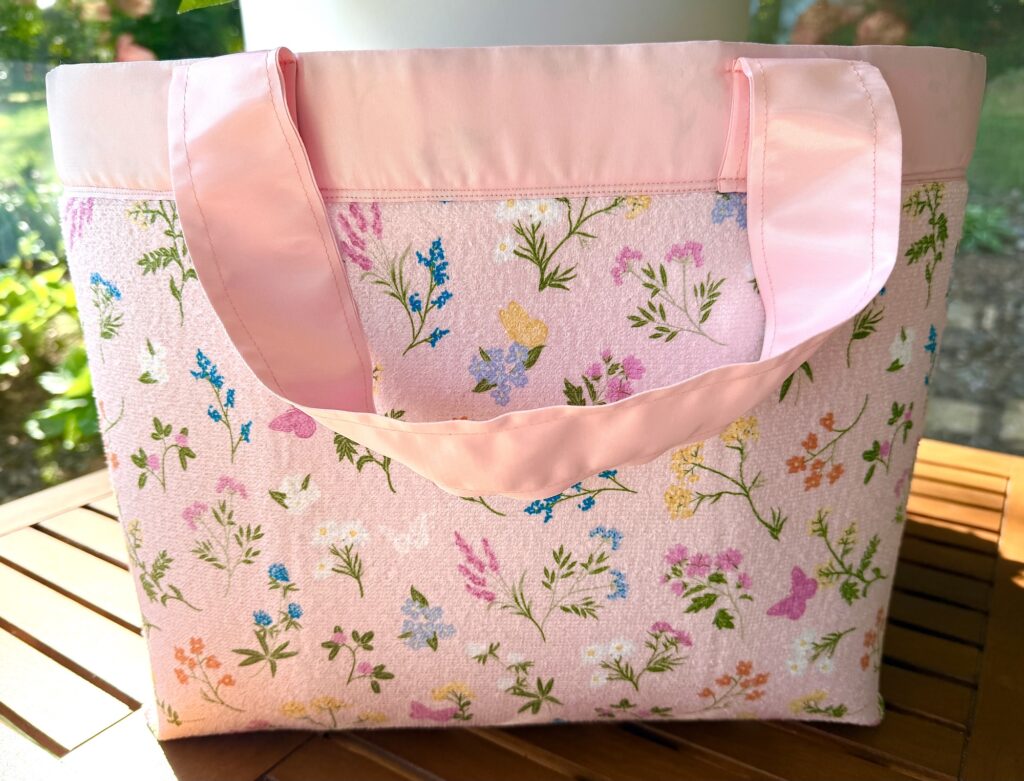
The great thing about this DIY bag is that it has no unfinished seams! The inside of the bag looks pretty and finished, with a lined look and no raw edges.

I used oversized dish drying mats to make this large tote bag. You can use smaller drying mats to make a smaller bag in the same method, or to make this dish mat bag with ribbon accents.
The inexpensive drying mats at the Dollar Tree will be smaller than the ones I used. However, you can often find larger mats in the premium section of the store.
Home Goods, TJ Maxx and Dollar General are also great places to get pretty dish mats.

I used these same dish drying mats to make a reversible dish mat basket, as well as a bedside storage caddy.
DIY Dish Drying Mat Tote Bag
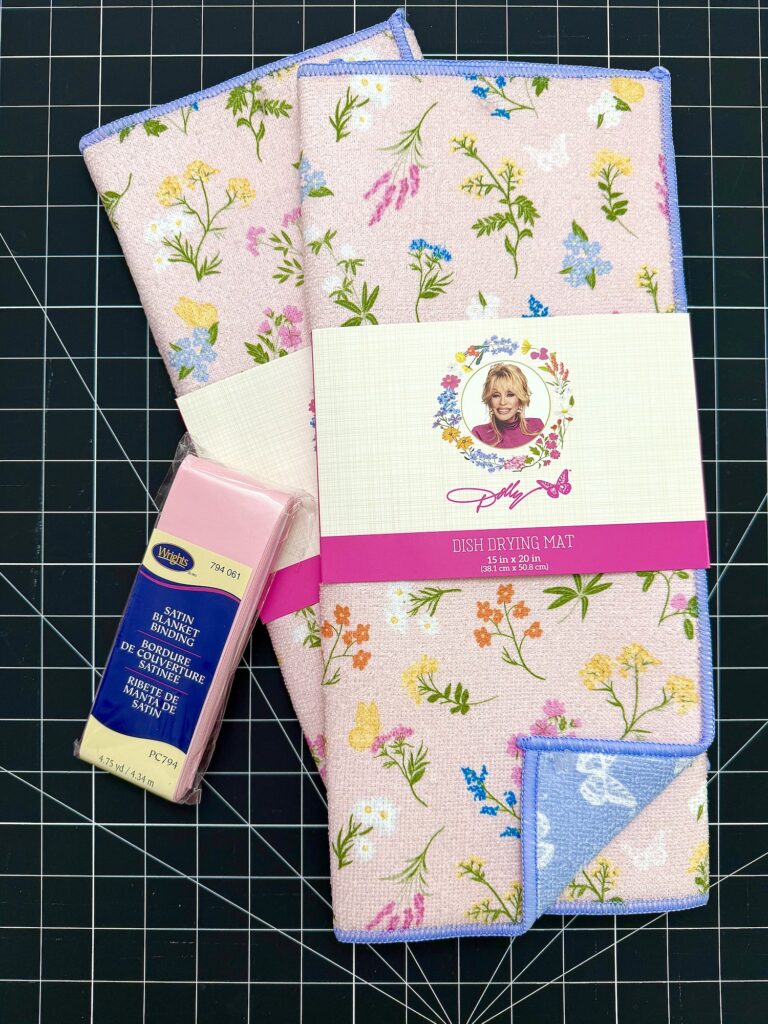
For this tote bag I used two dish drying mats that are 15 in X 20 in (38.1 cm X 50.8 cm). I purchased these Dolly dish mats at Dollar General.
I learned a few helpful tips along the way while sewing this bag for the first time. When I made a second bag (using blue dish drying mats) for my YouTube sewing tutorial found below, I took photos of the updated steps. That is why a few of the pictures show blue mats and binding, because I found a better way to make these tote bags as I made more!
Supplies
- 2 Dish Drying Mats (tags removed)
- Satin Binding or Ribbon
- Sewing clips
Instructions
Step 1
Measure the longest side of the dish mat. Mine was 20 inches (50.8 cm) long. Add 1 ½ inches (3.8 cm) to the measurement. Then cut two pieces in that length.
Position the satin binding over the top of one of the dish mats to get your next measurement.
Decide how long you would like the straps to be on the tote bag. Place the raw edge of the satin ribbon along the top of dish mat. Then fold the binding back over itself at the point where the sating binding ends and the dish mat is visible. (This will be to cover the raw edges later and make a pretty finish.)

Drape the binding in the size and shape that you want the handle to be. Then add enough extra to cover the satin binding along the top of the dish mat and fold back over itself.
Add ½ inch to this measurement (for seam allowances later).
This is the measurement that you need for the handles (I suggest about 25 inches or 63.5 cm for a shorter handle). Cut two pieces of satin binding with this measurement.
Step 2
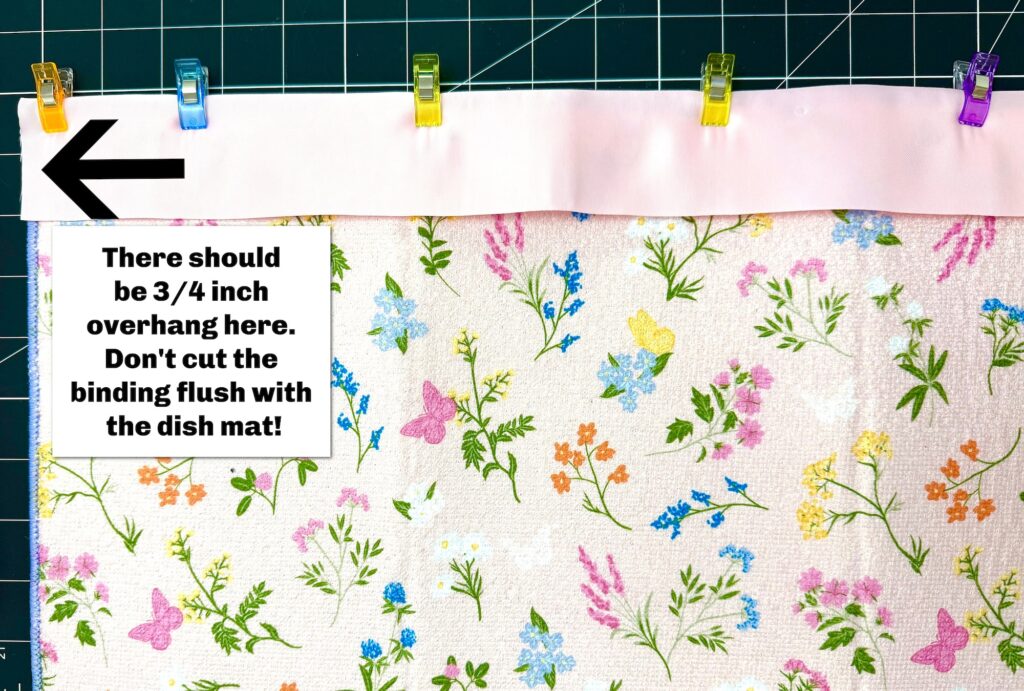
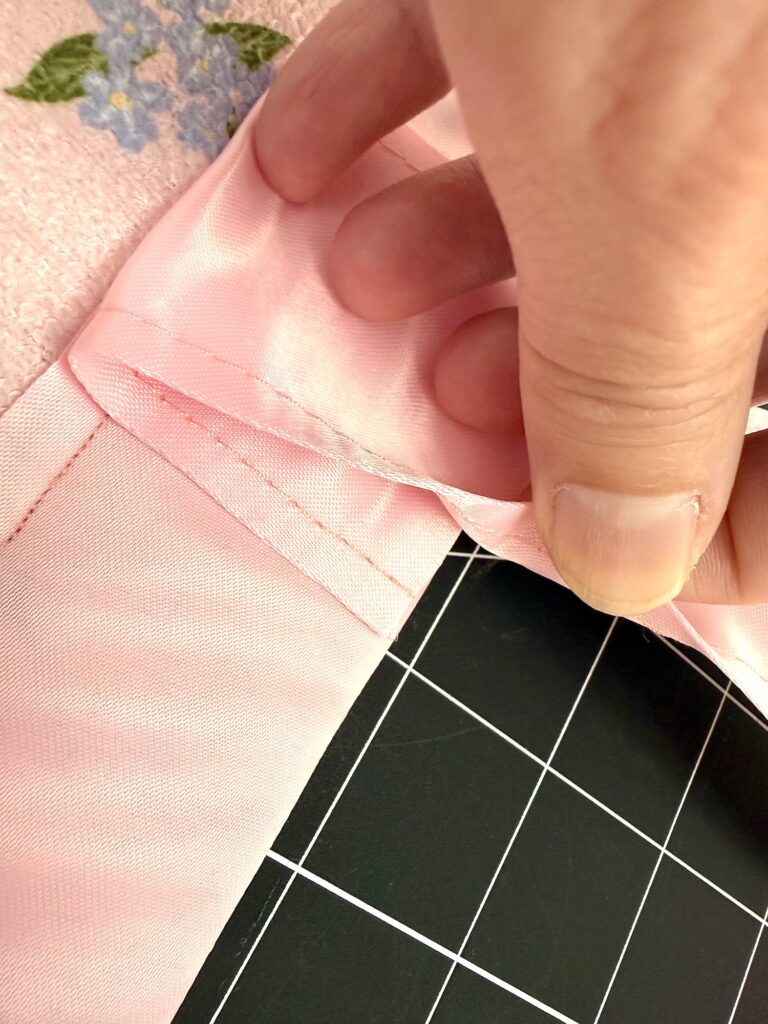
Fold the satin binding over the top of each of the dish mats, leaving about ¾ inch on each side.
Clip the satin binding along the top of the dish mat to secure so that it does not slip while sewing.
Tuck and fold under the raw edges on each side and clip to secure.
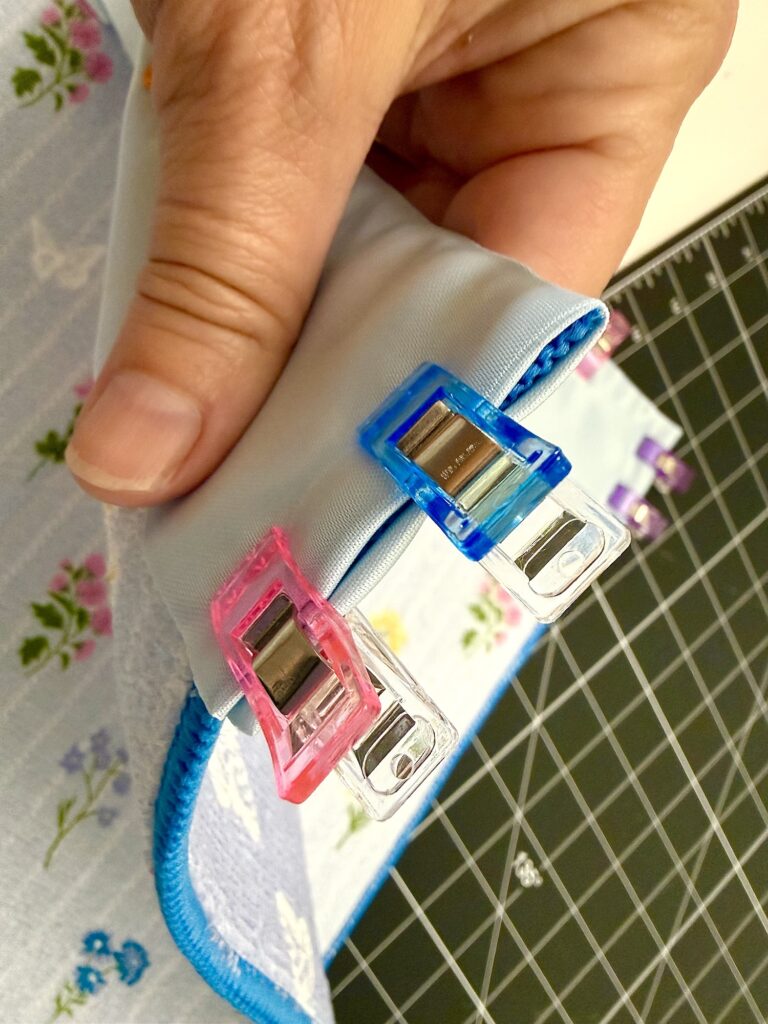
If you do not tuck under the raw edges, they will start fraying and look untidy on your finished bag. This is what my first bag looked like where I didn’t tuck under the edges.
Step 3
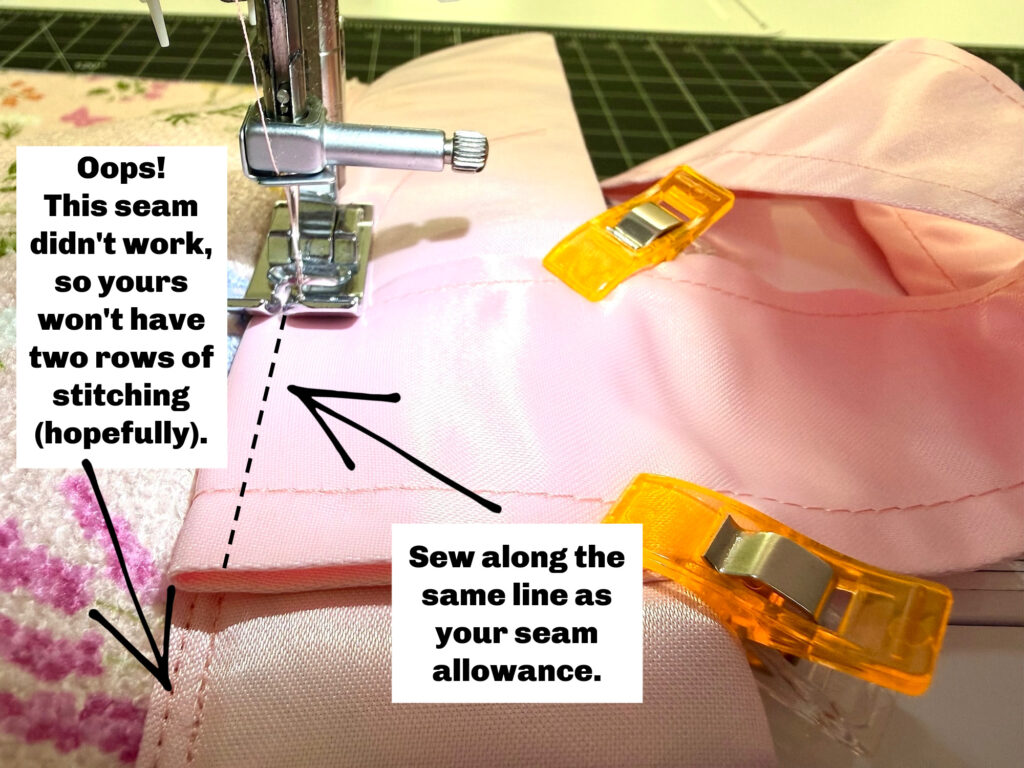
Sew ¼ inch from the bottom edge of the satin binding, being sure that the front and back of the binding is captured in your stitches. You do not need to backstitch at the beginning or end of the stitching.
Repeat for both dish drying mats.
Helpful Tip: I originally tried to sew along the very edge of the binding, however after I sewed close to the edge, I realized that it did not catch the binding edge on the other side of the dish mat. So I needed to sew another line above that one. That is why some of these pictures show two sets of stitching! Rather than try to pretend that I’m perfect, I’m sharing the photos of my sewing process.
Step 4
For each handle, tuck under the raw edges on either end of the satin binding by ¼ inch and clip together.
Sew along all sides of the satin ribbon, using a 1/8 or ¼ inch seam allowance.
My DIY Drawstring Backpack uses a similar method to make the handles using fabric.
Step 5
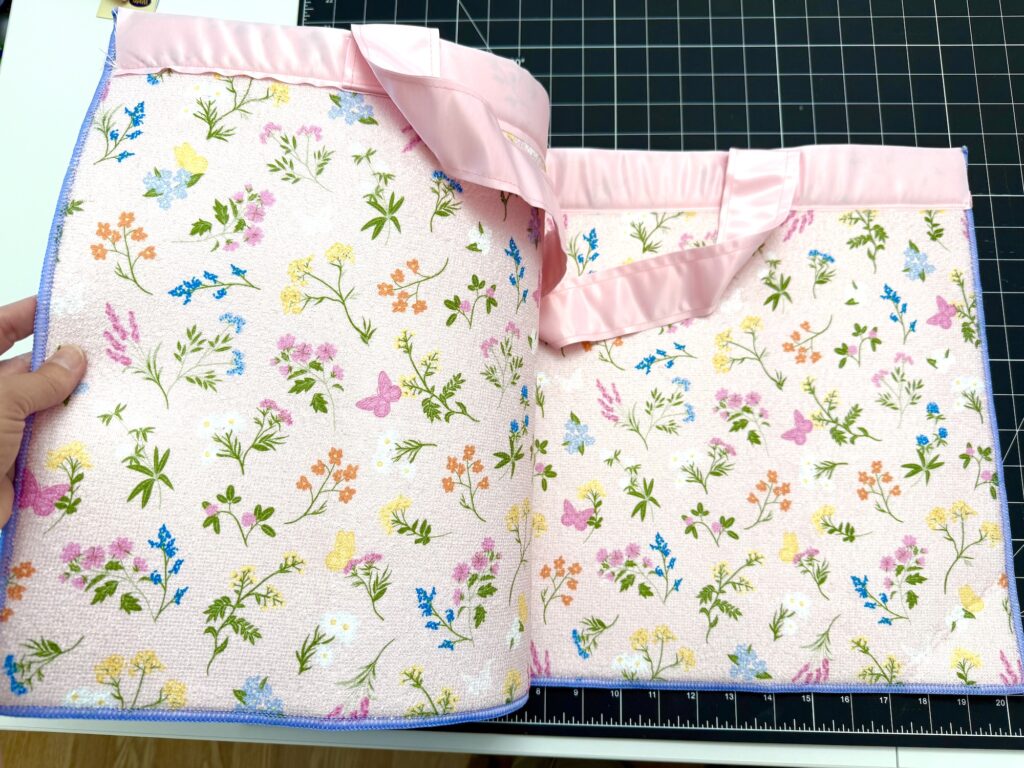
Position one of the handles on each of the drying mats on the right side (the outer side) with the ends placed just underneath the top of the dish mat.
I placed the handles about 6 inches inward from each side of my dish mats. You can choose whatever distance you prefer, but make sure it is the same measurement from each side.
Clip the ends in place, then fold over the handle to cover the satin binding, folding the binding back at the place where the binding edge is.
Clip the binding down to secure.
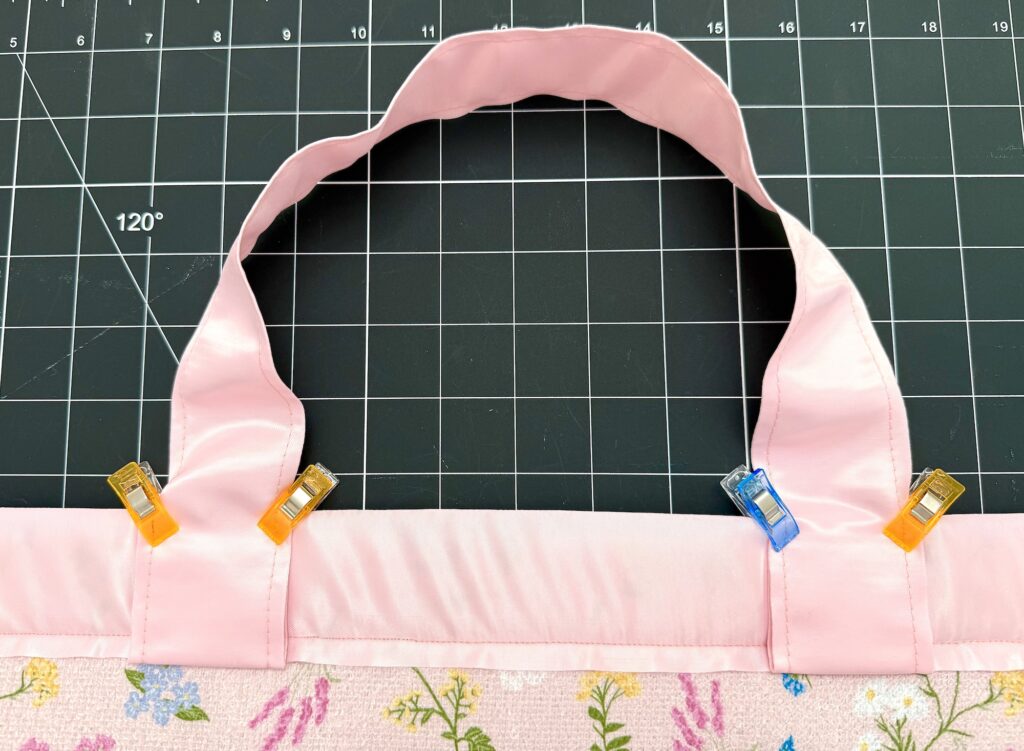
Make sure that the handles don’t get twisted when you are positioning the binding (I’ve done that before!).
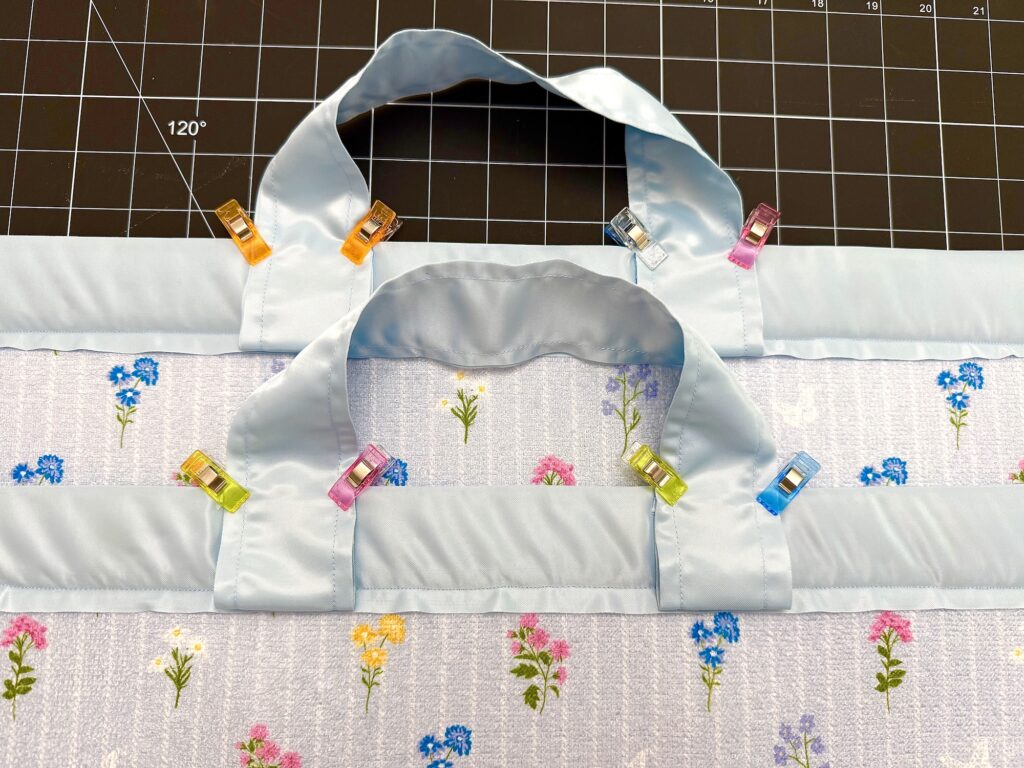
IMPORTANT: Place the dish mats on top of each other to make sure the handles will line up evenly! If they are not matching up, reposition the handles so that they match perfectly on each side.
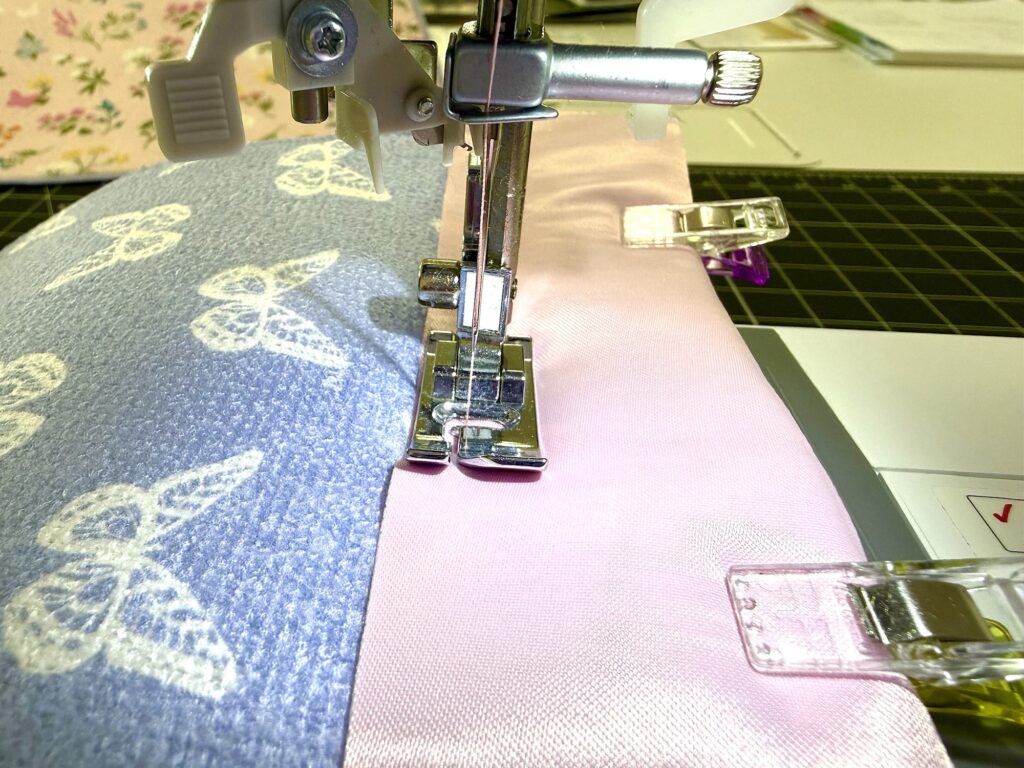
Sew the handles to the dish mat, keeping in mind this will be a very thick area and you will need to sew slowly and with patience. Or use a sewing machine needle made for very thick fabrics.
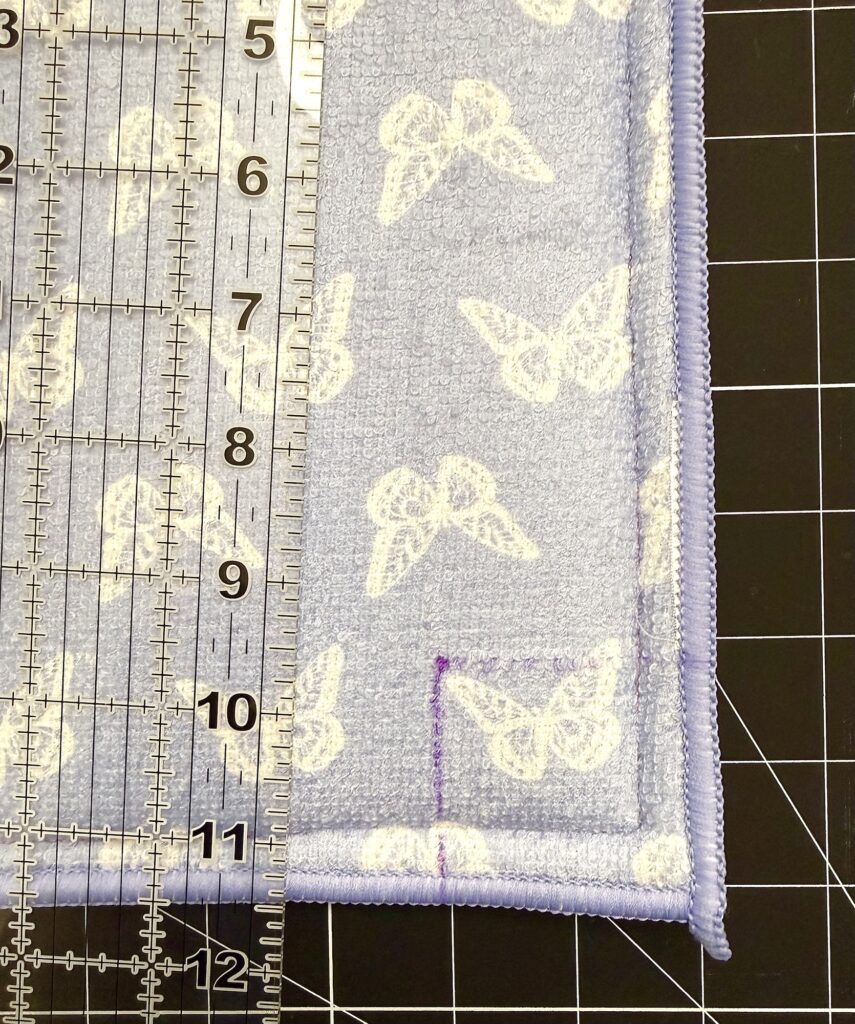
I sewed along the base of the handles, matching the same seam allowance as the satin binding sewn onto the dish mat.
Then I sewed a straight line near the top edge of the drying mat, making sure that the seam allowance catches the folded binding layer underneath.
Helpful Tip: You may not want to sew along the folded seam on the end of the ribbon underneath because it can be more bulky. Choose to sew your stitches just underneath that sewn seam.
Step 6
Place the two dish mats with right sides (outer sides) together, lining up the outer edges and clip together.

Sew along the three outer edges (not the top with the satin binding) using a ¼ inch seam allowance. (I tried to sew right along the finished edge of the mat.) Be sure to backstitch at the beginning and end of your stitching!
NOTE: This is going to be a really thick area to sew! Go slowly, be patient and consider switching your sewing machine needle if needed. I was able to sew using a standard needle, but I did need to go slowly and use a lot of patience!
If you want a simple tote bag without boxed corners, you could stop right here and be done! Just turn the bag inside out and push out the corners.
Step 7
Measure a 2 in X 2 in (5 cm X 5 cm) square on each of the bottom corners.
Cut out the squares.
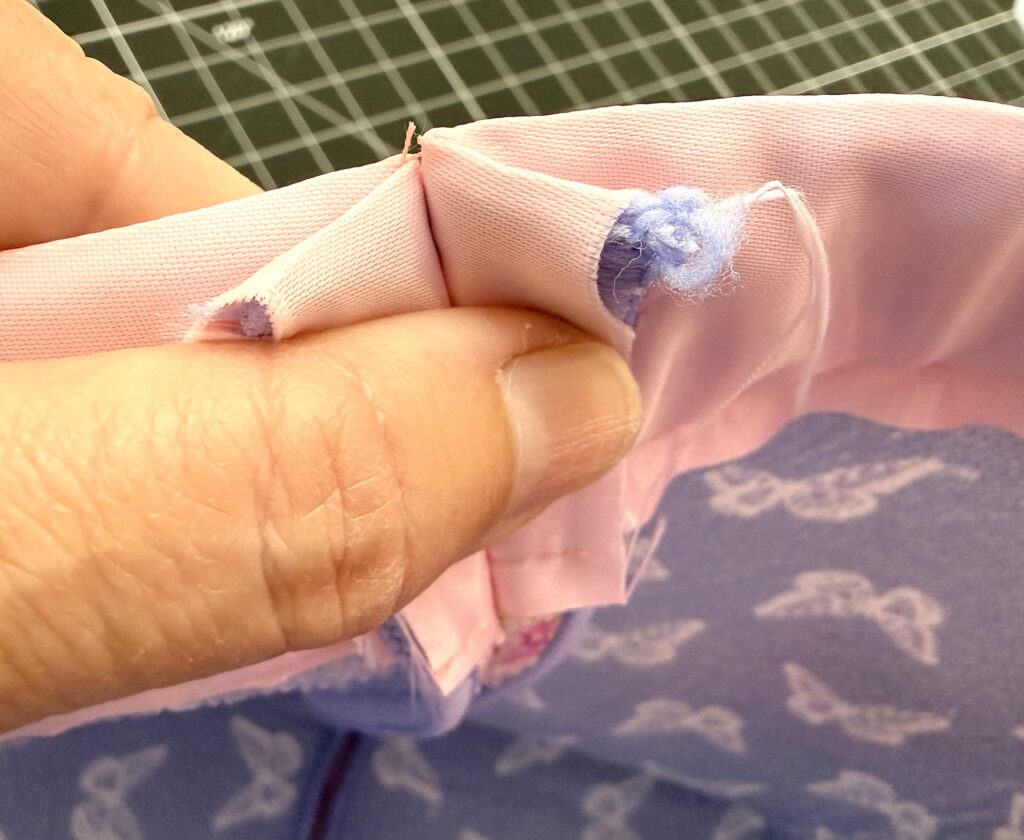
Pinch the dish mats together to form a corner, matching up the seams and pressing open the seams, if needed.
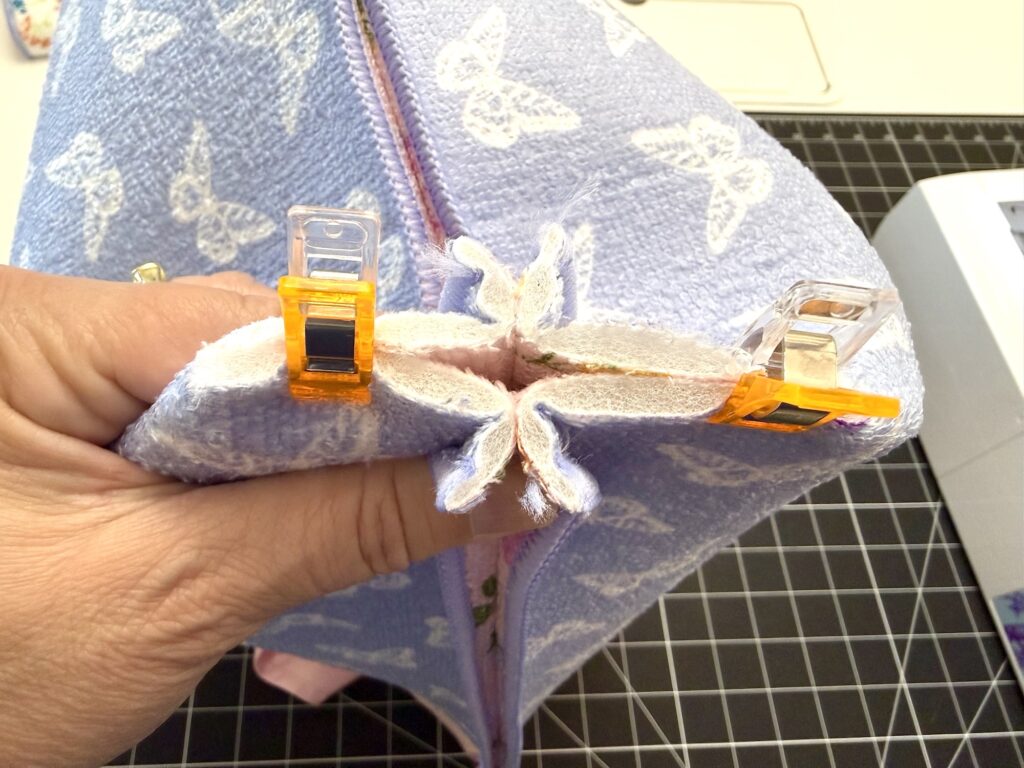
Sew the edges together, using a ½ inch seam allowance.
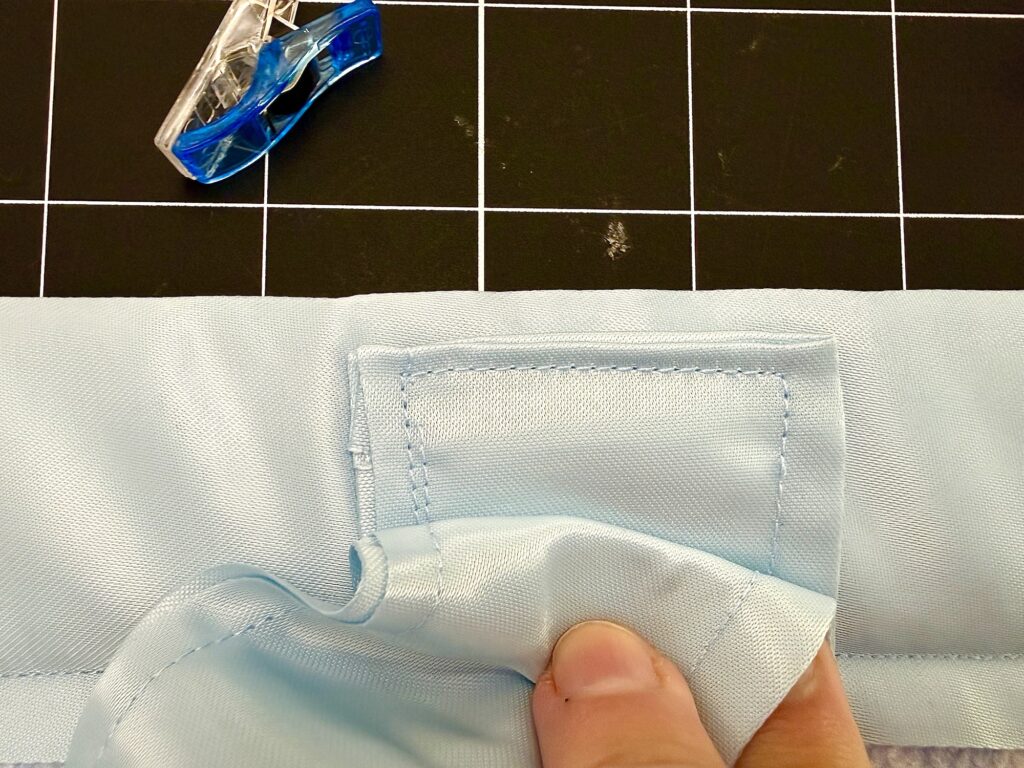
Step 8
Turn the bag inside out and push out the corners.
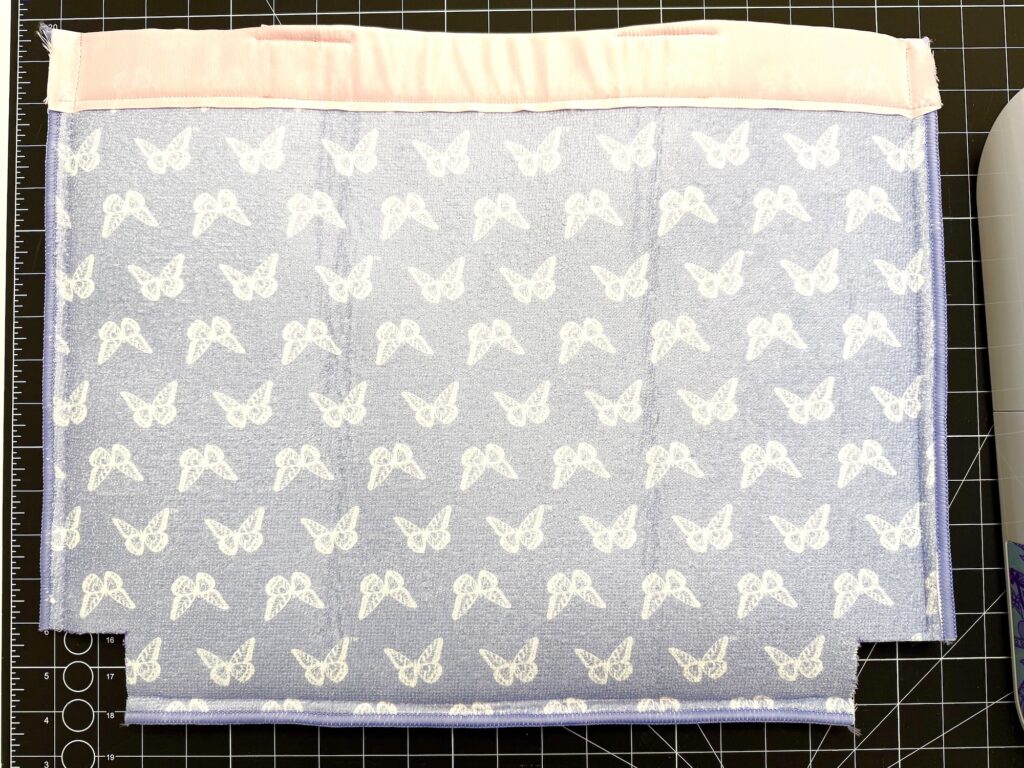
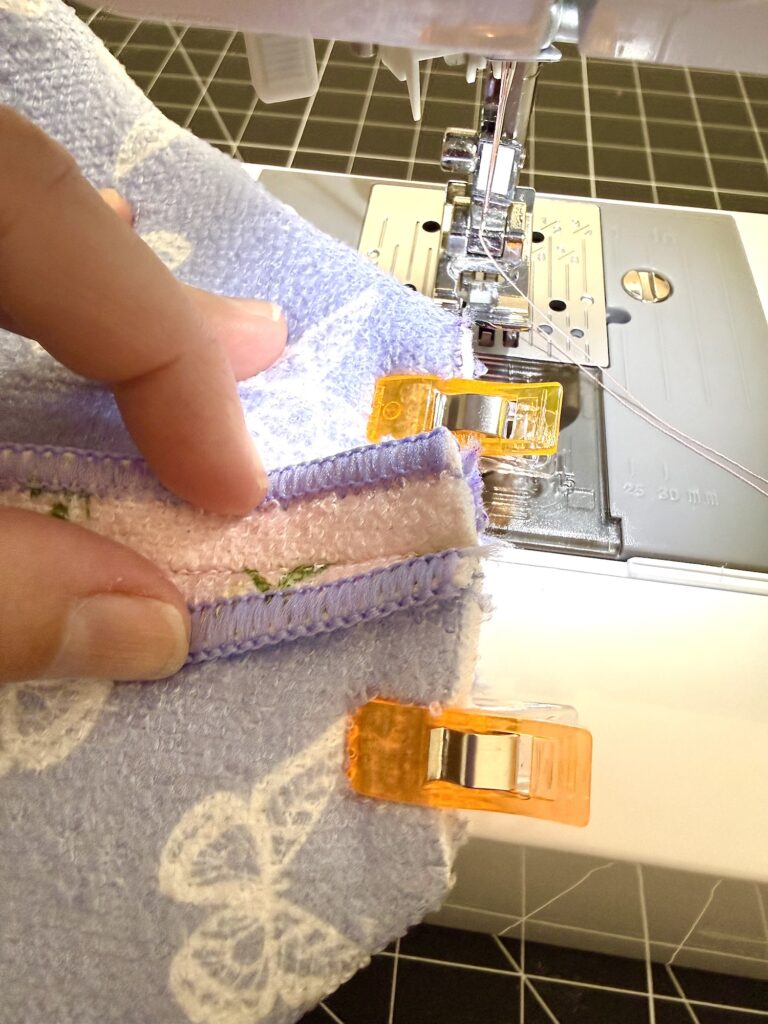
If you would like to hide the unfinished seams inside, do a French seam. Do this by squeezing the corners together again, just like you did in Step 7. Then sew along the top of the seam that you can feel between the two layers. You will sew just along the top, making sure not to sew on top of that seam because it would be too thick!
I used a ¾ inch seam allowance, being sure to backstitch at the beginning and end of stitching!
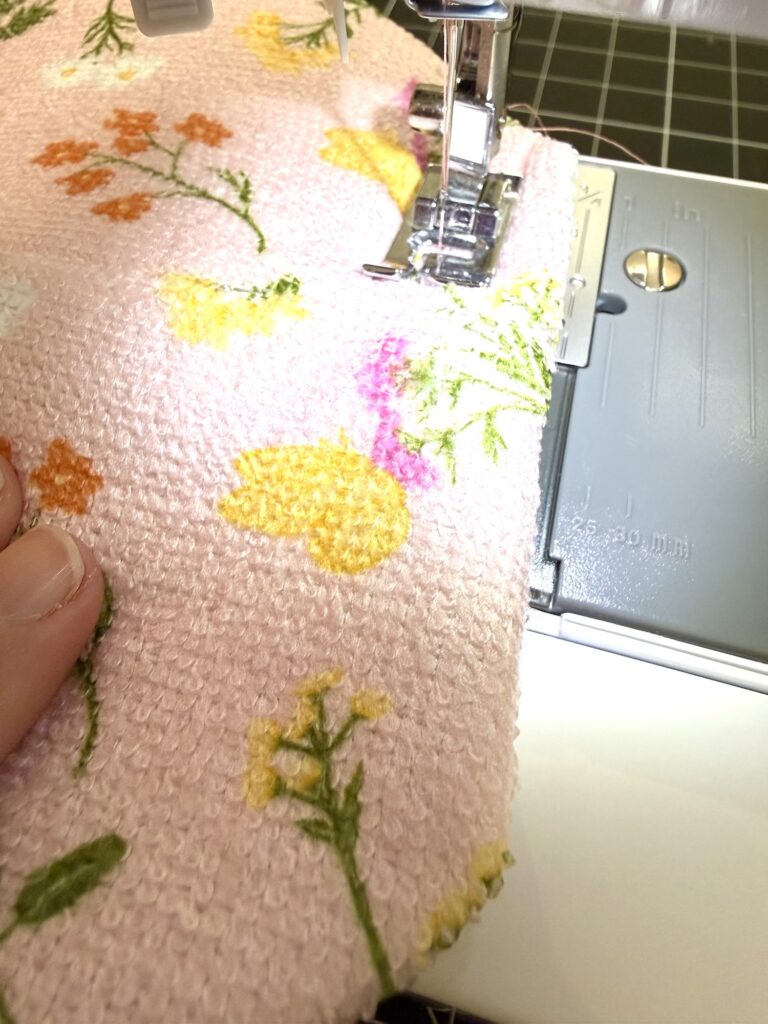
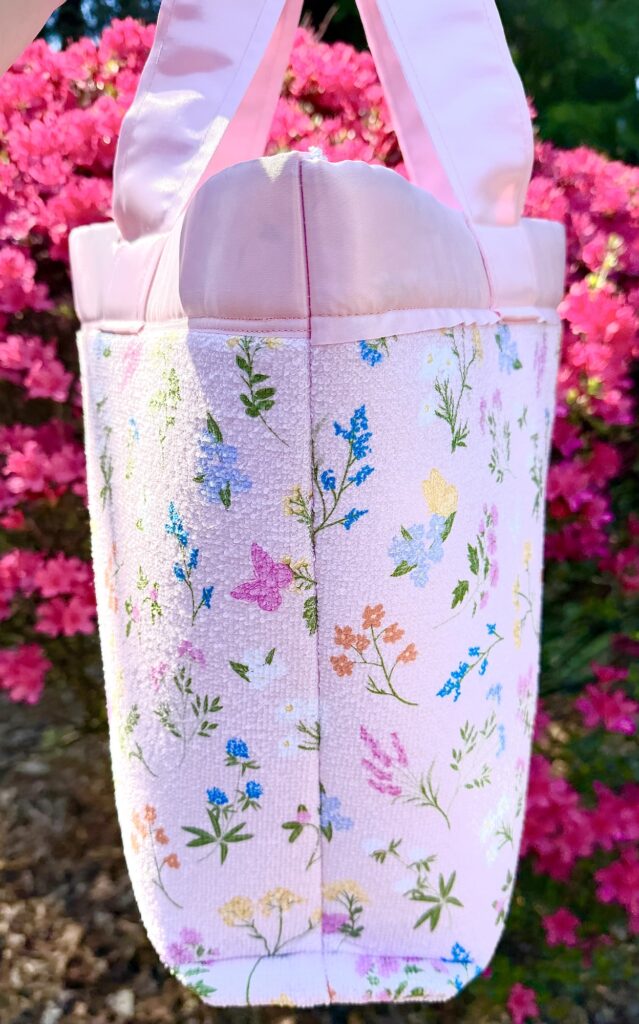
Once you sew the French seams, your bag will look like this (see photo below). It actually helps your bag stand upright better when you place it on a surface.
Watch me make this bag in my YouTube sewing tutorial below:
Save this idea for later when you Pin It to Pinterest or save to Flipboard or Facebook.
If you like DIY Bag sewing tutorials, see these next: