DIY Drying Mat Zippered Bag
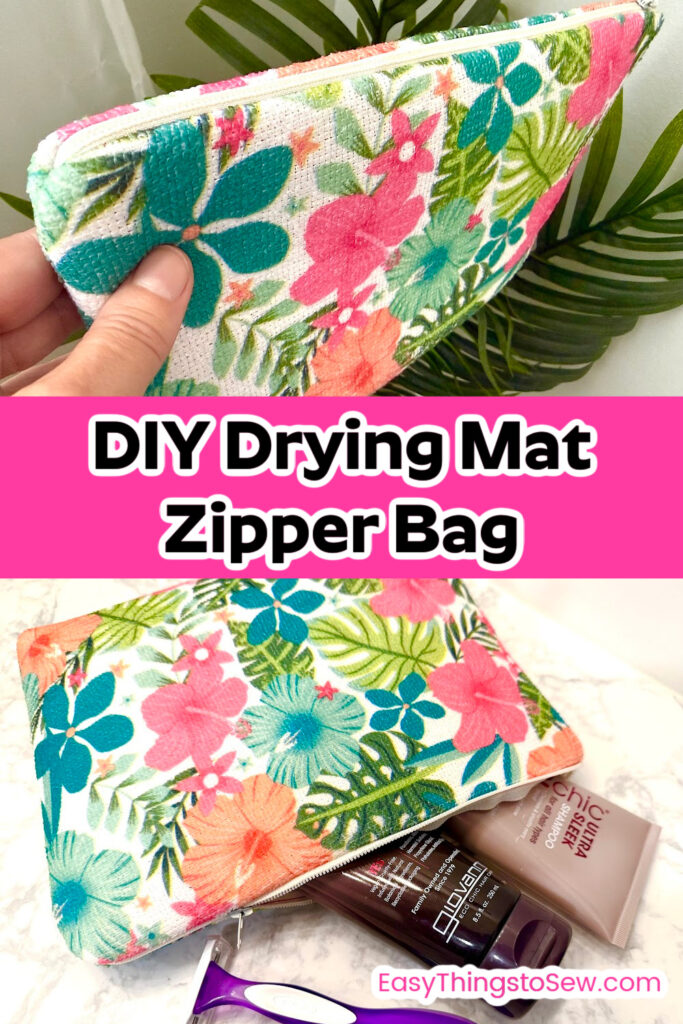
This DIY Drying Mat Zipper Bag is a wonderful beginner sewing project! You can make one for around $2 in less than 10 minutes.
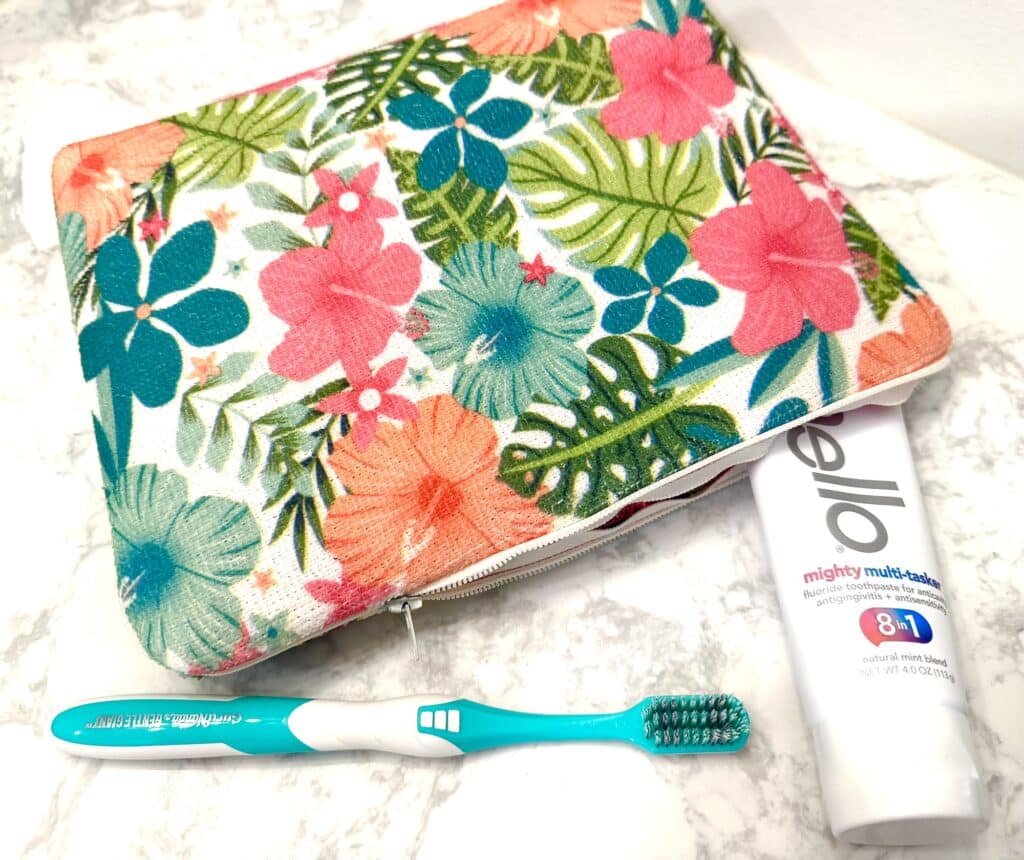
The great thing about this DIY bag is that you learn how to sew a zipper in an easy way! You don’t need to use the zipper foot on your sewing machine or any fancy zipper tabs for this handmade bag.
You will gain confidence in your sewing skills very quickly with this easy sewing tutorial.
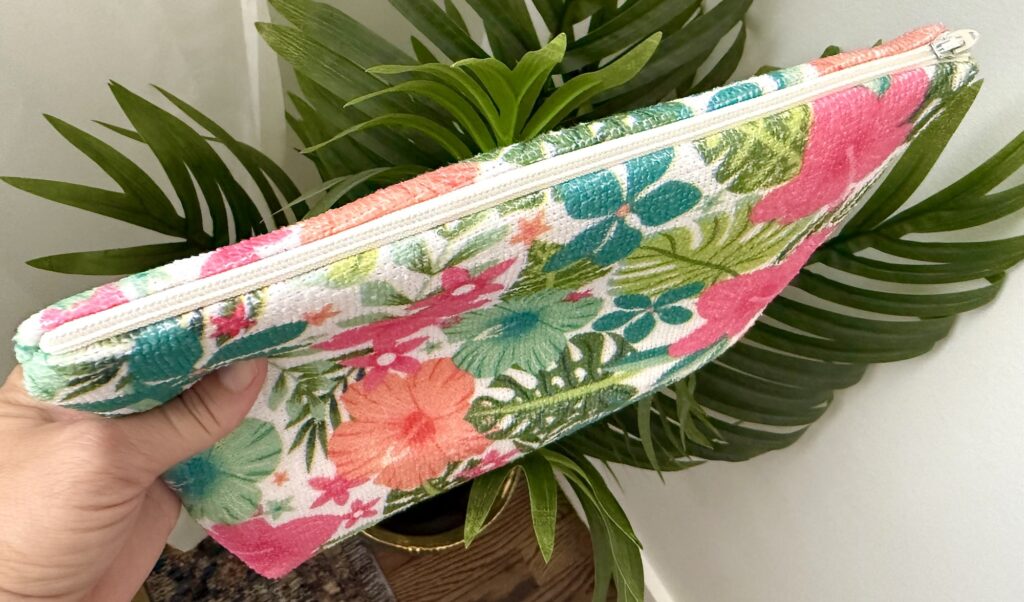
This is a great sew-to-sell sewing project because you can make them quickly with a good profit margin!
If you love drying mat sewing projects, be sure to see these next:
- Dish Mat Tote Bag with Video Tutorial
- Reversible Dish Mat Basket
- Easiest Drying Mat Bag
- DIY Drying Mat Bedside Caddy
- Drying Mat Bread Basket
Supplies
I used a standard size drying mat (12 in X 15 in) from The Dollar Tree, which will require a 12-inch zipper (or longer). As you can see in these photos, I used a longer zipper that was later cut to length.
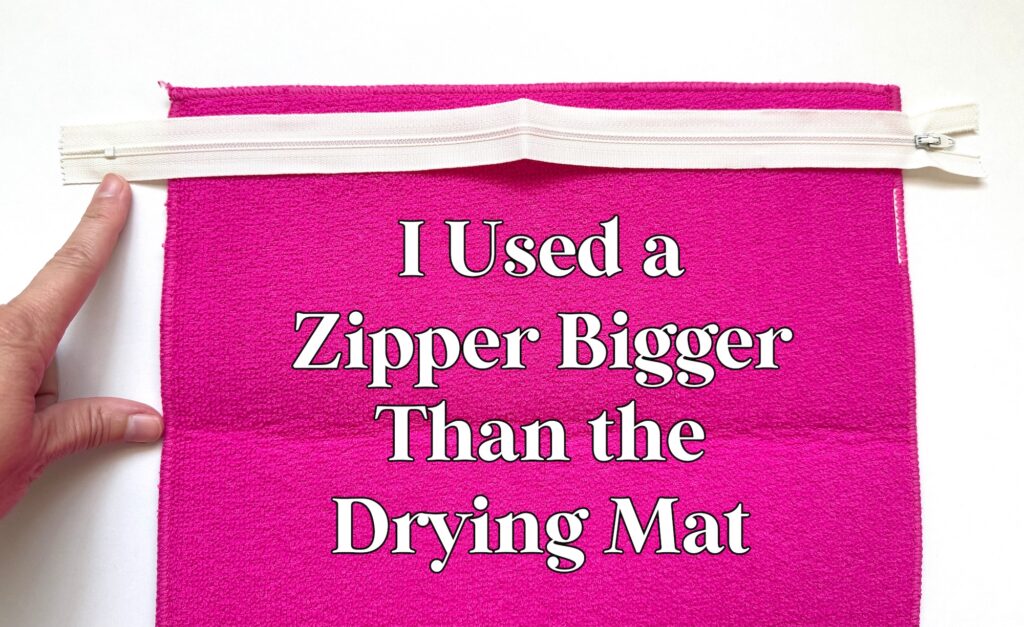
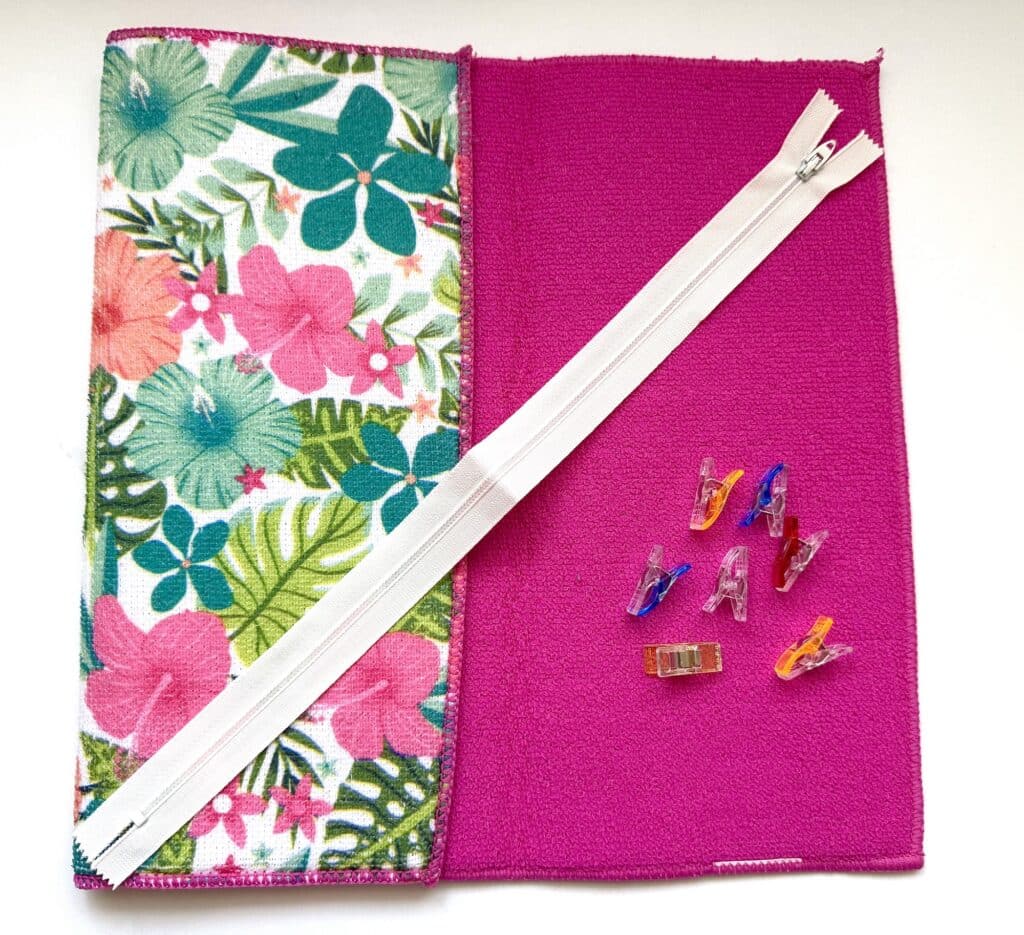
- Drying Mat (12 X 15 inches is a great size)
- Zipper (at least as long as the short side of your drying mat; it can be longer)
- Sewing Clips
Instructions
Step 1: Attach the Zipper
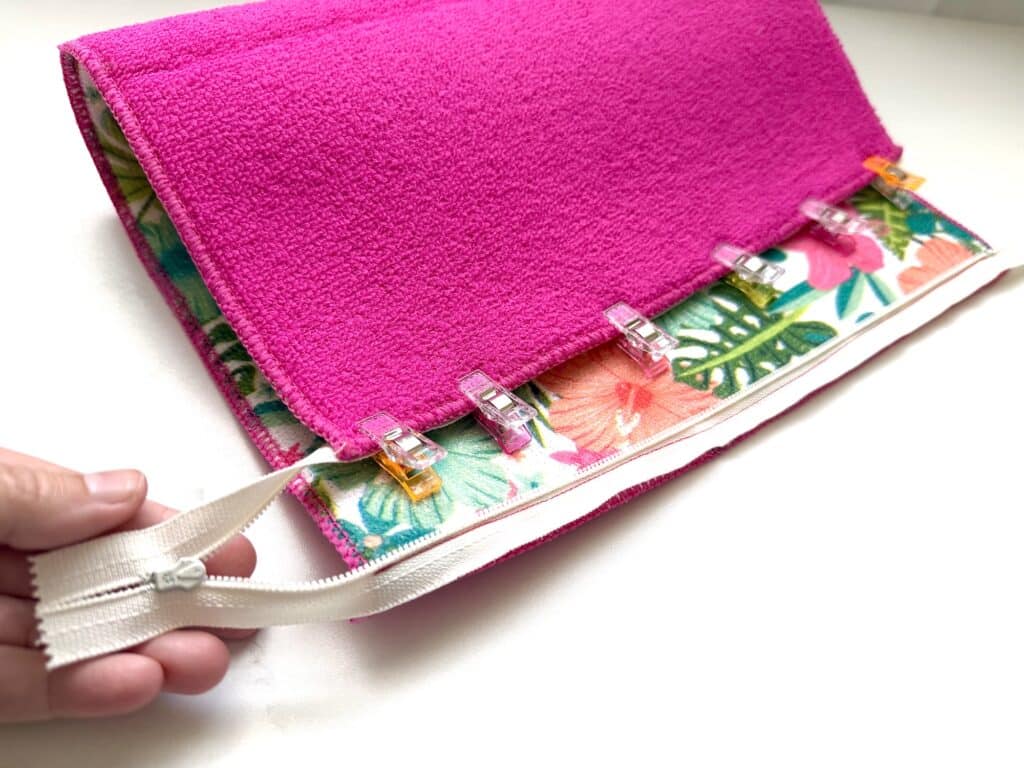
Place the zipper along the short side of the drying mat, right sides (and raw edges) together and clip in place. The right side of the zipper will be the side with the raised zipper pull and tab.
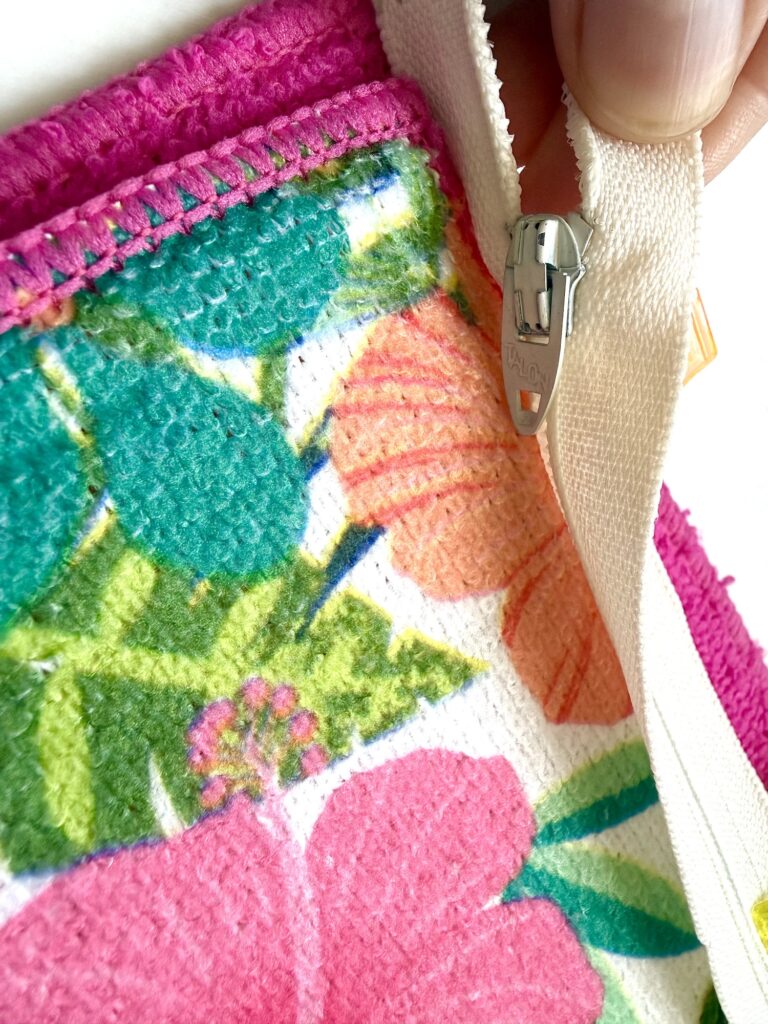
If you are using a zipper longer than the short side, place the zipper pull about ½ inch from the edge. You will be using a ½ inch seam allowance so you want the zipper to be outside of the seam.
Using your normal sewing machine presser foot, insert the needle close to zipper teeth, using a 3/8 inch seam allowance. Backstitch at the beginning and end of your stitching.
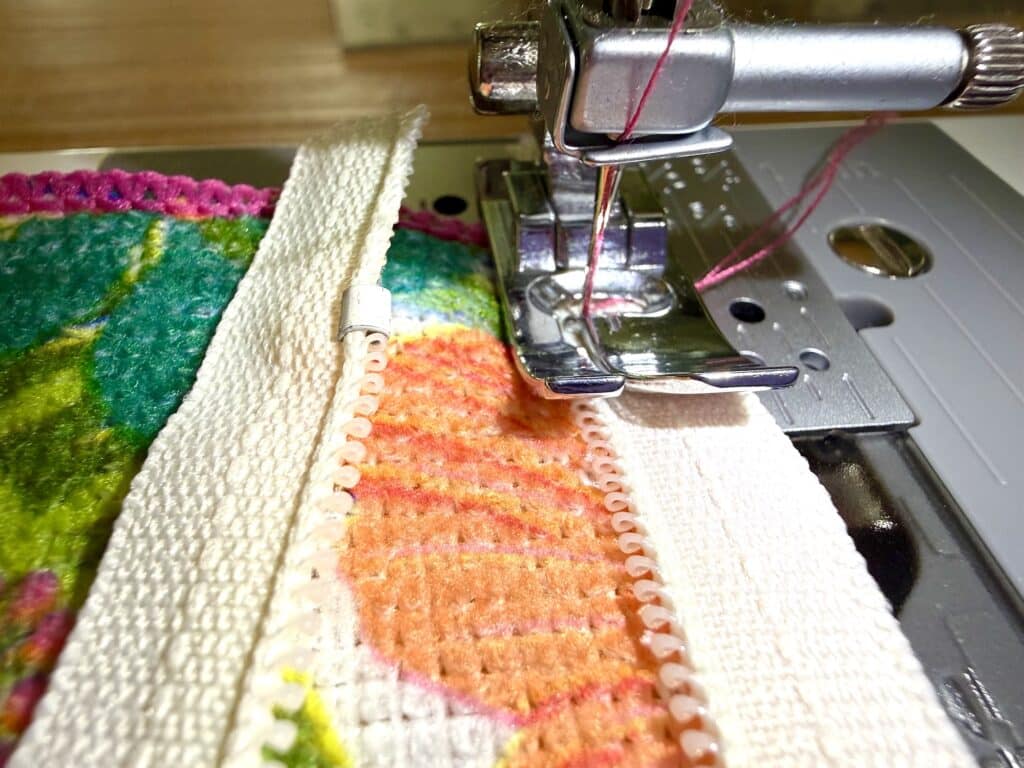
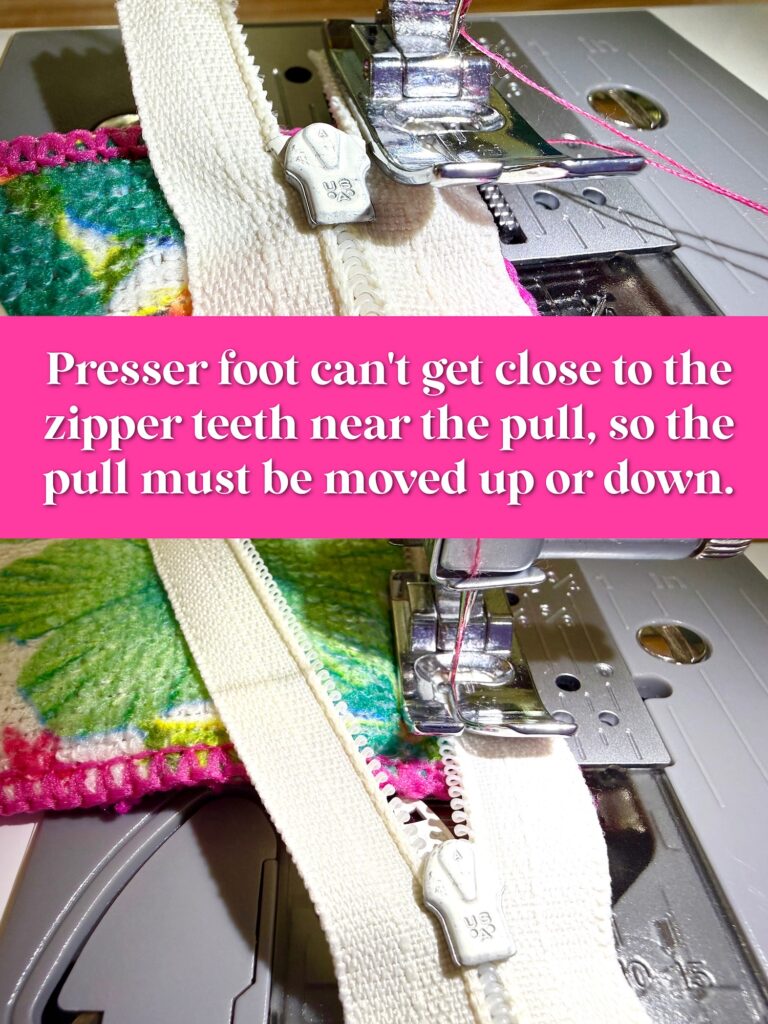
Helpful Tip: When sewing close to the teeth, you will need to get around the zipper pull. You can do this by pausing your stitching, pick up the presser foot, and pull the zipper tab up or down to reposition it. With a longer zipper, you may be able to push the zipper pull tab completely out of the way so that you don’t have to reposition it as you are stitching to the drying mat.
Now clip the other side of the zipper to the other side of the drying mat, matching up right sides of the zipper and the mat.
Step 2: Sew the Sides
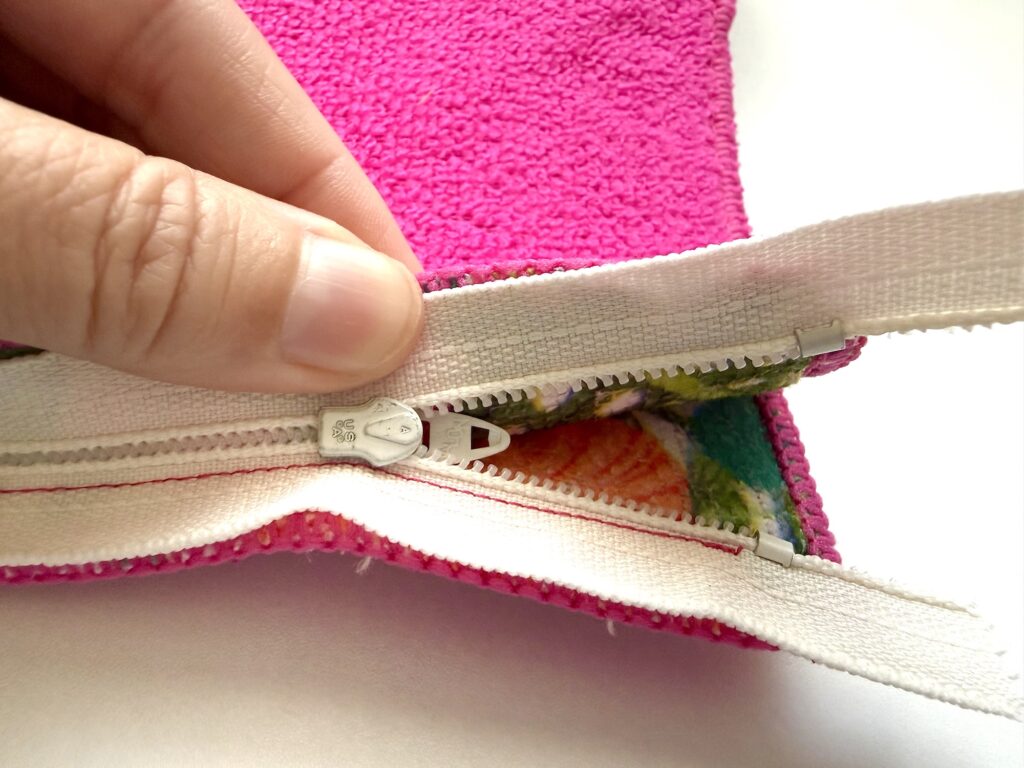
Slide down the zipper pull so there is a large opening (you will need to turn the bag inside out later).
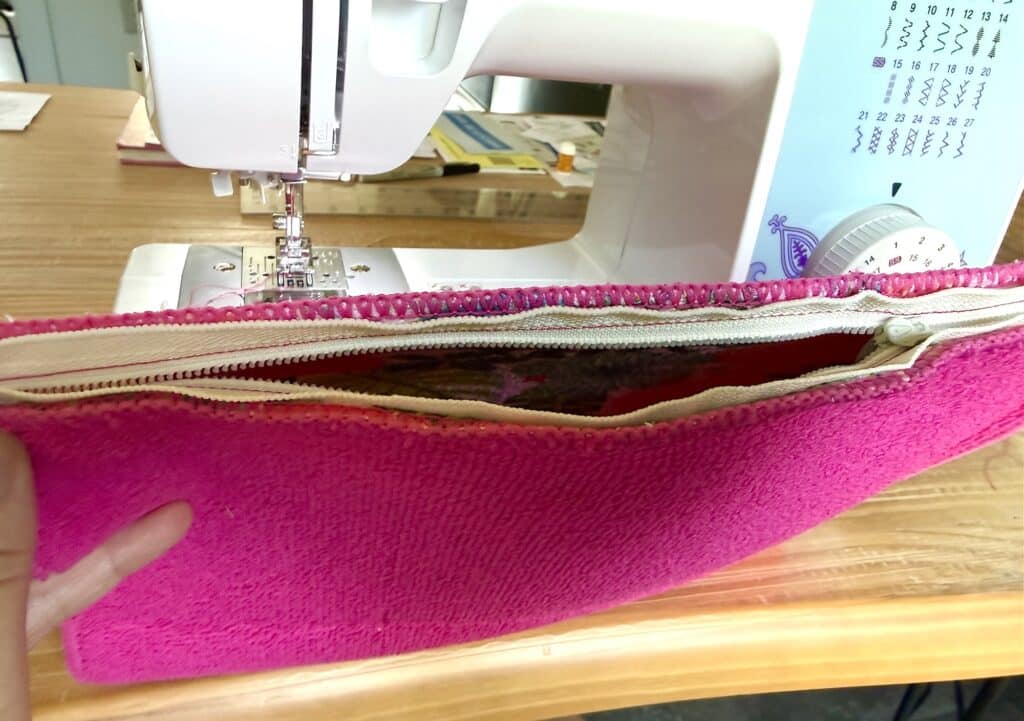
Match the sides together and push down the zipper, with the tape above, as seen in the photo below.
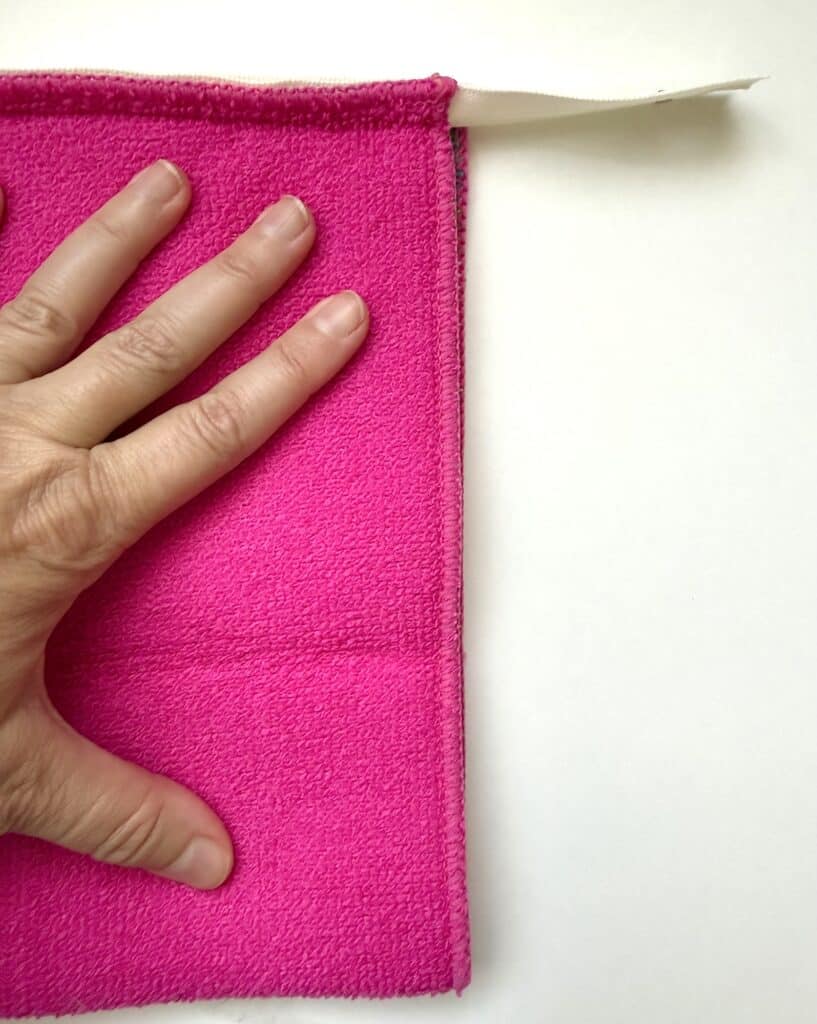
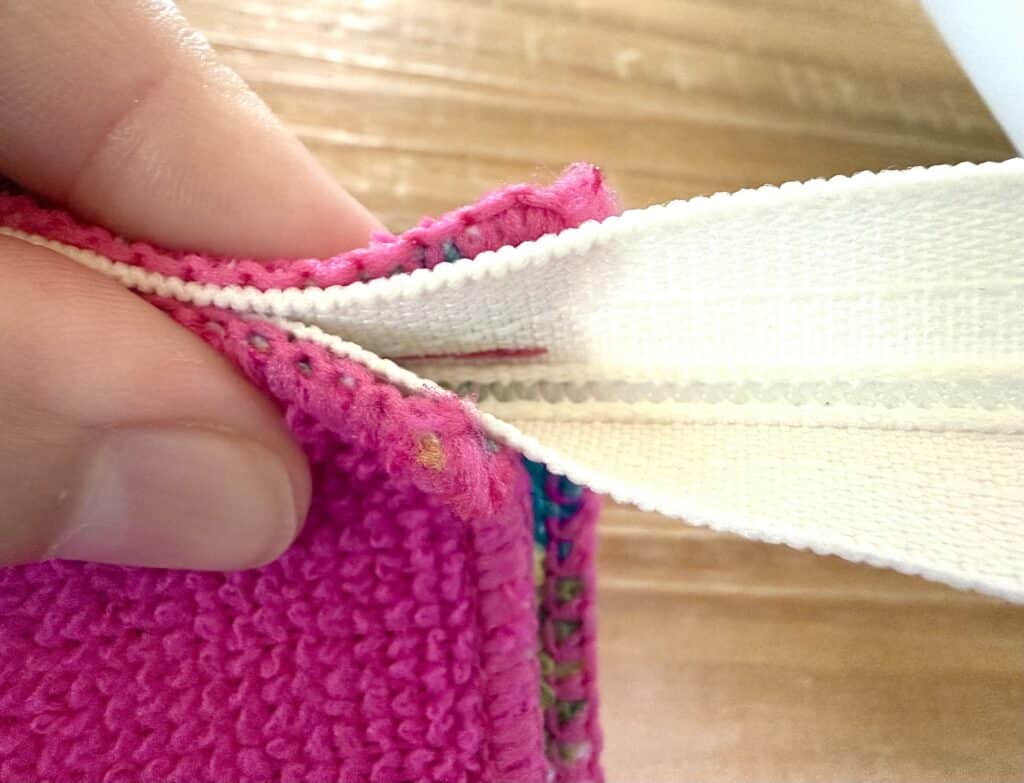
Sew one side using a ½ inch seam allowance. Backstitch 2-3 times over the zipper to secure it, and do a backstitch at the base of the bag, as well.
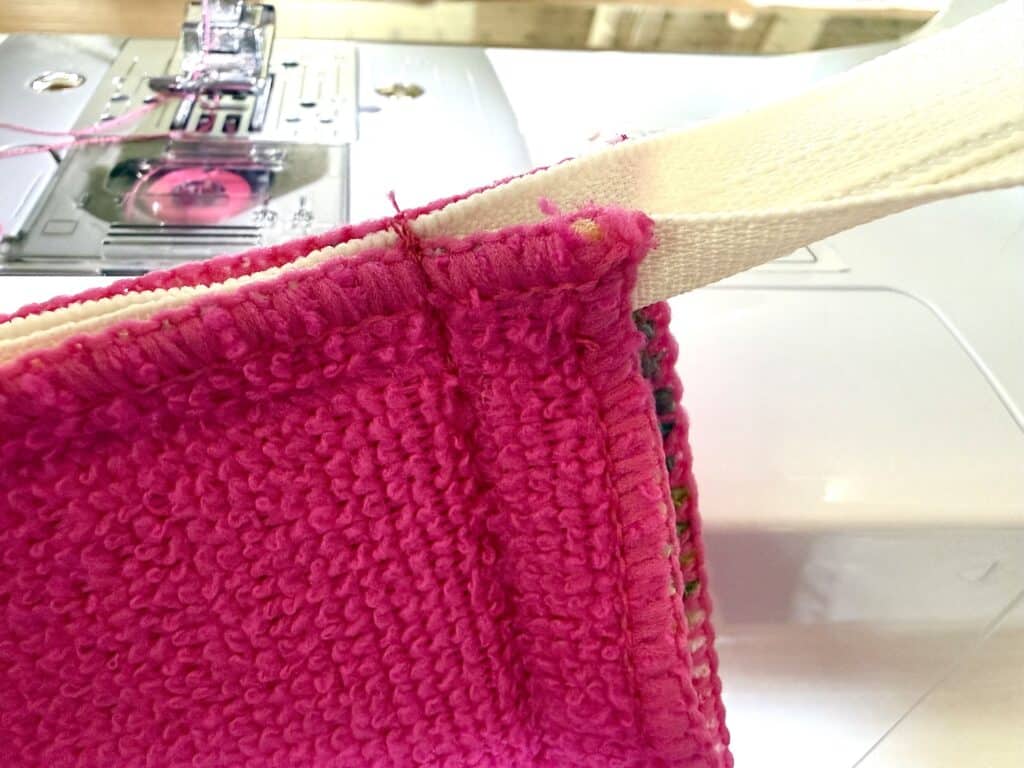
Repeat on both sides.
Cut off the excess zipper tab and/or zipper.
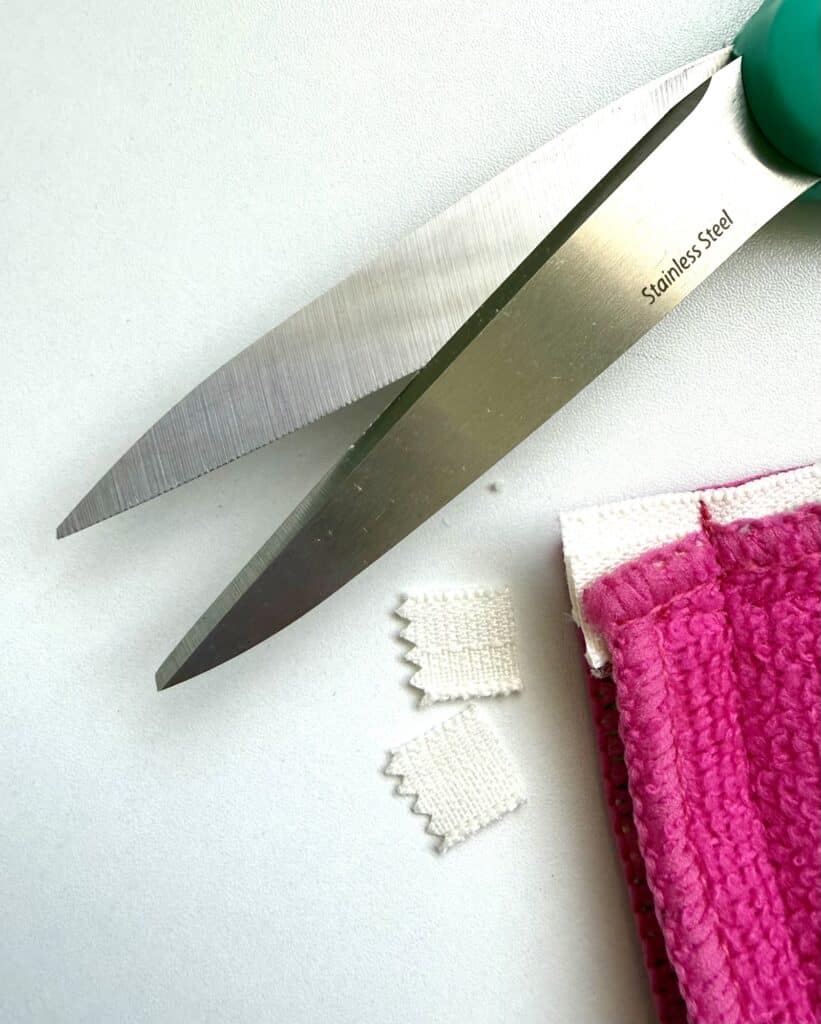
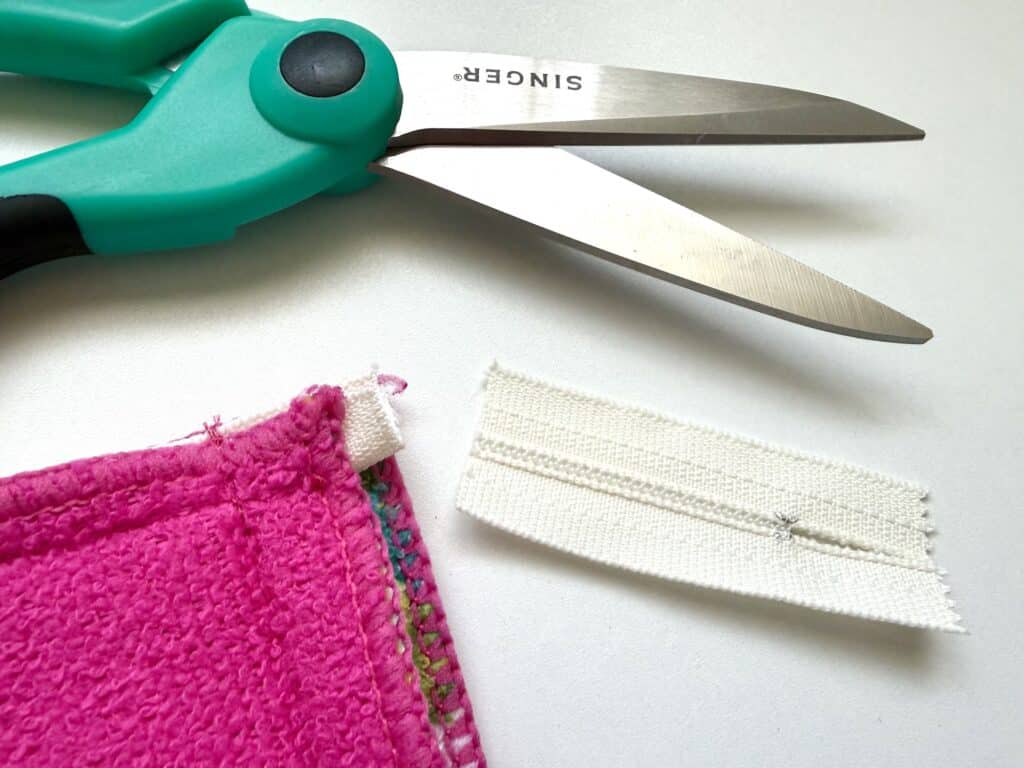
Optional: If you want an envelope-style bag that is flat, you can stop here. Just turn the bag inside out and you are done!
Step 3: Box The Corners
Push out the side seam to create a “V” shape.
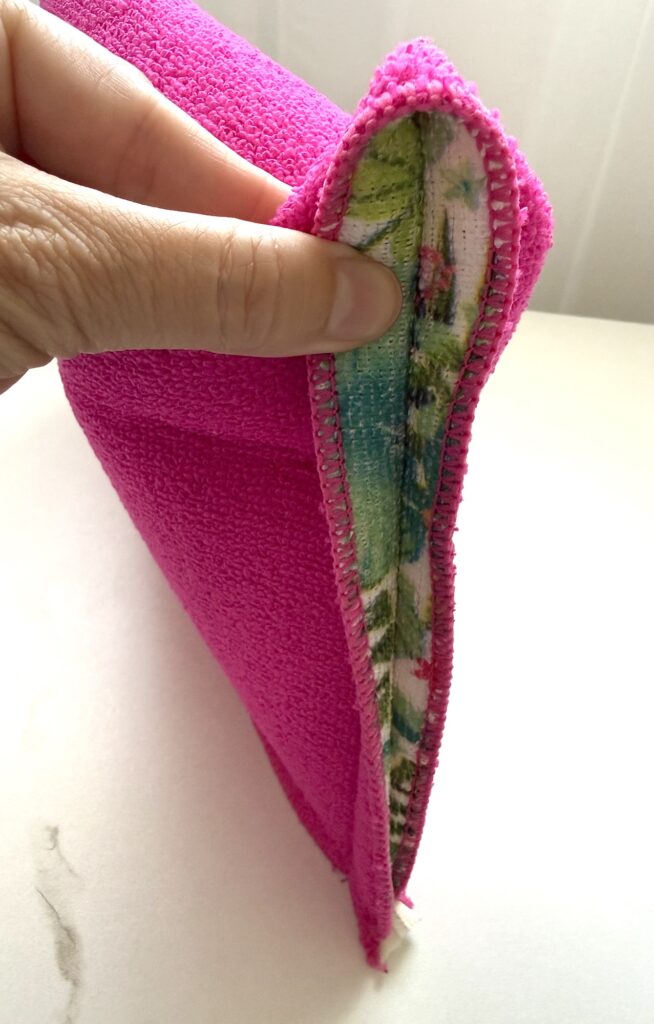
Open up the seam allowance to lay flat.
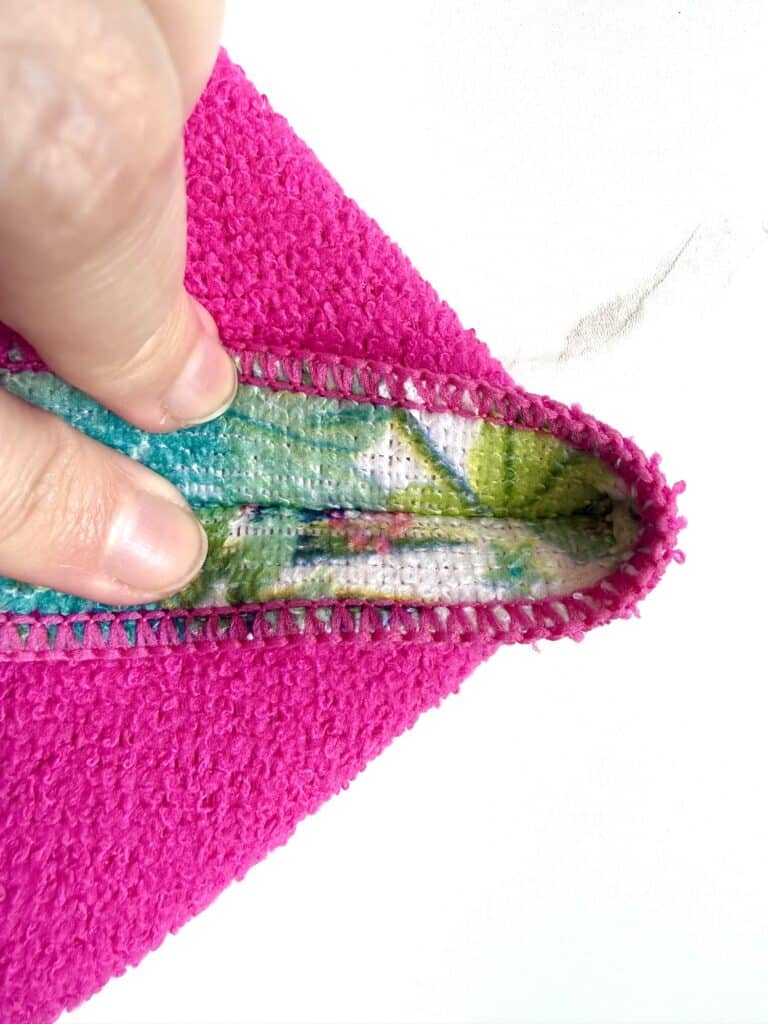
Measure down one inch from the pointed end and make a line across. (Or line up the pointed end with the 1 inch seam allowance mark on your sewing machine.)
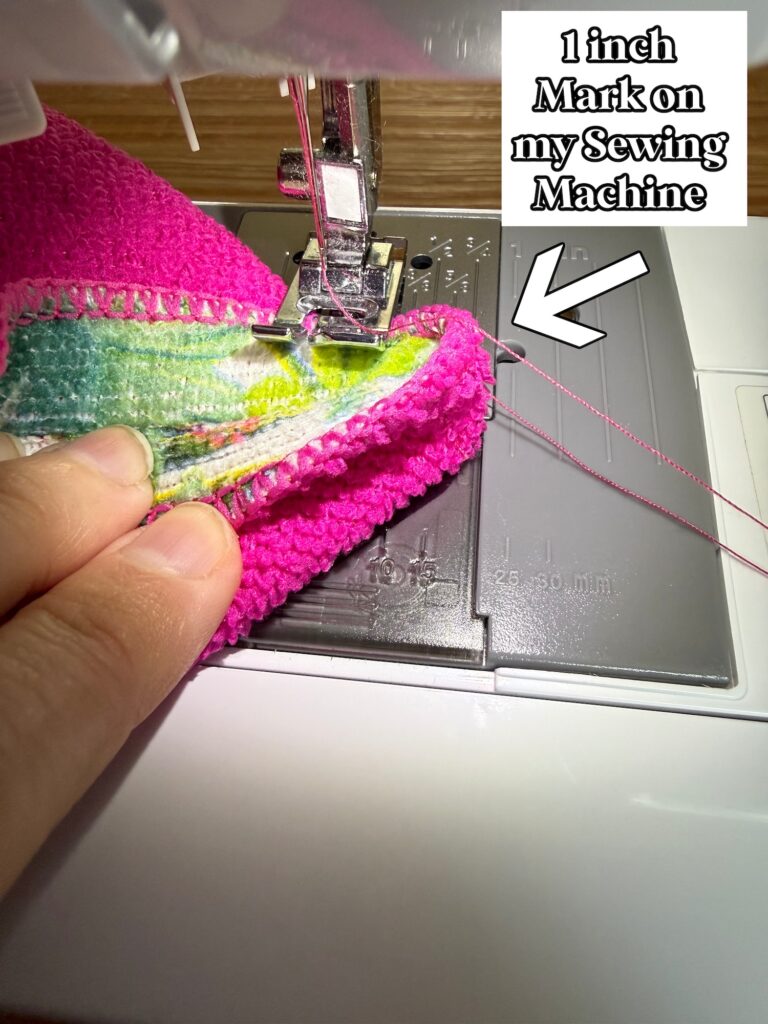
Sew a straight line across the “V” shape, backstitching at the beginning and end.
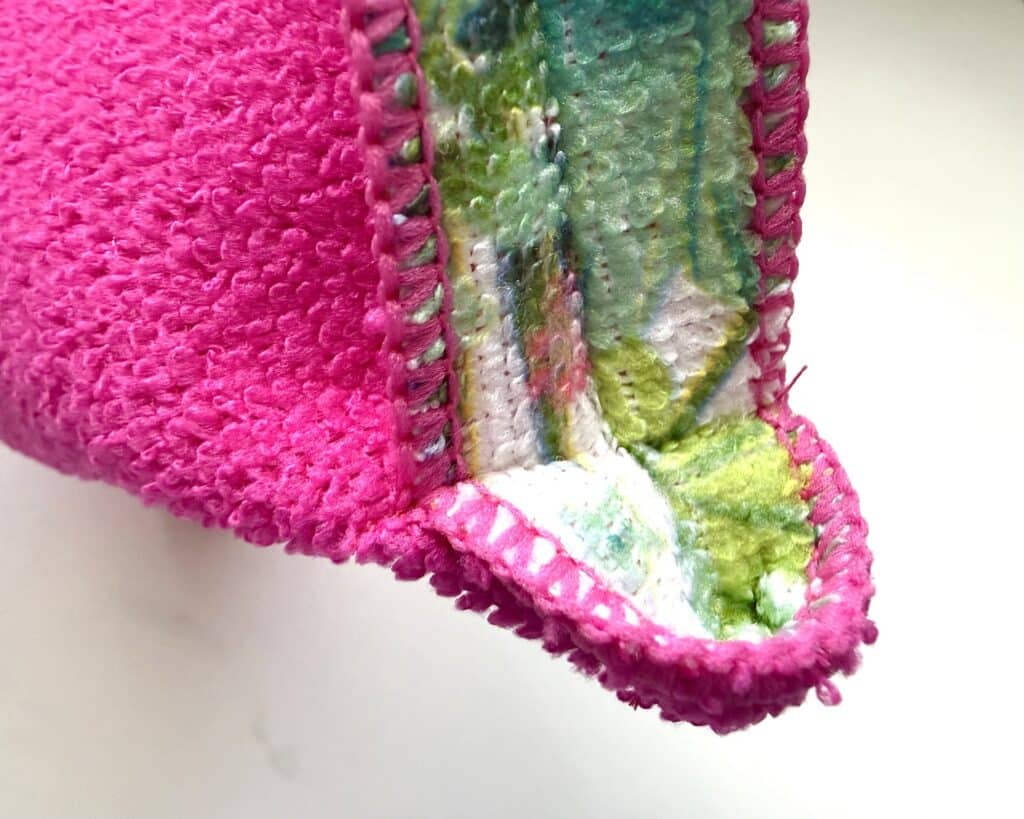
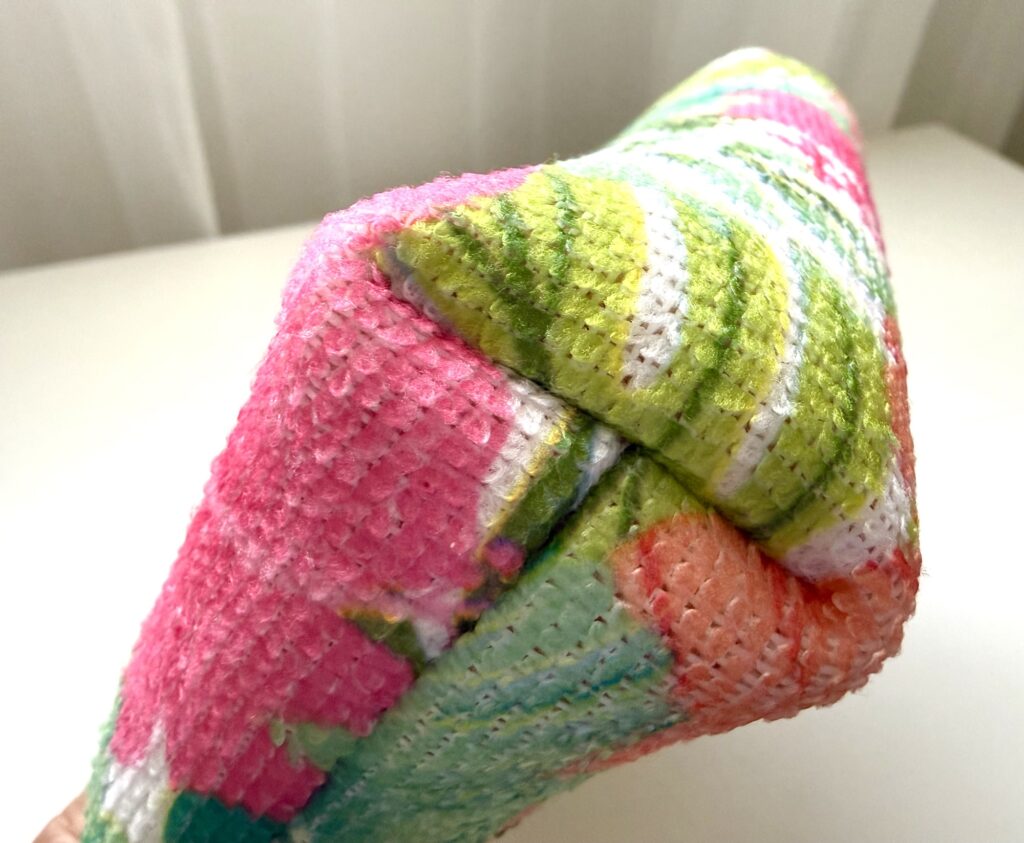
Turn the bag inside out. Push out the corners and around the zipper ends.
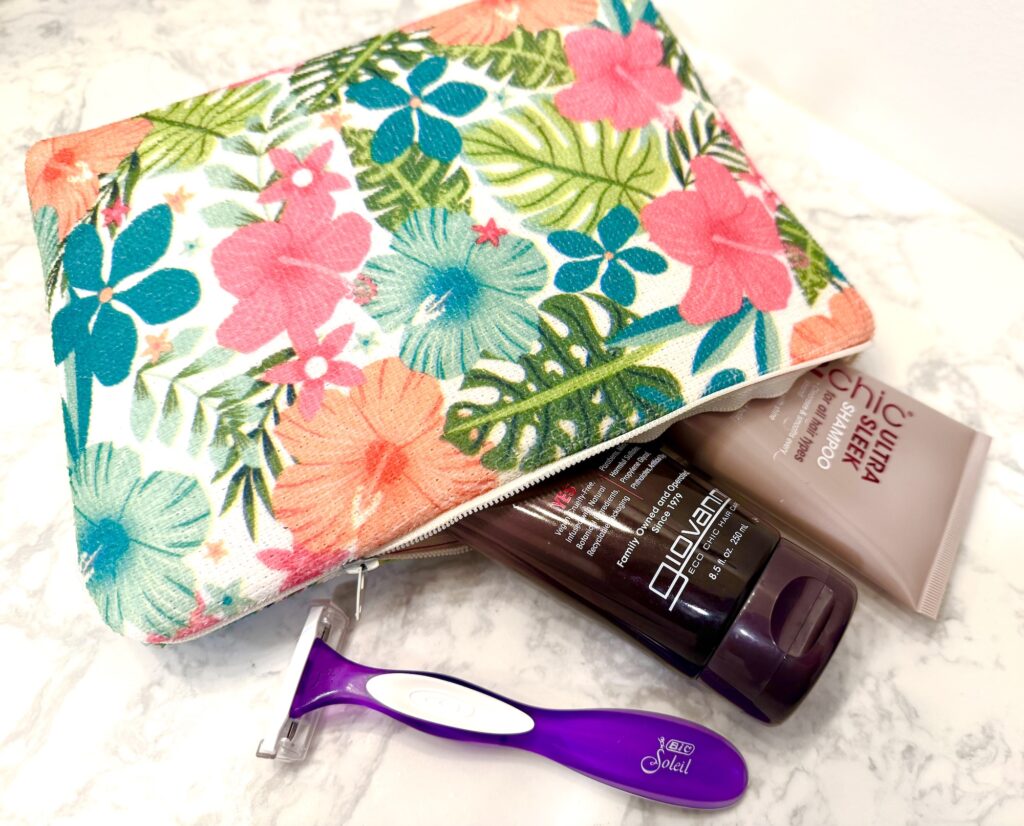
This dish mat zippered bag is perfect as a toiletry bag. It’s also great for storing office supplies or a book.
Want to save this idea for later? Be sure to Pin It to Pinterest, flip to Flipboard or save to Facebook.
This drying mat zippered bag is quick and easy to make, but if you want a bag with finished seams and hidden corners, see our easy lined zippered pouch tutorial.