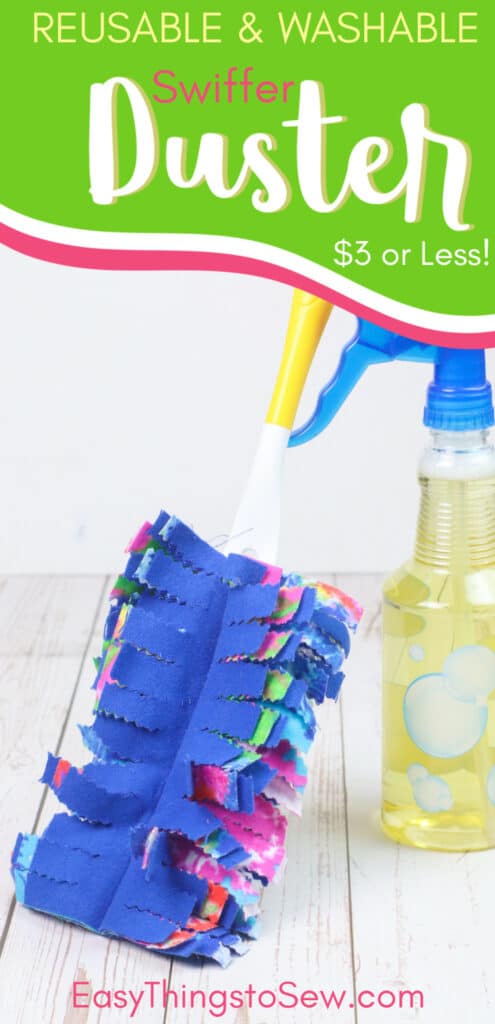
DIY Reusable Swiffer Duster (Washable Dusting Cloth)
Swiffer dusters are easy to use and are effective at cleaning your home. However, the cost of replacing the duster refills can get expensive. Our easy DIY reusable duster refill can be made in less than 30 minutes for less than $3, saving you money each time you dust your home.
This DIY duster will easily fit on the Swiffer duster handle. After you have used it, just slide the duster off the handle and wash it in your laundry machine.
If you don’t have a Swiffer, you can still use this duster as a dusting cloth. It will work the same way!
How to Make a Reusable Swiffer Duster
This reusable duster can be made in 20-30 minutes.
While pinking shears are optional, we highly suggest you use these sewing scissors for this project because you will be washing the duster so often.
Supplies
As with all sewing projects, you should have matching thread for your fabric, a sewing machine, scissors or a rotary cutter, a ruler or a cutting mat, and straight pins or clips.
- ¼ Yard Flannel Fabric (prewash the fabric)
- Fabric Marking Pen or Fabric Chalk
- Pinking Shears
Instructions
Step 1
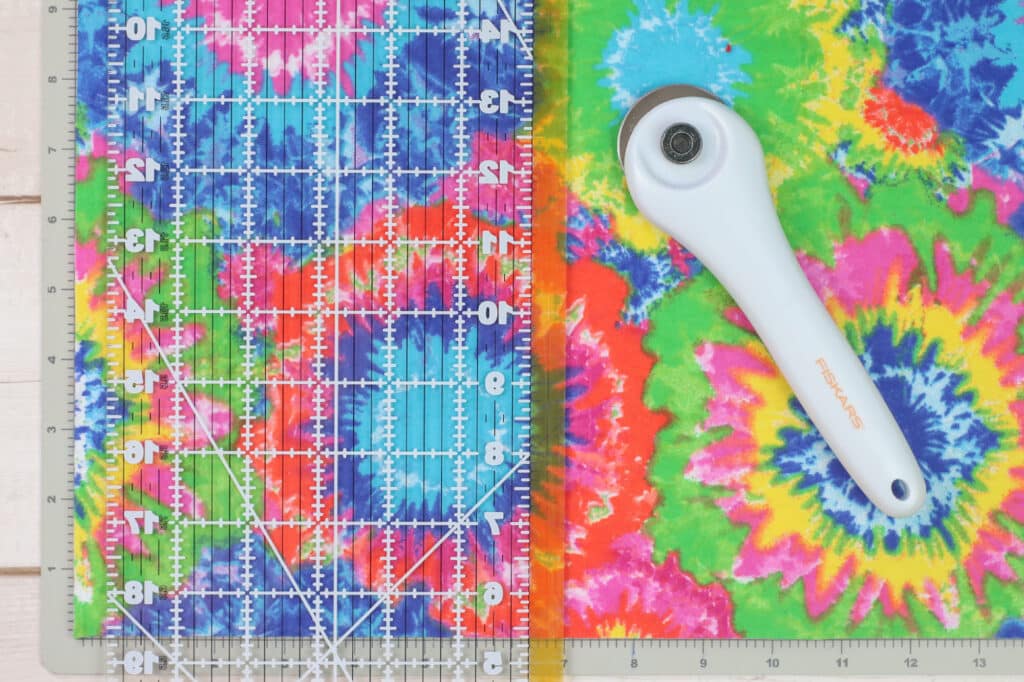
Cut your fabric out with pieces in the following sizes. You will want to cut TWO pieces for each size.
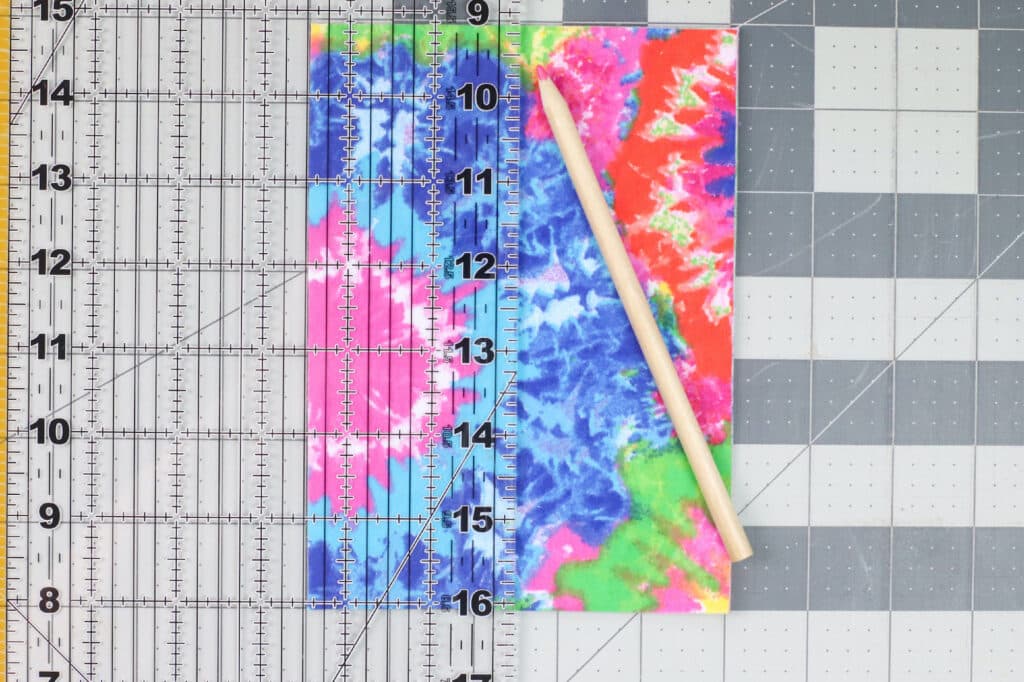
- 5” x 7”
- 4½” x 7”
- 4” x 7”
- 3½” x 7”
After cutting out the fabric, you should have two pattern pieces in each size for a total of eight pattern cut outs.
Step 2
Put the two 5″ X 7″ pieces of fabric together, with the wrong sides of the fabric facing together.
Using a fabric marker, draw a line down the center of the fabric from top to bottom. The center will be 2½” in from the side.
Then mark and draw a line that is ¾” on either side of the center line. This will be at the 1¾” mark and 3¼” mark.

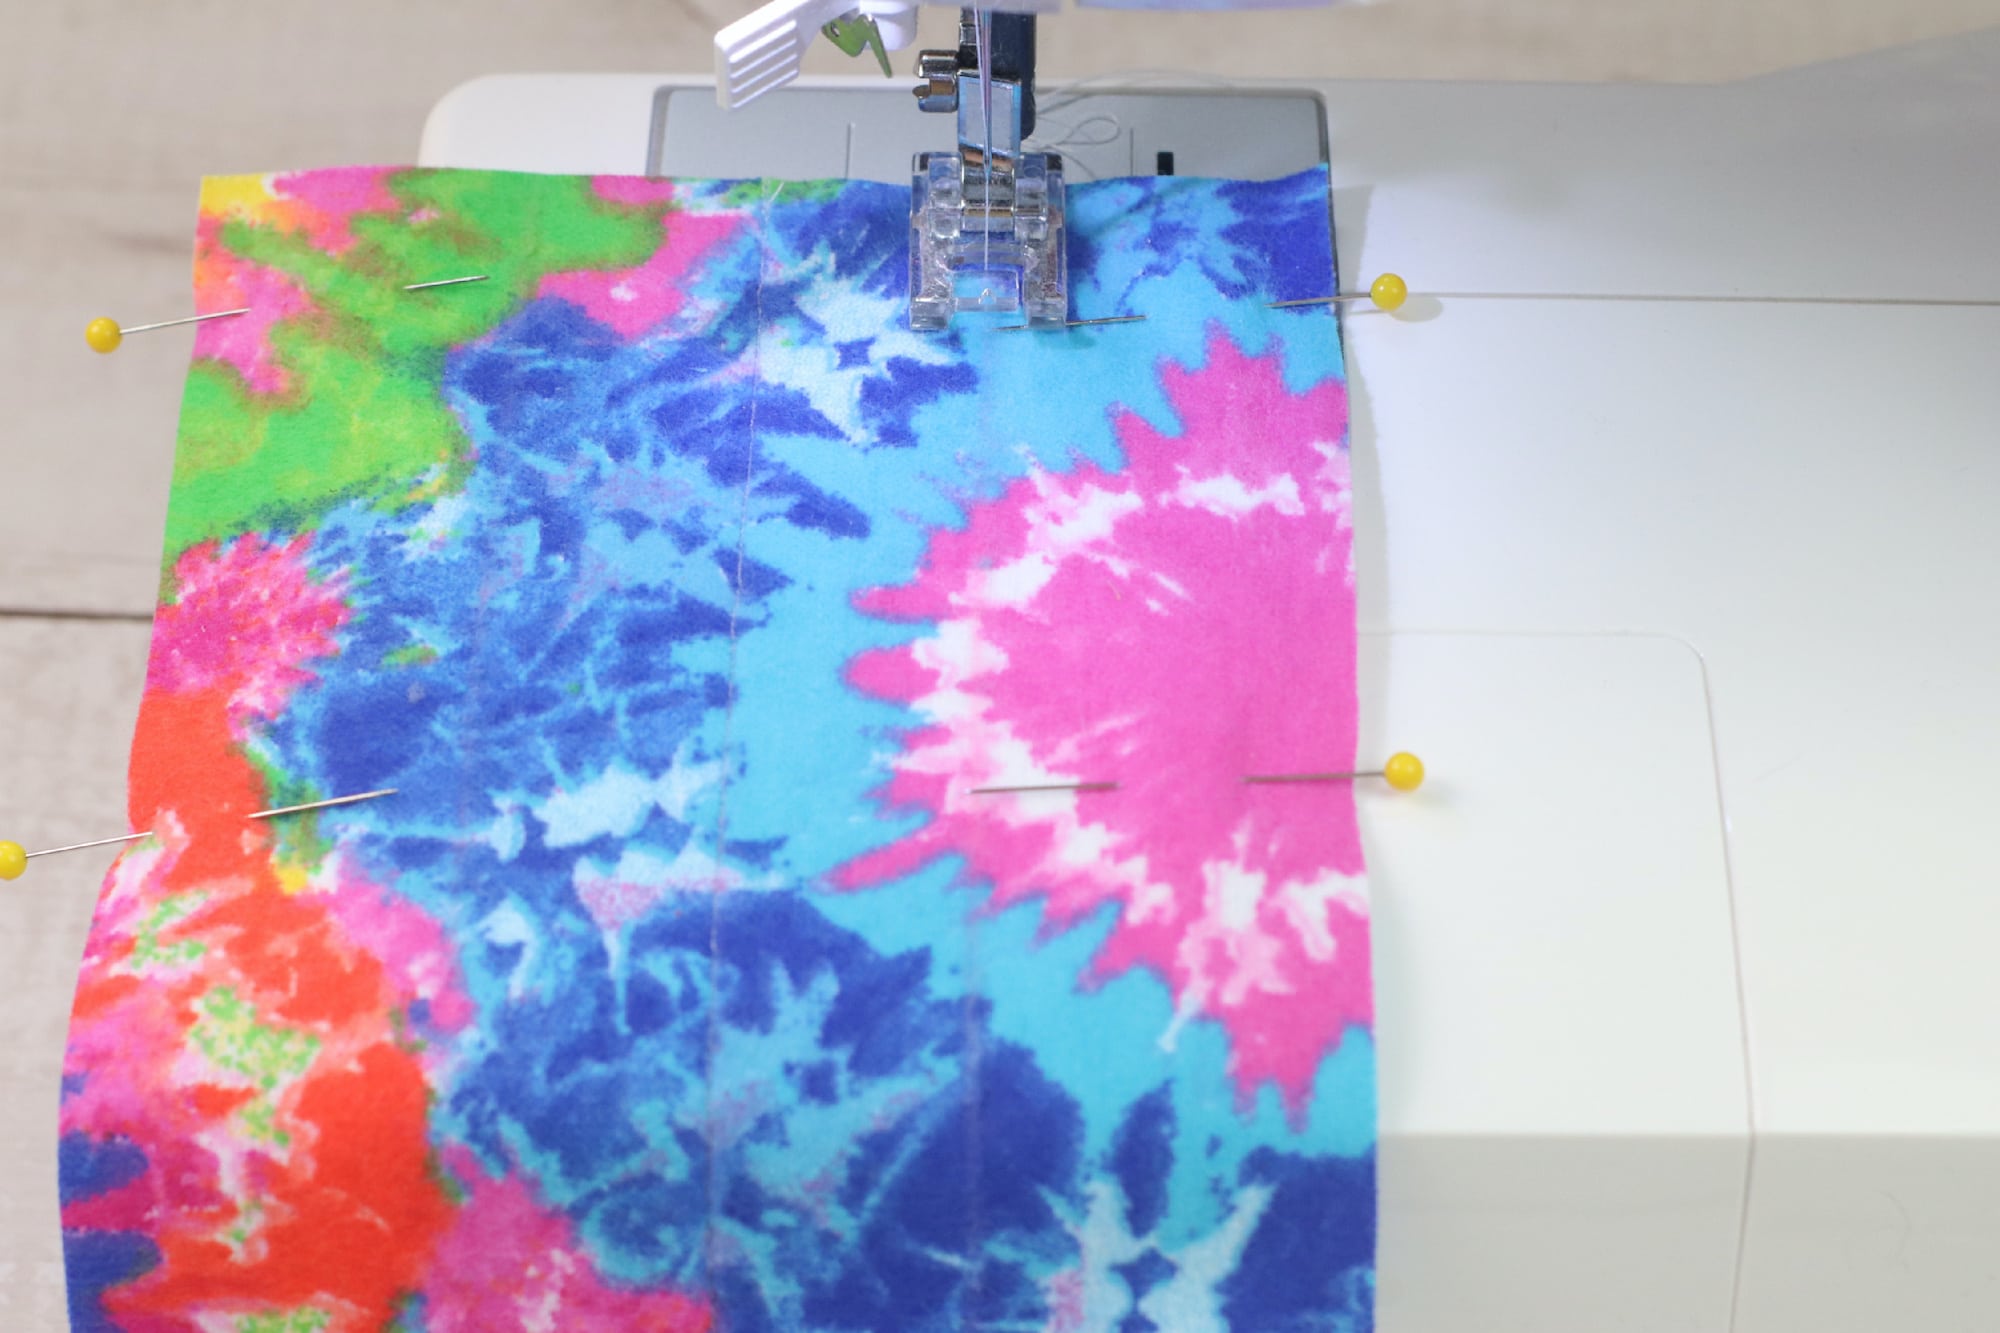
Step 3
Pin the fabric in place. Sew a straight stitch down each marked line. This will form the pockets that your handle will slide into.
Step 4
Place your 5” x 7” piece down on the table. Then center one of the 4½” x 7” pieces on top.
Next, center one 4” x 7” piece on top of that one.
Finally, center one of the 3½”x 7” pieces on top of that. Clip together to hold.
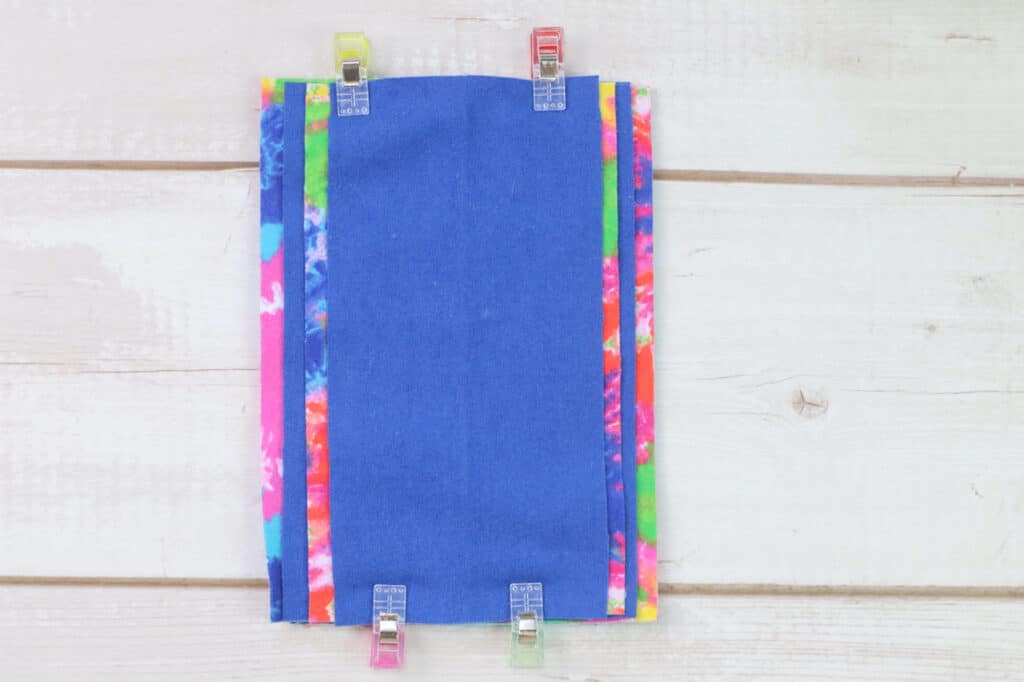
Then flip over the clipped fabric and unclip, being sure not to move the fabric pieces around. Now, repeat the same process with the remaining fabric pieces, layering the largest to the smallest pieces on top again.
Clip all of the pattern pieces together, making sure you have the pieces underneath as well as the pieces on top secured.
Step 5
Using your fabric marker, draw a line down the center of your stack of fabric. This will be 2½” in from the edge of the largest piece of fabric.
Sew a straight stitch down through all the layers on the marked center line. There will be a LOT of thickness when sewing so take it slow while stitching to avoid the needle getting stuck.
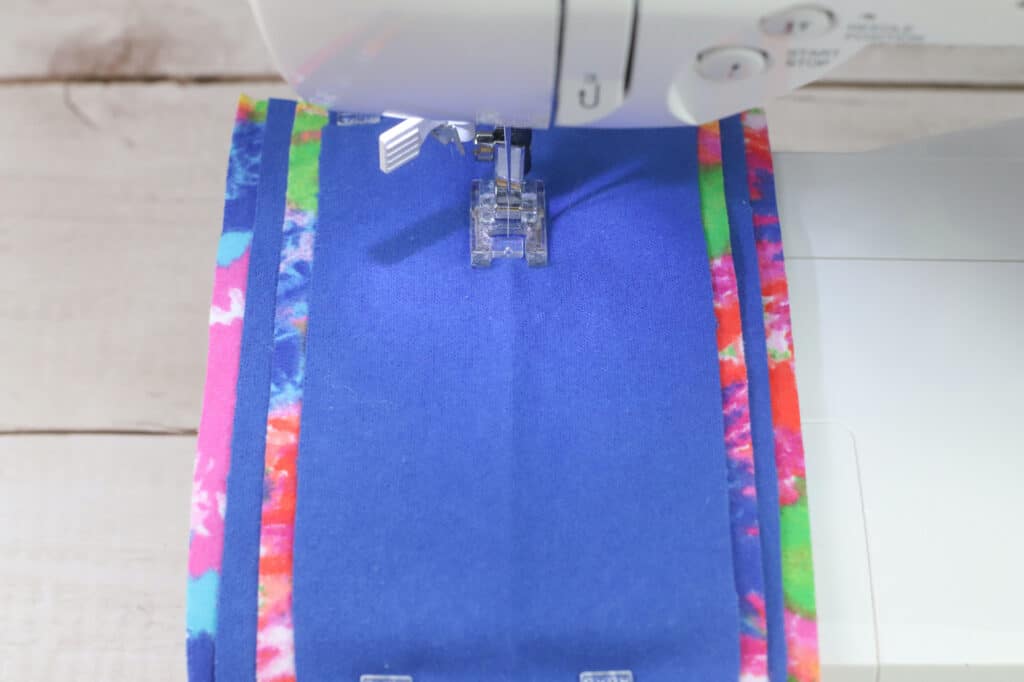
Helpful Tip: You can very gently pull on the fabric bundle from the back as you are moving it underneath the sewing foot to help the sewing machine more easily sew through the fabric pieces.
Step 6
Using your fabric marker, draw a line that is ¾” on either side of the center stitch you just made. This will be at the 1 ¾” mark and 3¼” mark.

You already stitched through these same locations in Step 3. Now you are just marking them again so that you do not cut through the stitching in the next step.
Optional Step: Using your fabric marker, mark at ½” increments across each side. You don’t have to make these measurements, but they can help with cutting.
Step 7
You can feel there are two layers to this stack of fabric, one on top and one underneath. Lift the top layer and you will see where you stitched your 3 lines in Step 3.
Using pinking shears, cut ½” slits on each side of the fabric just up to the stitched line, but not cutting through the stitches.
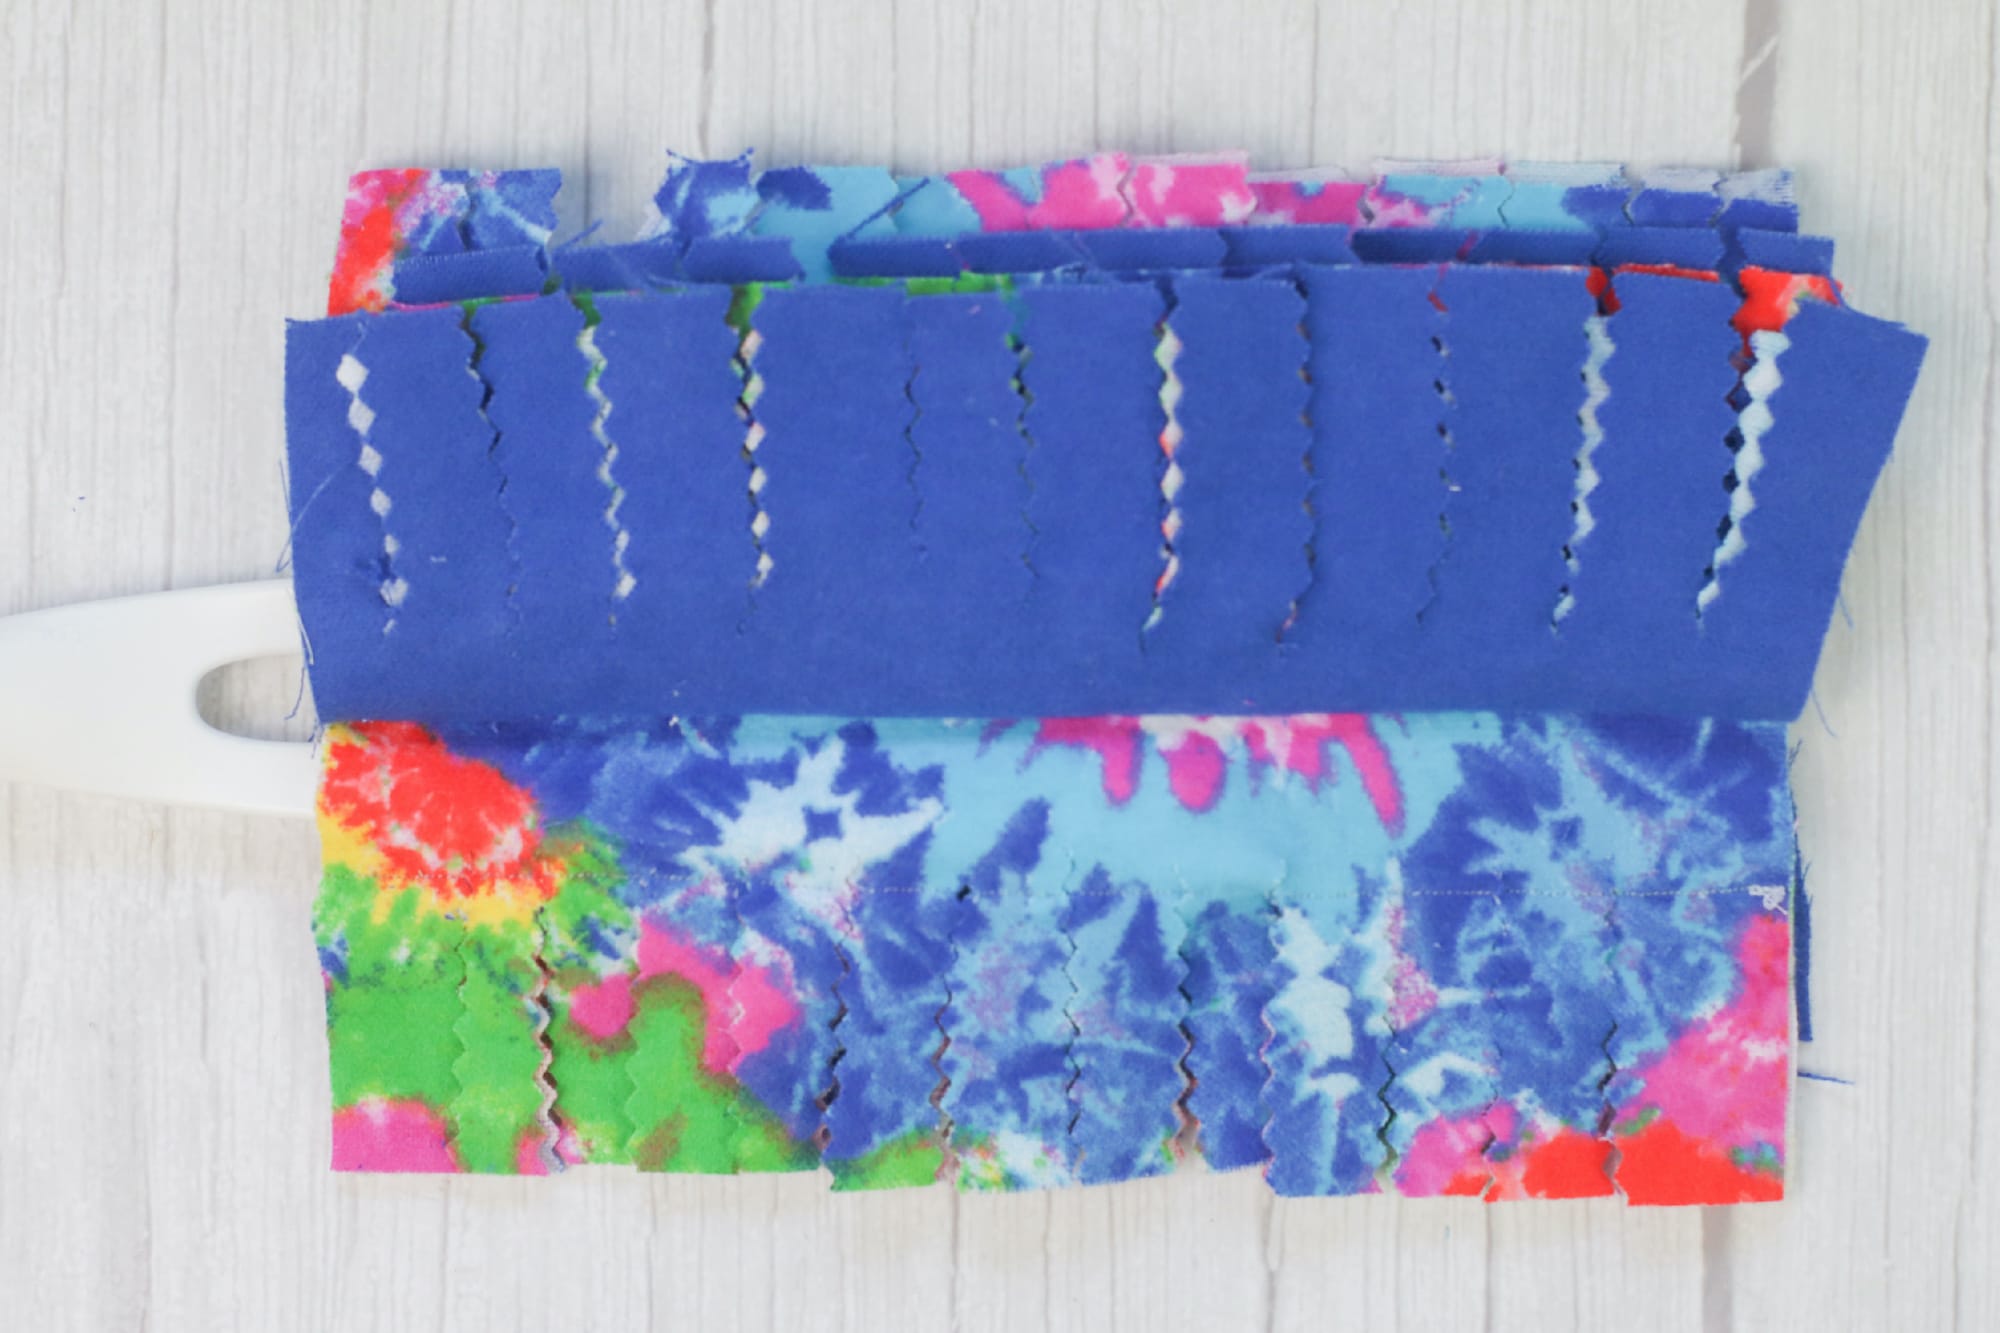
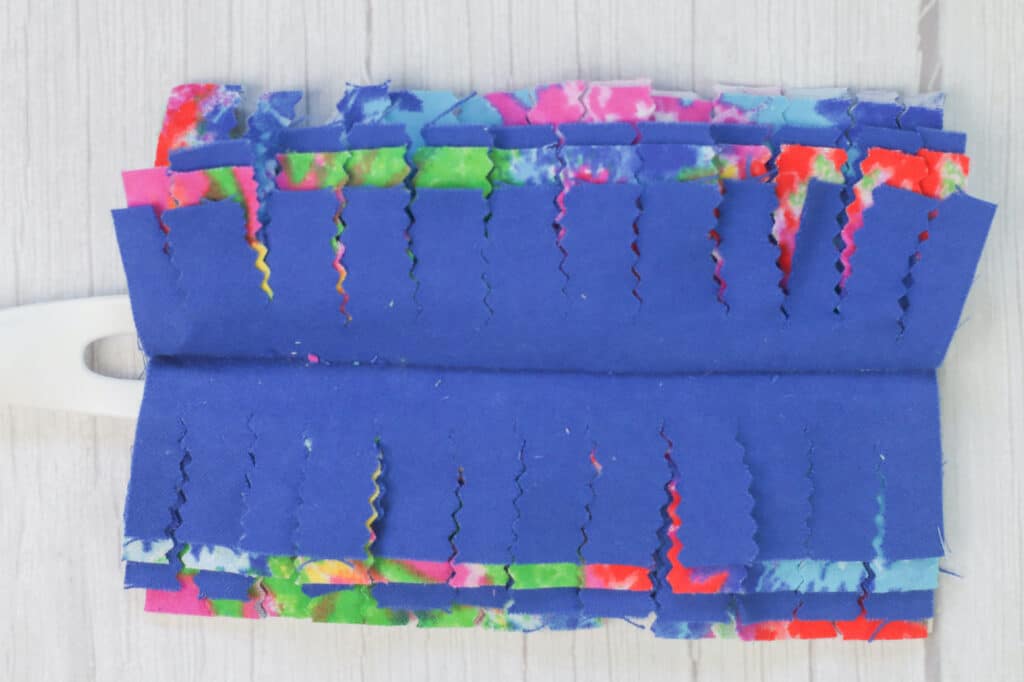
Repeat this on both sides and on all layers of fabric.
Step 8
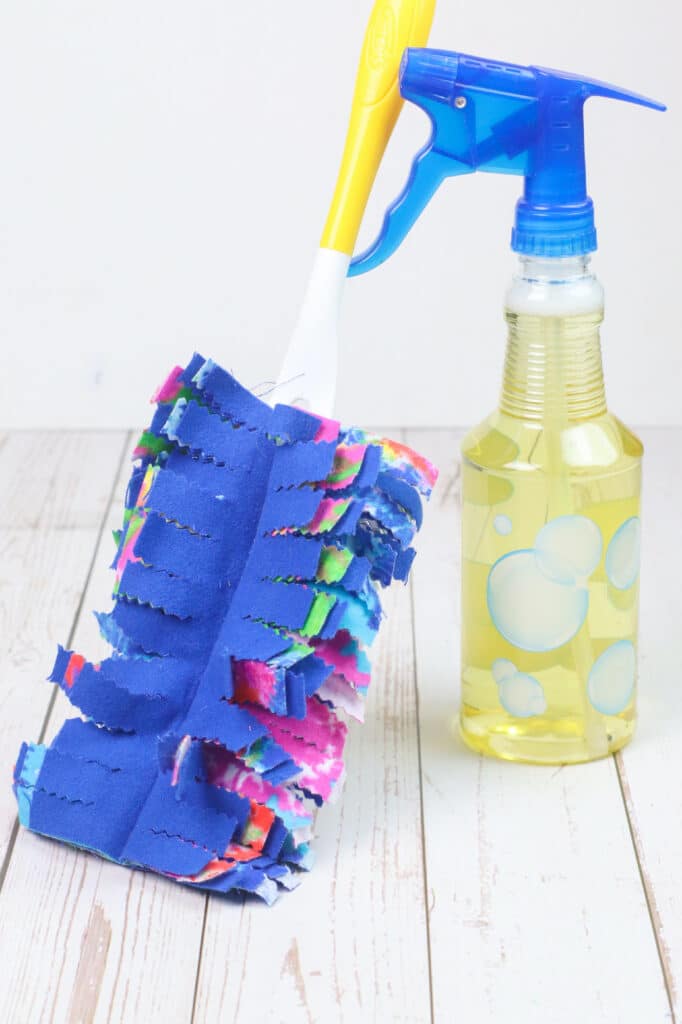
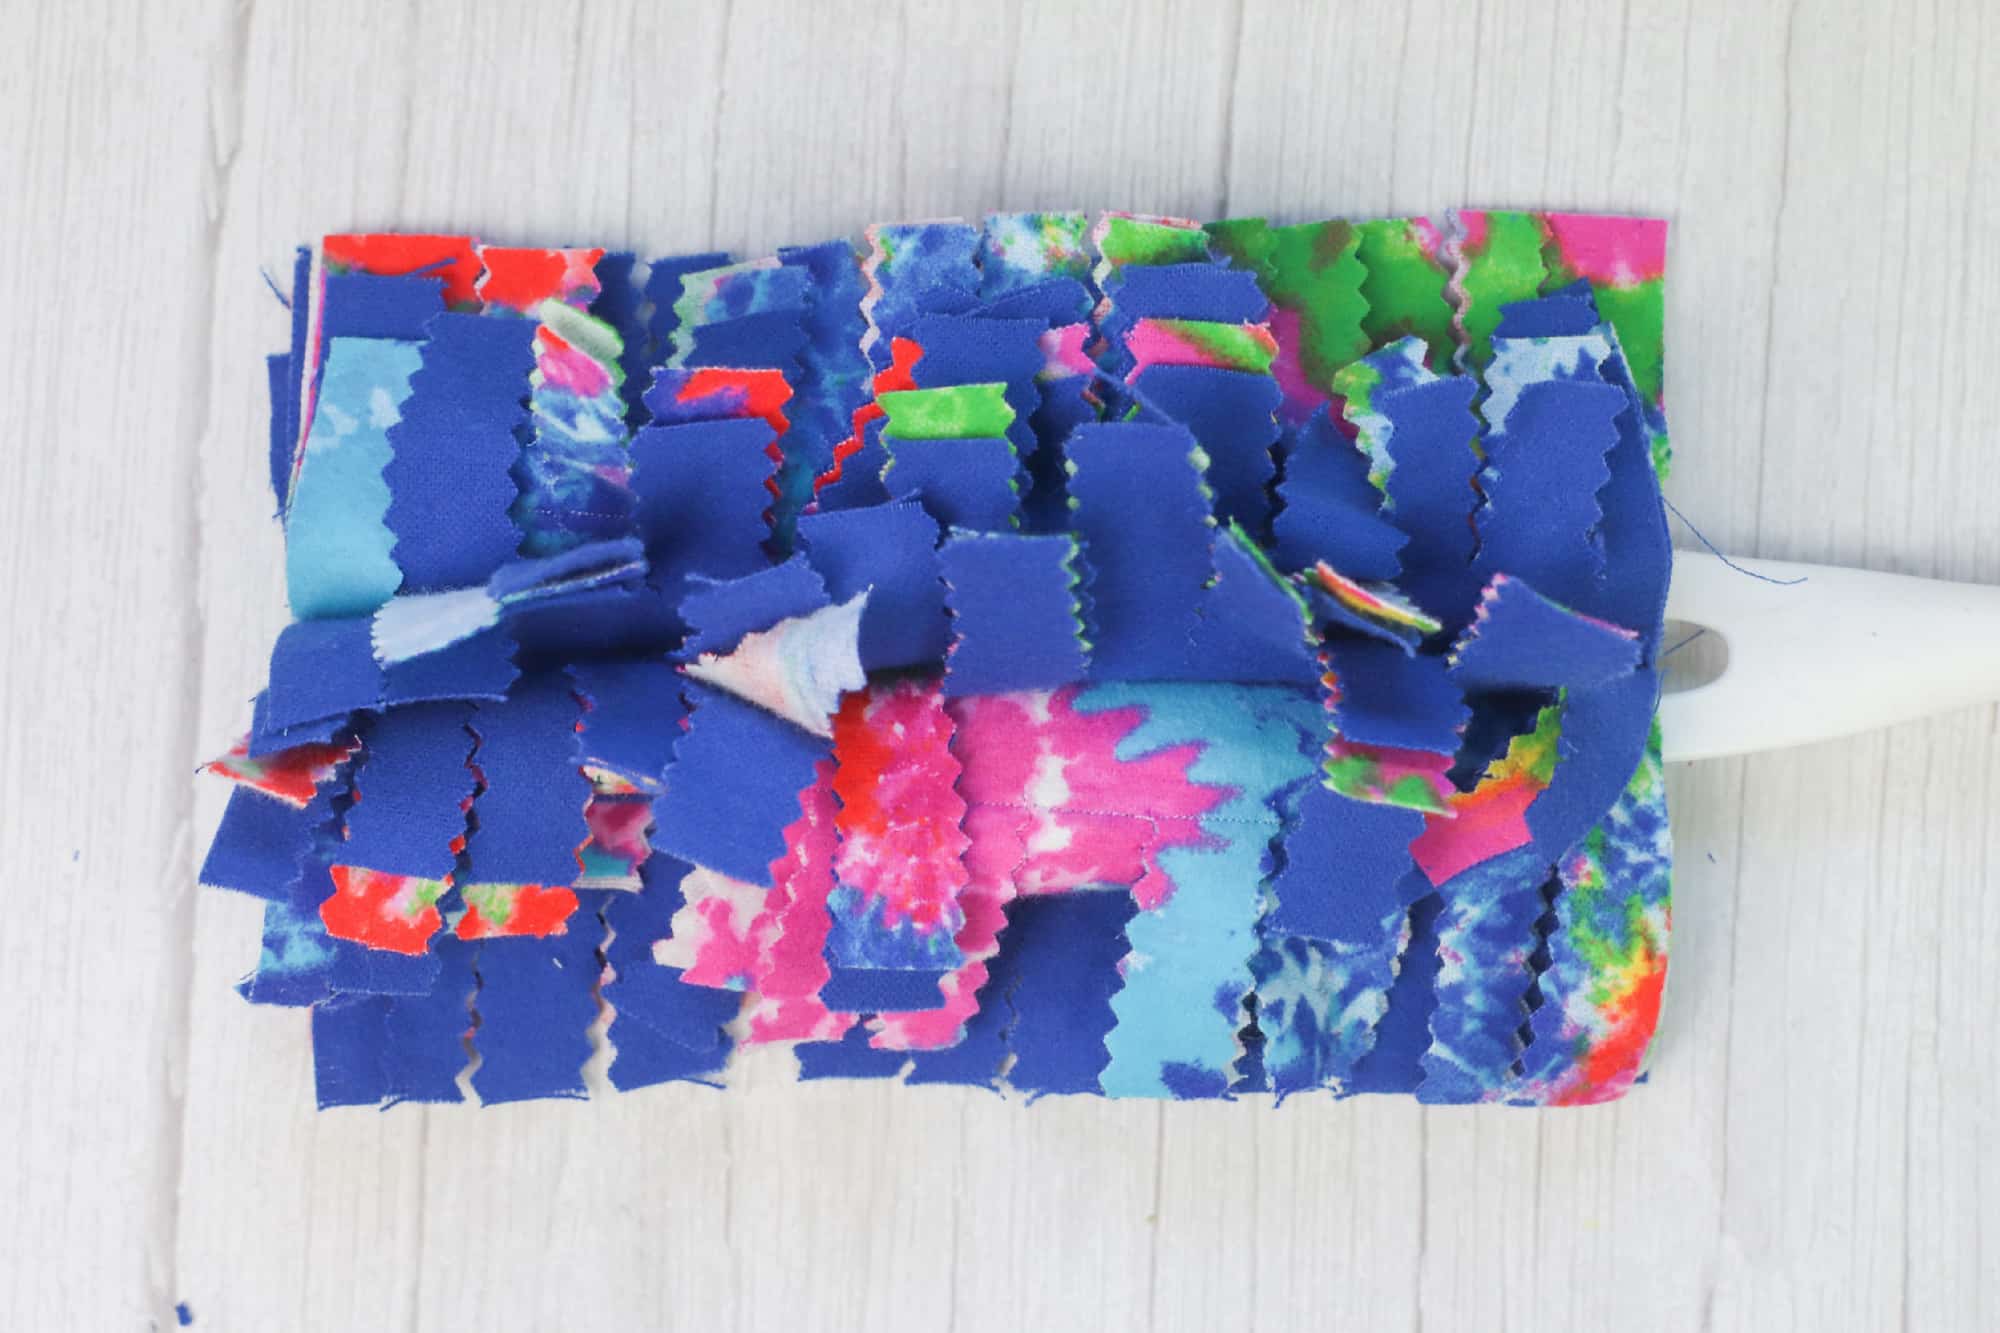
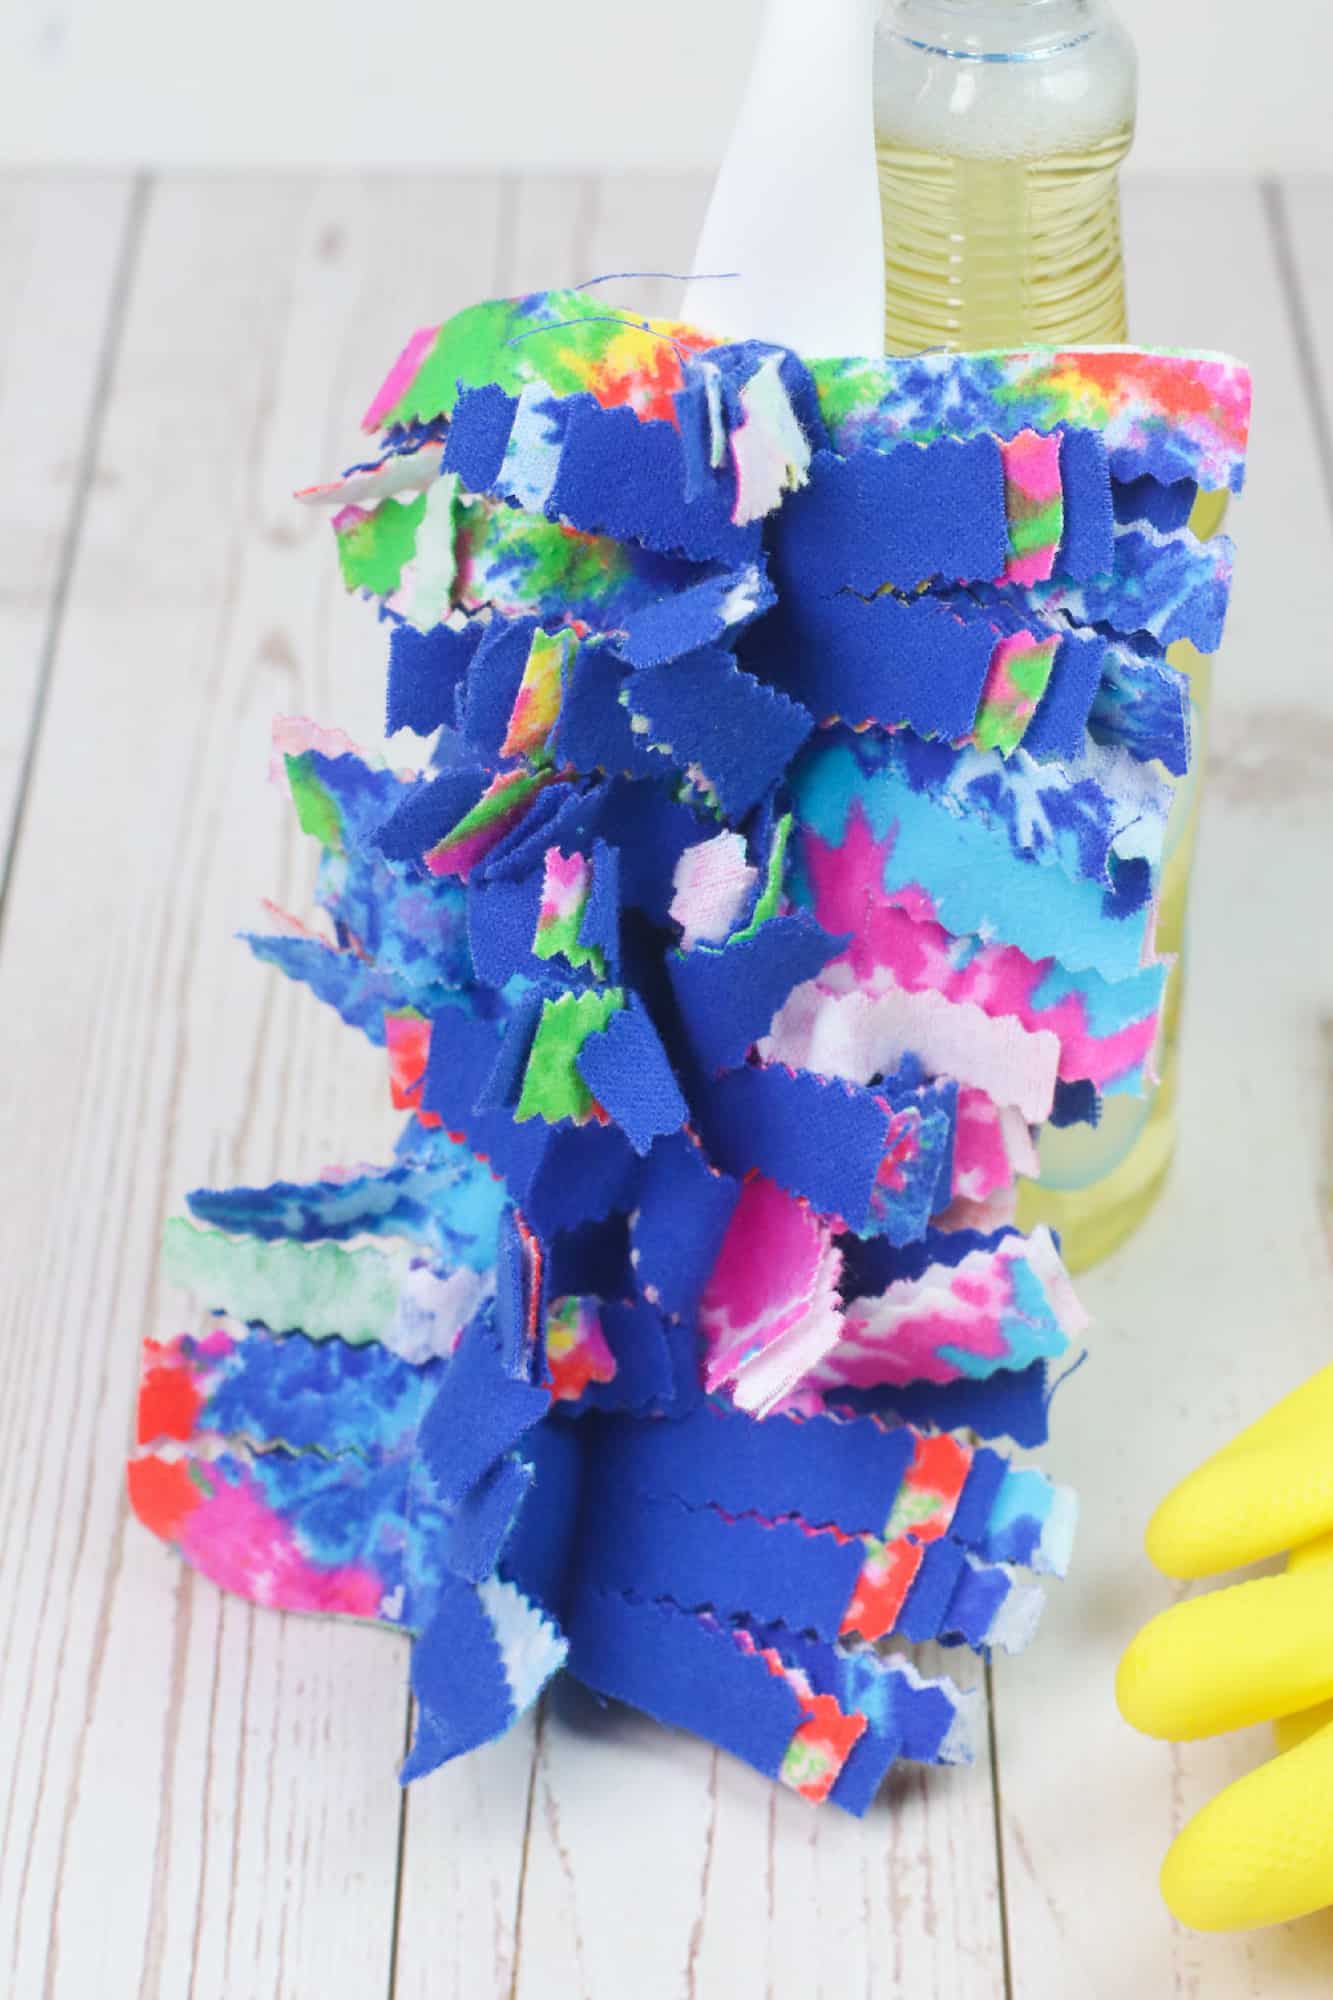
Insert the Swiffer duster handle into the open pockets on the fabric stack.
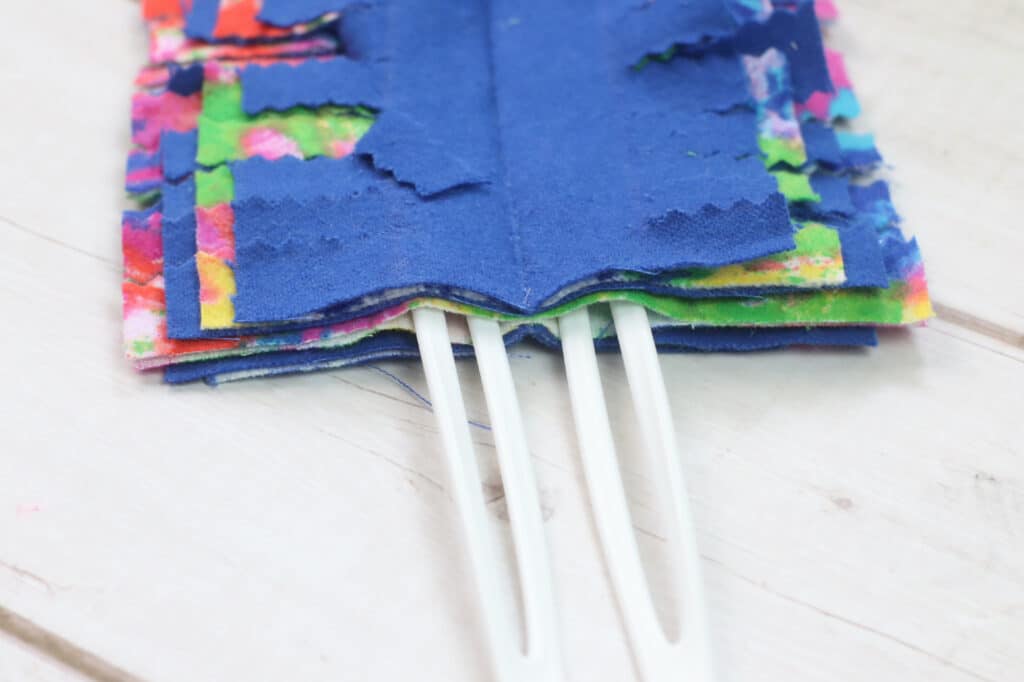
Fluff out the fabric slits before dusting.
Helpful Tips We Learned When Making This Project
- We chose a busy pattern print in many colors to make cleaning fun. (Or at least as fun as it can be!) You may want a lighter solid color if you are interested in seeing how much dust is captured when using it.
- While we used several different colors of fabric, you can use just one fabric print. Regardless of how many different types of fabric you choose, you will need a total of about ¼ yard to make this project.
- Pinking shears are used not only to make the duster look fun, but also to prevent the strips from fraying when being washed.
Be sure to Pin This project to save for later!
Can This Reusable Swiffer Duster Be Washed?
Yes, when your cloth gets dirty you can wash it with your regular laundry.
The duster can be put in the dryer, or you can allow to air dry.
Helpful Tip: To keep your fabric from fraying when you wash it, cut on the bias or on a 45-degree angle to the selvage edge. When using a cutting mat, you will already have bias lines marked for you to make this easier to follow!
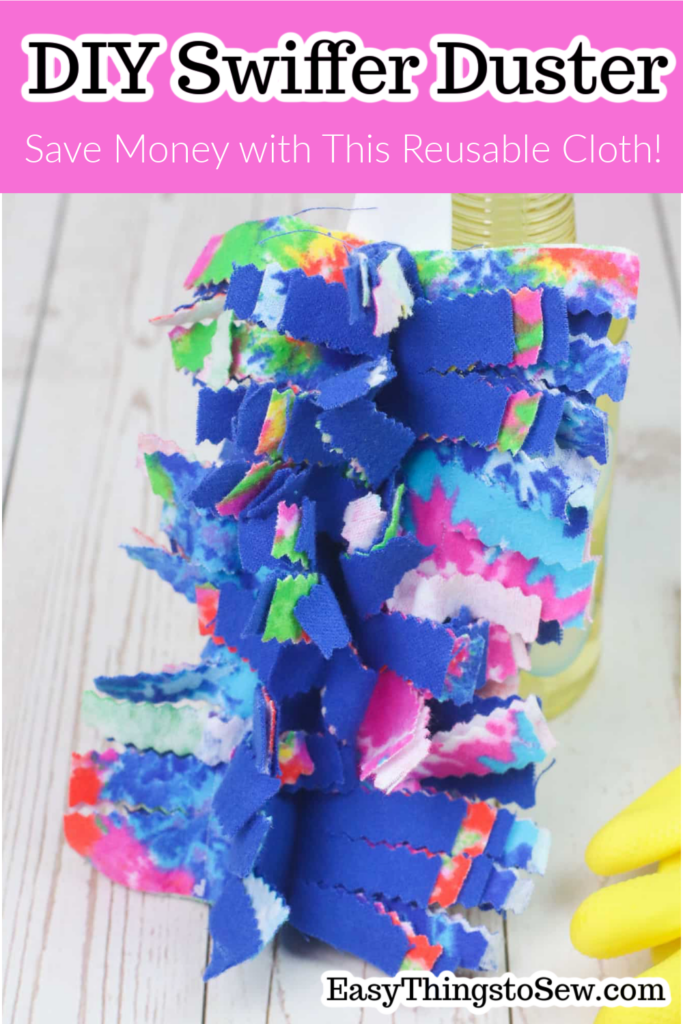
How Much Money You Can Save Using a Reusable Duster
A reusable duster can save you a lot of money when cleaning your home!
Our duster cost about $3 to make.
Only ¼ yard of fabric was used, and we bought the fabric, which is originally $7.99 a yard, on sale at JoAnns.
If you have fabric in your craft stash already, or you repurpose a flannel piece of clothing for fabric, this project will cost almost nothing to make!
Compare this to the cost of Swiffer duster refills at the store. On average, you will pay $0.80-$1.30 per refill.
After reusing this duster 3-4 times, you will start saving money while cleaning.
No time to make this reusable dusting cloth now? Save it for later by Pinning It!
See more of our zero-waste sewing projects: