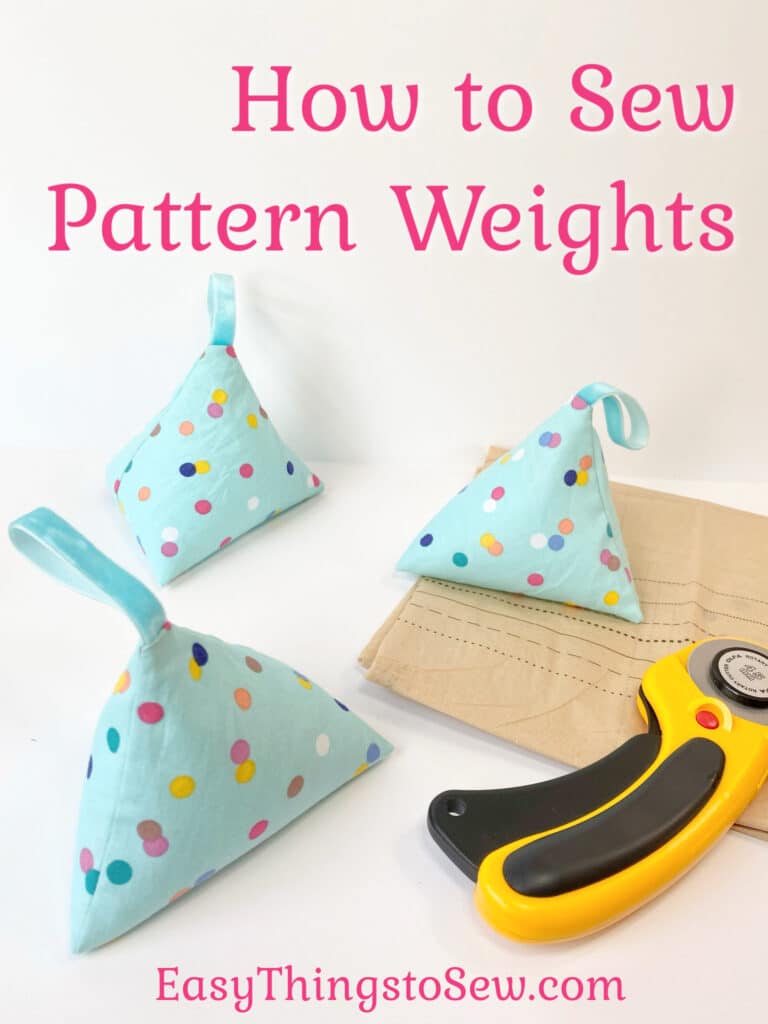
DIY Pattern Weights for Sewing
Trying to keep your sewing pattern from moving while cutting out the fabric can be such a source of stress when sewing.
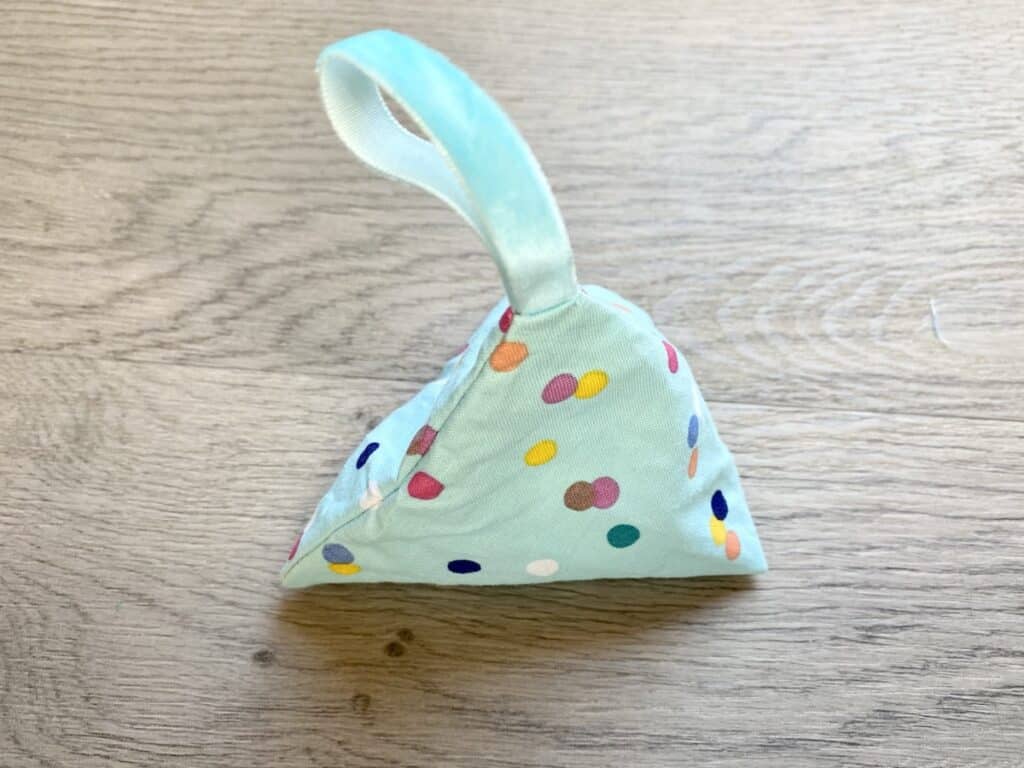
These easy DIY pattern weights make it much easier to cut out patterns. The sewing pattern weights hold down the flimsy patterns so that they don’t move. Then you can pin the patterns and cut the fabric out more easily.
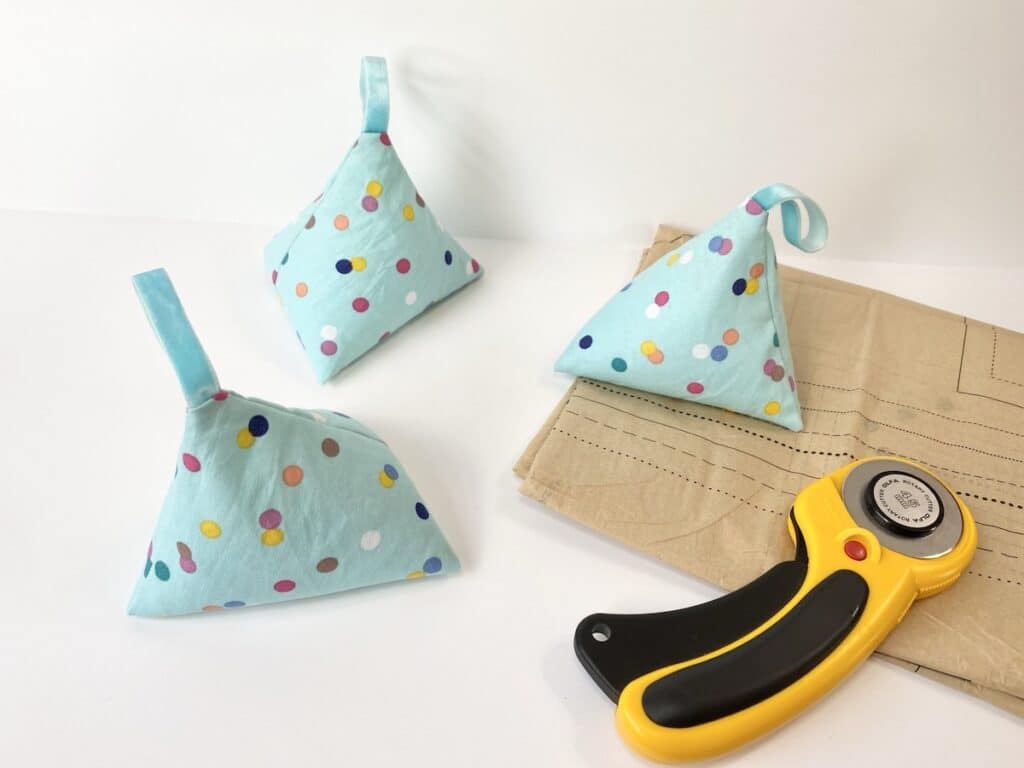
We think these pattern weights would make fun handmade balloon weights, too! They are so cute and could be made with fabric that matches your party!
You can fill these weights with rice or sand instead of weighted stuffing beads if you would like.
Be sure to make several of these weights since you usually need to weigh down a pattern at the corners. Which means you need at least 2-4 weights for larger pattern pieces.
How to Sew Pattern Weights
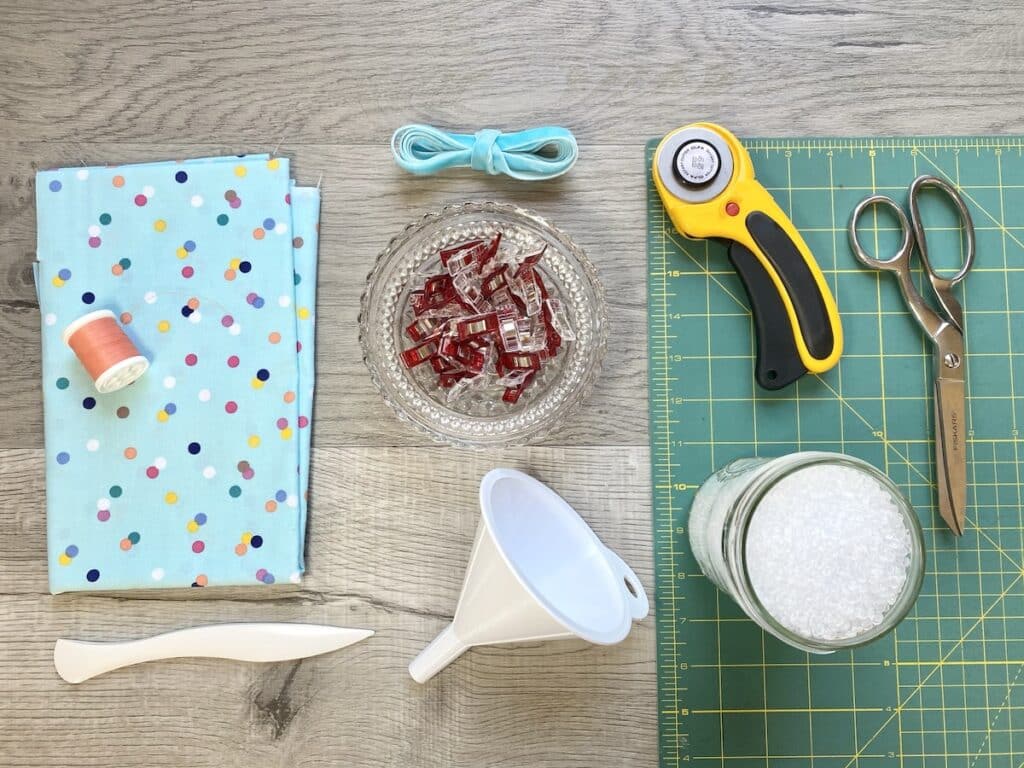
Supplies
- Fabric (Two 5 X 5″ pieces for each pattern weight)
- Coordinating thread
- Ribbon (A 5″ piece for each pattern weight)
- Poly-Pellets Weighted Stuffing Beads
- Small funnel
- Rotary cutter and Cutting Mat (or scissors)
- Ruler
- Sewing clips
- Turning tool (I love this flamingo turning tool! It makes me smile when I use it.)
- Hand sewing needle
Instructions
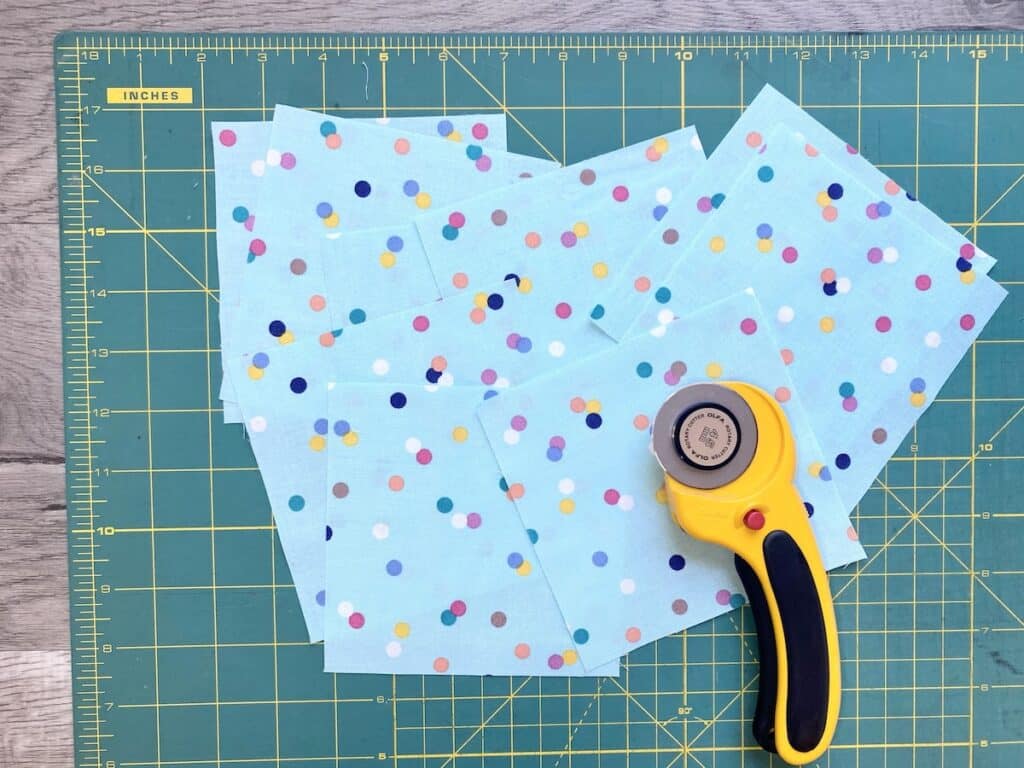
Step 1
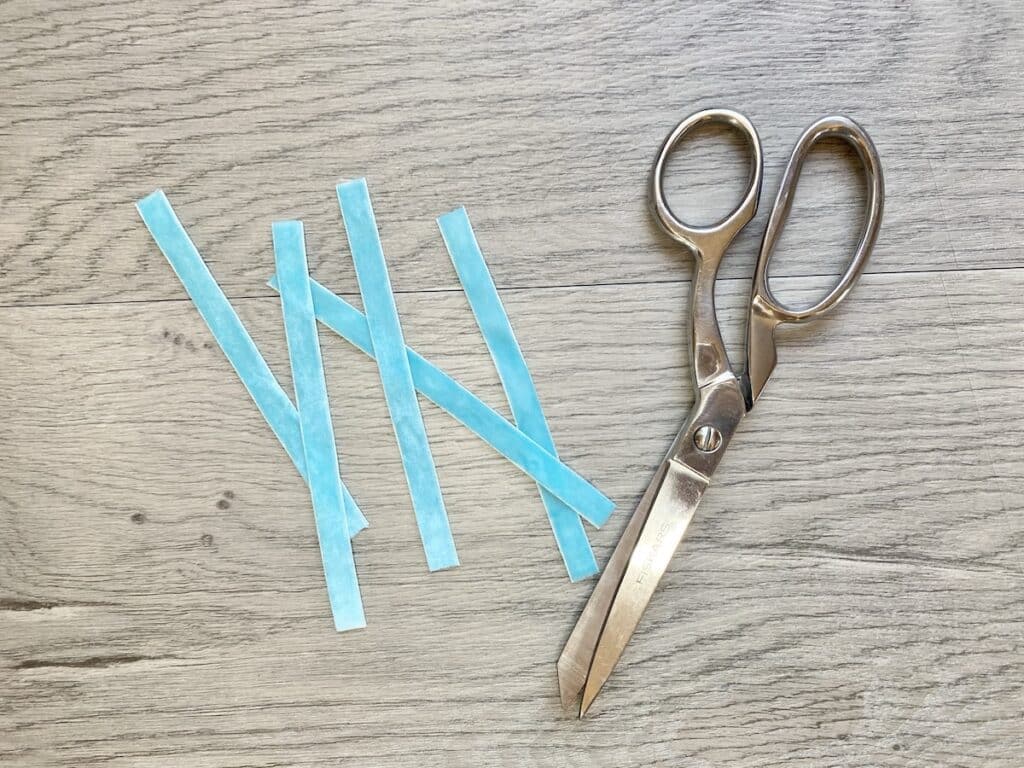
Cut two 5” x 5” squares for each pattern weight you would like to make. Also cut one 5 inch piece of ribbon for each pattern weight.
Step 2
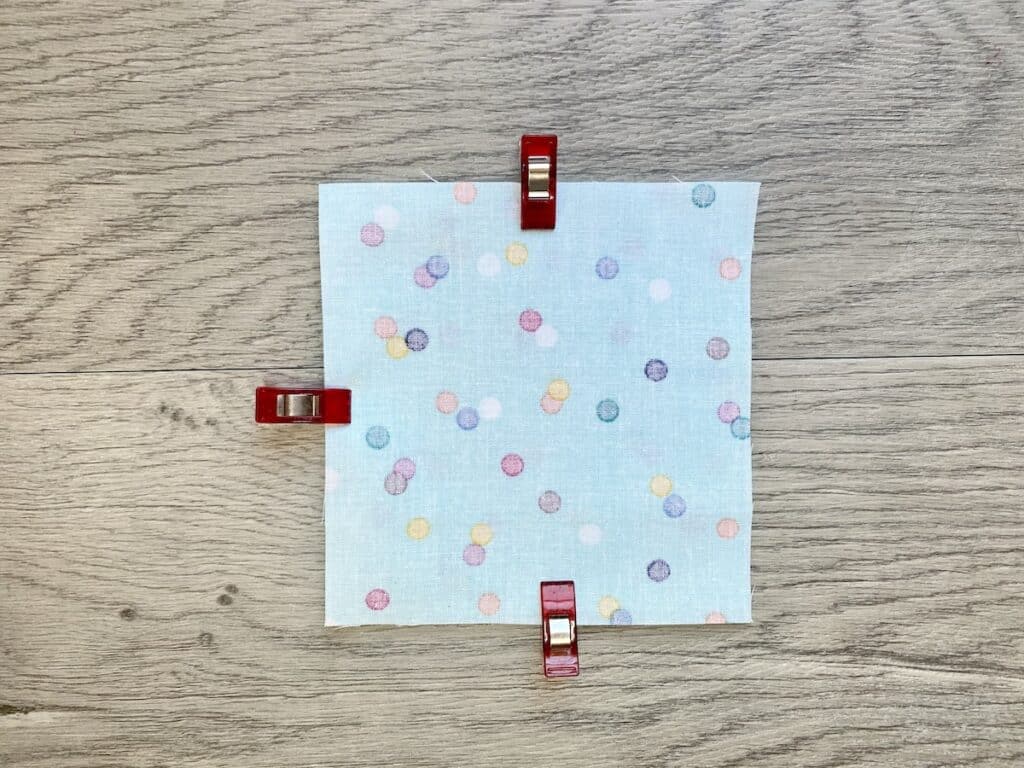
Place two fabric squares on top of each other with the right sides together. Clip them in place to hold together.
Step 3
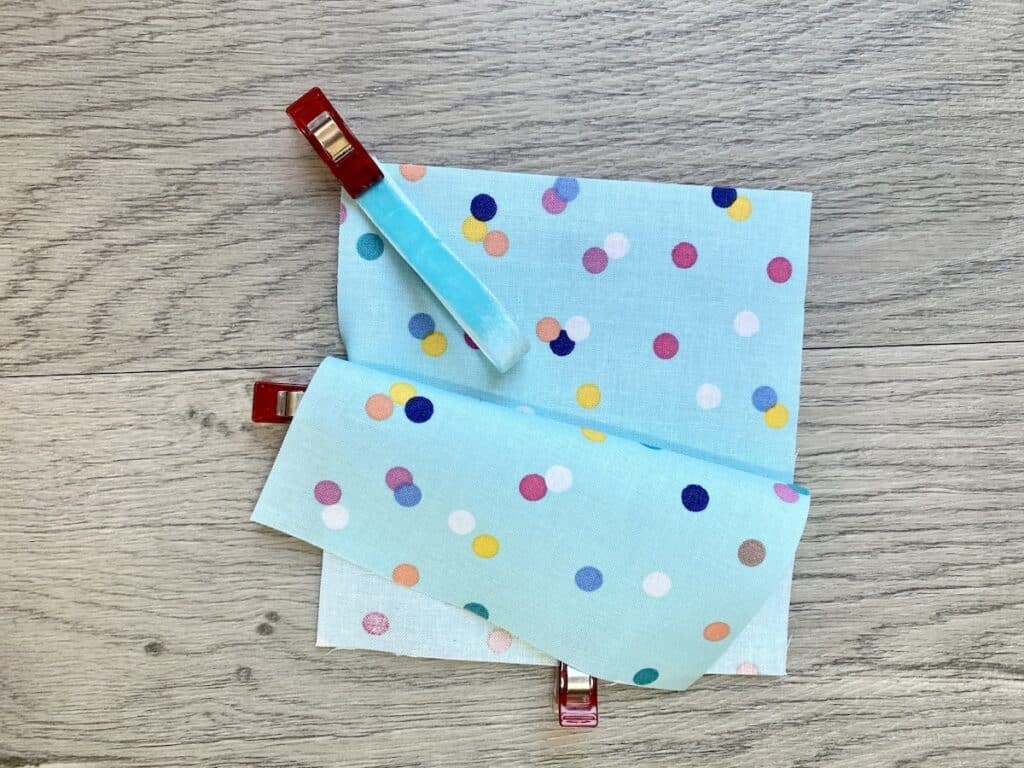
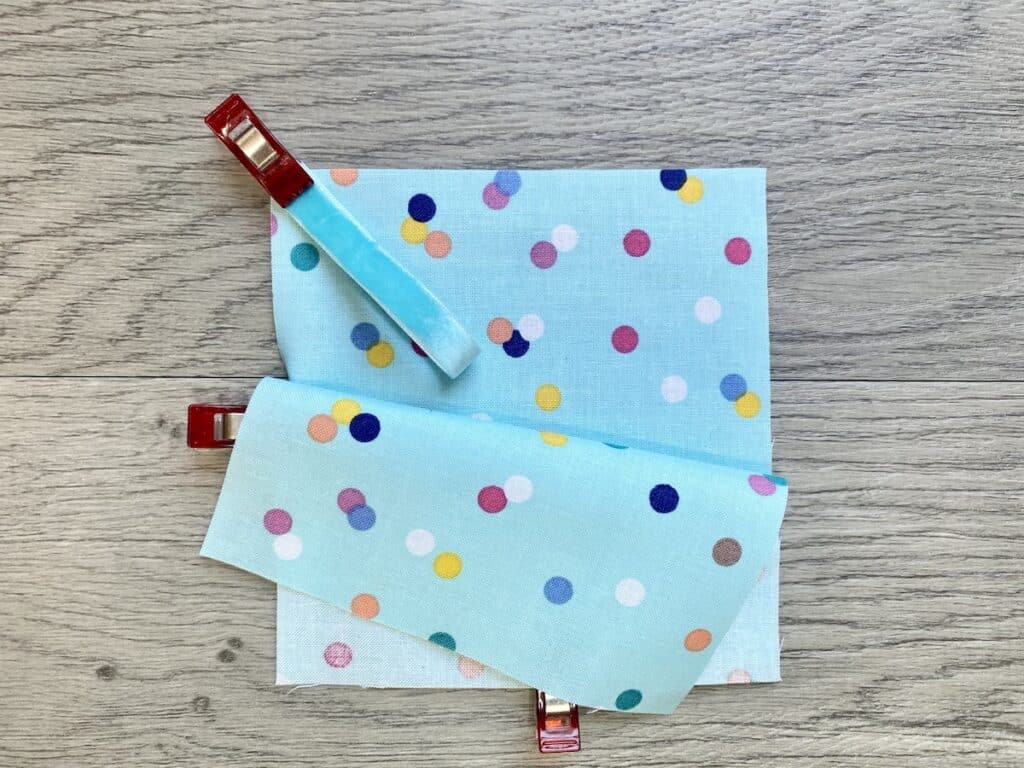
Fold the ribbon into a loop (with the wrong sides together). Place the cut ends of the loop at one corner of the fabric, inside the squares, pointing towards the center. Clip in place to hold.
Step 4
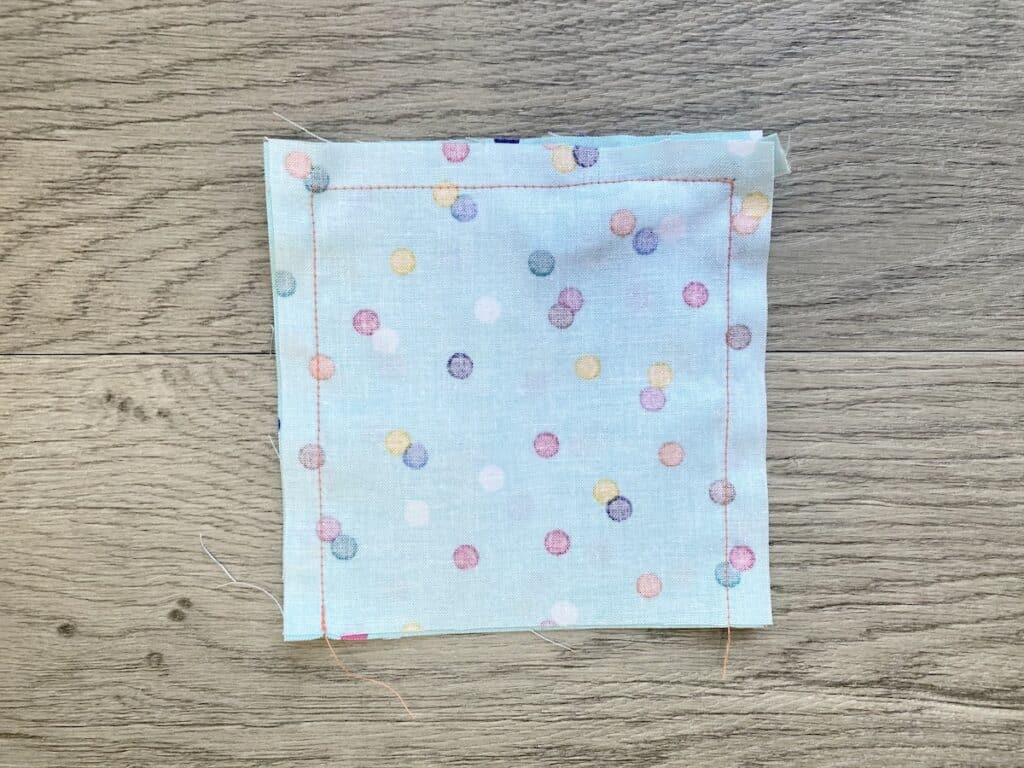
Sew up one side of a square, across the top with the ribbon, and down the other side with a ½ inch seam allowance.
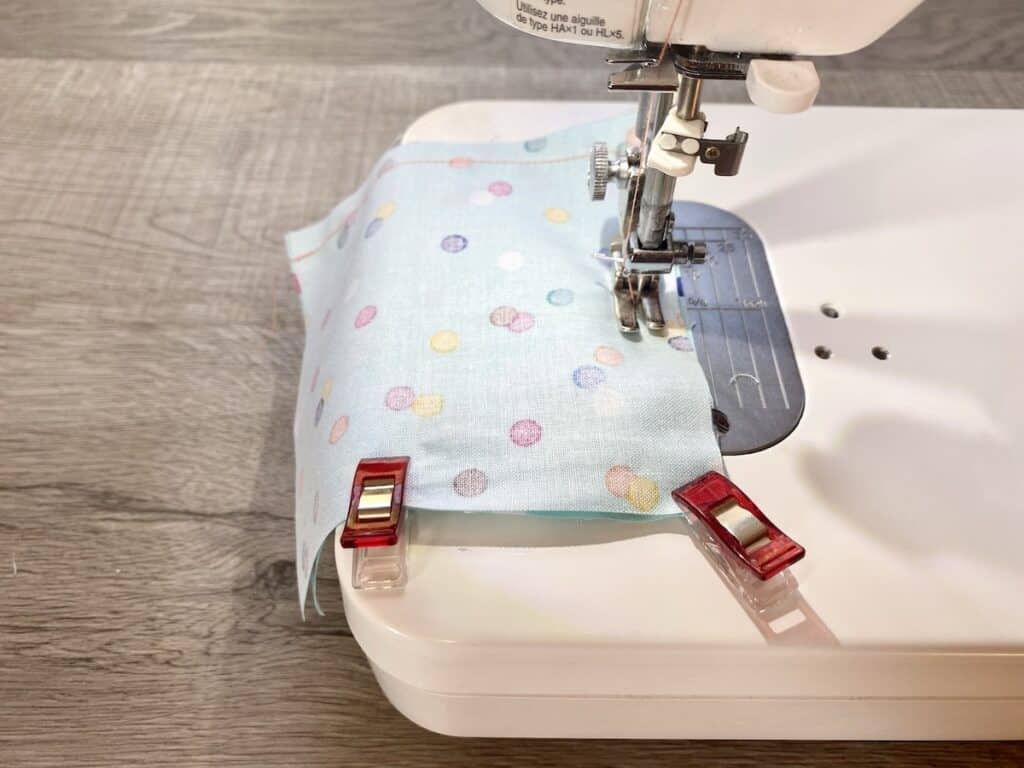
Keep the other side open.
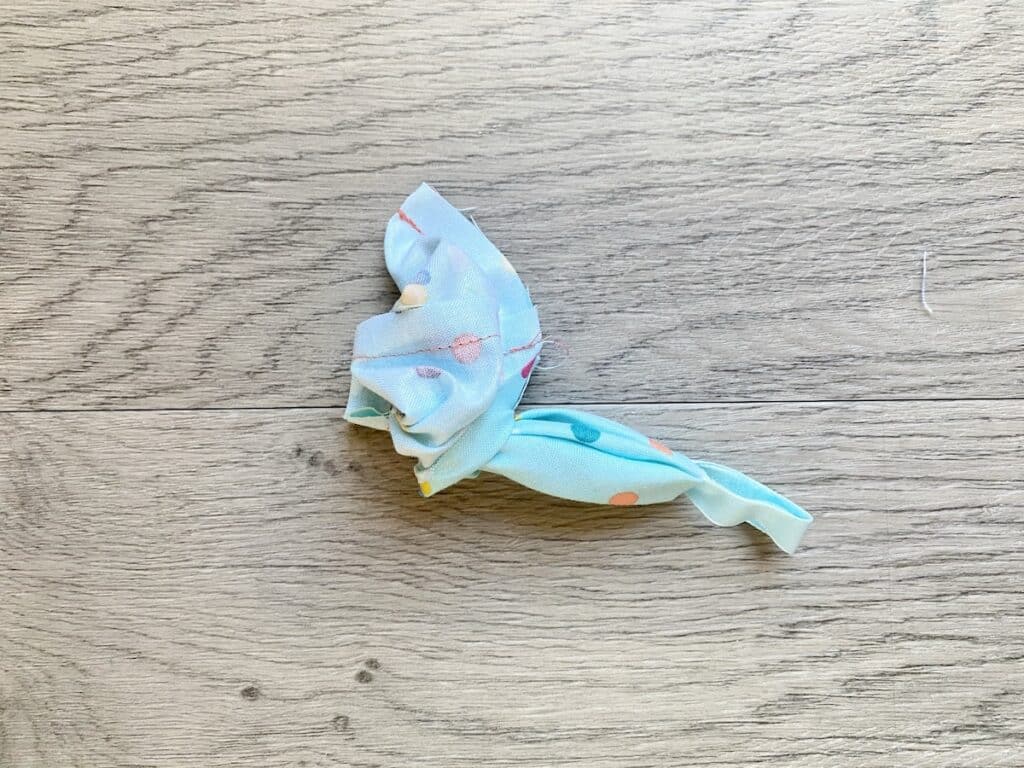
Step 5
Clip the top two corners diagonally with scissors. Be sure not to cut the stitching. This helps the bag to turn inside out more easily and allows you to get a crisper corner edge.

Step 6
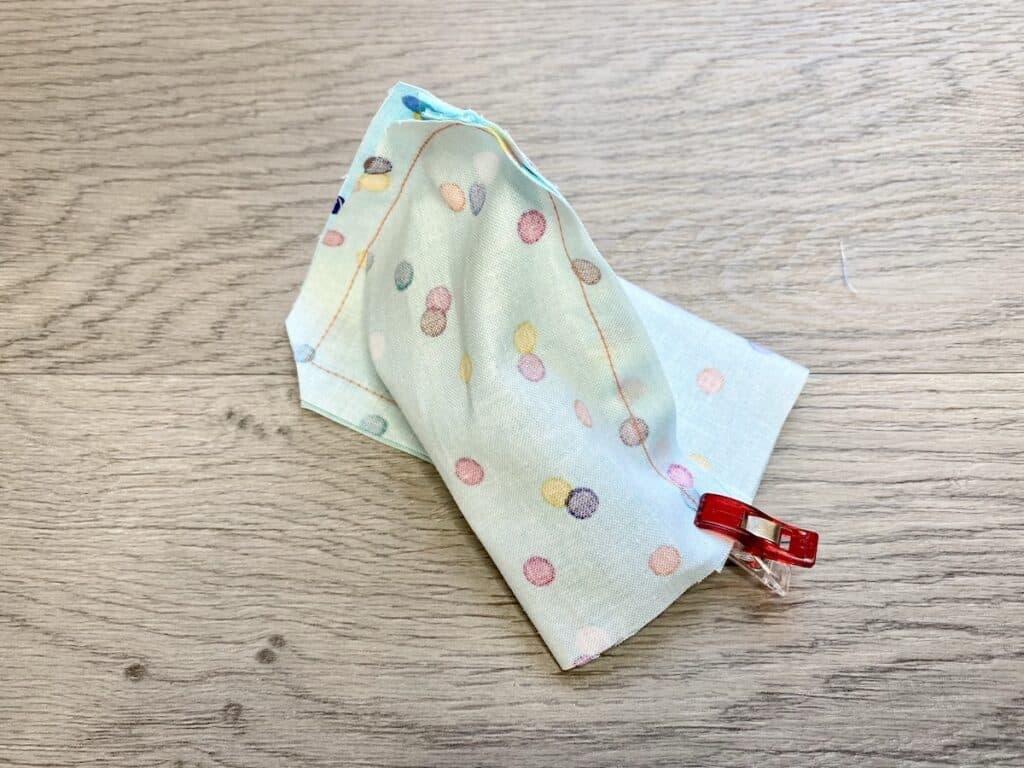
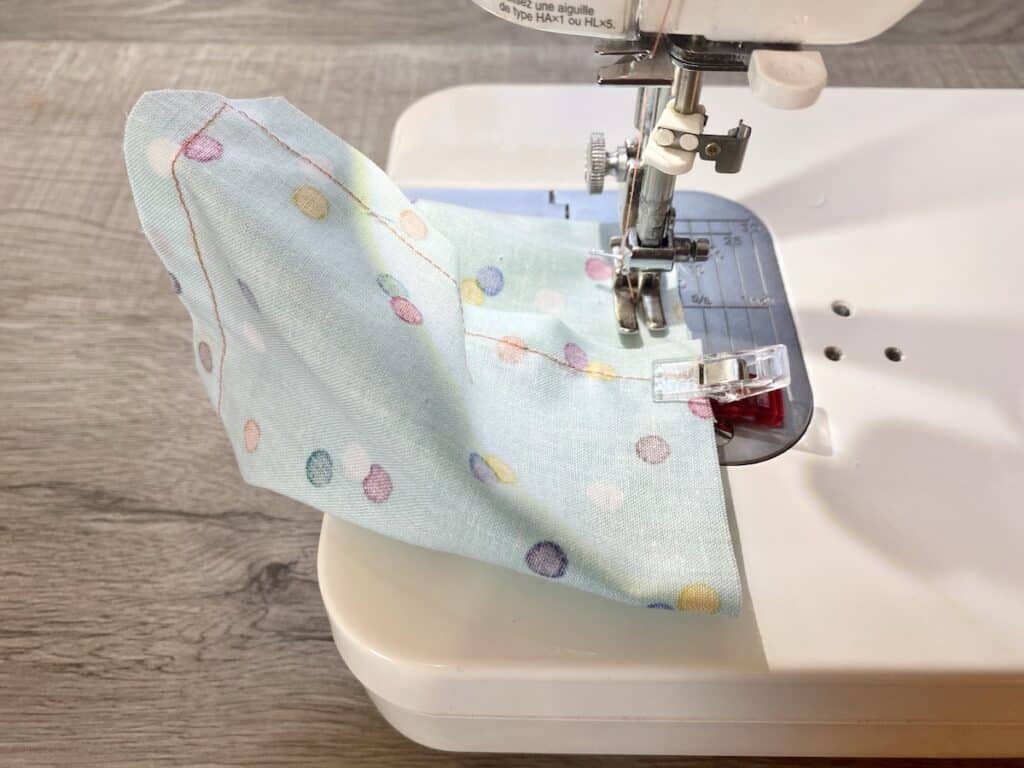
Open the bottom and bring the bottom two corners together so that the seams meet. Clip to hold together.
Step 7
Sew from one edge of the bottom just pass the center seam with a ½ inch seam allowance. Leave room to turn inside out.
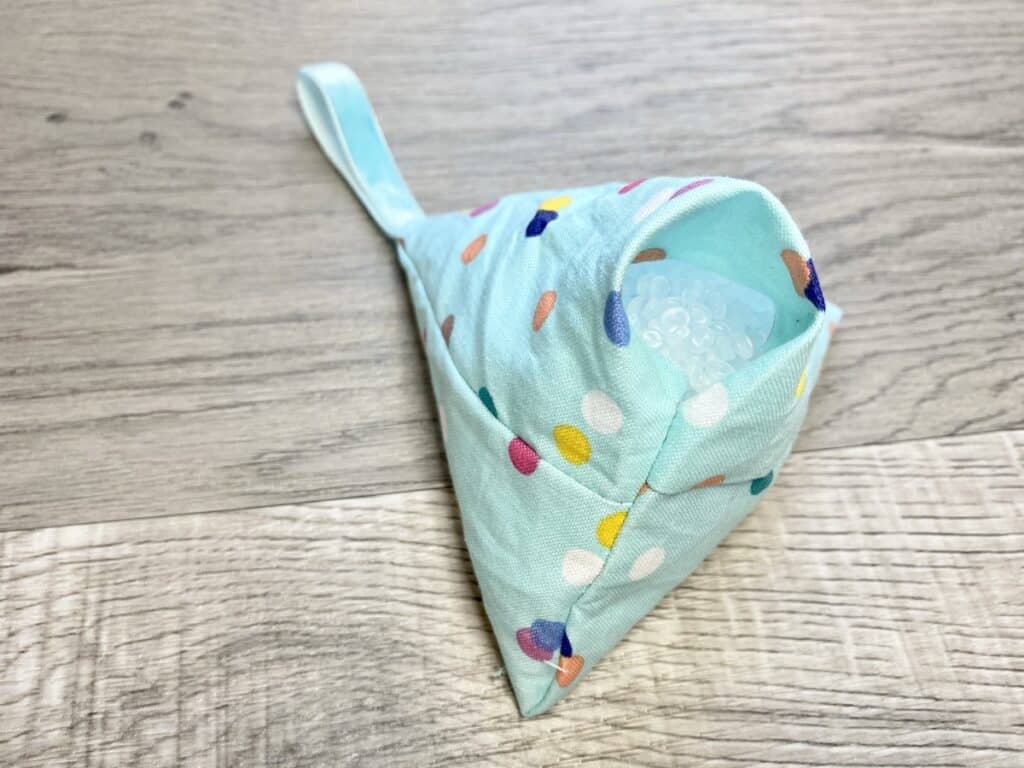
Step 8
Reach through the opening and pull the ribbon to turn the pattern weight right side out.
Use a turning tool or chopstick to gently press out the corners.
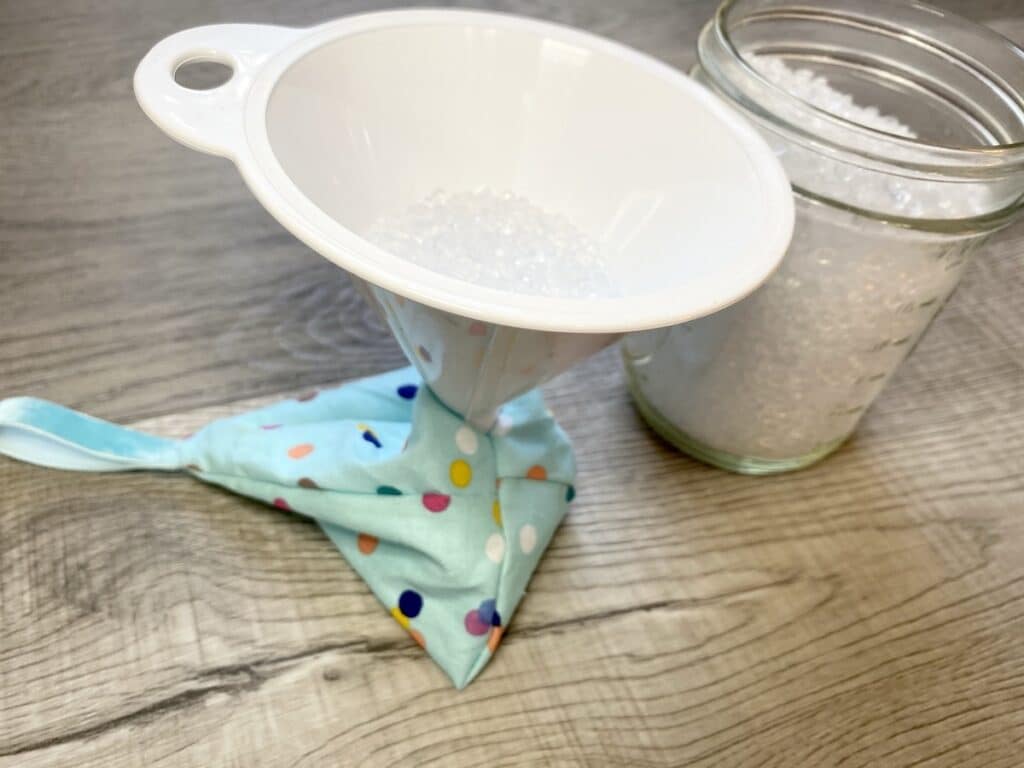
Step 9
Use a small funnel to fill the pattern weight with Poly-Pellets. You could also use sand or rice.
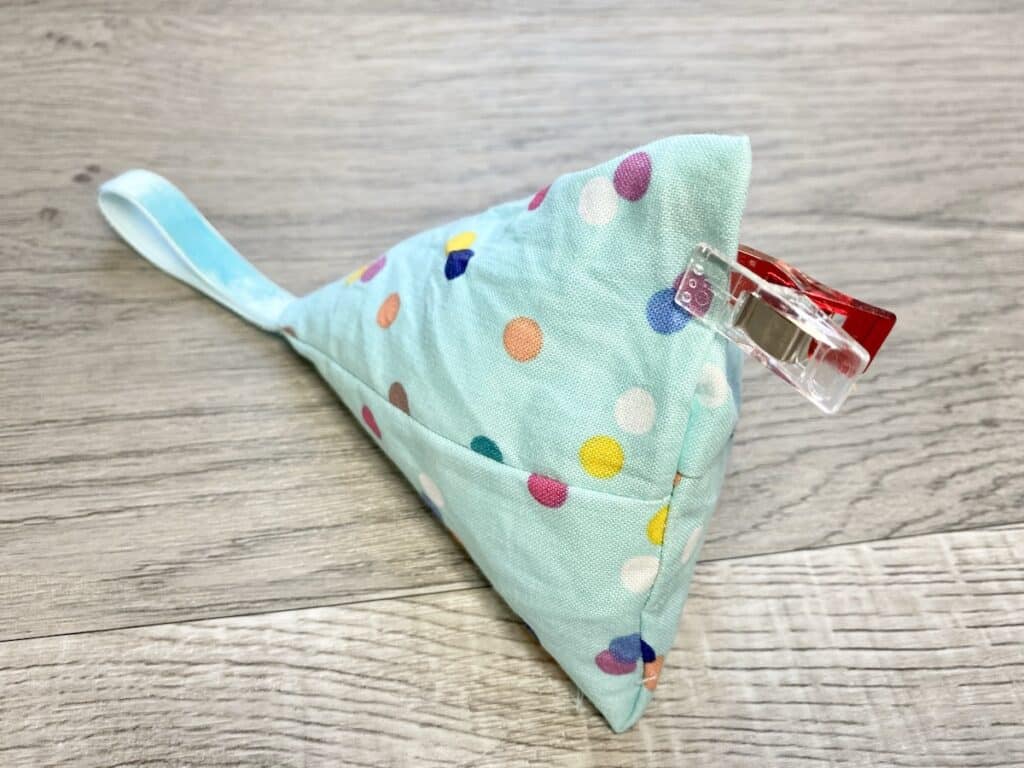
Step 10
Turn the opening under ½ inch. Hand stitch with an invisible stitch (use a ladder stitch if possible) to close.
Be sure to Pin This project to remember for later!
You might also like these easy sewing projects: