Quick and Easy DIY Tag Blanket
If you want an easy handmade gift for a baby shower, a DIY Baby Tag Blanket is the perfect quick sewing project!
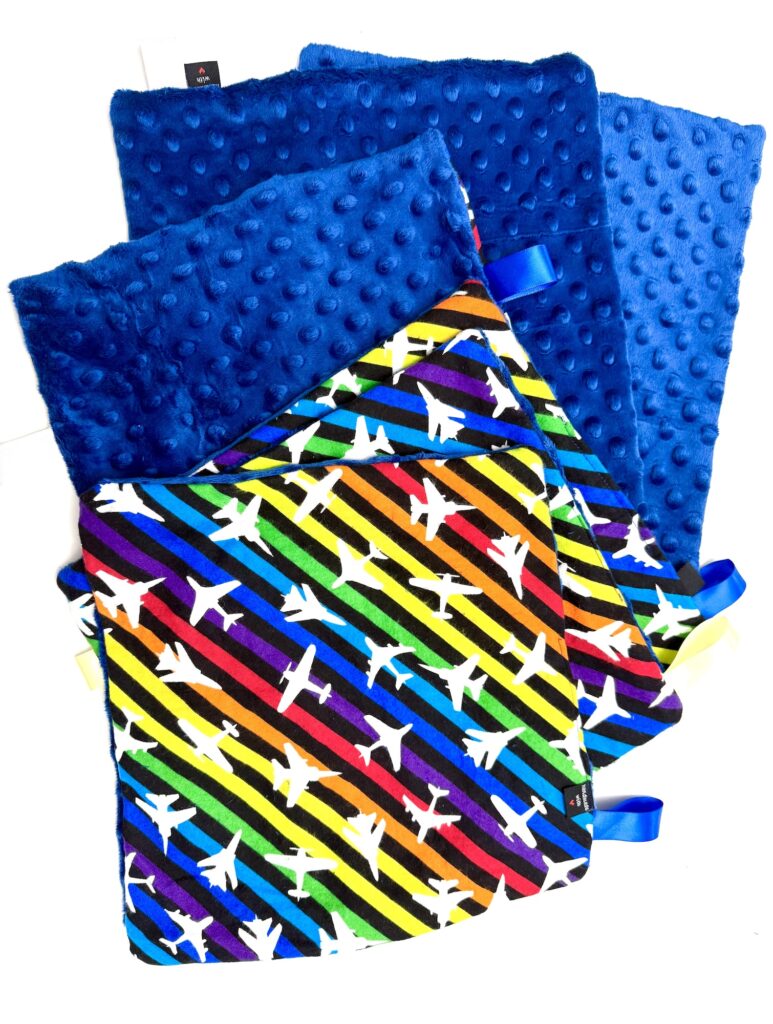
This easy sewing tutorial shows you how to make a tag blanket that is a perfect gift for new moms, infants and toddlers.
Our quick and simple sewing tutorial is the perfect way to use up small amounts of fabric and ribbon scraps to create an adorable handmade baby gift idea. You can pair it with a DIY burp cloth for an extra special gift!
You will want to use a variety of textures and colors to make a baby tag lovey that stimulates the young child’s senses and is comforting when snuggling.
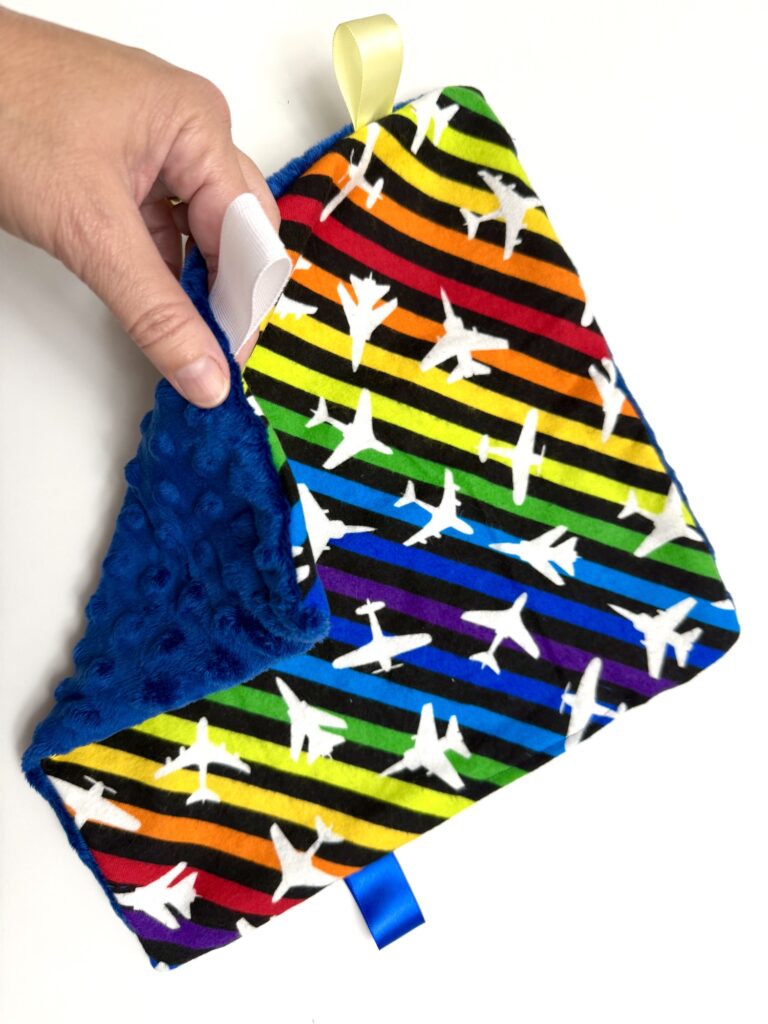
We love using minky fabric and flannel fabric, along with satin ribbons, grosgrain ribbon and rick rack. All of these different textures make a great tag blanket.
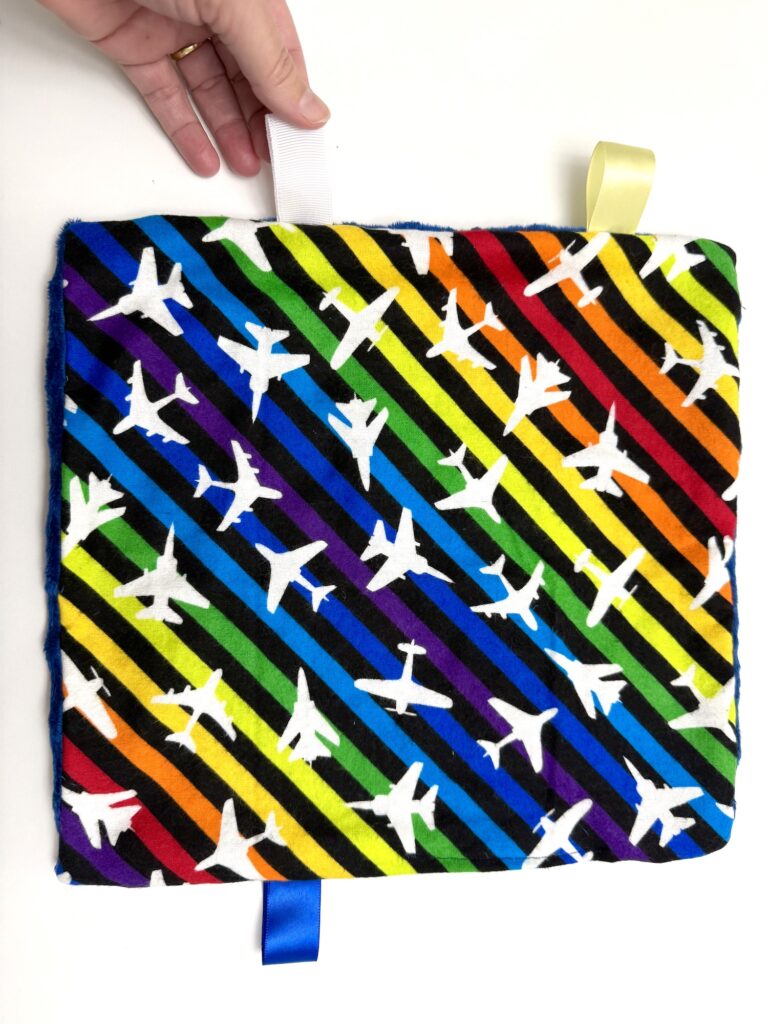
A soft lovey blanket is great for babies, toddlers and small children up to 5 years old, because everyone wants something soft to cuddle. They are a great handmade gift item for Operation Christmas Child shoeboxes for the 2-4 year olds!
Supplies for a DIY Tag Blanket
- Two coordinating fabrics (minky fabric and snuggle flannel are suggested)
- 4″ strips of ribbons with different colors and textures (including satin, grosgrain and rick rack)
- Thread
- Sewing pins
- Square Quilting Template (optional)
- Handmade sewing labels (optional)
How to Make a DIY Tag Blanket
Prewash the fabric before sewing. Iron the flannel blanket, but do not iron the minky fabric.
Cut your two fabric pieces in the same size. I used 12 X 12″ pieces.
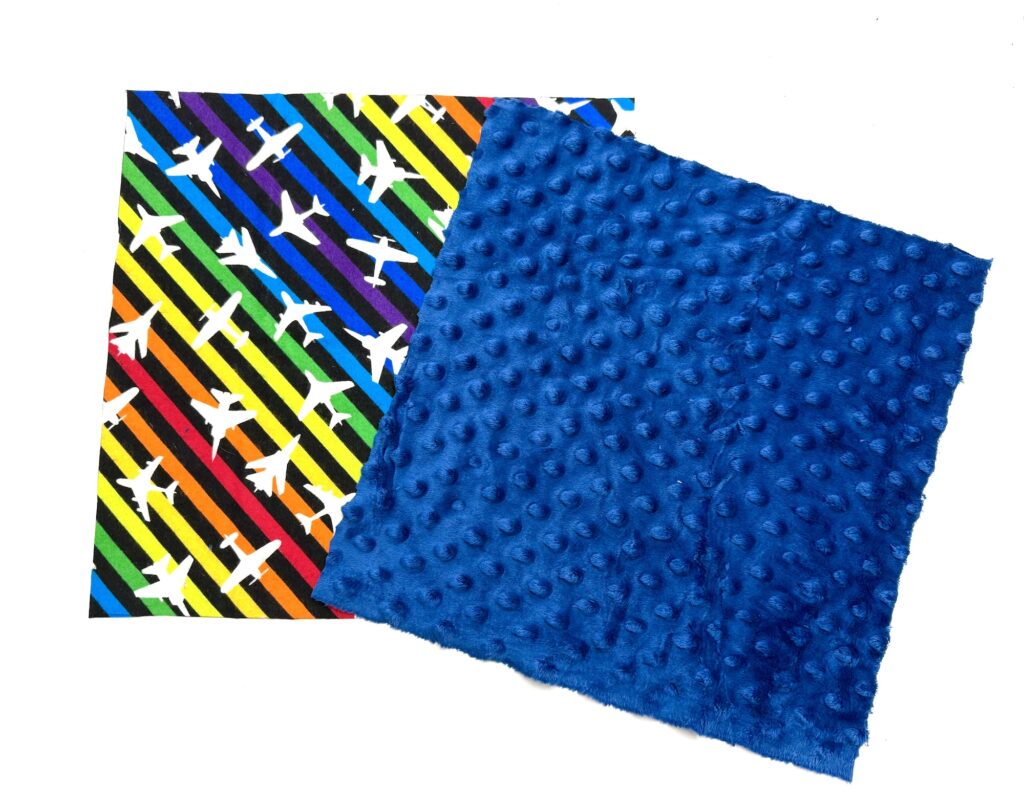
However, you can make a larger blanket with larger fabric squares (such as 15 X 15 inches).
I used a quilting template to cut 12 X 12 inch squares because it’s so much quicker, faster and more accurate than measuring the dimensions.
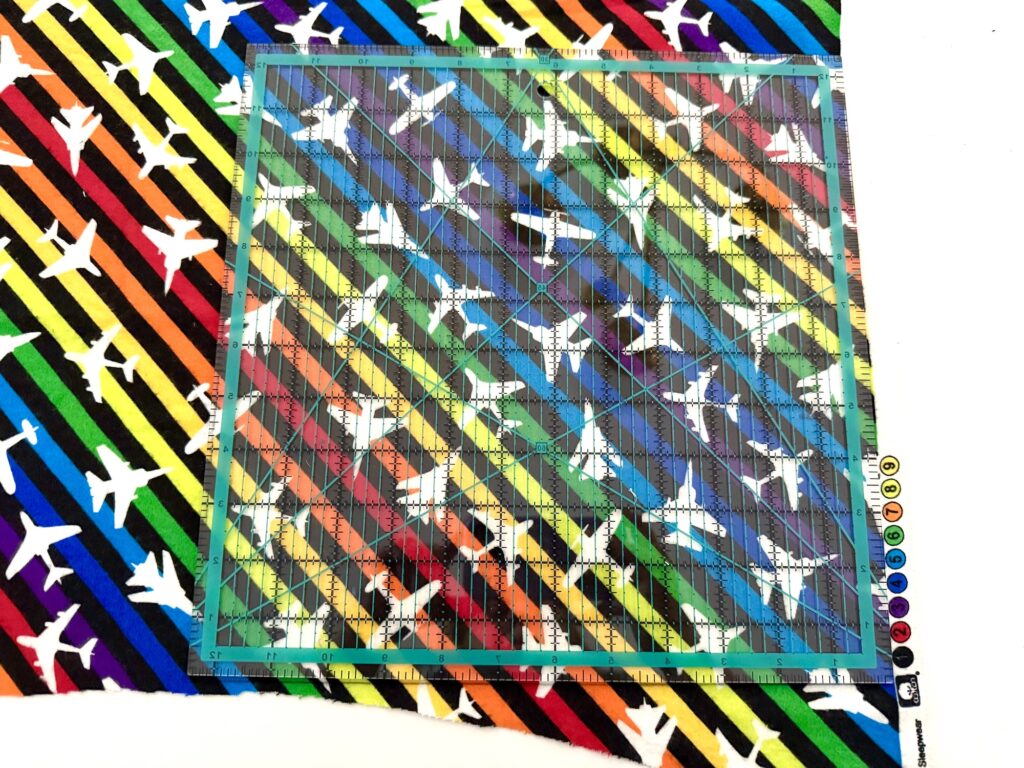
Helpful Tip: I really struggled to keep the fabric pieces pinned together with the edges matching. Minky fabric REALLY slides around and stretches out. After making many of these lovey blankets, I decided to cut the minky fabric square first. Then I cut the flannel just a little bit larger on all the edges, which left a little bit of “wiggle room” to allow for stretching.
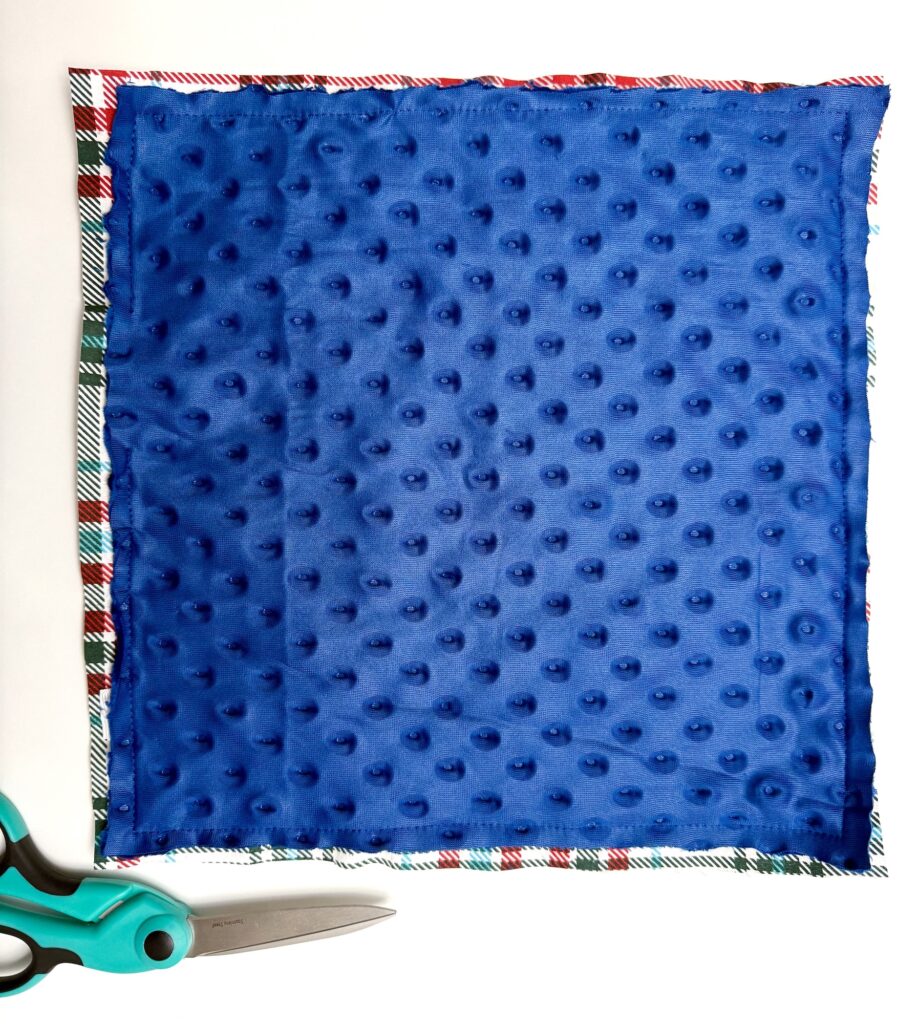
Lay the flannel fabric right side up. Place the ribbon pieces around the square in the order that you would like. You can use as many or as few ribbons as you want, and they don’t have to be spaced evenly. Some sides can have ribbon loops and other sides could have none.
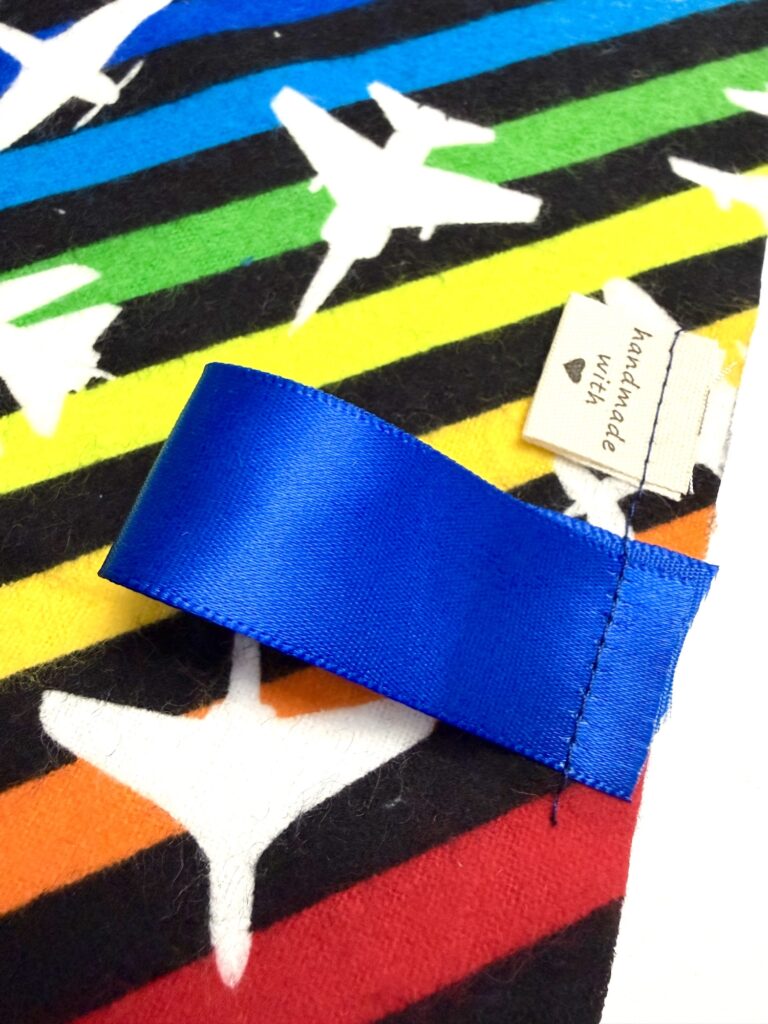
Now fold the ribbon in half and match the cut edges of the ribbon with the cut edges of the fabric. The ribbon loop should be on top of the fabric pointing towards the middle of the fabric square.
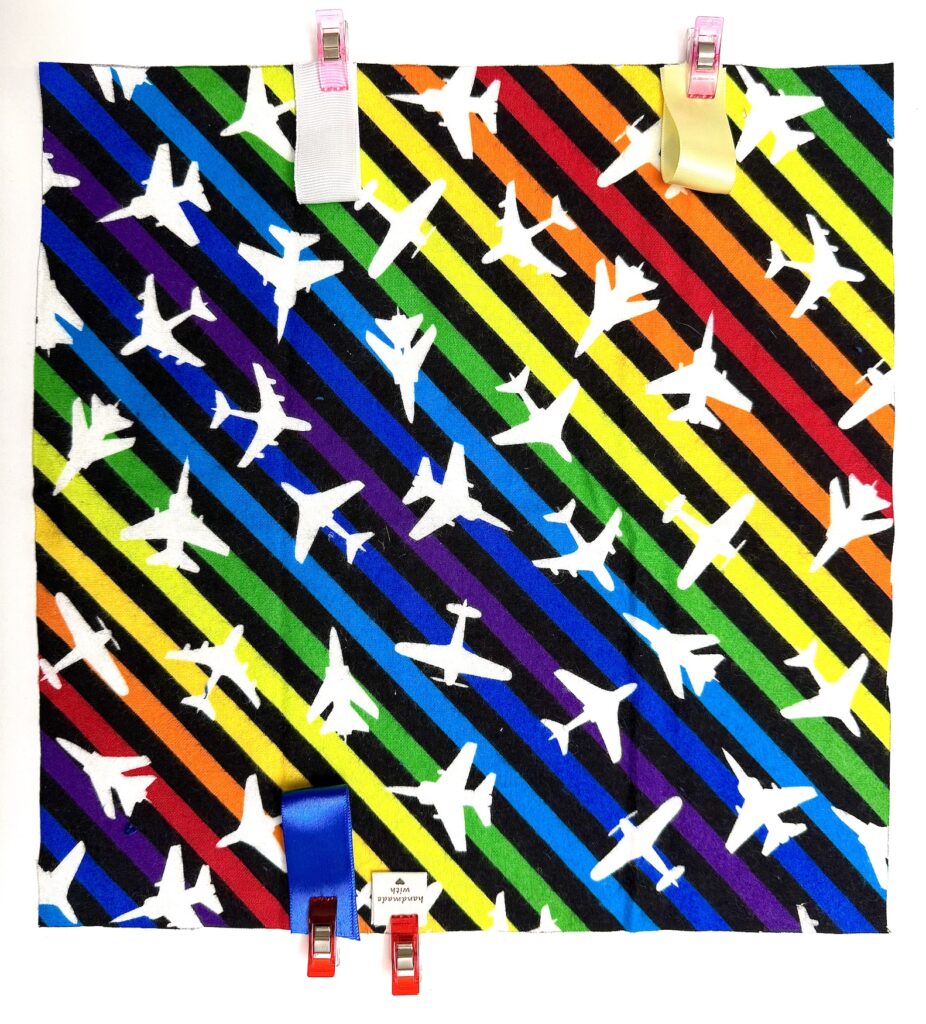
Pin in place or baste the ribbons to the flannel using a ¼″ seam allowance.
Place the minky fabric on top of the flannel fabric, right sides together.
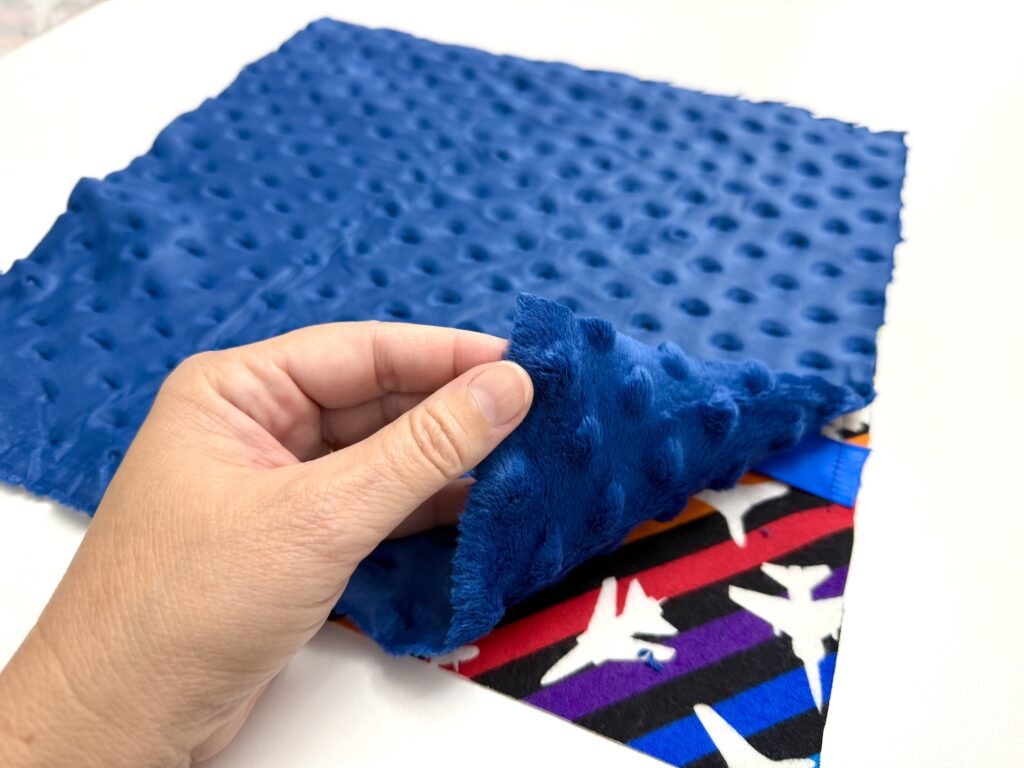
Pin all the way around the four edges. When I say pin, I mean use ALL the pins you have, LOL! Minky fabric slides around so much that you will save a lot of stress if you just pin everything really well before stitching. I prefer using sewing pins rather than clips when using the minky fabric. I also pinned about an inch in from the edge, rather than on the edges, so that I could leave the fabric pinned while stitching and not need to stop and start to remove the pins.
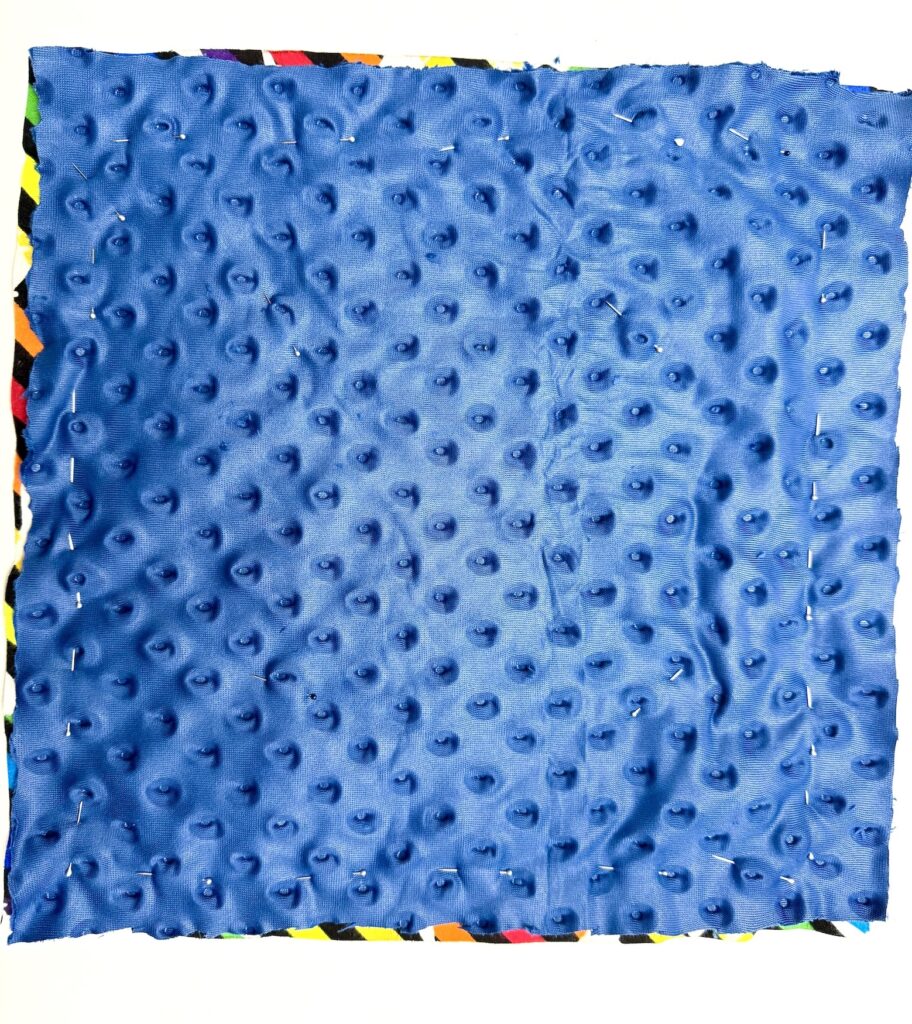
Sew around the four sides using a ½″ seam allowance, leaving a 4″ gap on one side (preferably in a place without ribbons) unsewn, and being sure to backstitch at the beginning and end.
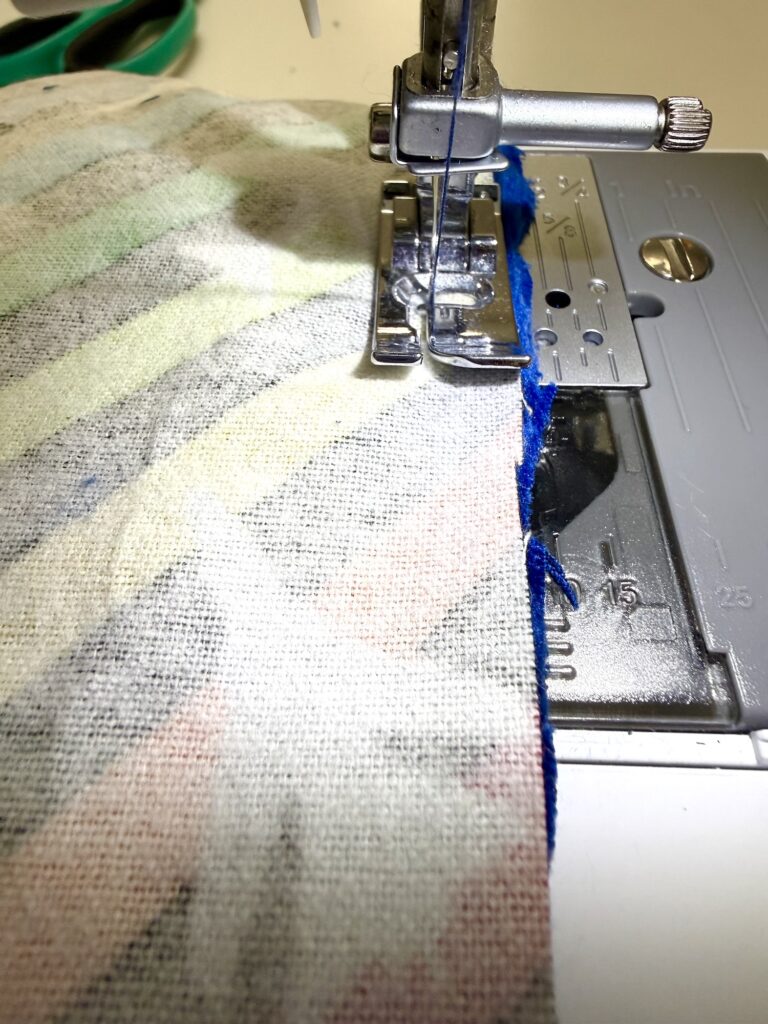
Optional: You could backstitch over the ribbon loops, if desired, to really secure them to the fabric.
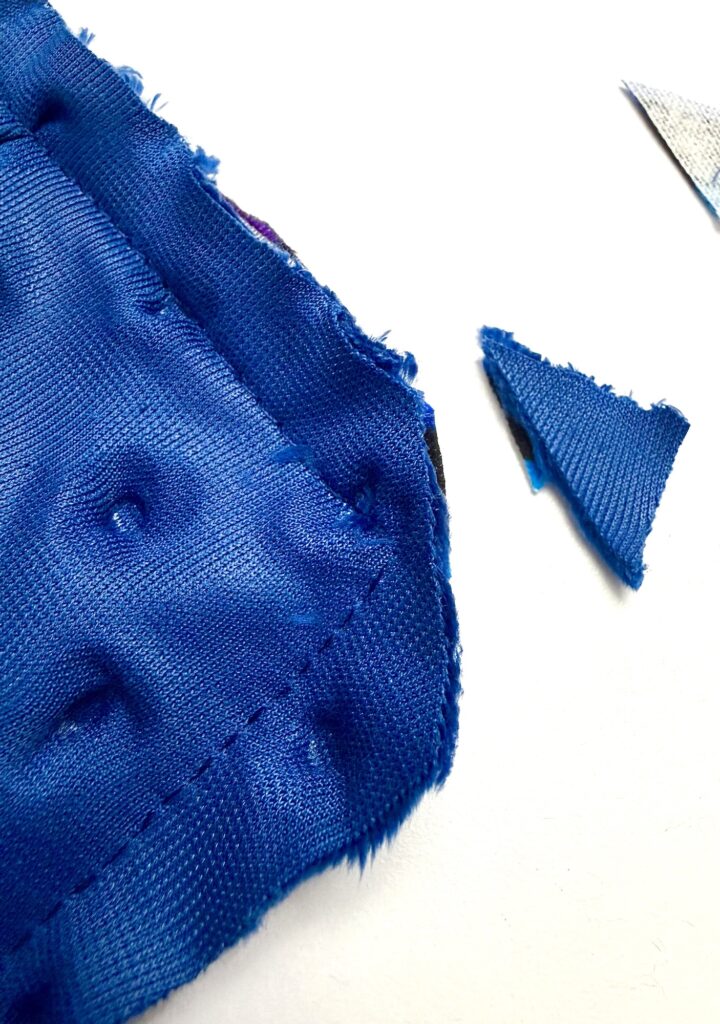
Clip the corners, being careful not to cut through the stitches! You can also trim off extra seam allowance, if needed, but don’t cut off the seam allowance at the open gap.
Turn the blanket inside out through the open gap, pushing out the corners with your finger or a turning tool.
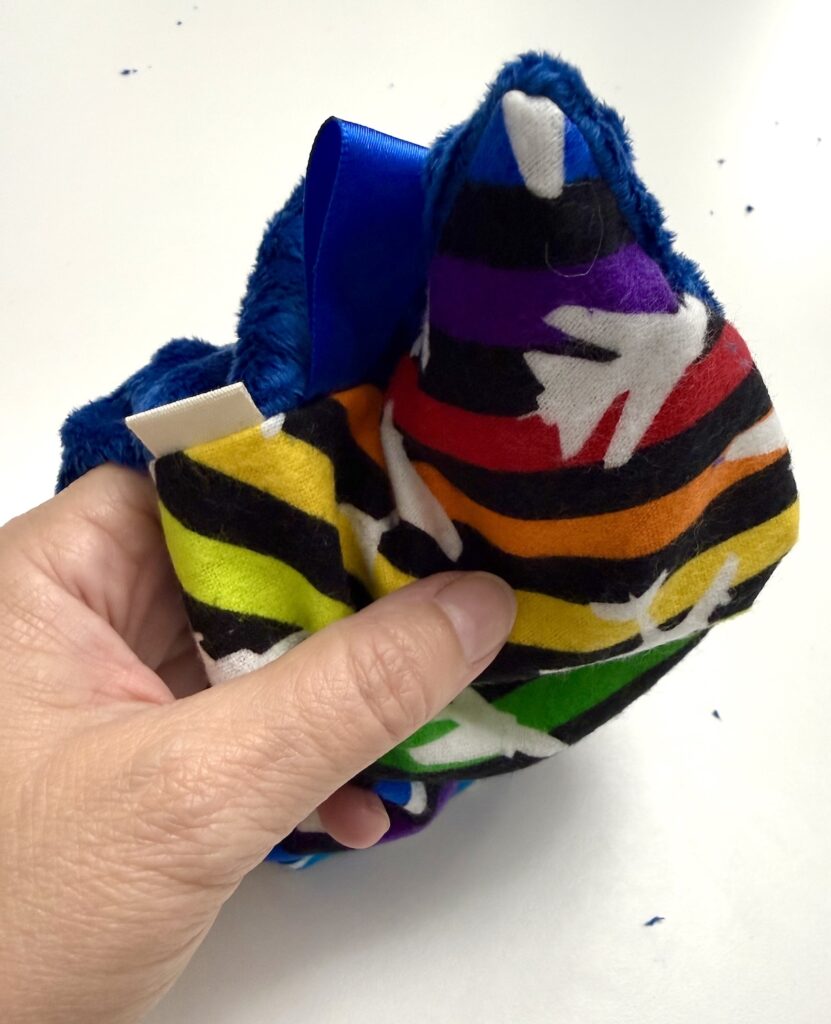
Turn under the edges of the open gap and pin together. I inserted a personalized sewing label into the seam allowance.
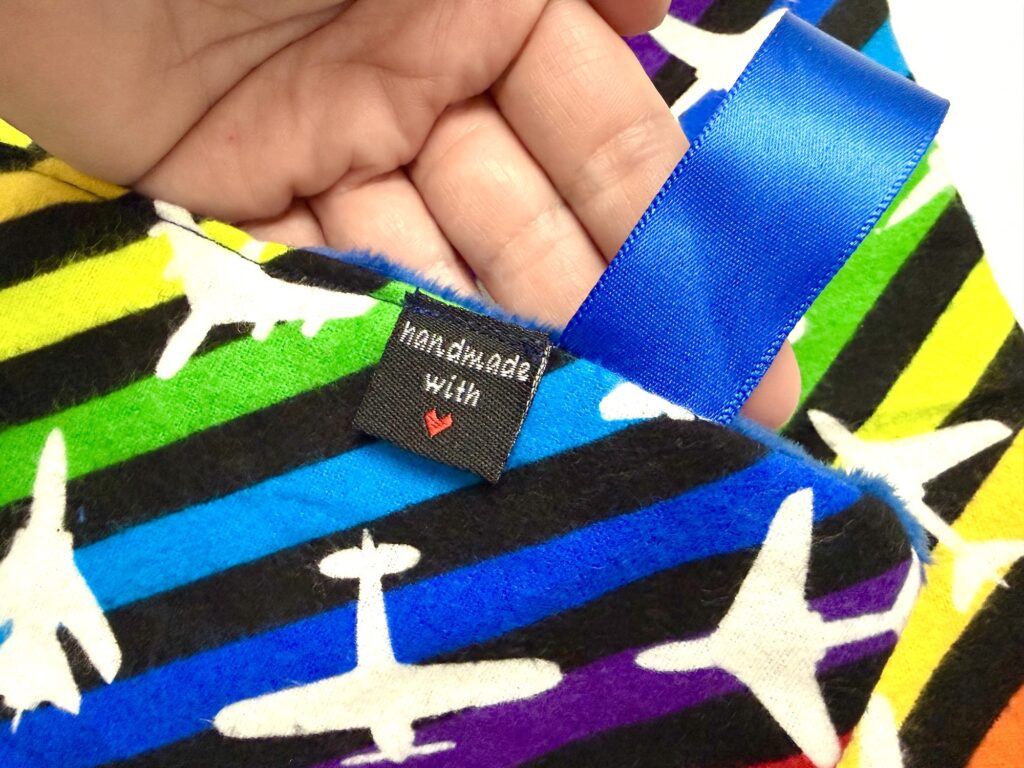
Topstitch closed along the edge (you don’t need to use a ½″ seam allowance here). Alternatively, you could topstitch about 1/8″ from the edge all the way around the blanket, securing the open gap as you stitch, so that the seam is not as visible.
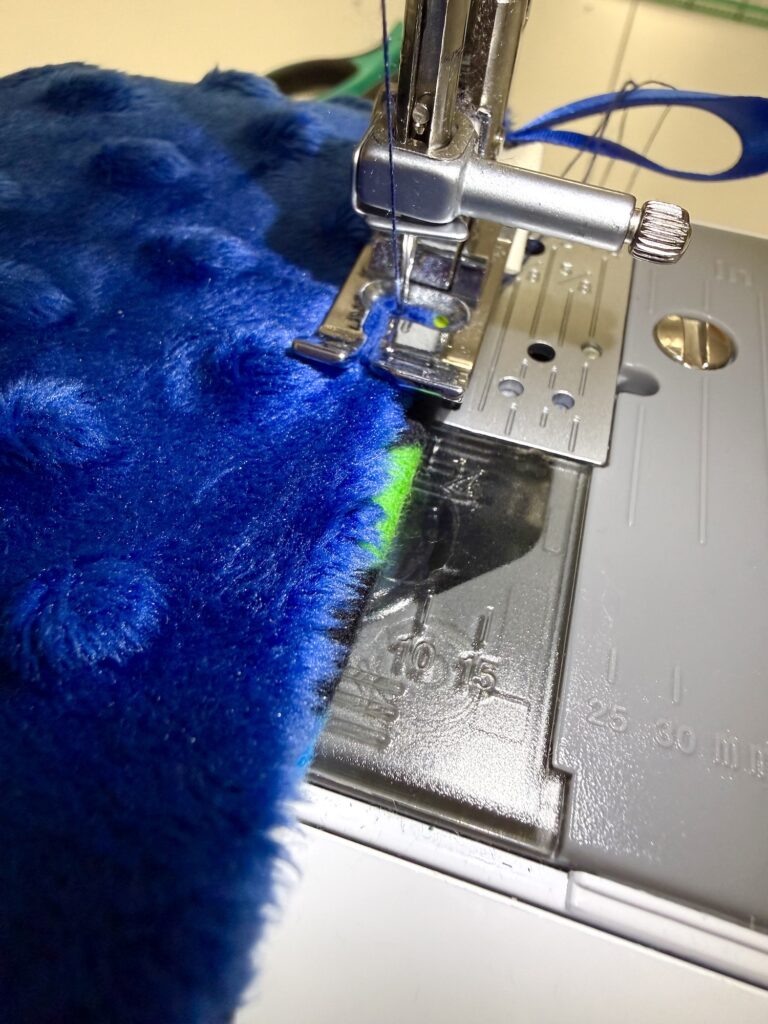
Helpful Tip: I used double-sided tape to catch all of the small minky fibers that were EVERYWHERE after cutting the fabric! You could also use a lint roller to clean up the mess and the bits that might be stuck to the blanket.
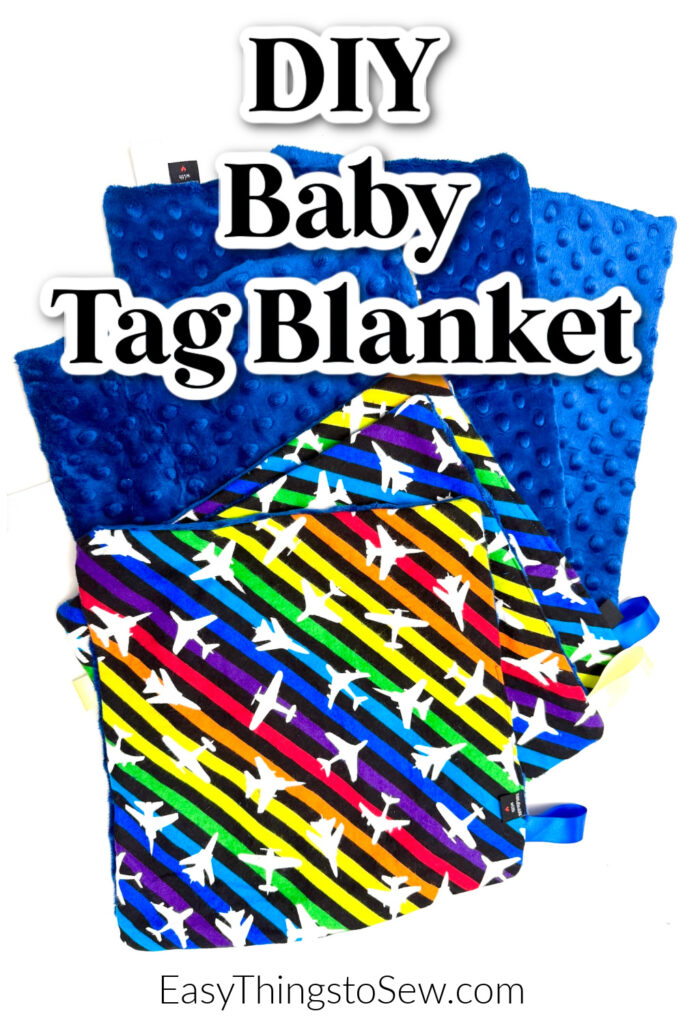
Want to save this sewing project for later? Be sure to Pin It to Pinterest, or flip to Flipboard or save to Facebook.