How to Sew Rick Rack: Unique Ways to Stitch the Trim
Rick rack, also known as ric rac, is a vintage embellishment that adds a lot of charm to crafty projects. This retro trim has never gone out of style because it is so easy to use!
There are different ways to attach rick rack depending on the look that you want and how the project is constructed.
These are the five different ways for how to sew rick rack, as well as helpful tips you need to know before using the sewing notion.
Top Sewing
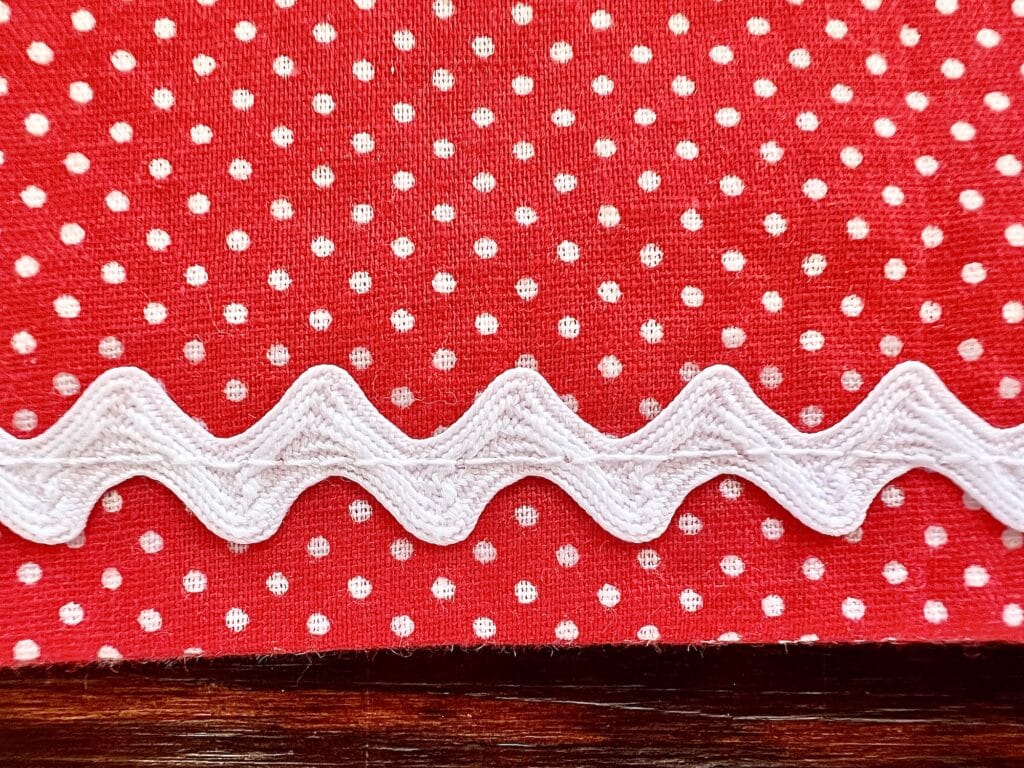
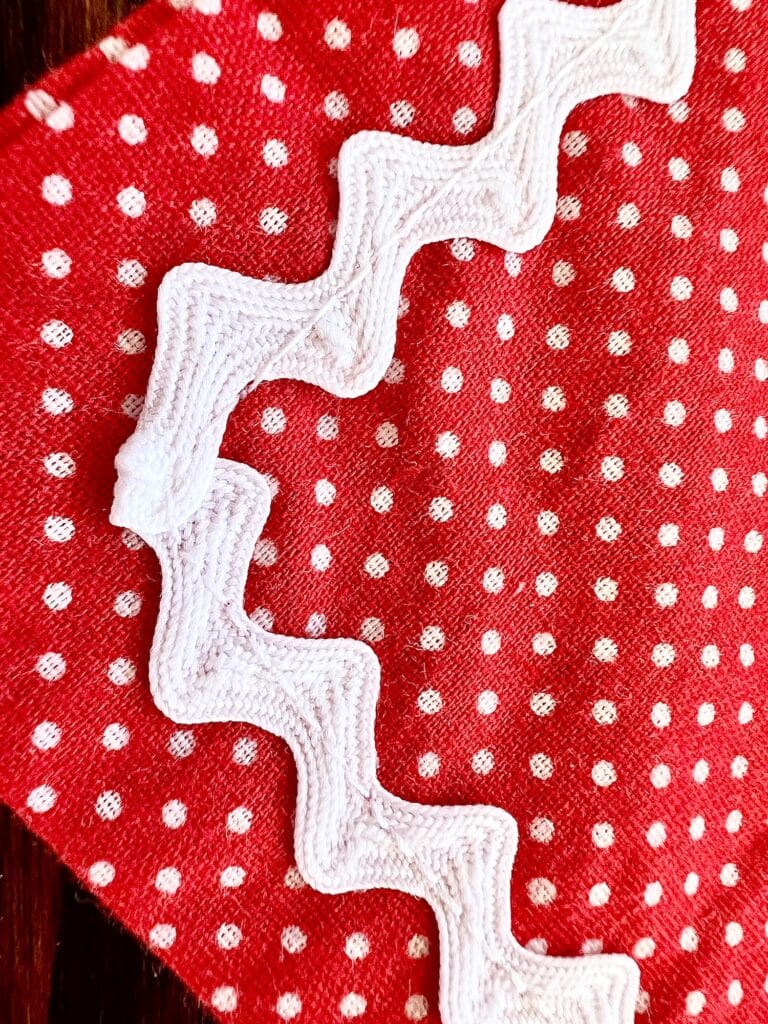
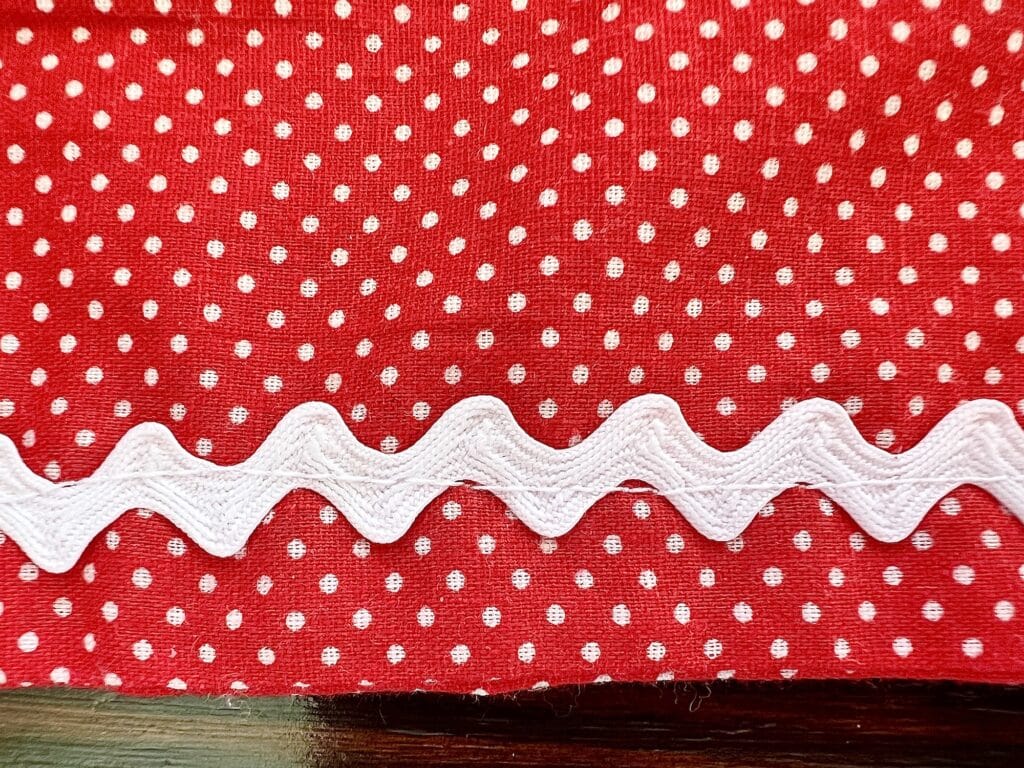
The easiest way to add rick rack embellishment is to sew the trim on top of your finished project.
Pin rick rack over a seam or along a finished edge where you would like to add it.
Then sew a straight stitch down the center of the rick rack with a matching color of thread.
If you are using a wide rick rack that is more than ½ inch wide, you can sew along the curves of the embellishment rather than a straight line down the center.
With very wide rick rack, such as this Jumbo Rick Rack, you can sew along the top of the curves and along the bottom .

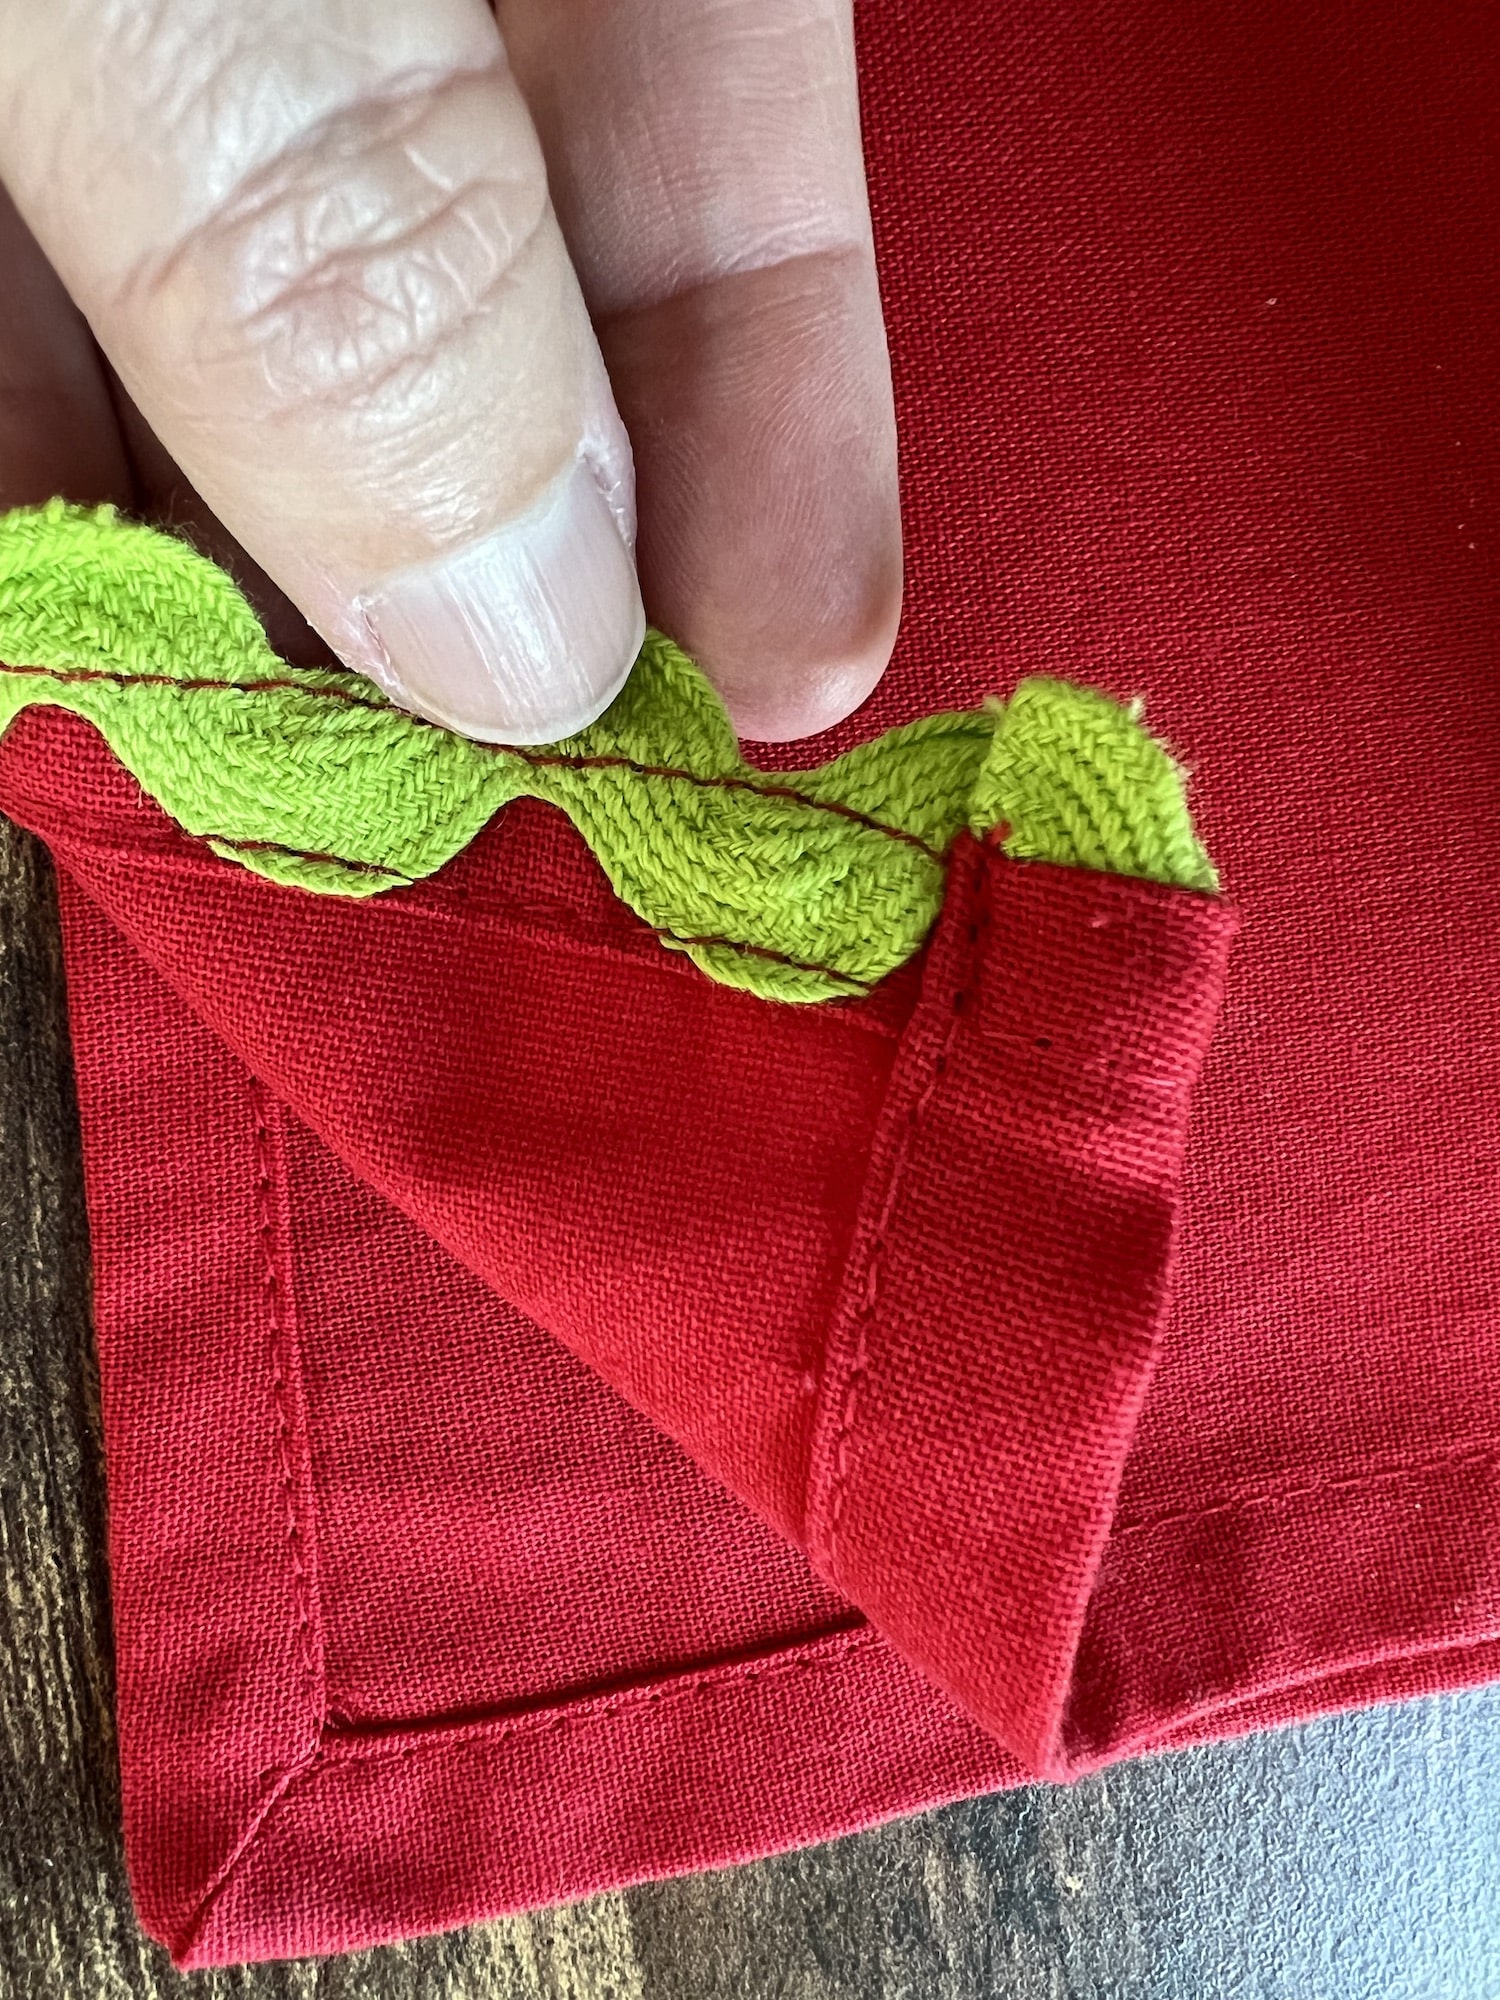
Sewing Rick Rack Around a Corner
Top stitching rick rack on top of the fabric is easy, but what do you do if you have a corner?
Folding rick rack around a corner is very easy. Just bend the rick rack to curve around the corner or edge.
If you are adding rick rack to a straight edge corner, bend the rick rack back over itself to make an L shape.
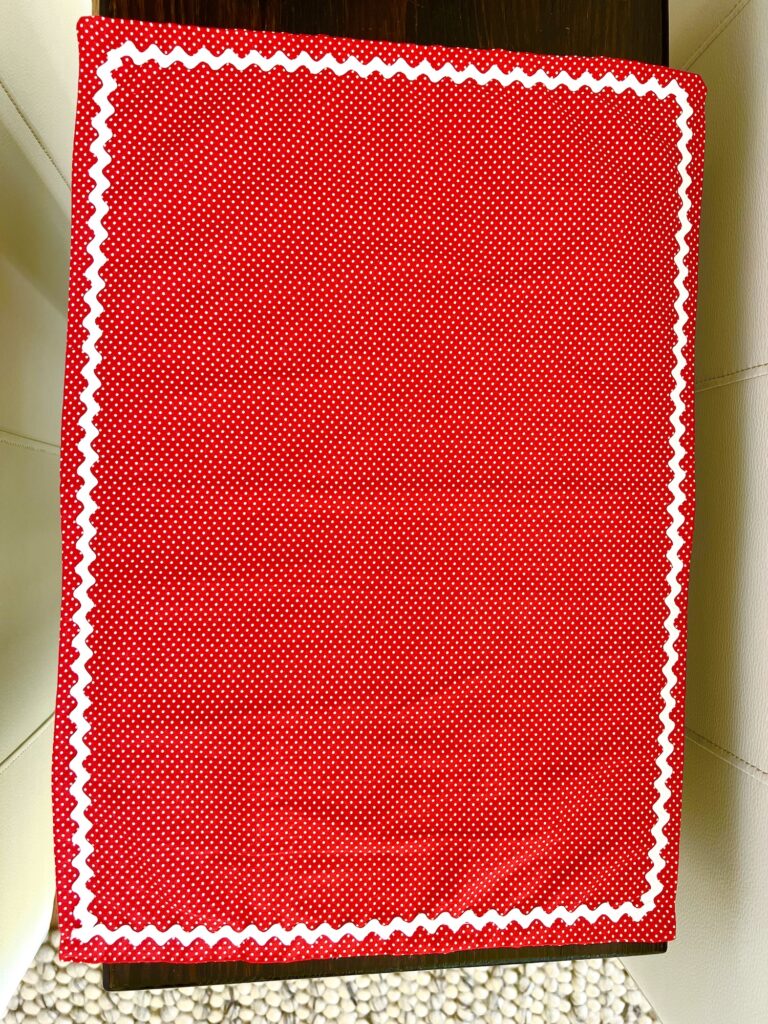
Using Rick Rack as a Scalloped Edge
To add a scalloped edge to a finished garment, such as the hem of a dress, the top of a pocket, or the edge of a place mat, just place the trim behind the finished edge.
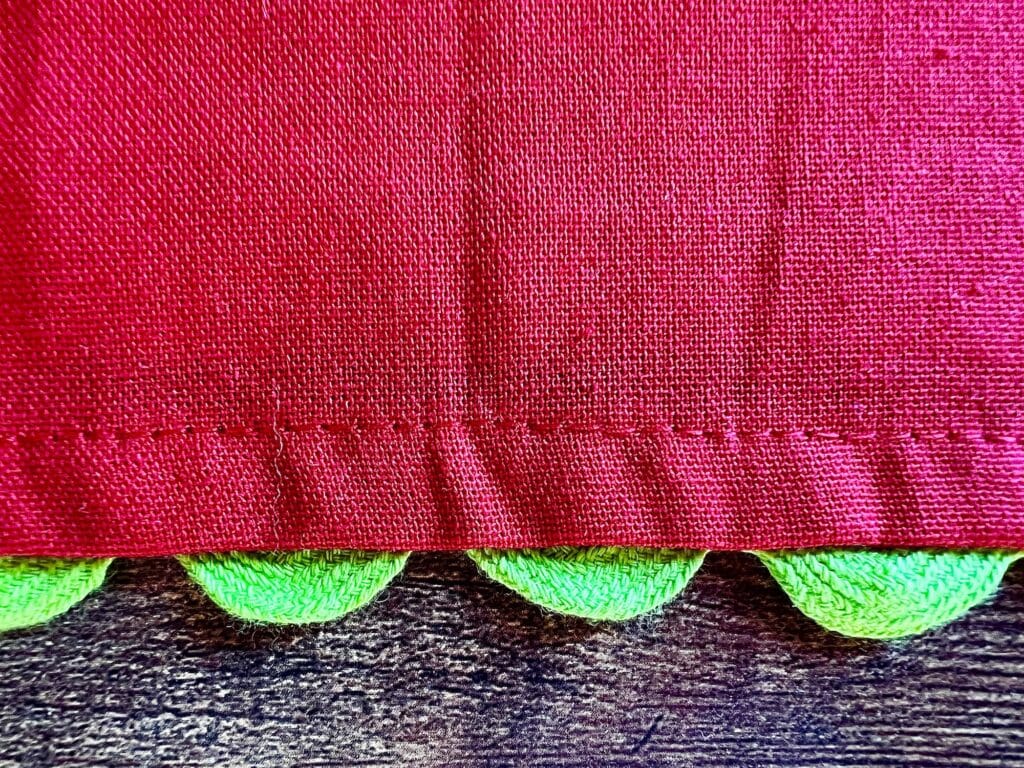
On the wrong side of the fabric, lay the rick rack so that the center of the trim is above the finished edge, with just the scallops showing below. Flip over the fabric so that you can make sure you see just the scallops and not the center part of the trim.
Then top stitch over the edge to secure the trim.
Alternatively, you can line up the rick rack on the right side of the fabric on the edge. Sew a straight stitch down the center of the rick rack. Then turn the right side under so that only half of the rick rack is peeking out. Top stitch to keep in place.
Rick Rack Under Bias Tape
Using the same method as above, you can easily add rick rack underneath bias tape when finishing the edges of a garment or other sewing project.
Tuck the center of the rick rack underneath the bias tape, with just the scalloped edges showing outside. Then top stitch along the edge to secure.
Rick Rack as a Scalloped Edge Between Two Layers of Fabric
Adding a scalloped edge between the seam of two layers of fabric, such as the edge of a pillow, is the most challenging way to attach rick rack. There are two methods of doing this:
- Stitch the rick rack on the right side of one piece of the fabric within the seam allowance. After it is attached, put the wrong sides of the fabric together, flip over the fabric so that you can see the stitch that was used to attach the rick rack, and then stitch over that stitching. Press the fabric open using a hot iron, then fold the wrong sides together and press with an iron to complete.
- If you would like to skip stitching the hem twice, you could just pin the rick rack onto the fabric and sew the seam once.
Braided Rick Rack
An unusual way to add rick rack trim is to braid two different pieces together to create a thick scalloped edge.
Twist together two pieces of the same size rick rack. They can be two different colors or the same color. As you twist them, manipulate the trim to lay flat, as it can try to curl up.
Use a basting stitch down the center to keep the two pieces together temporarily. Then sew a straight stitch or a zig zag stitch down the center when applying the trim.
Matching Cut Ends
If you are piecing together two different cuts of rick rack, it is easy to create a seamless look.
Overlap the ends to see where the trim will meet. Trim the ends with a scissor neatly with a straight cut, allowing just a little bit of overlap. Then overlap the two pieces so that the wave looks continuous. Stitch through the middle of the rick rack as normal.
Finishing Cut Ends
Rick rack may be easy to work with, but the cut ends can fray very easily as you can see in the photo below of the place mat that I made.
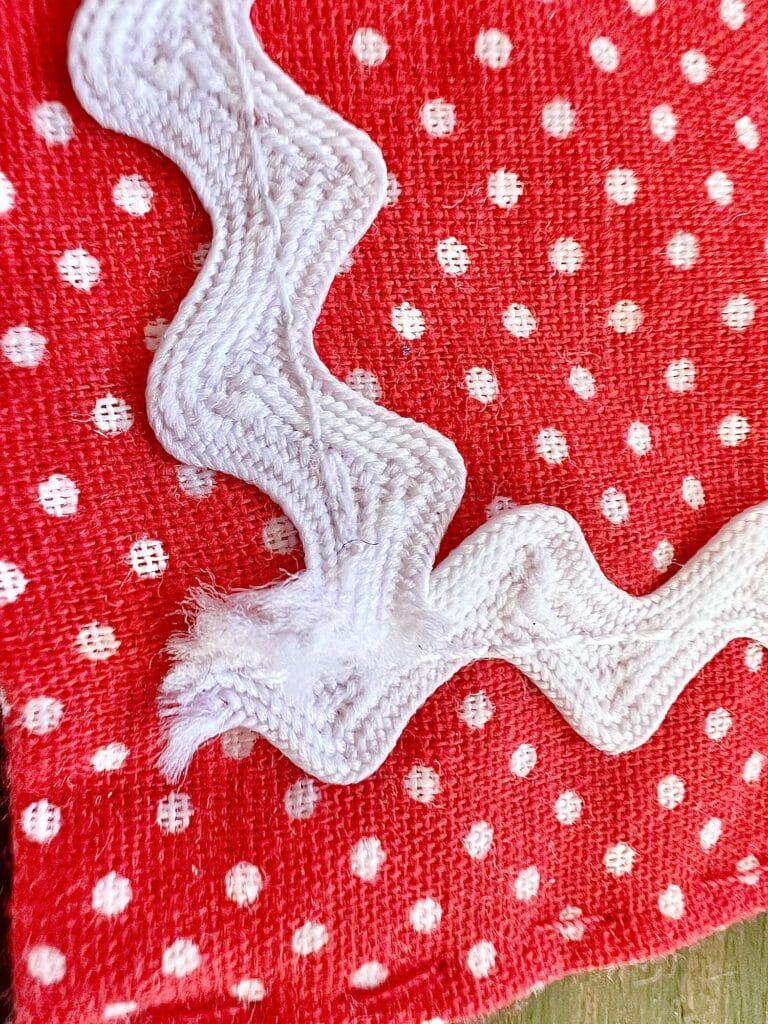
Here are the ways to finish the cut end of the rick rack:
- Secure the cut end in a seam.
- Apply a fabric edge sealant, such as Fray Check.
Helpful Tips
- Pinning rick rack to the fabric is very important when sewing the embellishment. This trim can move around a lot when sewing. Be sure to pin it!
- Using matching thread colors will nearly hide the stitching.
- If you want a contrasting look, use a different color of thread when top stitching the rick rack.
- A straight stitch is usually used to attach rick rack. However, you could also use a zig zag stitch to attach it if the embellishment is wide enough.
- Any decorative stitch can be used to add the rick rack.
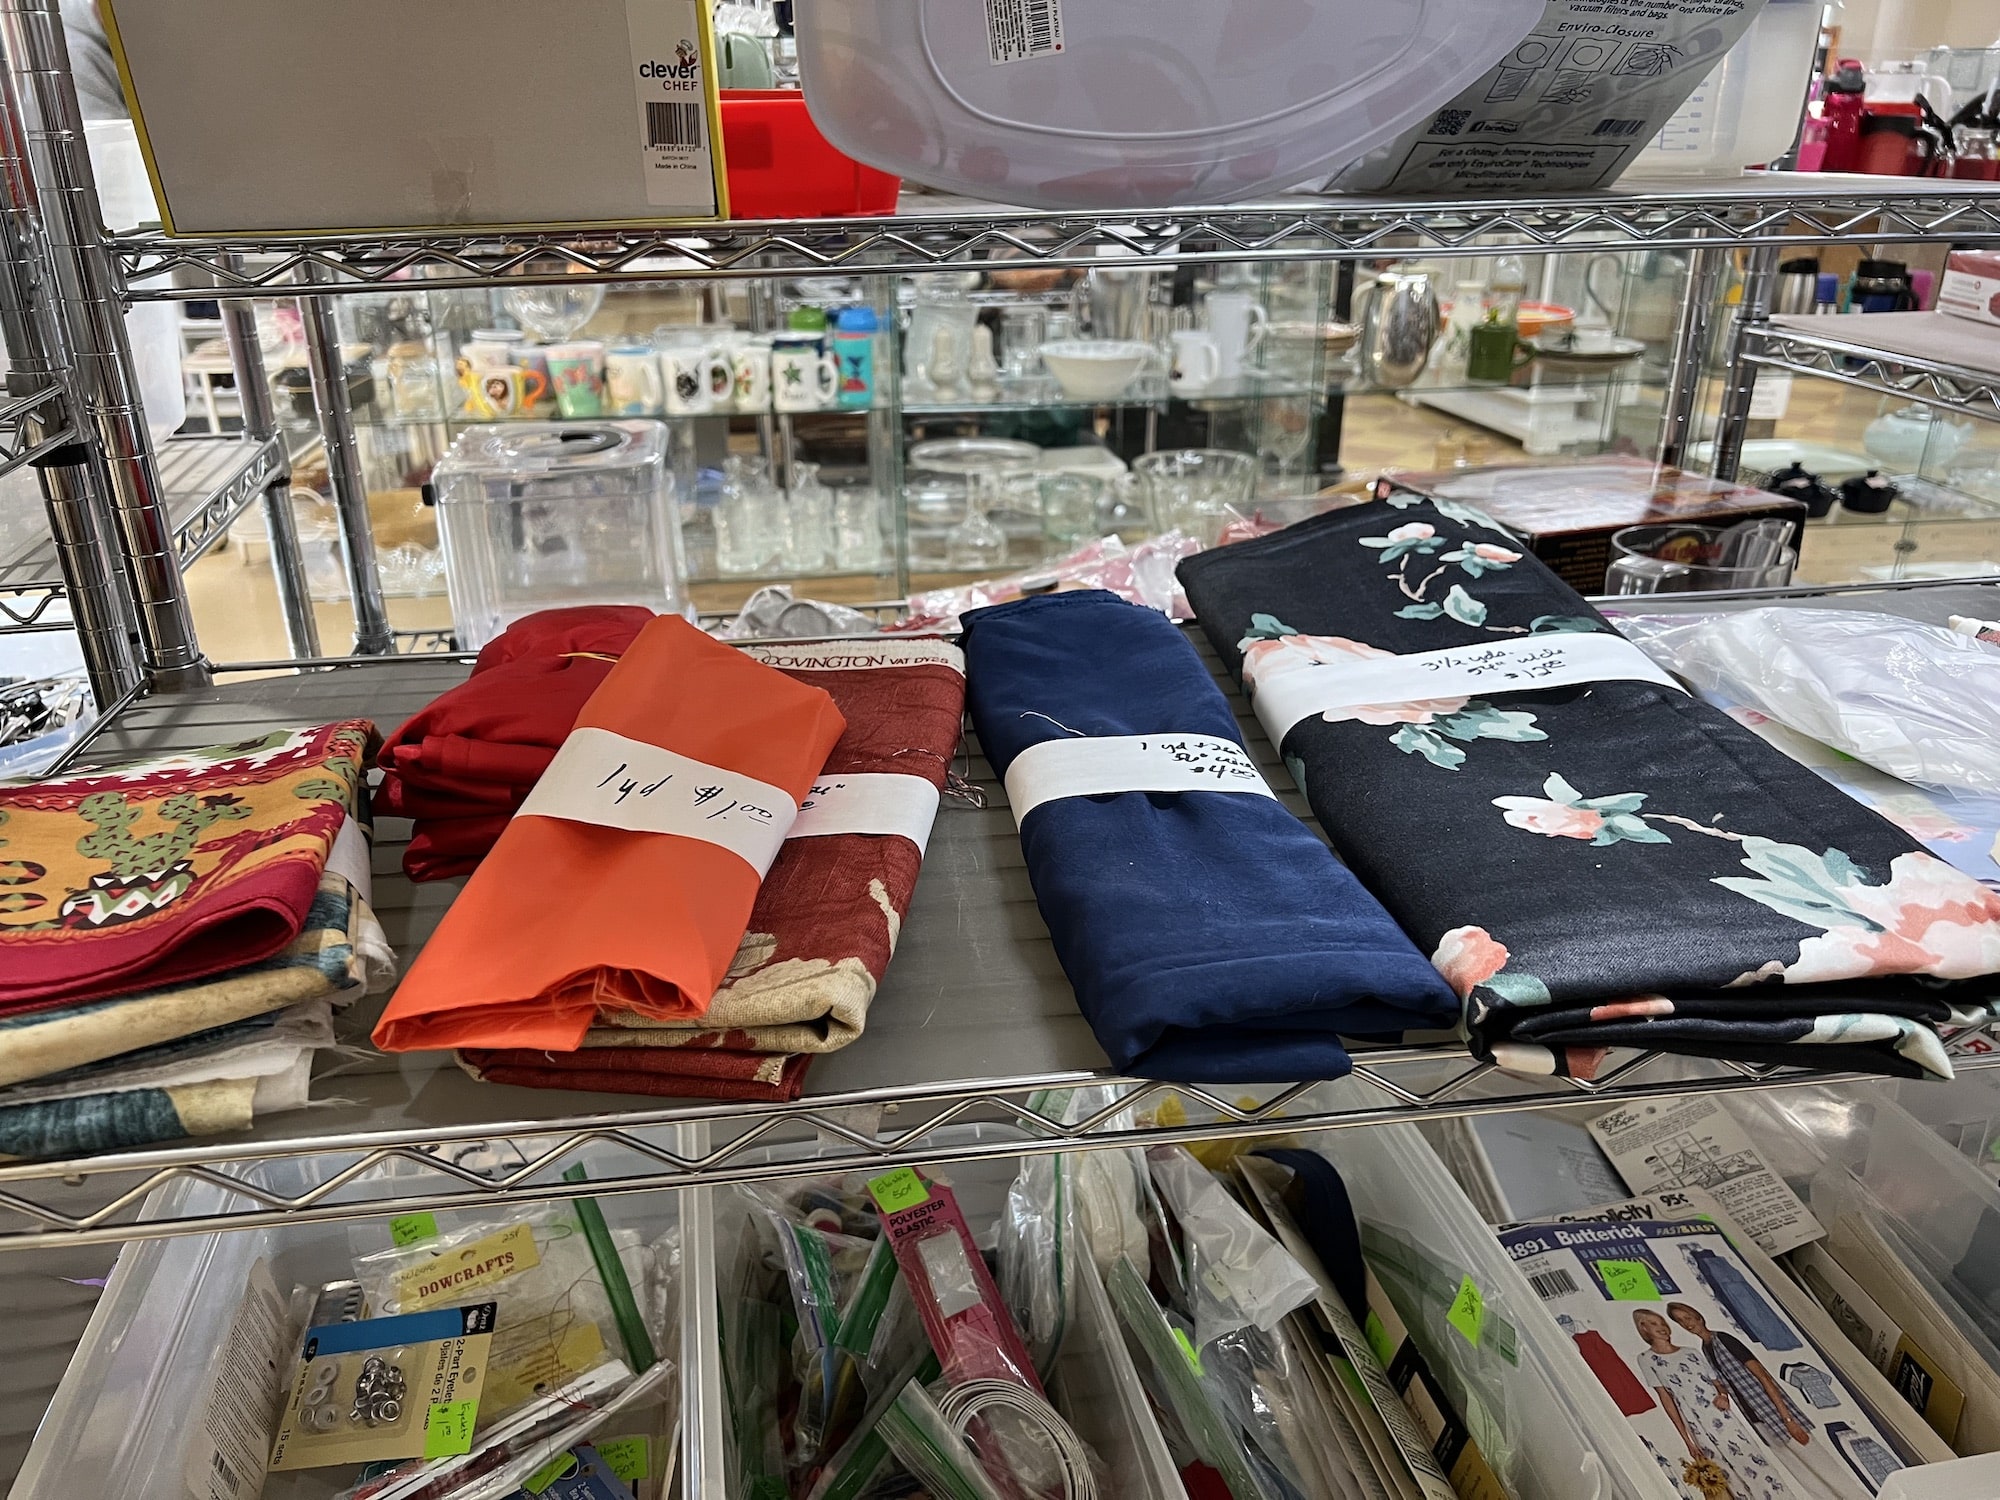
- Rick rack is sold in pre-cut packages, or by yard.
- There are a variety of colors and widths to choose from.
- Thin rick rack can be doubled up for a decorative look. Stack the rick rack a short distance from each other to create visual interest. Alternate the wave pattern.
- Go slow! Because you are sewing on a narrow piece of trim, if you don’t control the speed you can lose your straight stitch, as you can see on my placemat below.
Save these tips for how to sew rick rack to Pinterest to use later!
See these helpful sewing guides next: