Easy DIY Reversible Table Runner
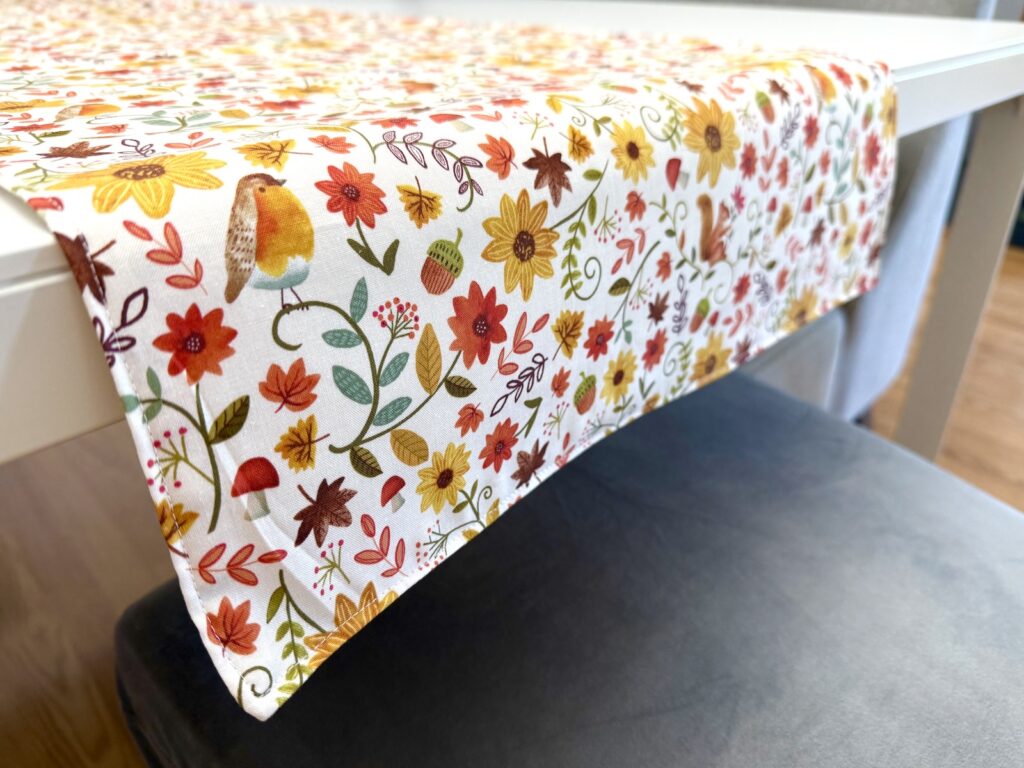
A DIY table runner is a perfect beginner sewing project! You can quickly and easily make a reversible table runner that will make your home beautiful instantly!
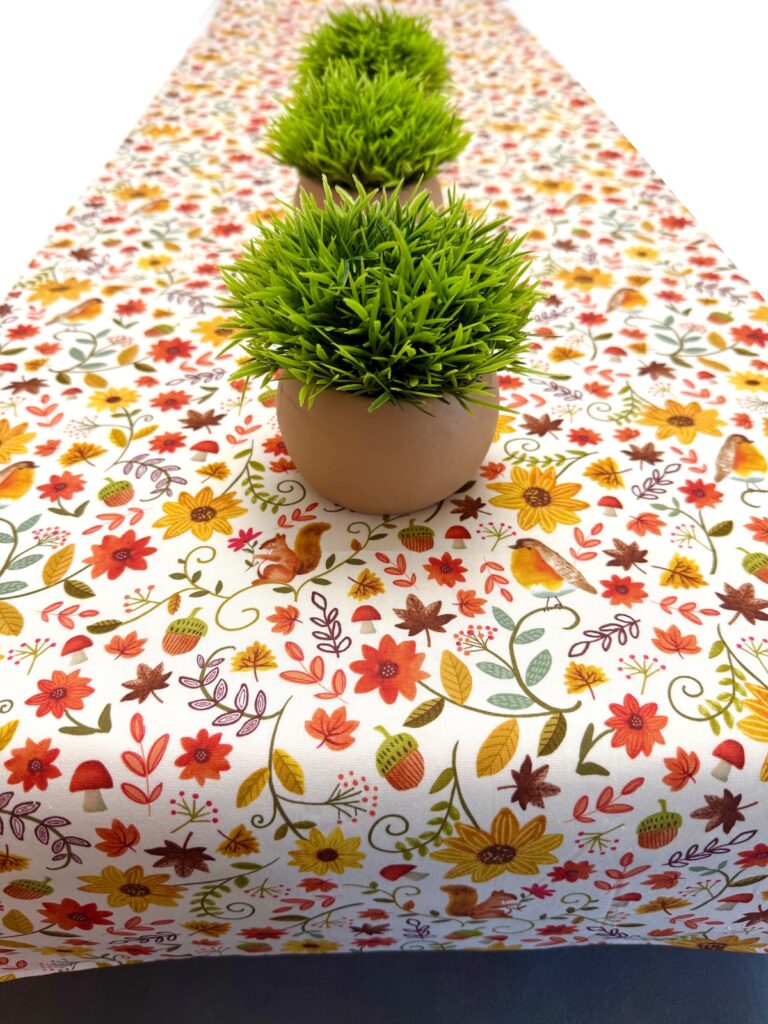
This is one of our many free table runner sewing patterns.
This easy DIY reversible table runner is perfect for the holidays or decorating year round. By choosing two great fabrics, you can keep your rectangular table runner out for a long time!
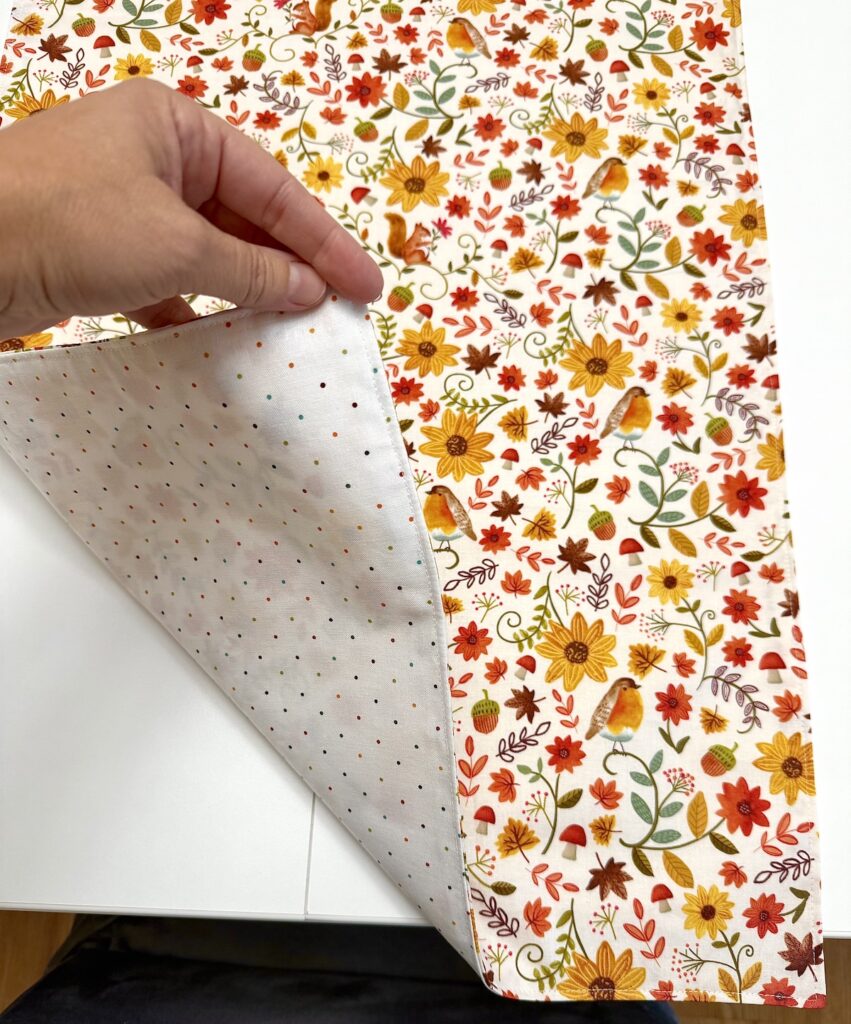
How to Make a Reversible Table Runner
Supplies
- Two different fabrics (around 2 yards each; see measurement chart below)
- Fusible Interfacing, light to medium weight (around the same size as the fabric)
- Iron
- Turning Tool (optional)
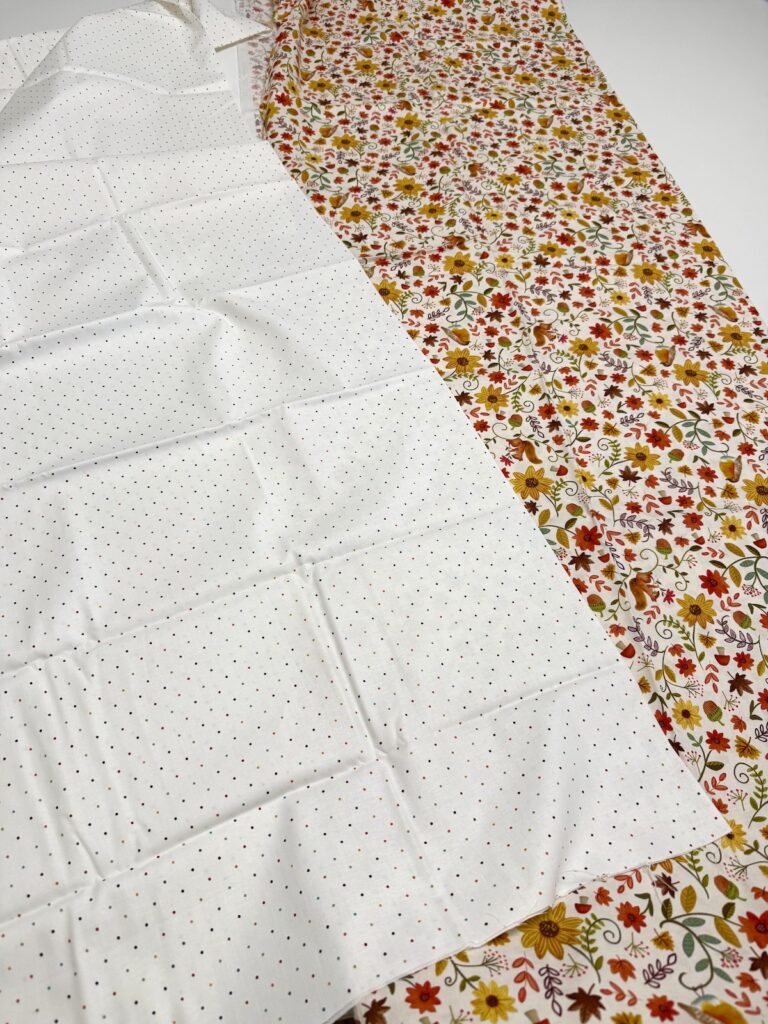
Instructions
Step 1
Measure the table to figure out how much fabric and interfacing you will need.
Length
- Measure the top of the table from one end to the other, measuring the length of the table that your table runner will be covering.
- Add 13 inches (33 cm) to the measurement (this includes 6 inches (15 ¼ cm) overhang on each side plus ½ inch (1 ¼ cm) seam allowance on each side)
Width
- Measure the width of the table, then divide that measurement by 3 (the runner will be covering ⅓ of the table)
- Add 1 inch (2 ½ cm) to the measurement to allow for a ½ inch seam allowance on each side
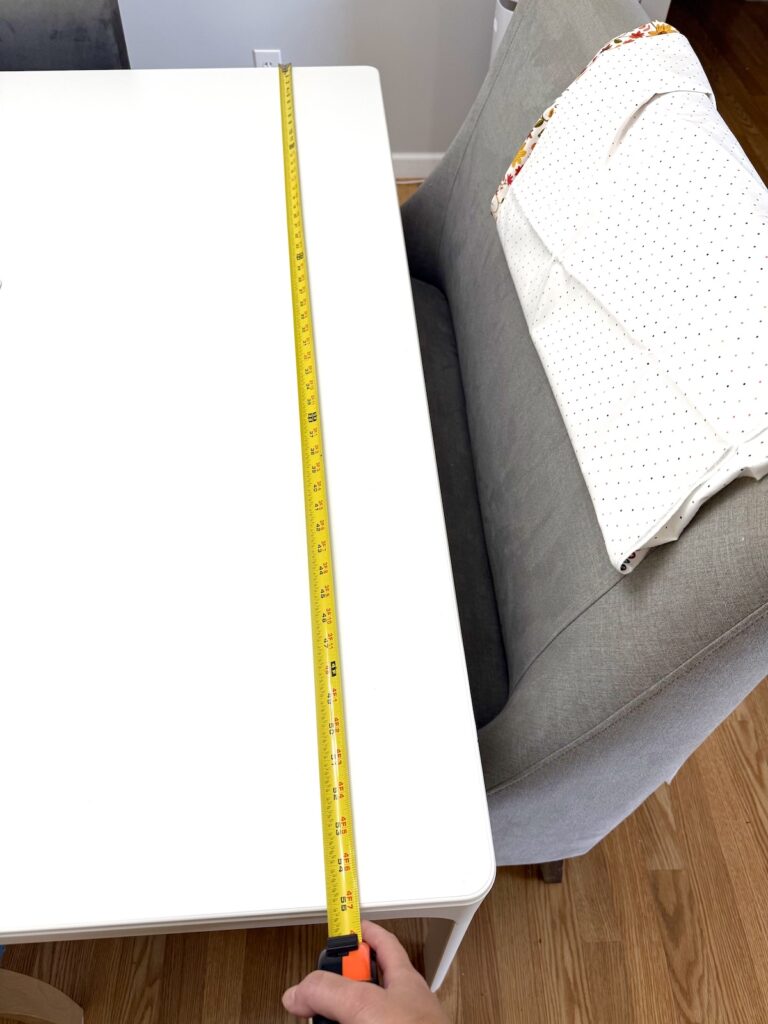
Now that you know the measurements (length X width) you will need to cut two pieces (one each of two different types of fabric) in that size.
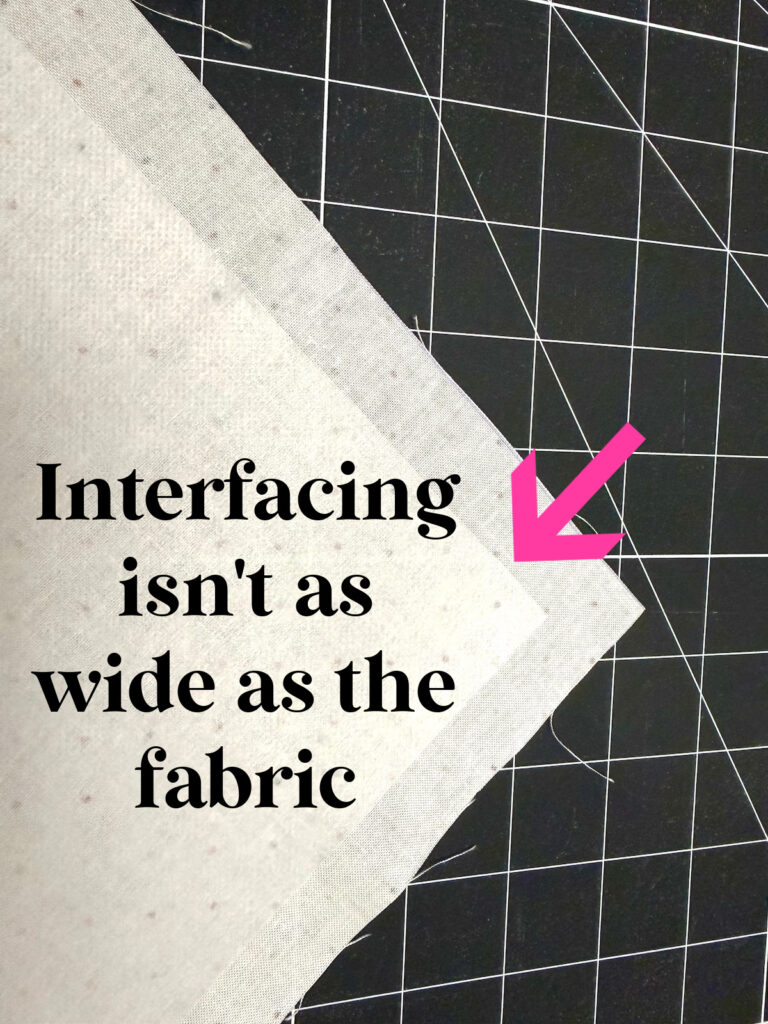
Cut one piece of interfacing, reducing the amount on each of the sides by ½ inch so that the interfacing is not sewn in the seam allowances.
*Helpful Tip: You can adjust the length and width of your homemade table runner however you would like. The 6-inch overhang is standard, and I wouldn’t go shorter than that, but you could do longer. For the width, you can choose to make a more narrow or a wider table runner. It’s up to you at this point and what makes you happy!
Step 2
Iron on the fusible interfacing to the wrong side of one of the fabrics. (Check out my beginner’s guide to interfacing for how to apply and use it.)
Step 3
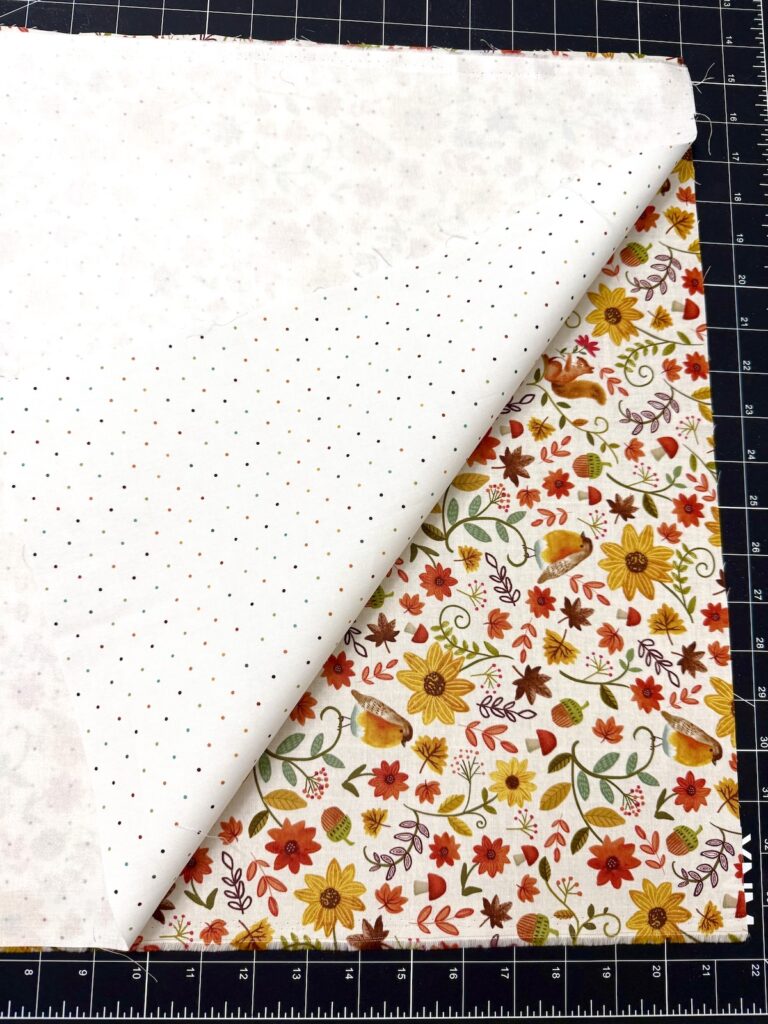
Place the two pieces of fabric together, right sides facing together.
Clip all the way around the fabric edges to keep even as you are sewing.
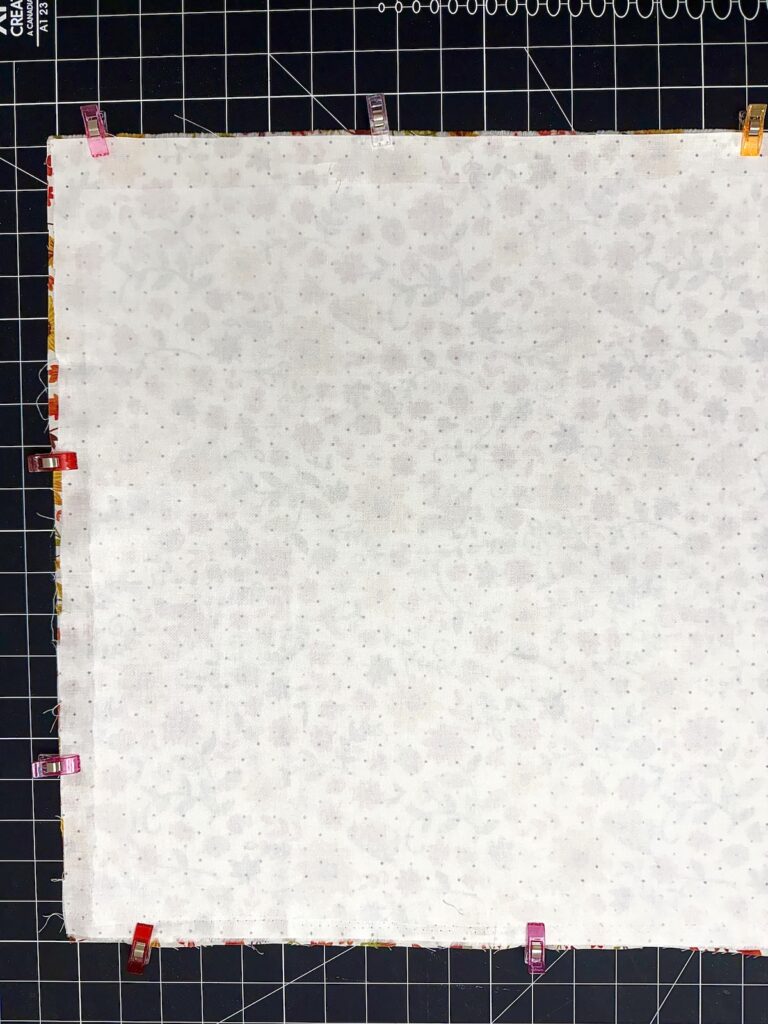
Sew along ½ inch seam allowance on all four sides, keeping a 4-5 inch open gap on one of the short ends. Backstitch at the beginning and end of your stitching.
Step 4
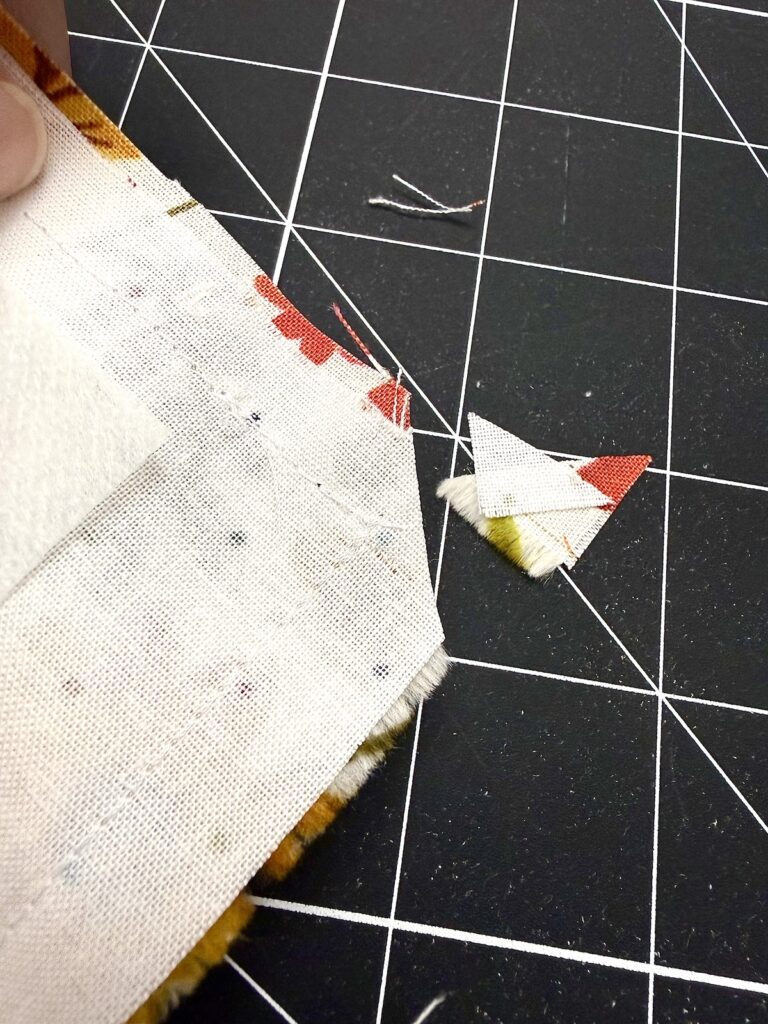
Clip the corners, being careful not to cut the stitching.
Turn the table runner inside out through the open gap.
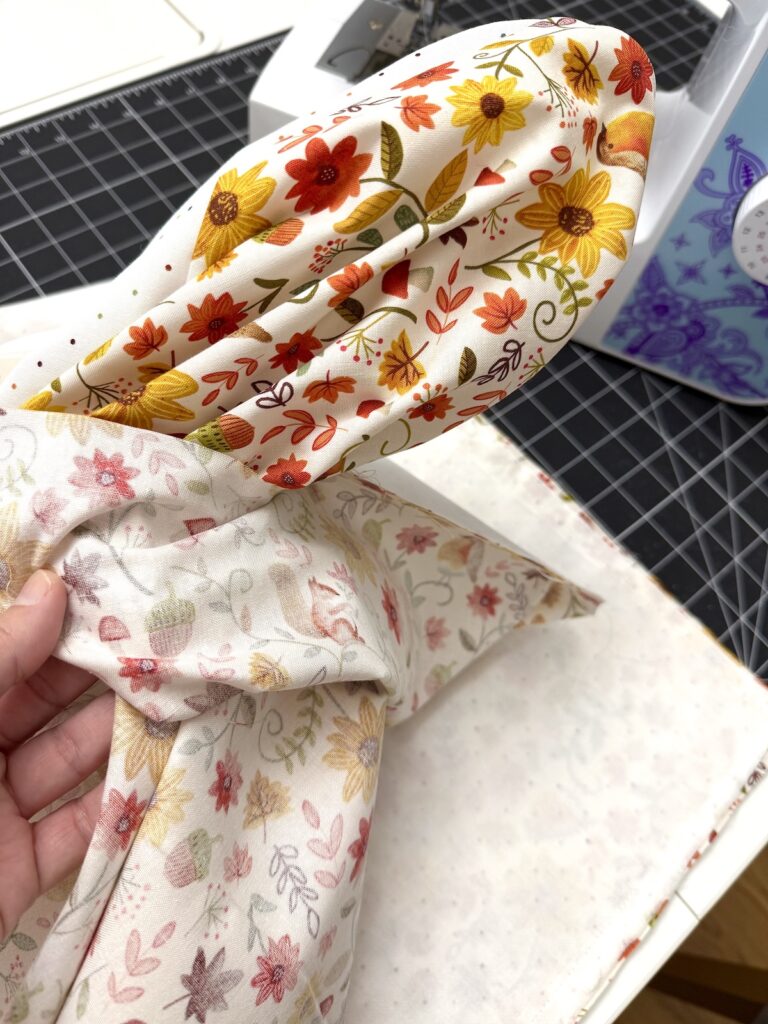
Push out the corners with a turning tool, crochet hook or other similar item.
Step 5
Press the wrinkles with a hot iron, pushing out the seam allowances as you iron to get them to lay nice and flat.
Press under the edges of the open gap to match the rest of the seam allowance.
Step 6
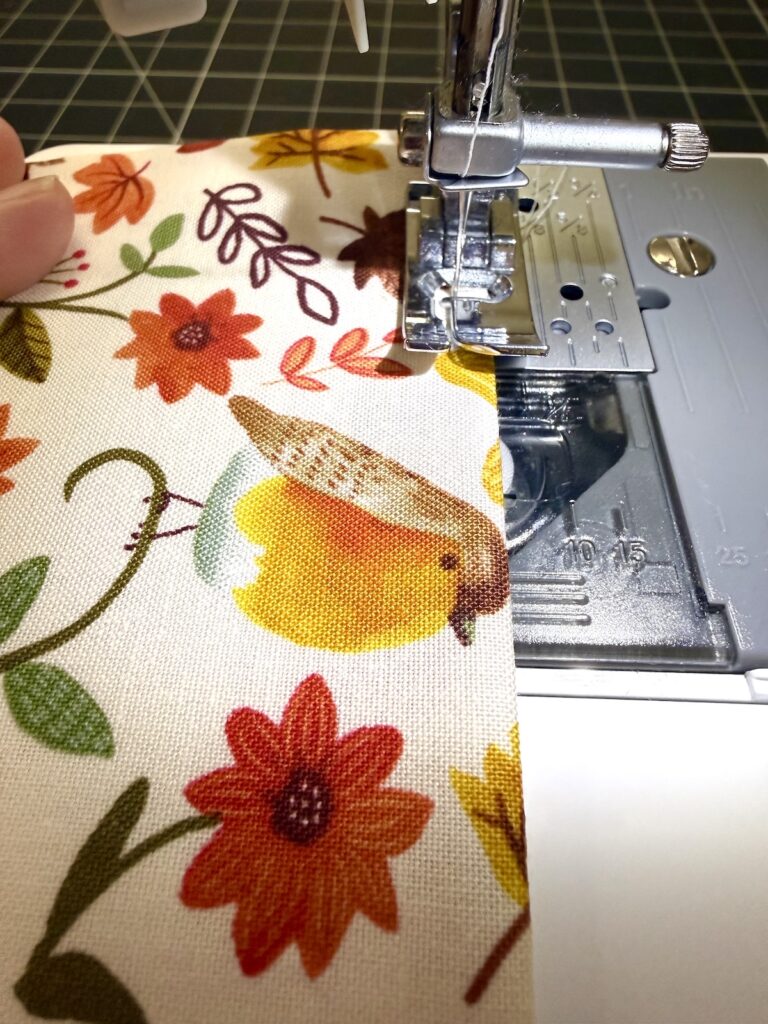
Topstitch around all four edges, using a ¼ inch or 1/8 inch seam allowance, closing the open gap as you go.
Helpful Tips I Learned While Making a Reversible Table Runner
- Don’t choose a fabric that is white or too thin because you can see the other fabric through it. Ask me how I know! LOL
- Quilter cotton or linen are great fabric choices for table runners.
- Whatever fabric you choose, make sure it can handle high temperatures if you will be putting hot serving bowls on the table runner without a hot pad or DIY rice trivet. You would not want to use a delicate silk or polyester because they would be damaged with the heat.
- Pre-washing the fabric is a great idea if you think you will be washing the table runner after using it.
- Thicker fabrics, such as canvas, denim, upholstery fabric and home decor fabric do NOT need interfacing!
Want to save this sewing tutorial? Be sure to Pin It to Pinterest!
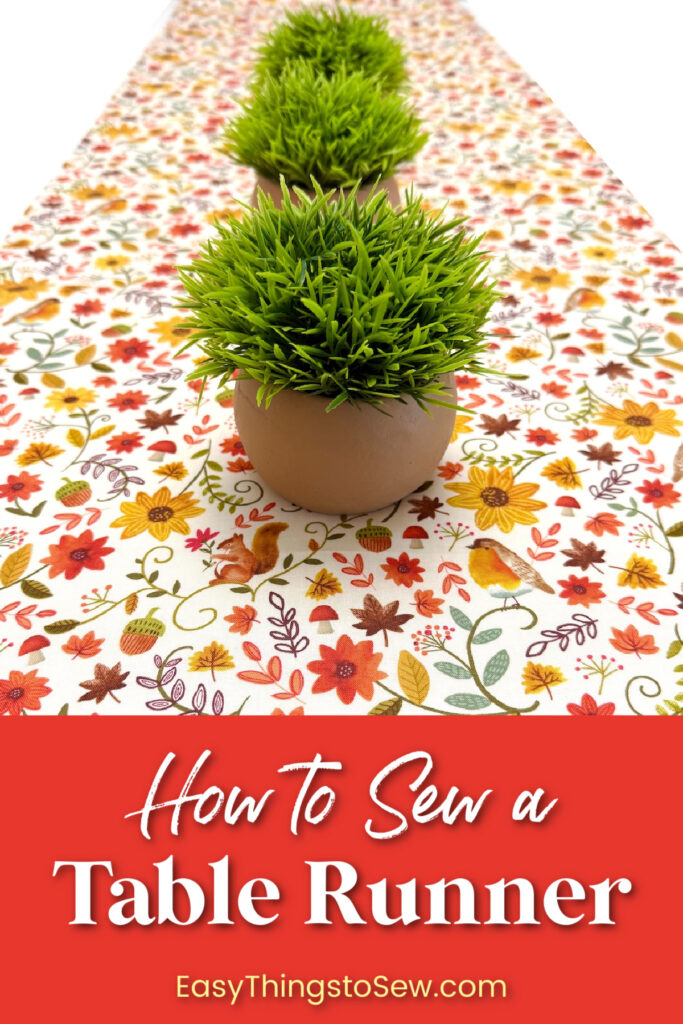
I chose autumn fabric prints for this table runner sewing tutorial, which makes it a perfect choice for Thanksgiving table runner sewing patterns.
These quick and easy table runners are the perfect way to decorate for the season. Check out all of my holiday sewing projects for more handmade decor for your home.