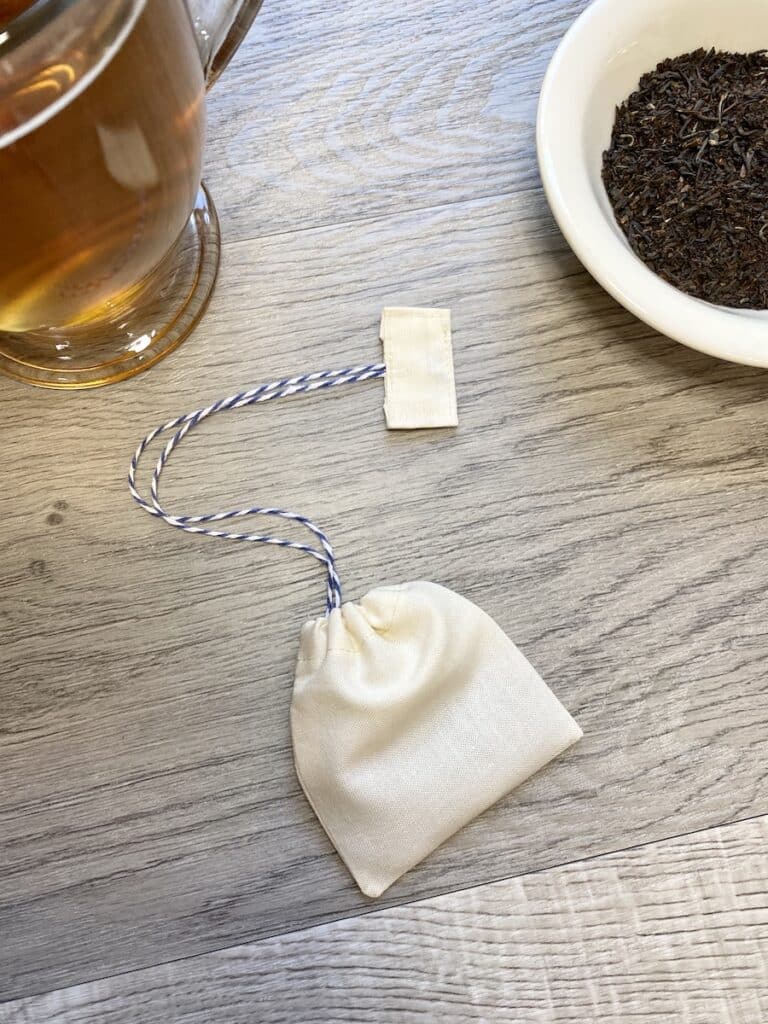
How to Sew a Reusable Muslin Tea Bag
No one wants microplastics with their tea, which is a common problem with many tea bags you buy in the store. Why not make your own reusable muslin tea bags so that you can enjoy better quality teas with less worry and zero waste?
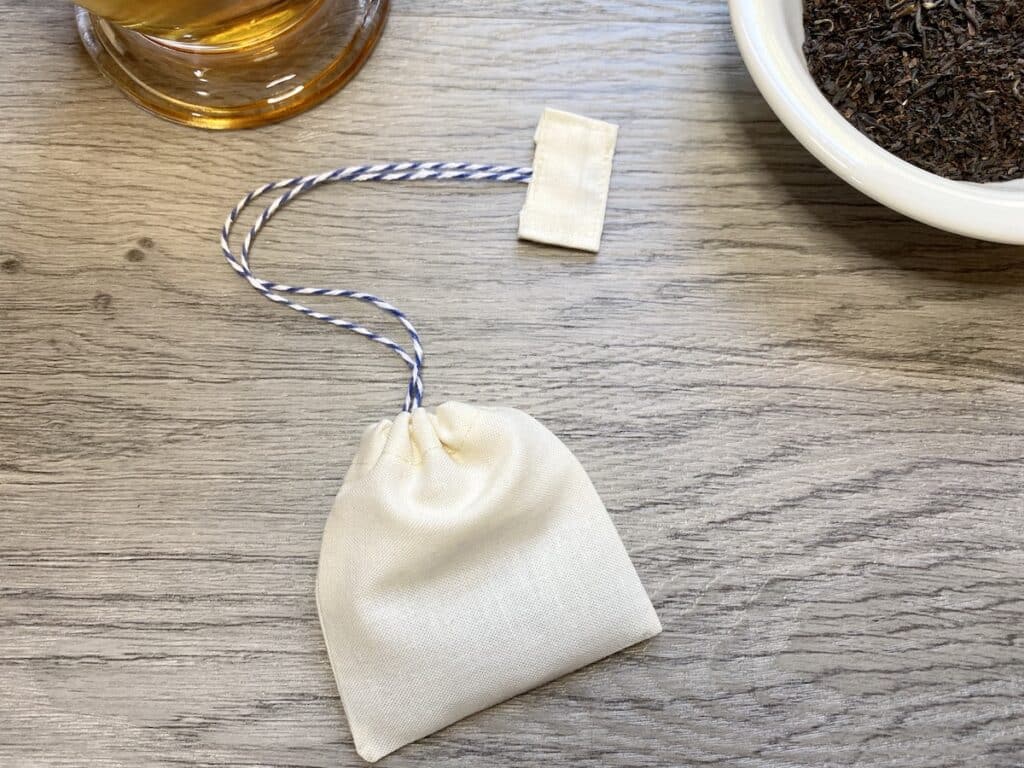
I love reusable tea bags because you can buy better teas (usually whole leaf teas or teas with whole ingredients) to steep. They are so much better than the dried powder found in store bought tea bags.
Plus, you don’t have to worry about plastic coatings or finishes found in some commercial tea bags.
Do I Have to Use Muslin?
No, you don’t have to use muslin fabric. However, many people prefer undyed muslin fabric because it is minimally processed and generally doesn’t have any added color or finishes that you wouldn’t want to brew into your tea.
Hemp is another fabric that would be great to use as it is made with less chemicals while growing.
Any organic cotton fabric will work. But make sure that it is free from dyes, colors and finishes that wouldn’t be safe to use in food.
Looking for organic, undyed fabric is the best choice for making reusable tea bags.
Should I Wash the Fabric Before Measuring?
Yes! Since this fabric will be put inside very hot water, as well as washed regularly, you want to pre-wash the muslin fabric first before cutting. This is because some fabric shrinks when exposed to hot water.
If you measure the fabric and make the tea bags without pre-shrinking the muslin, then your tea bag could keep getting smaller as it shrinks with washing. You will want to pre-shrink it, then cut the dimensions you need to make your own reusable tea bags.
How to Wash Reusable Tea Bags
Cleaning zero waste tea bags is as simple as tossing them in your washing machine and drying them.
You will want to add the homemade tea bags into a small mesh laundry bag so that they don’t get lost inside clothing or lost in the washing machine like socks do.
How to Make Your Own Reusable Muslin Tea Bags
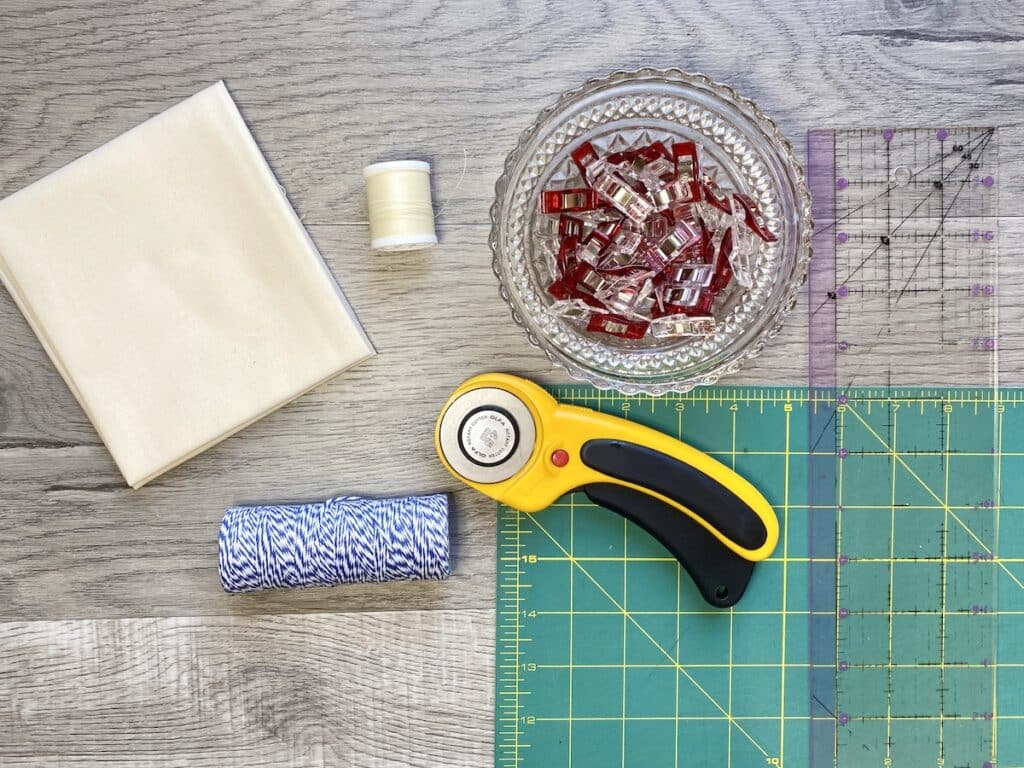
Supplies
- Unbleached muslin fabric
- 14″ of baker’s twine
- Coordinating thread
- Rotary cutter
- Sewing clips
Instructions
Step 1
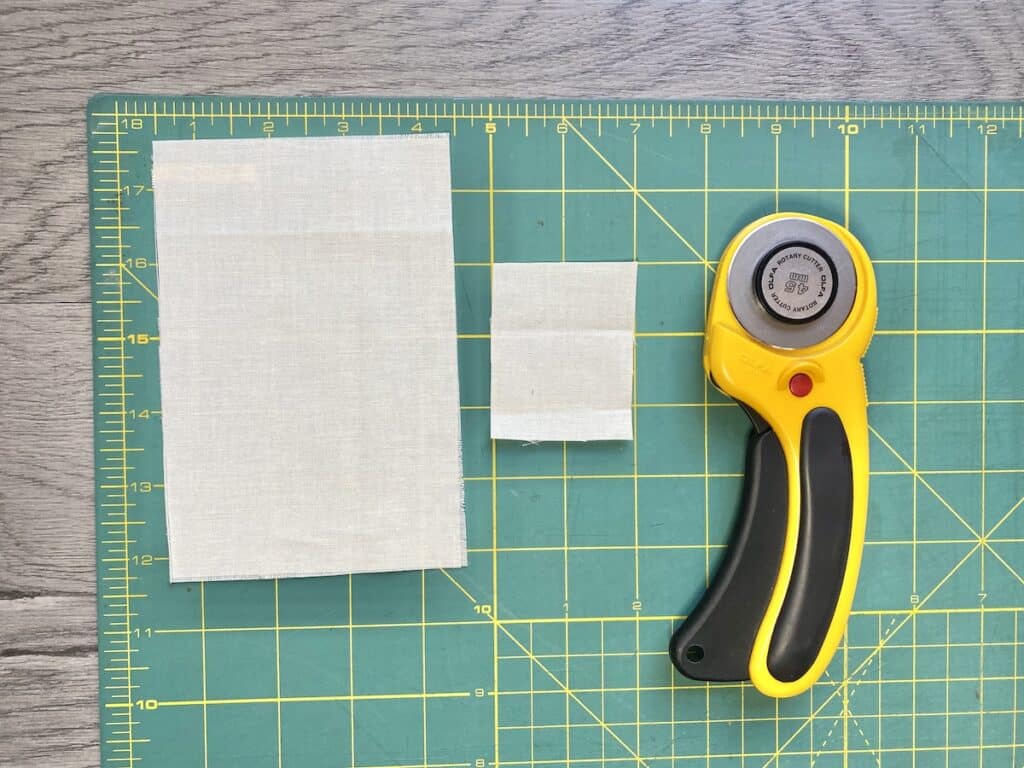
Cut two pieces of muslin to the following dimensions:
- One 4” x 6” piece
- One 2” x 2.5” piece
Step 2
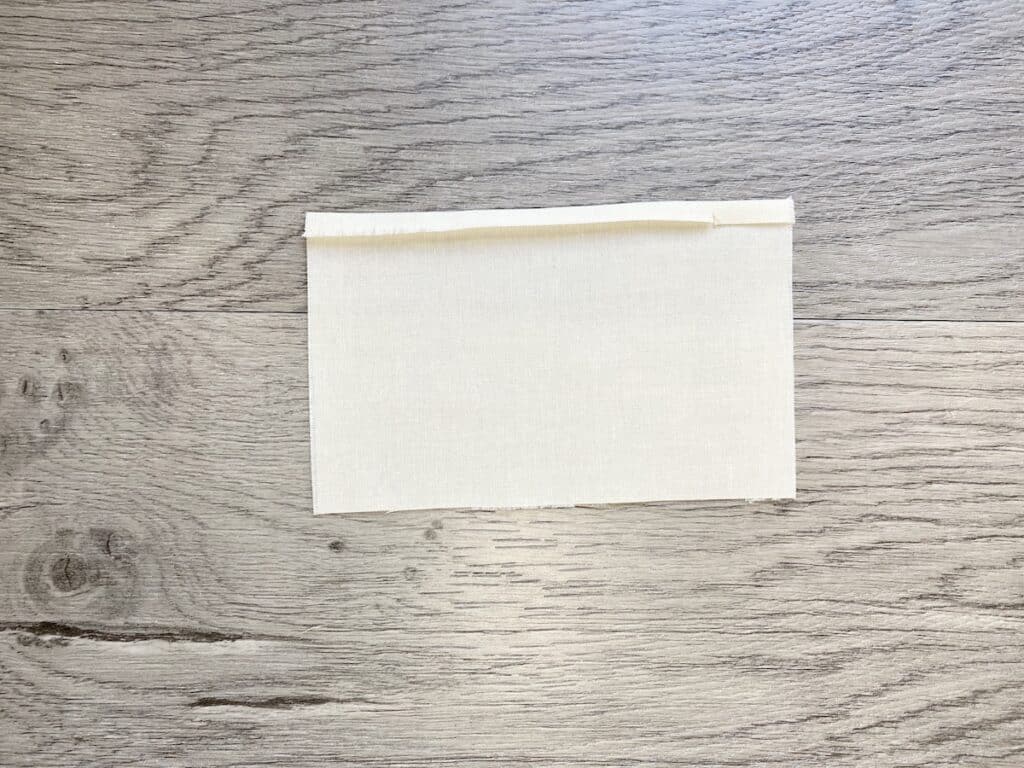
Fold one 6” side under ¼” and press flat.
Step 3
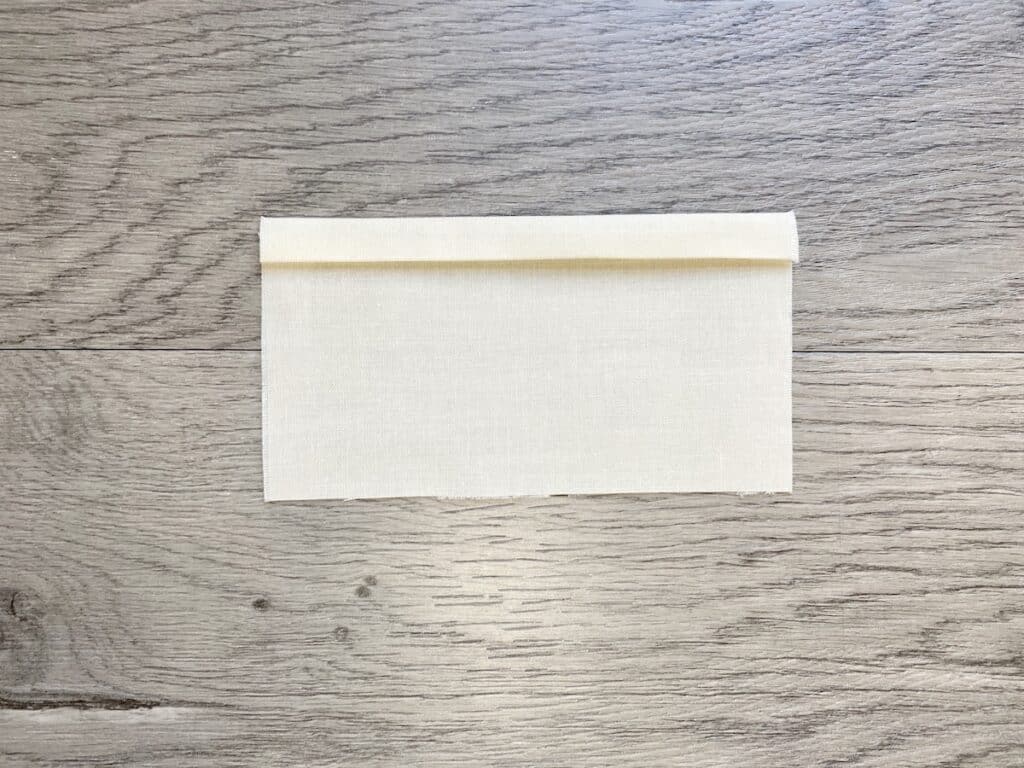
Fold again, only this time make it ½” and press flat. Set aside
Step 4
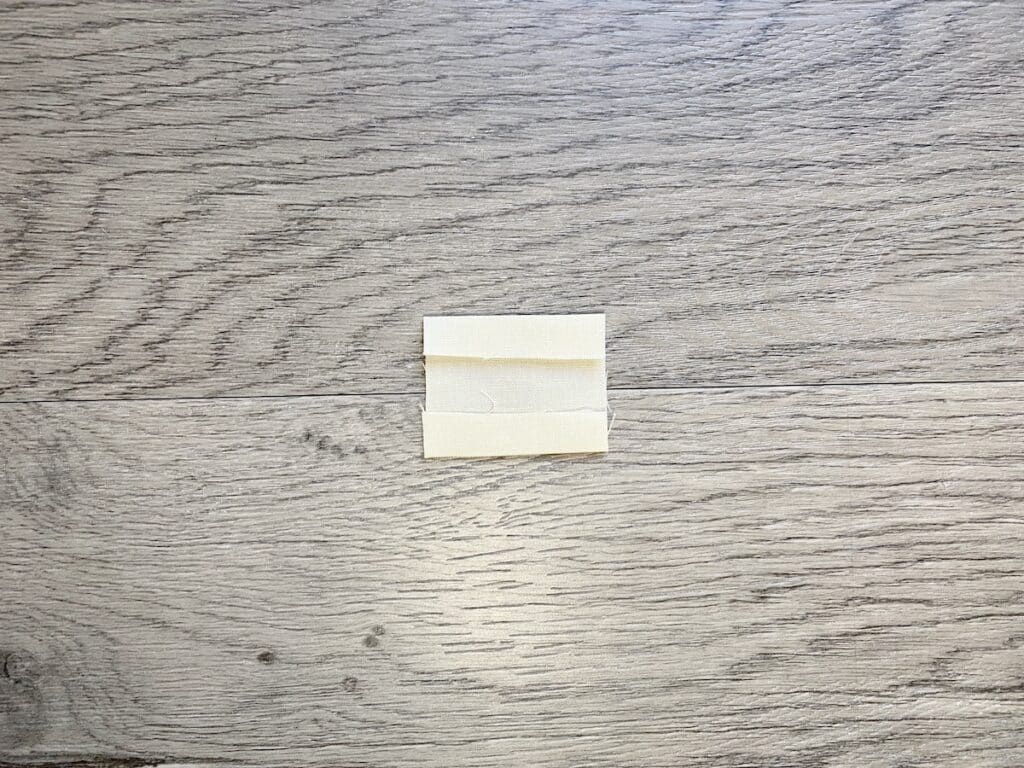
Fold the top and bottom of the small fabric piece under ¼” and press. Fold from the longest side (the 2.5″ side).
Step 5
Fold the opposite sides under ¼” and press flat.
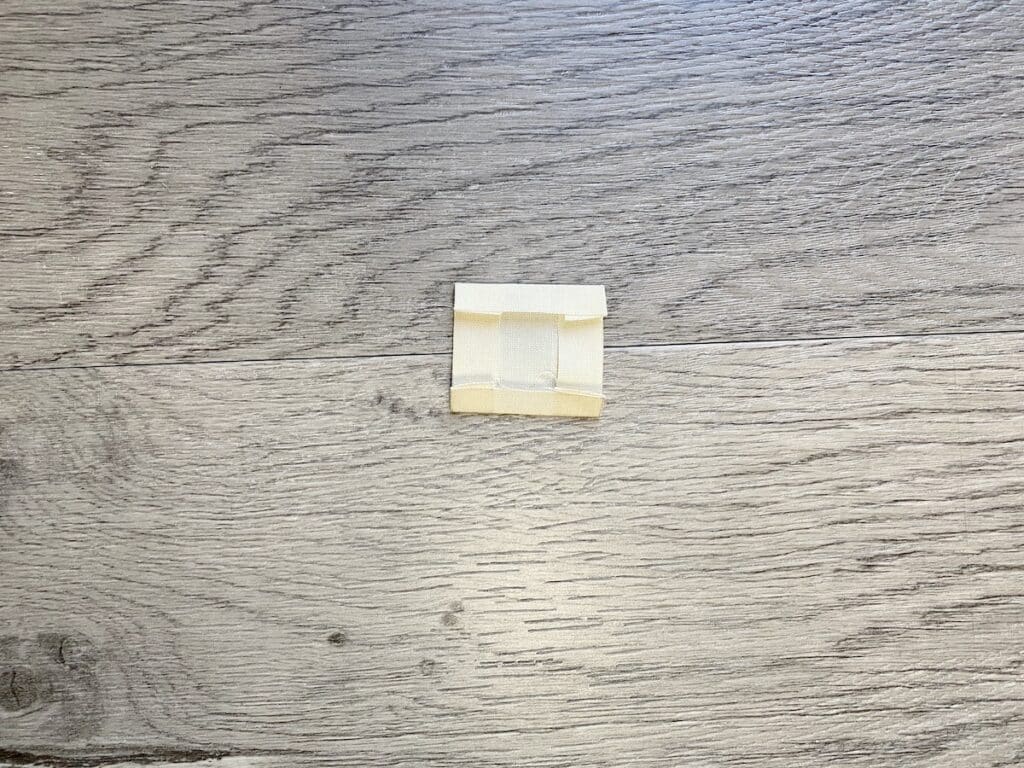
Step 6
Fold in half and clip to hold.
Step 7
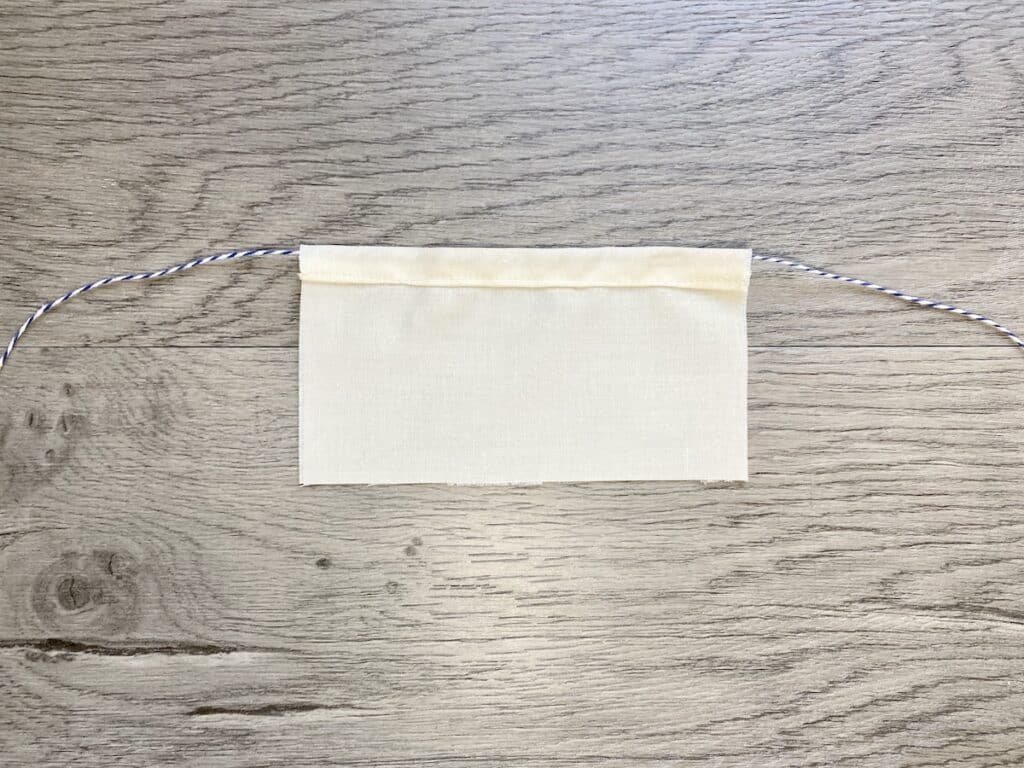
Put the twine inside the folded part of the 6” piece of fabric. Clip to hold the twine inside the fold.
Step 8
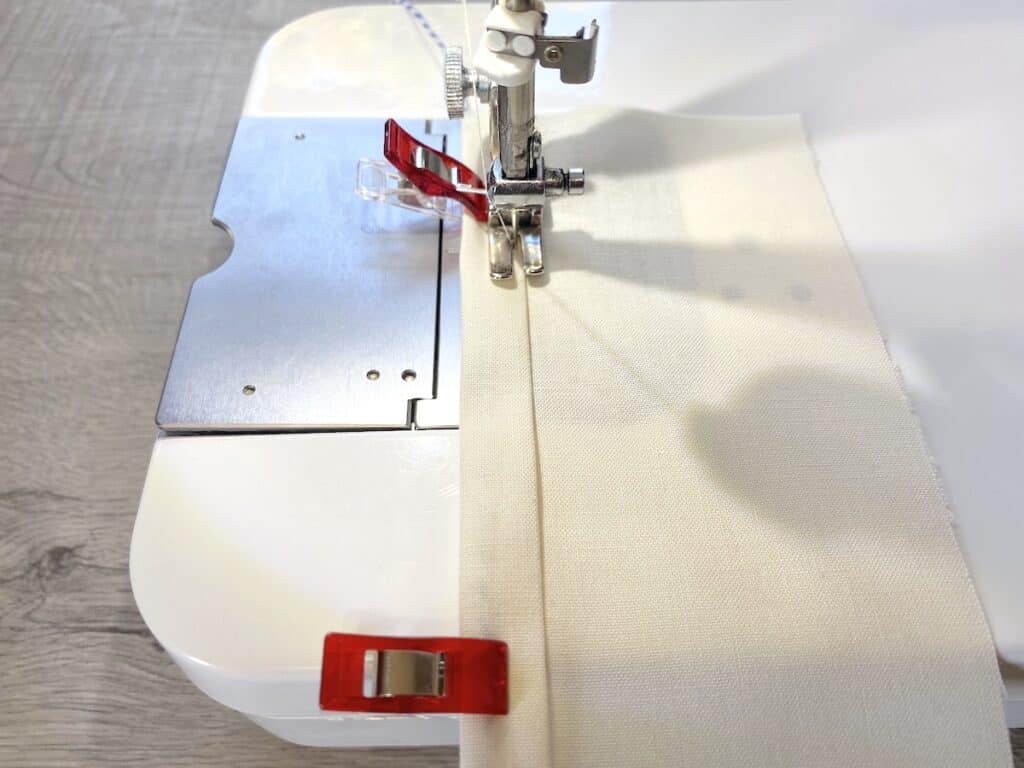
Sew along the bottom of the folded edge that has the twine inside to form a casing.
Step 9
Fold the fabric in half with the right sides together and clip. If you’re using muslin, you might not have a right and a wrong side. So just make sure the exposed seam edges are outside, as seen in the picture above.
Step 10
Sew along the bottom and up the open side. Stop at the bottom of the casing.
Step 11
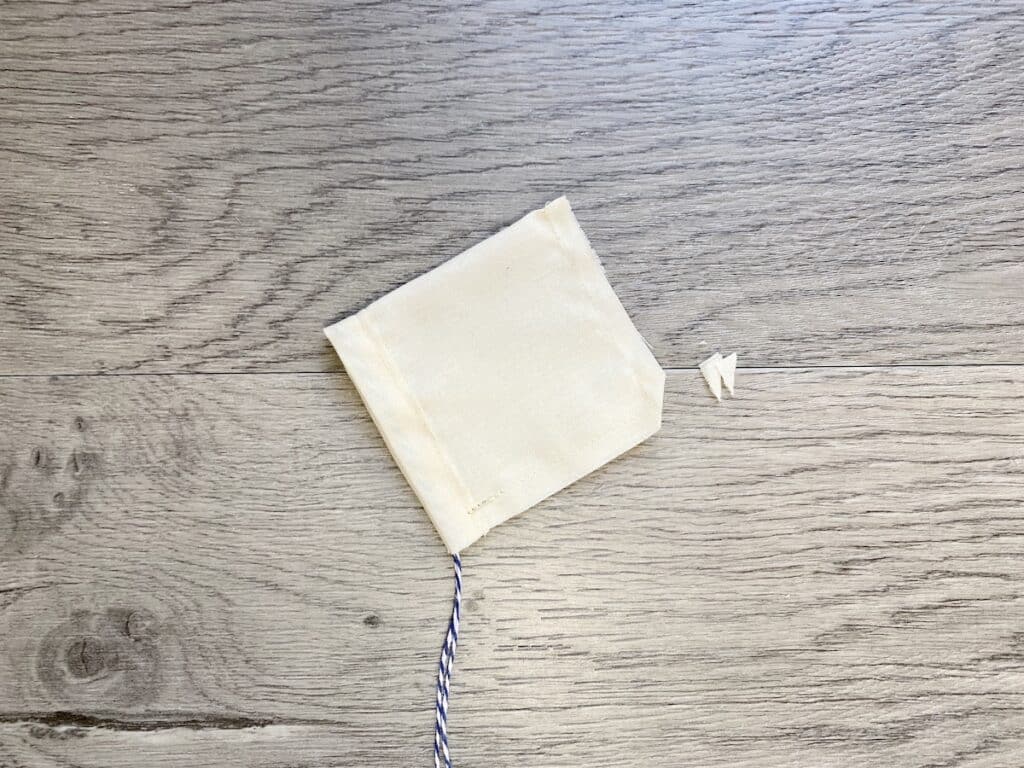
Trim the corner with a diagonal cut, making sure not to cut the stitching or get too close to the stitching. This reduces some of the fabric bulk to make turning the corners inside out easier.
Step 12
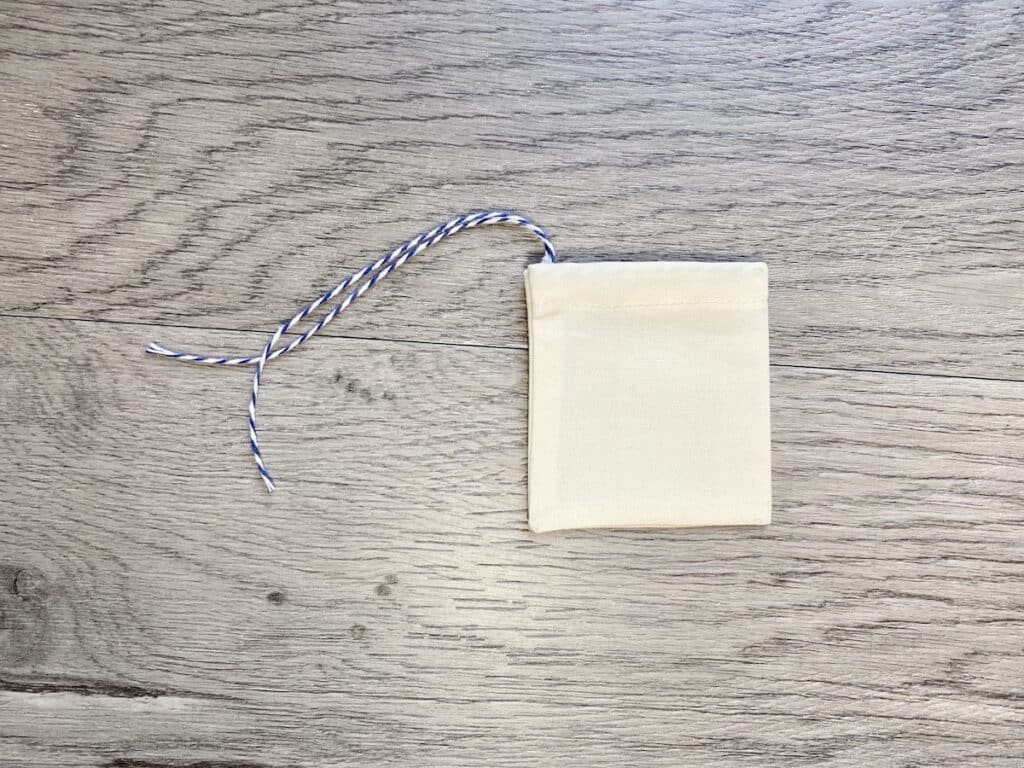
Turn the tea bag right side out. You might need to use a chopstick or turning tool to push out the bottom corner to be square.
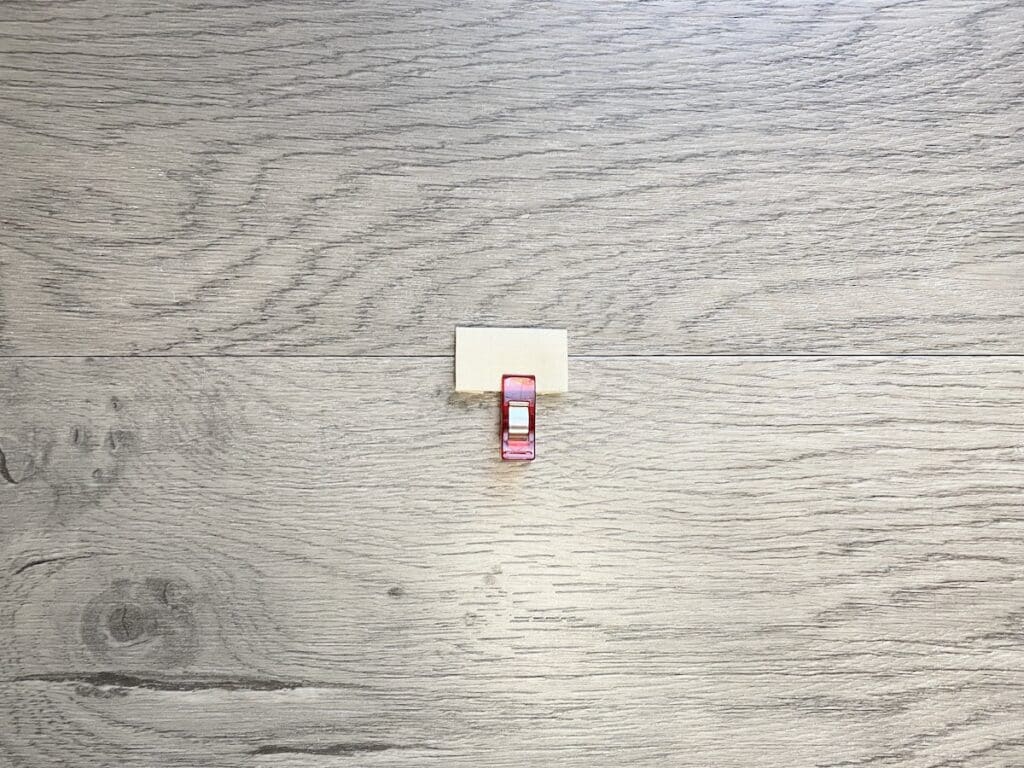
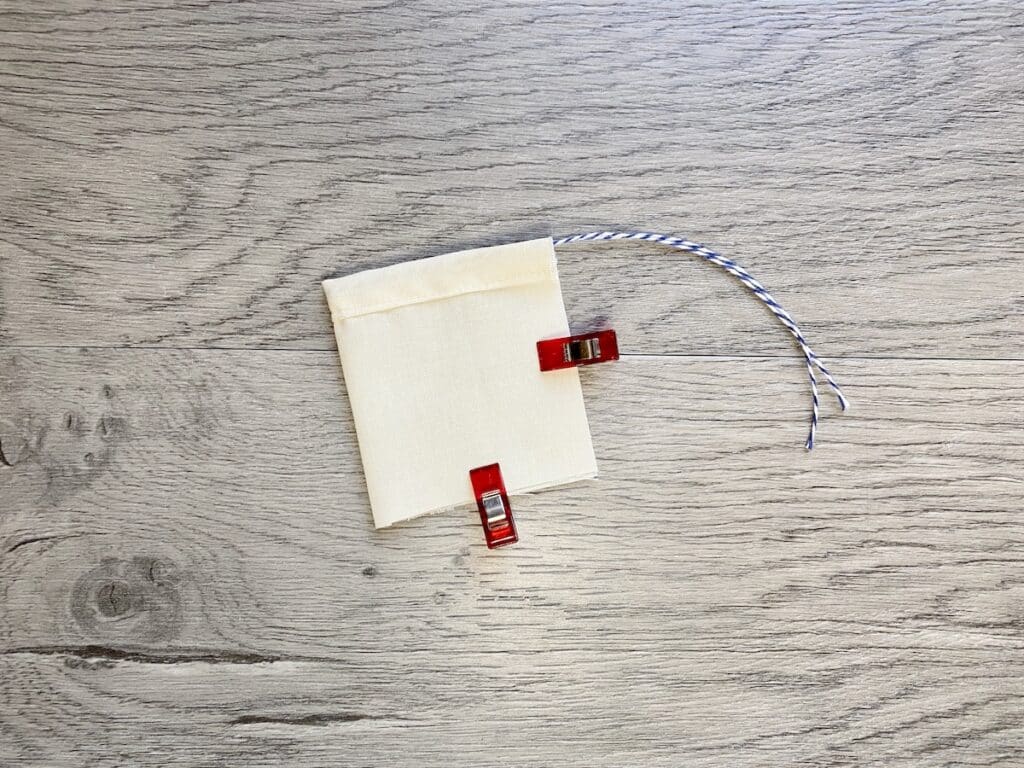
Step 13
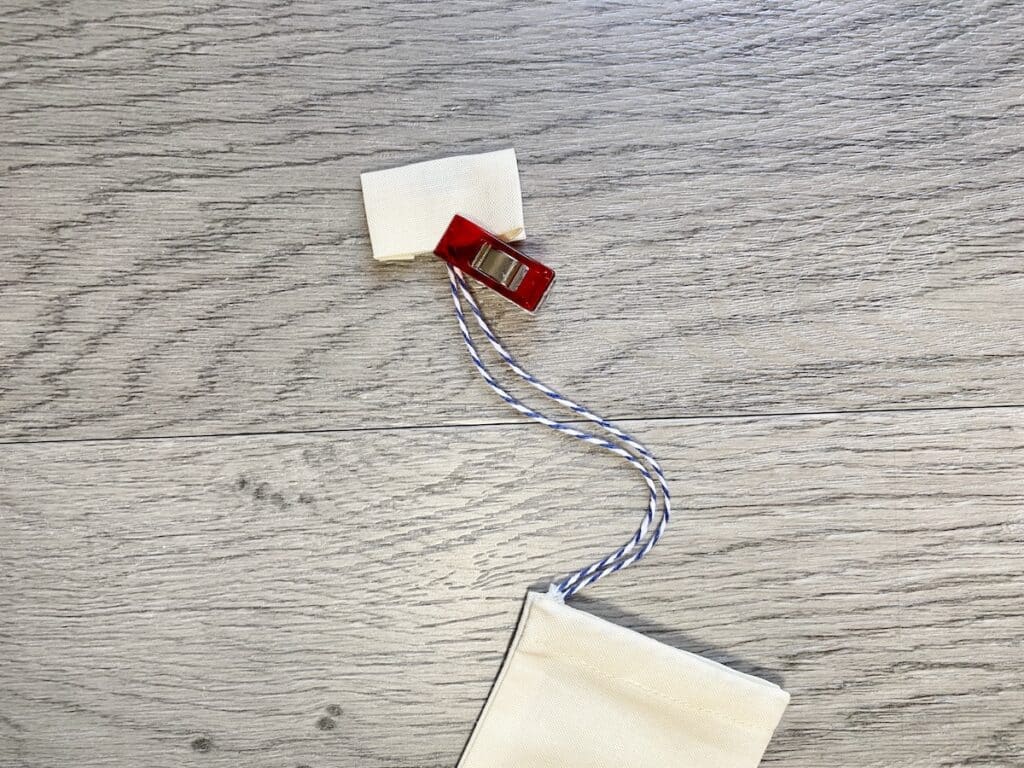
Insert ends of twine into the fold of the small fabric piece and clip together.
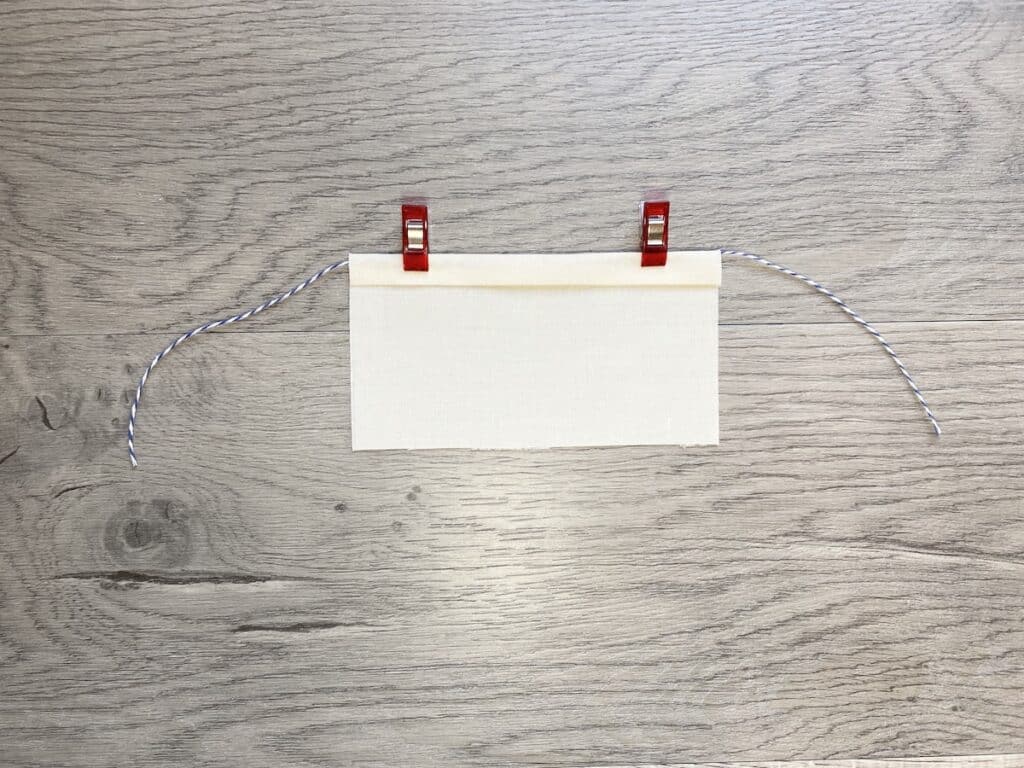
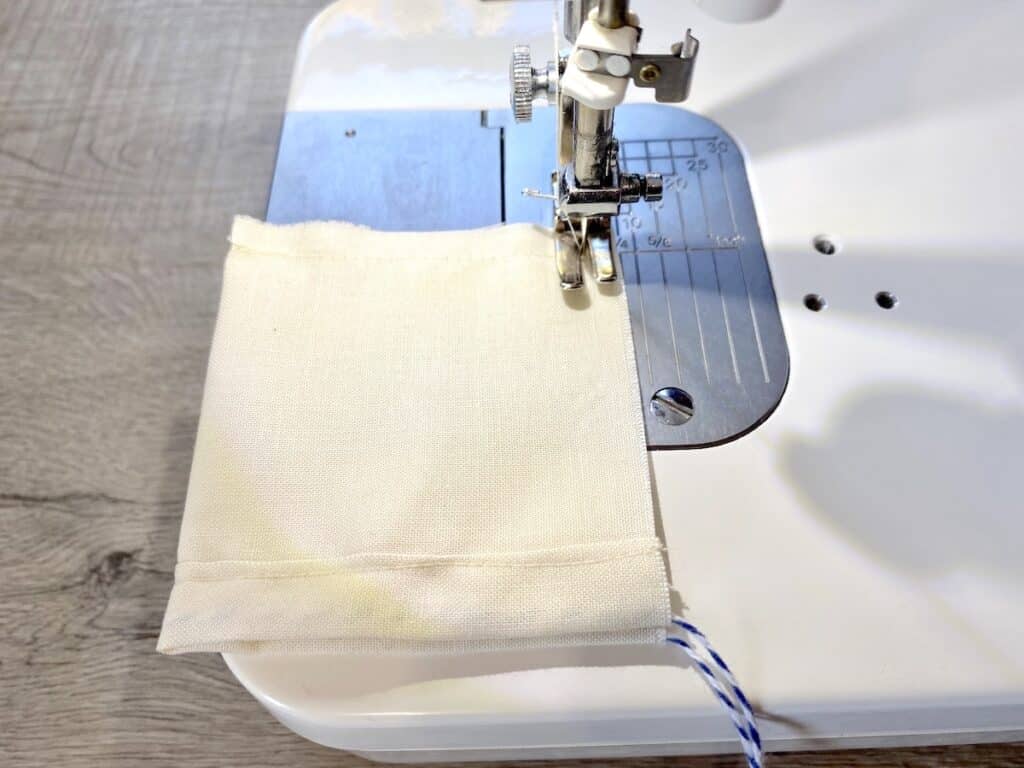
Step 14

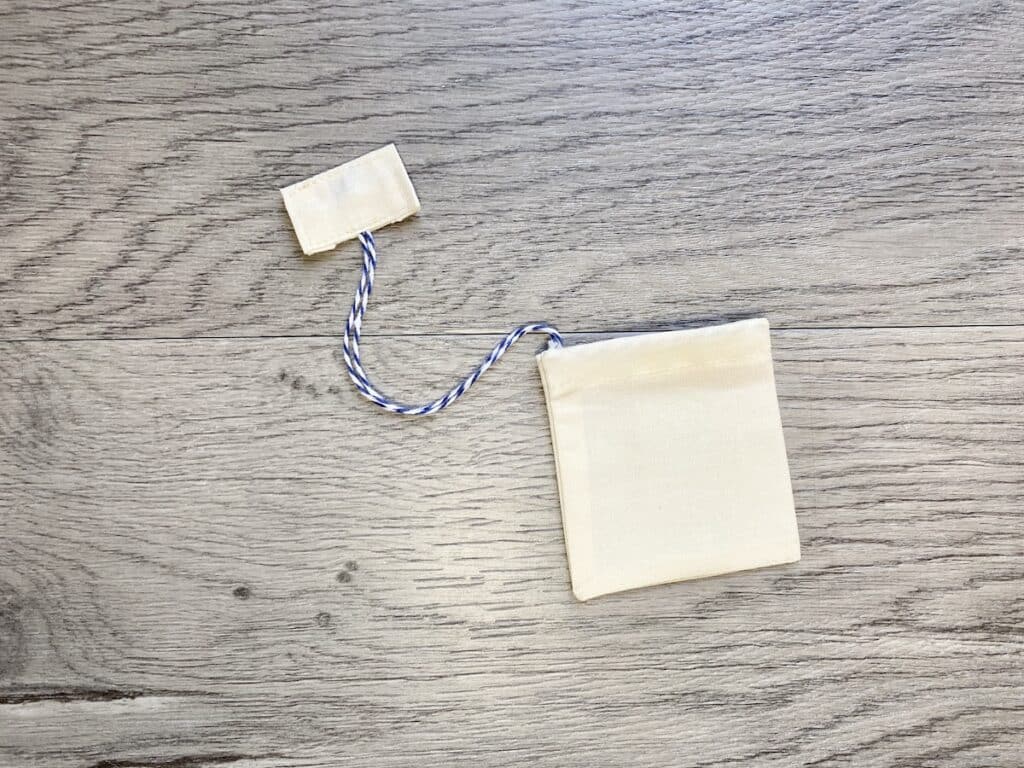
Top stitch all the way around the perimeter of the tiny fabric piece to form a tab which resembles a tea bag tag.
Be sure to Pin This idea to save for later!
This tea bag Christmas tree is also a great gift for a tea-lover!
More zero waste sewing projects you might like: