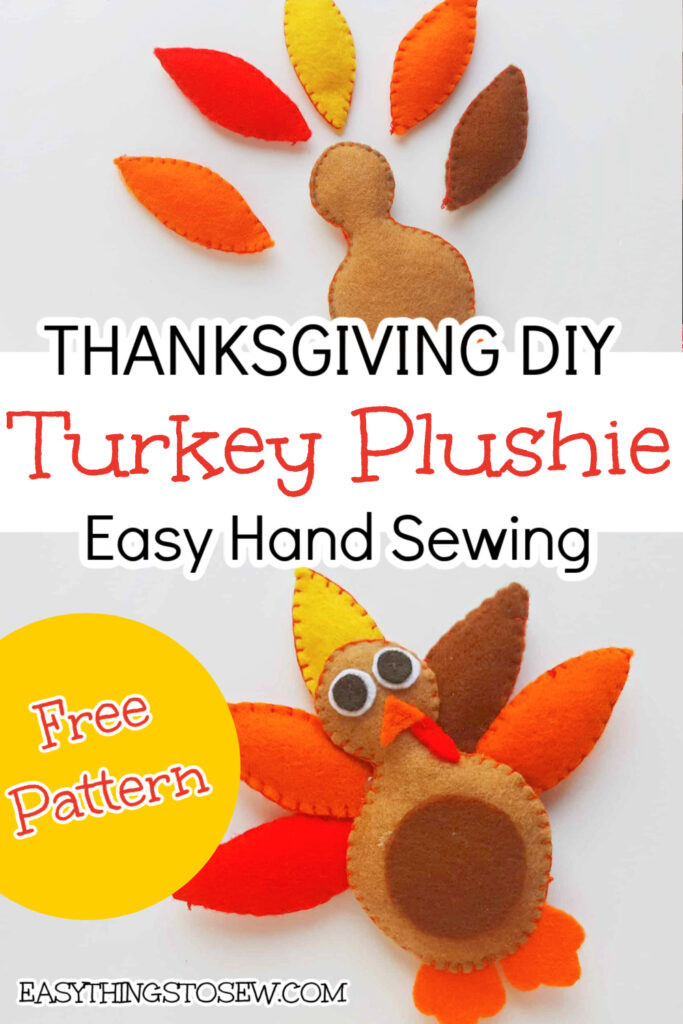
Felt Turkey Craft


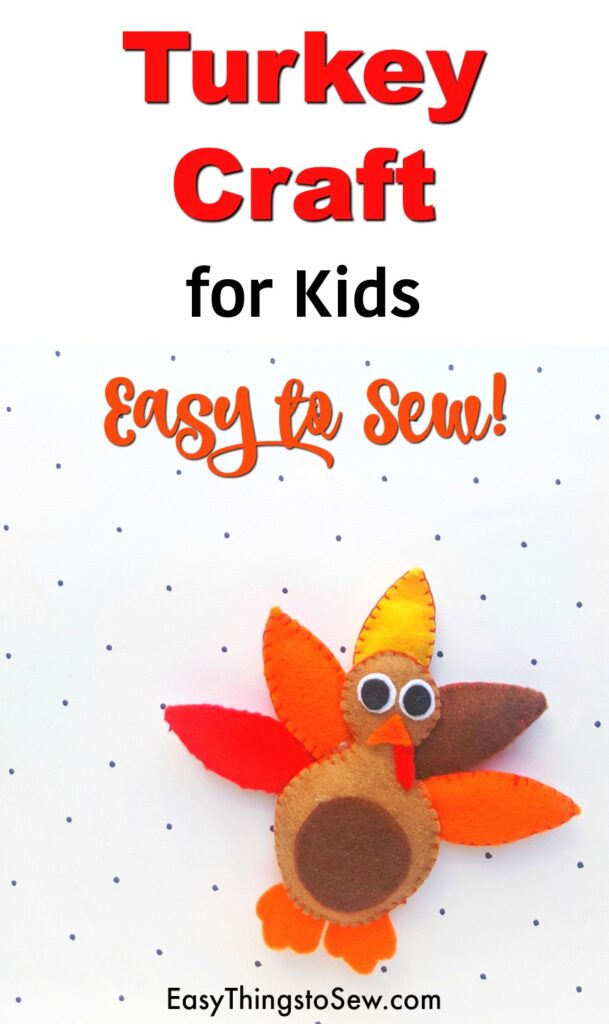
This cute turkey craft for kids is an easy sewing project using felt scraps and hand stitching.
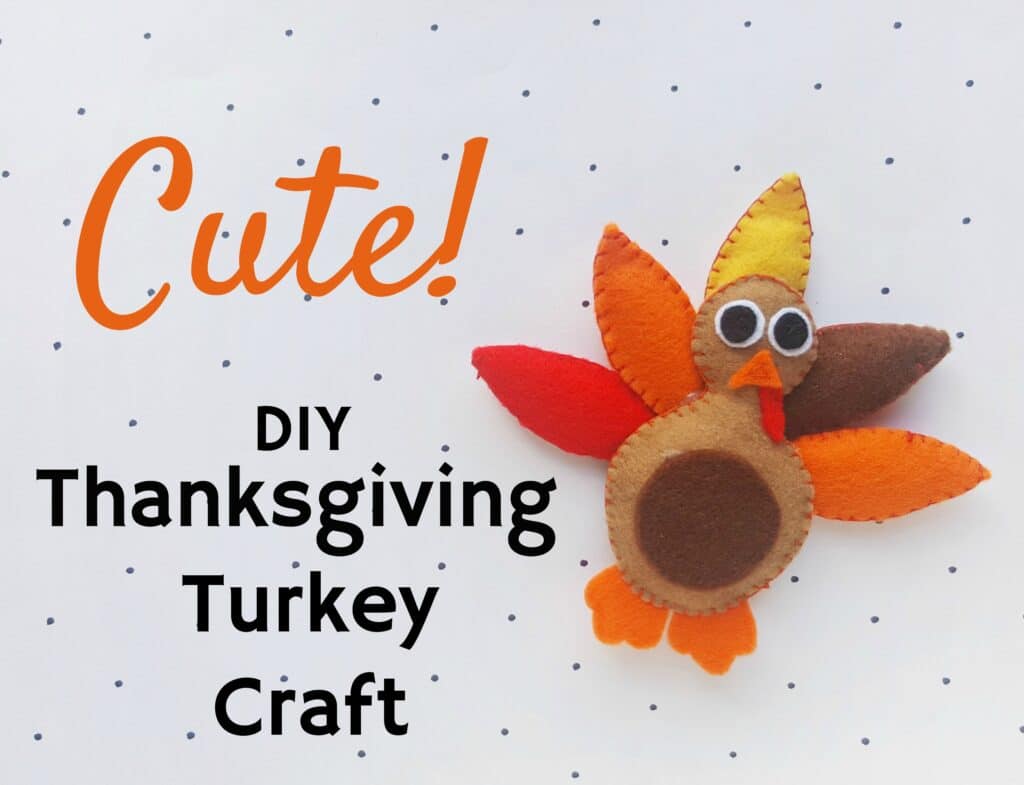
Turkey Craft For Thanksgiving Holiday
Thanksgiving is one of the times when the kids are home and you’re trying to figure out how to keep them entertained.
This Thanksgiving turkey craft is perfect for older kids, and even visiting family, to do as a DIY project. Even if they don’t already know how to sew.
You just need thread and a needle and some scraps of felt.
Be sure to pin this craft idea to Pinterest for later so that you’re ready with great activities when the family says that they are bored!
Turkey Craft DIY Project
Supplies
- Colored felt – yellow, orange, red, brown, black and white
- Matching colored threads
- Hand-Sewing Needle
- Free Thanksgiving Turkey Pattern
- Pencil or pen – for tracing the template
- Scissors (See our Guide to the Best Scissors for Cutting Felt)
- Polyfill or Cotton Stuffing
- Hot glue gun
Directions
Step 1
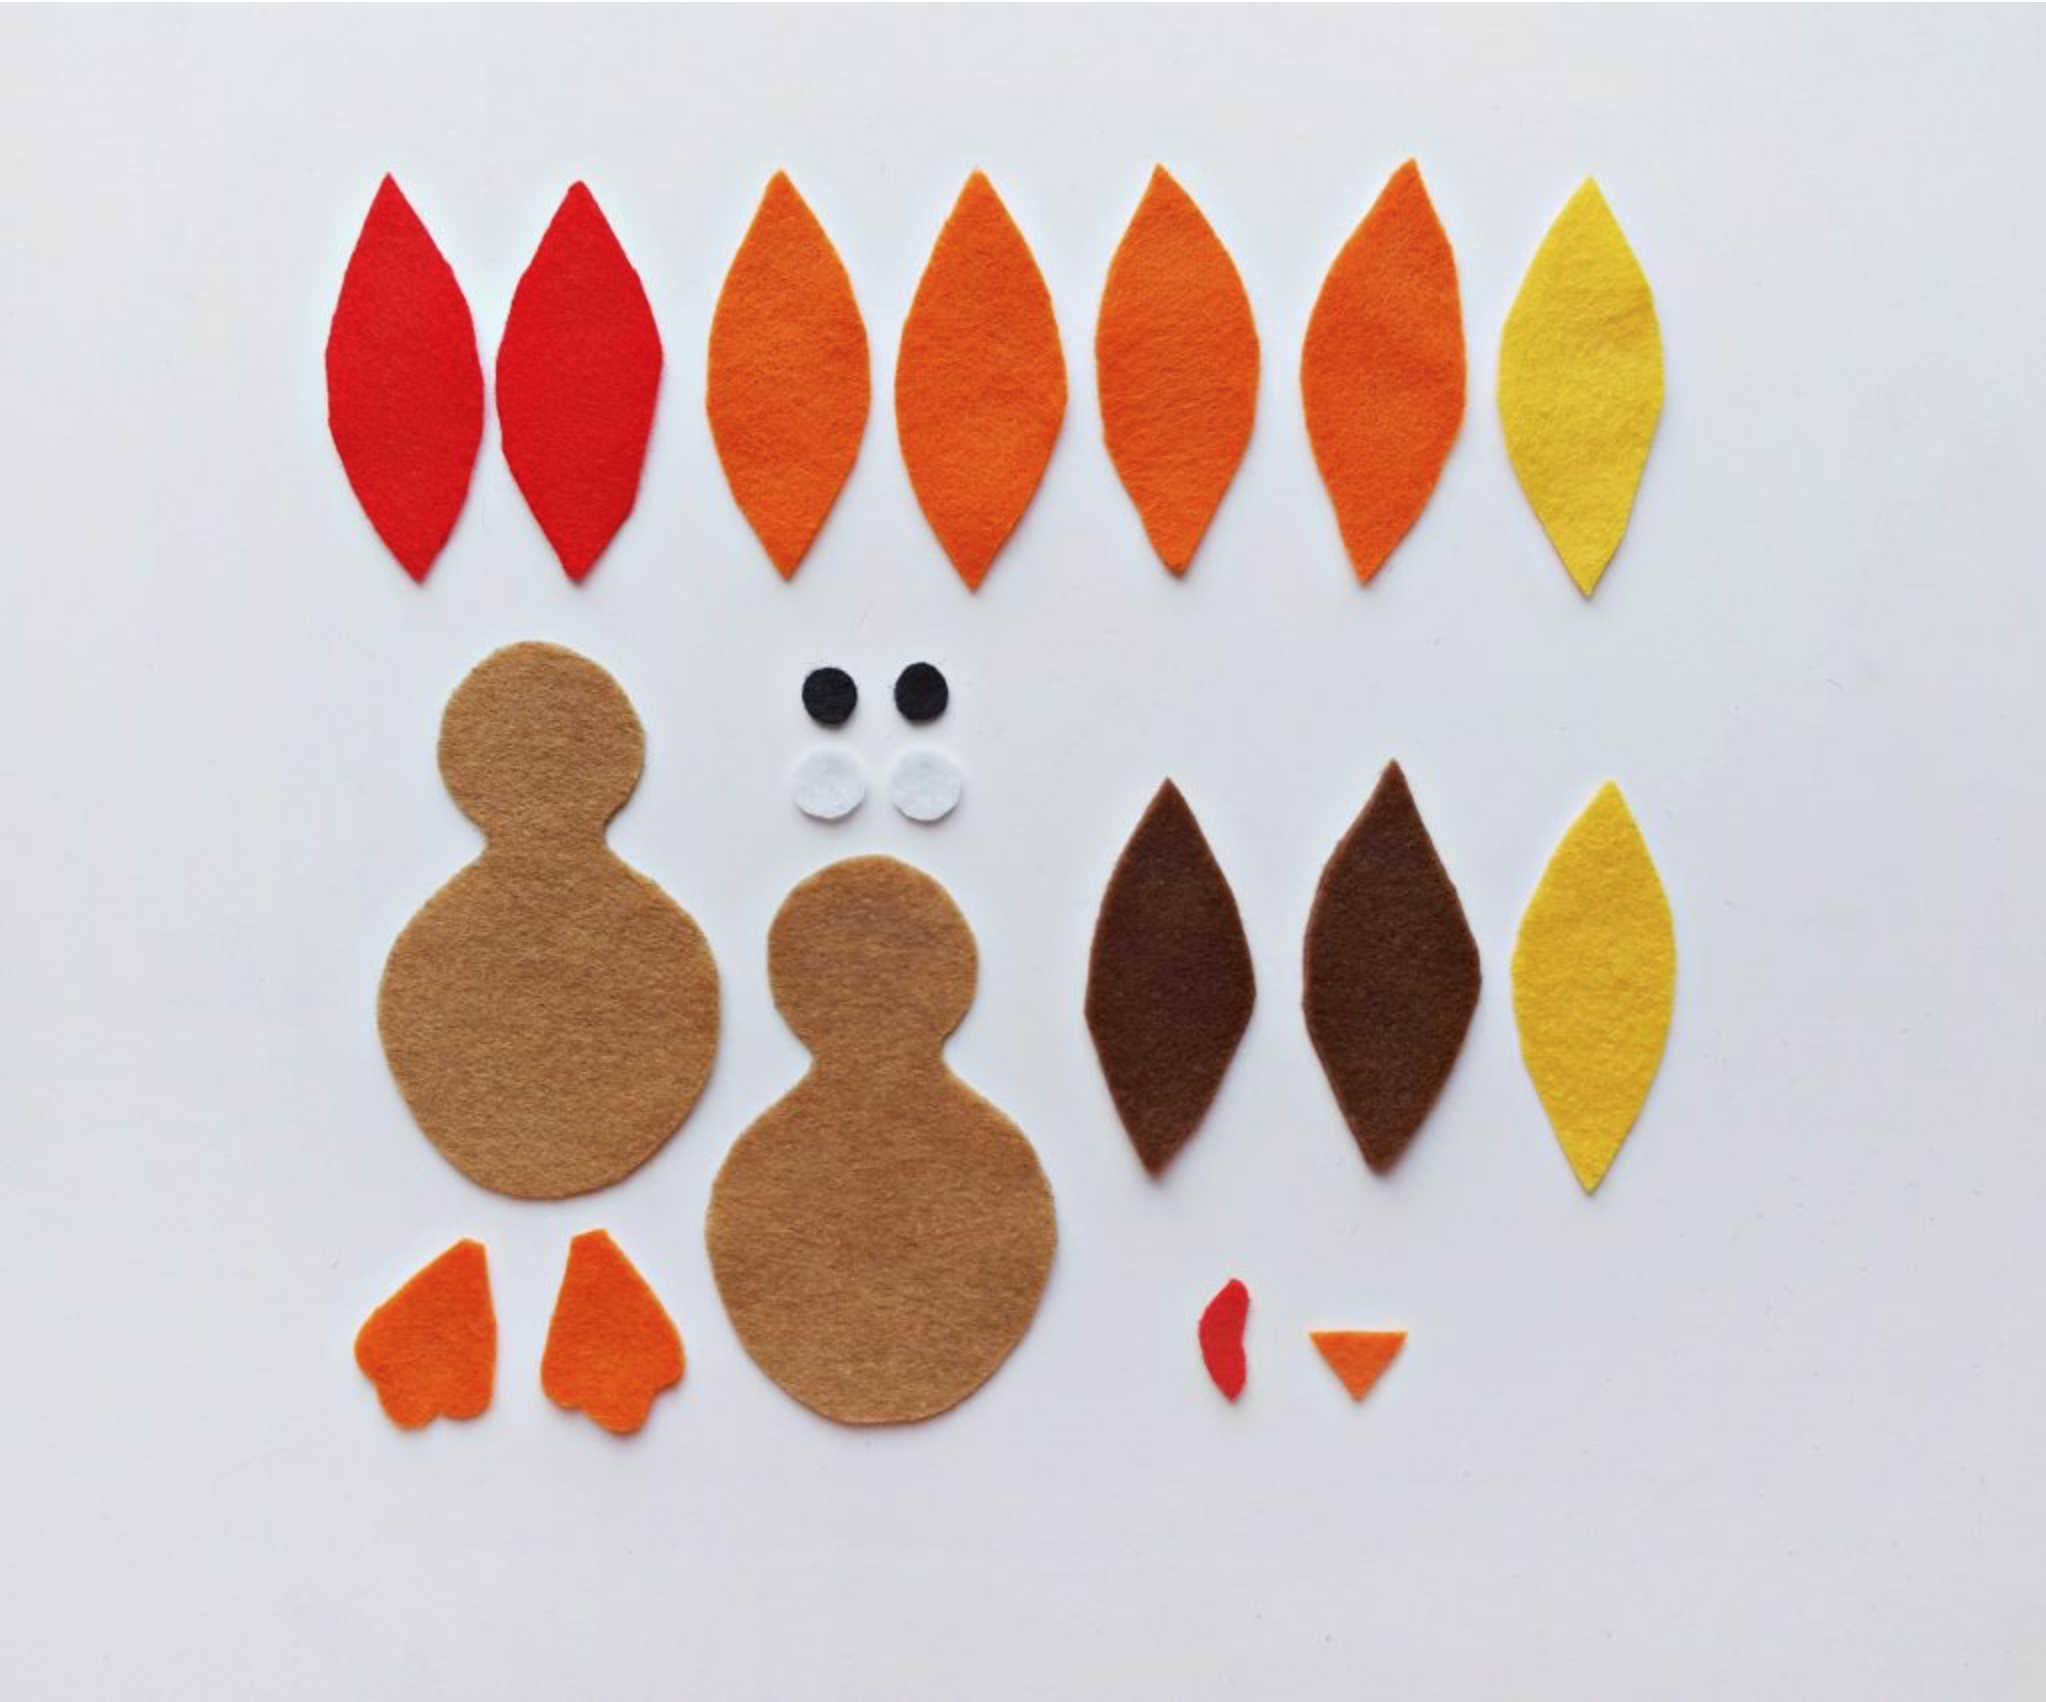
Download, print out and trace the free turkey pattern onto the corresponding felt colors.
You should have the following turkey templates:
- Body (2)
- Beak
- Wattle
- Feathers (10 total; 2 for each color)
- White eyes (2)
- Black eye pupils (2)
- Legs (2)
- Small round circle (this is not on the pattern template)
Step 2
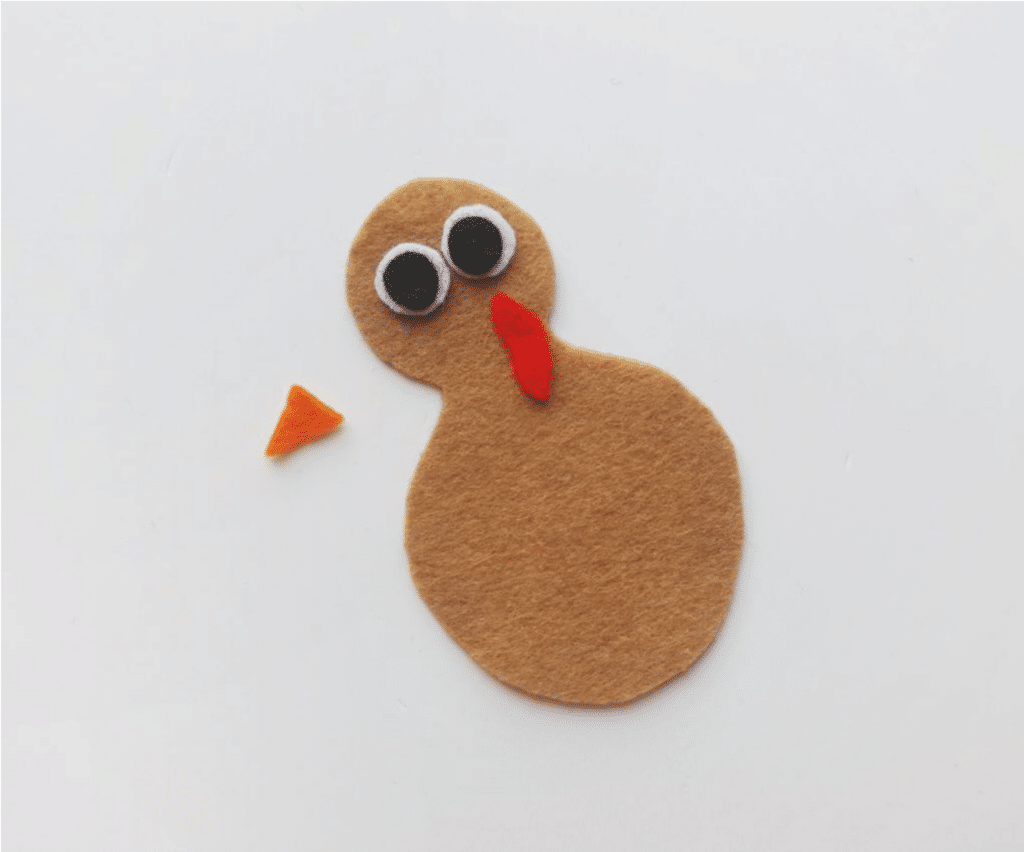
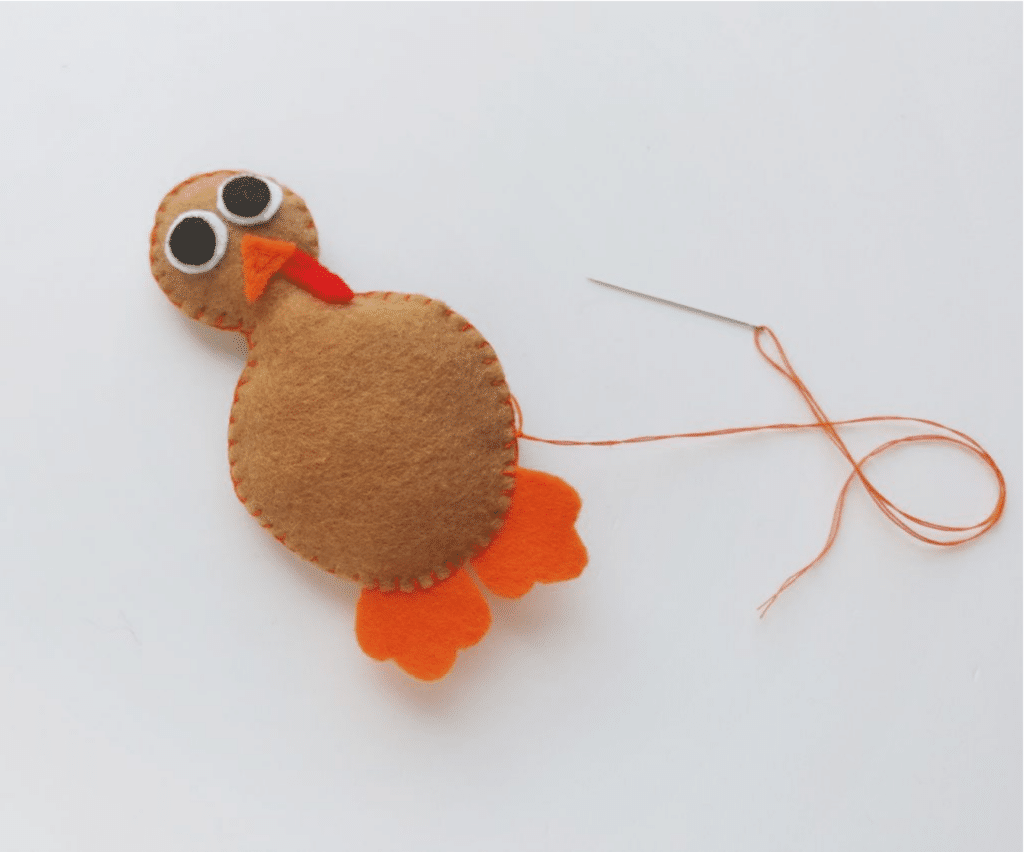
Use one of the body bases and stitch the eyes, beak and wattle onto it.
Place the white part of the eyes on the face part of the body first, then layer the two black pupils on top to the eyes.
Place the wattle underneath the right-side eye with the curved out portion facing the right side. Then layer the nose template over the top of the wattle, with the point facing left.
Stitch using a simple running stitch with thread colors that match the pattern pieces.
Step 3
With the other plain body pattern piece, place it under the one with the face attached, making sure the edges align.
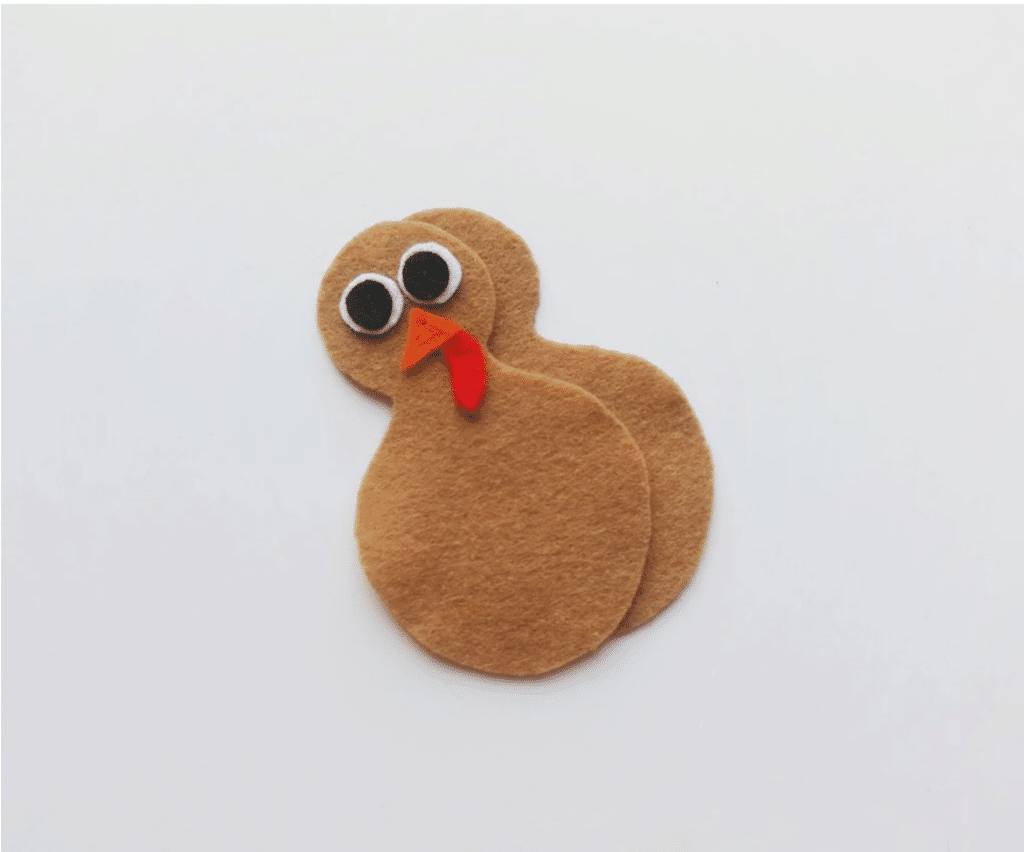
Thread a needle with thread. Stitch around the sides of the body using a blanket stitch.
Keep a small opening on the bottom That is not sewn together.
Step 4
Stuff cotton filling through the opening until the turkey stuffie is as thick as you would like.
Step 5
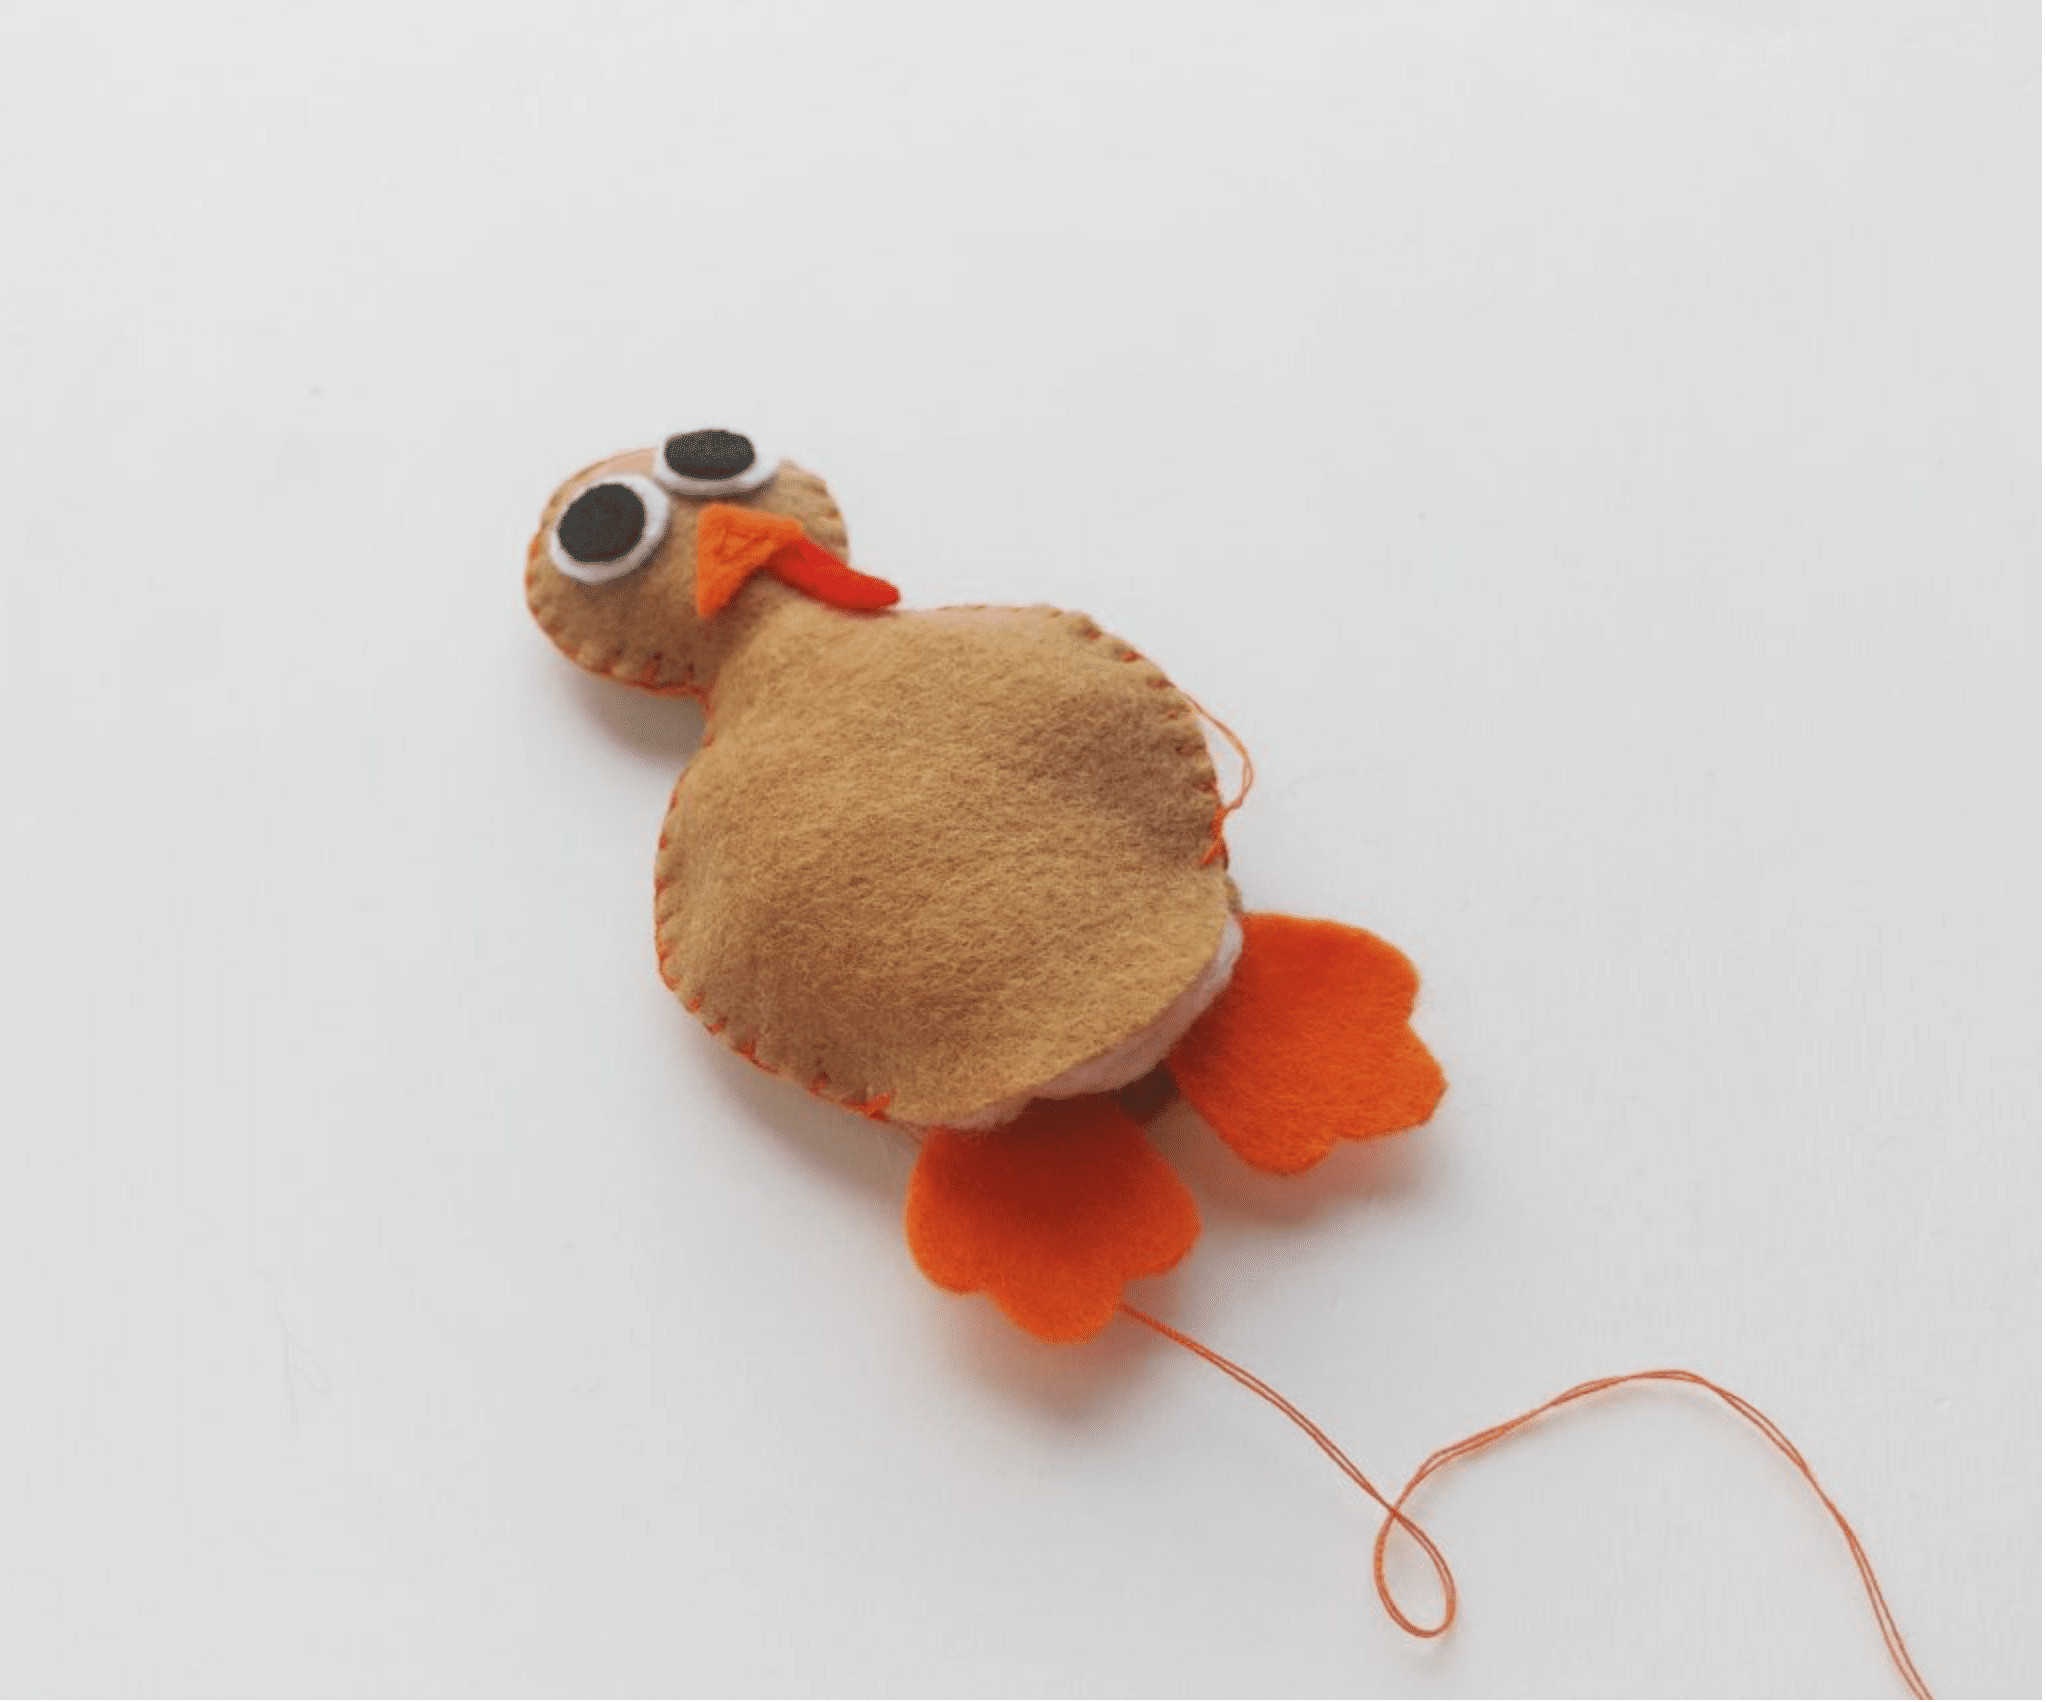
Then place the 2 leg pieces between the 2 body cut outs at the bottom open end.
Finish hand stitching the opening closed, being sure to secure the legs in between the body pieces while stitching.
Step 6
Using 2 feather patterns of the same color, place them together, making sure that the sides are matched.
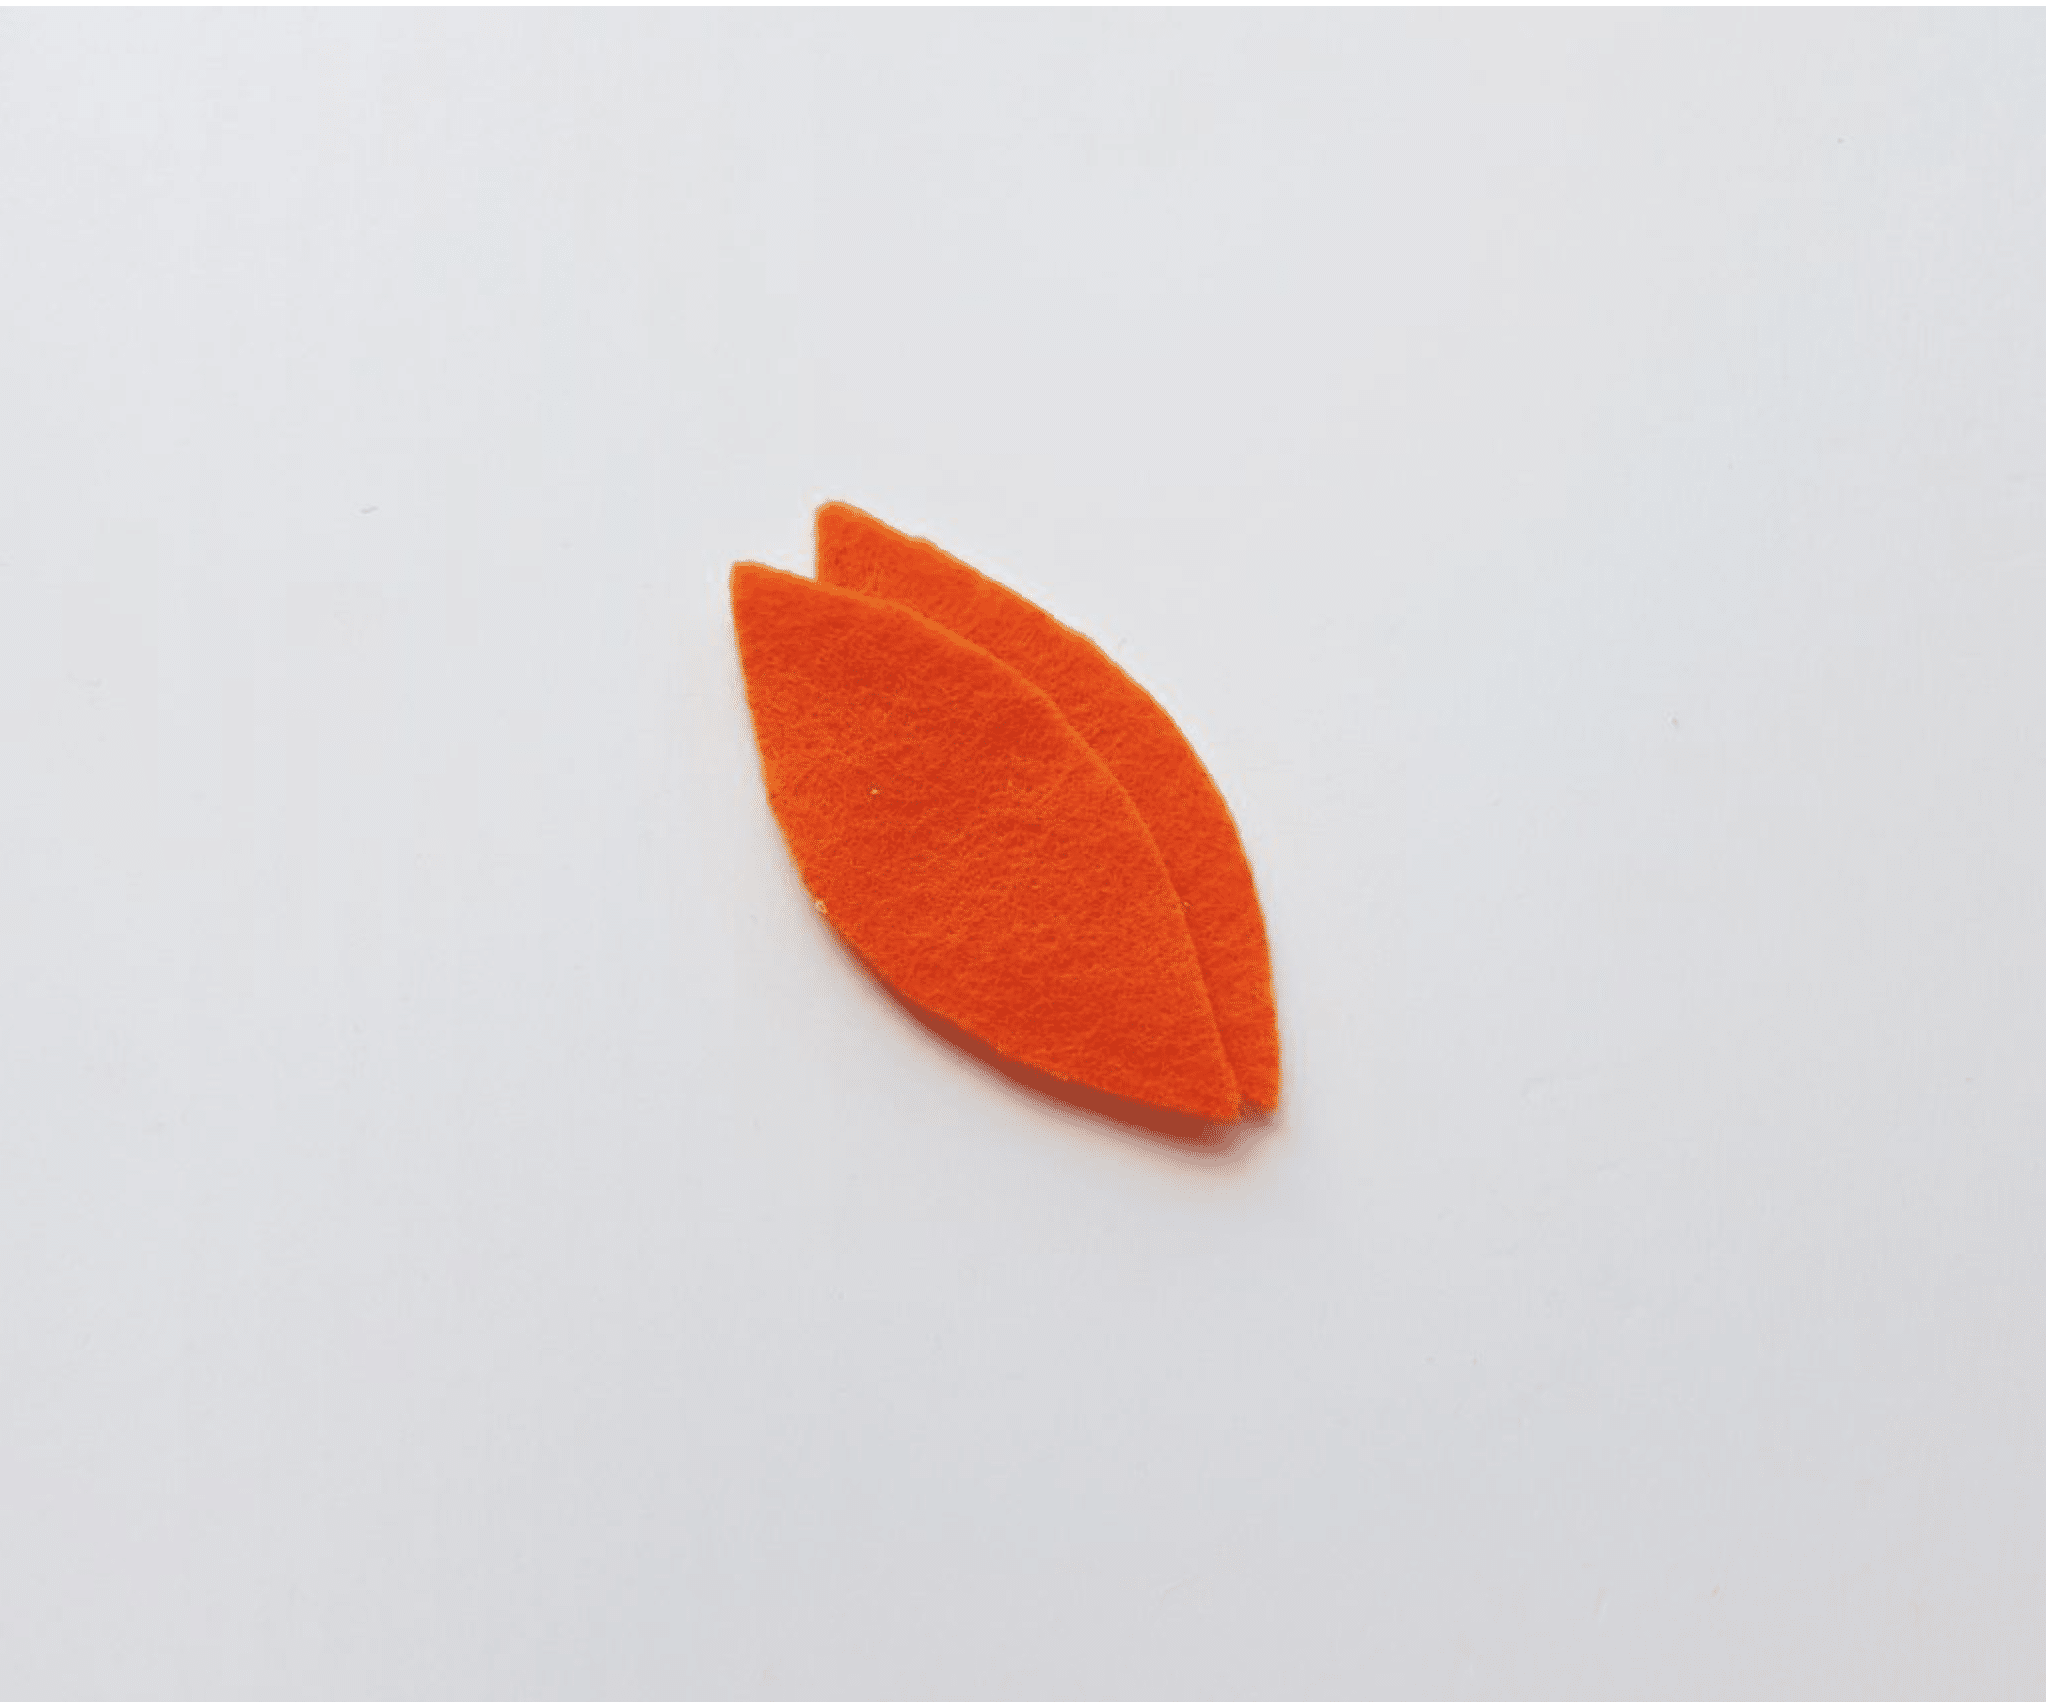
Thread a needle with matching thread color. Stitch around the sides of the feather, leaving a small opening.
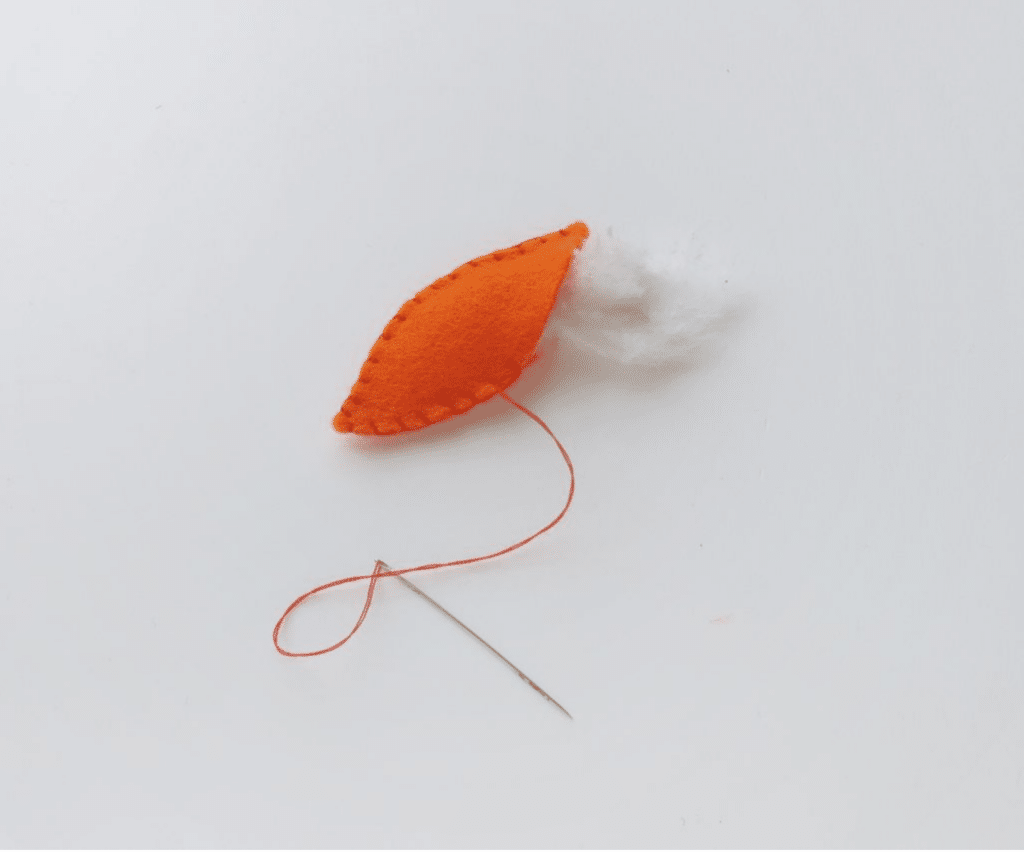
Step 7
Add Polyfill or stuffing into the feather and then continue hand sewing the felt pieces closed. Knot the thread one or two times and cut off the excess.
Repeat this same process with all of the colors of feathers. You can use matching thread colors or use coordinating thread colors.
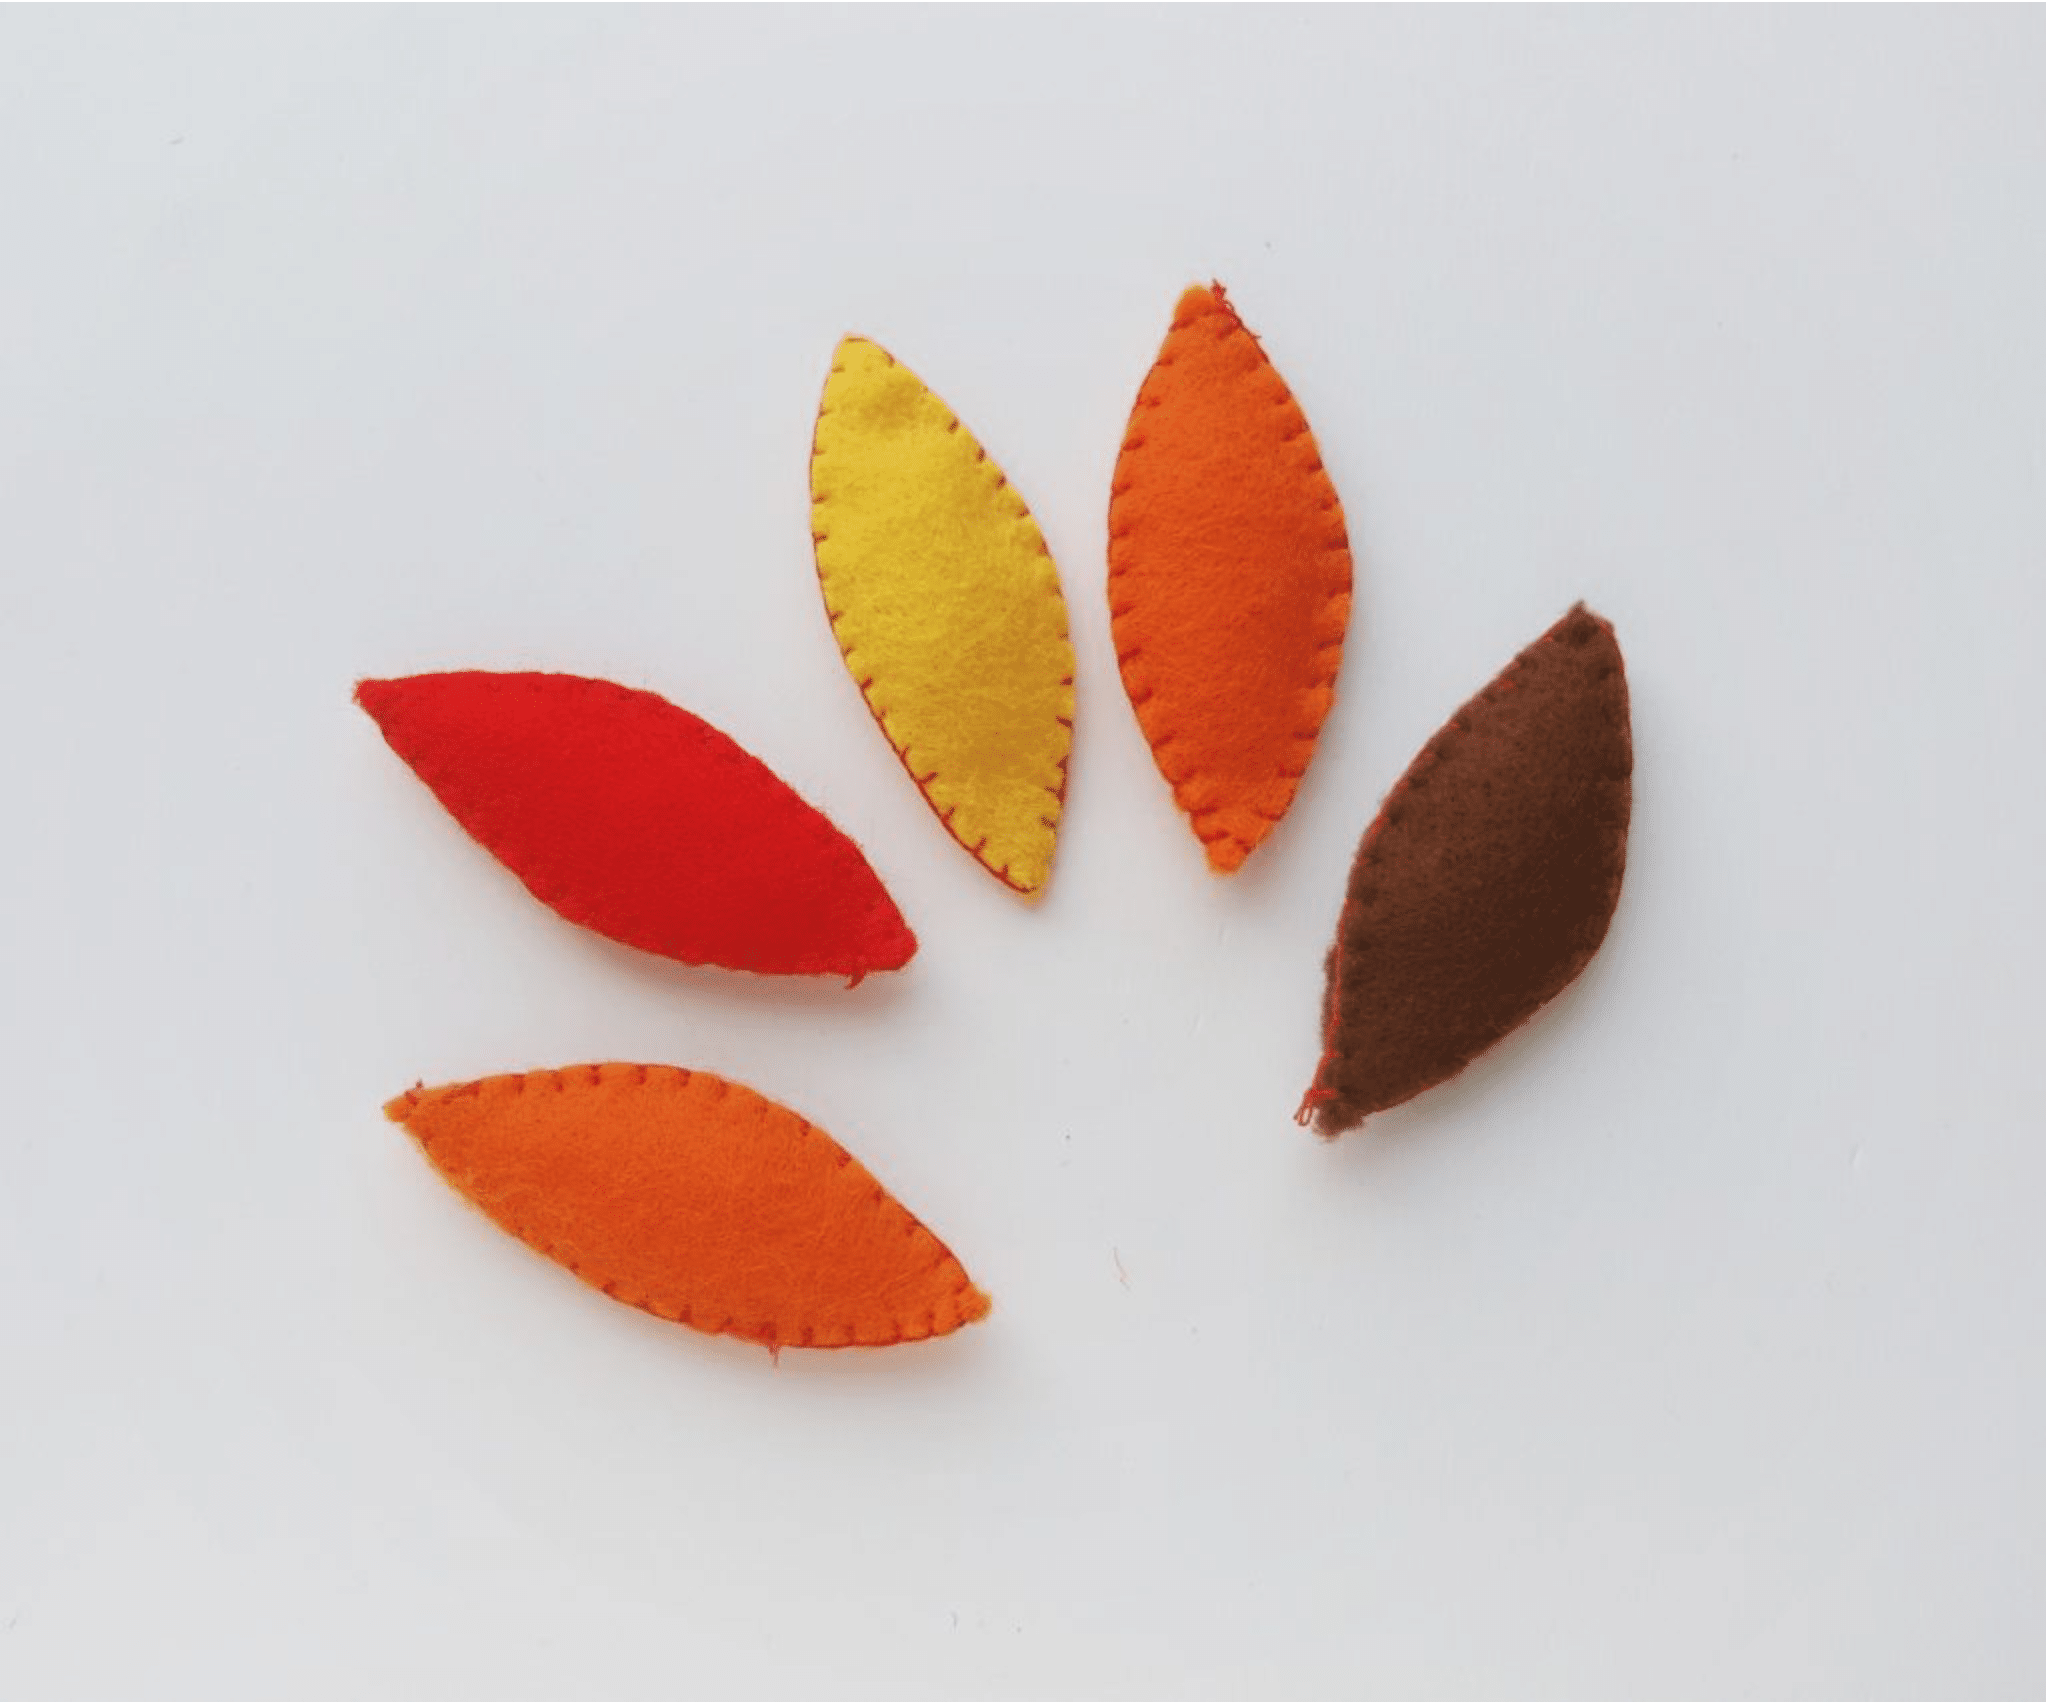
Step 8
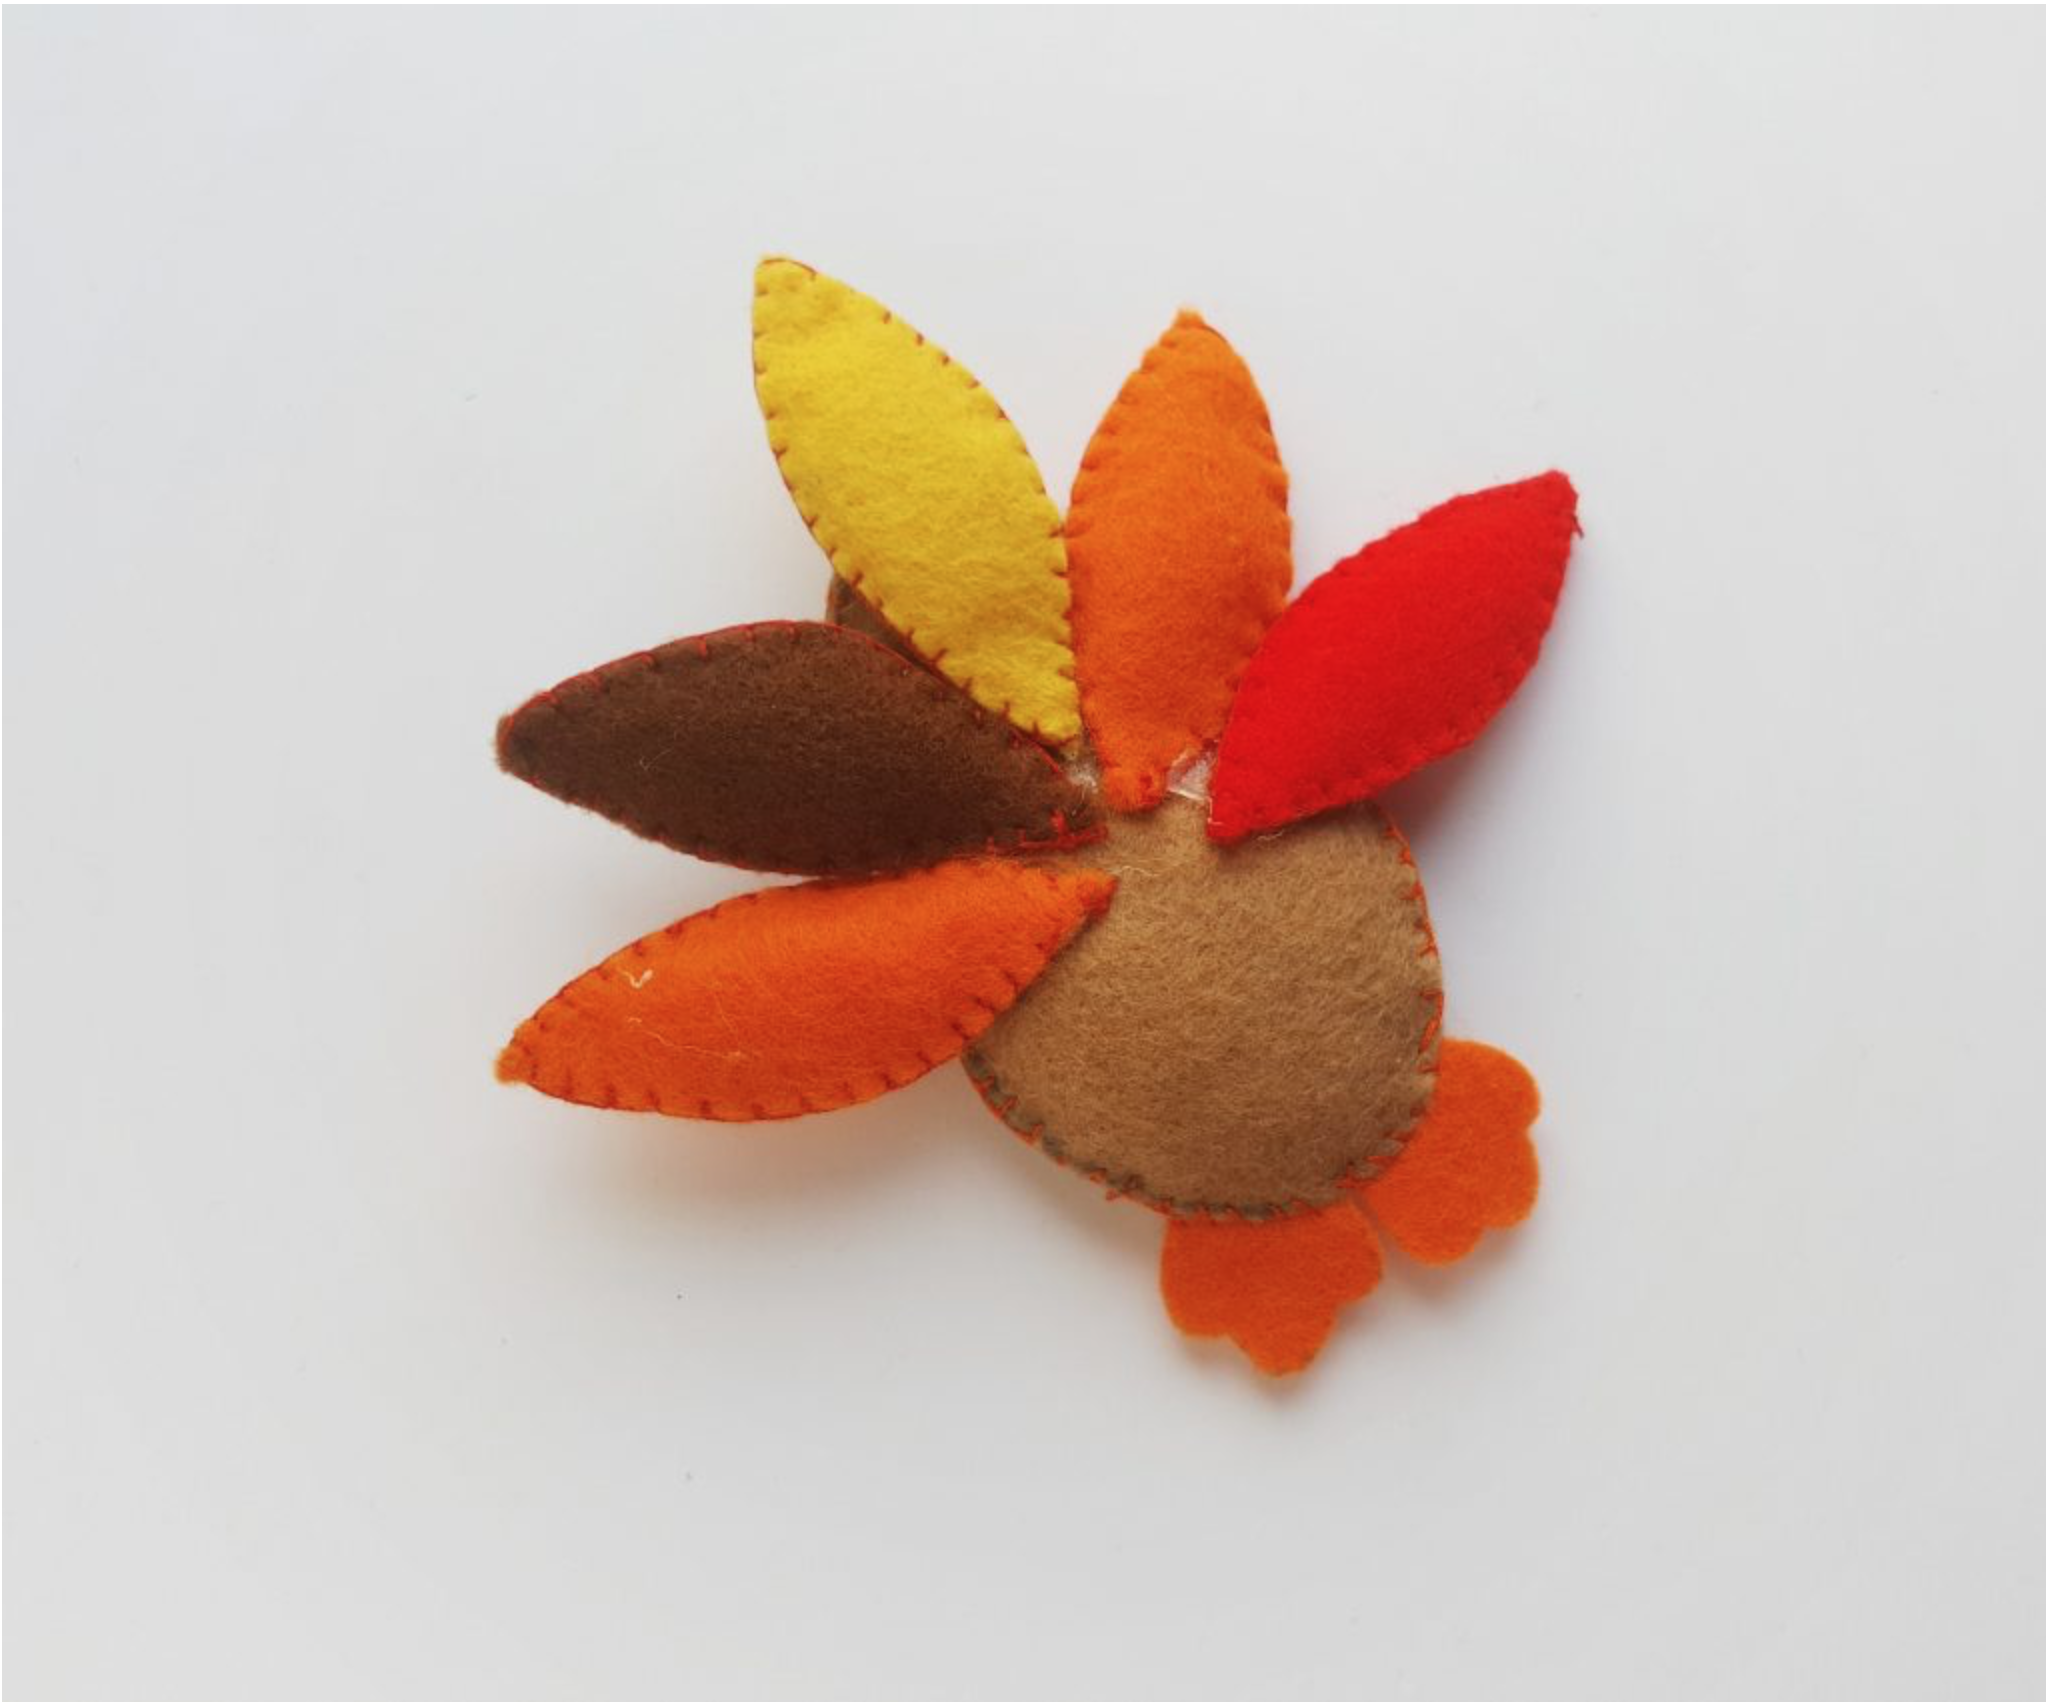
Decide how you would like to arrange the felt feathers on the turkey.
Using a hot glue gun, glue the feathers on the back side of the stuffed turkey body one at a time.
You will want the feathers visible from the front, so be sure to test out your feather placement before gluing them down.
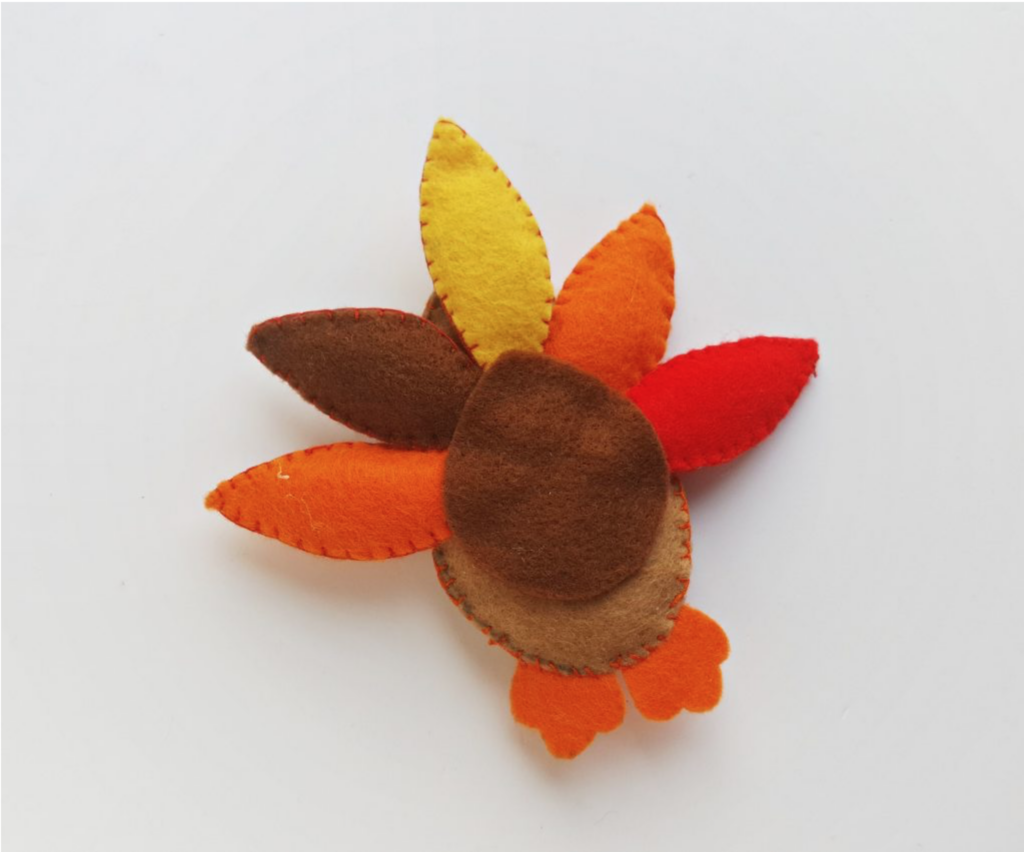
OPTIONAL: If you want to cover the place where you glued the feathers down, you can cut a circle out of a piece of felt and glue it on top over the edges.
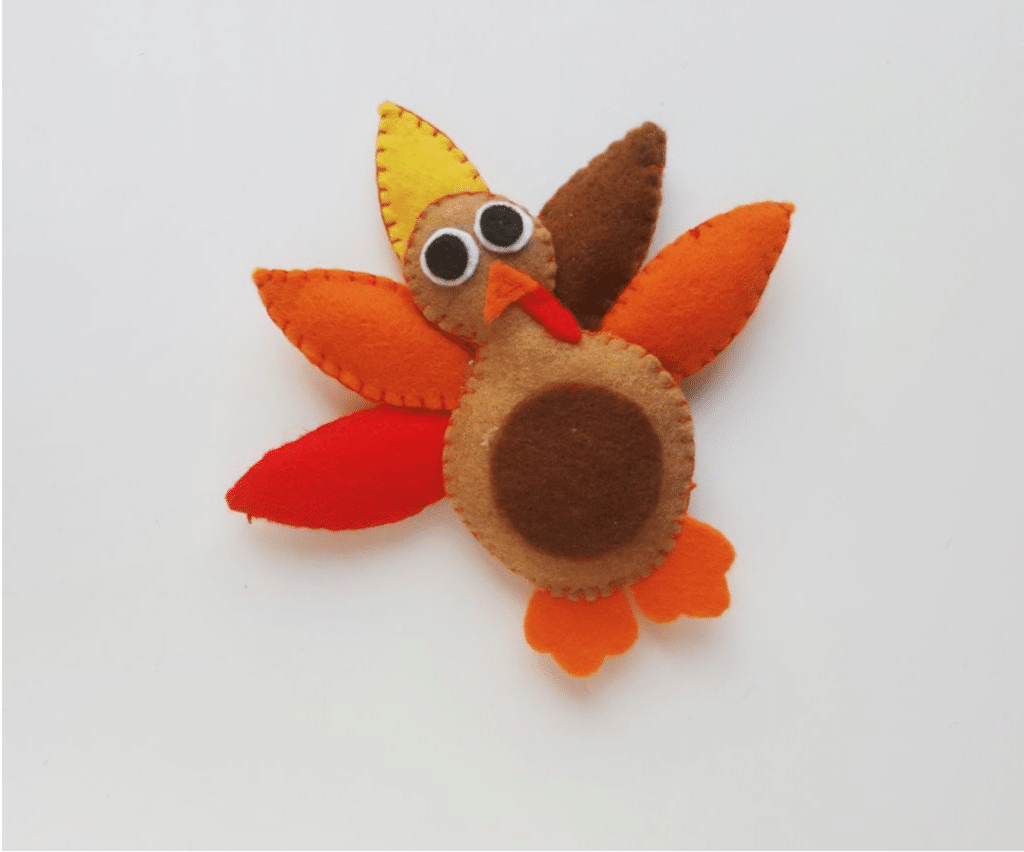
Step 9
Glue a small piece of round felt on the front of the turkey. You could also hand stitch, if you prefer.
Want to save this free turkey pattern for later? Be sure to Pin It!
This felt turkey plushie is just one of our many fun felt crafts. Be sure to see more of our ideas!