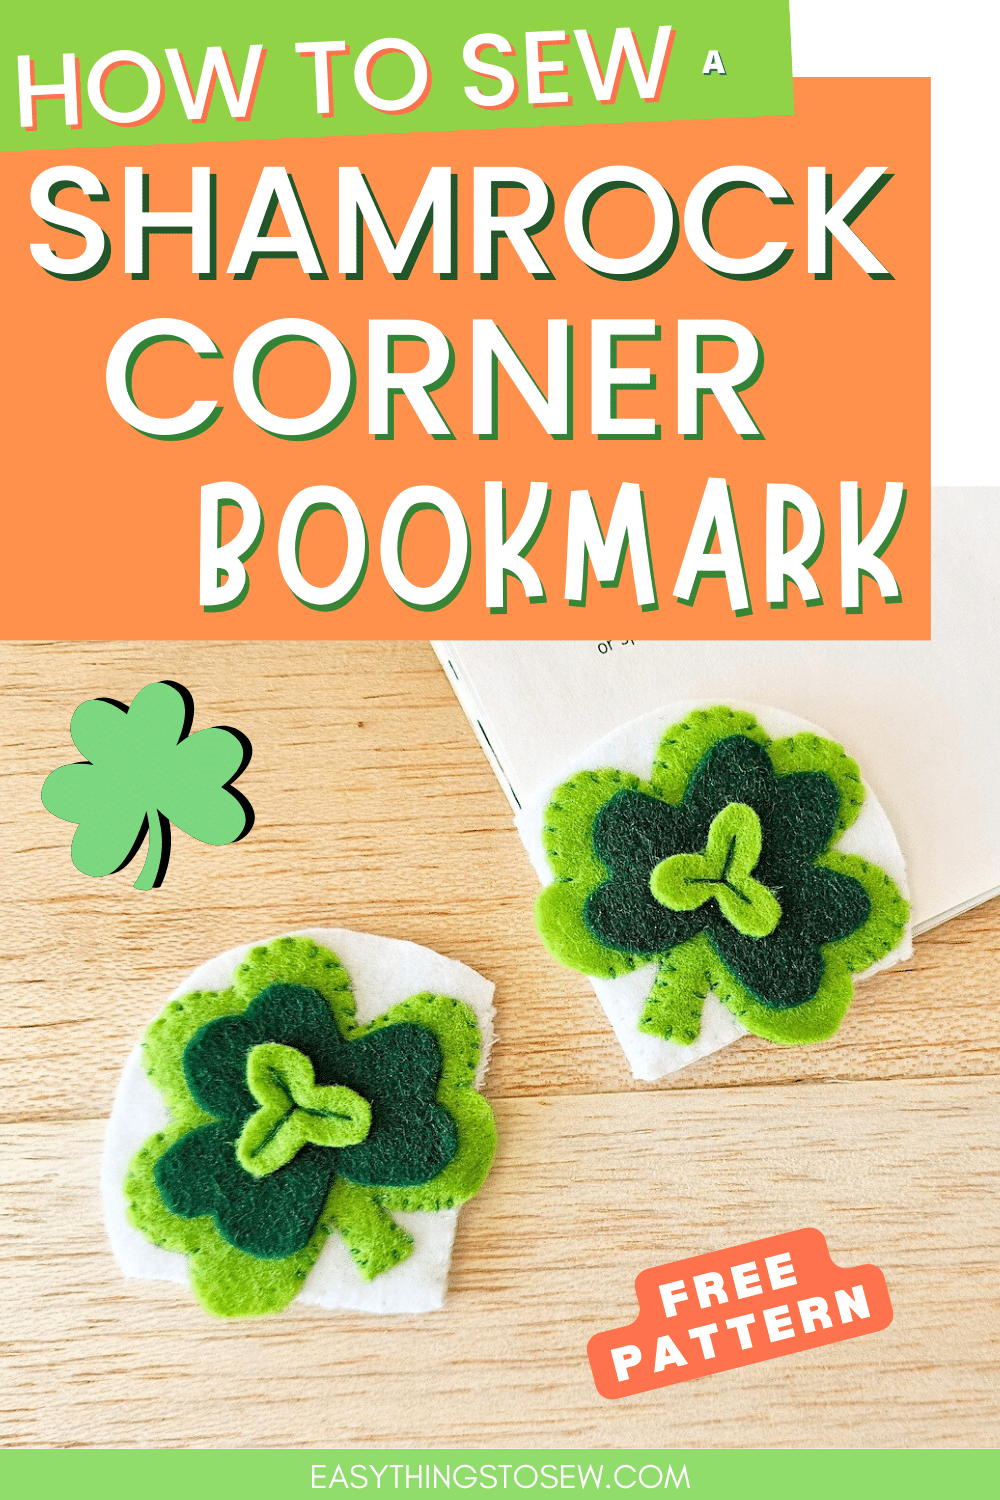
Felt Shamrock Bookmark (Free Pattern)


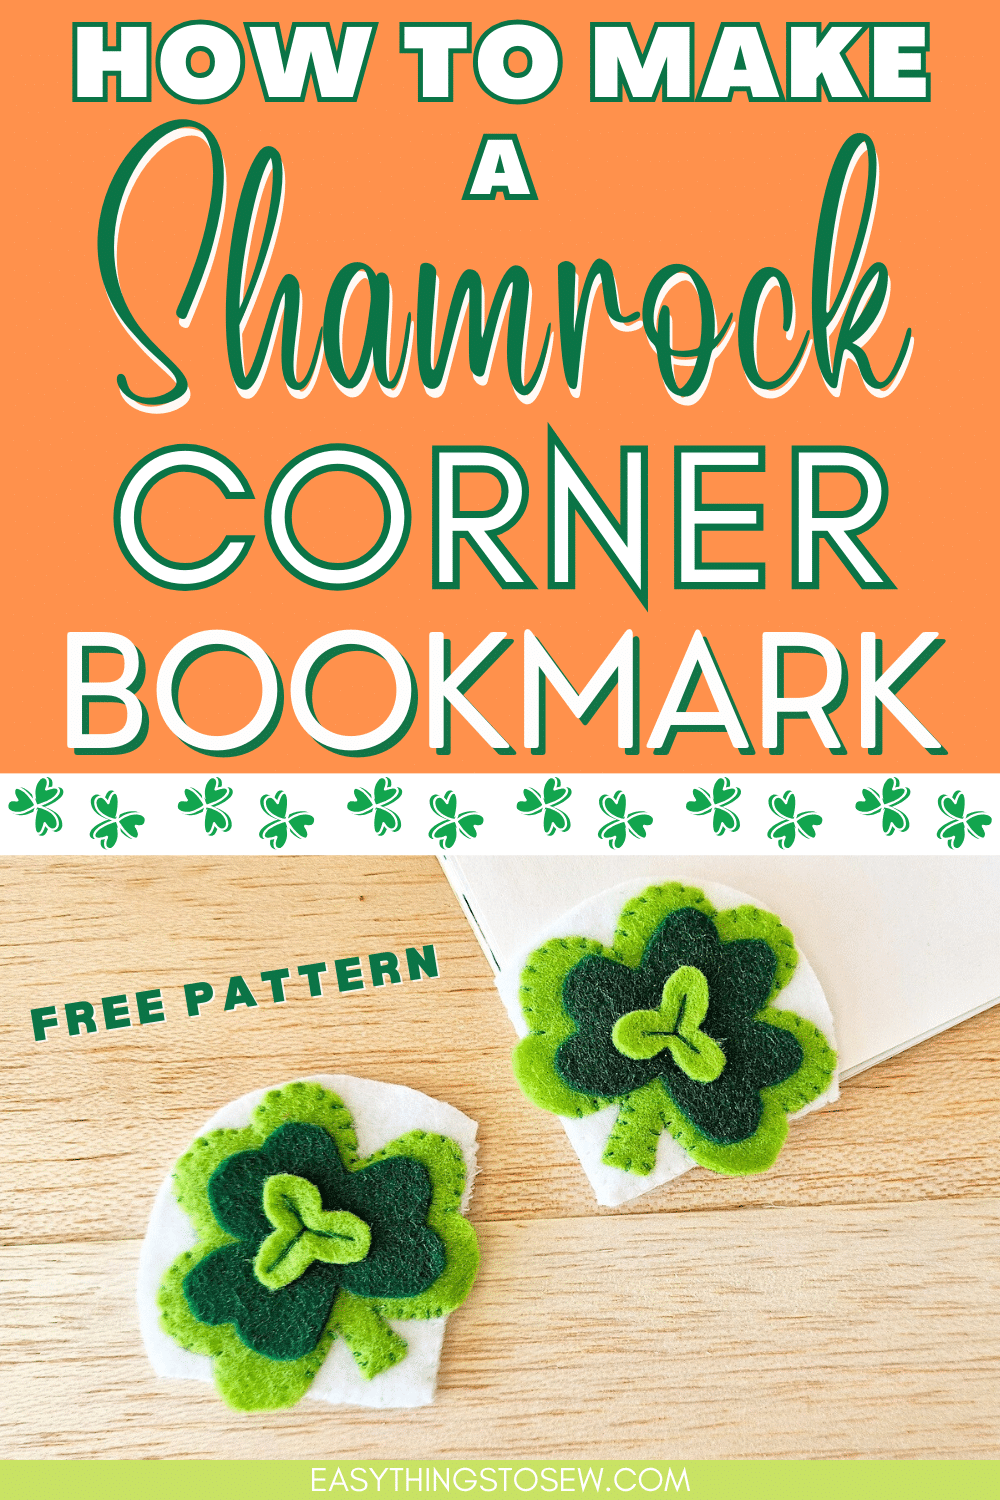

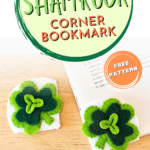
These felt shamrock bookmarks are perfect for St. Patricks Day or for sharing the luck of the Irish. Use our free template to make these DIY corner bookmarks with felt and hand sewing.
Our Felt Shamrock Plushie is also a quick and easy St. Patricks Day sewing craft.
How to Sew a Shamrock Bookmark
Supplies
- Free Shamrock Bookmark Pattern
- Felt fabrics (white, light green and dark green)
- Needle
- Matching threads
- Pencil or fabric marker
- Scissors
Directions
Step 1
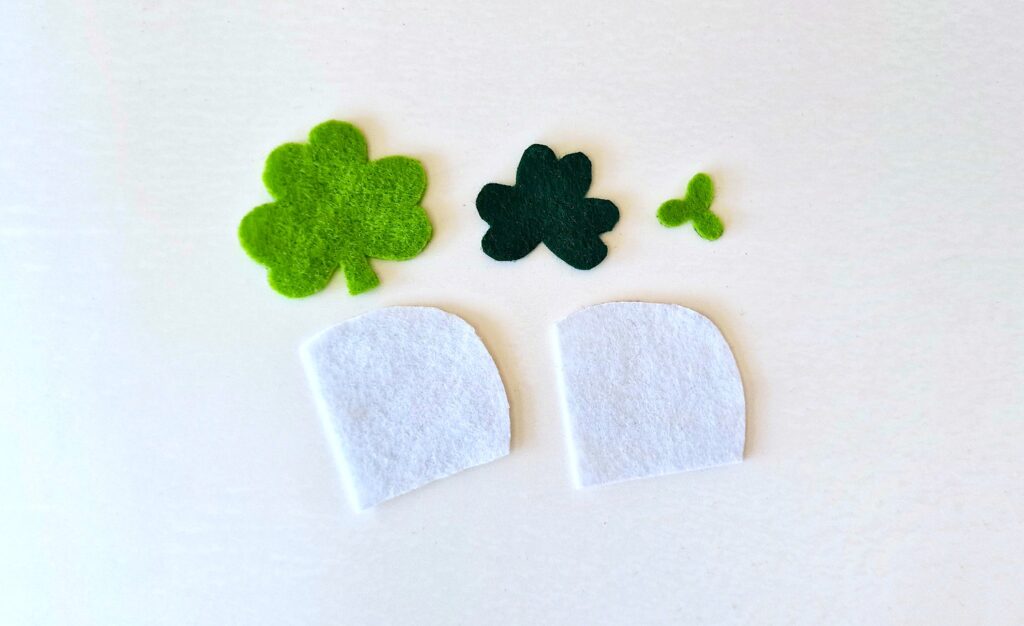
Download, print and cut out the free shamrock patterns.
Trace the shamrock layers on different shades of green felts and the corner bookmark base.
Cut out the pattern pieces.
Step 2
Take the 2 smallest shamrock pieces and place the smallest shamrock on top of the medium-sized shamrock in the center.
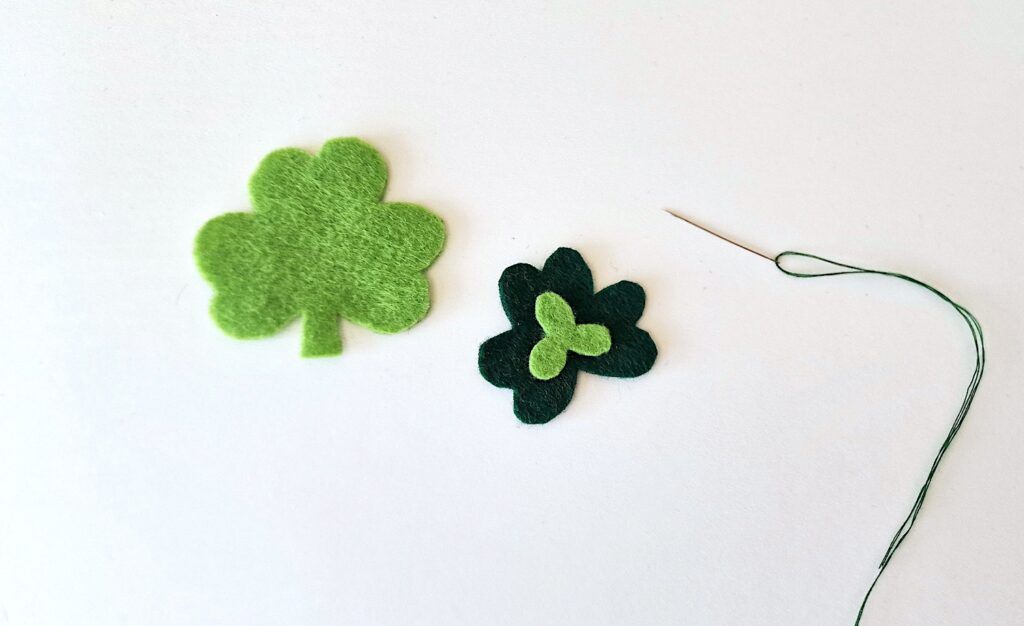
Step 3
Place those layers on the largest shamrock pattern piece, centering all of the pieces.
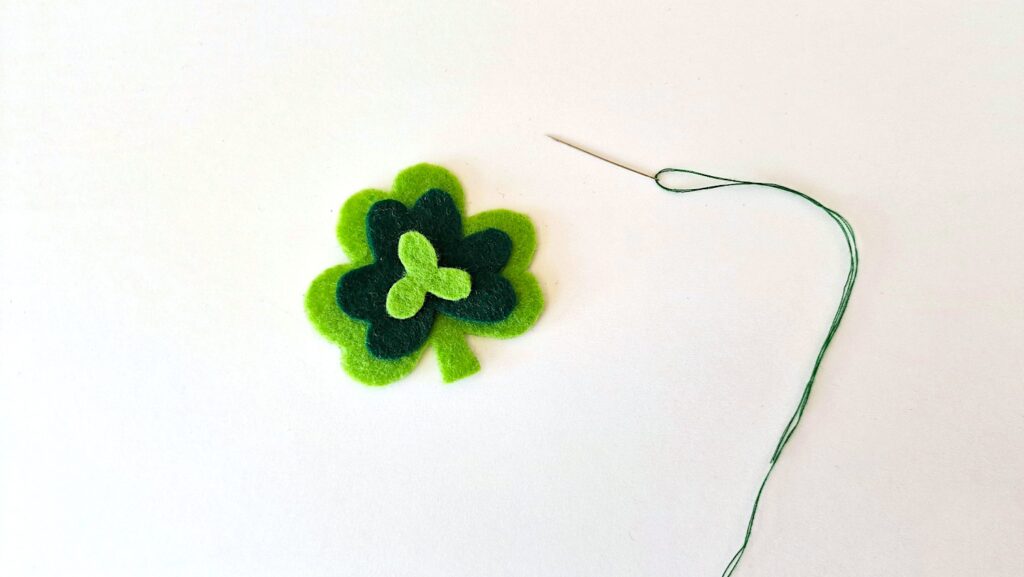
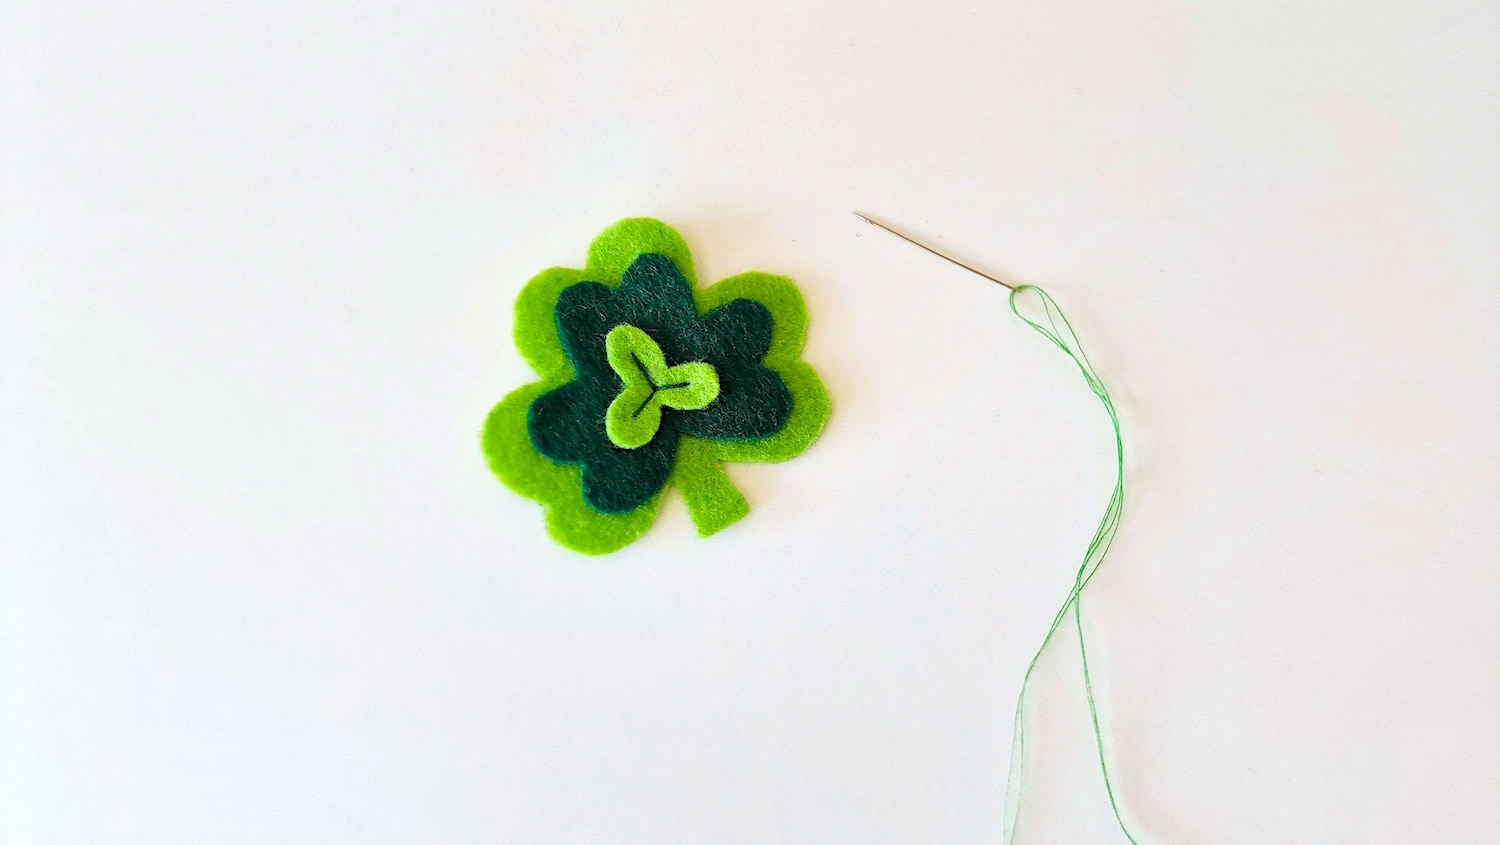
Thread a needle and hand stitch the small layer using three straight stitches as seen in the photo below. Make sure to join all 3 layers together as you are hand sewing.
Step 4
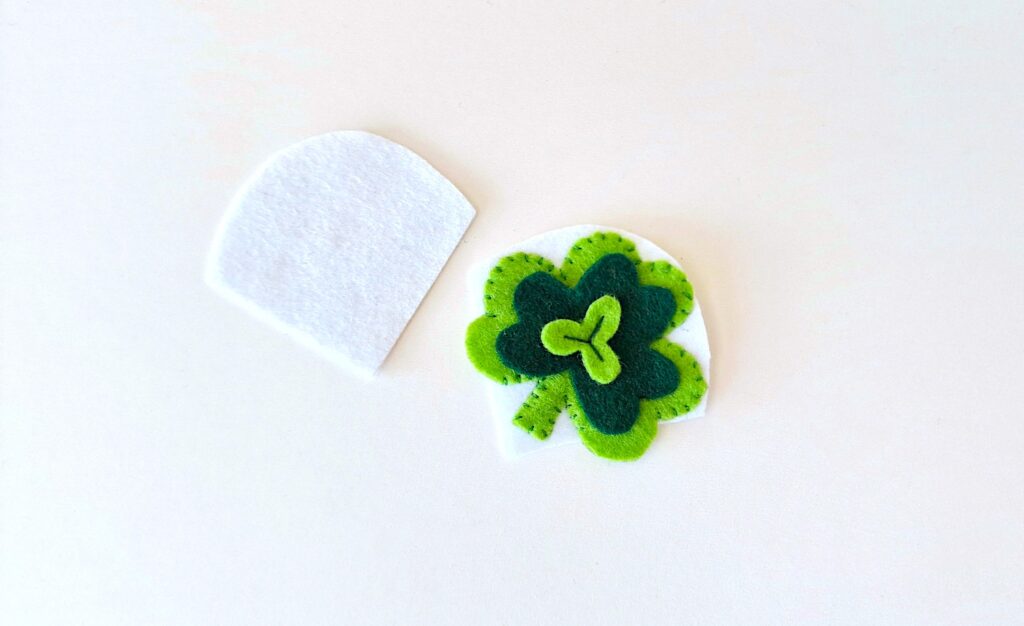
Place the layers on one of the bookmark base pattern pieces.
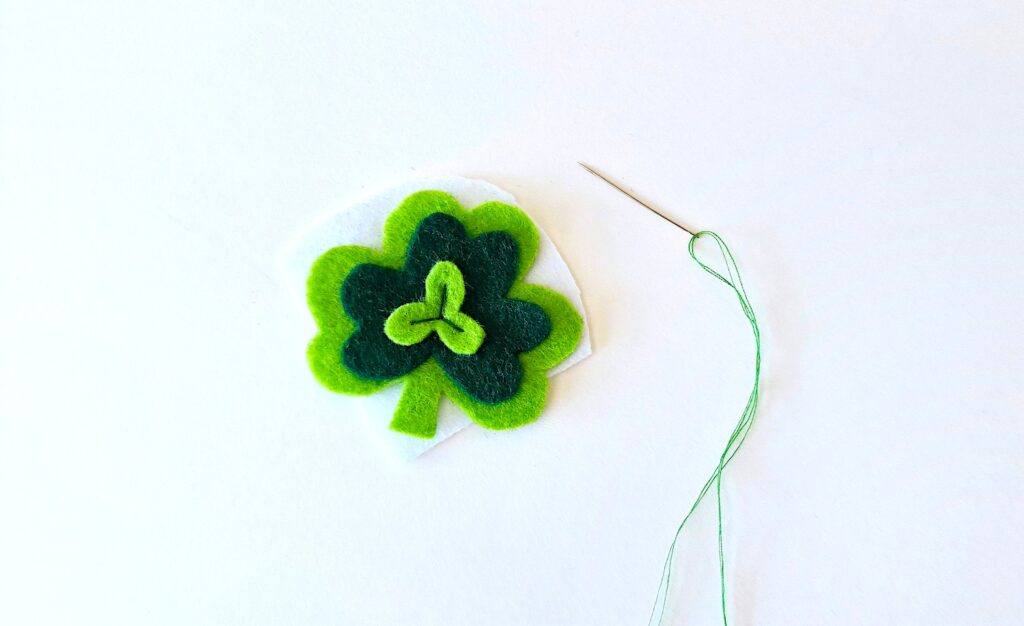
Hand stitch along the outer edge of the big shamrock piece to join it with the bookmark base. I stitched around the stem and some of the leaf.
You do not have to stitch the entire edge of the shamrock.
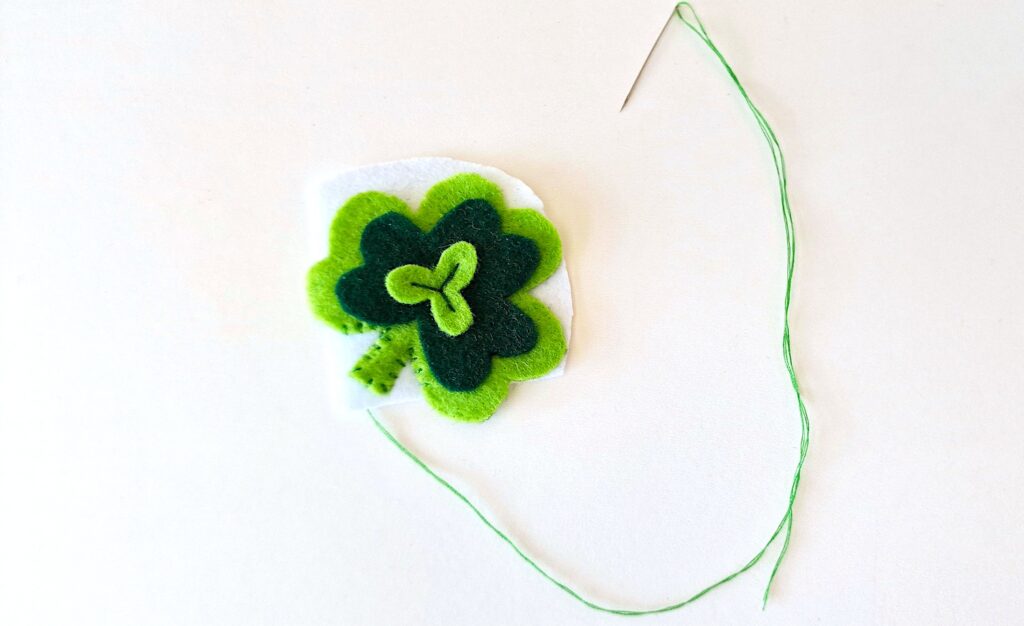
Knot the thread in the back of the base piece and cut off.
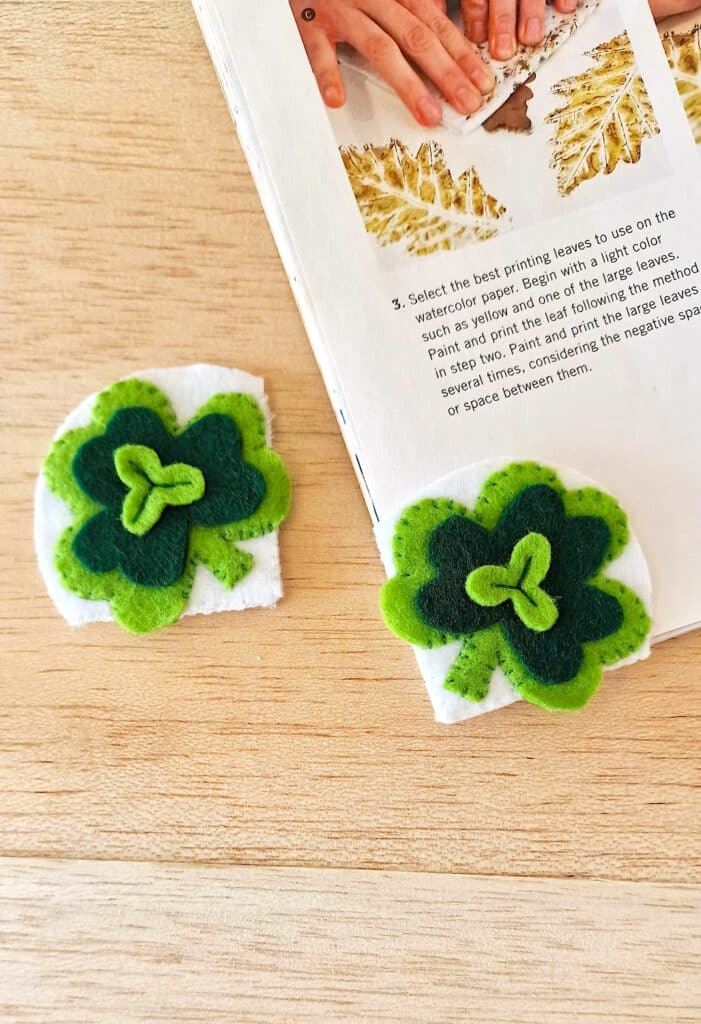
Step 5
Place the plain base cutout underneath the stitched one. Change the thread on your needle to match the thread of the bookmark base.
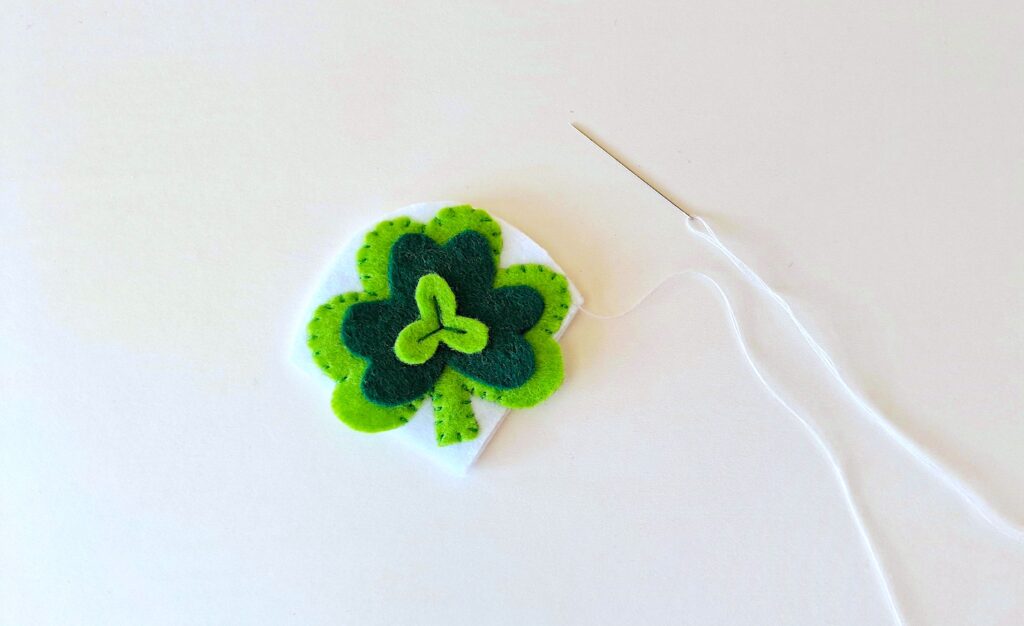
Stitch along the two straight sides of the bookmark bases, leaving the curved round edges open.
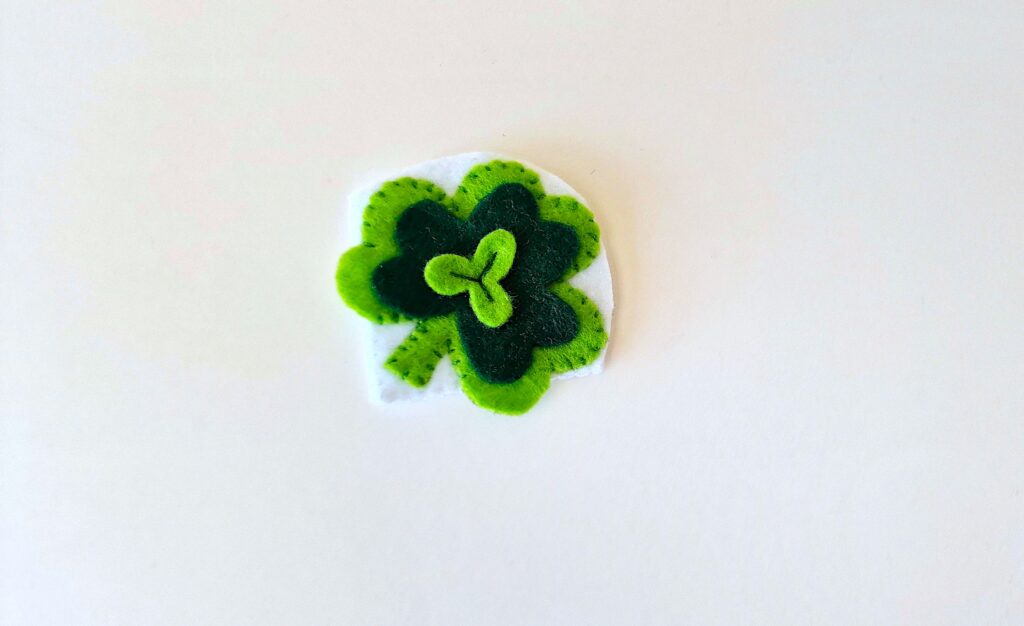
Knot the thread in the back of the bookmark once you have attached both edges. Cut off the excess thread.
Save this sewing project for later by Pinning It to Pinterest!
This is just one of our easy DIY bookmark sewing projects. Be sure to see them all!