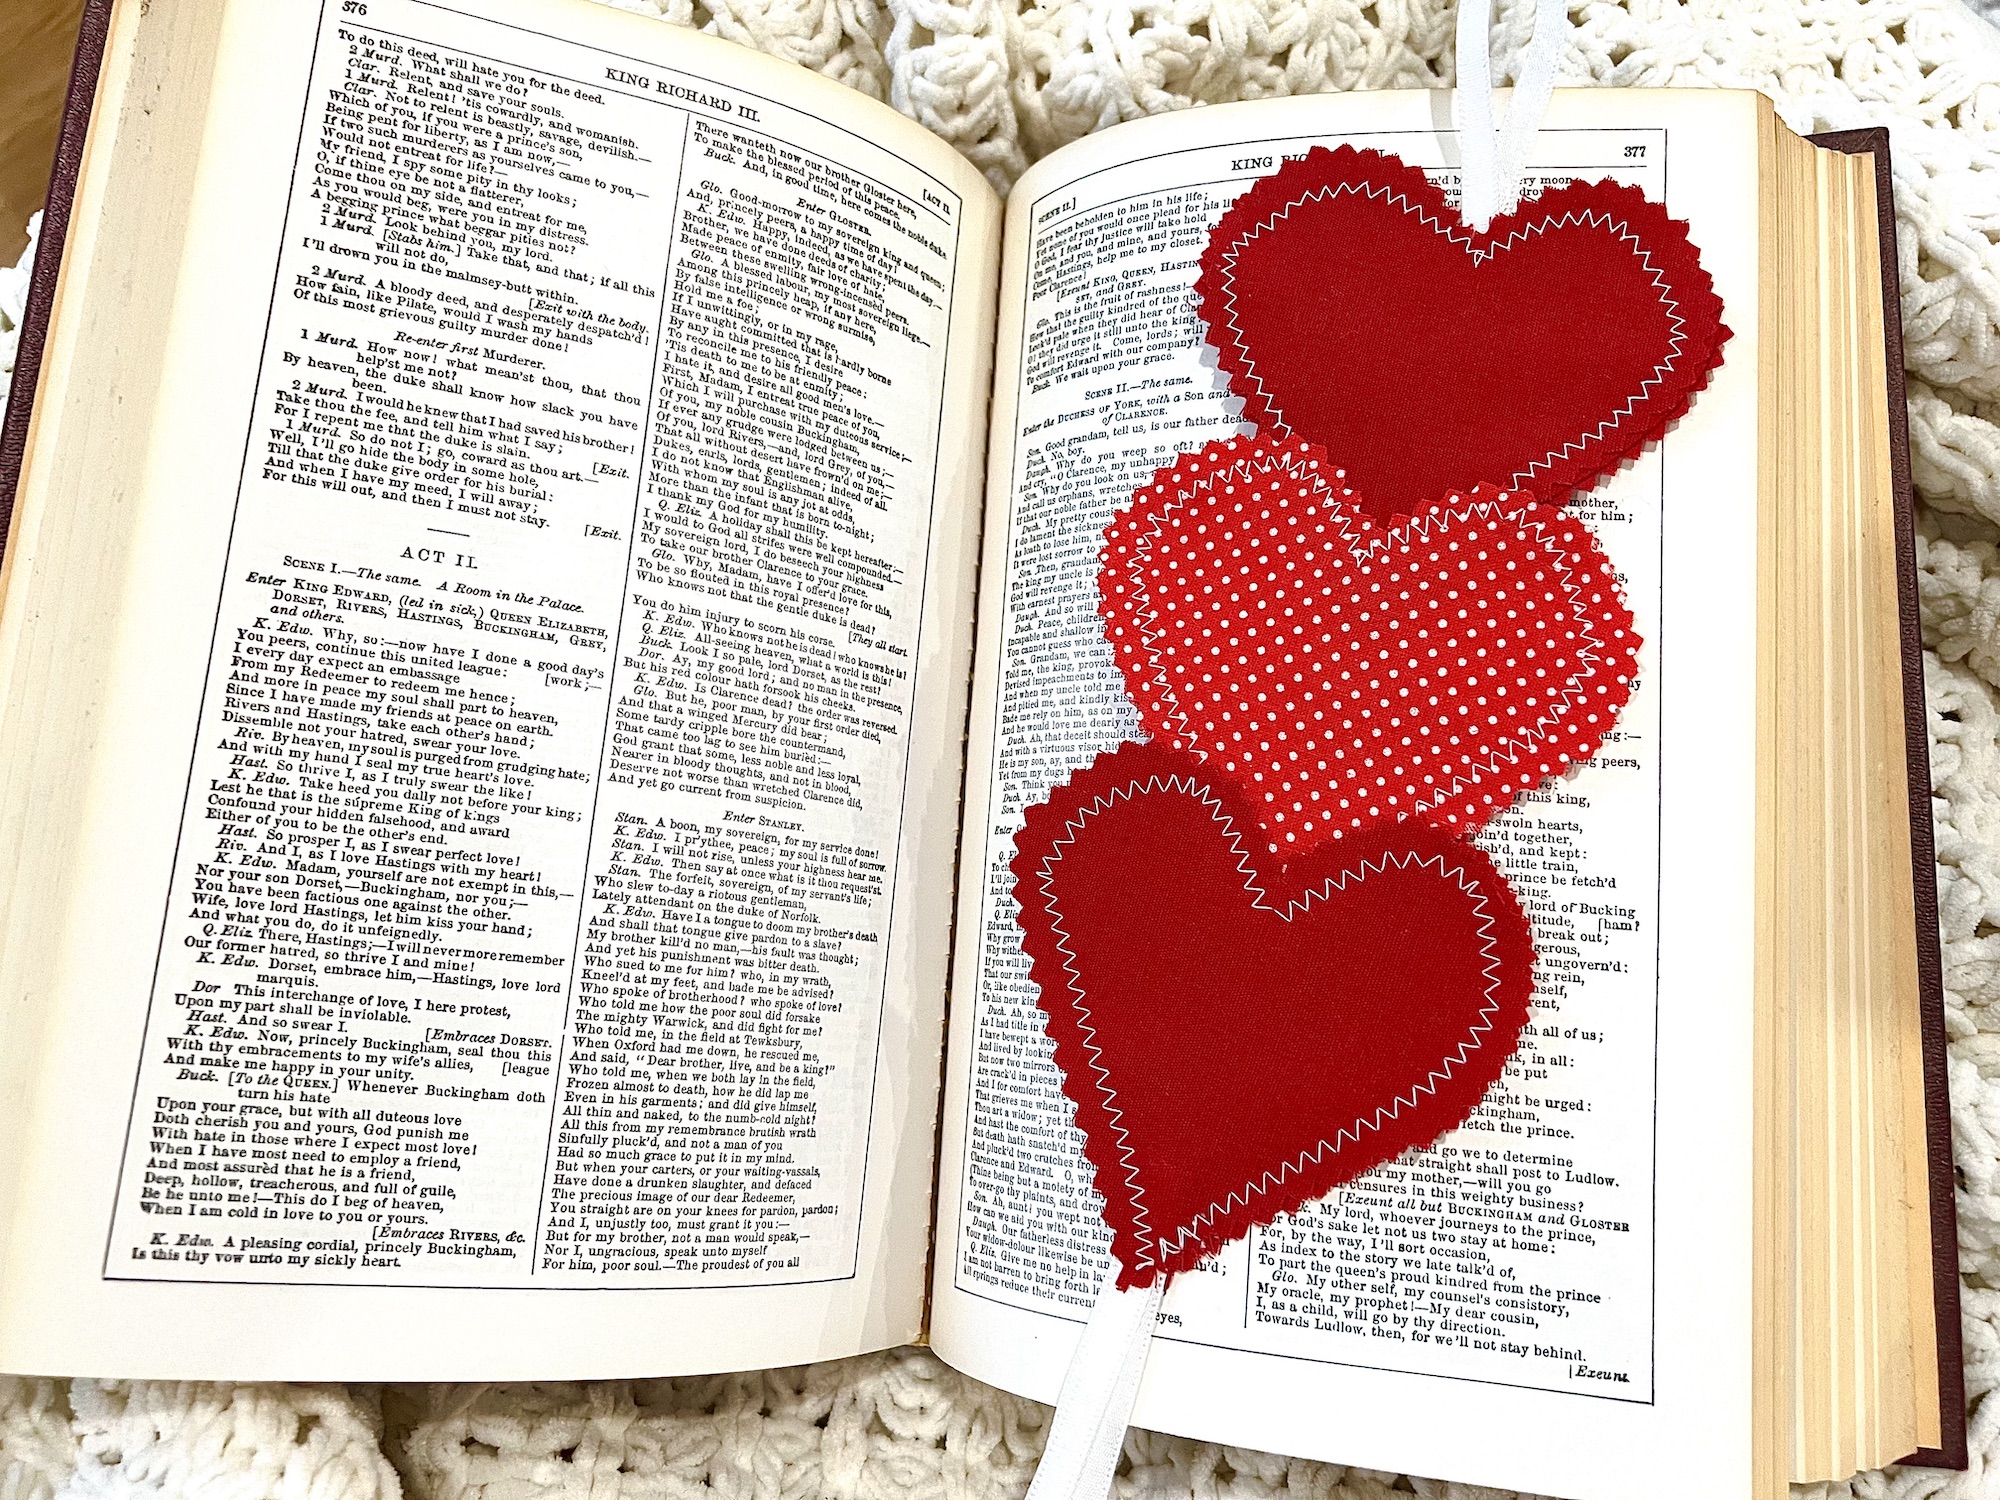
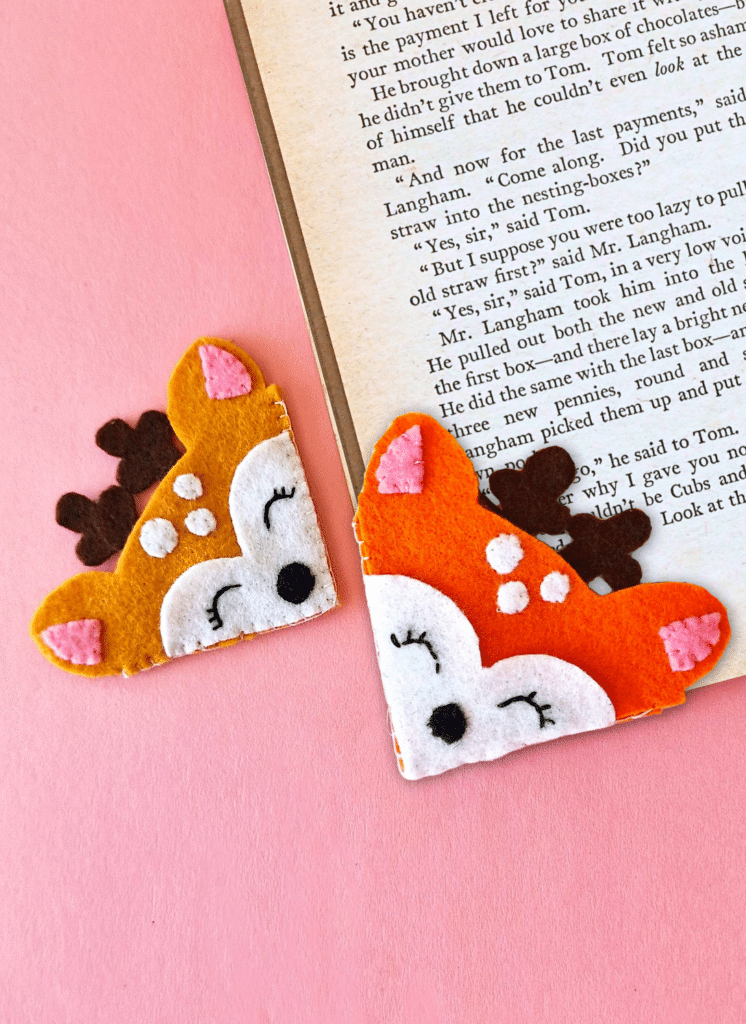
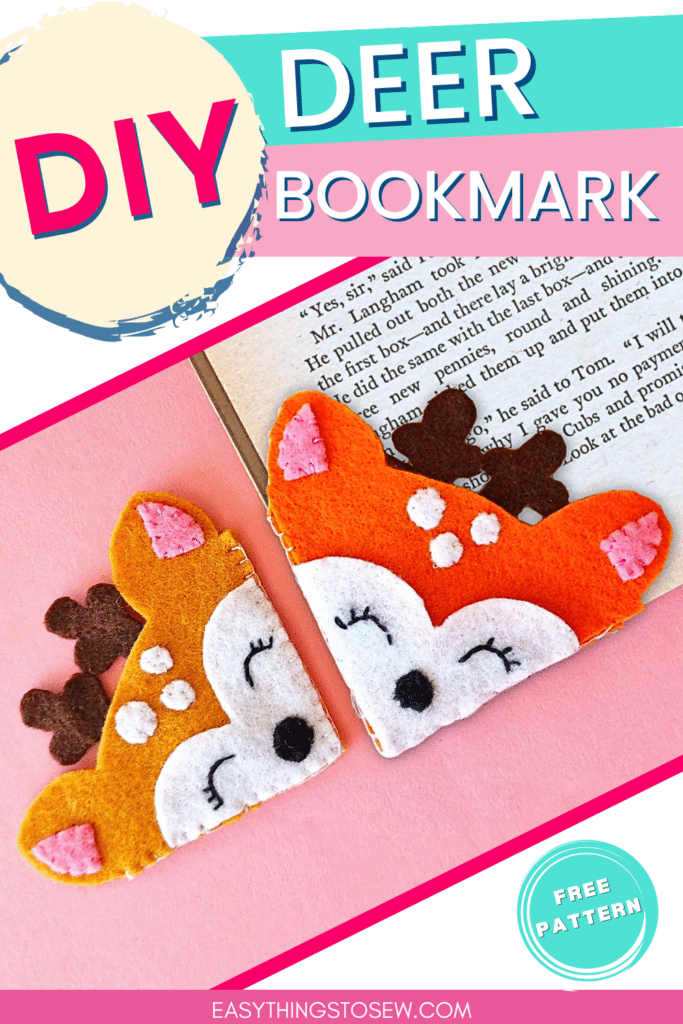
Felt Deer Bookmark
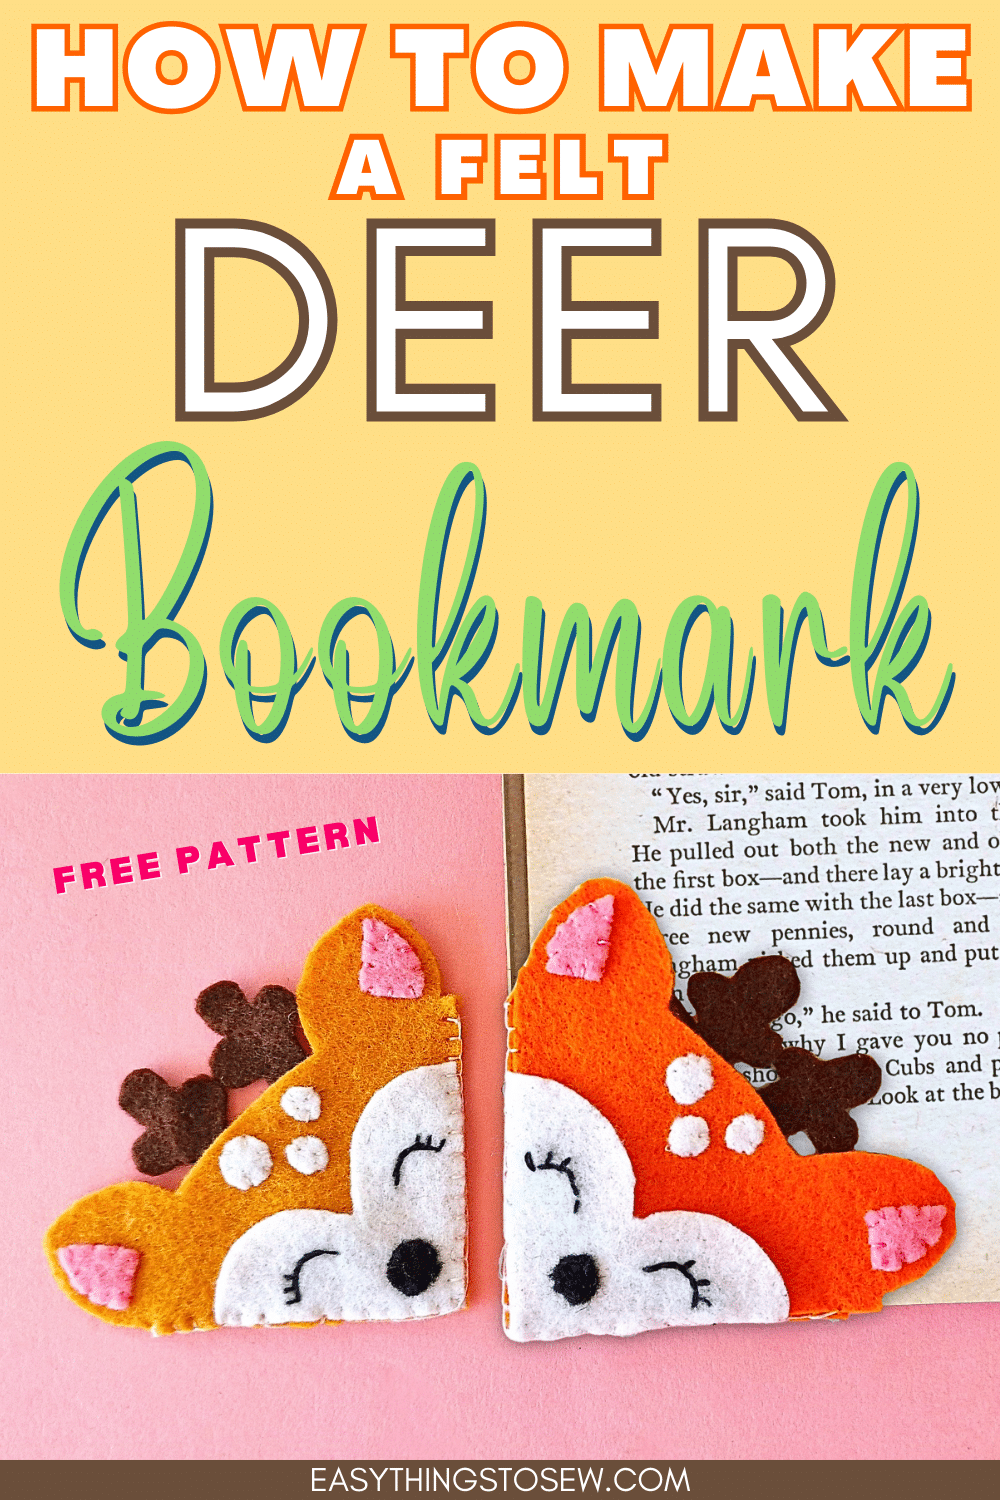
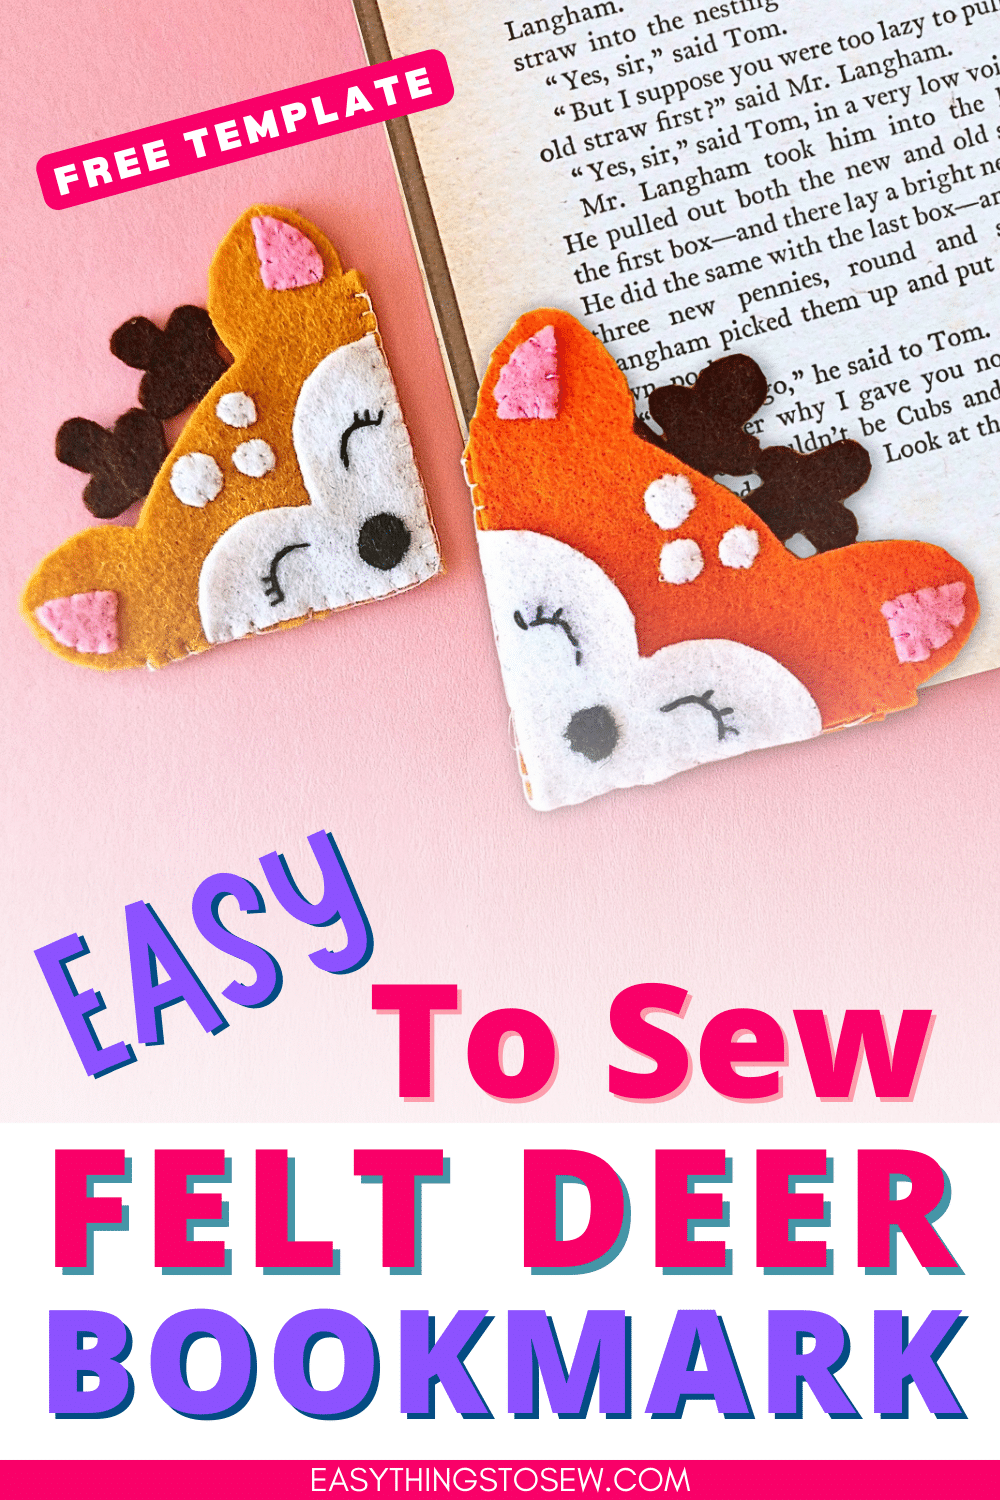
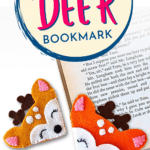
Our cute felt deer bookmark is perfect for when you cozy up with a good book! Use our free deer pattern and felt pieces to hand sew this easy craft perfect for book lovers.
The same colors of felt and other sewing supplies were used to make our felt fox bookmark, too. You could easily make both at the same time.
This is just one of our fun felt Cottagecore crafts. Be sure to see them all!
How to Sew a Deer Bookmark
Supplies
- Free Deer Bookmark Pattern
- Felt fabrics
- Matching threads, including black thread
- Needle
- Pencil, fabric marker or chalk
- Scissors (See our Guide to the Best Scissors for Cutting Felt)
- Polyfill, stuffing or scrap felt
✅ This is a great source for getting lots of different colored felt for sewing projects.
Directions
Step 1
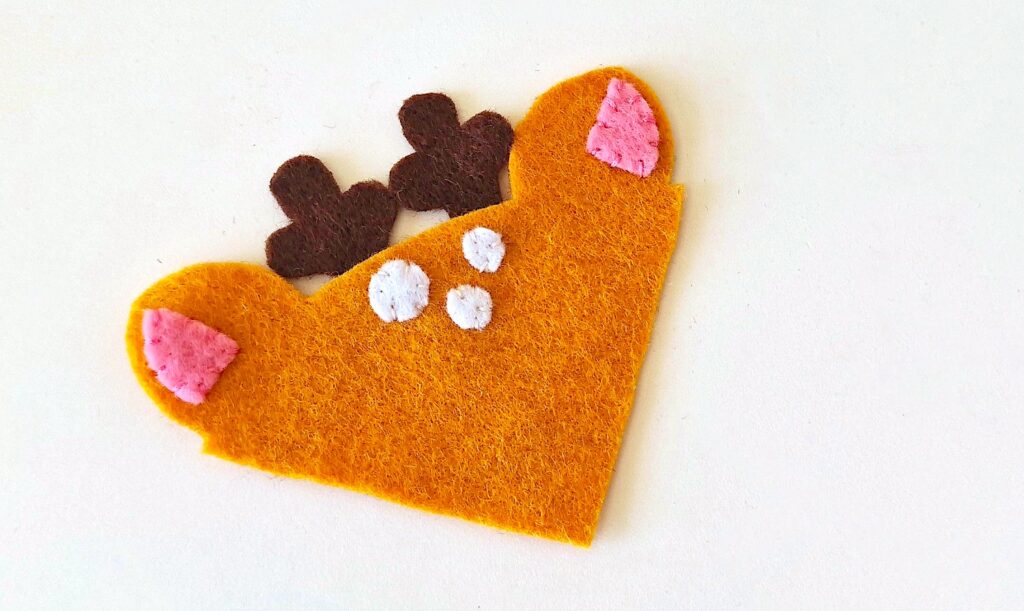
Download, print and cut out the deer bookmark pattern.
Trace the patterns on the felt fabrics and then cut them out.
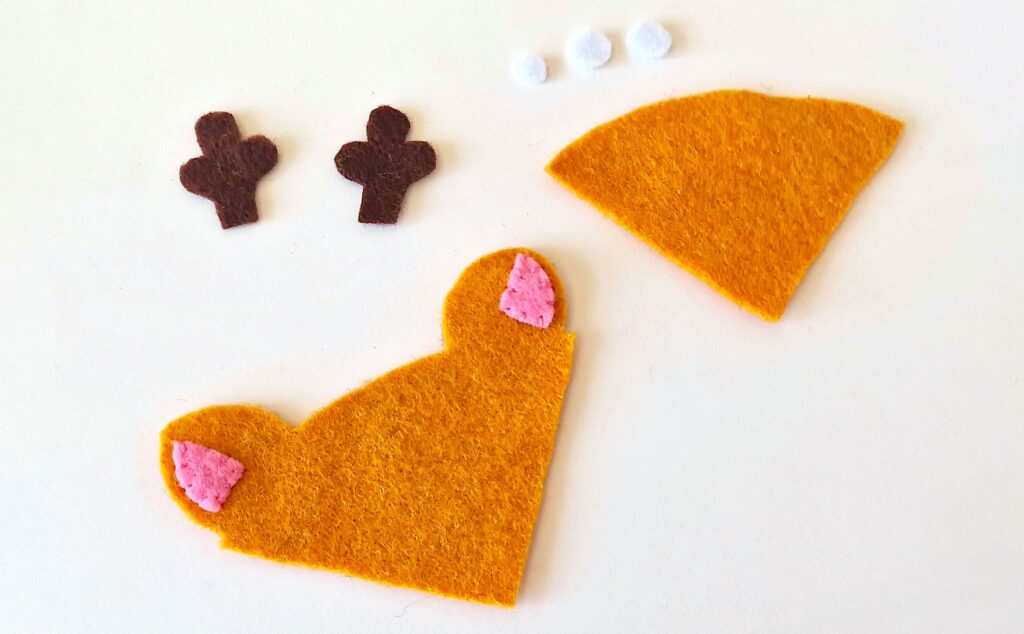
We used the following felt colors:
- Head: Brown
- Bookmark Base: Brown (same color as head)
- Lower Part of Face: White
- Horns: Dark Brown
- Inner Ear: Pink
- Nose: Black
- Spots: White
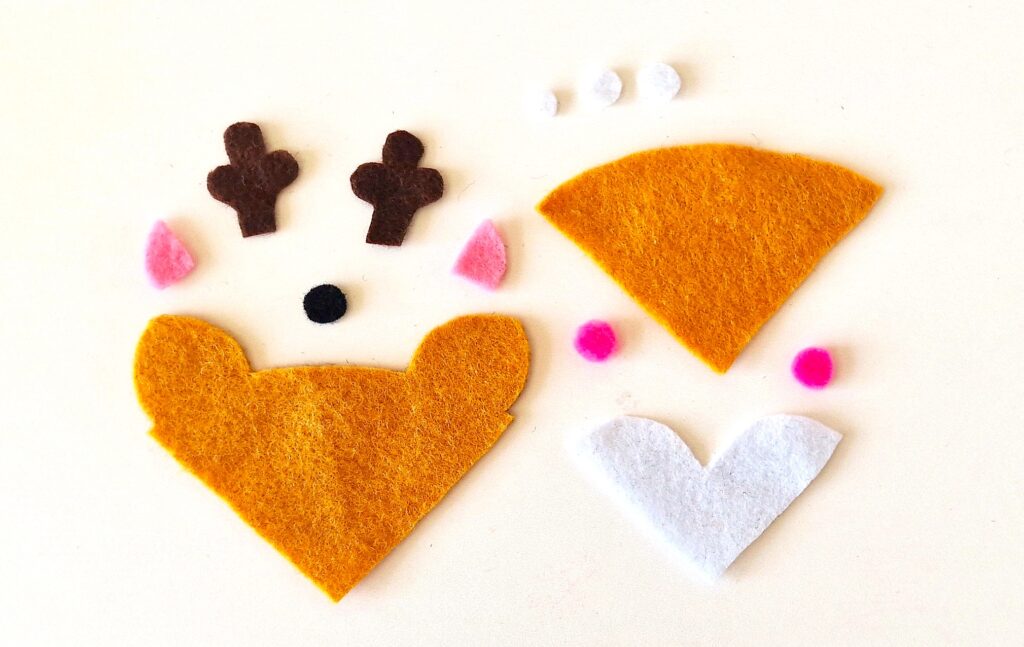
Step 2
Thread a needle with black thread. Stitch the nose to the middle of the lower part of the face pattern. Do not cut off the thread yet.
Then use a pencil, fabric marker or chalk to draw eyes on the face cutout. Draw an arch underneath each of the curved parts of the face. Then draw three straight lines starting at the outer edge, as seen in the photo below.
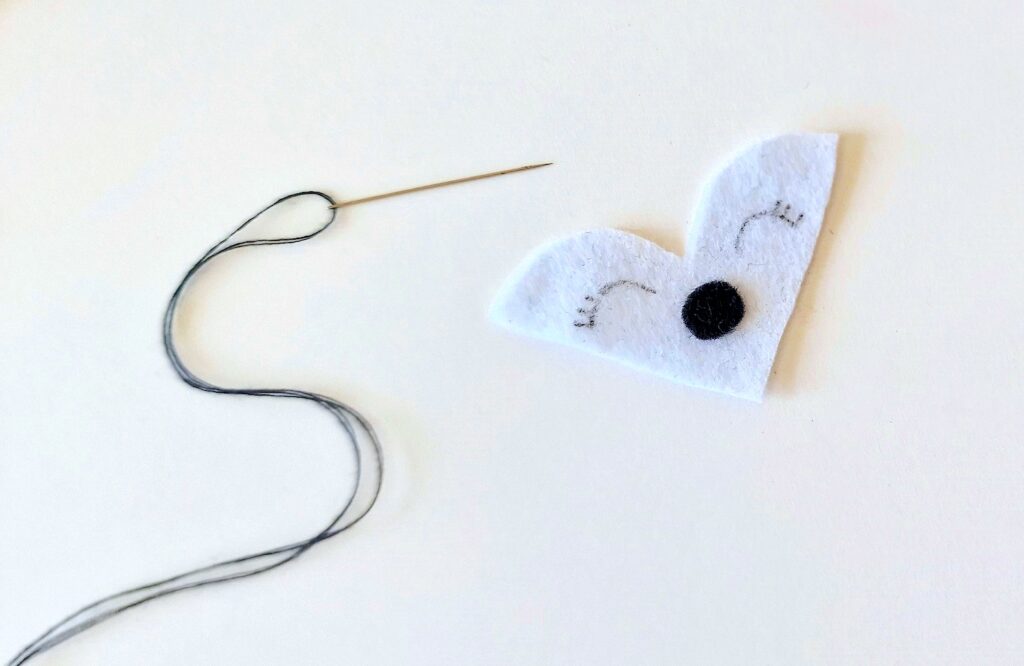
Using the same piece of thread, stitch along the traced eye patterns. You can use a simple straight stitch to cover the lines that you traced.
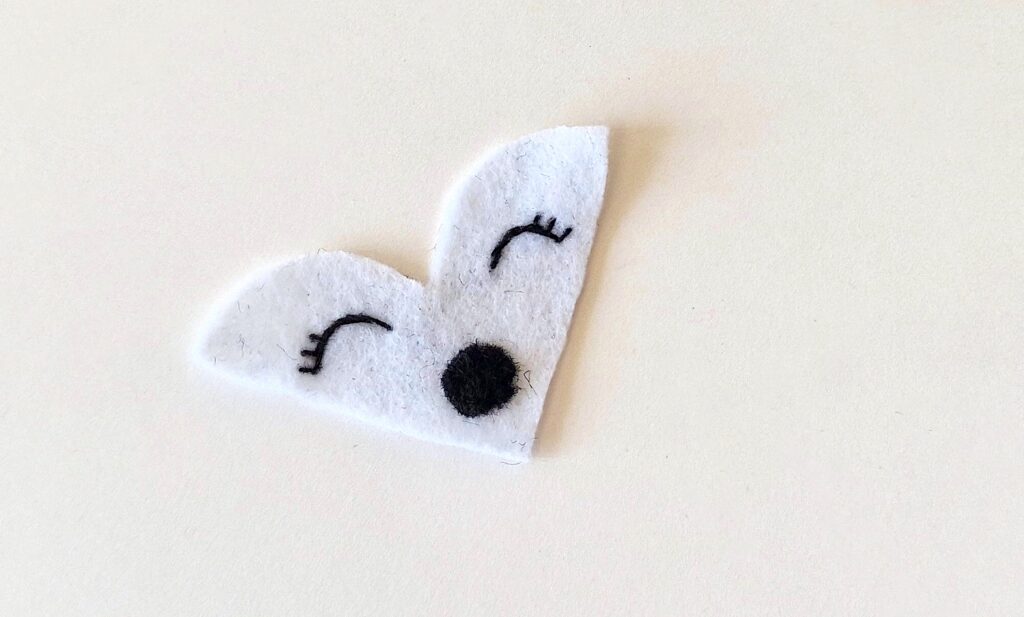
Knot the thread 2-3 times in the back of the pattern piece and then cut off the excess.
Step 3
Thread a needle with pink thread and sew on the inner ear parts on the larger head cutout. Position the pink ear patterns so that the curved part is facing outwards and they are close to the outer edge of the ears.
Step 4
Place the horns on the top of the head pattern in the back.
Then place the spots on the top of the head in a triangle shape over the same area where the horns are located.
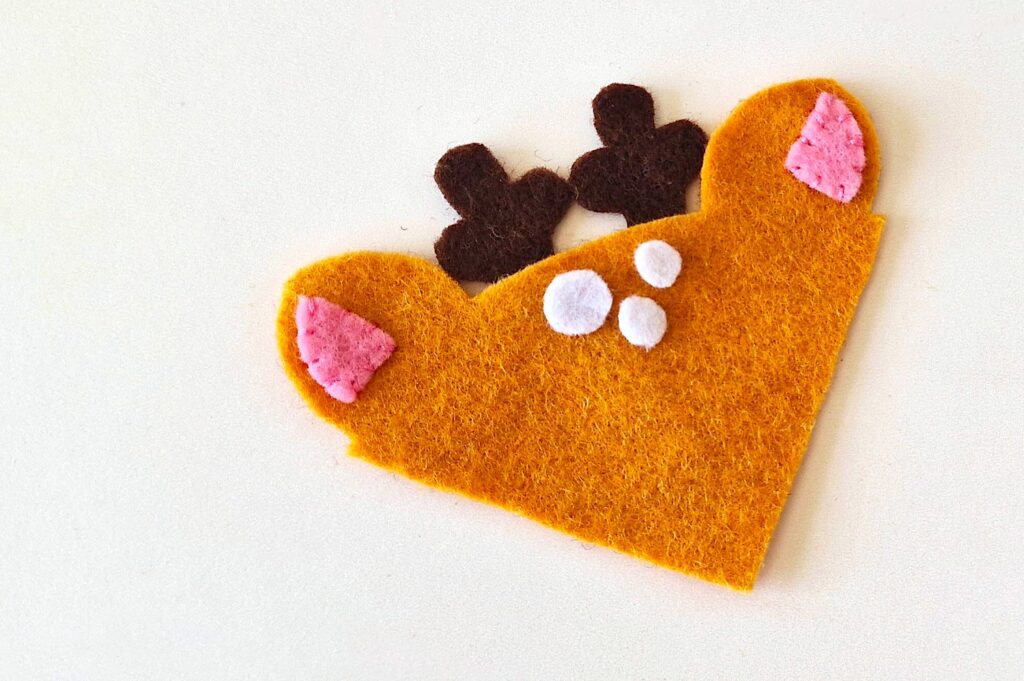
Thread a needle with white thread and stitch through the spots around the edge of each circle. Make sure to stitch through the spots, the head and the horns.
Tie a knot 2-3 times in the back of the head pattern and cut off the extra thread.
Step 5
Place the lower face part on the bottom part of the larger head pattern.
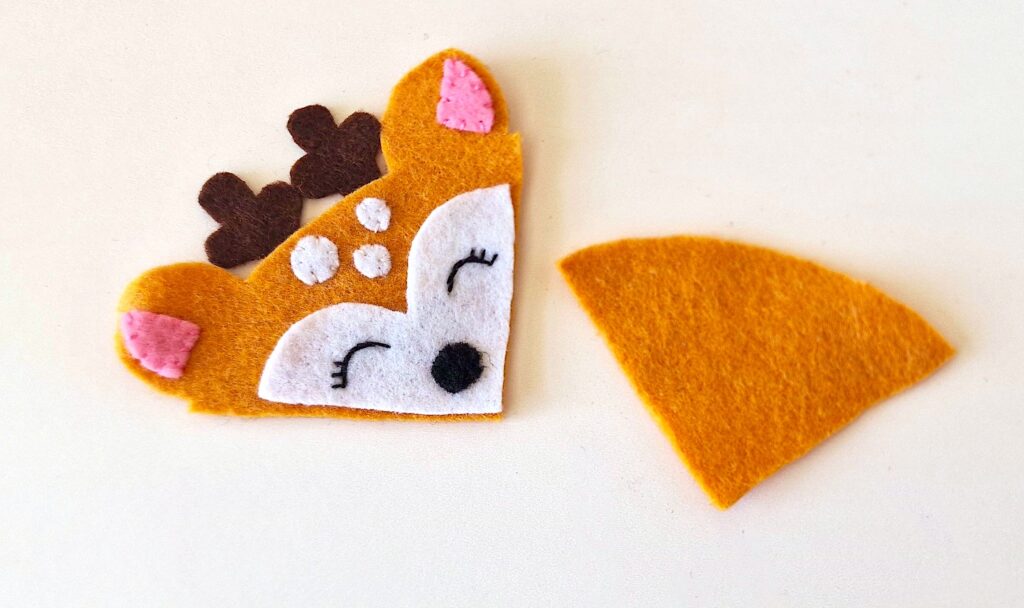
Then place the backside of the bookmark on the backside of the head, matching up the straight edges.
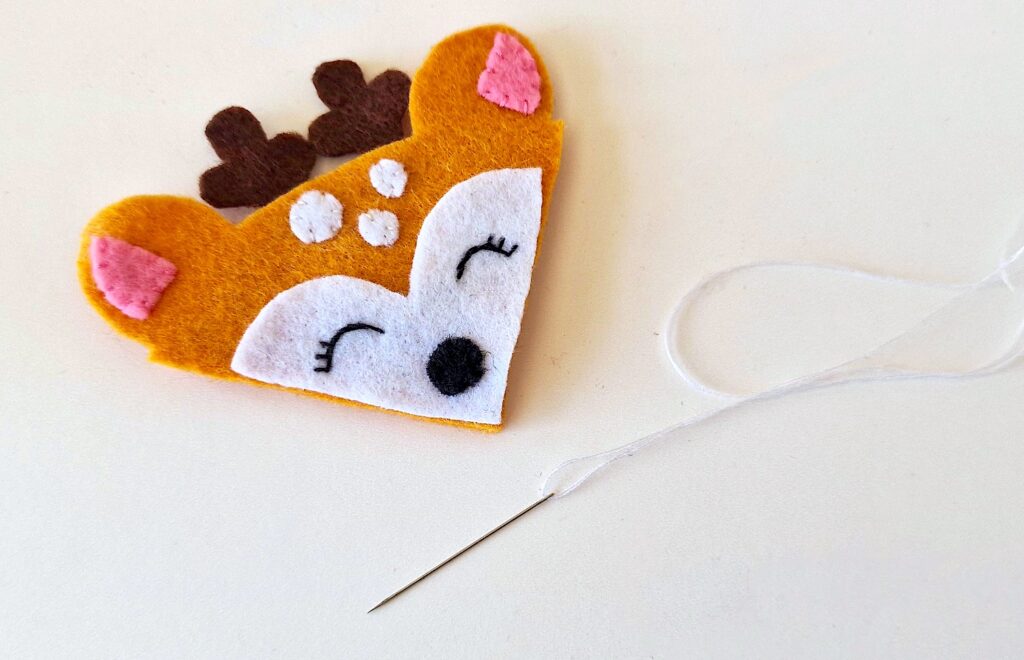
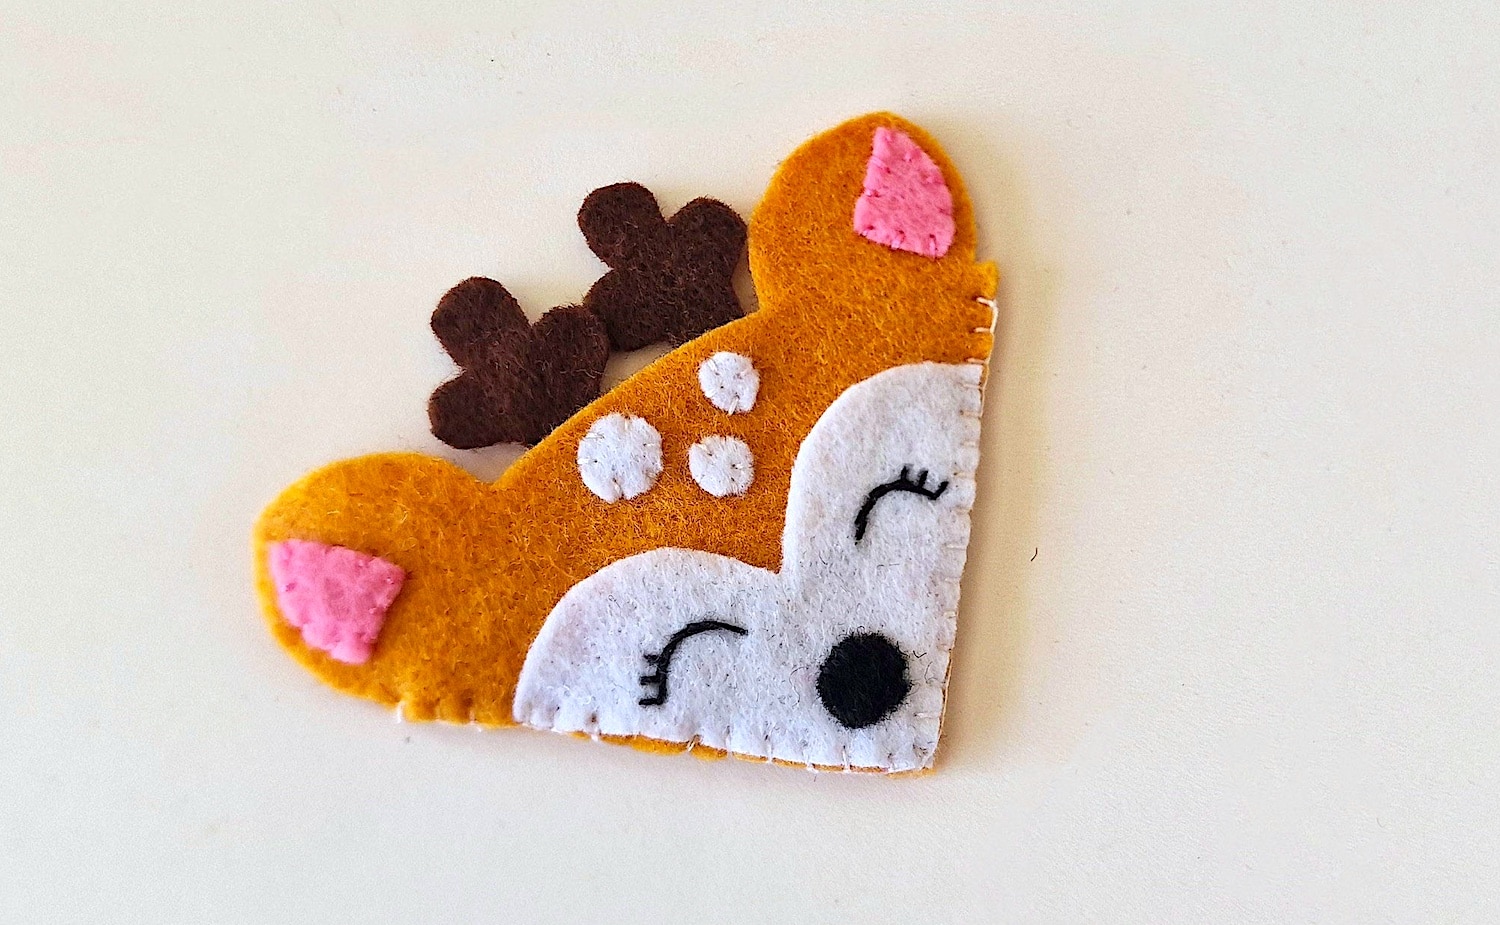
Thread a needle with white thread and stitch around the straight outer edges of the corner bookmark. Make sure to stitch through all three layers of felt. We used a flat blanket stitch.
Keep the top, rounded side open to insert a book page.
Once done stitching, tie 2-3 knots in the back to secure the stitching and cut off the extra thread.
Be sure to save this pattern by Pinning It to Pinterest!
Want more easy bookmark crafts? See all of our DIY bookmarks to sew.