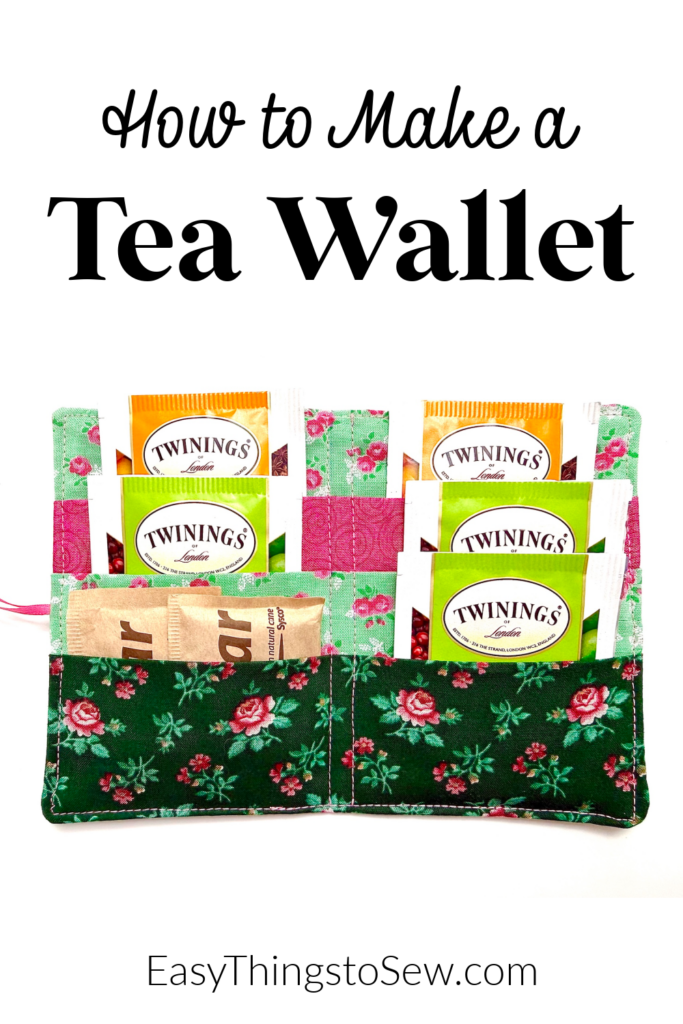
DIY Tea Wallet (with Video Tutorial)
This quick and easy tea bag holder can be made using fabric scraps! It is the perfect handmade gift for tea lovers.
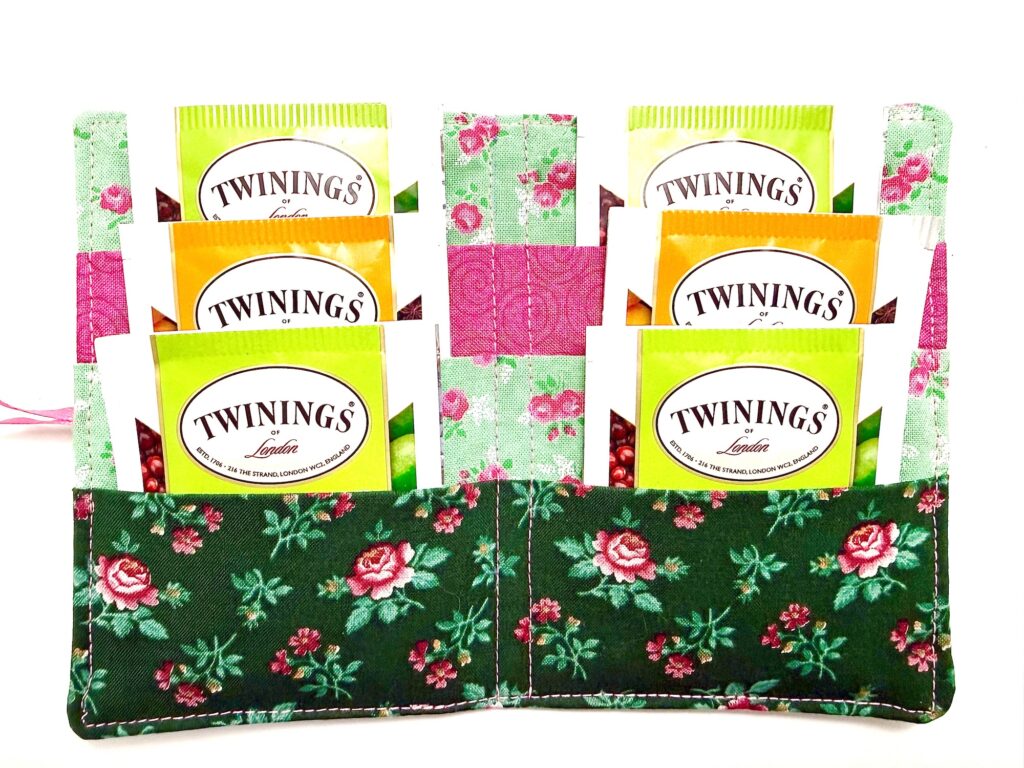
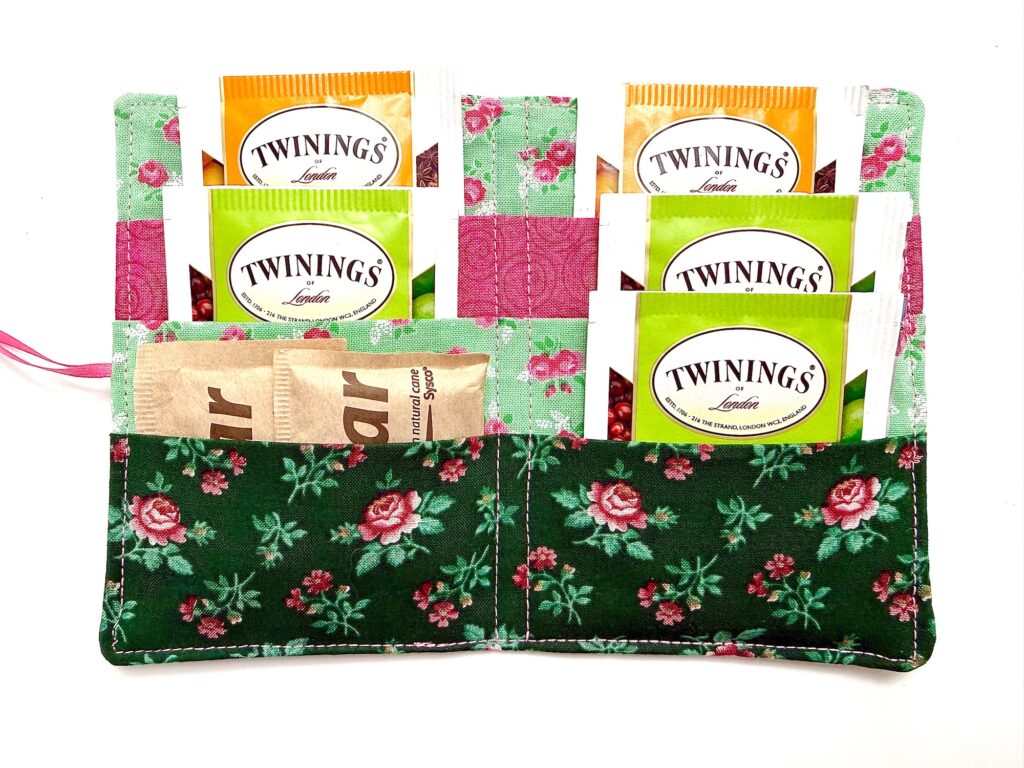
Our DIY tea wallet holds six individually wrapped tea bags and/or sugar packets so that you always have a great cup of tea wherever you travel.
Make a tea wallet in an hour or less. It’s a perfect sewing project for:
- Mother’s Day gifts
- Gift for travelers
- Stocking Stuffer
- Party Favors
- Teacher gifts
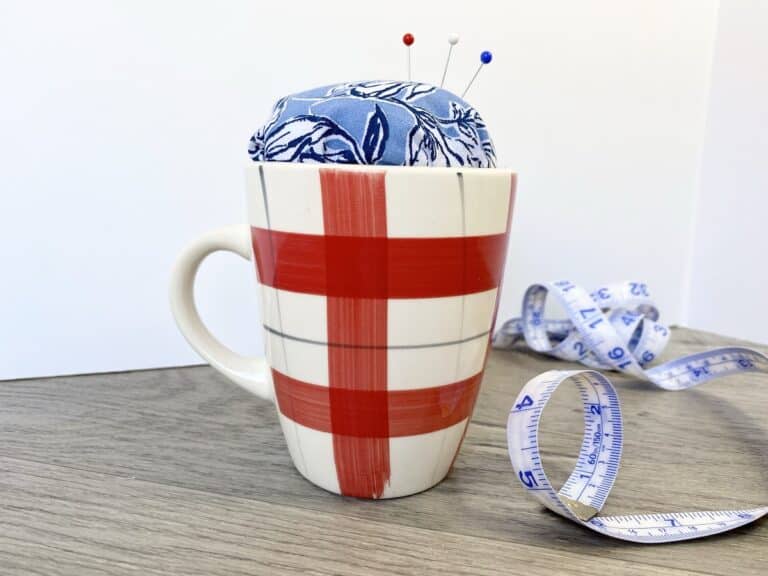
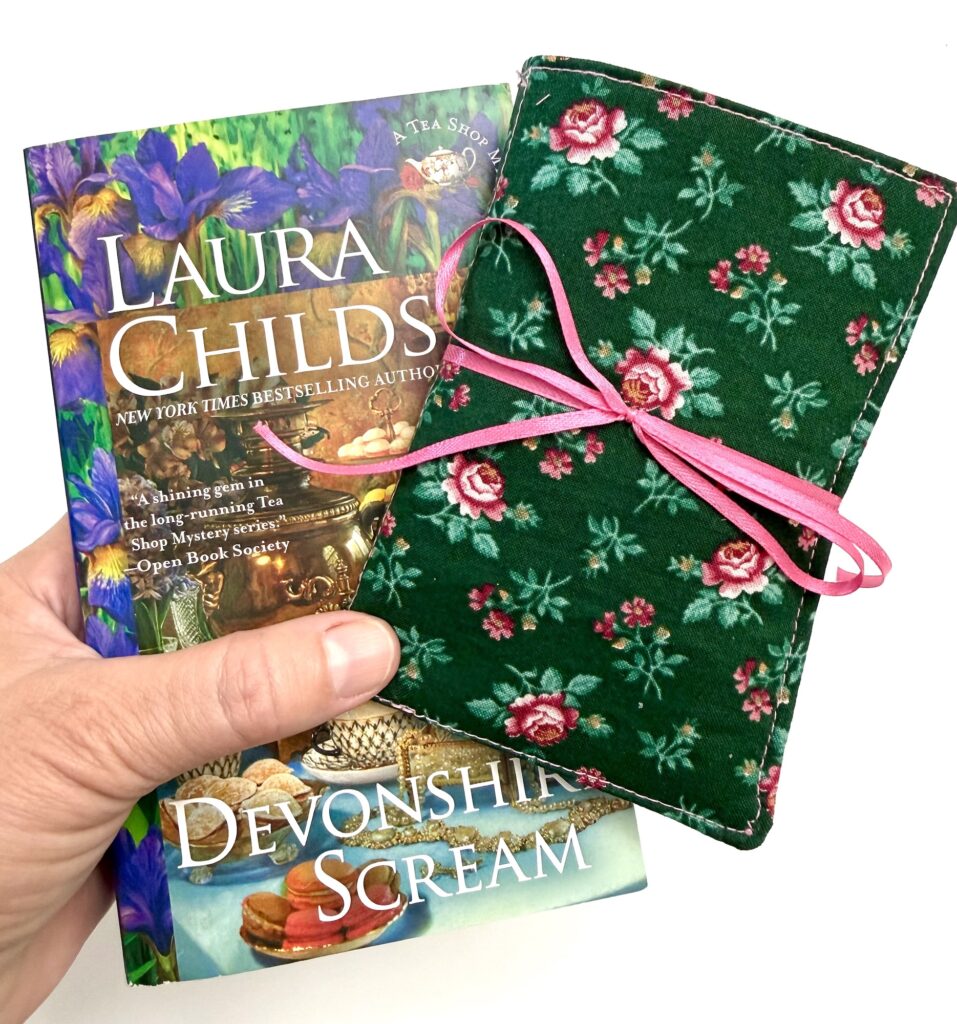
We love to pair one of these handmade tea bag holders with an insulated travel mug, a pretty tea cup or a cozy tea shop mystery book for a really great gift.
You could also make a reusable tea bag for a tea lover, too!

How to Sew a Tea Bag Wallet
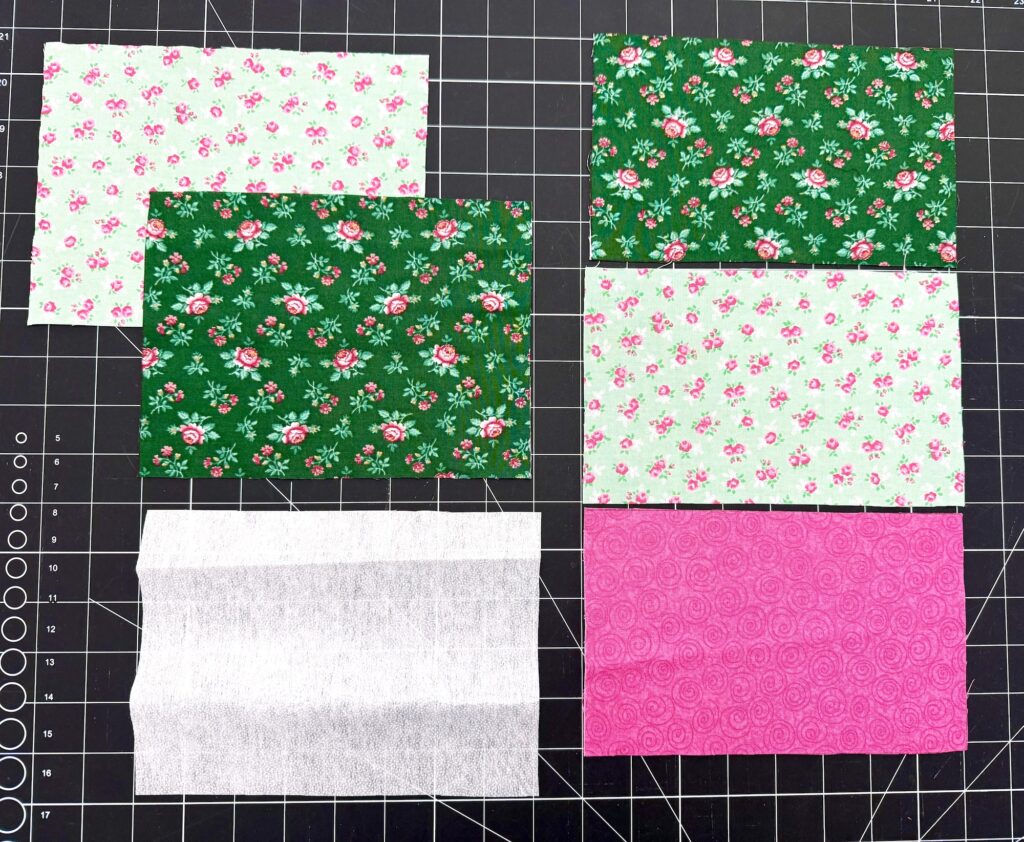
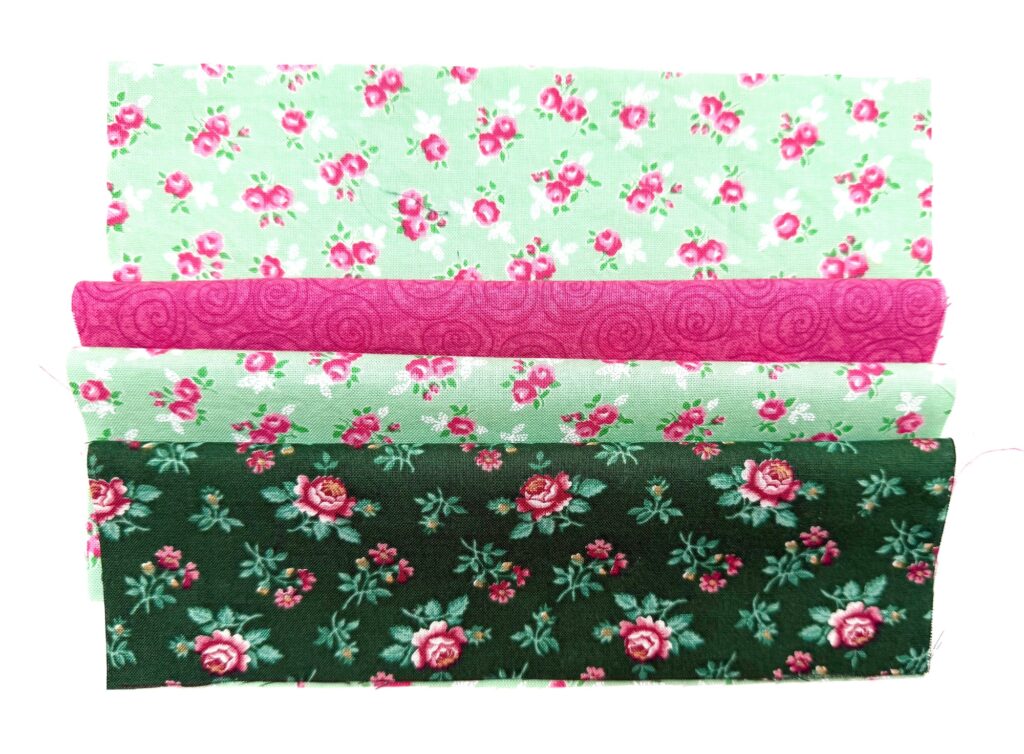
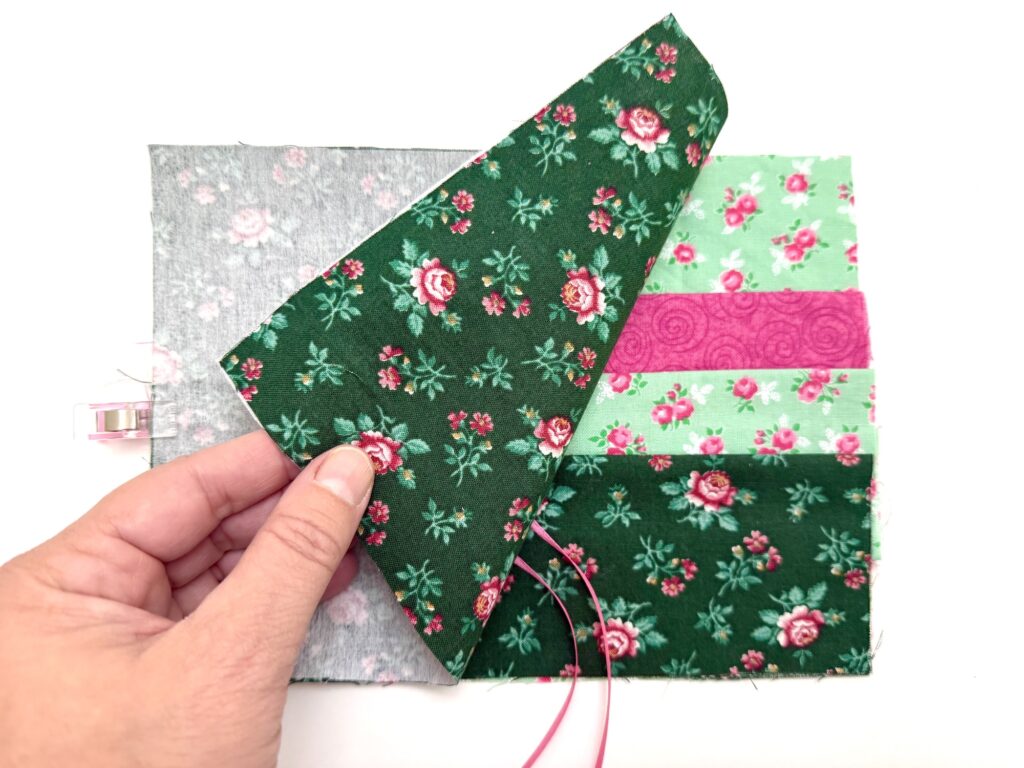
You can mix and match fabrics however you choose, or just use one fabric for all the pieces.
See our video tutorial at the end of these instructions.
Supplies
- Two 8″ X 6″ pieces of fabric (one for exterior and one for interior)
- One 8″ X 6″ piece of medium weight fusible interfacing
- Three 8″ X 5″ pieces of fabric for pockets
- 24″ piece of ribbon (¼ – ½ inch wide)
- Sewing Clips
- Disappearing Ink Pen
- Turning Tool
Directions
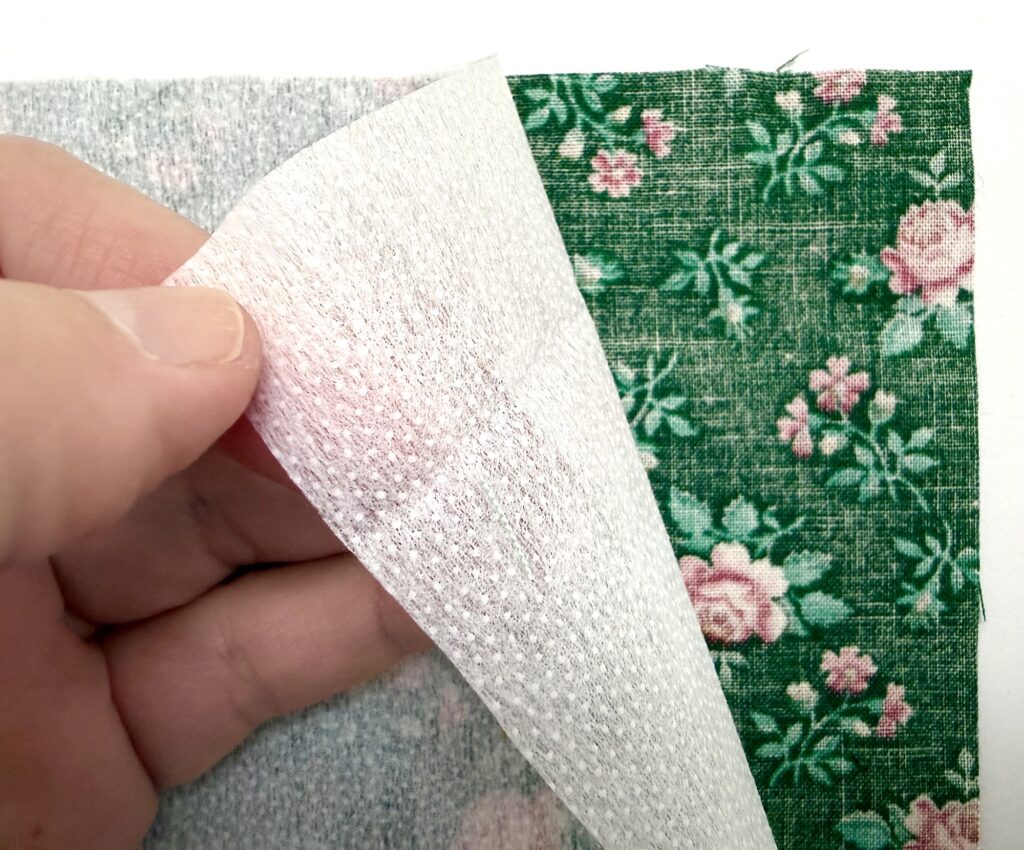
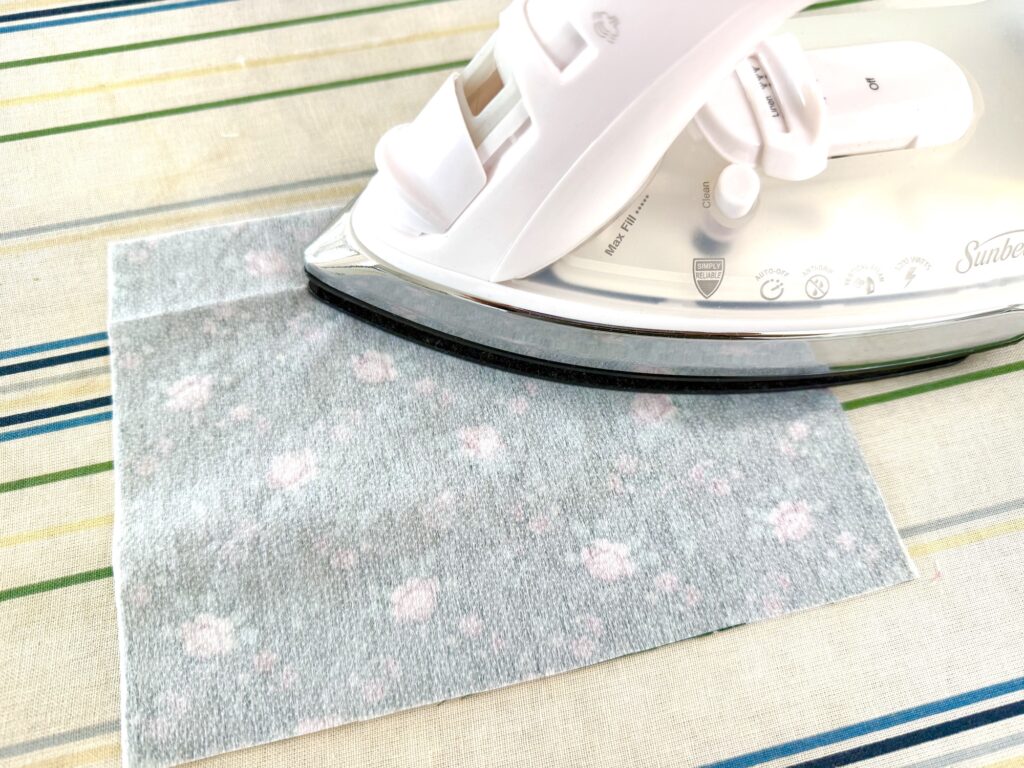
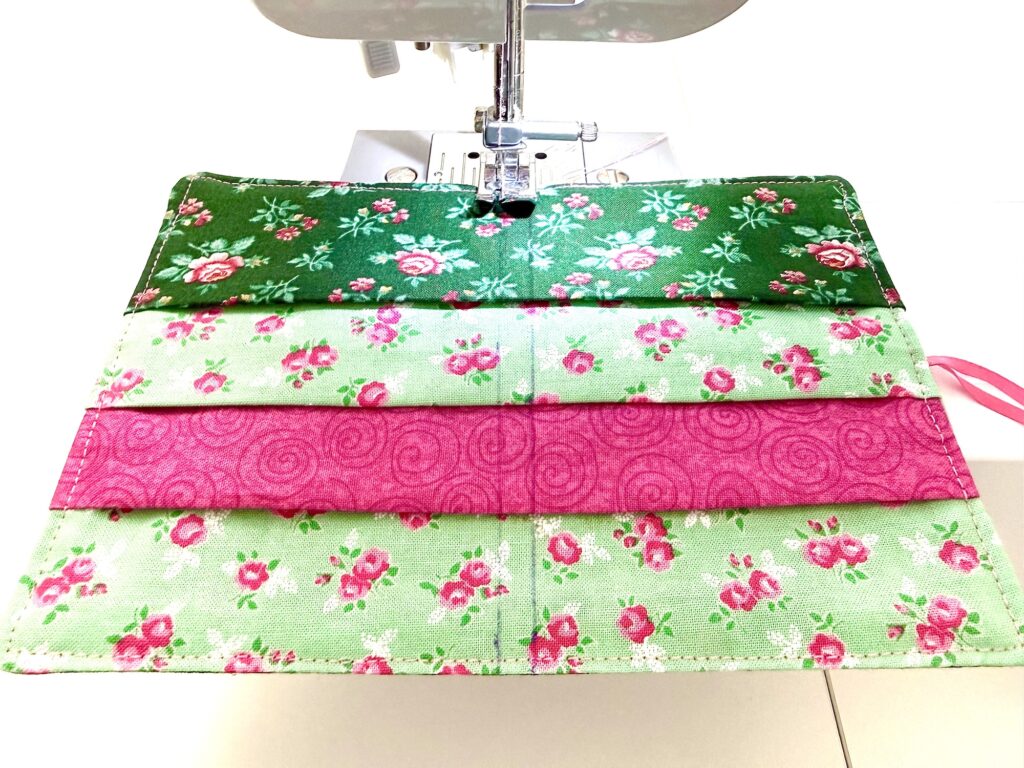
Iron the fusible interfacing to the back of the fabric that will be the exterior of the tea bag wallet.
Decide the placement of the fabric pieces for the pockets. You will be sewing seams for the top and middle pocket pieces, but not the bottom pocket piece.
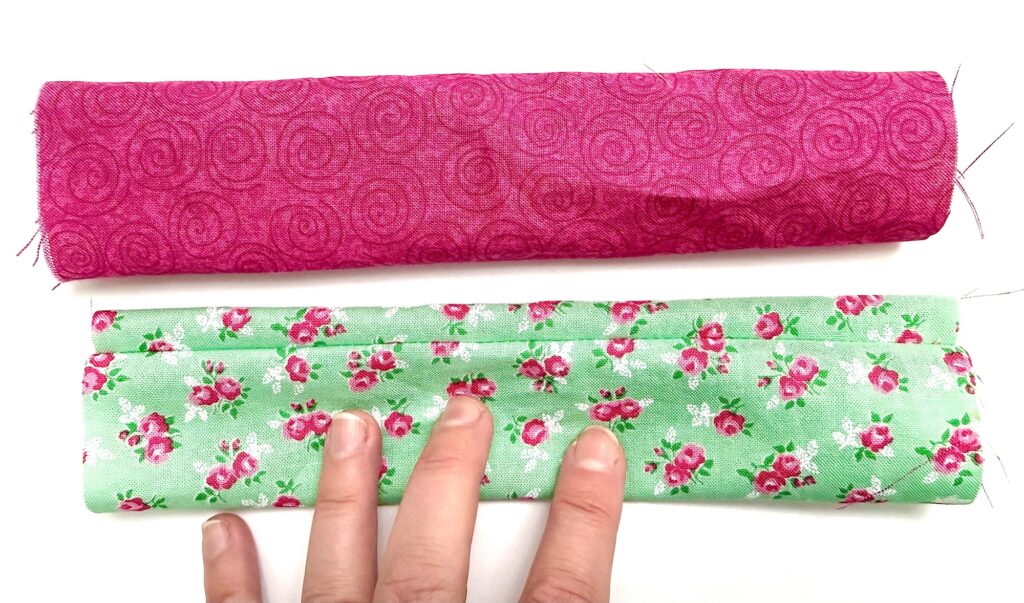
Fold the fabric for the top and middle pockets in half lengthwise, with right sides together. Sew along the long, cut edges with ¼ inch seam allowance.
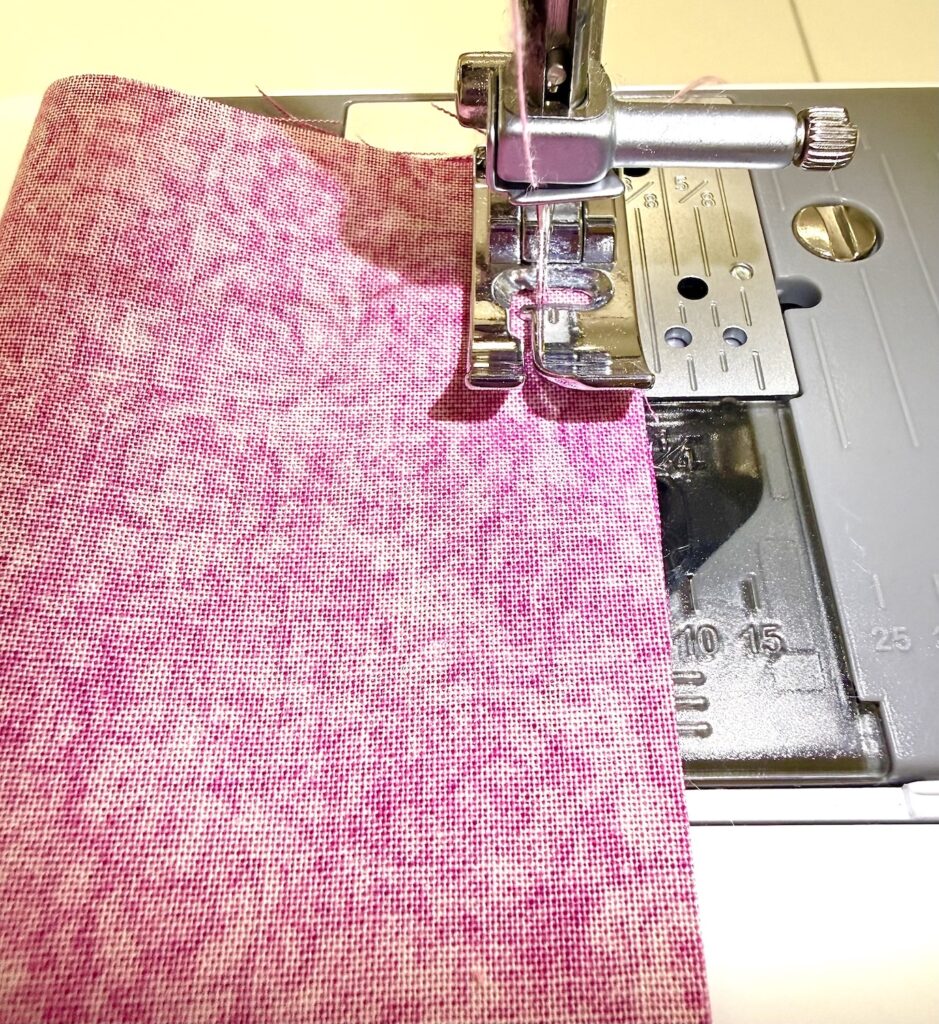
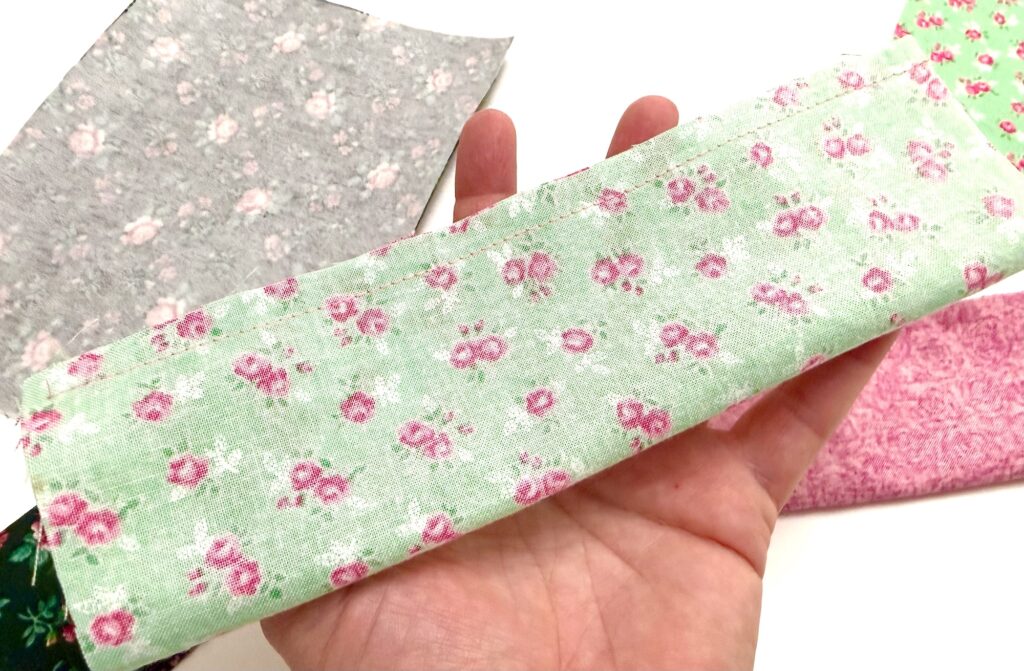

Turn each of the fabric tubes inside out.
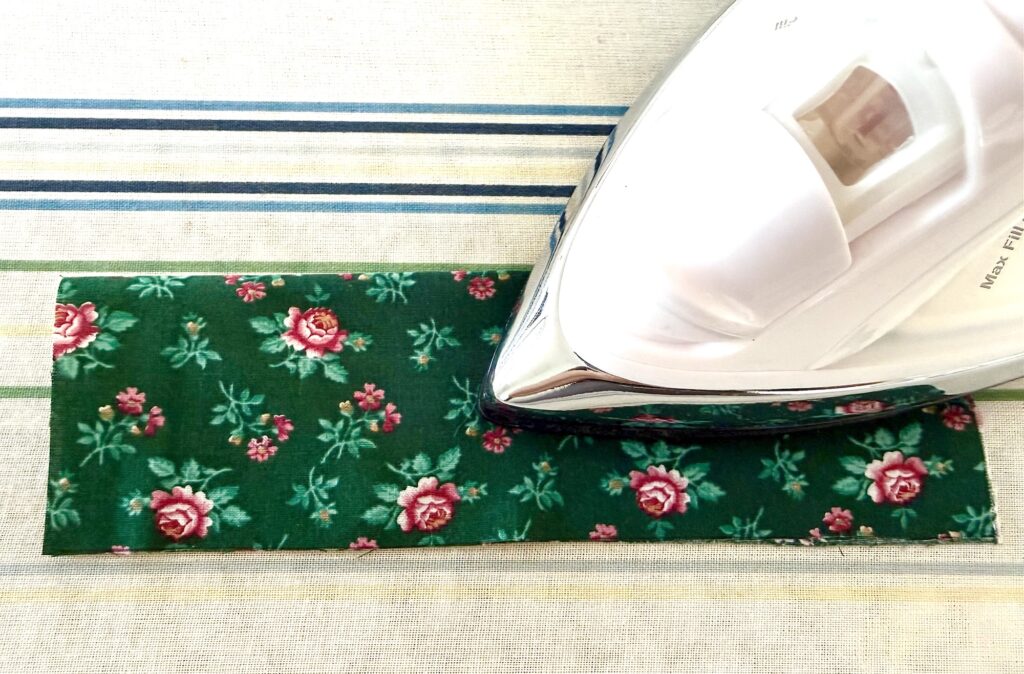
Fold the fabric piece for the bottom pocket in half lengthwise, with wrong sides together.
Iron the folded fabric, creating a crisp edge along the fold.
Position each of the fabric tubes so that the seam is about ½ inch from the top edge. Press with a hot iron.
Draw two lines across the length of the wallet interior fabric, one line should be 1 ¼″ from the bottom and the other should be 2 ¼″ from the bottom edge.
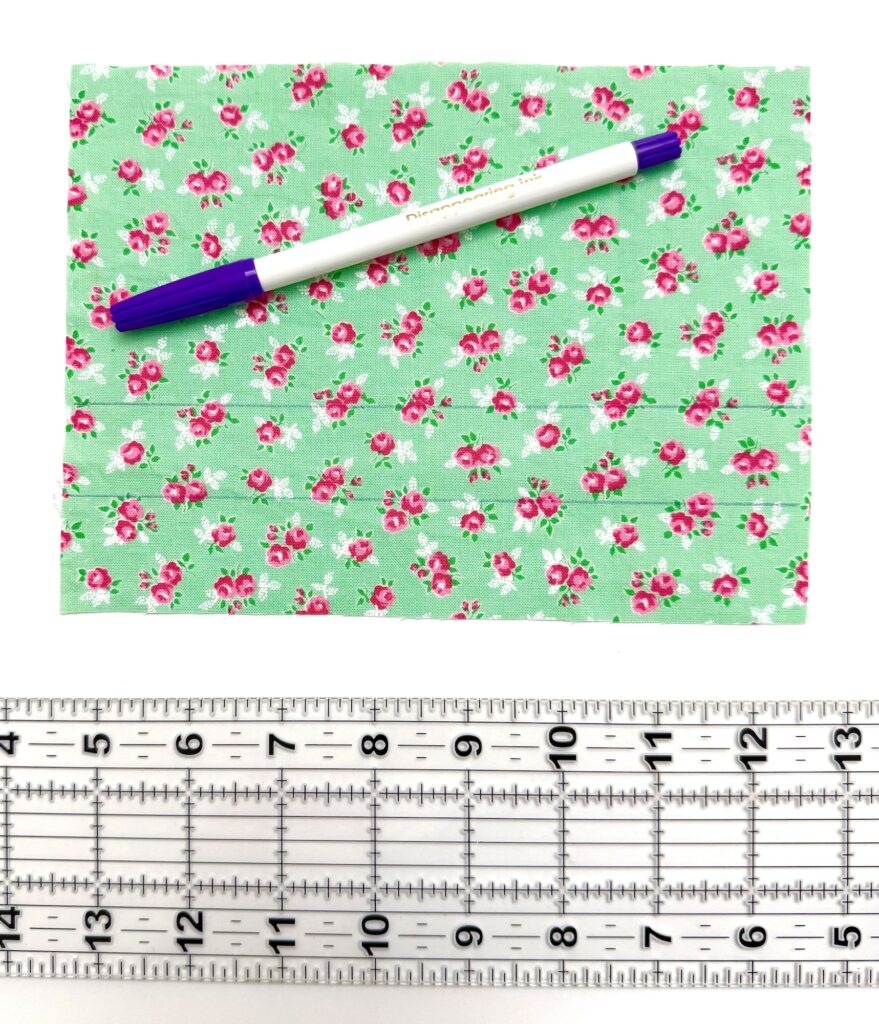
(I used disappearing ink for this step, but you can use a pen or marker since the lines will not be seen.)
Place the bottom edge of the top pocket along the top line, with the seam side down and the seam towards the top of the pocket. Clip on each side.
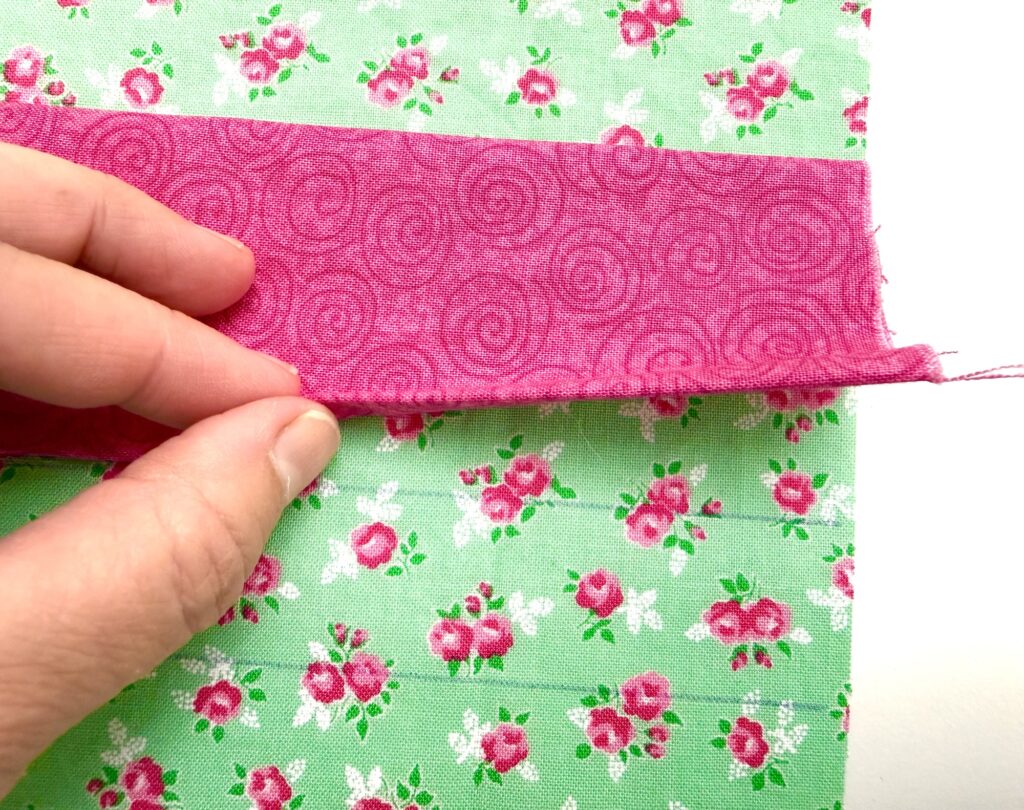
Sew the pocket fabric to the base layer along the bottom folded edge, about 1/8″ from the edge.
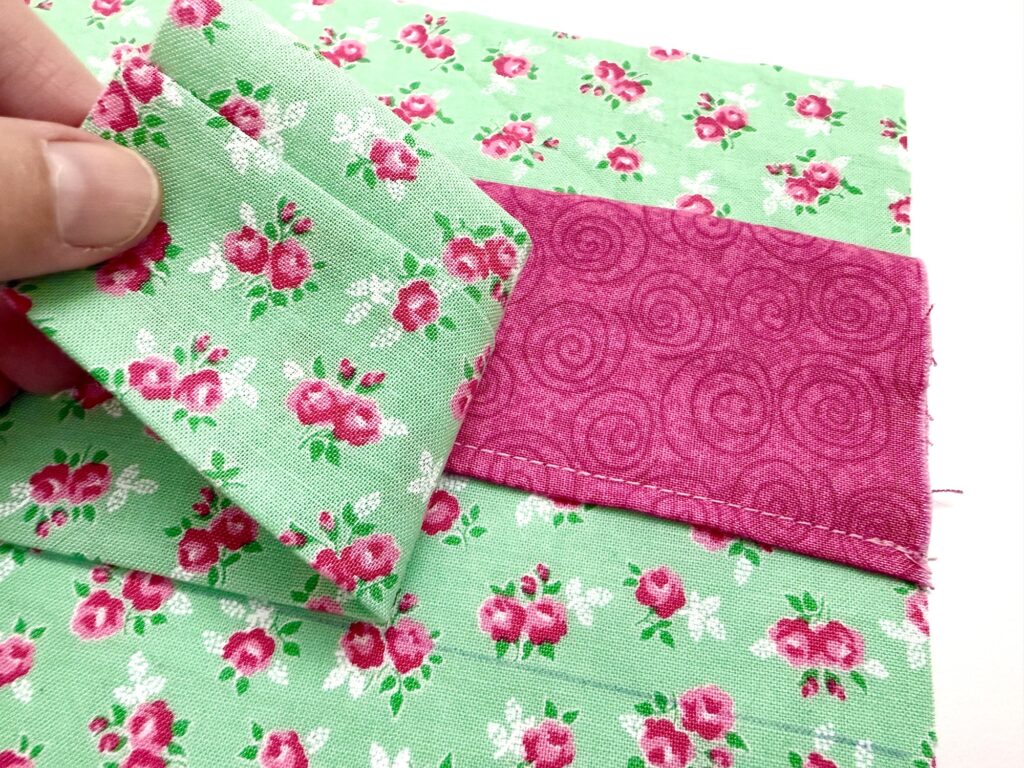
Repeat the same process with the middle pocket, lining the bottom edge with the lower line and overlapping the fabric over the base of the top pocket.
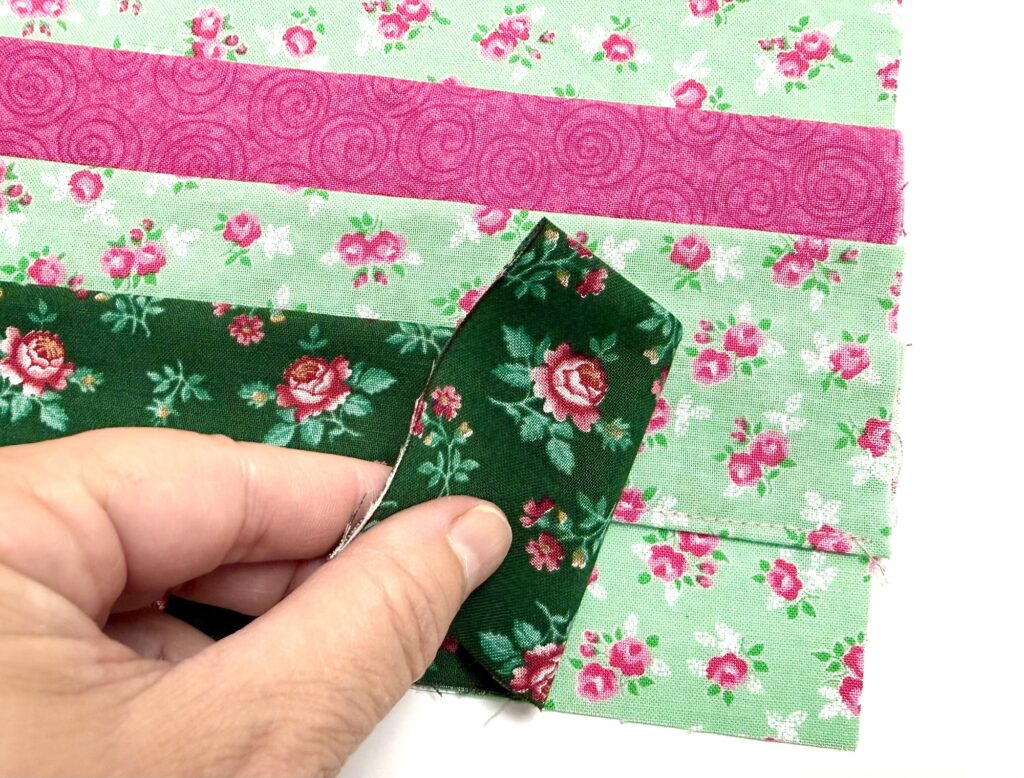
Place the bottom pocket fabric along the edge of the interior fabric, matching the long, unfinished edges. Clip the fabric pieces together.
Measure 10″ in from one edge of the ribbon and fold. Press with a hot iron. Now you will have a short end and a longer end of ribbon.
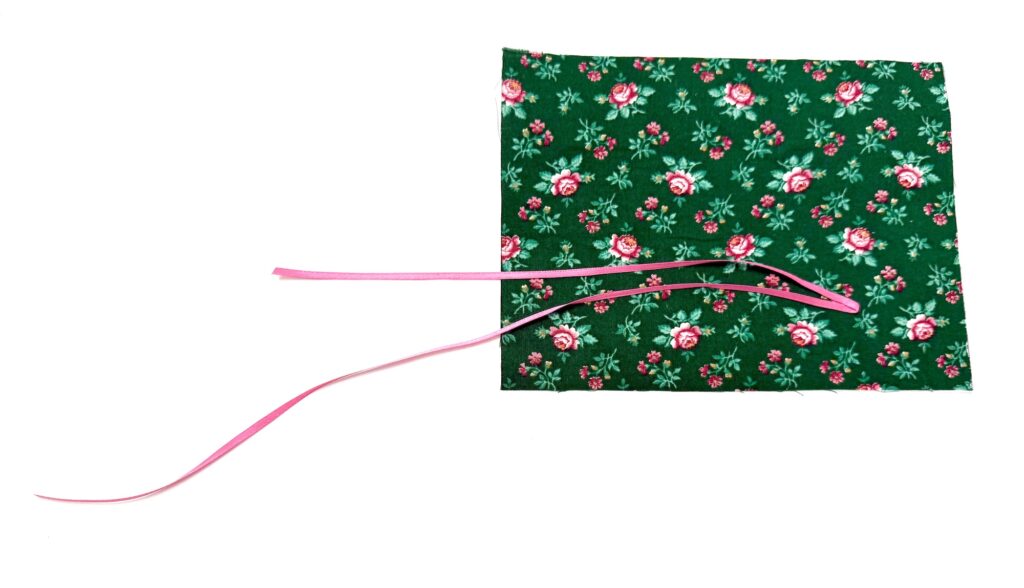
Place the exterior tea wallet fabric right side up. Place the fold of the ribbon in the middle of the left edge of the fabric, about 3 inches from the top. Place the shorter piece of ribbon on top, with the longer piece underneath.
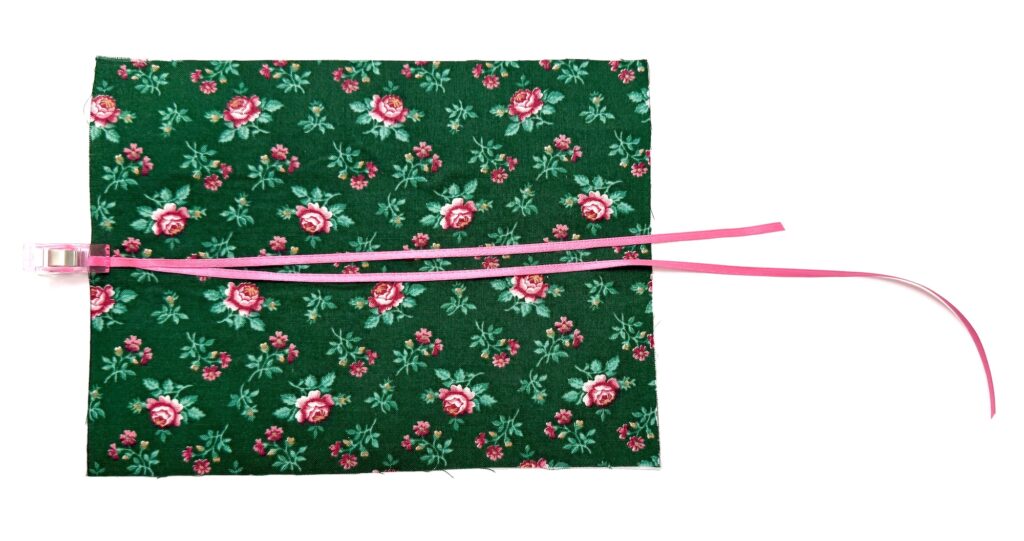
Place the interior fabric with the pockets on your work surface, with pocket openings facing up. Place the exterior fabric on top of the interior fabric, with right sides together.
If you have a directional fabric for the exterior of the tea wallet, make sure that it is positioned correctly (facing up and the pockets facing up, too).
Position the ribbon so that it comes across the fabric and down between the two large fabric pieces in the middle of the bottom edge.
Clip the edges all the way around, leaving a 3″ opening at the bottom (the ribbon should be coming out in the middle of this opening).
Sew around all edges (except for the opening) using a ¼″ seam allowance, being sure to backstitch at the beginning and ending of your stitching.
You may want to backstitch over the ribbon, too, to create a stronger seam for the tie.
Helpful Tip: Place the fabric with the pockets facing downward to prevent puckering as you sew the edges.
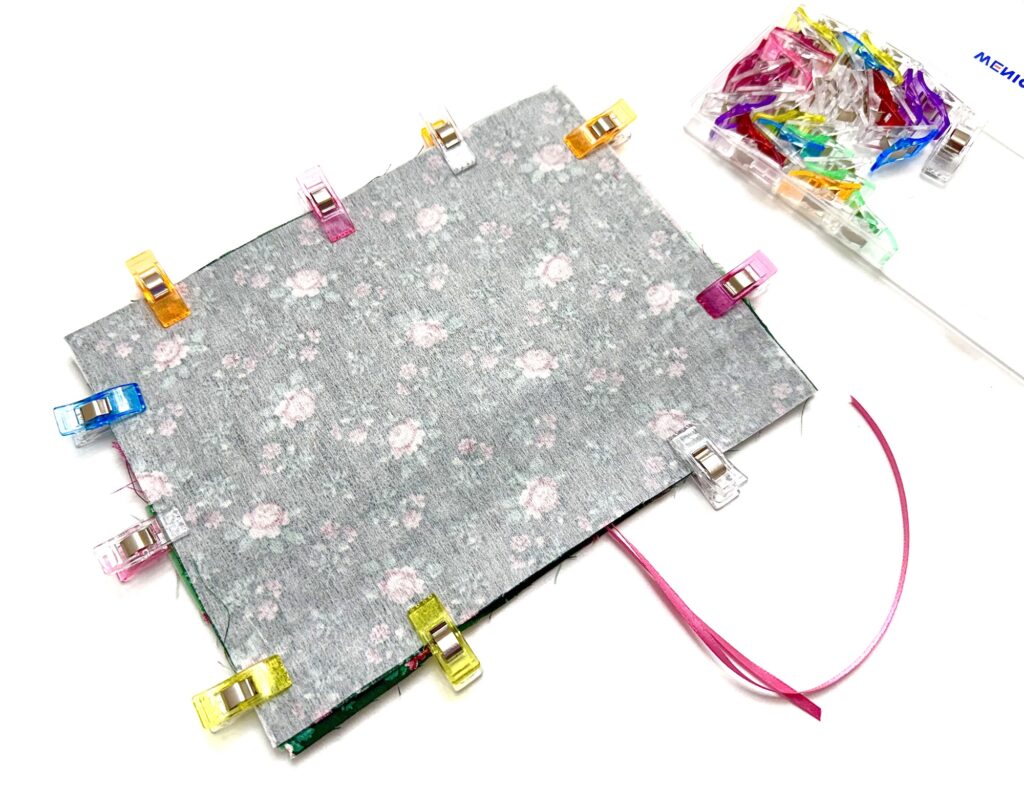
Clip the corners of each edge, being sure not to cut the stitches.
Turn the tea bag holder inside out.
Push out the edges using a turning tool to push out the corners and make square edges.
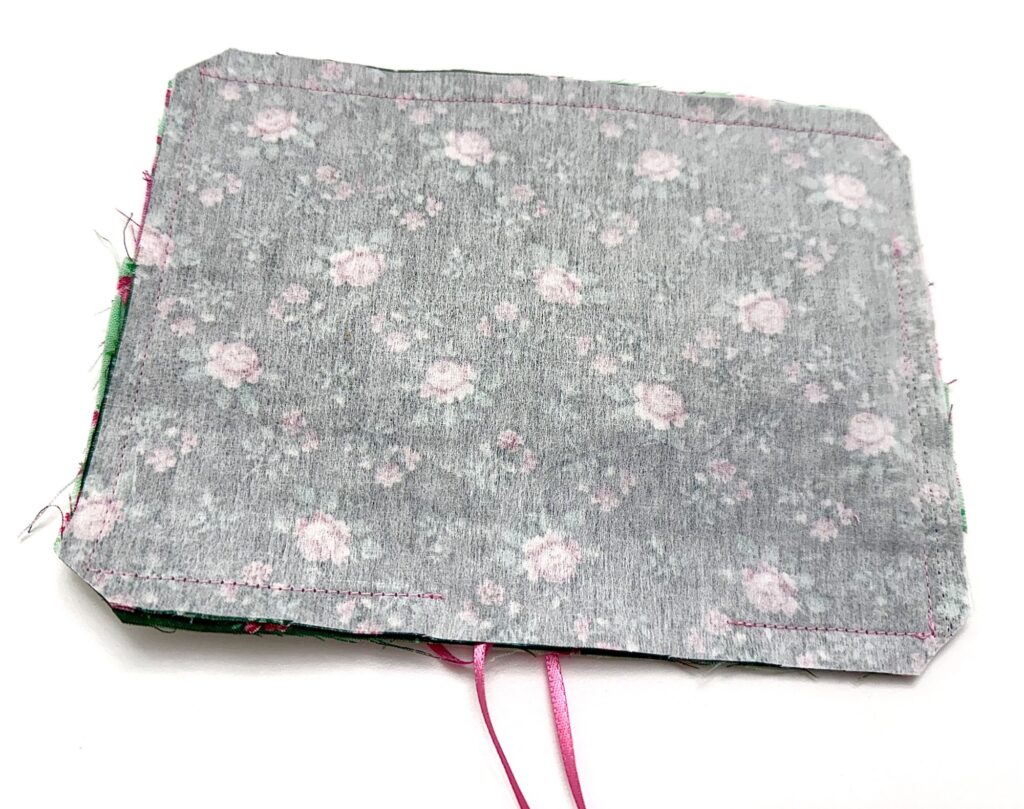
Fold under the open edges ¼″ and press down with a hot iron.
Top stitch around all four edges, about 1/8″ from the edge, which will sew the opening closed.
Helpful Tip: I do not start the top stitching with backstitching, because I want to keep the stitches looking clean. When I get around to the beginning of my stitches, I sew over the existing stitches with one of two extra stitches, then backstitch a couple more stitches to secure.
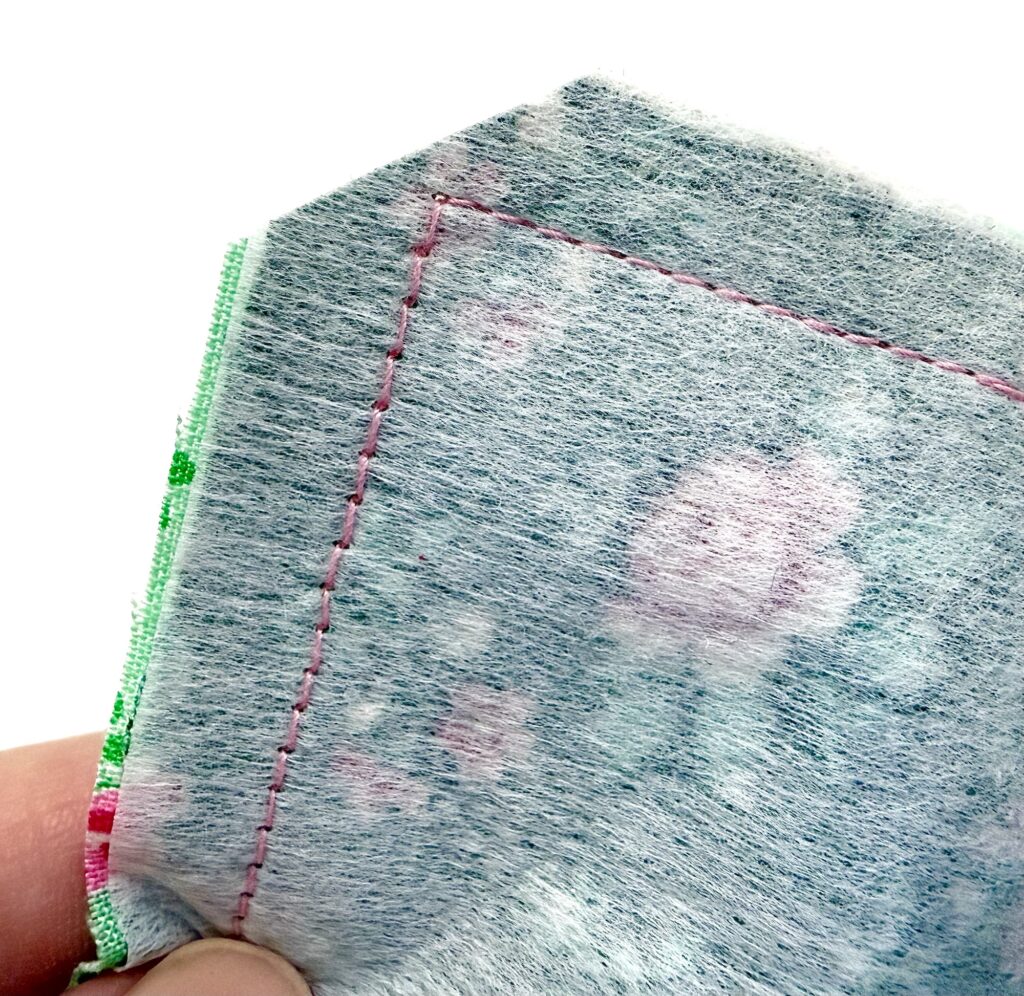
Using a disappearing fabric marker (it MUST be disappearing ink!), mark a line 3 ½″ from each edge.

Top stitch along the line, being sure to backstitch at the beginning and end of your stitching.
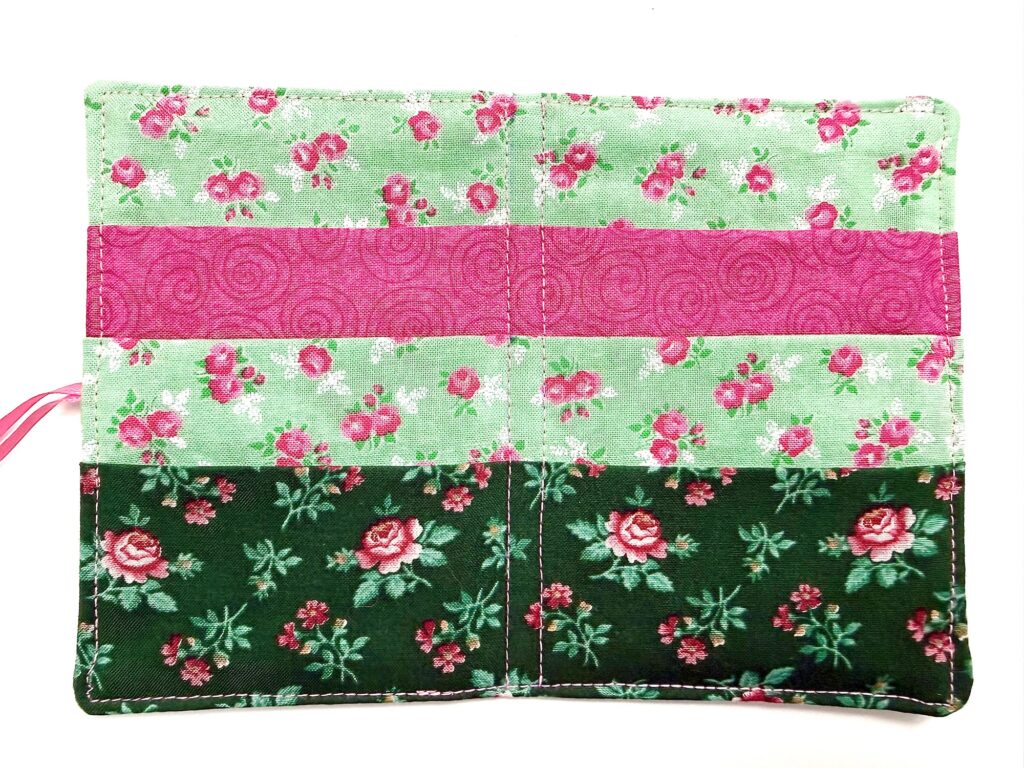
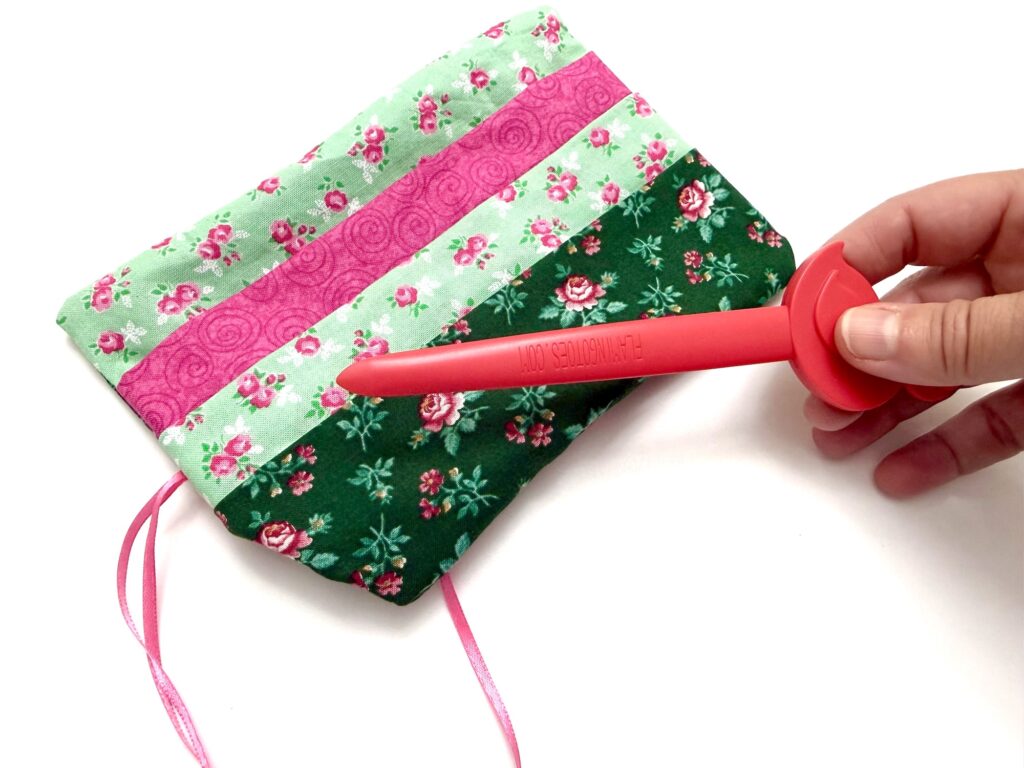
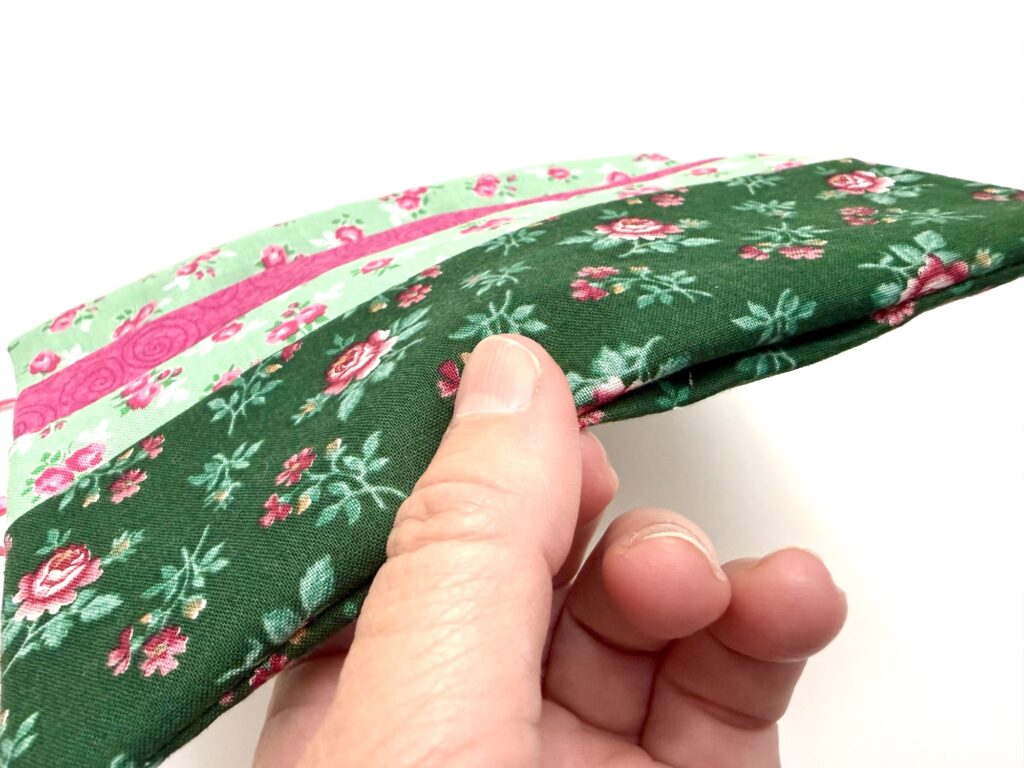
Fold the wallet in half along the stitch lines to create a crease.
Now fill each pocket with individually wrapped tea bags! You could add sugar packets in one pocket, if desired.
To close, bring the longer piece of ribbon behind the tea wallet and to the front to tie a bow.
Trim off excess ribbon ends, if needed. You can tie a knot at each end of the ribbon to prevent fraying, if desired.
This is a great item to make and sell at craft fairs because you can use fabric scraps which reduces your cost. Sell these fabric tea bag holders from $5-$10, which is a great profit! To increase your sales, package a tea wallet with a cozy mystery book or ceramic tea cup (look in thrift stores for like-new items).
Watch me make this tea wallet in my YouTube sewing tutorial:
Want to save this idea for later? Be sure to Pin It on Pinterest or save to Flipboard or Facebook.
Be sure to see these easy sewing projects, too: