What is Interfacing: Beginners Guide For How and When to Use
Selecting the right interfacing is like choosing the perfect foundation for a house—it provides the essential support and structure that will bring your creation to life with a professional touch.
Whether you are crafting a crisp collar or hem, applying a pocket, or stitching a quilt, the best way to add structure and stiffness to your fabric is to choose the right type of interfacing.
Not all interfacings are the same. This comprehensive guide shows you the different types to choose from, common uses, helpful tips and what you need to know to choose the best interfacing for your project, as well as how to apply it.
What is Interfacing?
Interfacing is a crucial part of the sewing process that pertains to a hidden but important part of many garments and home decor products.
Not every sewing pattern requires interfacing. However, it is often a crucial component of garment sewing because it adds shape to the clothing or bag.
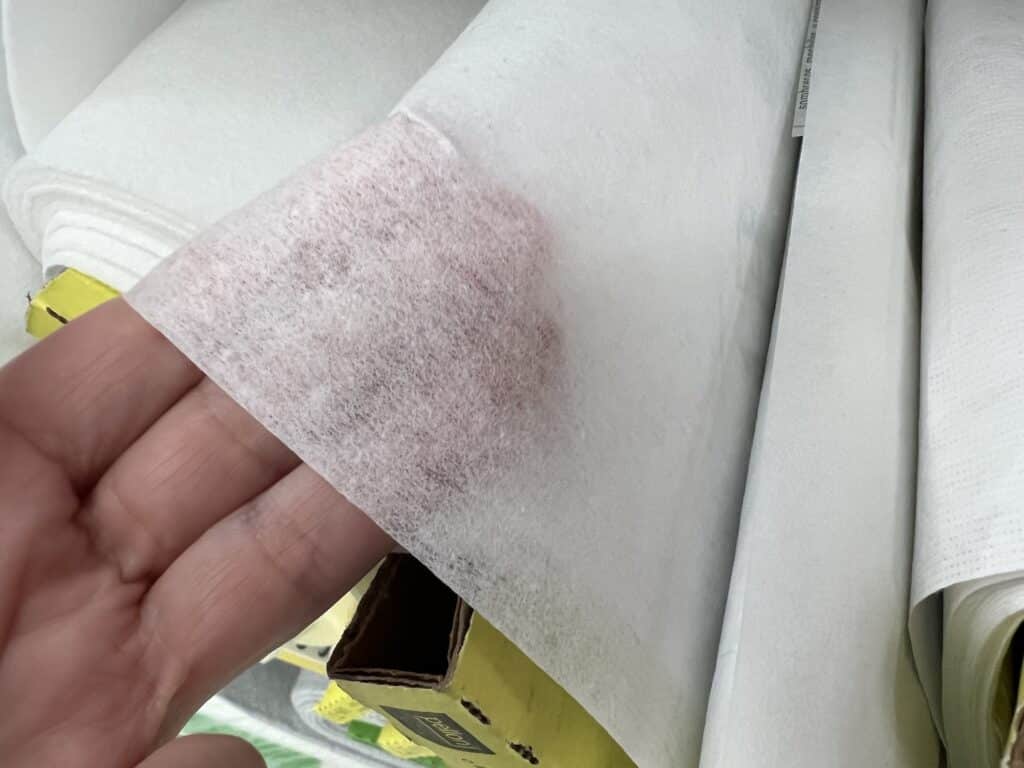
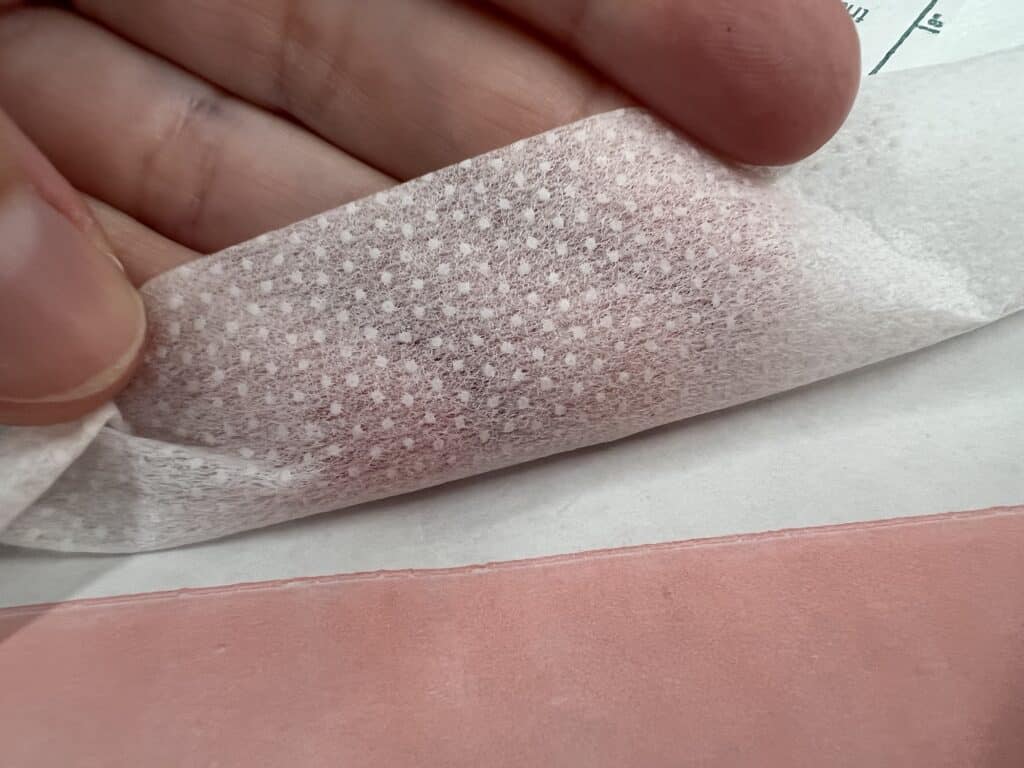
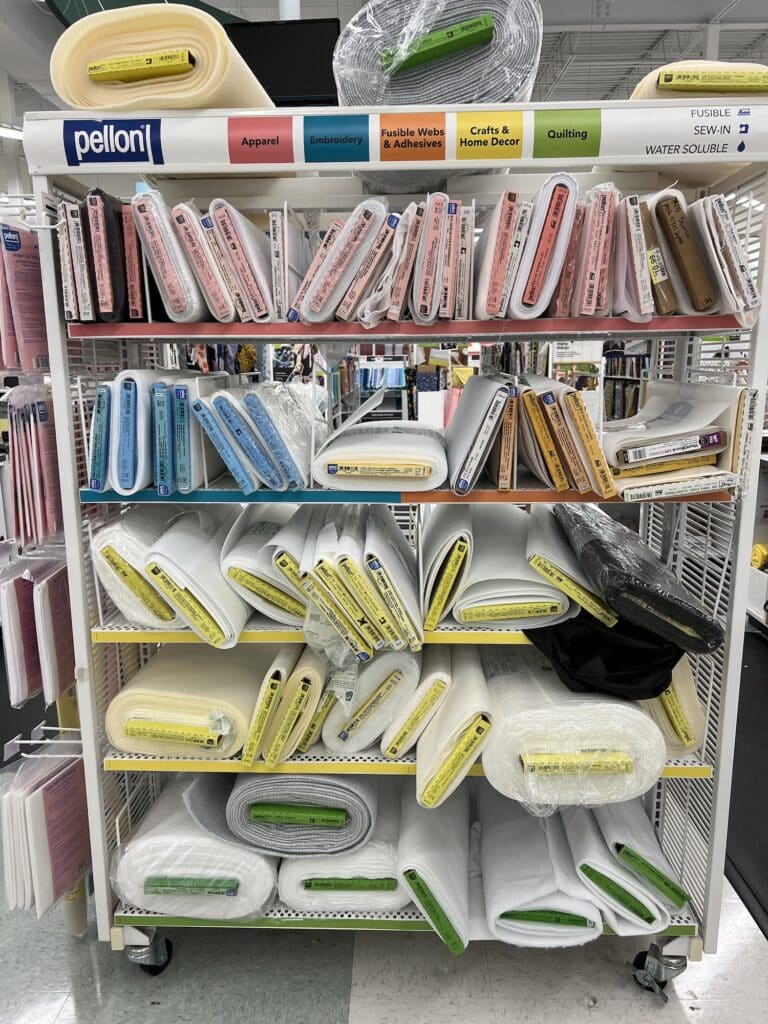
Interfacing looks like a woven fabric with a loose weave. The fusible version has small dots across the glue side surface which are adhesive spots.
Interfacing is used on the wrong side of fabric or the unseen parts to make an area of a garment more rigid and to give it structure and form.
Think of it as a skeleton that keeps parts of your clothing, such as collars, cuffs, pocket flaps and waistbands, from collapsing and wrinkling.
It comes in a variety of weights, types, and stiffnesses to compliment different fabric weights and uses.
There are two main types of interfacing: sew-in interfacing and fusible interfacing.
Sew-in interfacing is meant to be sewn onto your fabric, just as you would with any other piece of fabric. It is particularly great for delicate fabrics that might be damaged by the heat of an iron.
Fusible interfacing has adhesive on one side that bonds with the fabric when ironed, creating a strong, more permanent attachment.
Picking the right type of interfacing for your project is critical as it helps maintain the drape of the fabric and the feel of the finished piece while providing the required support.
Related Posts That Use Fusible Interfacing:
Common Ways to Use Interfacing
Interfacing fabric is usually applied to pattern pieces before you sew them together. It is almost always applied to the wrong side of your fabric.
- Collar & Cuffs: Gives shape and a crisp edge to collars and cuffs on shirts and blouses.
- Waistbands: Prevents waistbands from rolling and adds structure to skirts and trousers.
- Buttonholes & Buttons: Interfacing on button plackets adds reinforcement where buttonholes are sewn and where buttons are placed to prevent tearing.
- Facings: Provides stability to the open edges of garments, like necklines and armholes.
- Pockets: Helps maintain the shape of pockets and prevents them from sagging.
- Zippers: Supports areas around zippers, preventing puckering and ensuring a smooth application.
- Handbags & Totes: Offers rigidity to bags and purses, helping them to stand upright and maintain form.
- Patches & Appliques: Keeps decorative elements crisp and in place without sagging.
- Quilting: Can be used in quilting to add body to certain areas or as a stabilizer for machine embroidery.
- Hems: Gives extra body and support to hems, especially in heavier fabrics or circular hems.
Different Types of Interfacing
- Woven Interfacing: Resembles standard fabric with a grain, can be used with woven fabrics to maintain a natural flow and drape.
- Non-Woven Interfacing: Does not have a grain and can be cut in any direction, making it versatile for various shapes and patterns.
- Knit Interfacing: Offers stretch and flexibility, suitable for stretchy fabrics or knit fabrics to retain elasticity.
- Fusible Interfacing: Features an adhesive side that can be heat-bonded to fabric, providing convenience and stability.
- Sew-In Interfacing: This non-fusible interfacing offers sew-in options requires stitching to attach to the fabric, ideal for sensitive materials that cannot withstand the heat of fusing.
- Tricot Interfacing: A type of knit interfacing that is very soft and drapable, good for light to medium weight knits and stretchy fabrics.
- Hair Canvas Interfacing: Made with a blend of animal hair and wool, offering a sturdy yet flexible structure for tailored garments.
- Thermo-Bonded Interfacing: Created by bonding fibers together with high heat, resulting in a smooth and even texture with varying rigidity.
- Weft Insertion Interfacing: Combines the stability of a woven interfacing with additional weft threads for extra strength, suitable for tailored items.
- Embroidery Interfacing: Specifically designed to support fabric during machine or hand embroidery, preventing puckering and distortion.

Different Weights of Interfacing
- Lightweight Interfacing: Ideal for lightweight fabrics and delicate fabrics such as silks, satins, and chiffons; adds minimal structure and maintains fabric drape.
- Medium-Weight Interfacing: Suitable for what you might consider regular fabrics, which are medium-weight fabrics like cotton, light wool, and synthetics; provides more support for areas requiring shape.
- Heavyweight Interfacing: Best for coarse or heavy fabrics such as denim, canvas, or heavy wool; offers robust support and structure to garments and crafts.
Where to Buy Interfacing
Interfacing can be found where fashion fabric is sold, including a fabric store and online stores.
How to Apply Interfacing
Interfacing can be either fused to the fabric with a hot iron (fusible interfacing) or sewn on (sew-in interfacing). Below are step-by-step guides for both methods of application.
Applying Fusible Interfacing
Materials Needed:
- Fusible interfacing
- Fabric
- Iron
- Ironing board
- Press cloth (optional)
Steps:
- Pre-wash your fabric to pre-shrink it if necessary, as some fabrics can shrink when washed. This step is important if the material is likely to get wet or washed in the future.
- Cut the interfacing to match the size and shape of the area you will be reinforcing. Use the pattern piece as a guide or trace the shape onto the interfacing.
- Lay the fabric flat on the ironing board, wrong side up.
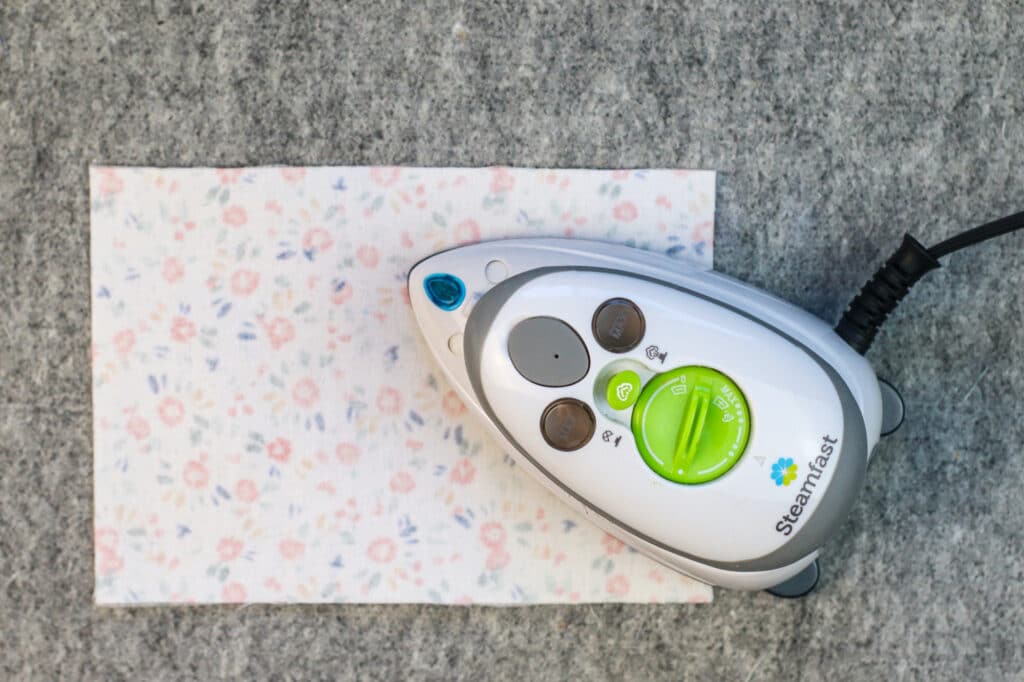
- Place the interfacing over the area to be reinforced, with the adhesive side (the rough side) facing down onto the wrong side of the fabric.
- Set your iron to the correct temperature according to the interfacing manufacturer’s recommendations.
- Test a small piece of interfacing on a scrap of fabric to ensure that it bonds correctly and that the fabric does not burn or become shiny.
- Press the iron down on the interfacing without moving it back and forth. Use a pressing cloth if required to avoid damage to the fabric or interfacing.
- Hold the iron in place for about 10-15 seconds on each section to properly fuse the interfacing to the fabric.
- Let the fabric cool before moving it. This allows the adhesive to set and prevents the interfacing from shifting.
- Check the bond by gently lifting the edge of the interfacing. If it hasn’t bonded, repeat the pressing step.
Applying Sew-In Interfacing
Materials Needed:
- Sew-in interfacing
- Fabric
- Sewing machine or hand-sewing needle
- Scissors
- Pins or basting thread
Steps:
- Cut the interfacing using the same pattern piece used for cutting your fabric or trace and cut out the required shape.
- Place the interfacing on the wrong side of the fabric, aligning all edges and making sure there are no wrinkles or bubbles.
- Pin the interfacing in place to avoid shifting or use a basting stitch to temporarily hold the interfacing to the fabric.
- Machine baste around the edges, or if preferred, hand-baste along the edge within the seam allowance to join the interfacing to the fabric.
- Sew your garment pieces together as per your pattern instructions. The interfacing will be caught in the seams and permanently secured in place.
- Trim the seam allowances if necessary after sewing to reduce bulk.
- Finish constructing your garment as usual. The sew-in interfacing will give support to your garment fabric without the use of adhesives.
Note: Interfacing should always be applied to your fabric pieces before you start sewing the garment together unless your pattern instructions specify otherwise.
Pin This guide to a sewing or quilting board on Pinterest to save for later!

Want more sewing definitions and beginner guides? Then check these out next:
- What is Rick Rack and How to Apply It
- 33 Beginner Sewing Tips
- What Are Sewing Notions: Comprehensive Guide to What You Need
- 12 Different Types of Sewing Scissors
- How Big is a Yard of Fabric?

Hello, I’m making a reversible circle poncho and I’m using velvet on one side and regular cotton material on the other side. Is interfacing the same thing as using Stitch Witchery Iron on adhesive to adhere the two sides together, since velvet slips all over the place, or would that be overkill?
Hi Winnie, Interfacing is meant to stiffen a fabric, so you may not want to use it on the poncho. If you did, I would apply it to the regular cotton, not the velvet. My concern would be if the Stitch Witchery would adhere to the fabric that had interfacing on it? I have not tried that, but since interfacing has a different texture, it might not grab and adhere to it like it should. Personally, I would not use both.