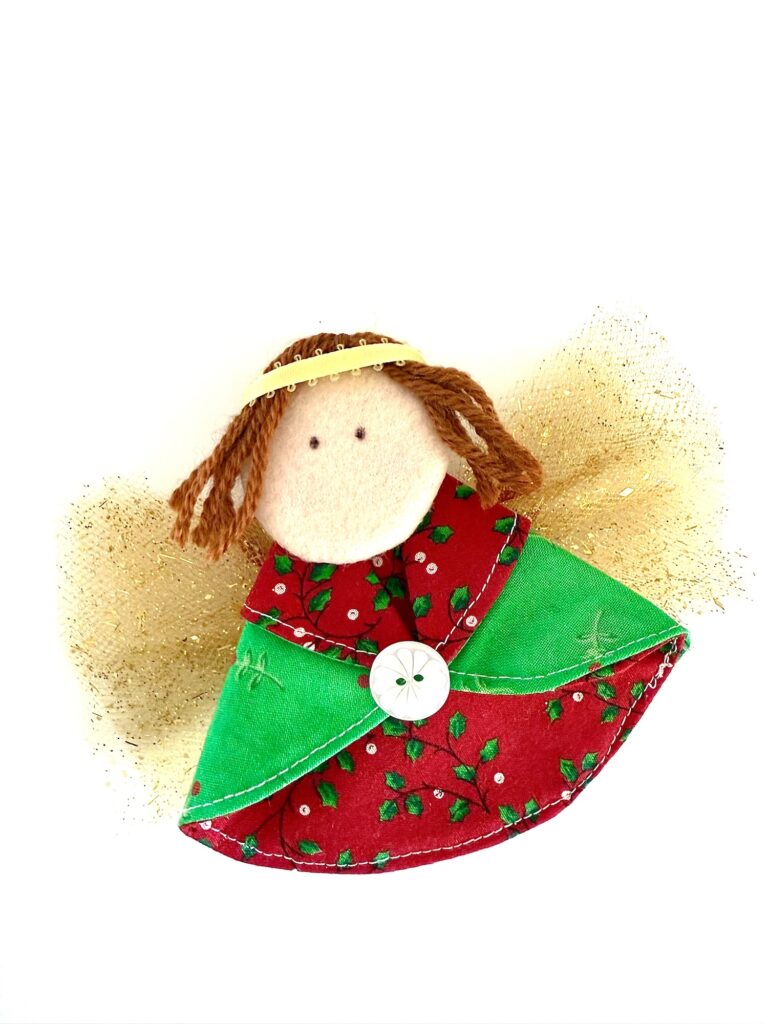
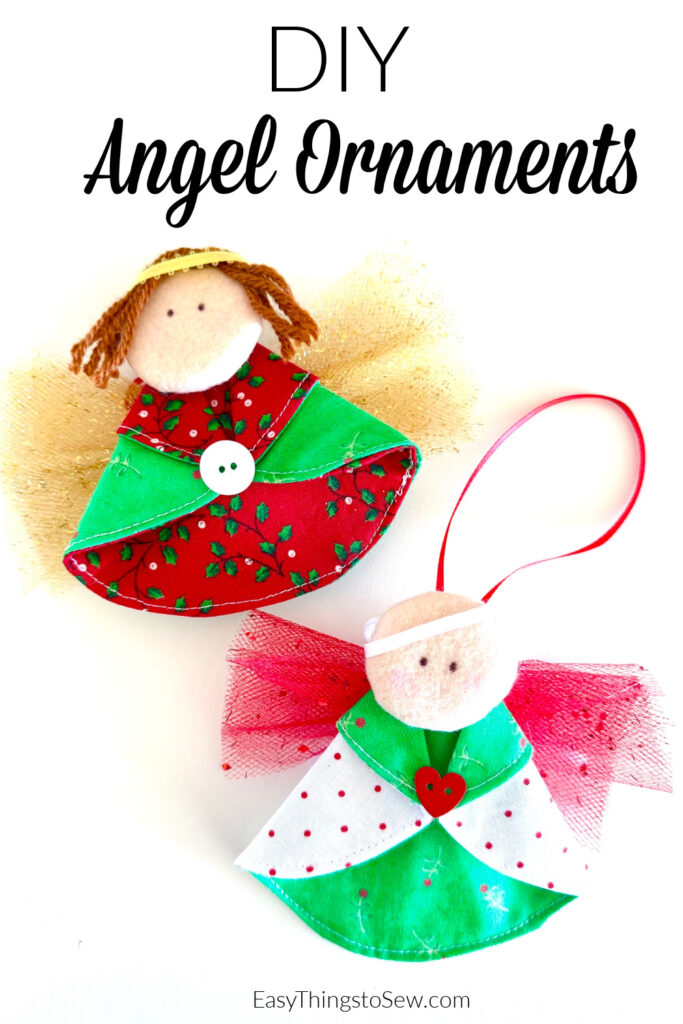
Easy DIY Christmas Angel Ornaments
Creating these beautiful angel ornaments is great way to add a personal touch to your holiday decor or to give as handmade gifts.
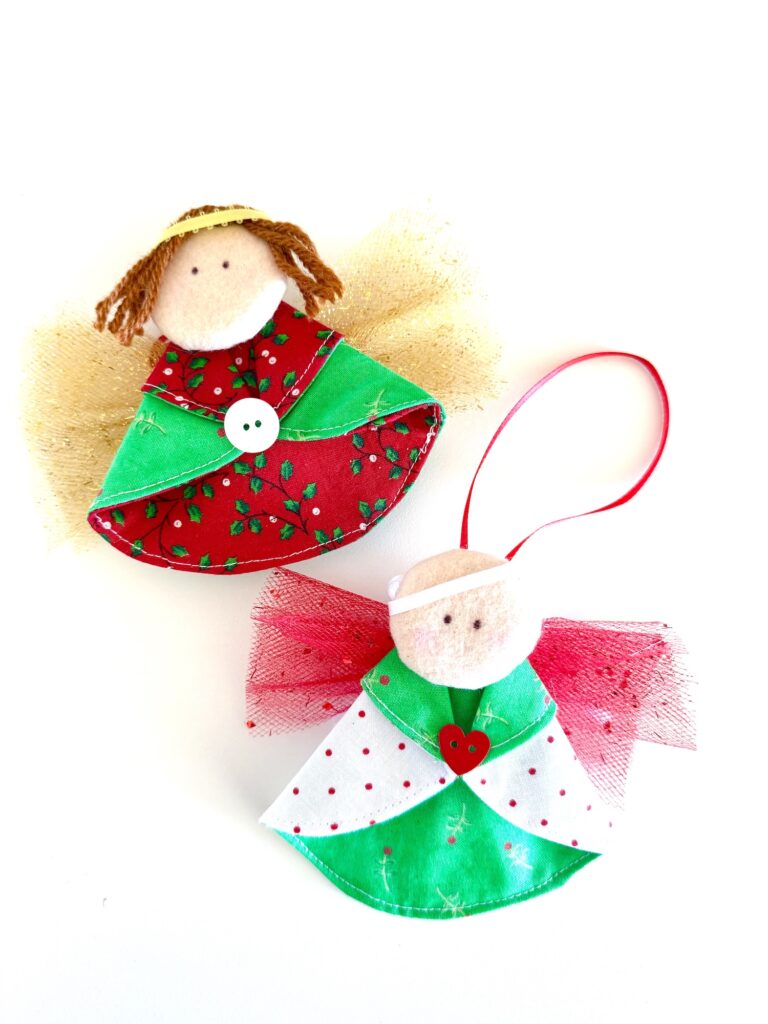
These pretty fabric angels are not only easy to sew, but they are also perfect keepsakes that friends and family will cherish for years to come.
The fabric angels also make great gift toppers, too. These are just one of our many angel sewing patterns that you will love!
While I chose Christmas fabric for DIY Christmas ornaments, you could make these any time of the year.
DIY Angel Ornament
The supplies are for one angel ornament.
Supplies
- Two Coordinating Fabrics (around 6 inches in diameter)
- Lightweight Interfacing (around 6 inches in diameter)
- Felt (3 inch circle, plus 1 1/2 inch circle)
- Cardboard or poster board (1 1/2 inch circle)
- Ribbon (for halo, hanger and decorative bows)
- Tulle (18 inches)
- Yarn (optional)
- Permanent Black Marker
- Powder Blush
- Hand sewing needle
- Pinking shears (optional)
- Hot glue gun
- Embellishment for hands (button, flower, berries, etc.)
Directions
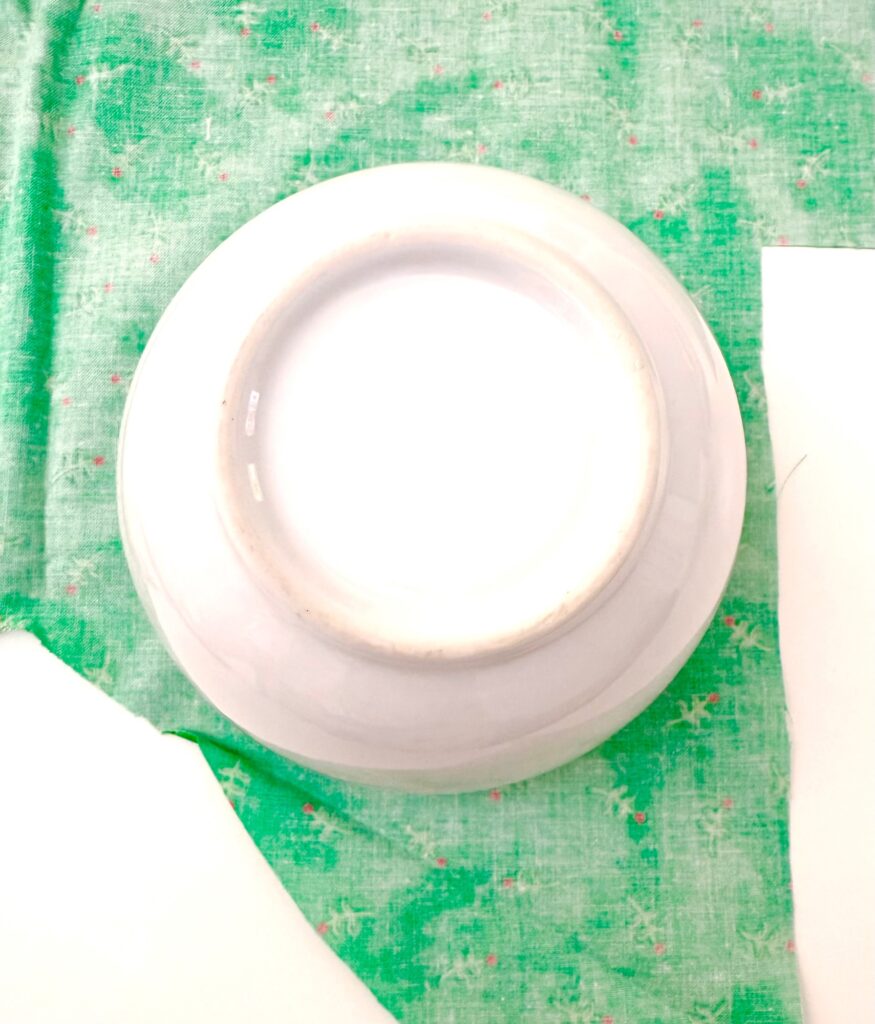
Cut circles out of two different fabrics and interfacing.
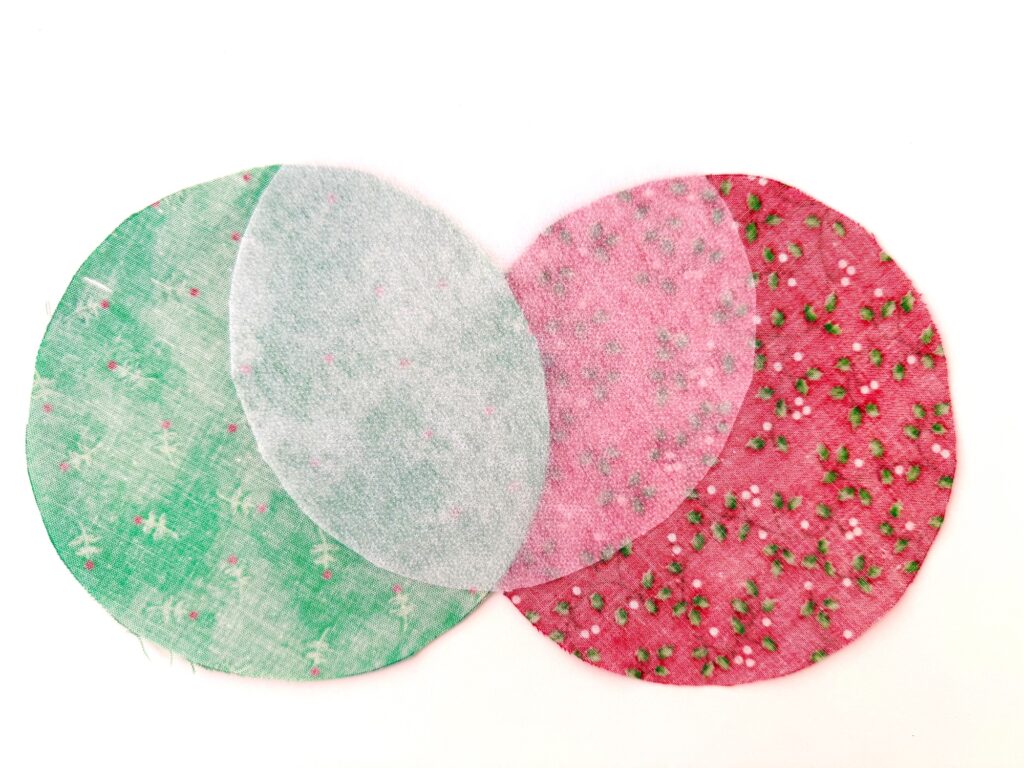
Use a bowl to trace the circle. My bowl was 5 1/2 inches wide, but you could go a little bigger.
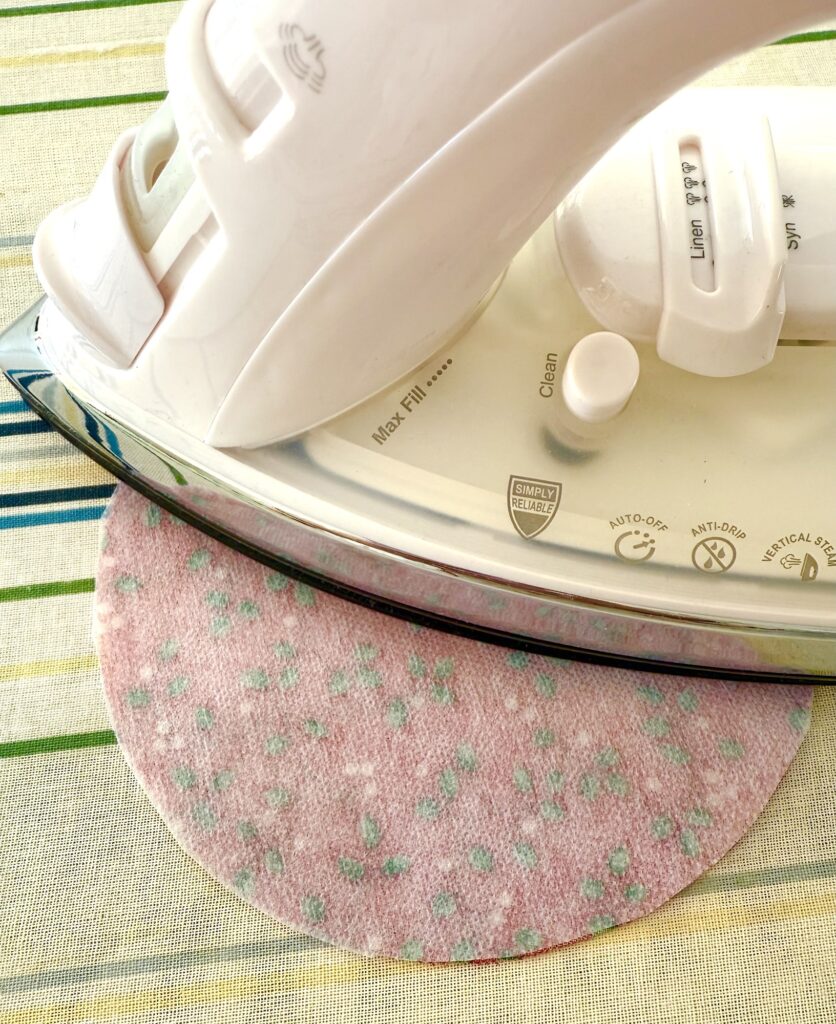
Attach the interfacing to the wrong side of one of the fabric circles (it does not matter which circle).
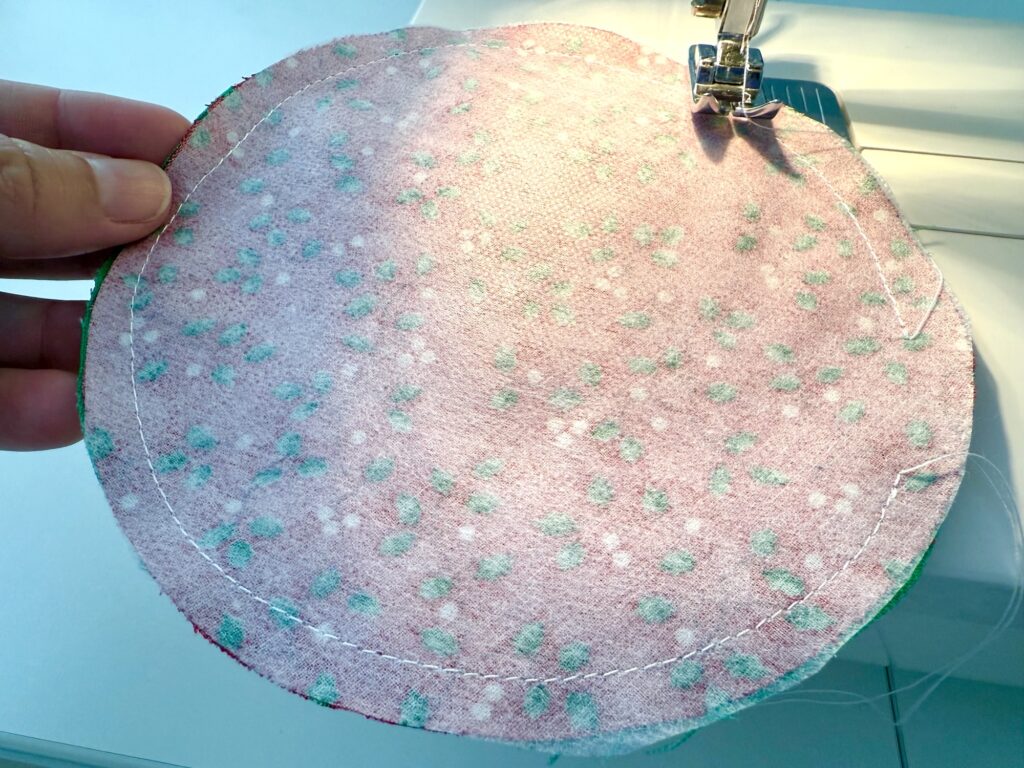
Place the fabric circles right sides together. Stitch around the edge using a 1/4 inch seam allowance, leaving a 2 inch gap. Be sure to backstitch at the beginning and the end of your stitching.
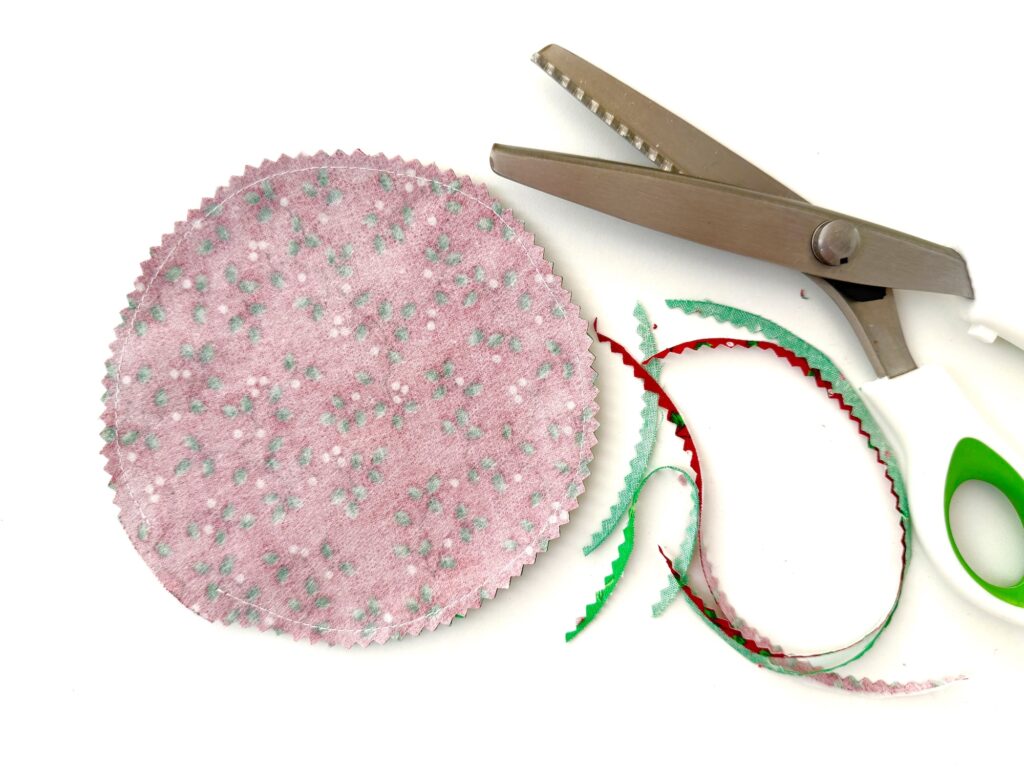
Reduce the bulk in your curved seams by either trimming with pinking shears or making small cuts all the way around, cutting close to the stitched seam but not through it. Do NOT trim or cut the fabric that is at the open seam.
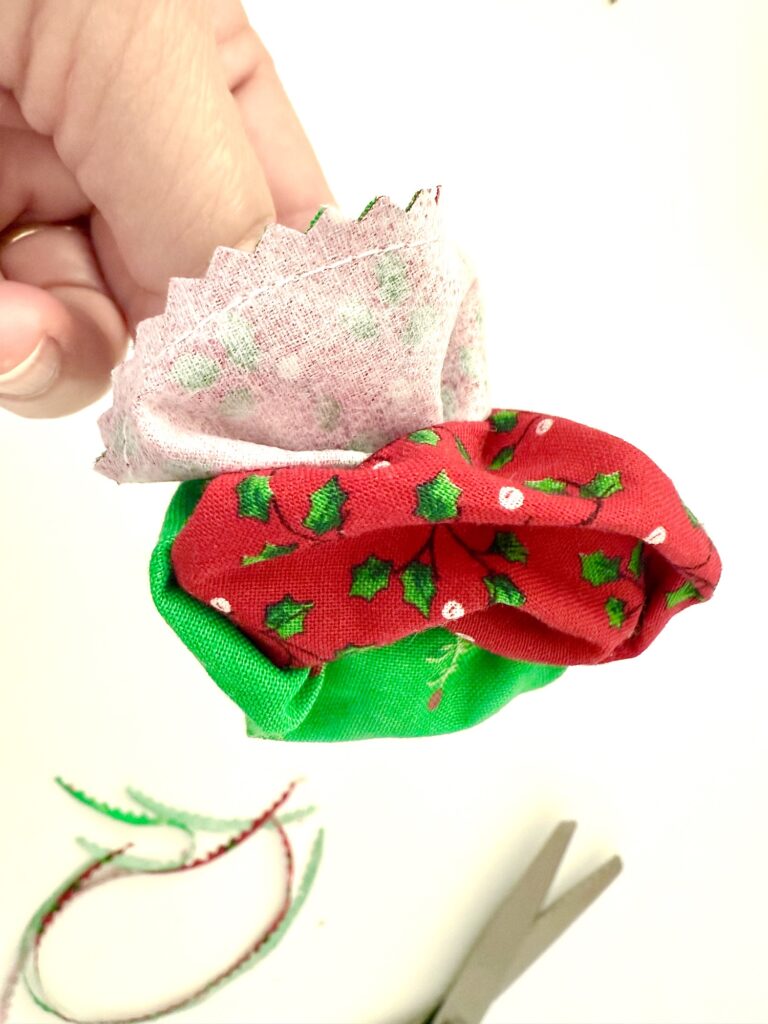
Turn the circle inside out and push out the curves. Fold under the open seams and press with an iron.
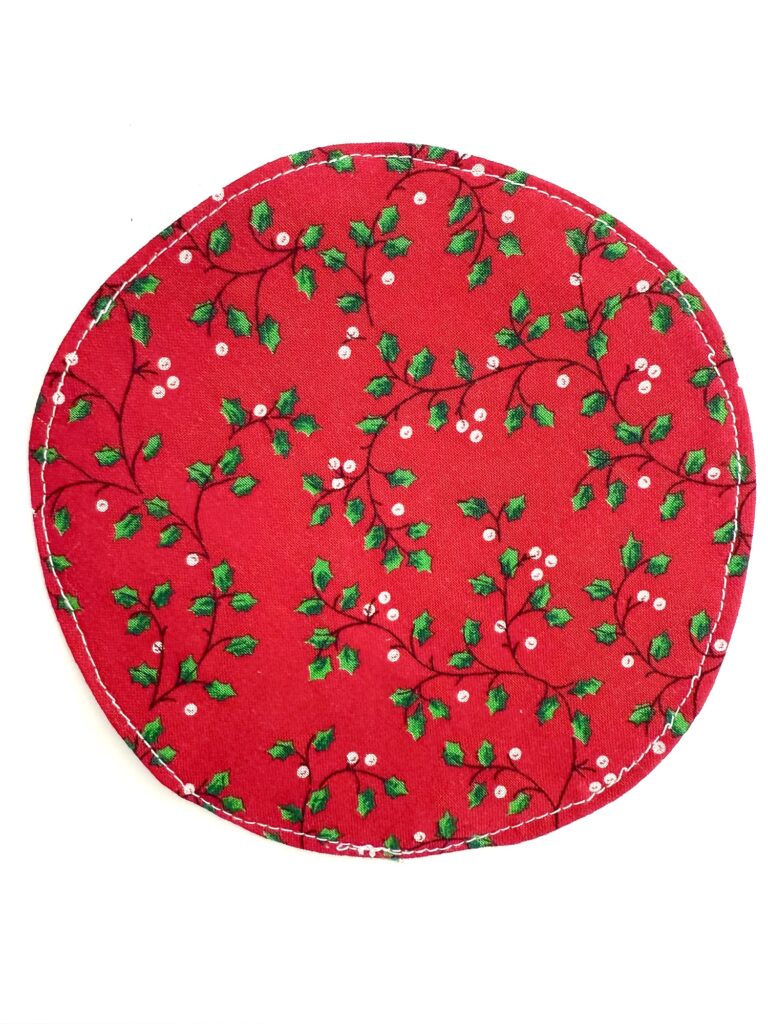
Top stitch around the circle using a 1/8 inch seam allowance and backstitch at the end of your stitching to secure.
Fold the top of the circle over by about 1 1/2 – 2 inches to make a straight line. I like to hide any imperfections there might be underneath this fold, such as the backstitching on the stitched seam.
HELPFUL TIP: The fabric side you fold over will be the top of the angel’s dress as well as the main part of her dress.
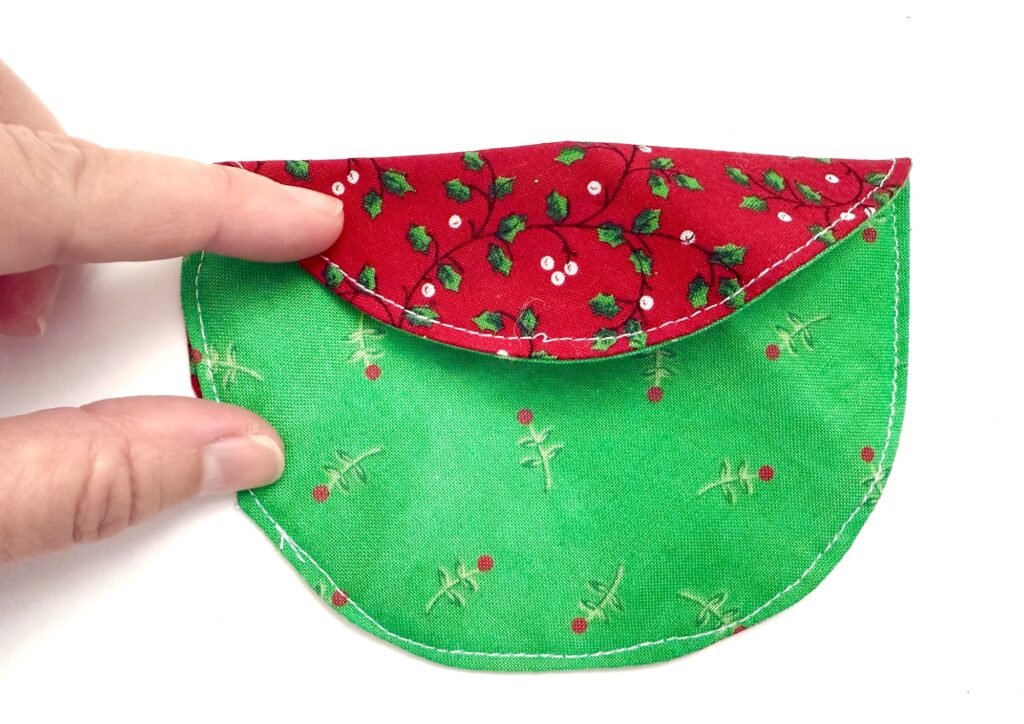
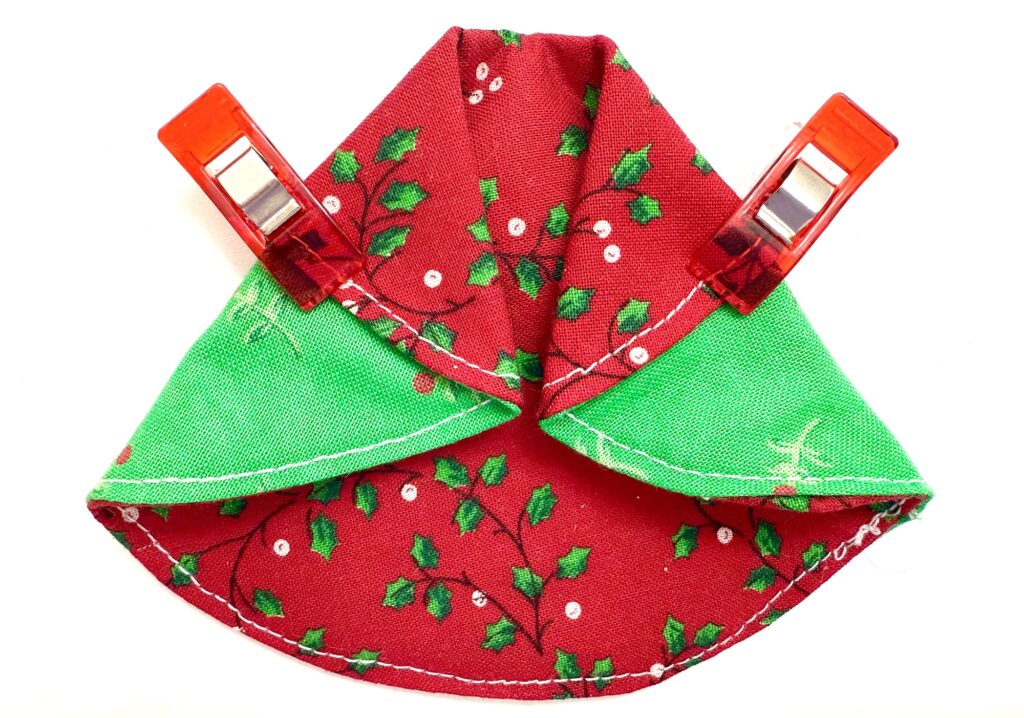
Now fold over the ends of that straight line to meet in the middle. You are making the angel’s dress sleeves. Secure with clips of pins.
Using a hand needle and knotted thread, secure the sleeves to the dress body by making a stitch or two underneath the top fold of the angel sleeve.
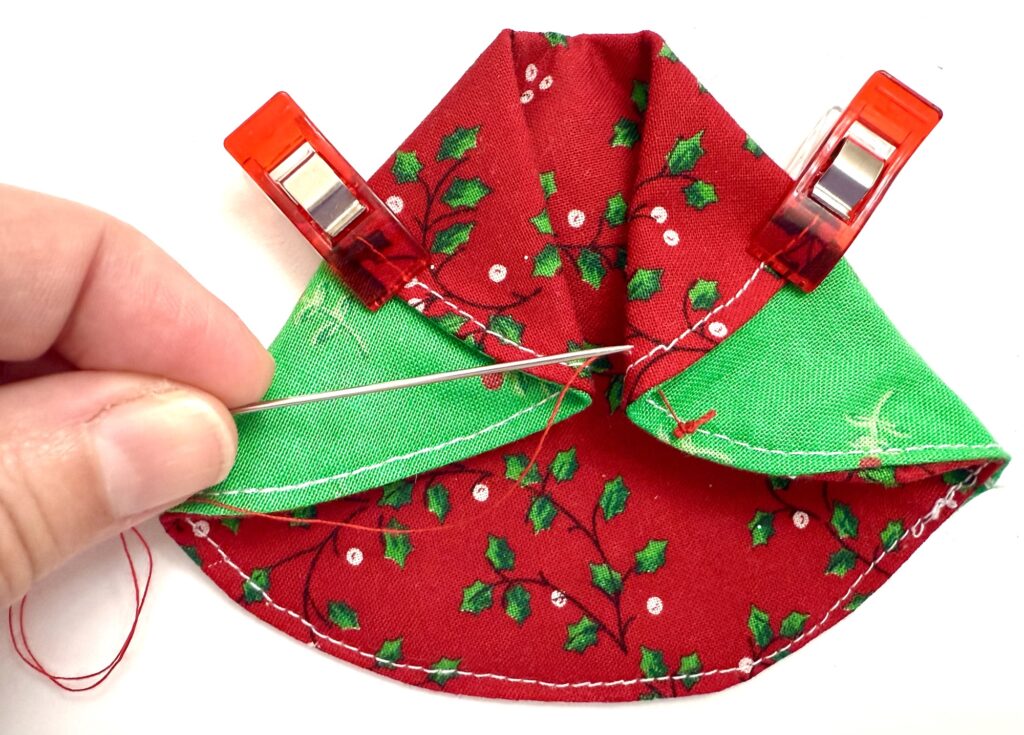
I made a couple straight stitches underneath the fold to secure the sleeves to the dress, then I made a couple stitches securing the angel sleeves to each other at the point where they meet.
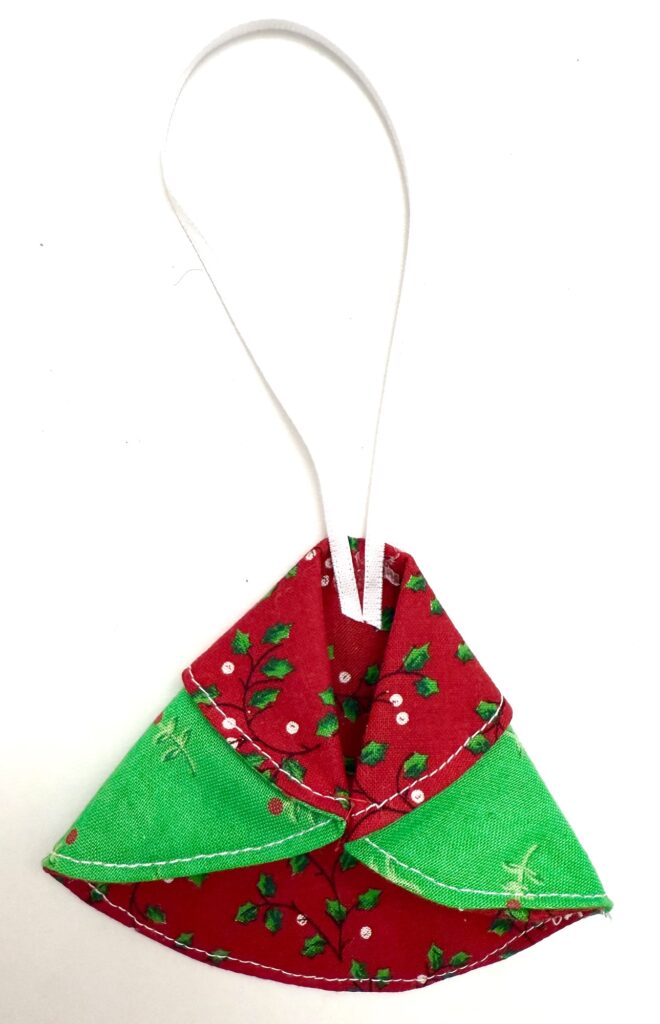
Make a large loop with a long piece of ribbon and hot glue the ends to the neck of the dress. Alternatively you could stitch the ribbon to the dress.
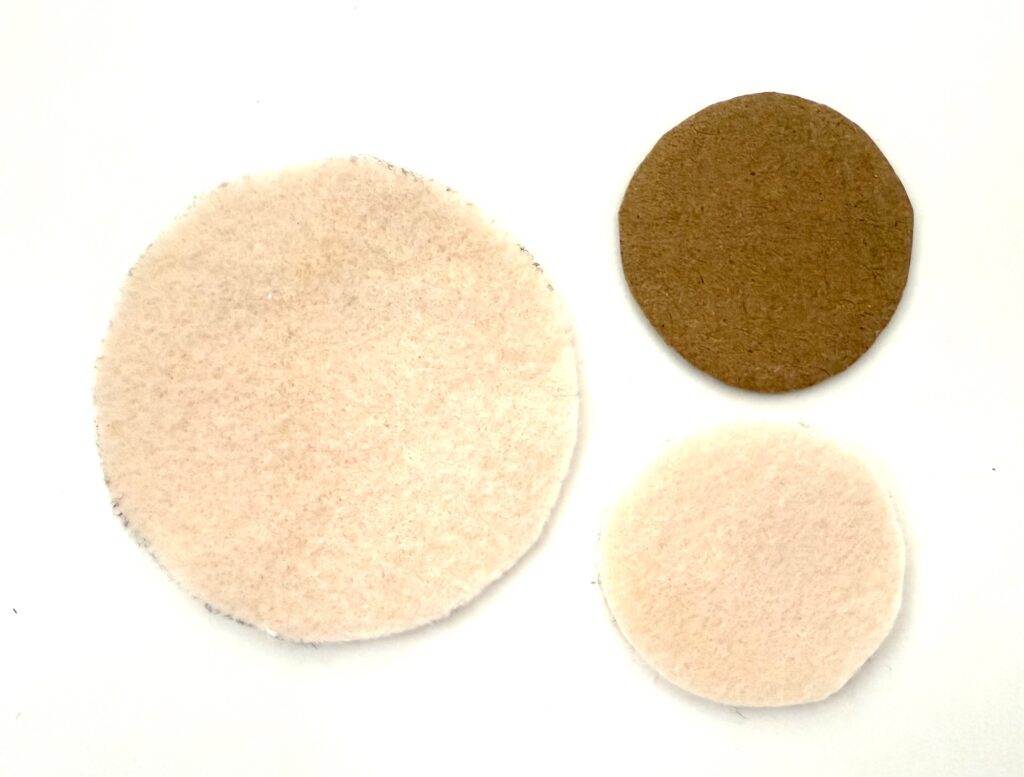
Cut a 3-inch felt circle, and a 1 1/2 inch felt circle, as well. (You could alternatively use a thin piece of batting instead of a 1.5 inch felt circle.)
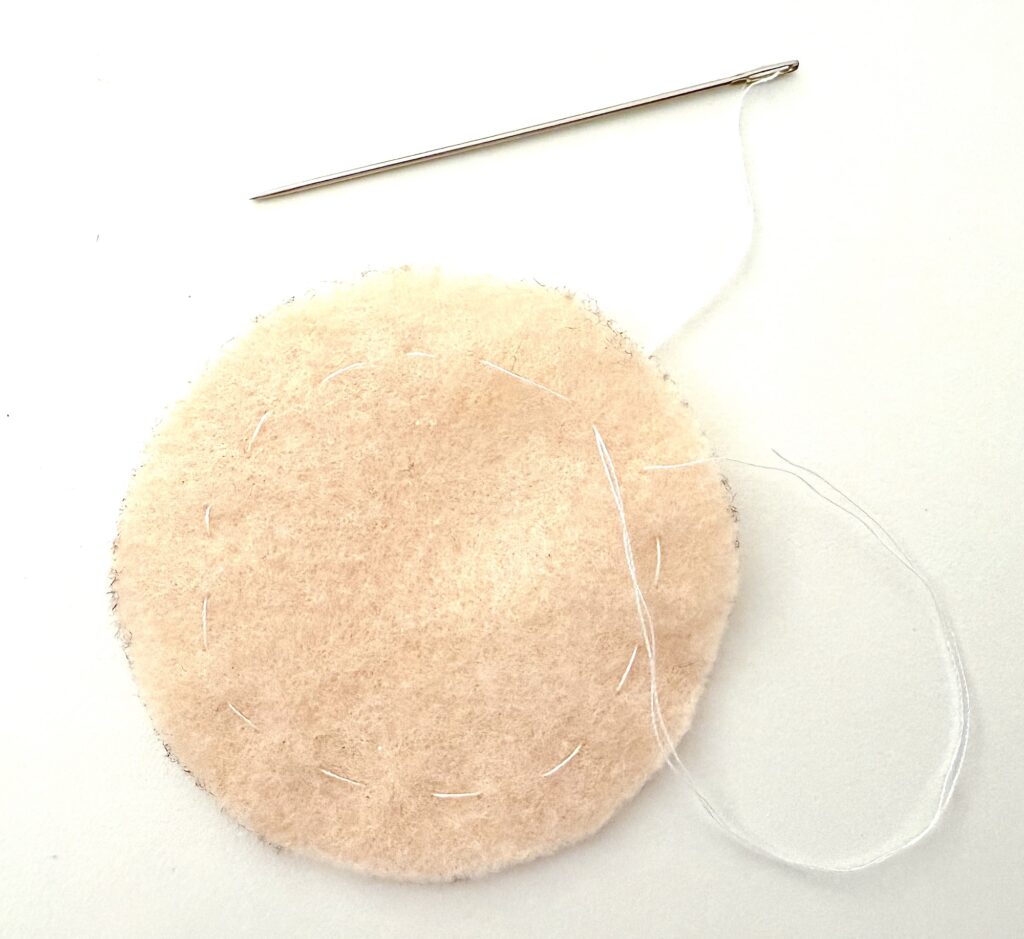
With a hand needle and thread, make basting stitches around the edge of the larger felt circle about 1/4 inch from the edge. Do not knot or finish off either end of the thread.
Place the 1 1/2 inch felt circle (or batting) in the middle of the larger felt circle. Then place the cardboard on top of that.
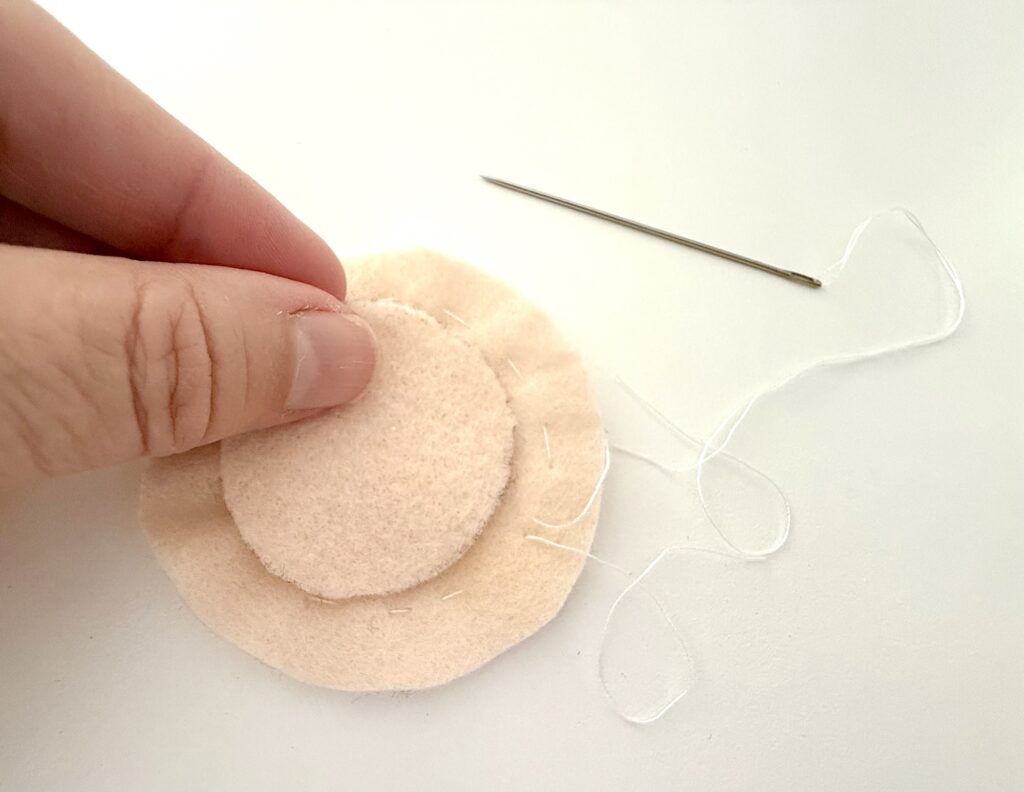
Now pull on the basting threads until they start to pucker and close around the smaller felt and cardboard circles. Pull until tightened around the smaller circles, then knot the threads to secure.
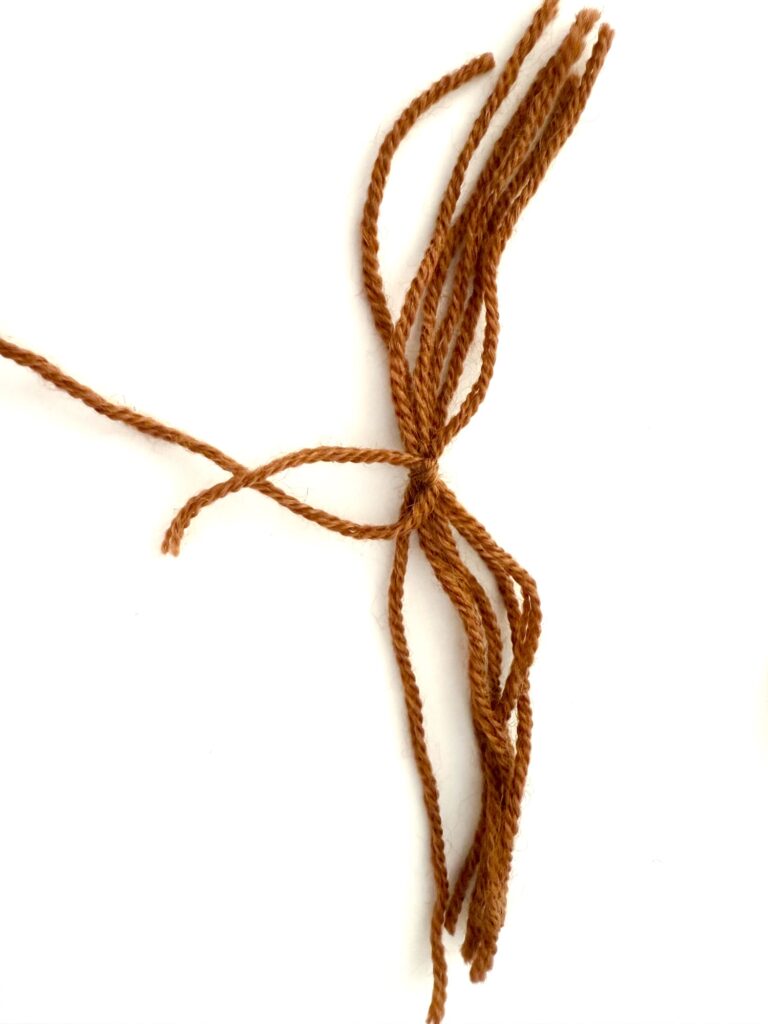
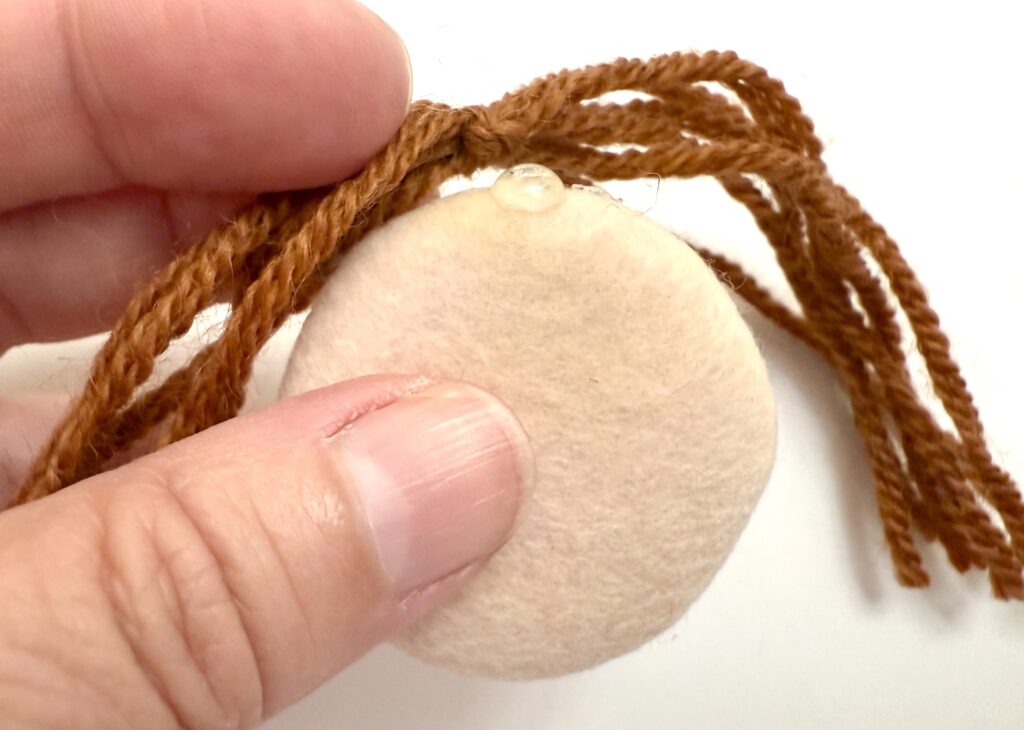
OPTIONAL: If you would like to add hair to your angel, cut several 6-inch strands of yarn. Using a smaller piece of yarn, tie a knot in the middle of the strands at the 3 inch mark. Hot glue the yarn knot to the top of the angel head.
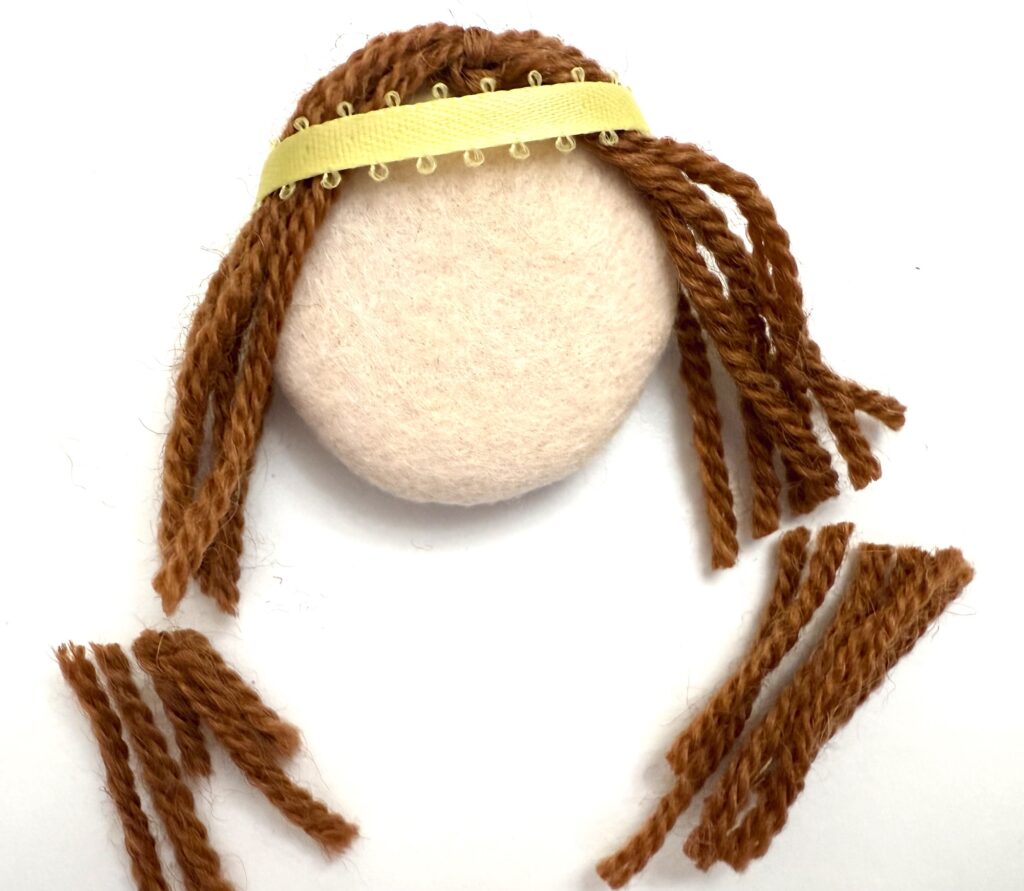
Wrap a small piece of ribbon around the top of the angel head (over the hair if you added hair) and hot glue the ribbon ends on the back of the head to secure. We like to play the halo ribbon at an angle.
Trim hair, if needed.
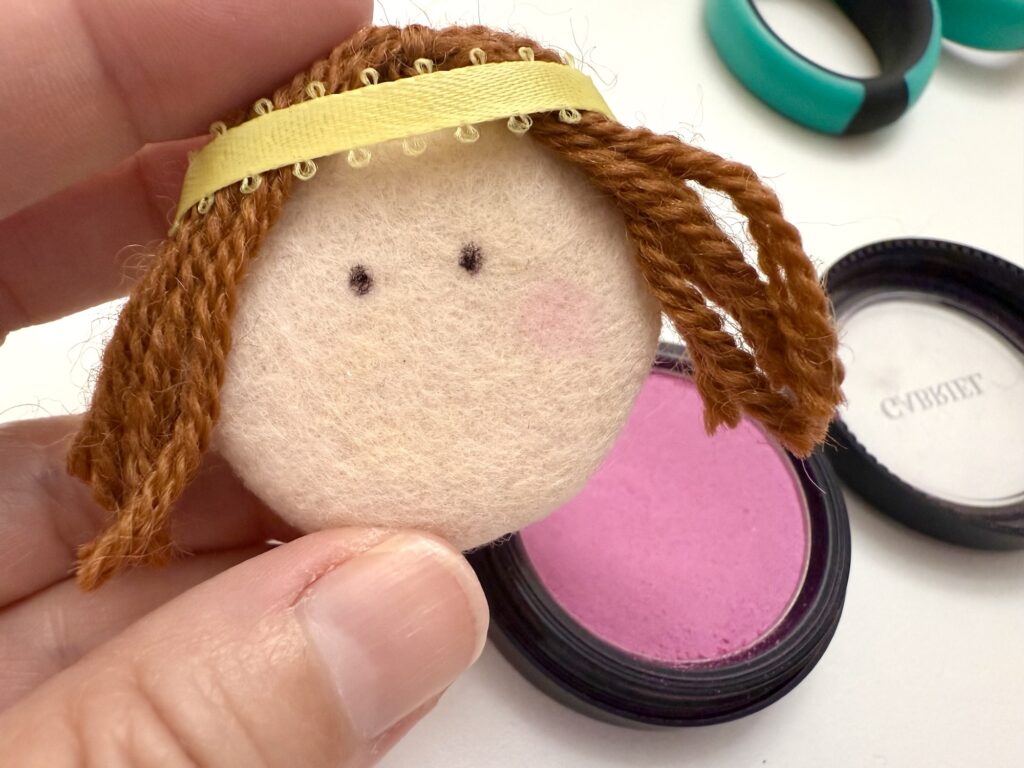
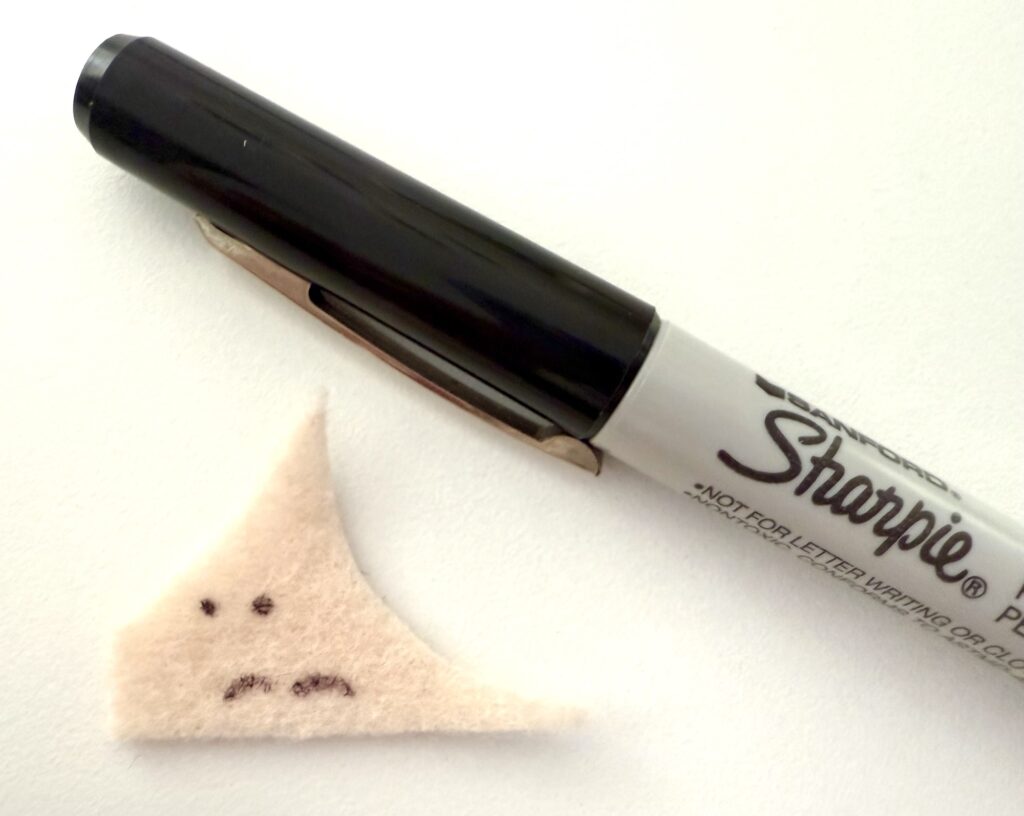
Using a black permanent marker, draw two circles as eyes. Then add two light circles of blush on either side of the face. (Tip: Lightly press your pinky onto powder blush then gently tap on a circle on the felt. Continue tapping until the color is what you would like.)
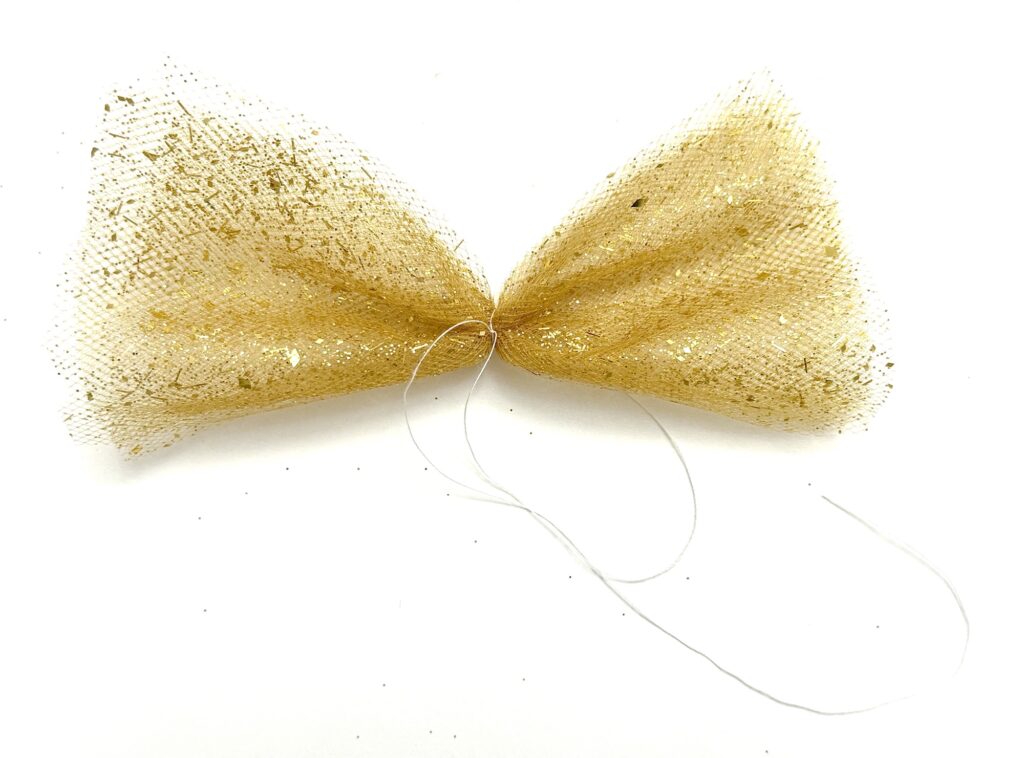
Cut tulle into six 3-inch X 6-inch pieces. Lay pieces on top of each other and tie together in the middle with a piece of thread. Knot to secure and clip off the long thread ends.
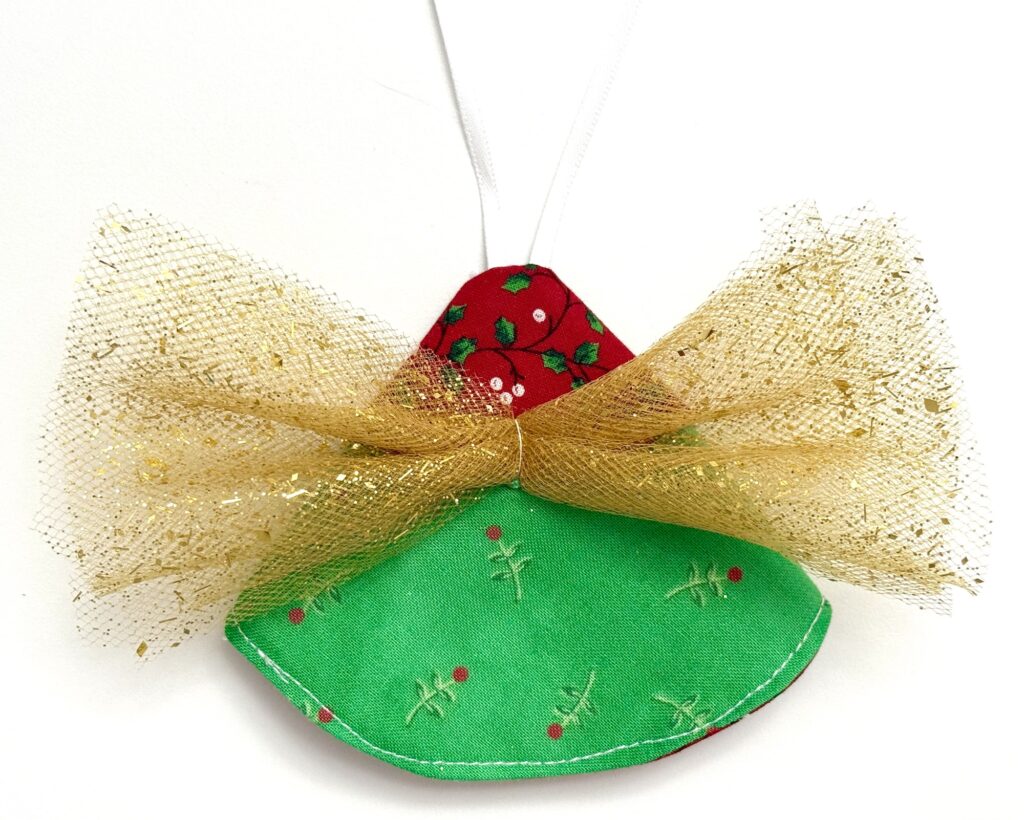
Hot glue the tulle wings to the back of the angel dress.
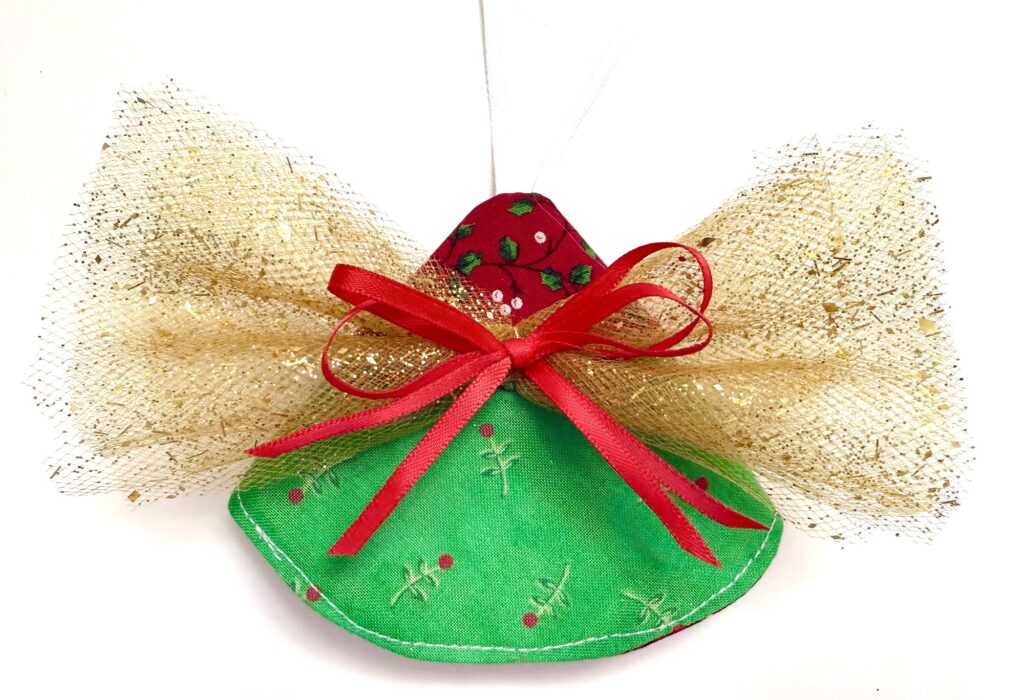
Using a long piece of thin ribbon, fold the ribbon in half to make a double strand of ribbon. Then tie into a bow.
Hot glue the bow to the middle of the angel wings and trim off long ends.
Hot glue the angel face to the front of the dress over the neck opening.
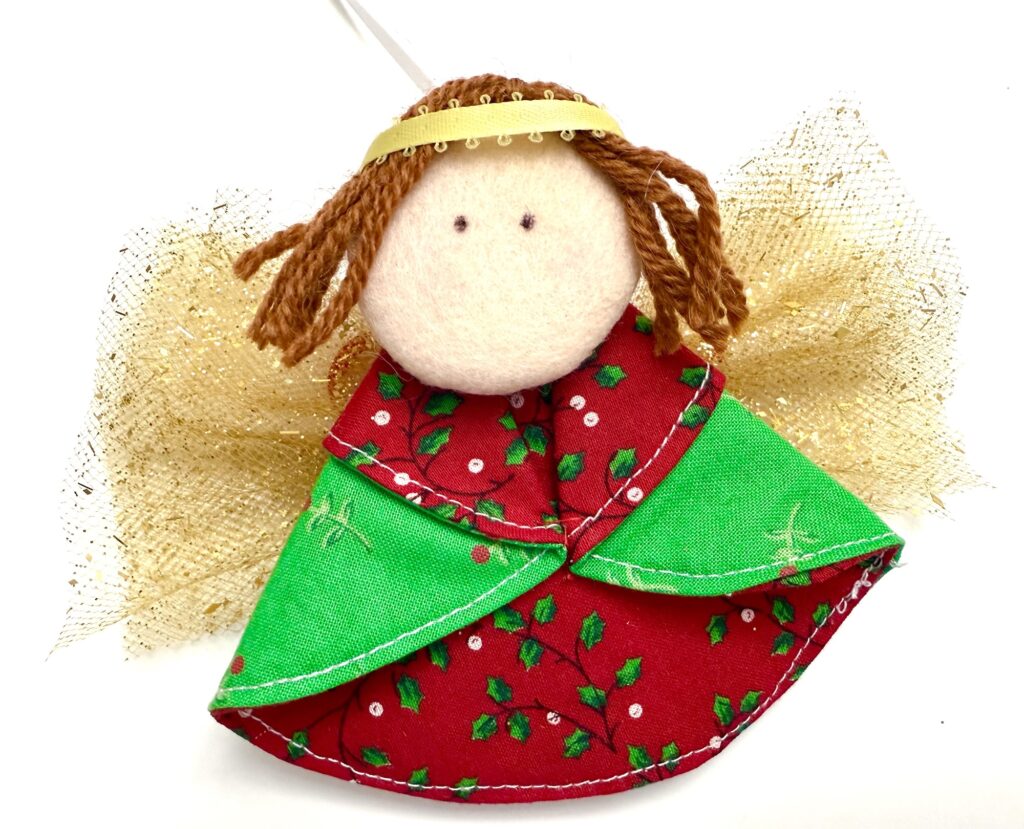
Add a decorative element where the wings meet, such as a button, charm or small flower.
Helpful Tips I Learned While Making This Angel Ornament
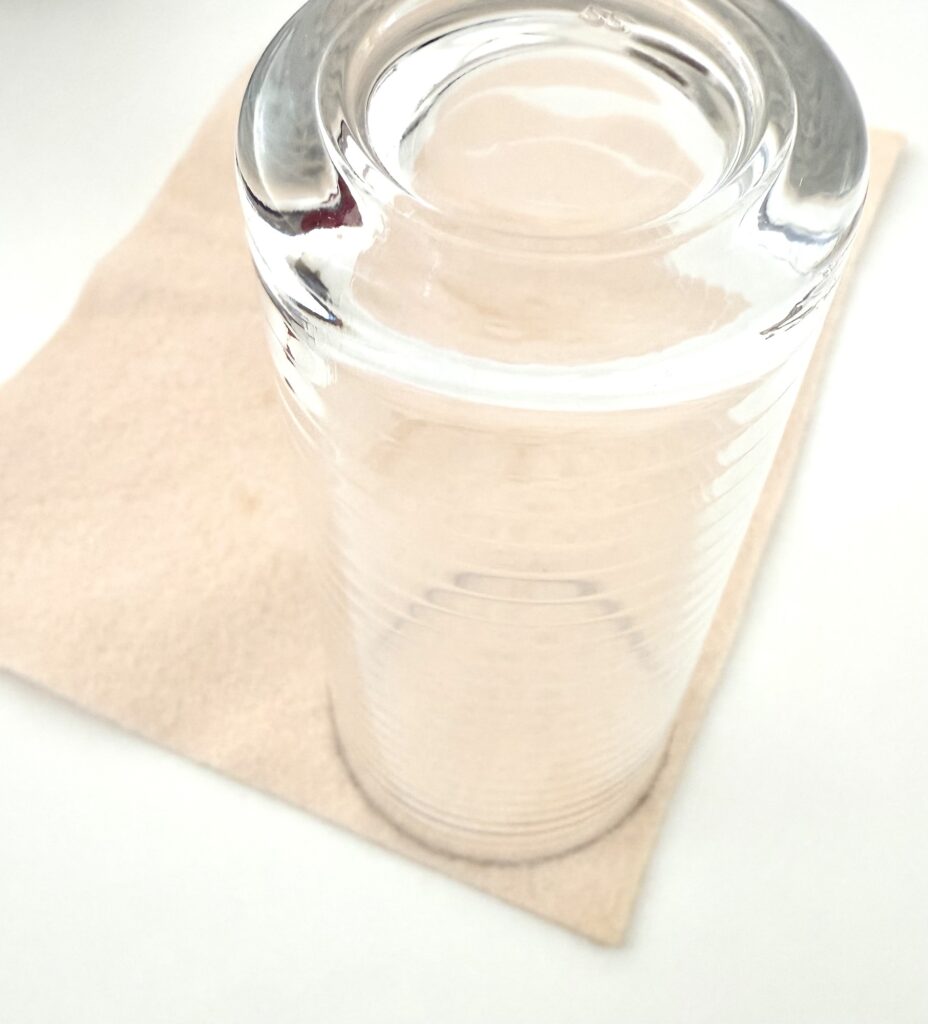
- Find items in your kitchen to trace to make circles. Think of bowls, glasses, cups, mugs or food containers.
- The circles don’t have to be the exact measurements. Work with what you have and adjust as necessary.
- Interfacing isn’t completely necessary but it does stiffen up the fabric a little bit so that the angel body doesn’t droop. If you are working with stiffer fabrics, you can skip the interfacing.
- Test your permanent marker on a felt scrap to make sure the marker doesn’t bleed or run.
Be sure to Pin this idea to Pinterest!
Check out these Christmas ornament sewing patterns next:
Hi do you have these instruction in a printable file
Hi Jean! I plan on having a printable soon, but won’t have it for a week or two.
I would like more of these kind of instructions.
Hi Roberta! Do you mean you’d like more Christmas ornament sewing projects?