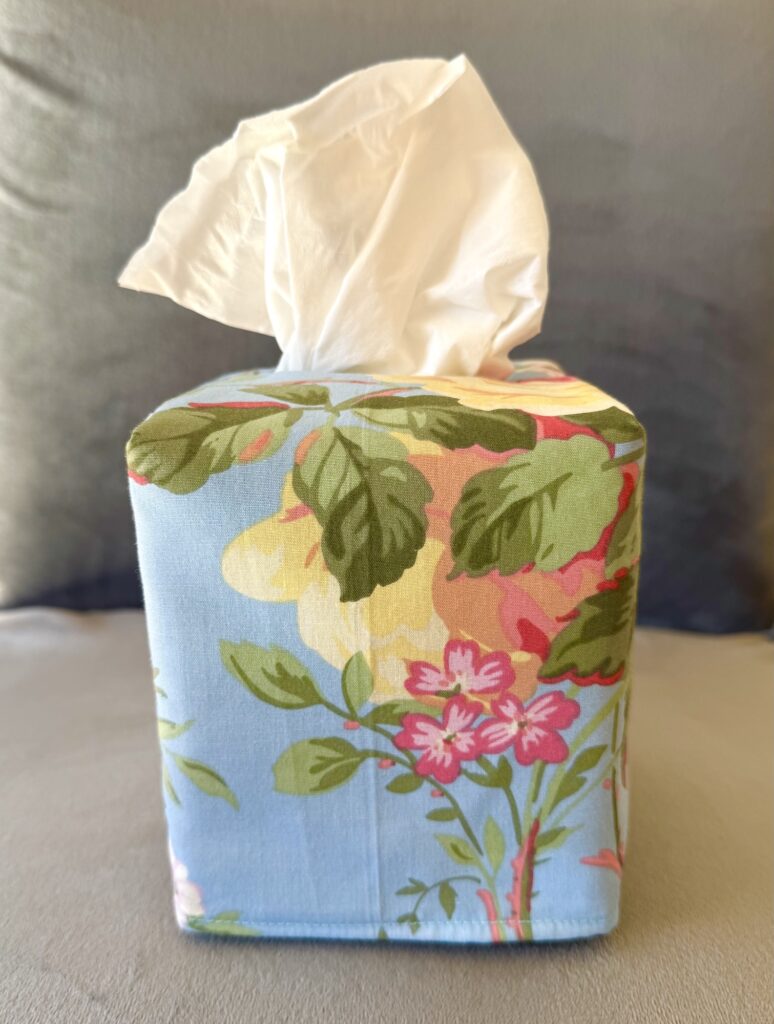
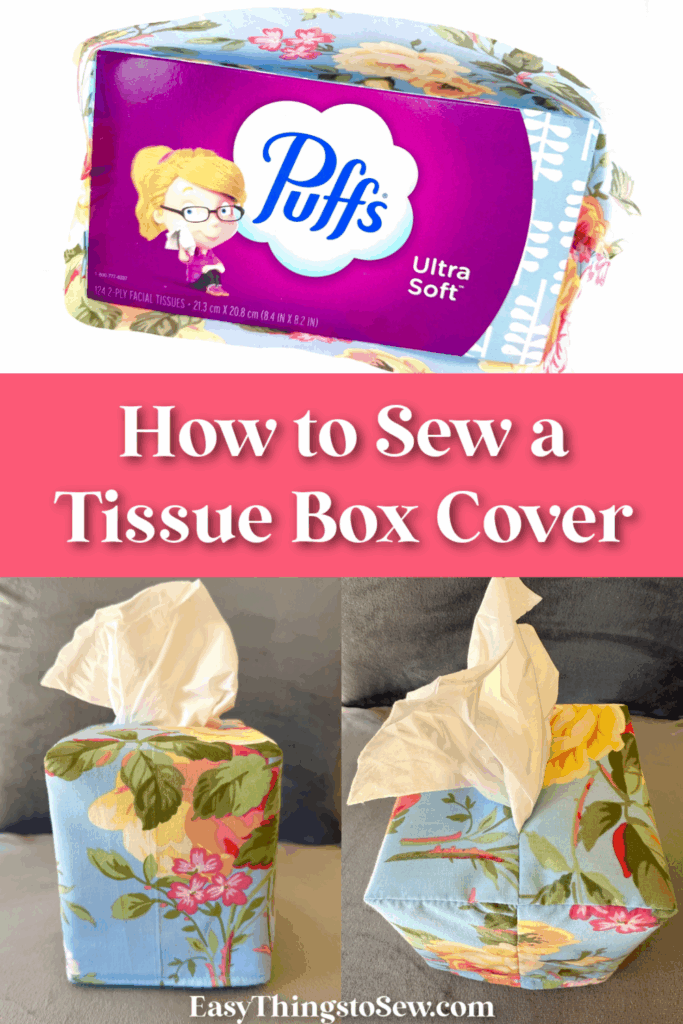
Easy DIY Tissue Box Cover (Reversible or Single Fabric)
A DIY tissue box cover is a great way to add a pop of color to your decor. It’s also a great way to hide the cardboard tissue boxes that usually don’t match your style or color palette!
Just like our easy fabric pocket tissue holder, this sewing project let’s you show off your style!
I will show you how to make a reversible tissue box cover. This sewing project can also be adapted to make a single layer tissue box cover that will not be turned inside out.

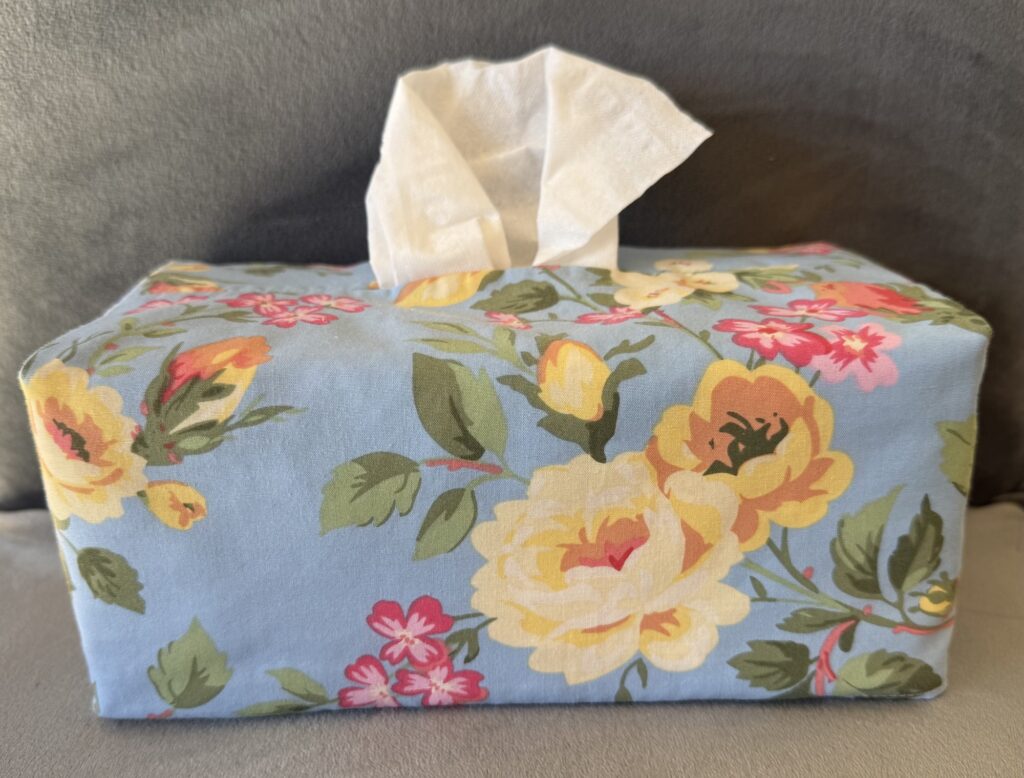
Whether you have a rectangle box or a square cube shaped box of tissues, you can use one of my free pattern templates. The directions for both sizes and both styles are very similar and are explained below.
How to Sew a Fabric Tissue Box Cover
Use a ¼ inch seam allowance, unless otherwise noted.
Watch me make this DIY tissue box cover in my YouTube video below the instructions.
Supplies
- Fabric (you can get two pattern pieces from a fat quarter; if making a reversible cover, use two fat quarters)
- Matching or coordinating thread
- Free pattern template
- Sewing clips or pins
Directions
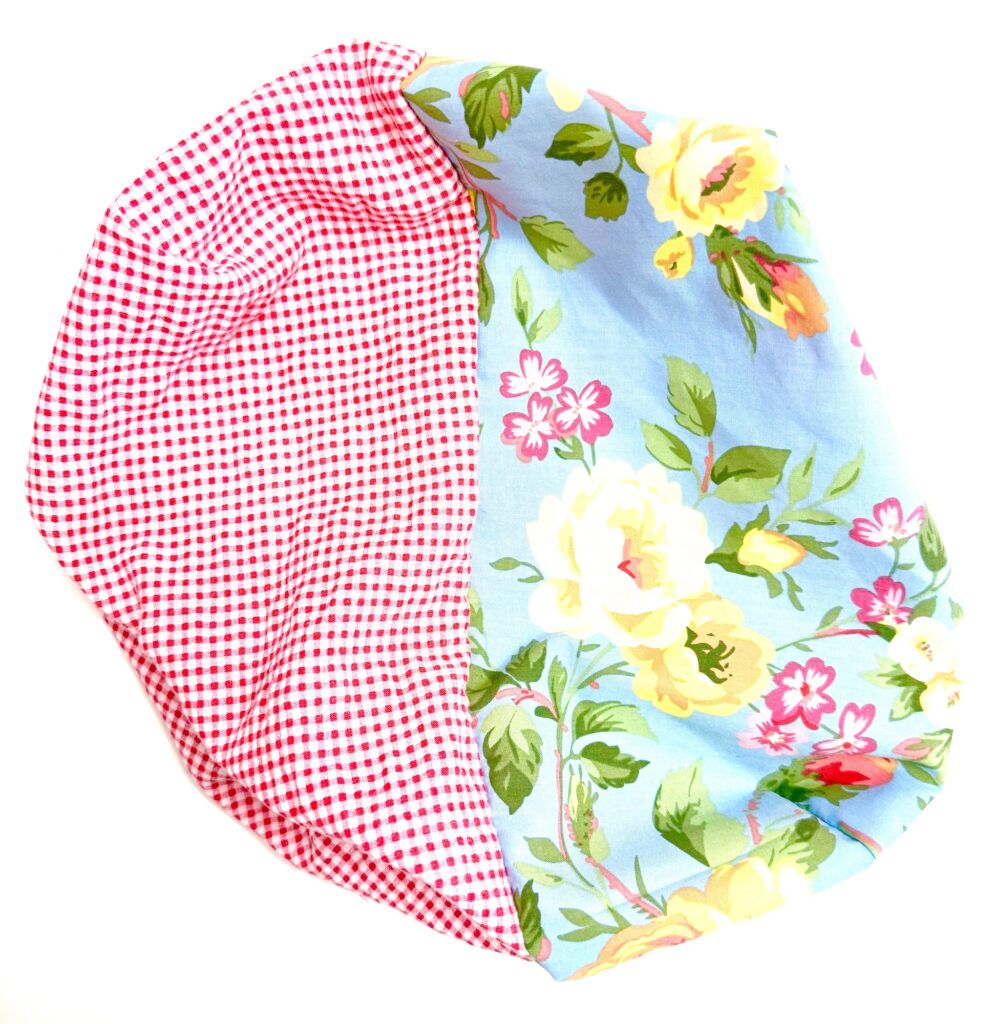
Cut two pieces of fabric using the pattern template and a rotary cutter or scissors. If you are making a reversible tissue box cover, cut two pieces out of each fabric, for a total of four pieces.
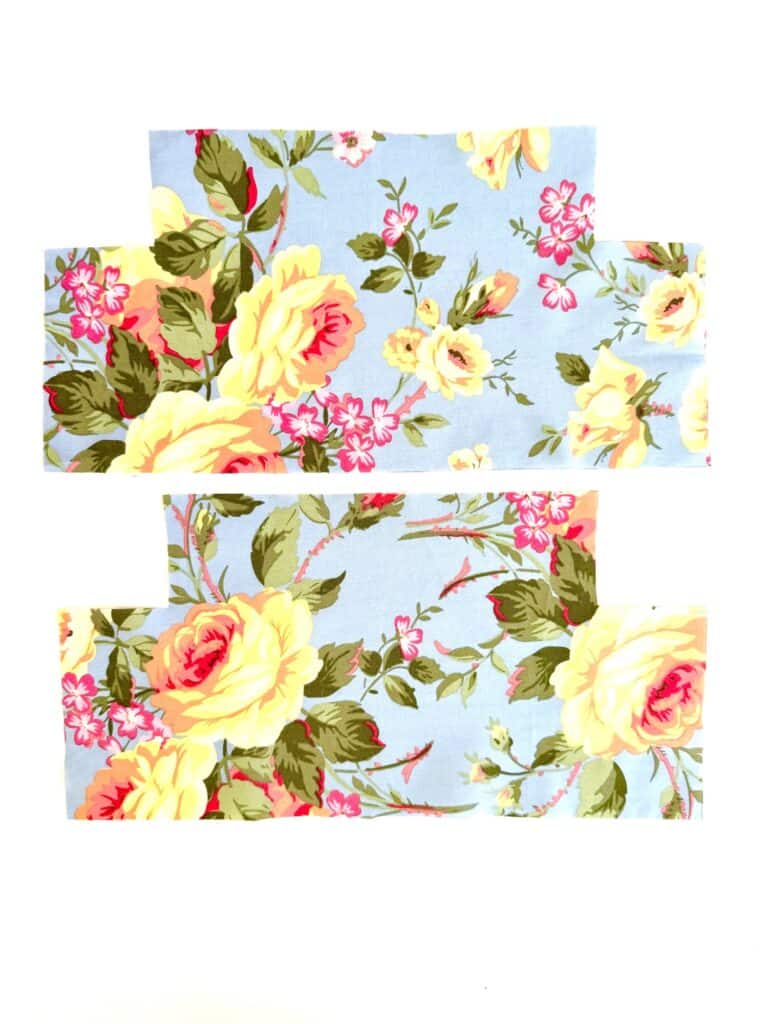
Match the fabric pieces and place the right sides together. Measure inwards from each side on the top and then make a mark or pin, according to the size you are making:
- Rectangular Box: 3 inches (8 cm)
- Square Box: 1 ¼ inches (3 cm)
Stitch from the outer edge to the marked measurement on either side, being sure to backstitch at the beginning and end of your stitching.

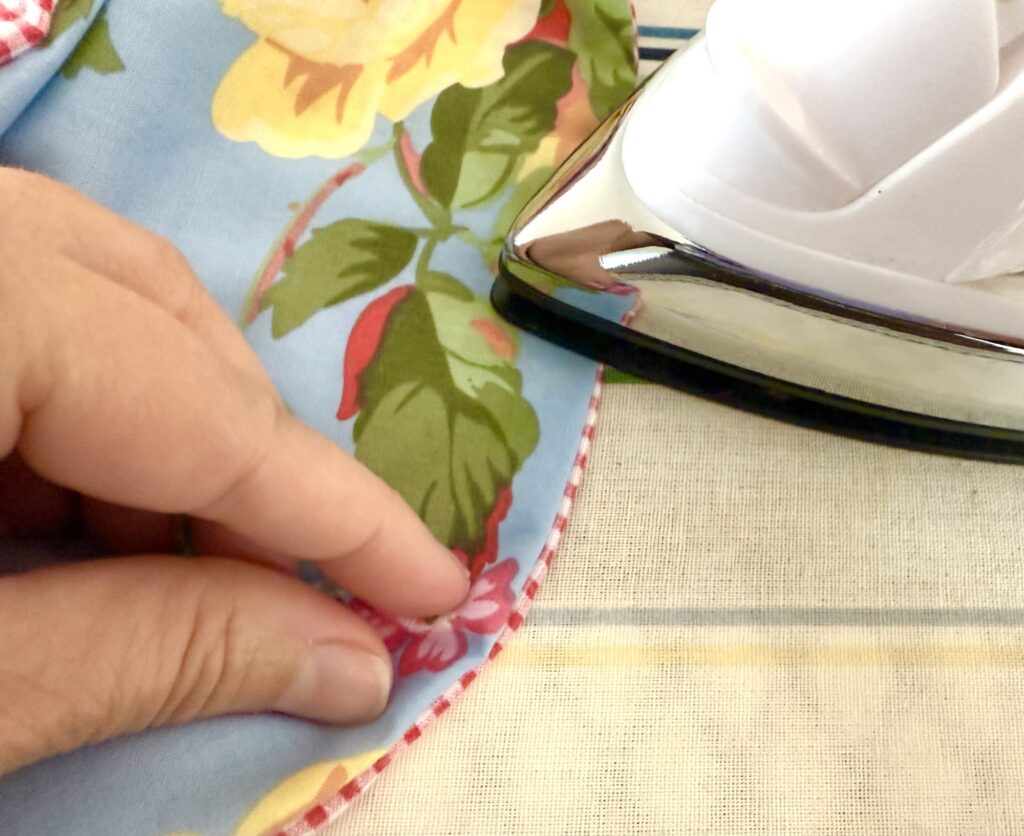
Press open the seam with a hot iron.
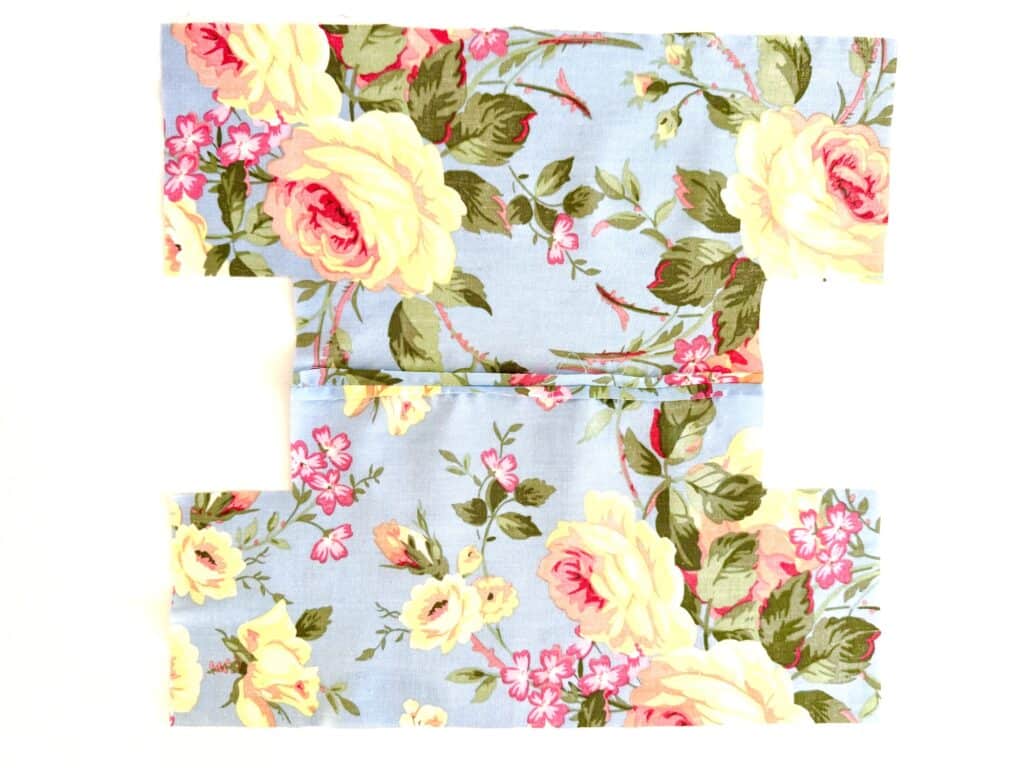
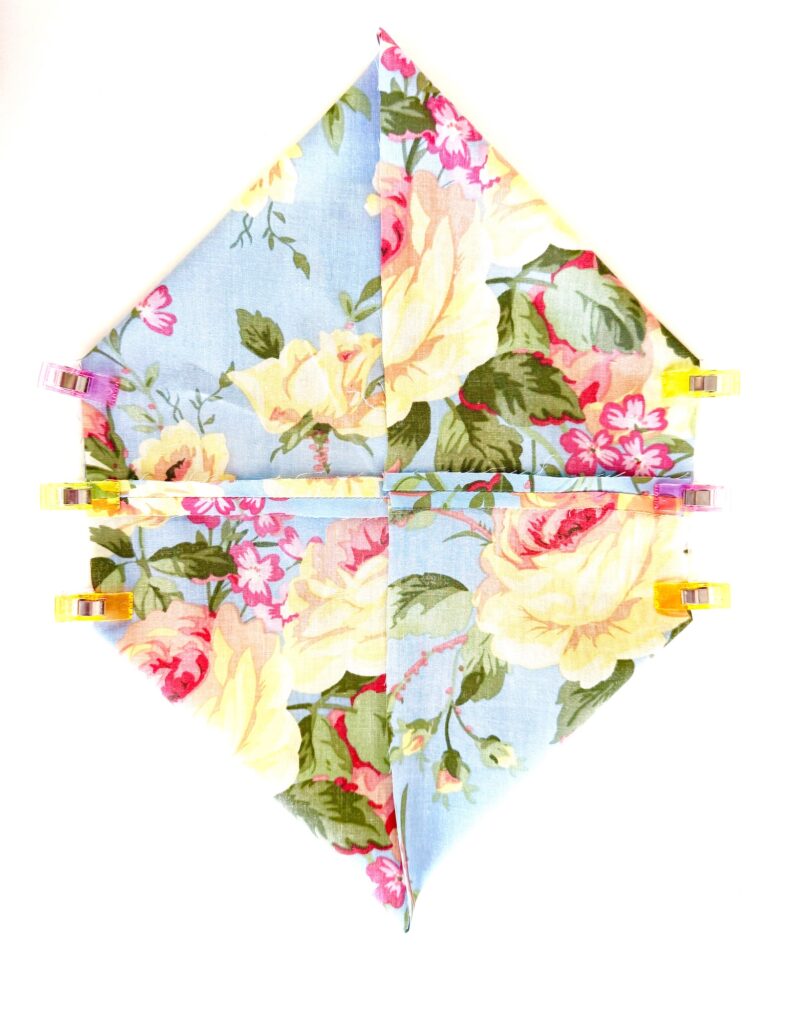
Now match the fabric pieces with right sides together again. Stitch the seams on the side pieces together on each side.
Press open the seams with a hot iron.
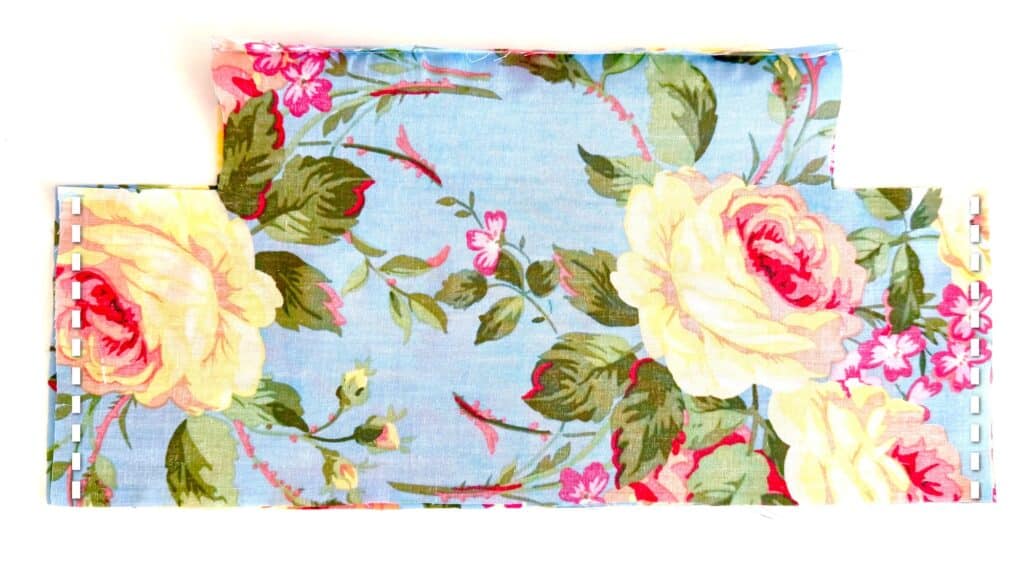
Match the open seams on one side of the tissue box cover. Pin or clip the fabric together. Repeat on the other side.
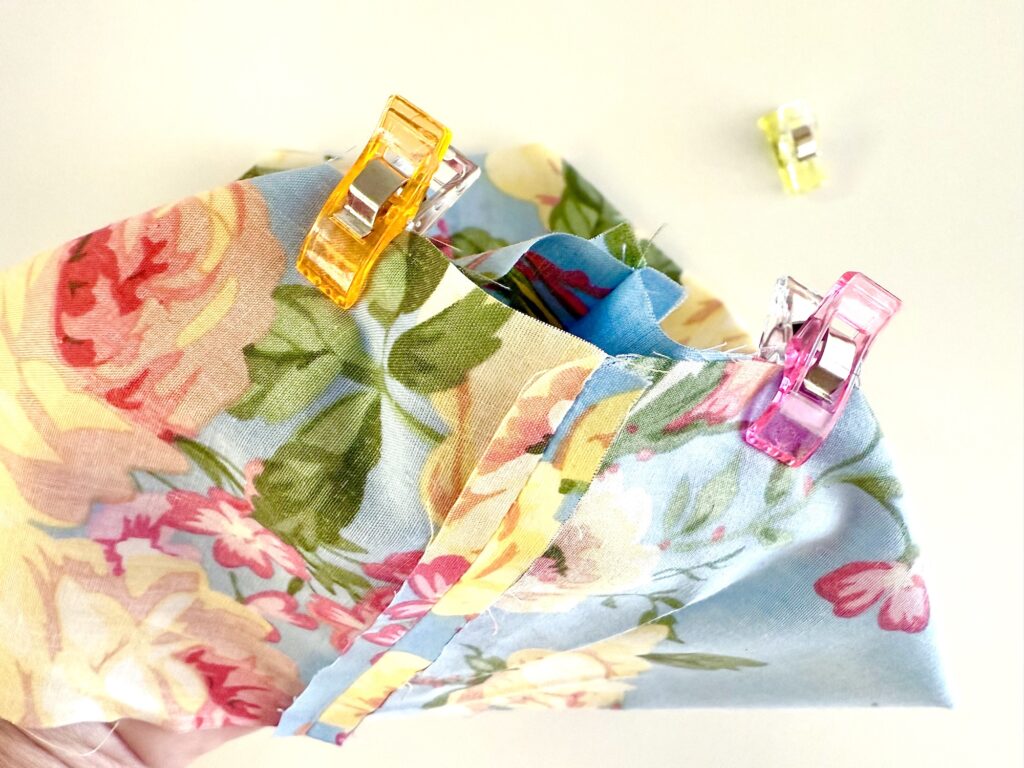
Stitch the fabric together, making sure to start at the outer edge of the fabric and continue to the other outer edge.
For REVERSIBLE TISSUE BOX COVERS: Repeat the process with your second fabric.
For Single Layer Tissue Box Cover:
Turn the fabric inside out. Push out the corners with your fingers.
Topstitch around the open gap where the tissues come out. Be sure the seam is laying flat underneath and stitch as close to the edge as possible. (You may need to hand crank your sewing needle when stitching the short sides just to get a few stitches.)
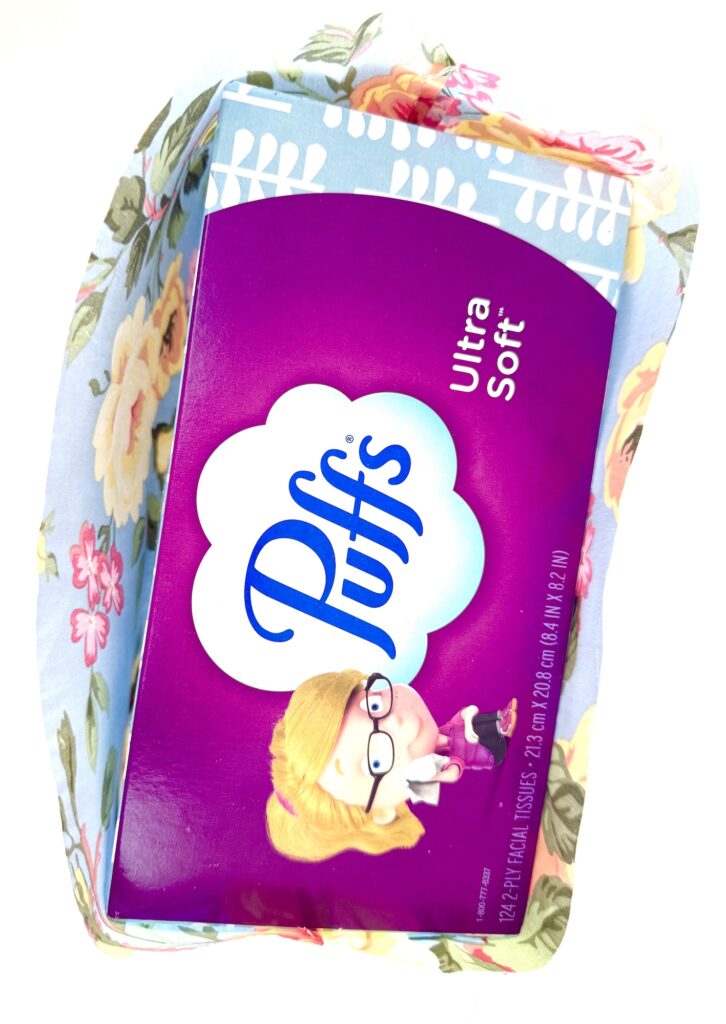
Insert the box into the fabric cover. Use a rolling hem to finish off the raw edges to be flush with the bottom of the tissue box. Do this by rolling over the fabric once, then roll over again. Pin or clip around the edges.
As the final step, stitch around the bottom using a topstitch (about 1/8 inch).
For Reversible Tissue Box Cover:
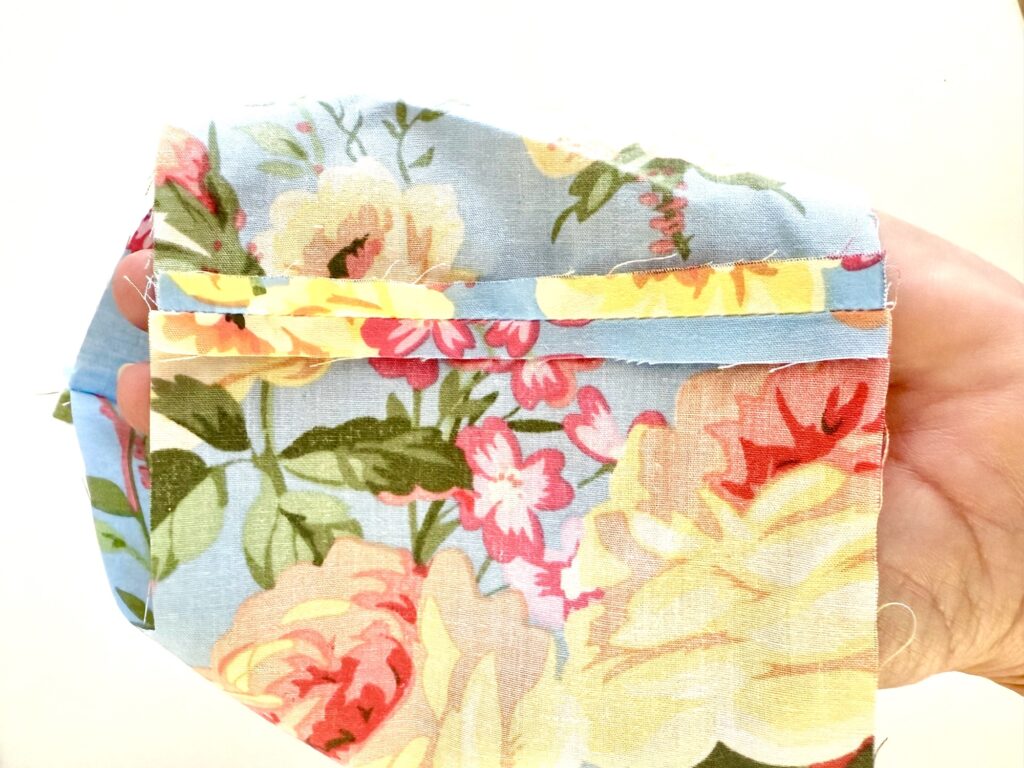
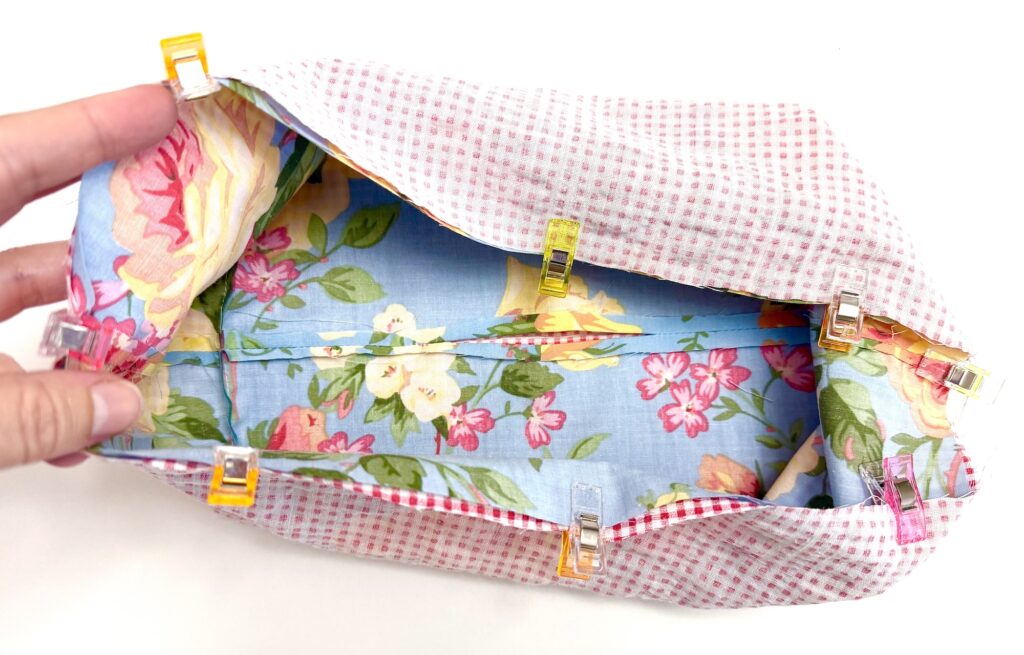
Place the two covers inside each other with the right sides of the fabric together.

Match up the pressed open seams on either side and clip together. Then match up the unfinished edges around the entire cover, using pins of clips to secure.
Stitch together.
Turn the cover inside out by pulling the bottom layer up through the open gap in the middle.
Tuck the covers inside each other so that it looks like a box cover.
Pin or clip the edges of the open gap that the tissues will come out of on top of the tissue box, making sure that the seams are laying flat between the two layers of fabric.
Topstitch around the opening, stitching as close as you can to the edge. (You may need to hand crank your sewing needle when stitching the short sides just to get a few stitches.)
Now gently pull on the bottom seam and finger press so that the fabric lays flat on either side and is not bulky in any areas. Pin or clip as you go around the cover.
Topstitch around the base of the cover using a 1/8 inch seam allowance.
See my video tutorial on YouTube:
Want to save this sewing project for later? Be sure to pin it on Pinterest!
If you like these fabric box covers, I think you’ll like these home decor sewing projects, too: