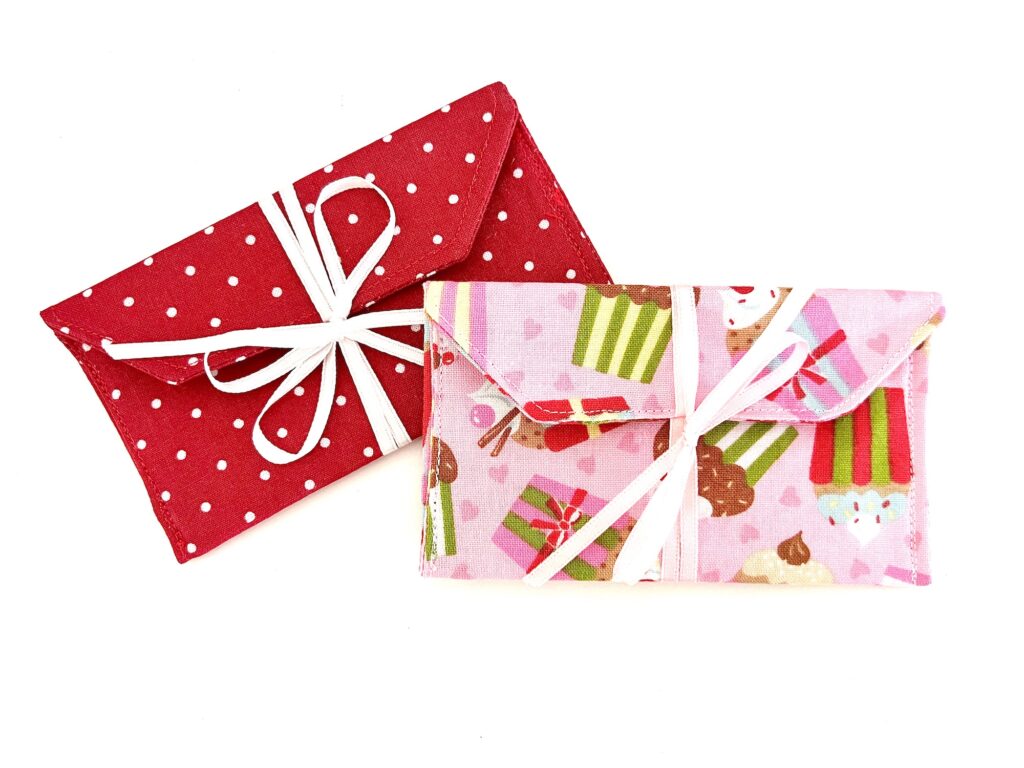
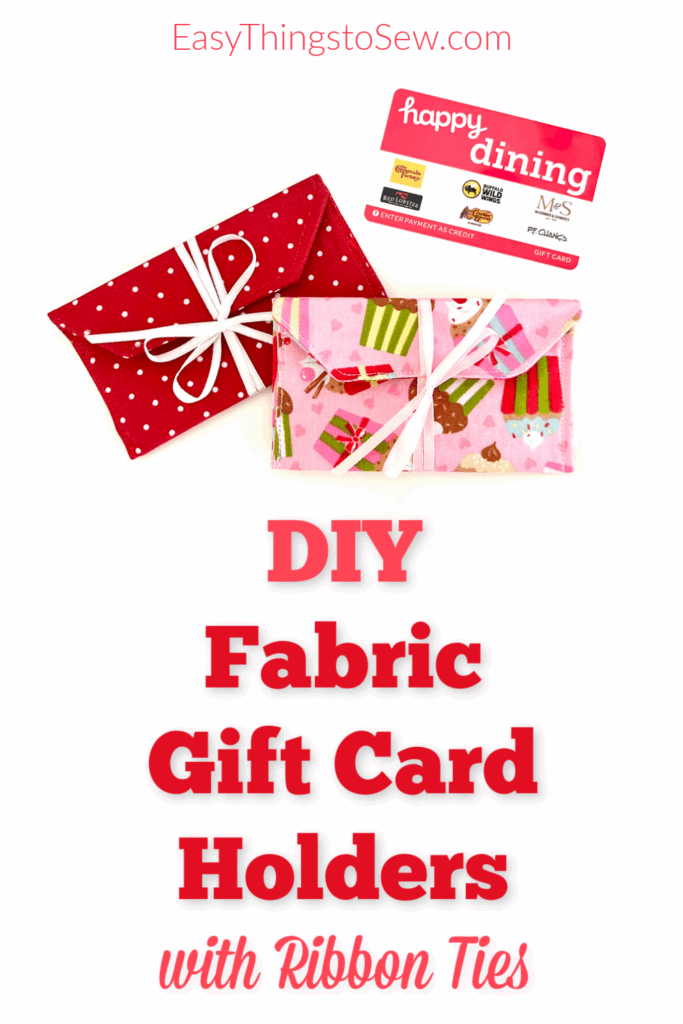
How to Sew a Fabric Gift Card Holder (with Video Tutorial)
Making a DIY gift card holder adds a personal touch when giving gift cards or cash.
This easy gift card holder tutorial shows you how to make a custom holder in less than 30 minutes using scraps of fabric and no need to add snaps or velcro as closures.
You can customize the fabric with the gift (such as using foodie fabric with a restaurant gift card) or for the recipient (balloon fabric for a birthday, plaid fabric for men’s gifts, etc.)
These handmade gift card holders are perfect for:
- Birthdays
- Christmas
- Father’s Day
- Mother’s Day
- Graduation
- Valentine’s Day
- Easter
Because they are heirloom quality and reusable, you can use them over again and again.
If you are comfortable working with snaps, you may also want to see our DIY gift card holder that snaps closed.
You could get 3 of these card holders out of one fat quarter of fabric, making this a great item to sell at craft fairs.
How to Sew a Gift Card Holder with Ribbon Ties
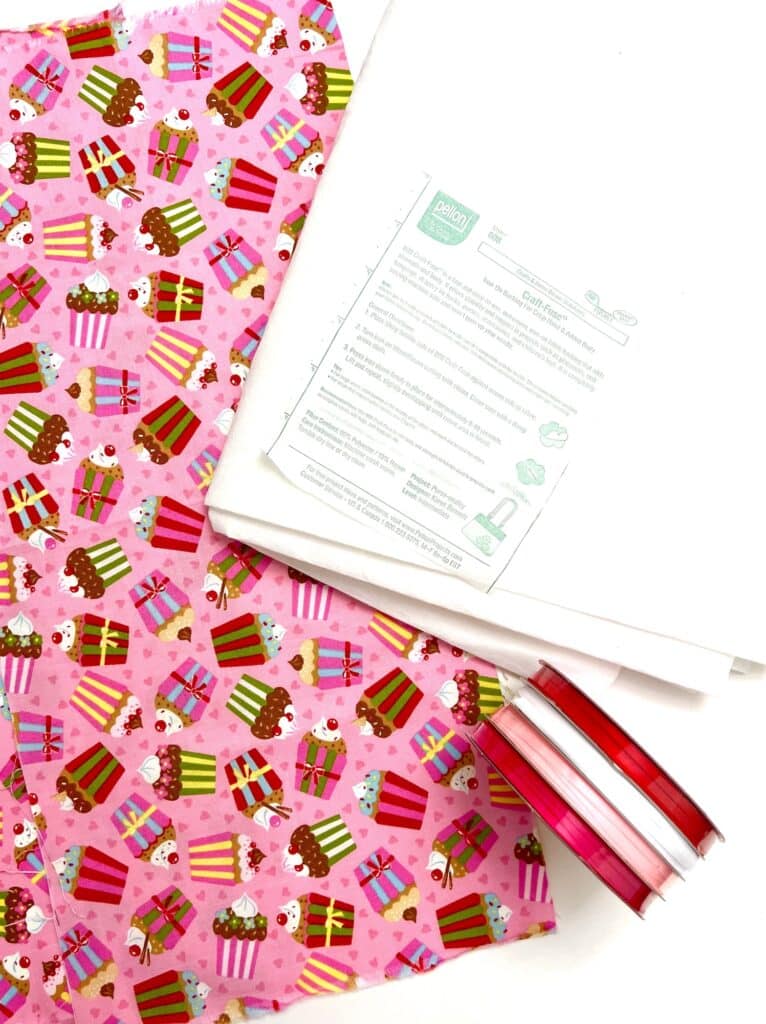
Supplies
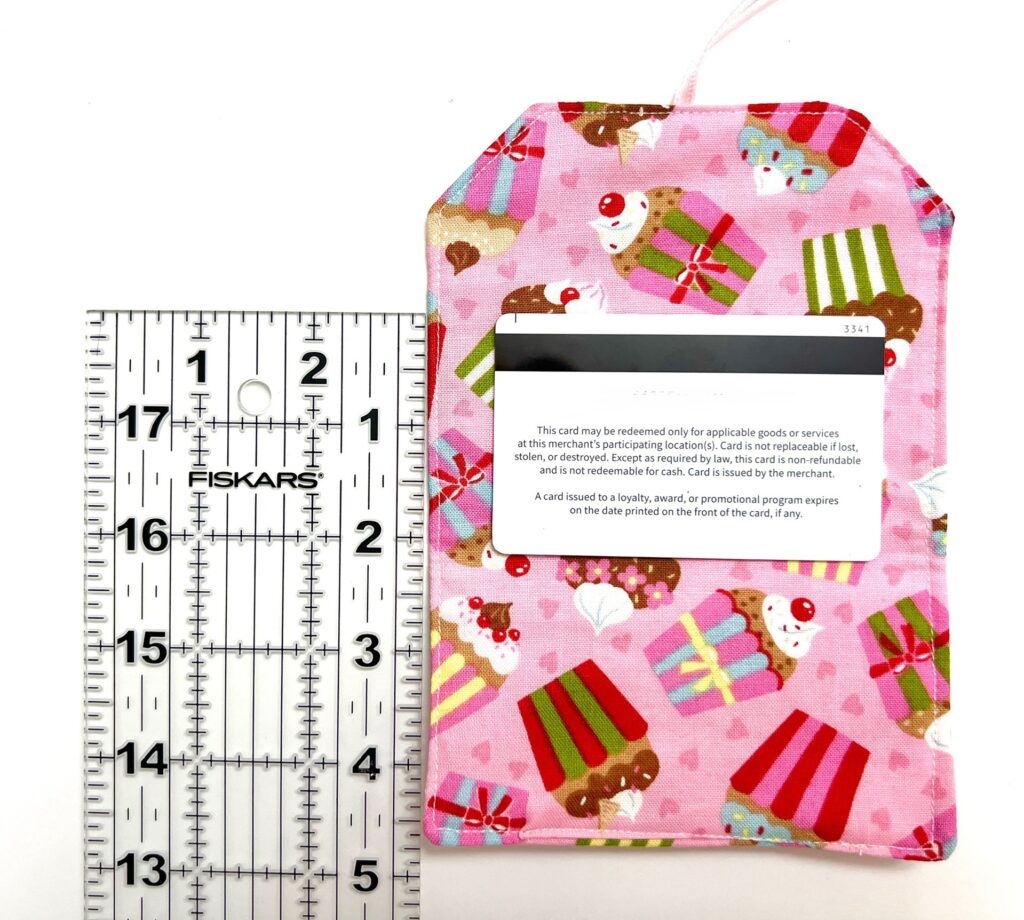
- Two Pieces Fabric, 5 X 7 inch (13 X 18 cm)
- One Piece Medium to Heavy Weight Fusible Interfacing, 4 ½ X 6 ½ inches (11 X 17 cm) I used Pellon 808
- 24 inches ribbon, 1/8 inch wide
- Iron
- Scissors or Rotary Cutter
- Sewing Clips or Pins
- Ruler
- Turning Tool
Directions
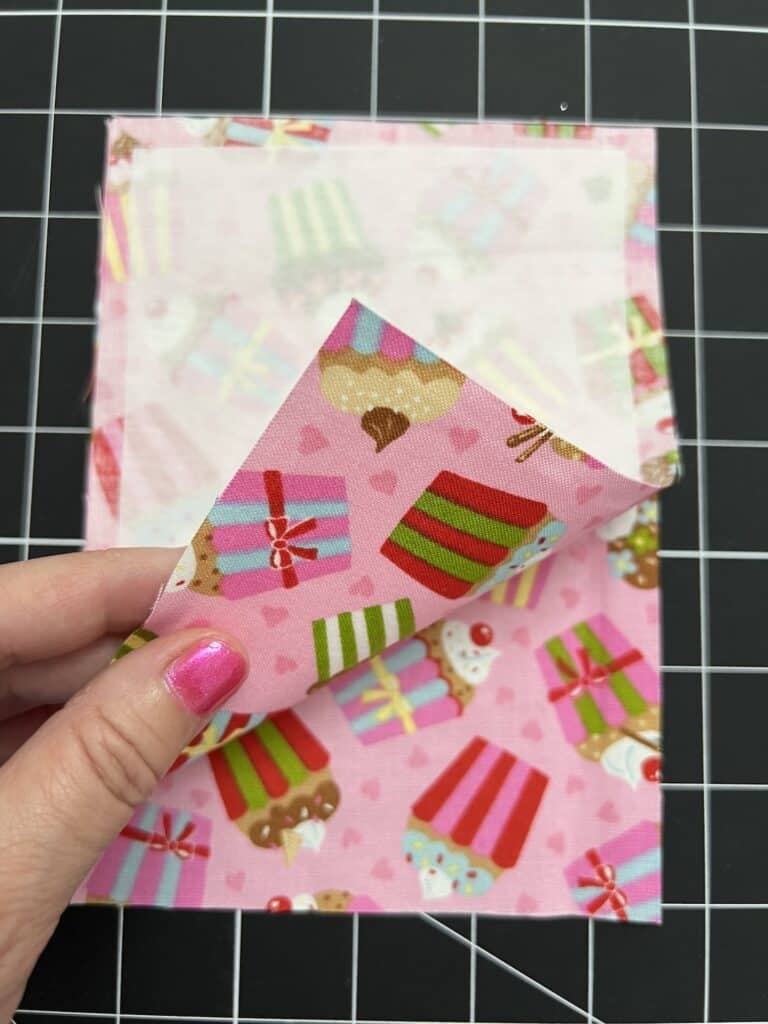
Cut two pieces of fabric that are 5 X 7 inches.
If you are working with a fabric with a directional print, you will want the print to run vertical on the 7 inch side. The fabric can be the same or complimentary patterns.
Cut a piece of fusible interfacing to be 4 ½ inches X 6 ½ inches.
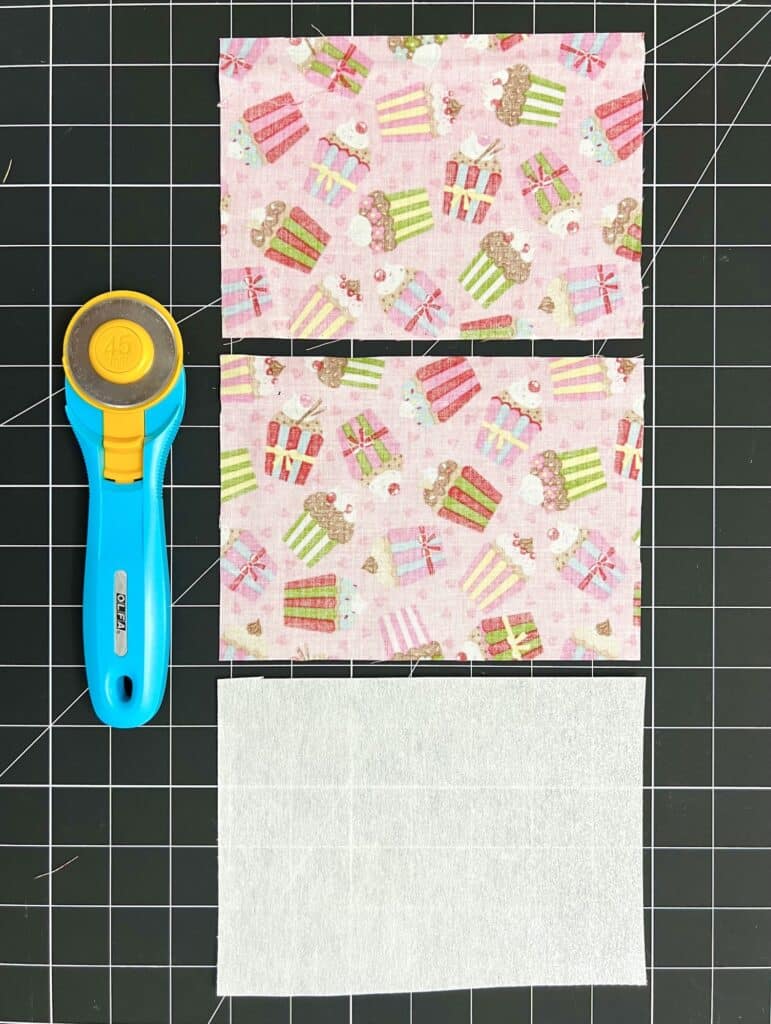
The interfacing is cut smaller so that it is not in the seams adding more bulk. This measurement doesn’t have to be exact so don’t stress over it. However, if you use a sew-in interfacing, you will want to cut it the 5 X 7 inch size.
Center the fusible interfacing, with the shiny side down, on the wrong side of one of the pieces of fabric. Using an iron, attach it to the fabric according to the instructions.
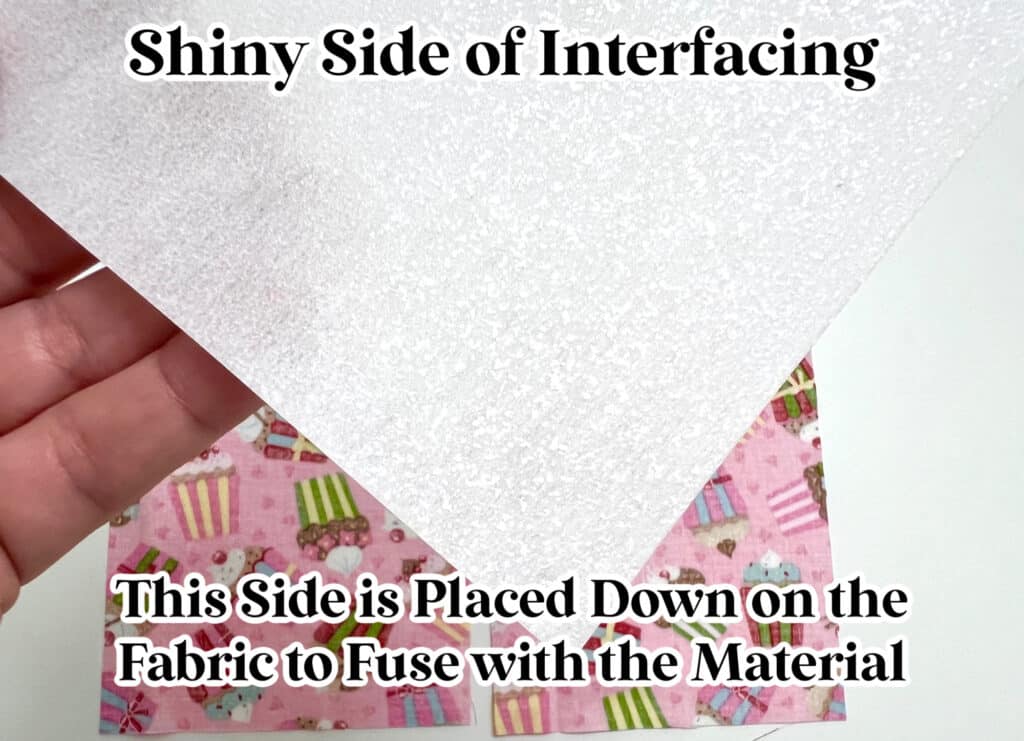
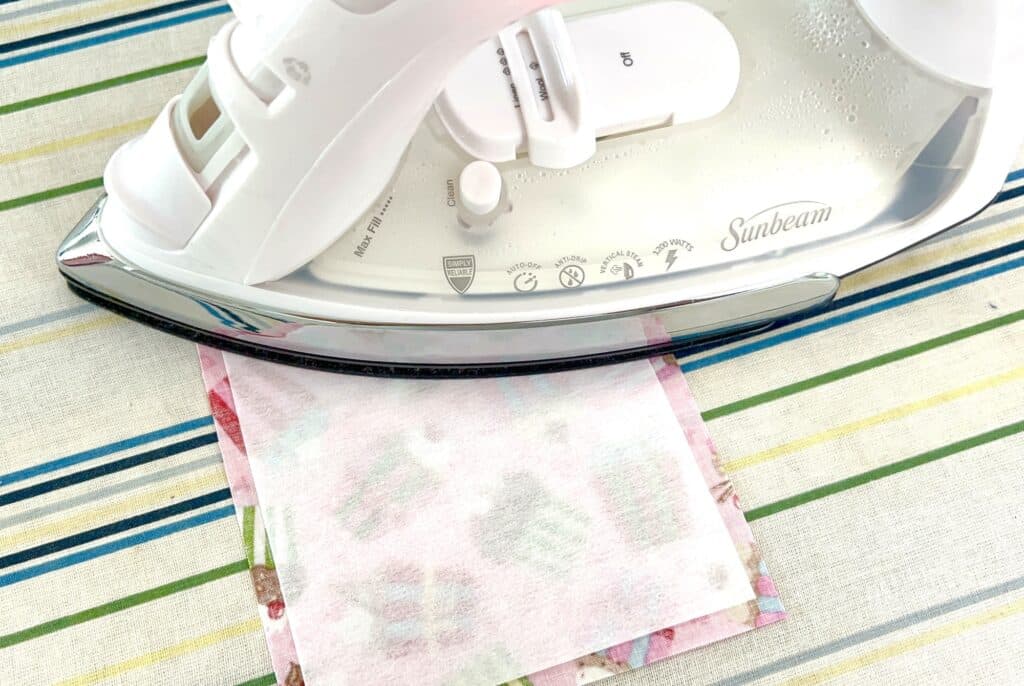
Helpful Tip: Don’t move or slide the iron as you are pressing the interfacing to the fabric. This causes puckering. For most types of fusible interfacing, just press down the iron on one spot for 8-10 seconds, then pick it up and put it down on another spot without dragging it. See our Beginner’s Guide to Interfacing for even more helpful tips.
Place the right sides of the two pieces of fabric together, lining up the edges.
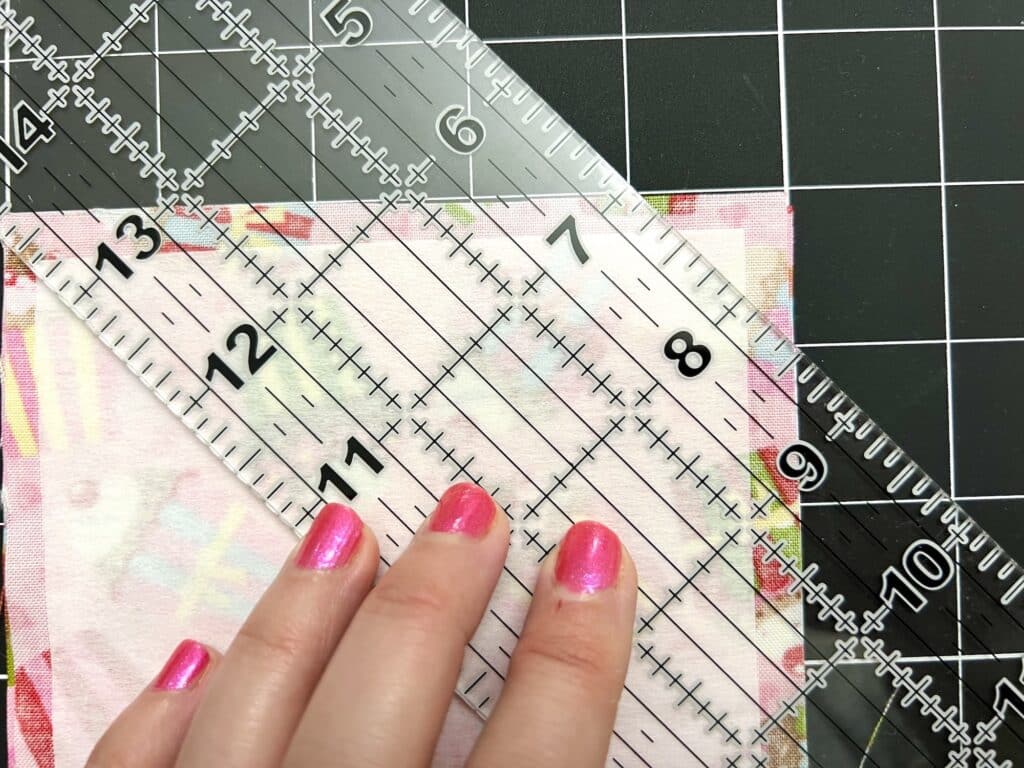
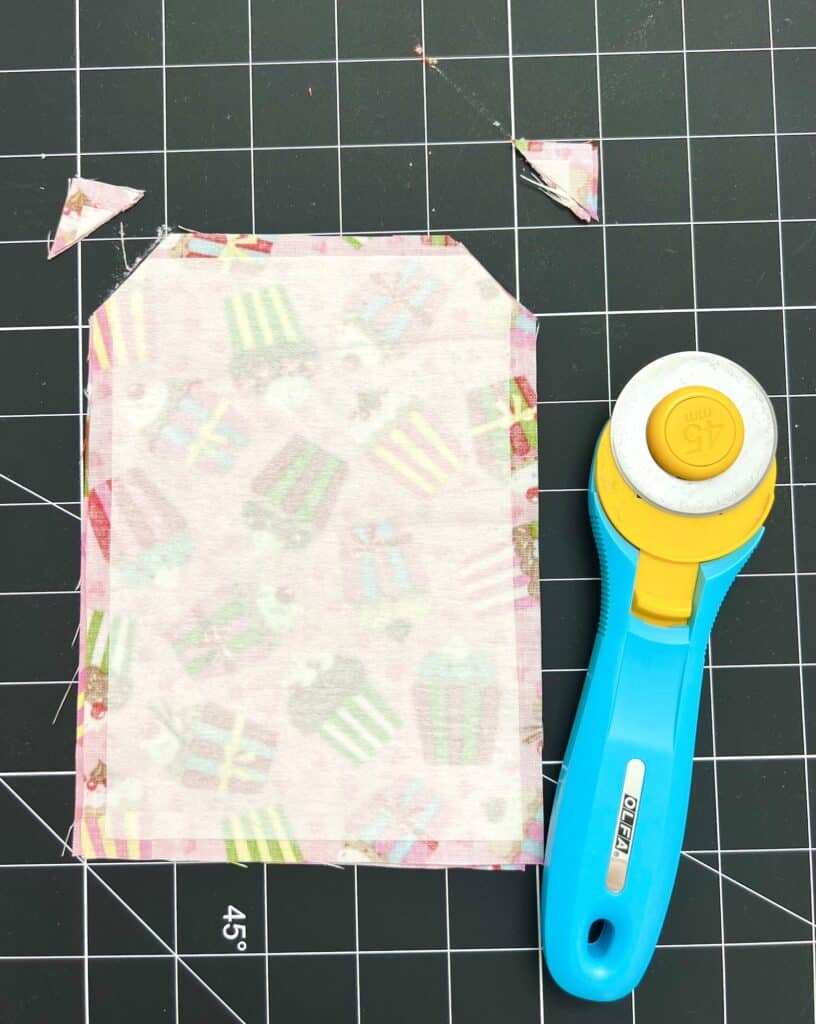
From the top of the gift card holder, measure 1 inch (3 cm) inwards from the top outer right edge and make a mark. Then measure 1 inch down from the top right edge and make a mark. Using a ruler or straight edge, connect the dots using a diagonal line. Cut off the corner.
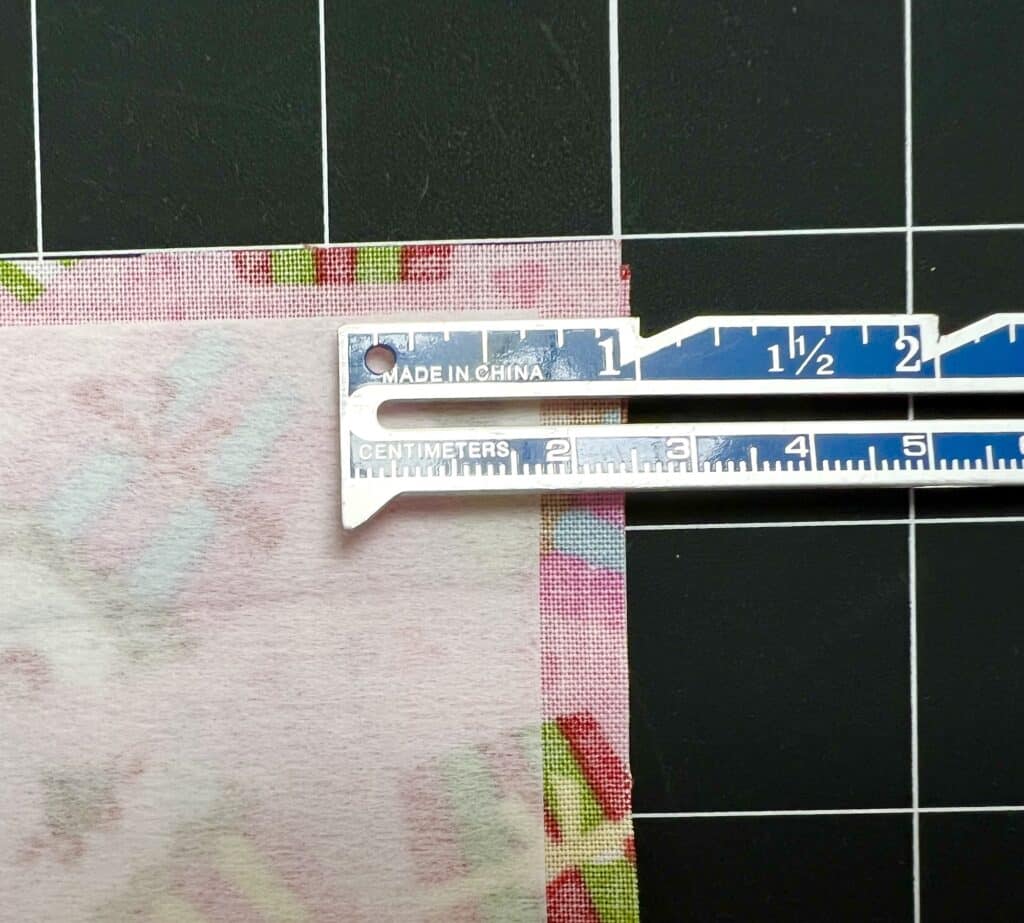
Repeat this same process on the left side.
If you are using a grid cutting mat, this is a very easy process and you won’t need to make marks, just line up the fabric and cut.
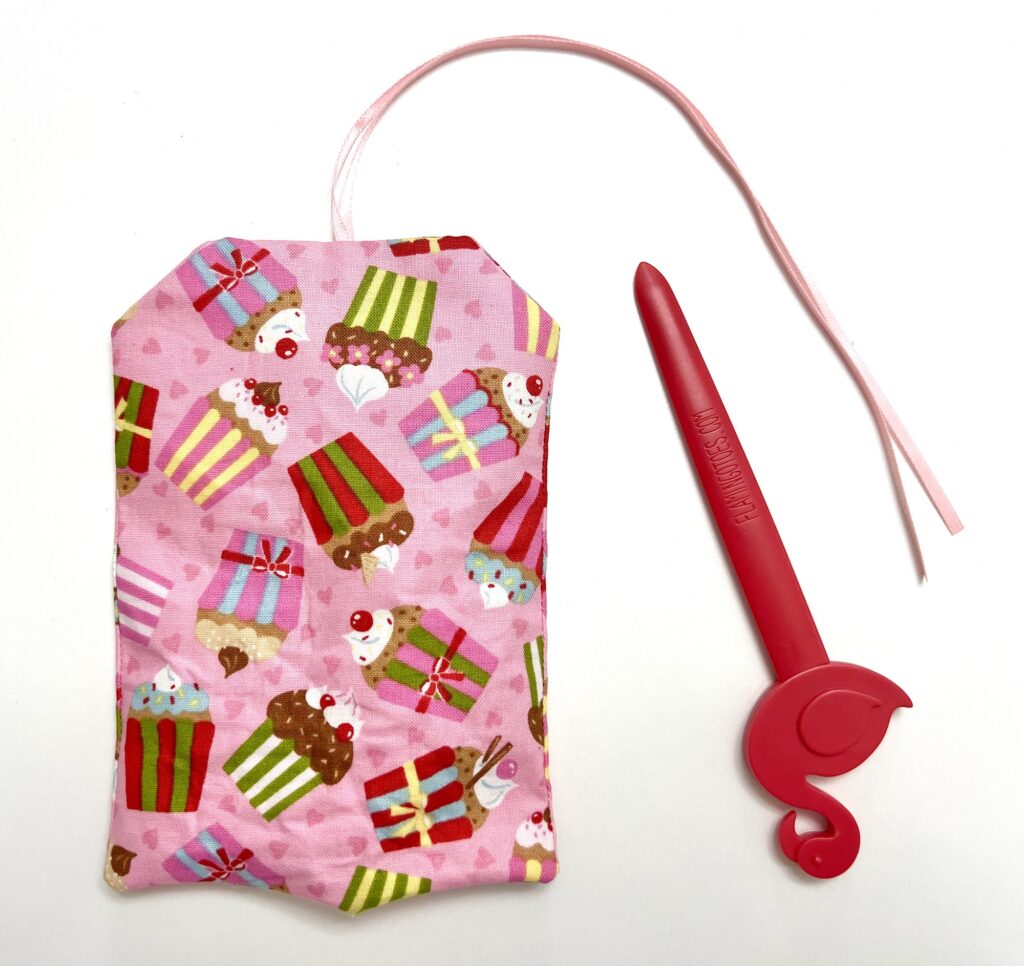
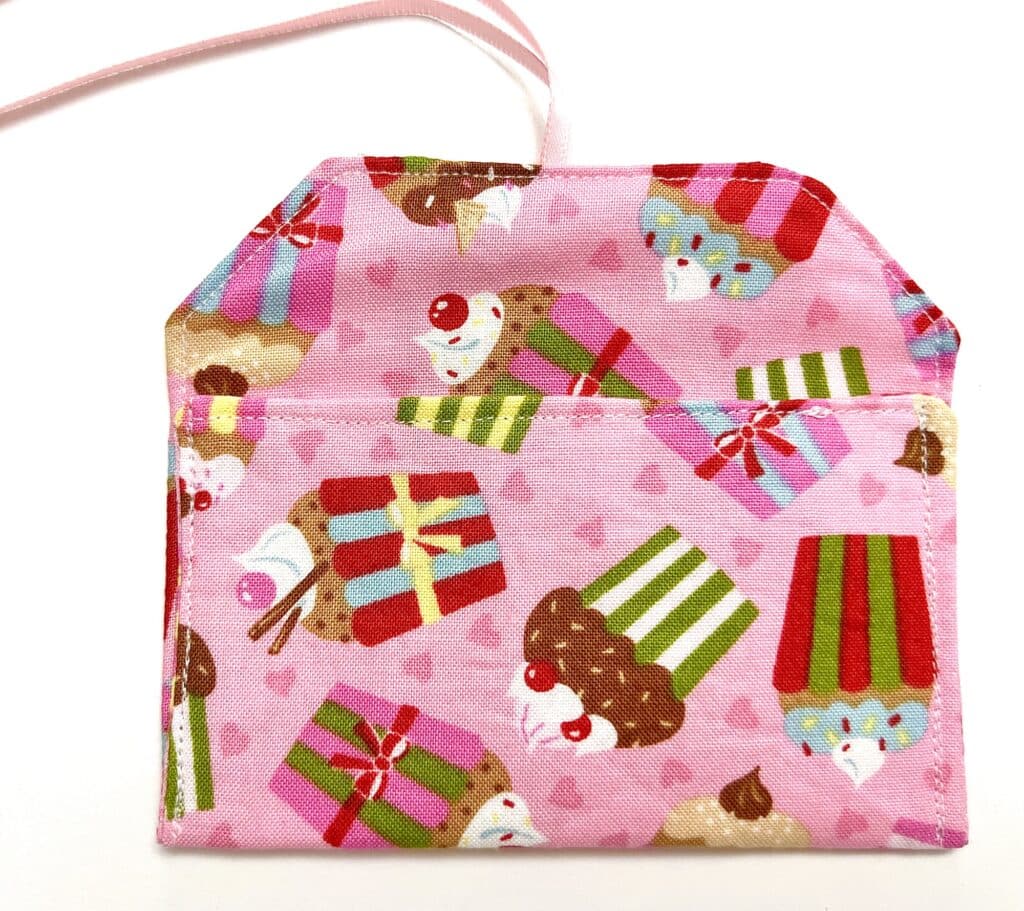
Fold the ribbon in half. Place the folded loop of the ribbon at the top of the gift card holder at the 2.5 inch mark.

Tuck the ribbon between the two layers of fabric with just a little bit of the loop sticking out and clip or pin in place to secure. (This makes sure that you sew over the ribbon and it doesn’t slip out of the seam while sewing.)
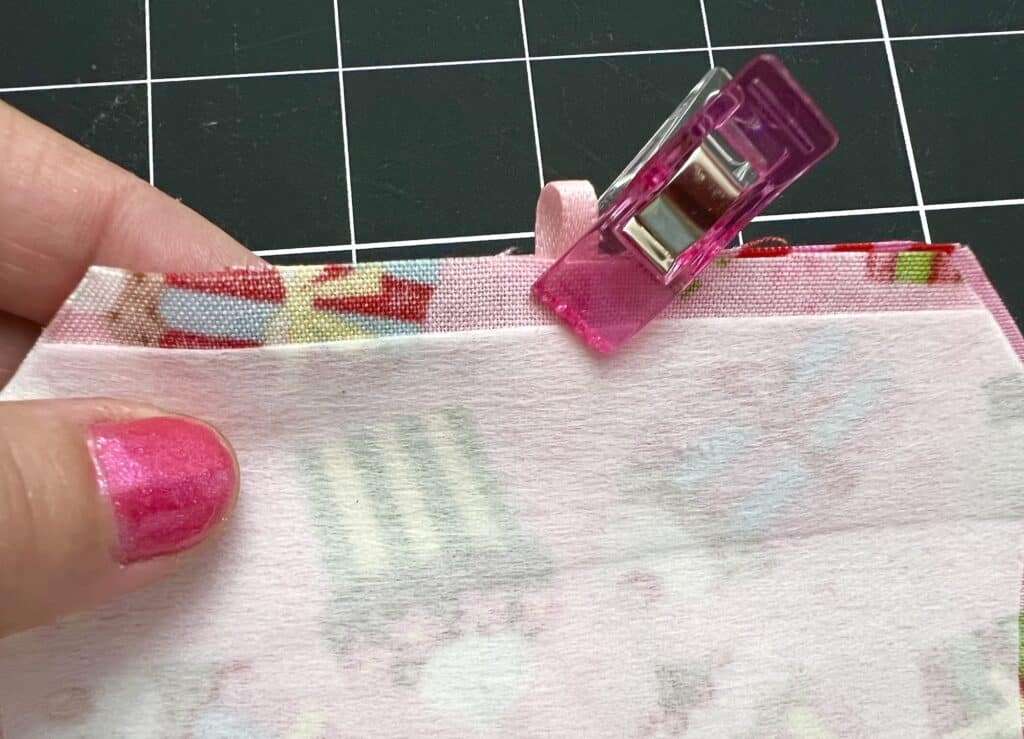
Clip all the way around to secure the edges. It’s a good idea to clip the ribbon ends in place so that you do not accidentally sew them.

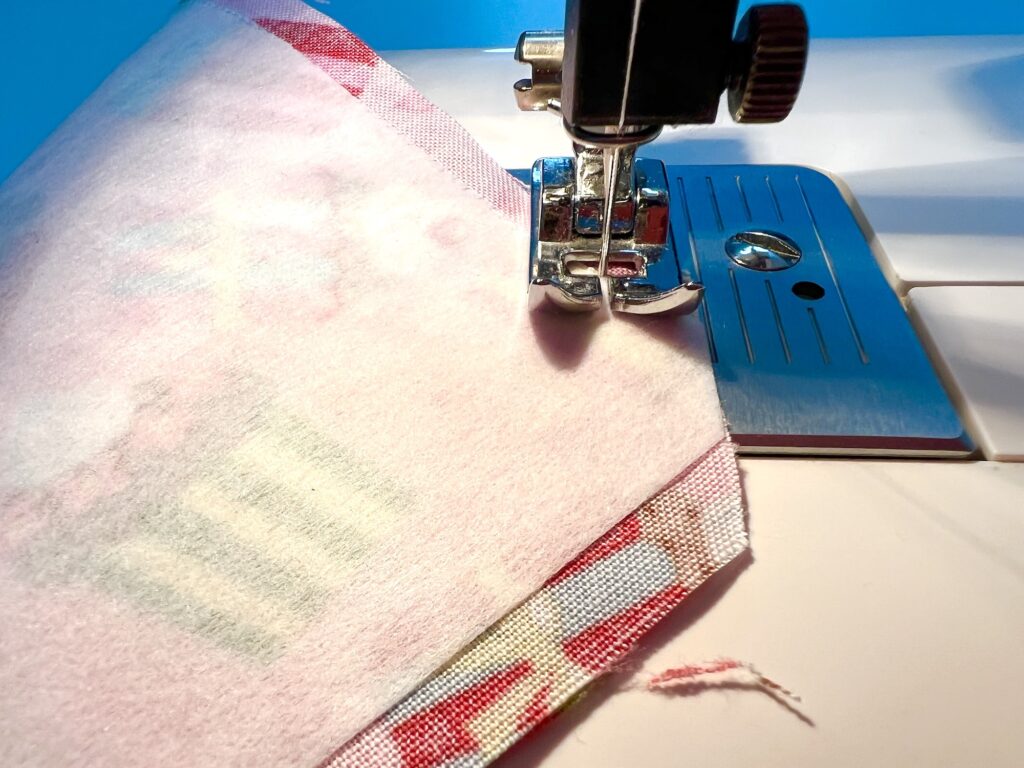
Stitch all the way around the gift card holder, starting on the bottom straight edge, but be sure to leave a 2-3 inch gap on the bottom. Use a ¼ inch seam allowance and backstitch at the beginning and end of your stitching.
You will need to pivot at the corners. Be sure the needle is inserted into the fabric, pick up the presser foot and pivot the fabric so that you can create the corners.
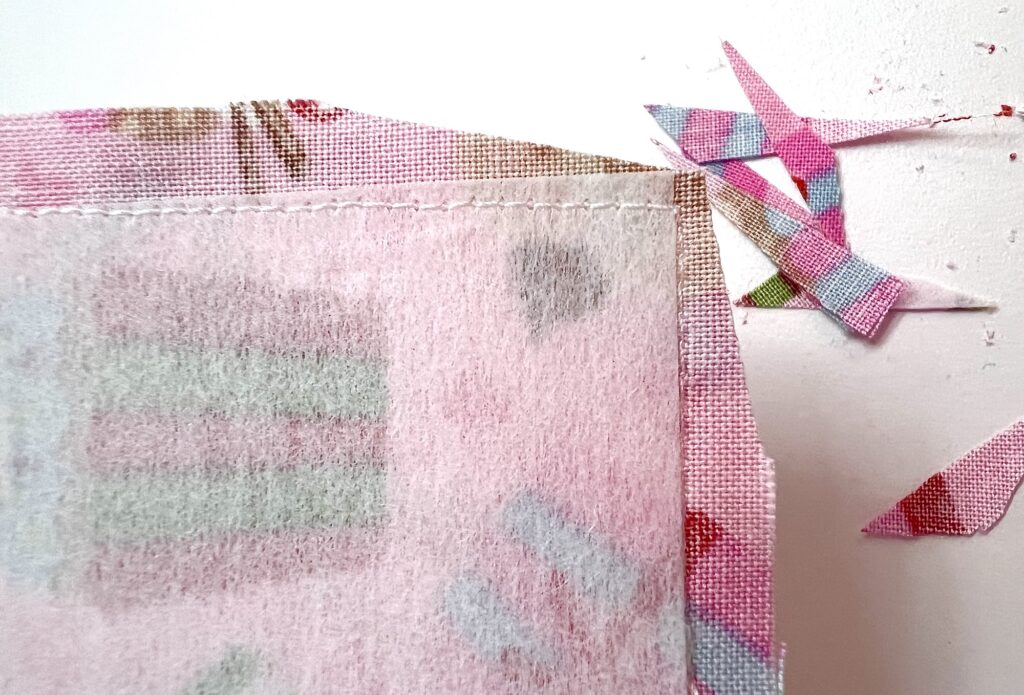
Clip away the corners to remove bulk so that the holder turns inside out more easily. Do not clip through the stitching!
Turn the gift card holder inside out.
Push out the corners with a turning tool so that you get crisp edges.
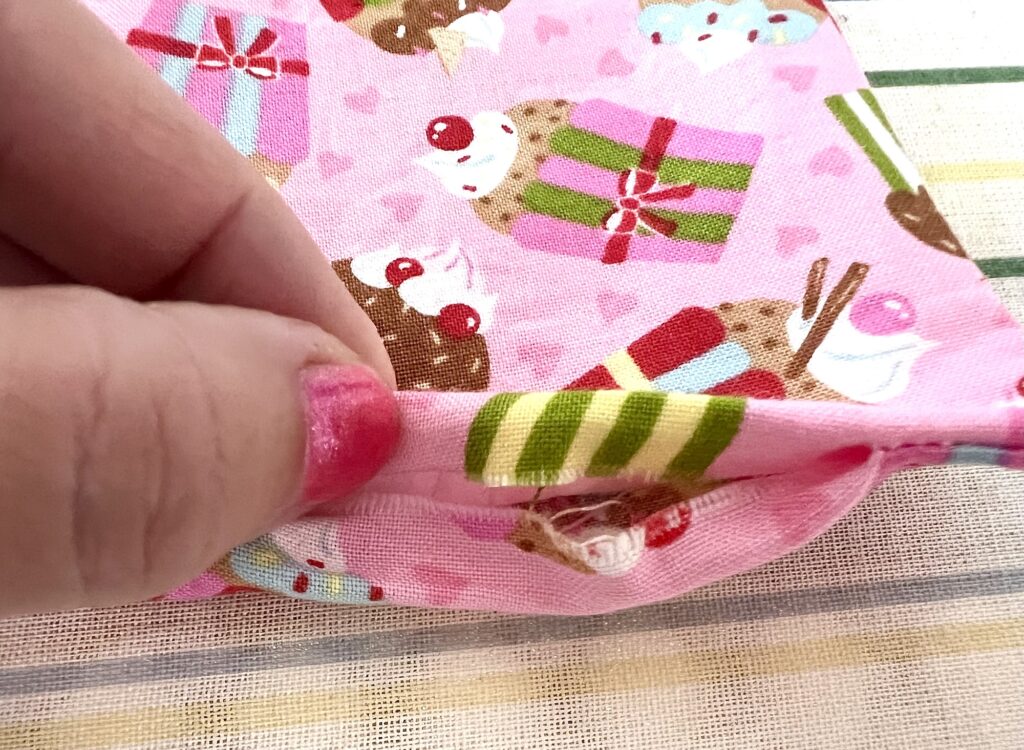
Fold under the raw open edges to match the rest of the seam allowance.
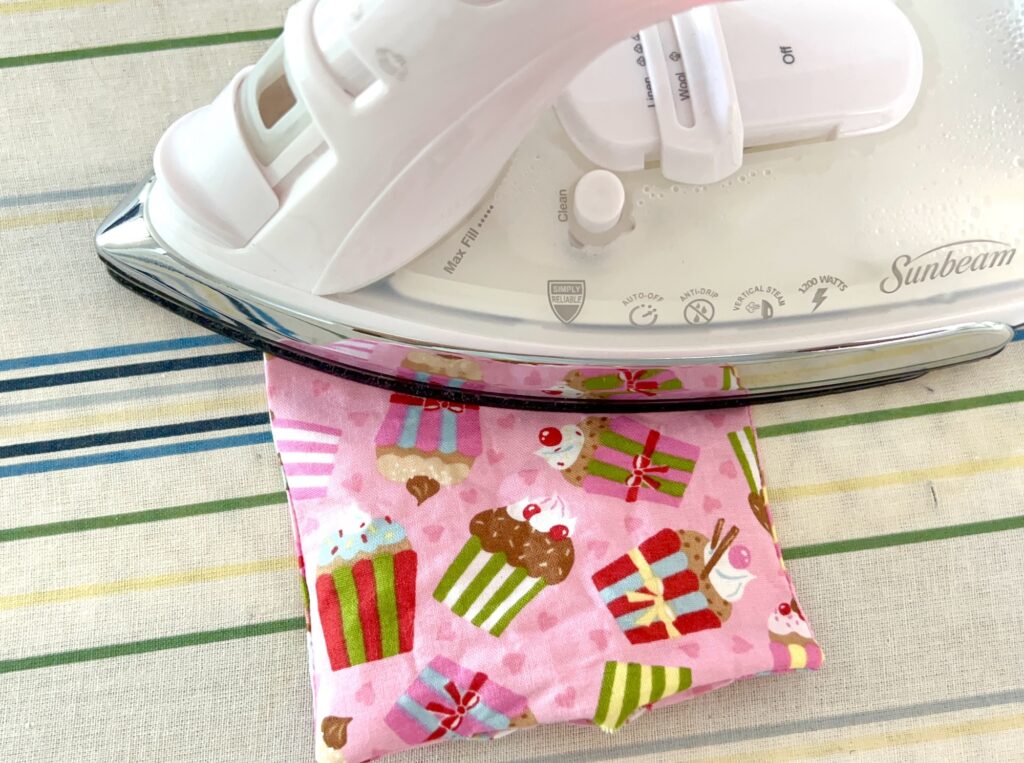
Press the entire gift card holder with an iron, smoothing out wrinkles and pressing the open seams. (You do not have to worry about dragging the iron now because the interfacing is already fused.)
*At this point you want to remember which piece of fabric has the interfacing. You can either make a small mark or use a pin. If you are using two different types of fabric, don’t worry about this step.
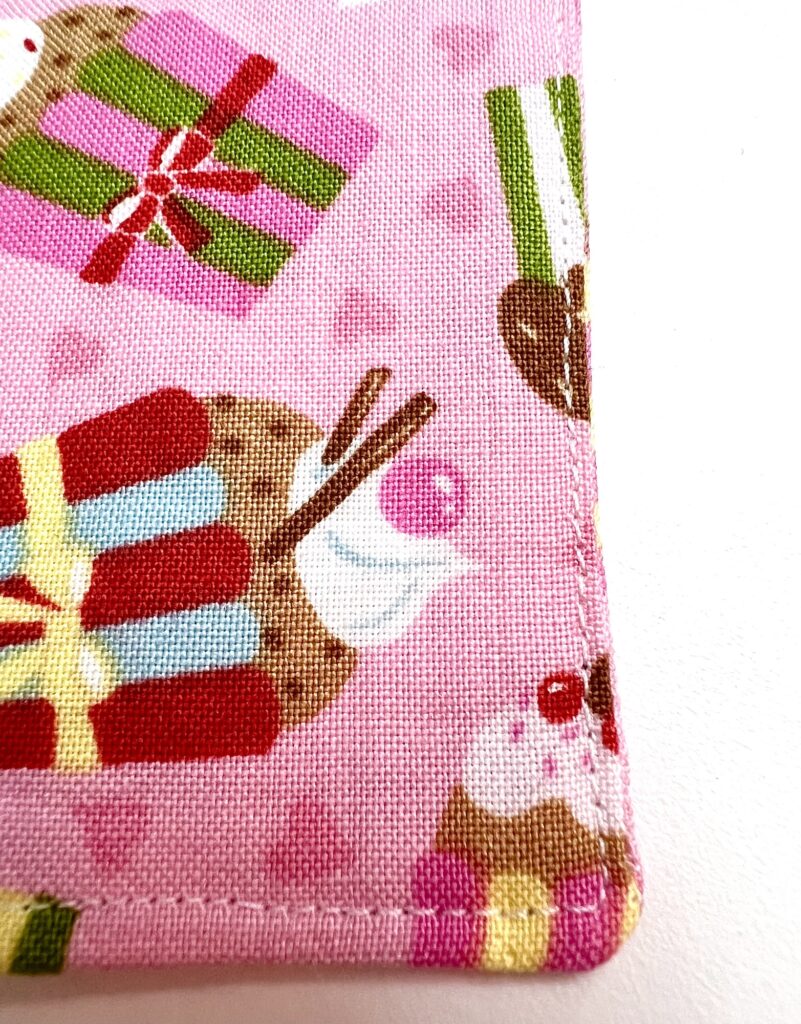
Top stitch around the entire gift card close to edge (about 1/8 inch seam allowance) to secure the open seams and finish it nicely.
Lay the holder on a surface with the plain fabric side facing up and the interfacing side facing down (so that it will be on the outside of the gift card holder).
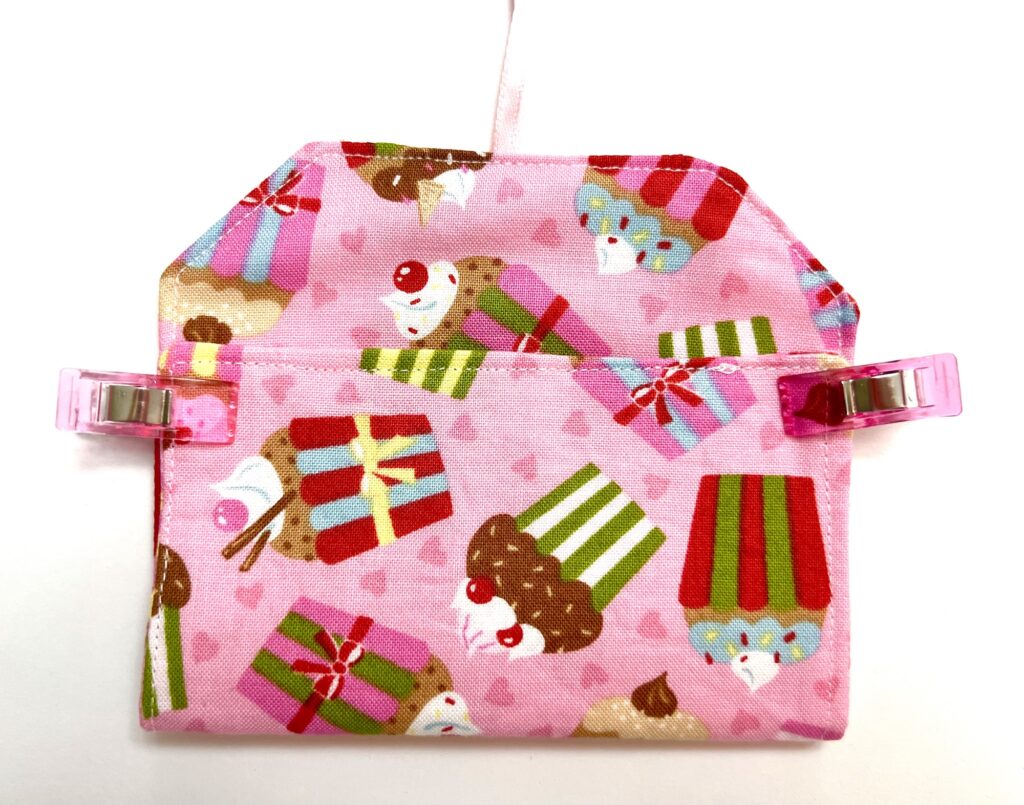
Measure up 4 ½ inches from the bottom edge. Fold the straight edge bottom up to this point. You could also place the gift card on the fabric and fold the edges until it is covered.
Clip in place.
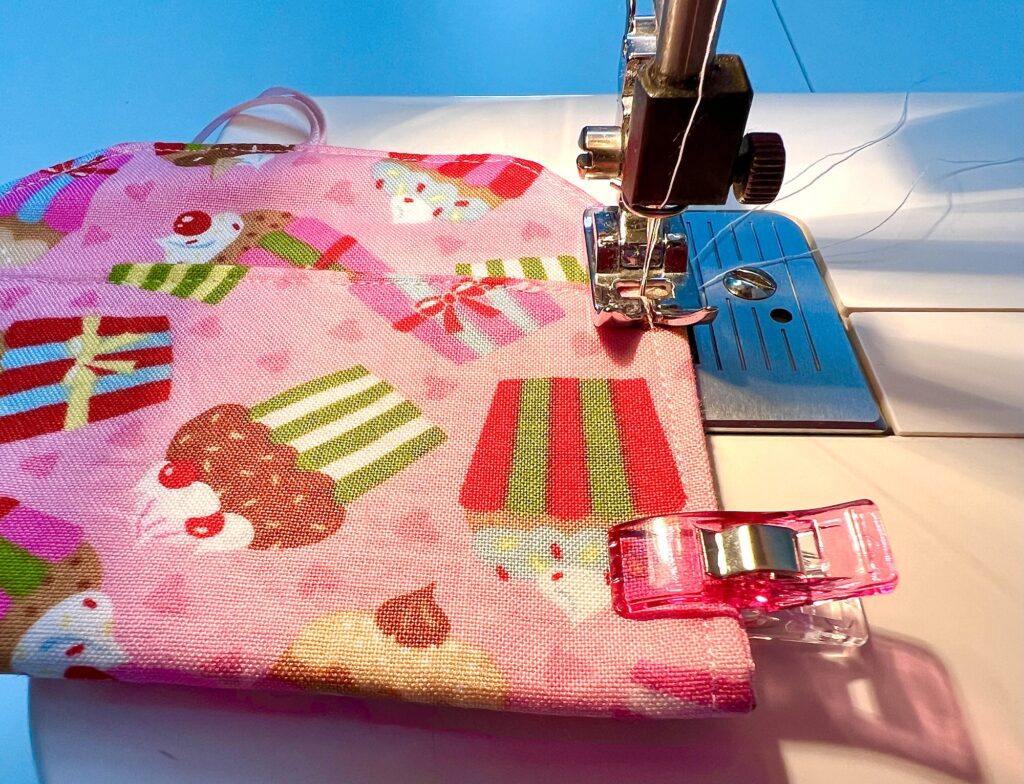
Sew along the folded edges, trying to sew over the topstitching so there aren’t multiple lines of stitching seen.
Using a hot iron, press the edges of the folded fabric, then fold down the flap and press.
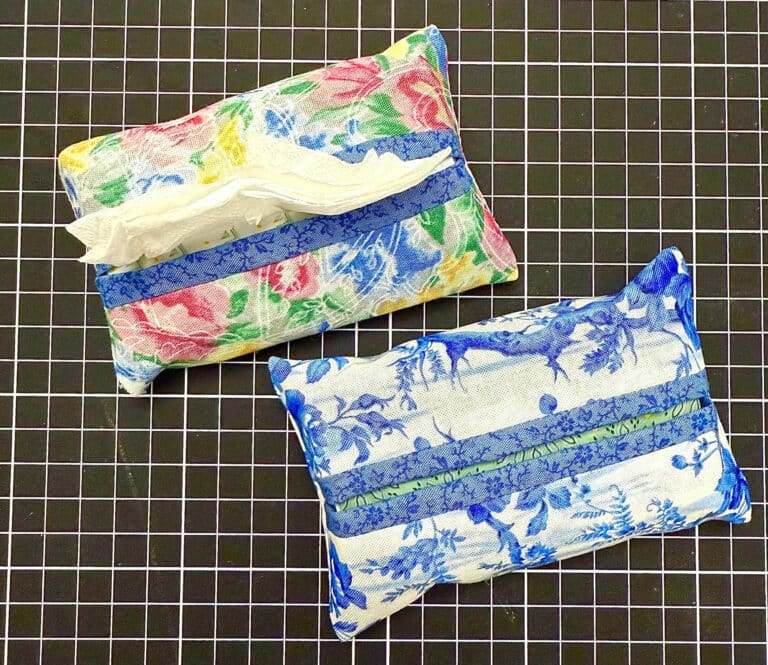
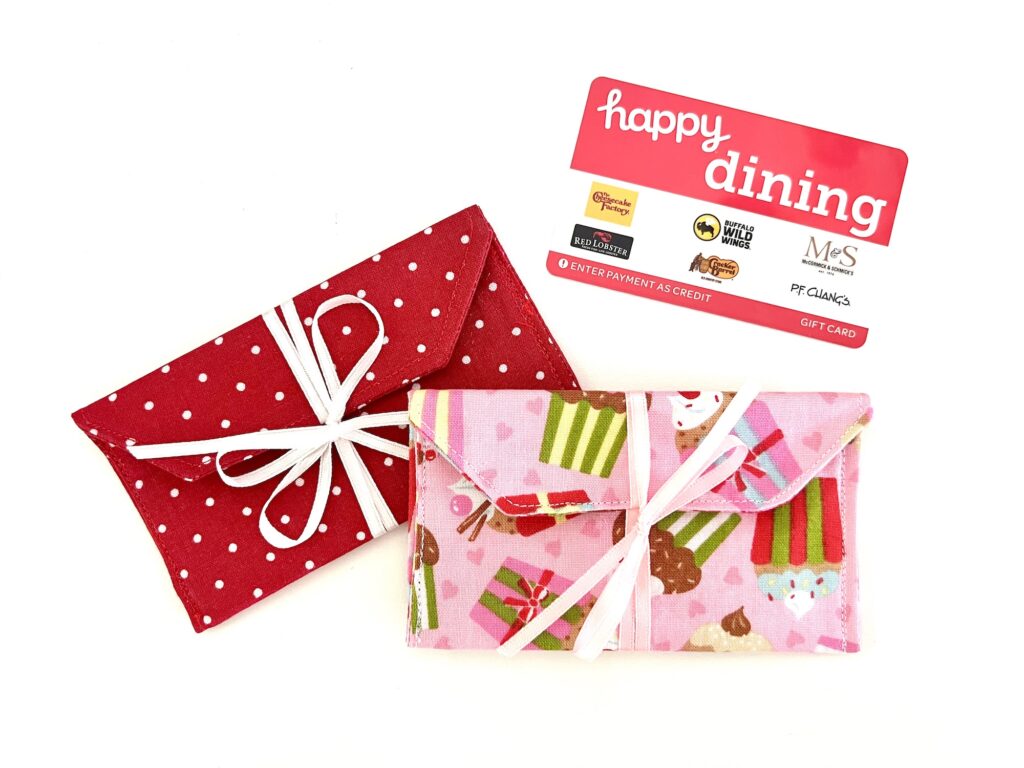
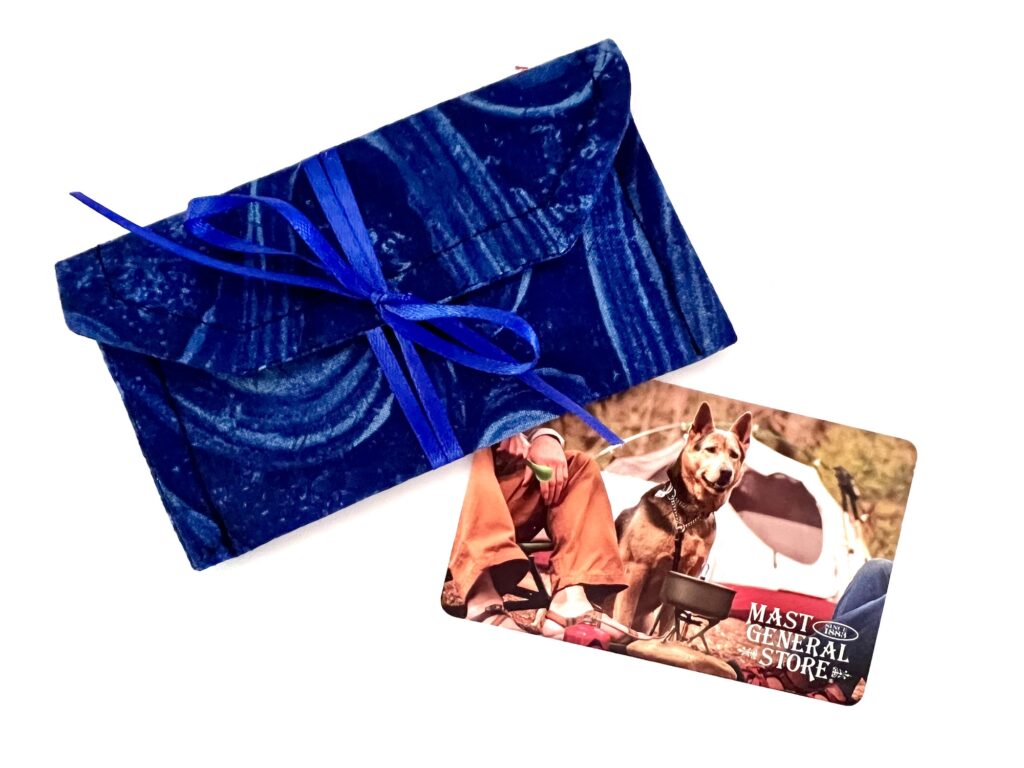
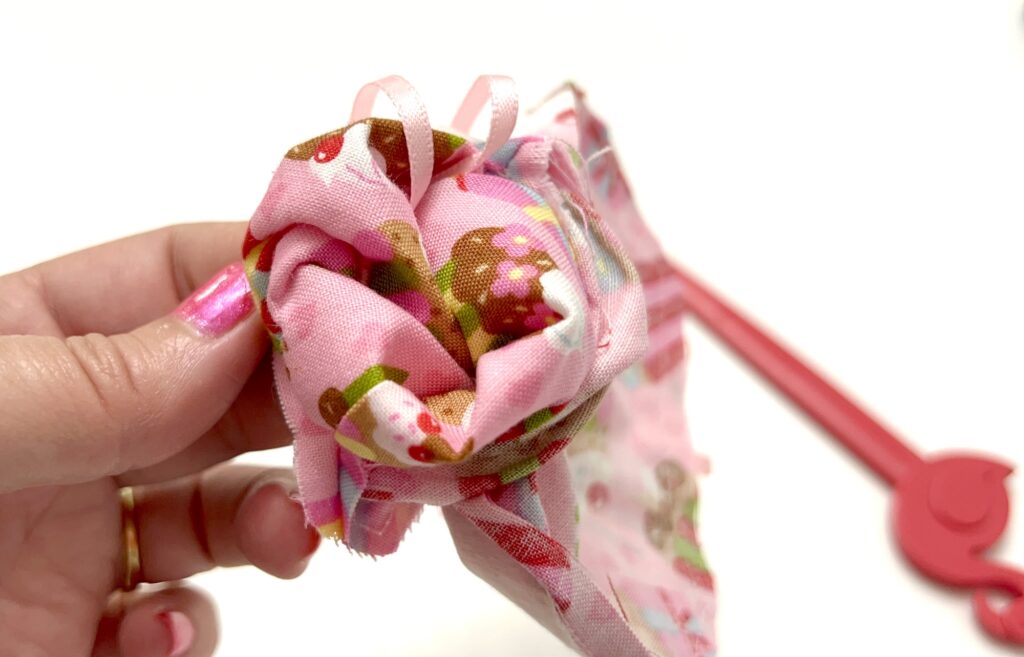
To give the gift card, insert it inside the envelope. Wrap one ribbon one way around the holder and the other ribbon the other way. Cross them in the back and bring around to tie a bow (or a double bow as I did with the red and white polka dot fabric holder).
Watch me make this fabric gift card holder in my YouTube video below:
Save this idea by Pinning It to Pinterest!
Helpful Tips I Learned While Making These DIY Gift Card Holders
- Medium or heavy weight interfacing really does make a difference. Lightweight interfacing will not stiffen the fabric enough.
- Though the Pellon 808 directions said to use a damp cloth on top of the interfacing when pressing, I found that caused puckering on the fabric. I used the Wool setting on my iron (not the hottest setting) with no pressing cloth or steam for the best results and no puckering.
- Cotton, polyester or flannel fabric is the best. You do not want a thick fabric that is too hard to turn inside out.
- Use two different types of fabric to have a surprise fabric inside the holder. Remember to add the interfacing to the fabric that will be on the outside of the gift card holder.
This is just one of our easy sewing projects that cost less than $1 and are great items to sell at craft fairs.