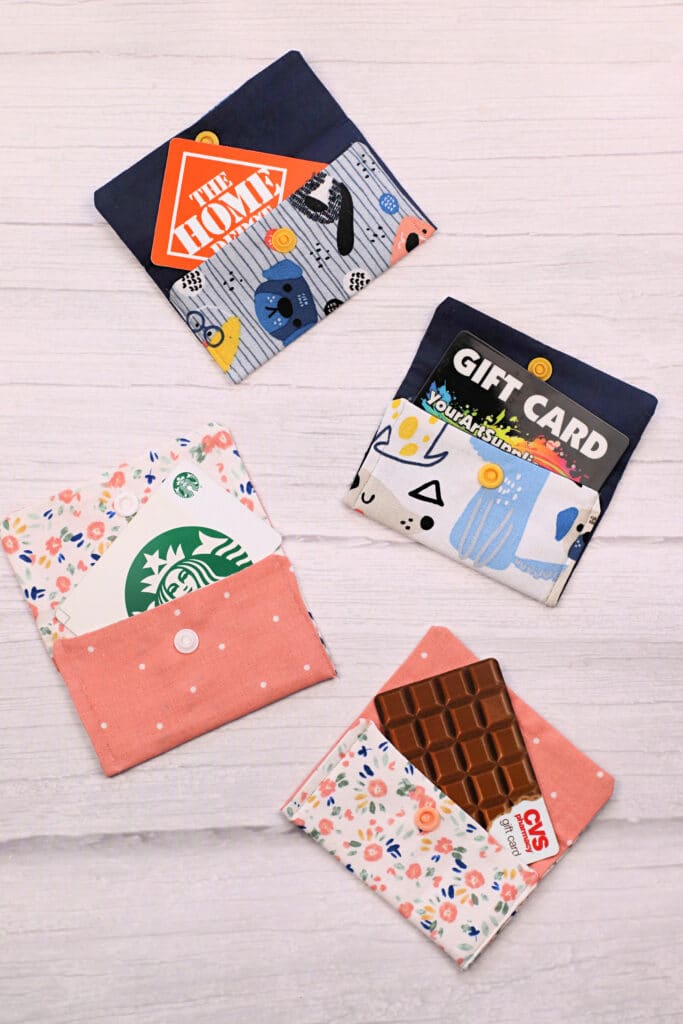
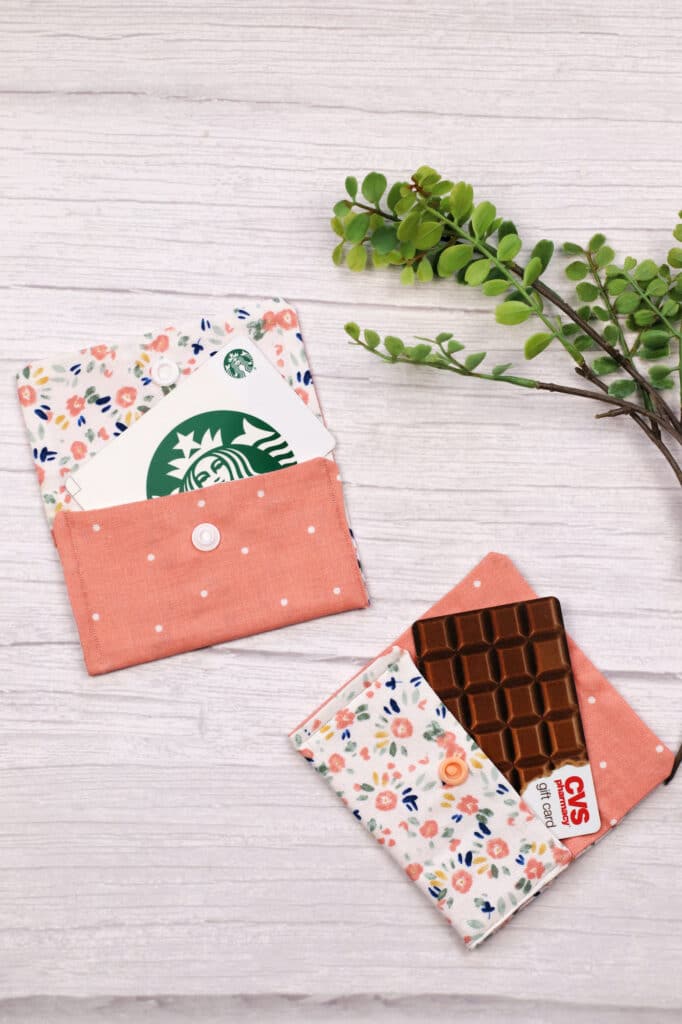
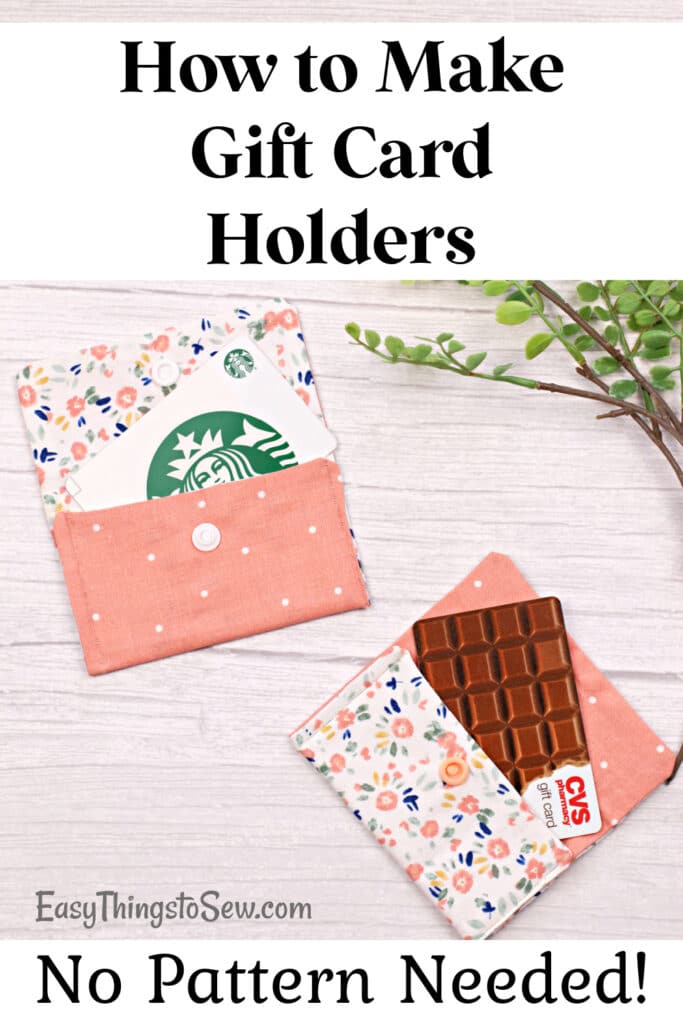
DIY Gift Card Holder (No Pattern Needed)
Everyone loves getting a gift card, but giving a gift card can see impersonal. Add a personal touch by making a DIY gift card holder that can be reused after the card has been spent.
These DIY fabric gift card holders can be made with a small amount of fabric, making them a great project for fabric fat quarters.
Though the instructions may seem complicated at first, they are not! Most of the instructions are for how to attach the snaps. Once you understand that step, you can make several of these in just a few minutes! Which makes this a great craft to make and sell!
Not only are these handmade gift card holders cute, they can also be repurposed in other ways, including:
- Business Cards Holder
- Change Purse
- Small First Aid Kit
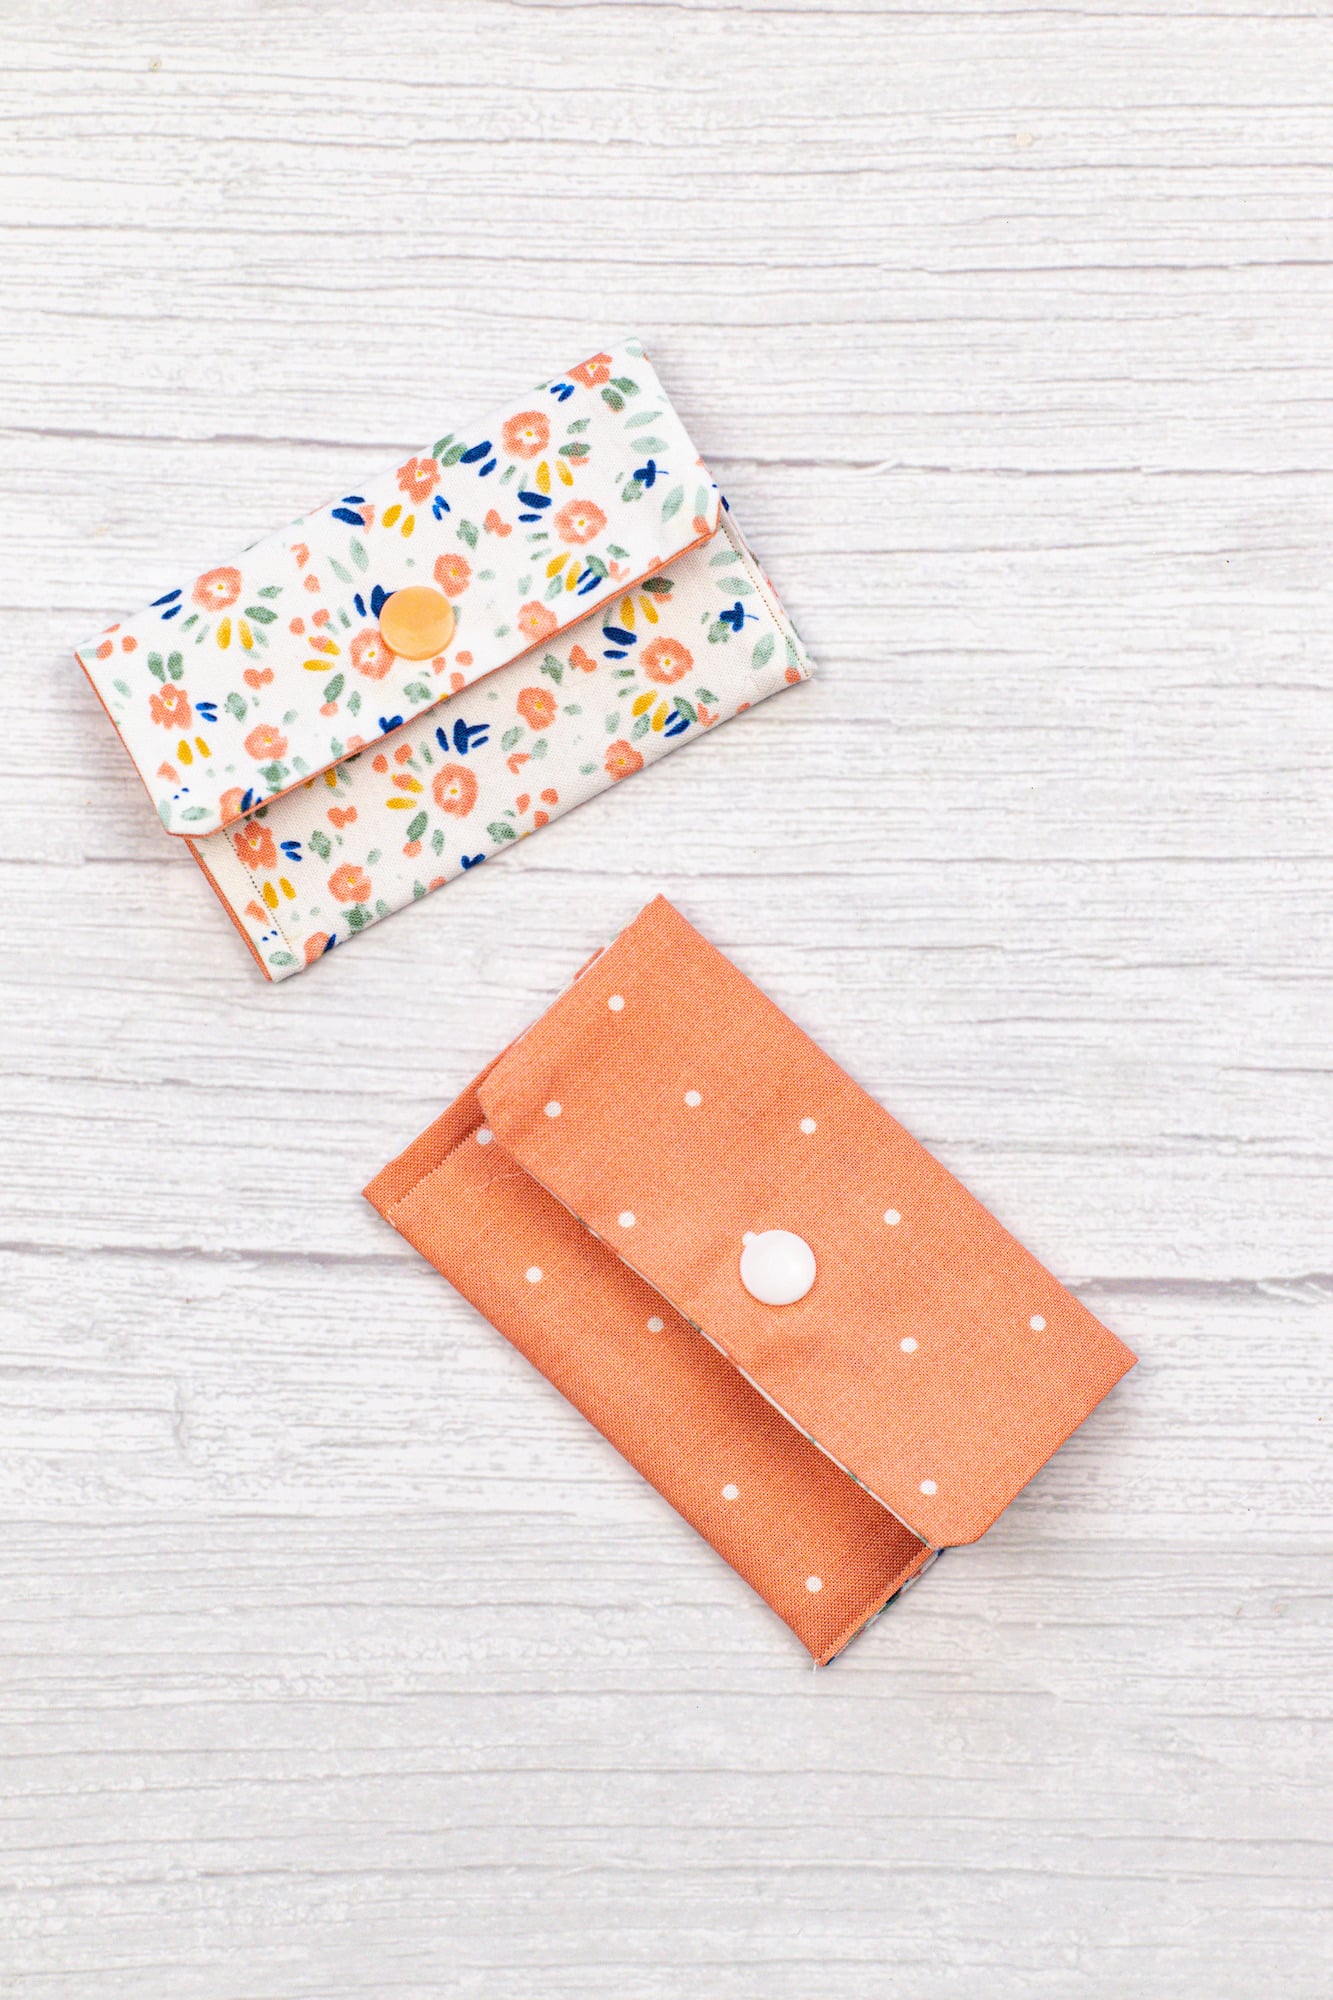
Choose a fabric that coordinates with the gift, such as gaming fabric for a Minecraft gift card or fabric with dogs or cats for a pet store gift card.
Or choose a fabric color and pattern that you know they will love, which instantly adds a personal touch to giving a gift card.
DIY Gift Card Holder
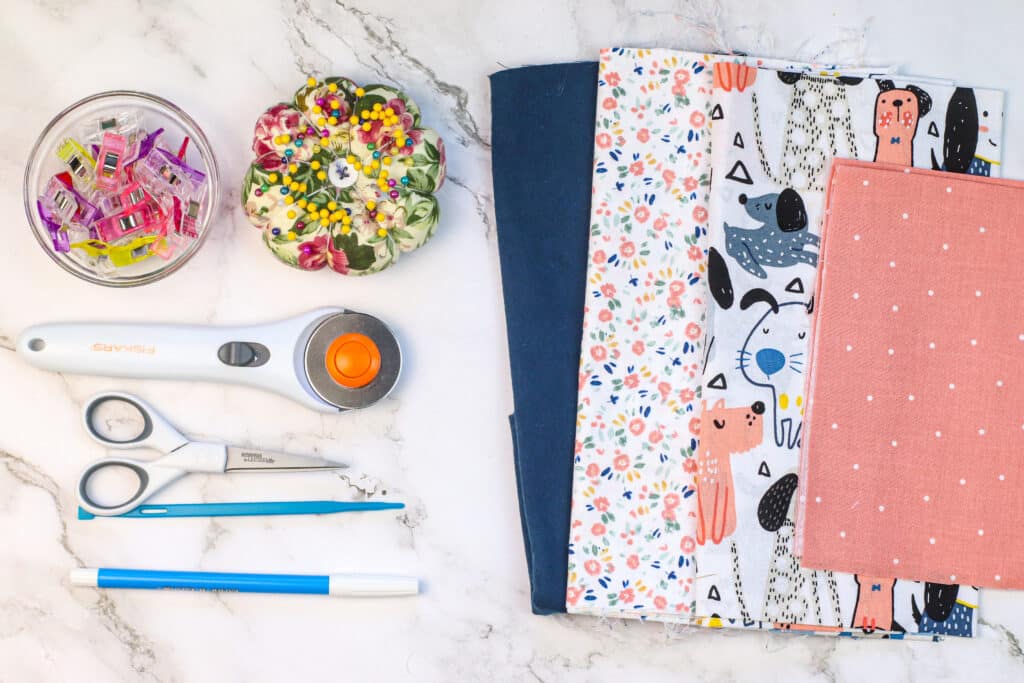
Supplies
- 4 ½″ X 6 ½″ cotton fabric for outside of the gift card holder
- 4 ½″ X 6 ½″ cotton fabric for inside of the gift card holder
- 4 ½″ X 6 ½″ fusible medium-weight interfacing
- Matching all-purpose thread
- Washable fabric pen
- Turning tool, chopstick or wooden skewer
- Rotary cutting mat set (optional)
- Scissors
- Sewing clips or straight pins
- Iron
- Kam snap set
- Awl (if not included in your snap set)
Instructions
Step 1
Cut the fabric pieces to make the gift card holder. You will need:
- 1 piece of the outer fabric (we used floral and dog print in the tutorial photos)
- 1 piece of the inside fabric (we used dark blue in the tutorial photos)
- 1 piece of interfacing
Each piece should measure 4 ½ inches x 6 ½ inches.

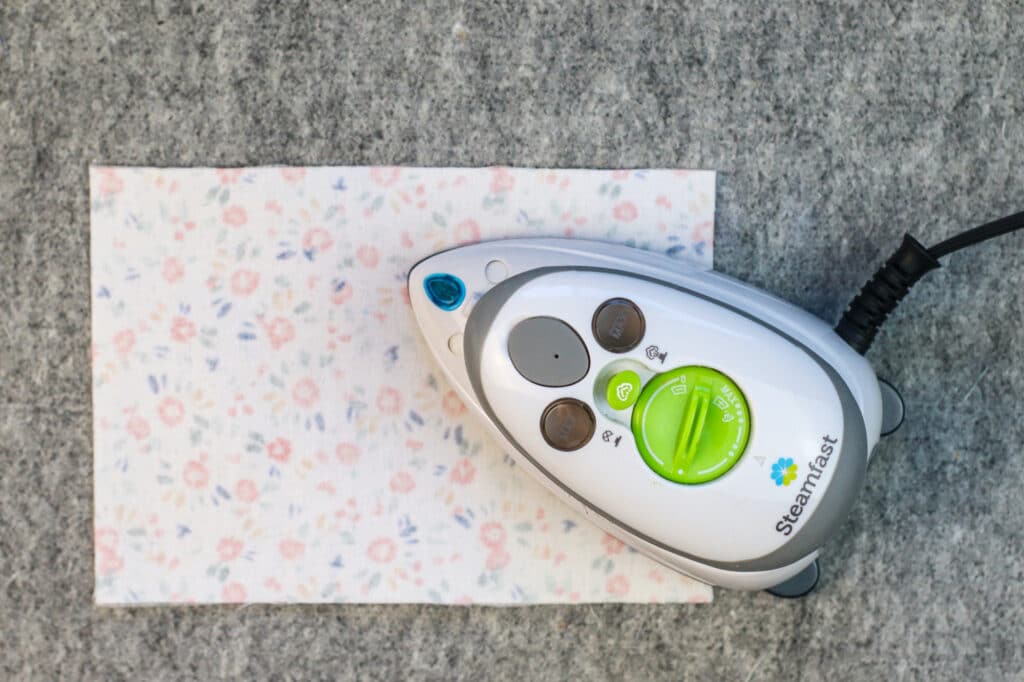
Step 2
Attach the piece of interfacing to the wrong side of the outer piece of cotton fabric using a warm iron to adhere the pieces together.
I like using my mini Steamfast travel steam iron for small projects like this one.
Step 3
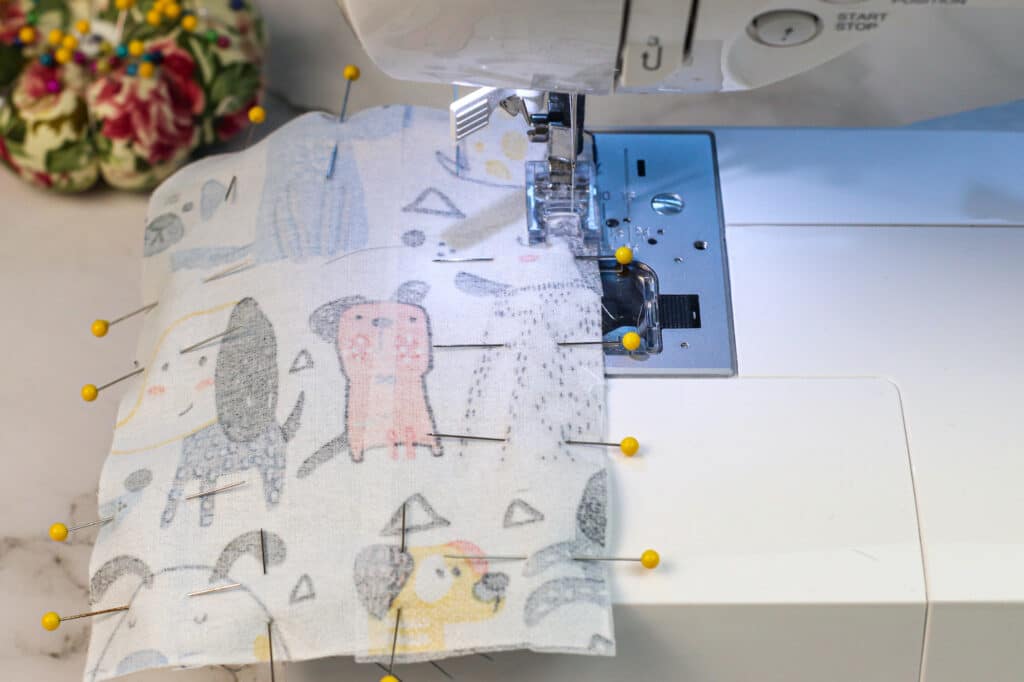
Place the right sides of the two fabric pieces facing together. Pin or clip the pieces together.
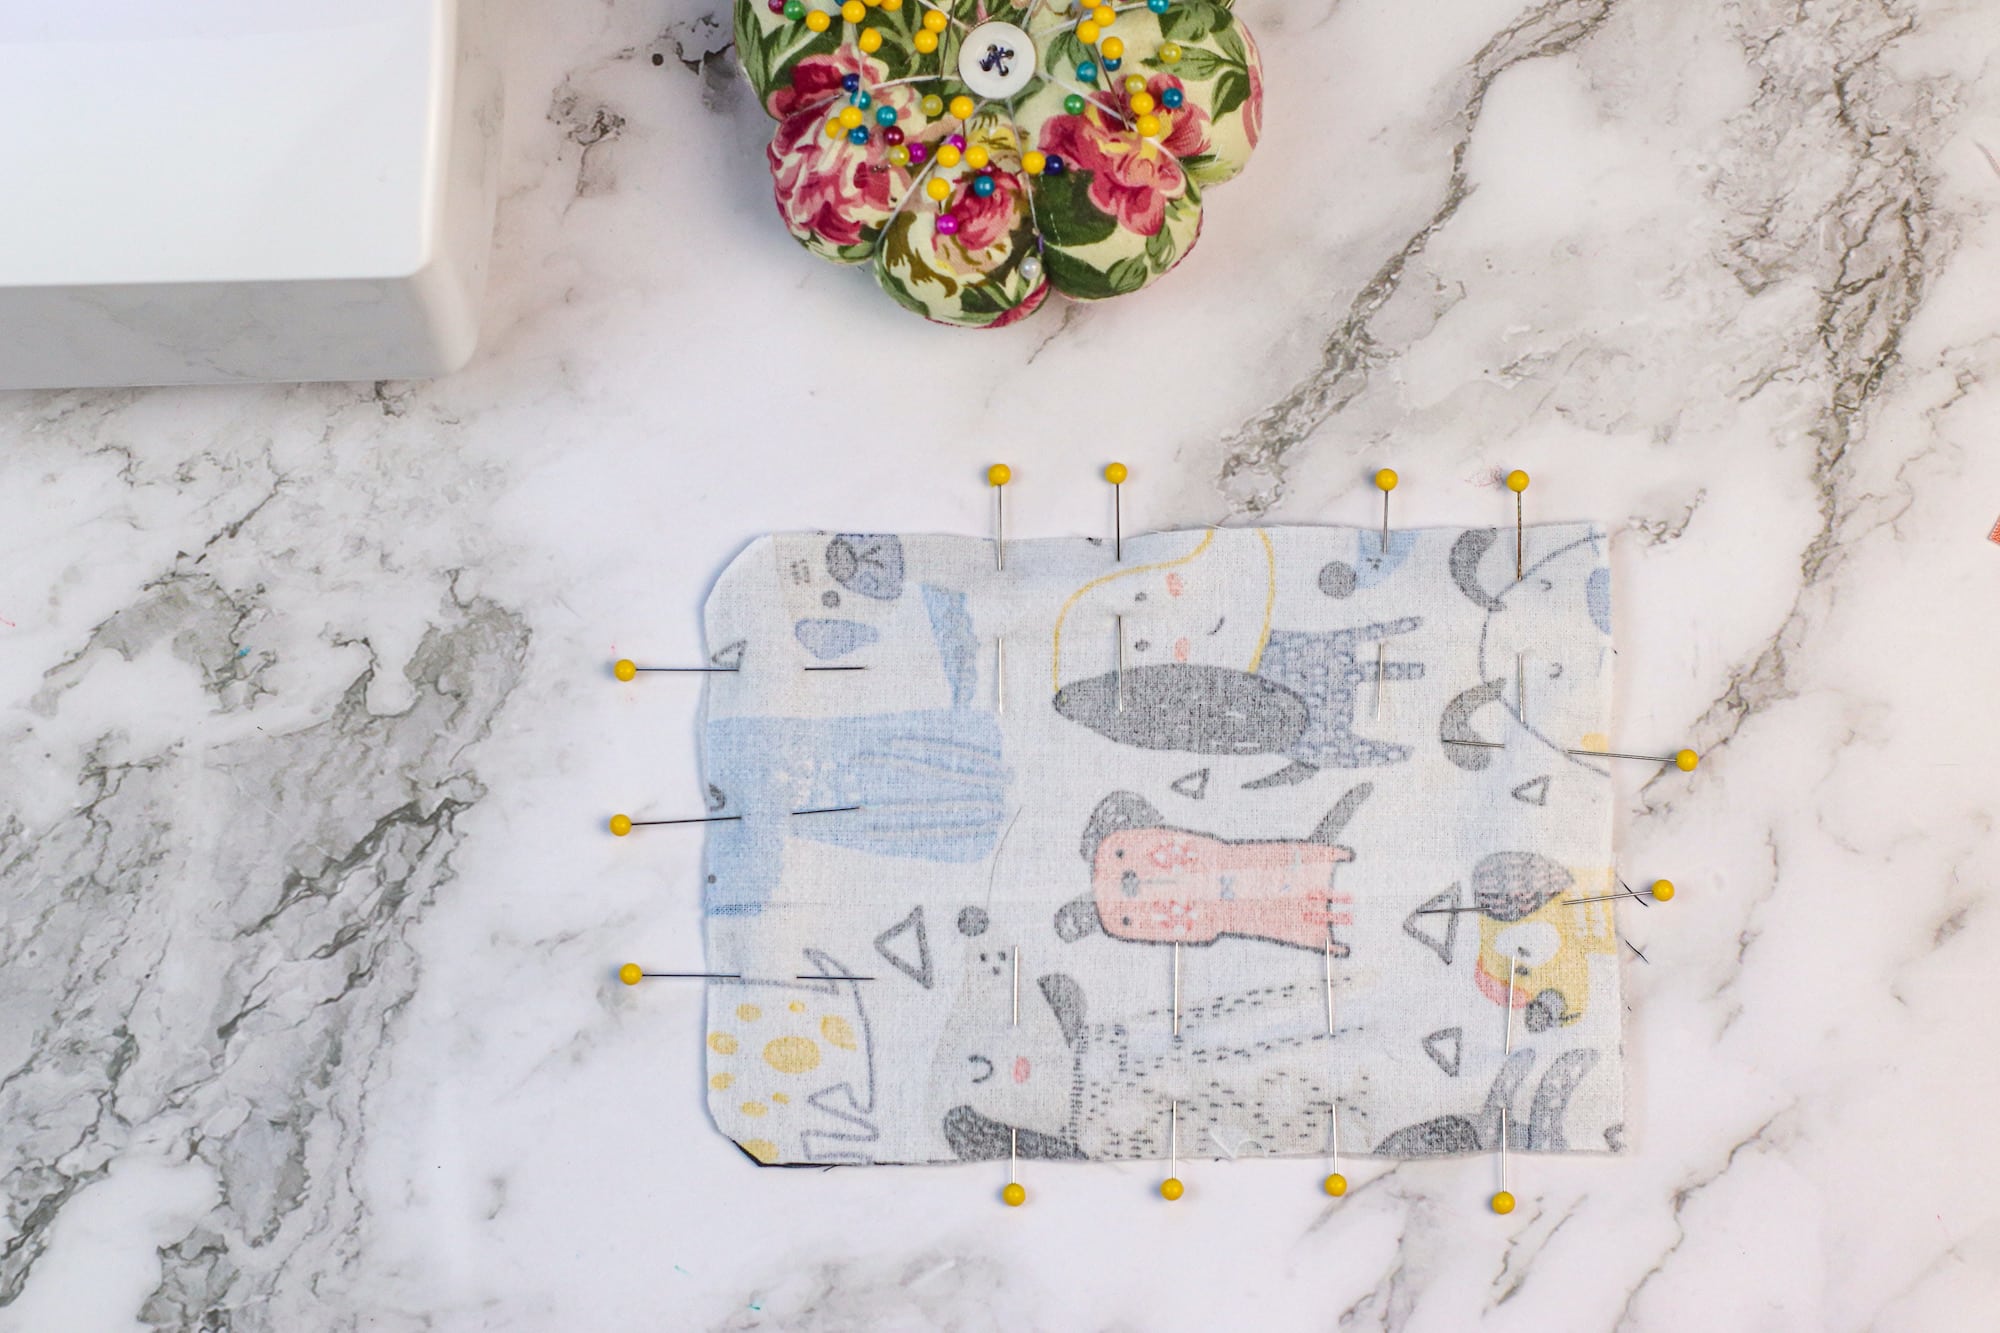
Step 4
Sew along all 4 sides, leaving a 3 inch gap for turning out the fabric on one of the longer ends.
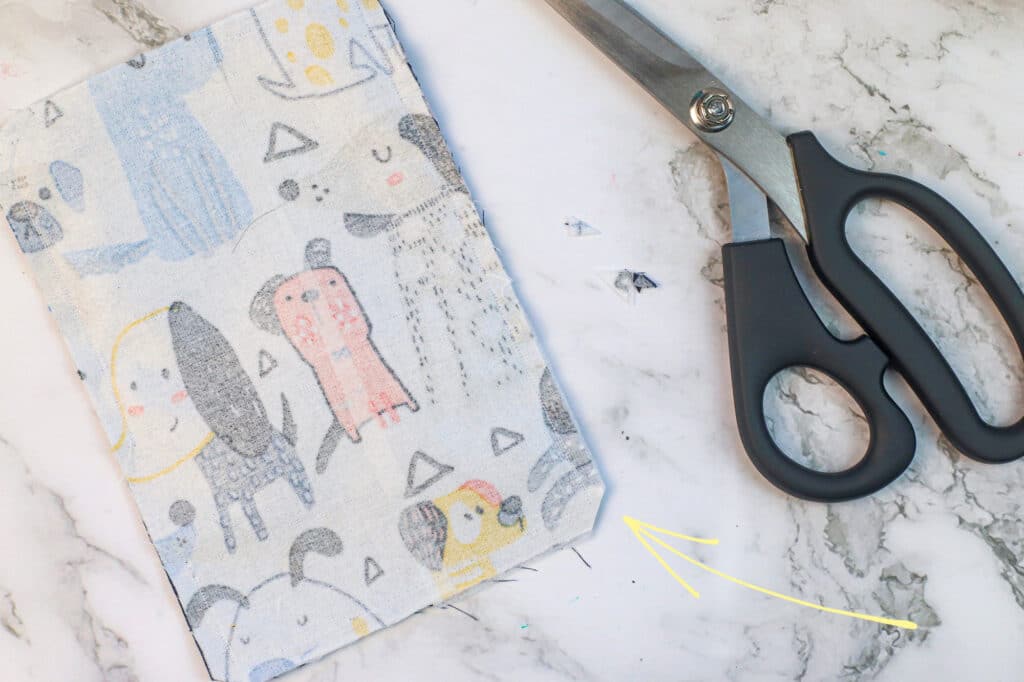
Step 5
Clip the corners to allow for easier turning.
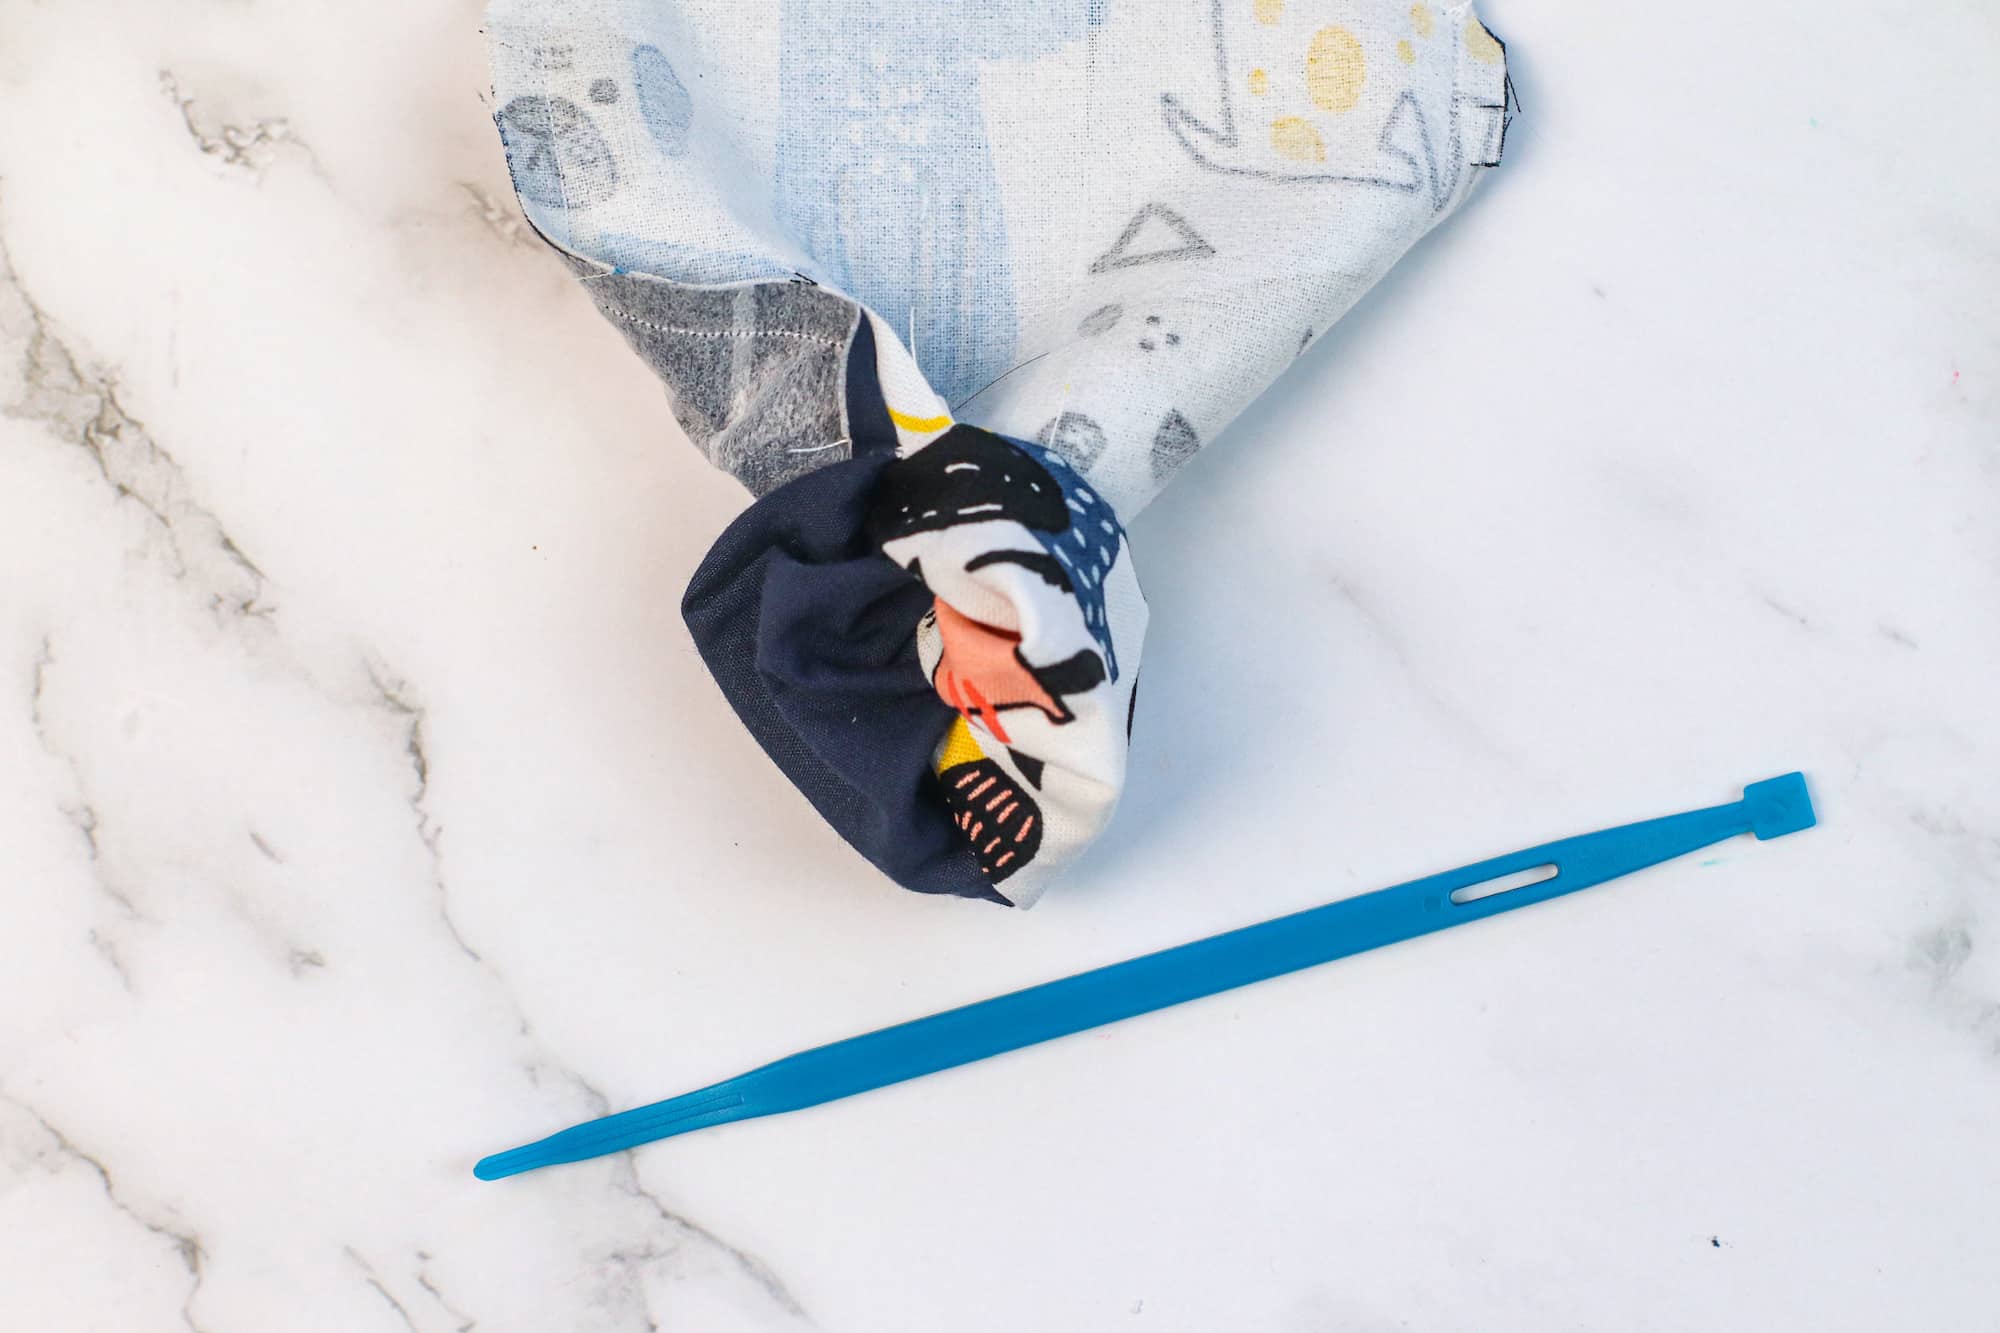
Step 6
Then turn the right side out and press the fabric, making sure that the opening is lined up evenly when pressing.
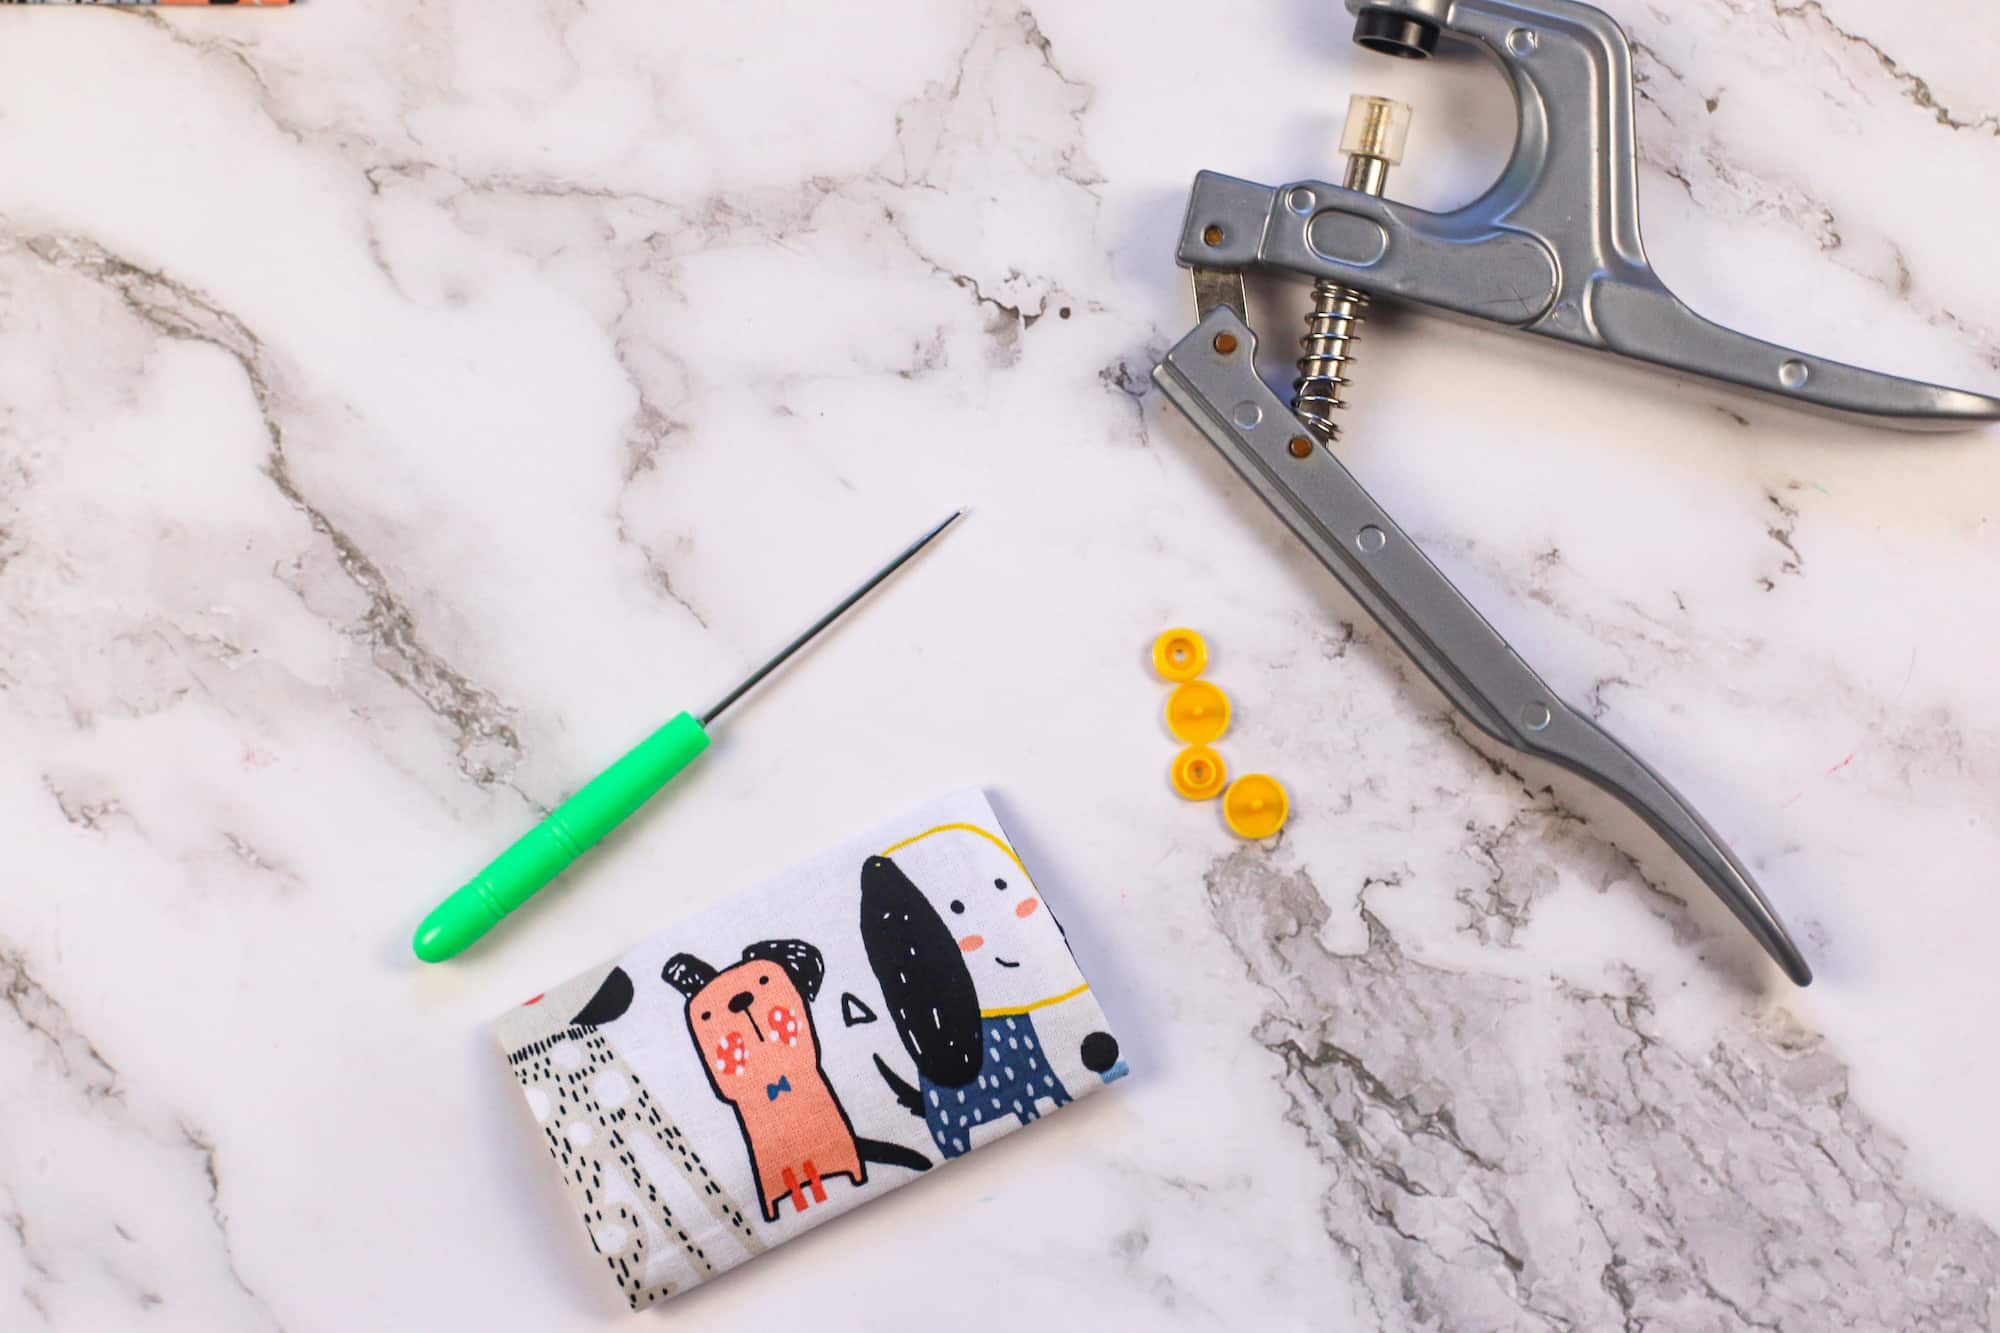
Step 7
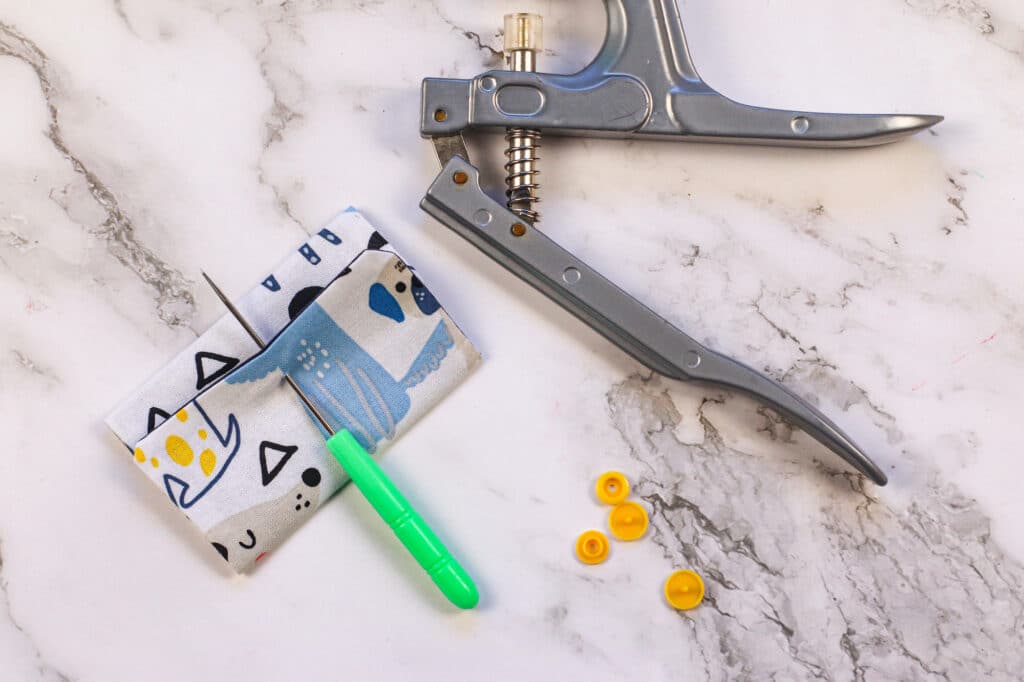
Now it is time to install the Kam snaps. You will need 4 plastic Kam snaps:
- 2 will have a flat end with a point that looks like a tack
- 2 will have a hole; the male snap looks like an outie belly button, and the female snap looks like an innie belly button
To decide on the placement of the snaps, put the gift card holder on a flat surface, inside of the holder facing up. Fold up the bottom and down the top about 2” and press with a warm iron.
Step 8
Measure and mark the middle point of the gift card. Then, make a mark about ½” from that middle point on the bottom flap.
Push your awl (the tool with the sharp point) through the fabric of the bottom flap (where you made your mark), making a small hole.
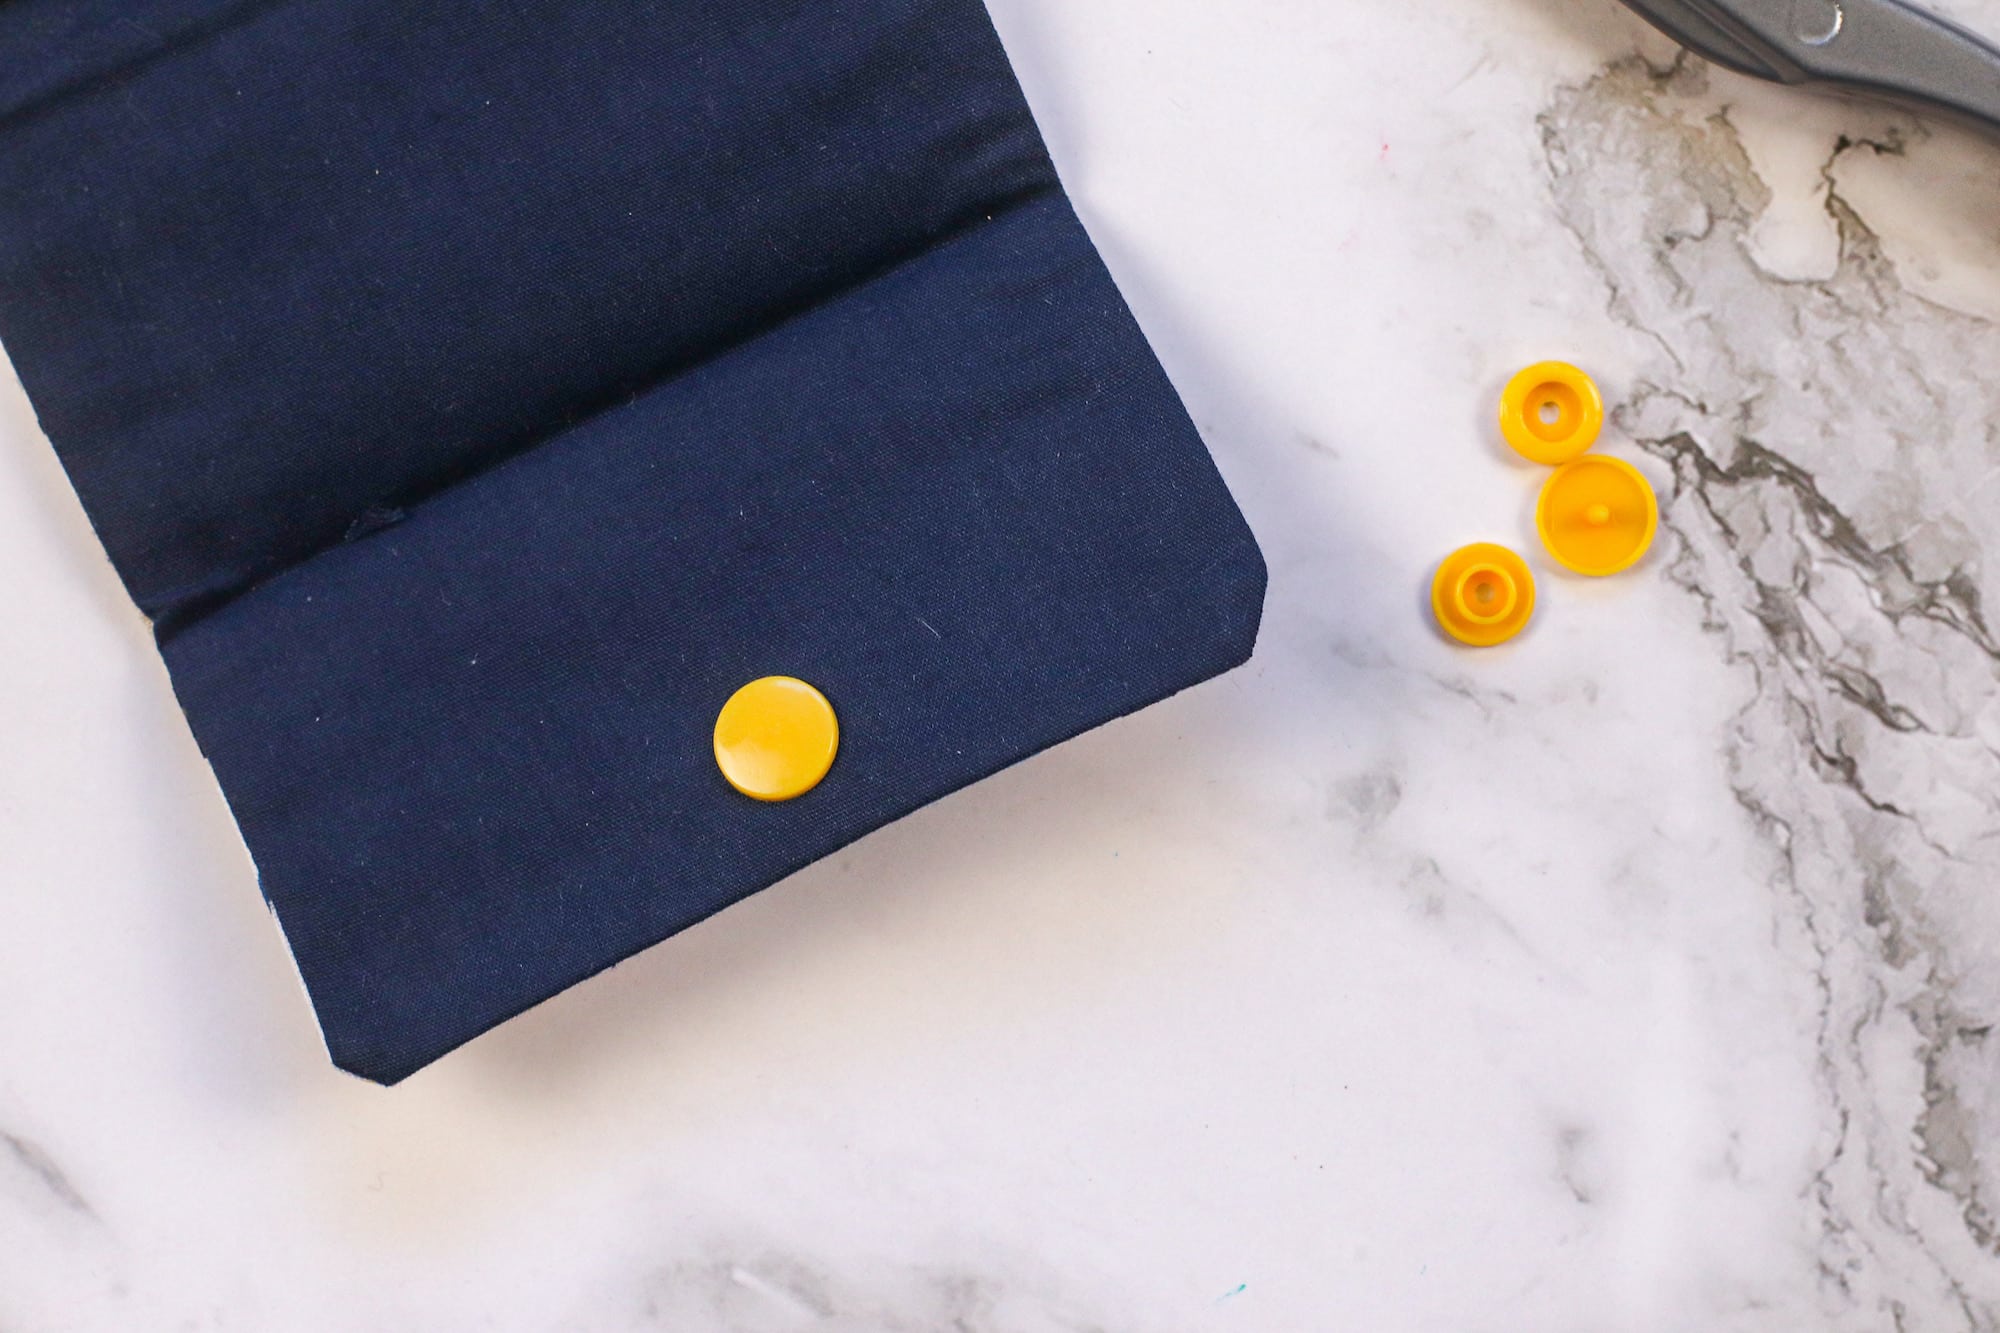
Step 9
Moving from the inside of the gift card holder, push the plastic snap piece that looks like a tack through the hole. Place the female snap piece on top of the point of the snap, and using the hand-held press, squeeze the snaps together.
Step 10
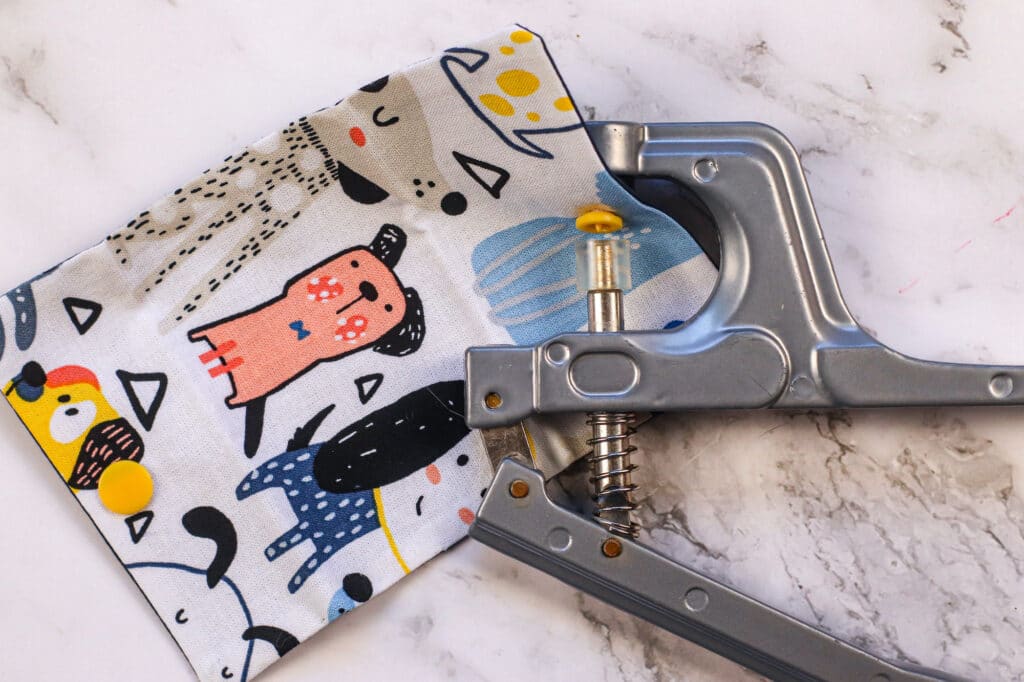
For the top flap, make sure the hole you make with the awl lines up with the snap on the bottom flap.
Moving from the outside of the gift card holder, you will push the snap that looks like a tack through the hole. Place the remaining snap piece, the female, on top of the point of the snap, and using the hand-held press, squeeze the snaps together.
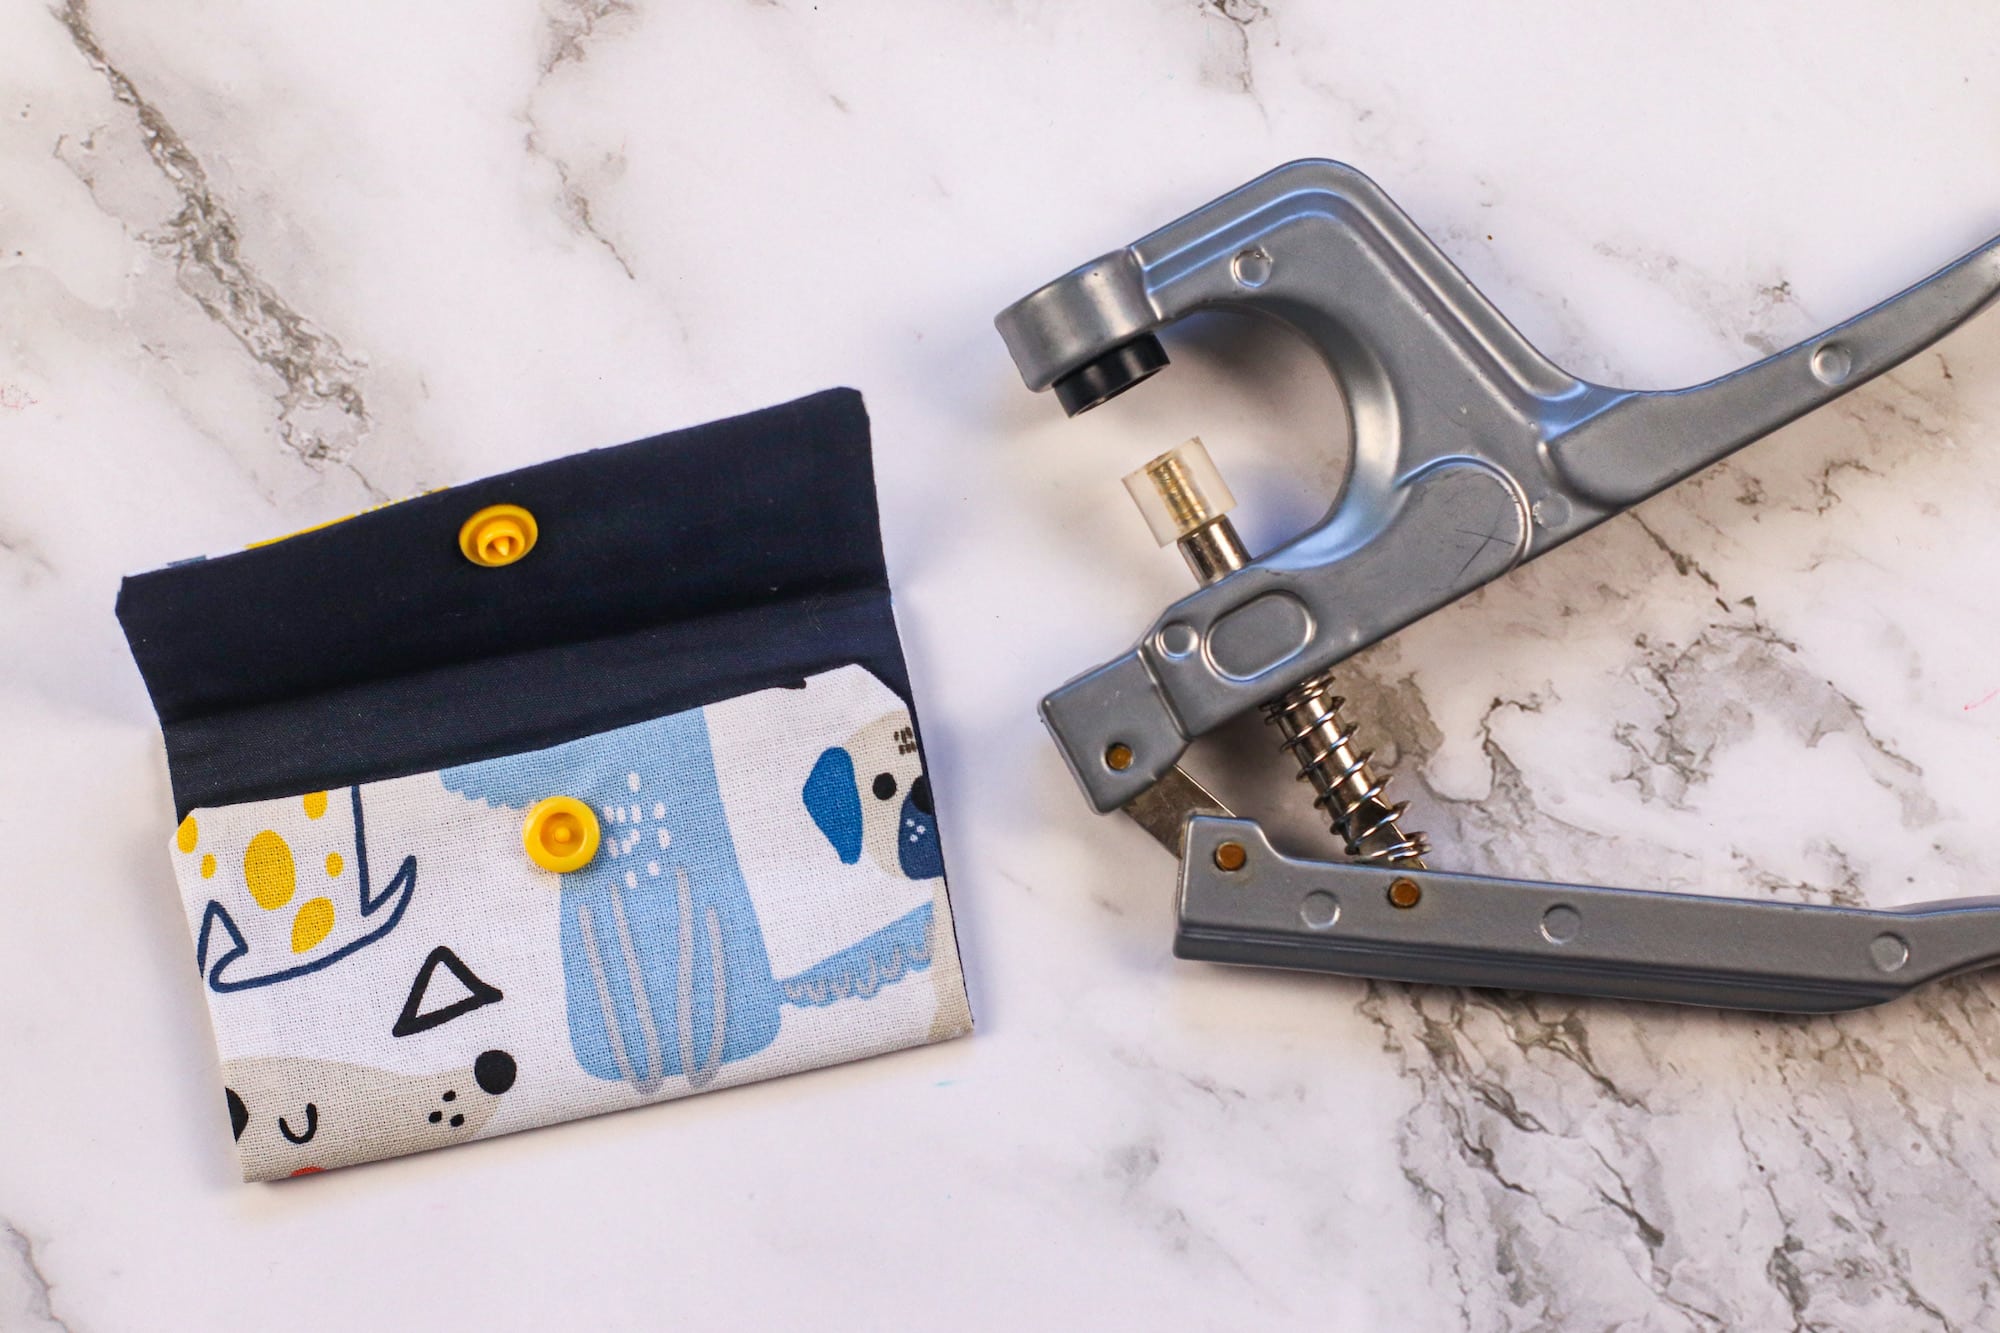
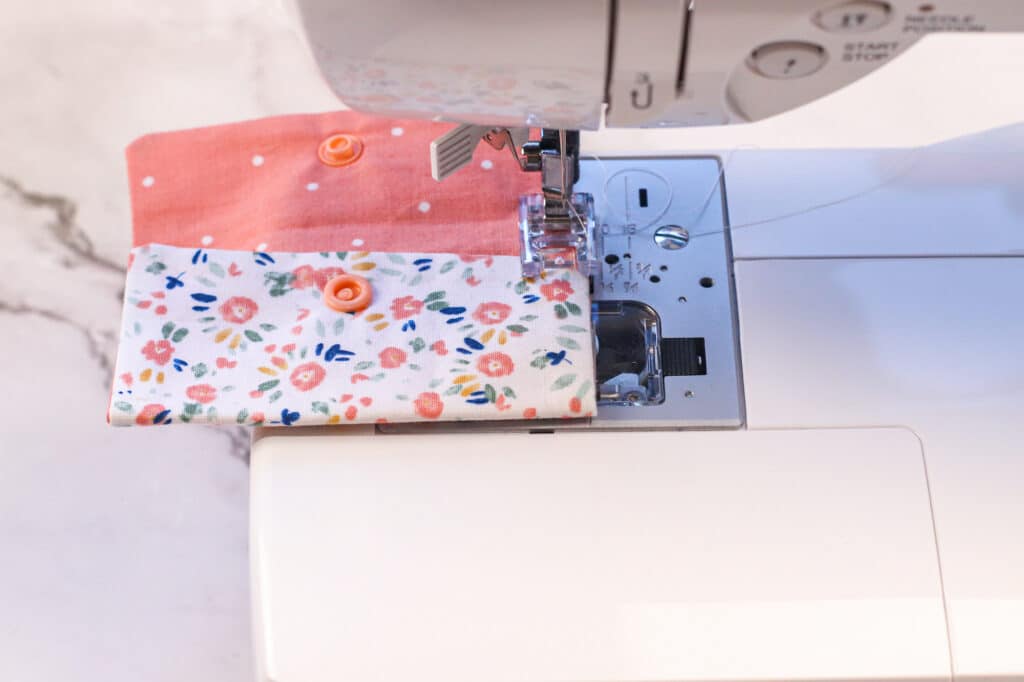
Step 11
Make sure the fabric gift card holder is lined up and will snap correctly. Then clip or pin the bottom flap on either open side on the left and right.
Sew the sides together using a ¼” seam allowance.
Like this idea? Be sure to save it to a sewing board on Pinterest to remember for later!
If you love this easy DIY gift card holder, be sure to see our cute Frankenstein candy pouch for giving candy.
For more gift wrapping ideas, see these projects next: