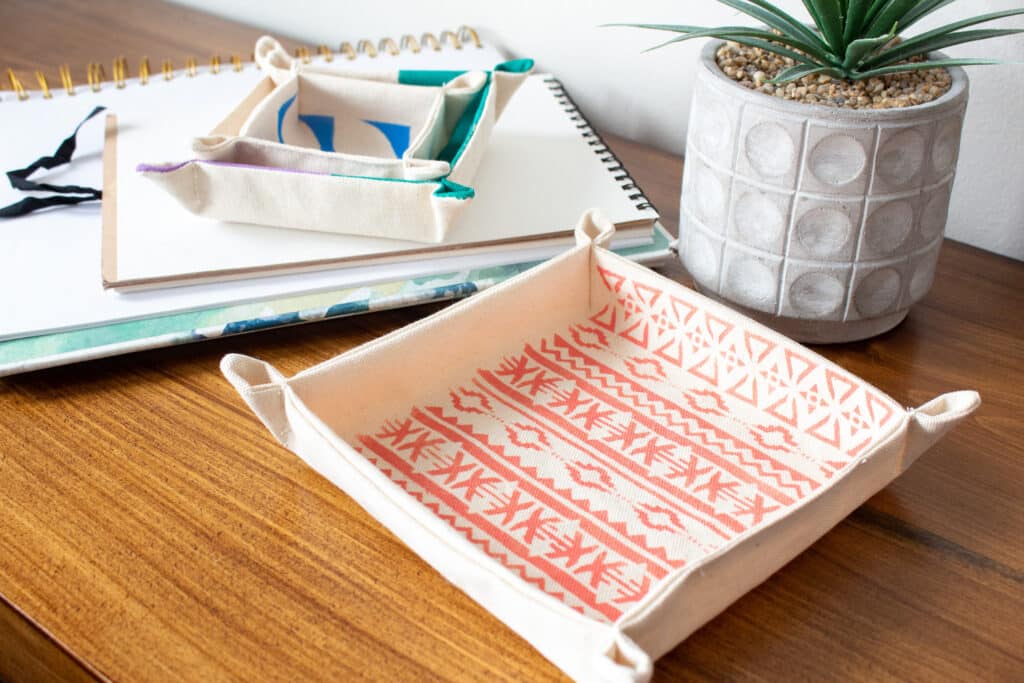
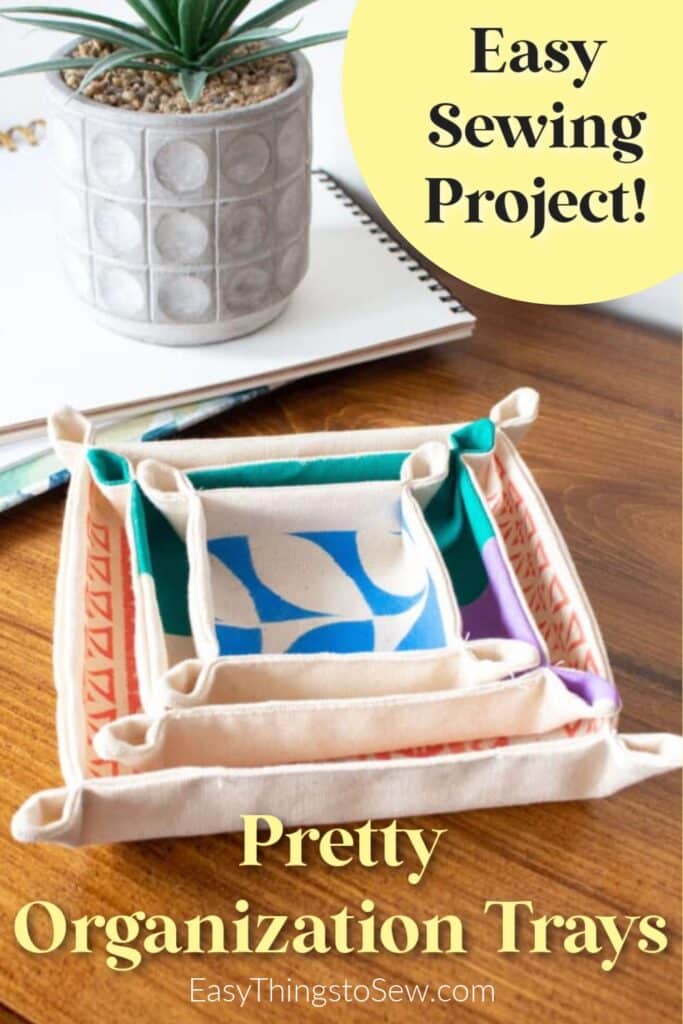
How to Make Nesting Canvas Valet Trays
Are you frustrated that you can’t find your keys or jewelry every day? Wish you had a pretty place to put your stuff when you walked in the door? Then you need to make these super simple canvas valet trays!
Valet trays are usually made of leather. And you could make these with leather or a leather-like fabric if you’d like to.
However, I wanted something pretty and feminine. Who says that all valet trays have to be dark and brown?
You will need a heavy-weight fabric, such as canvas, denim, leather, vinyl or drop cloth for these trays to keep their shape.
How to Make Canvas Valet Trays
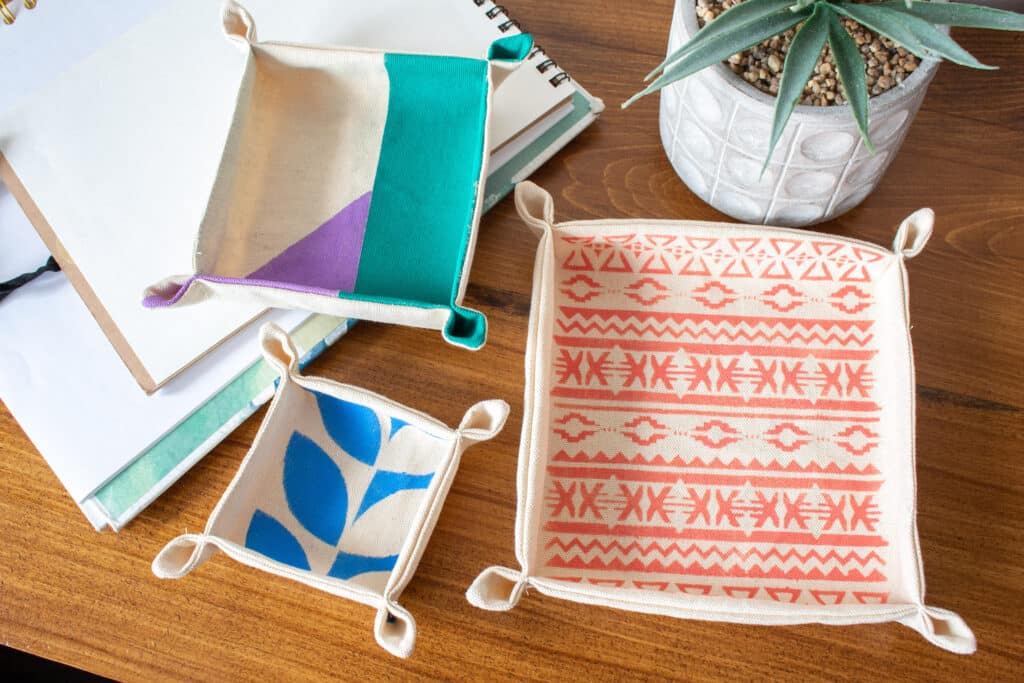
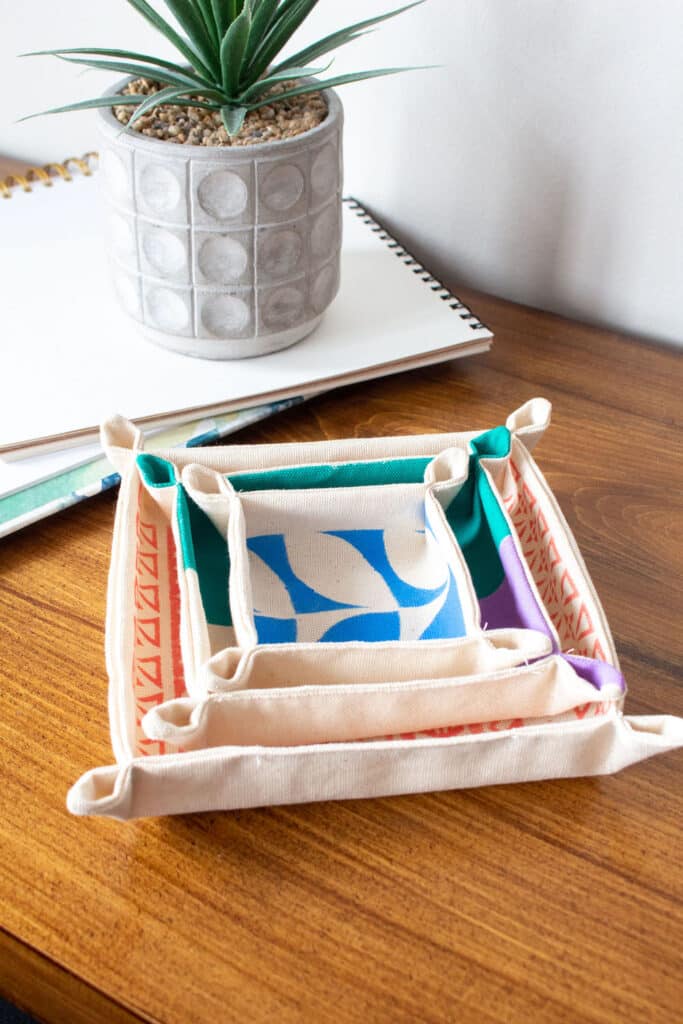
This sewing project makes three nesting trays of various sizes. You can choose just to make one tray if you’d like.
I stenciled the canvas fabric with bright colors and bold prints that make me happy.
If you do not want to stencil your fabric, skip Steps 2-4.
Materials
- Medium weight 100% Cotton canvas fabric (you could also use drop cloth fabric)
- Americana Acrylic Paints in Ocean Blue, Bluegreen Grass, Coral Blush and Light Orchard (optional)
- DecoArt Stencils Aztec Pattern 6”x8” and Mod Leaf Pattern 6”x6” (optional)
- Stencil brush, 1” angled brush (optional)
- Painter’s tape (optional)
Instructions
Step 1
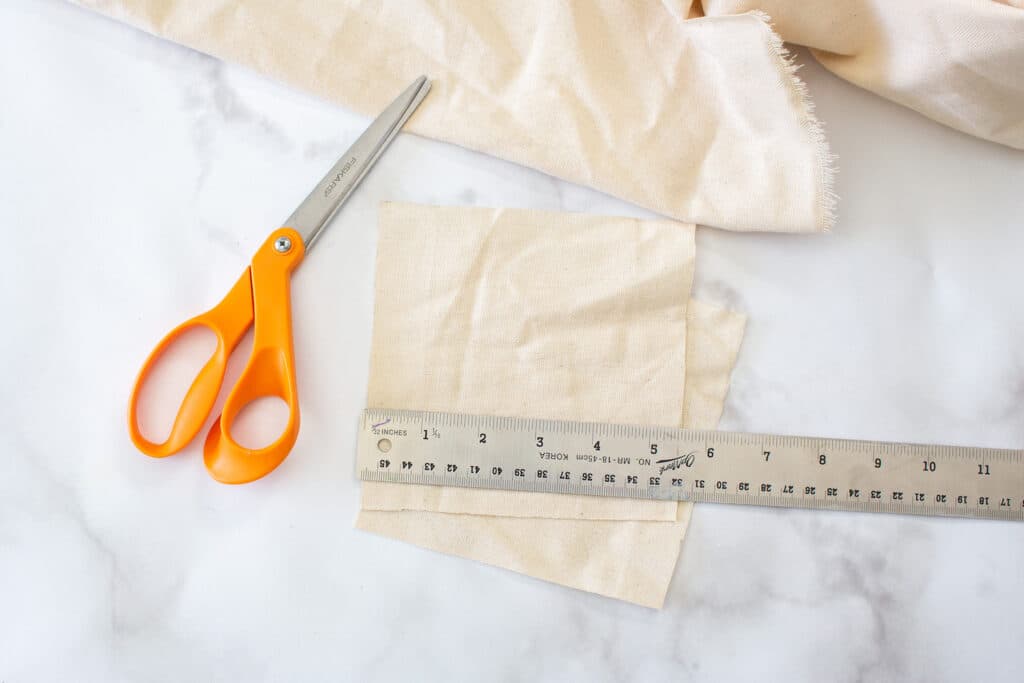
Cut the canvas material into square pieces measuring 5 ½” X 5 ½″; 7” X 7″; and 8 ½” X 8 ½″.
Cut two squares in each size. Move one set of squares off to the side for the time being.
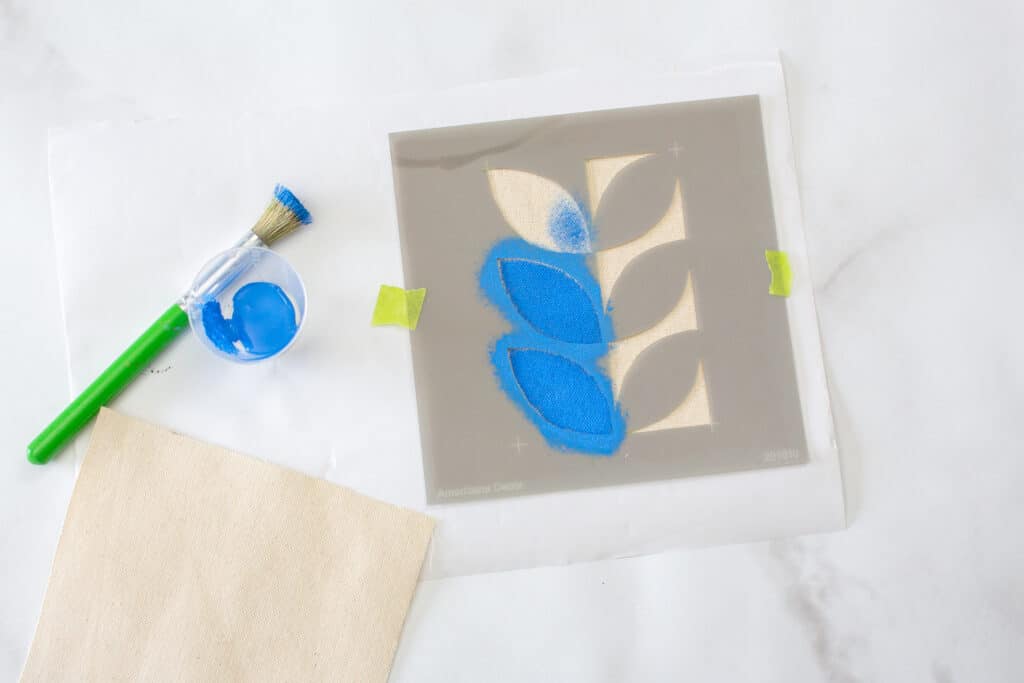
Step 2
Working with one piece at a time, place the smallest square on a flat protected surface. Center the Mod Leaf stencil on top. Holding the stencil in place or taping it down, use a stencil brush to dab the Ocean Blue color over the stencil.
When done, peel away the stencil and let the paint dry.
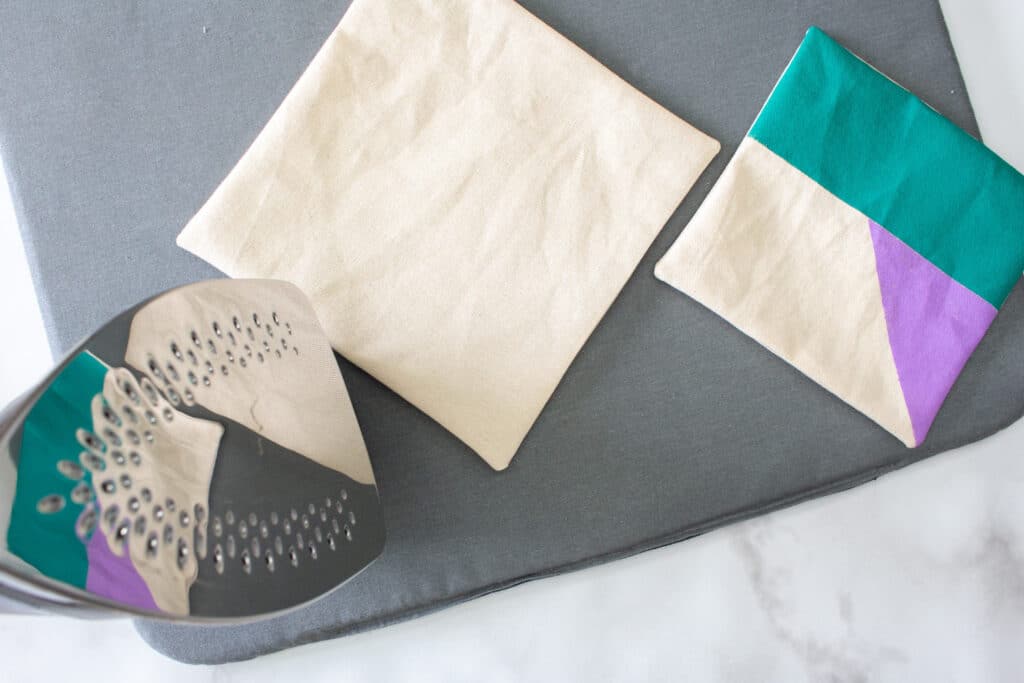
Step 3
Make the middle sized square by positioning the edge of a strip of painter’s tape along the center.
Using the Bluegreen Grass color, paint one side of the canvas square. Peel away the painter’s tape and let paint dry.
Place another small strip of painter’s tape forming a triangle on the other half of the square. Using the Light Orchard color, paint the inside of the triangle.
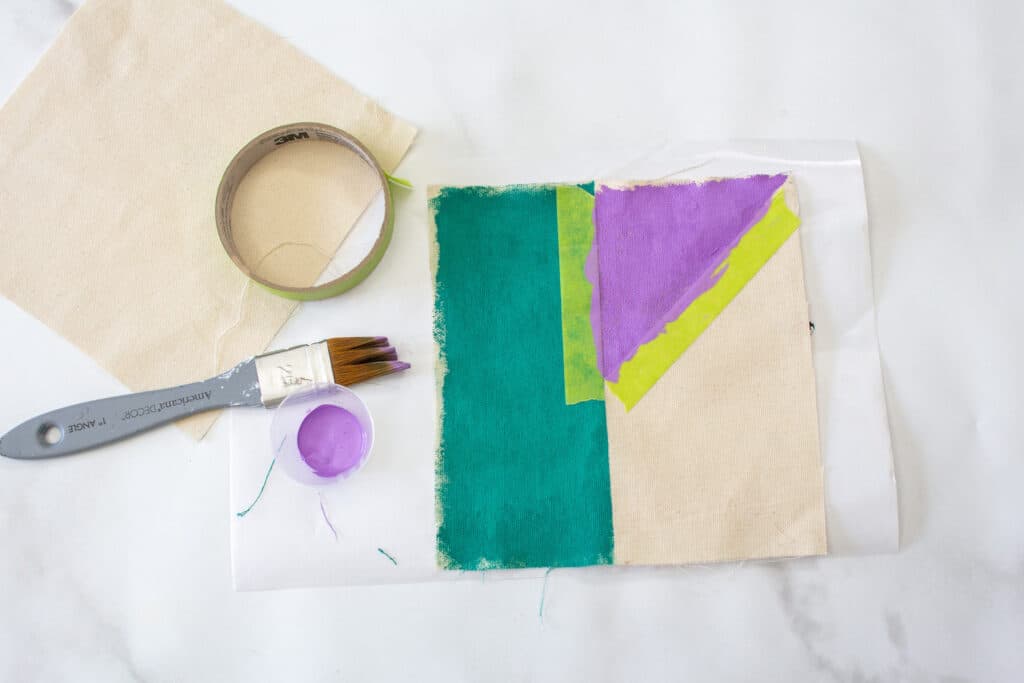
Peel away the painter’s tape and let the paint dry.
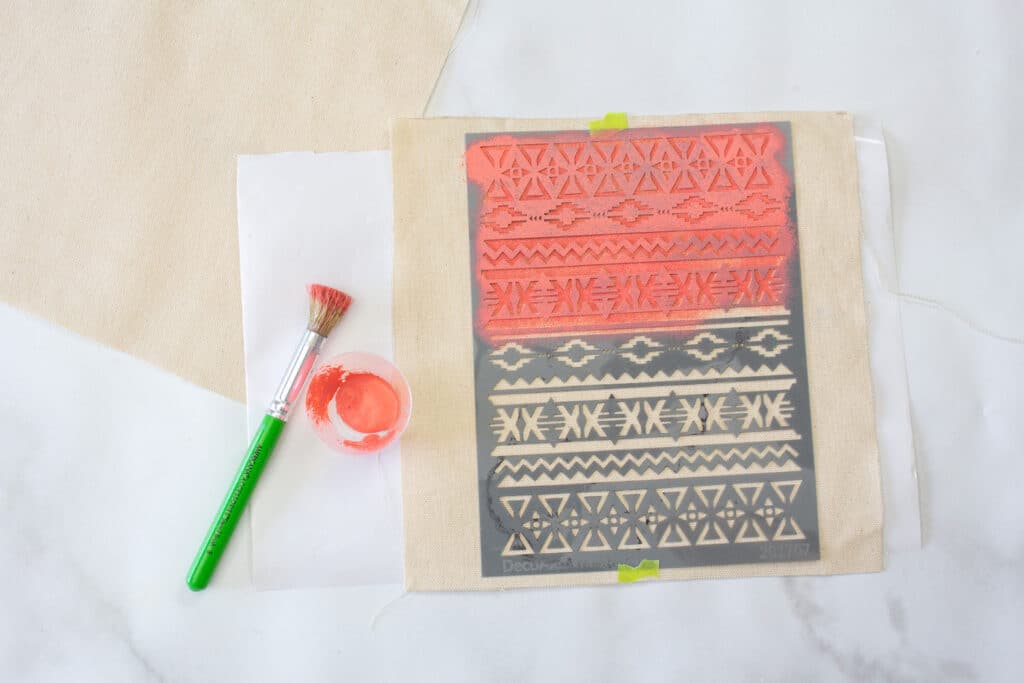
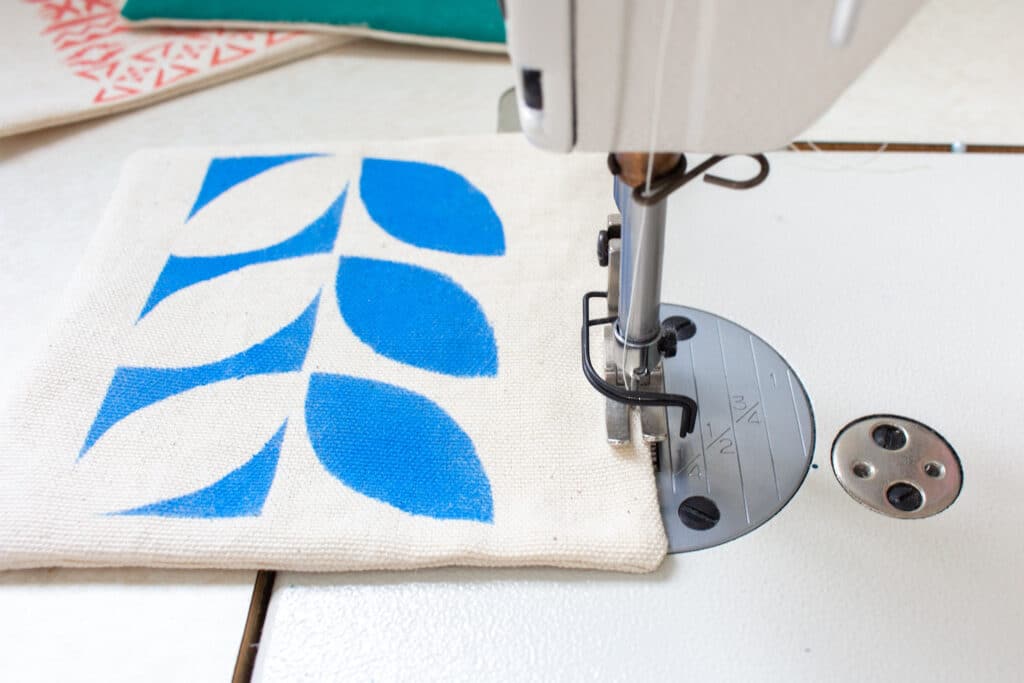
Step 4
Place the Aztec stencil over top of the largest square canvas and use Coral Blush to dab the pattern on to the canvas. Remove the stencil and let the paint dry.
Step 5
Once the paint has dried, give the painted squares a light press with the iron (on the reverse side) if needed.
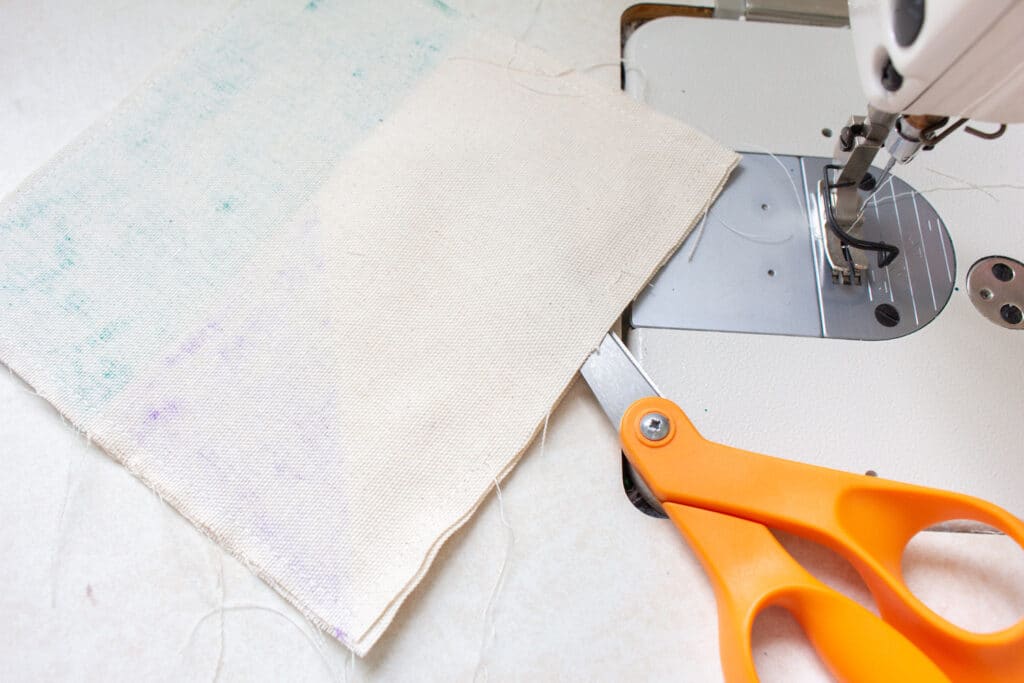
Then place the matching sized squares with RIGHT sides together.
With the sewing machine, sew the two square layers together with a 1⁄4” seam allowance all around the perimeter.

Leave a 2” gap between the start and end of the stitching. Backstitch the start and end of the stitching to lock the stitch ends so they don’t unravel.
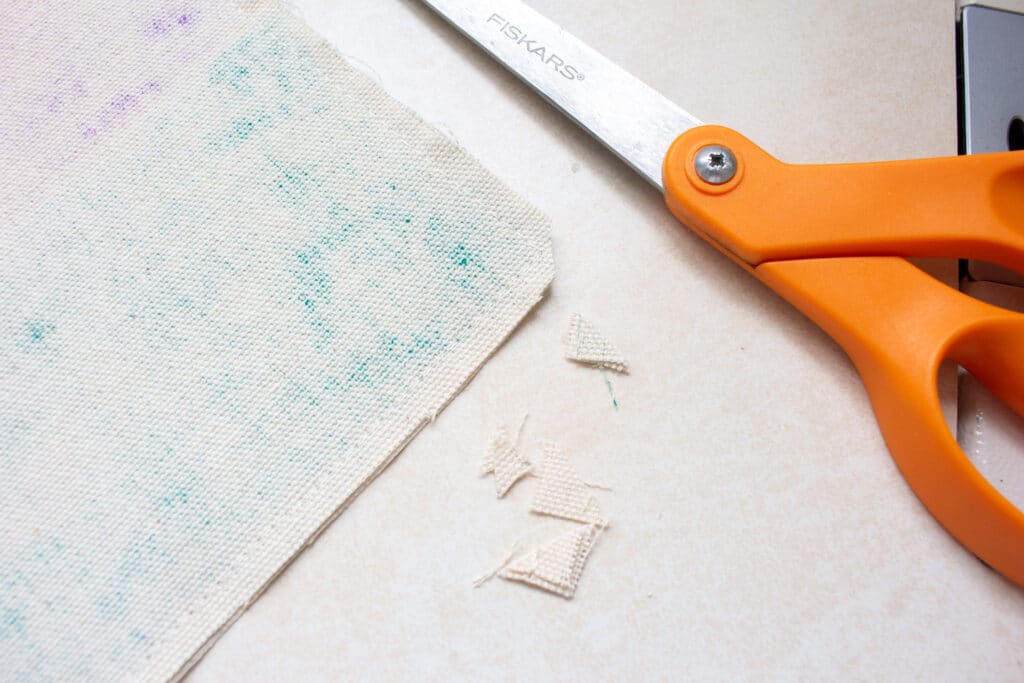
Step 6
Clip the corners to reduce the bulk. Then carefully turn the sewn piece right side out.
Step 7
Press the edges along the seams flat and poke out the corners using a dull object such as the back end of a wooden skewer or use a turning tool.
Step 8
Sew the opening closed on each square with your sewing machine along the edge of the fabric.
Step 9
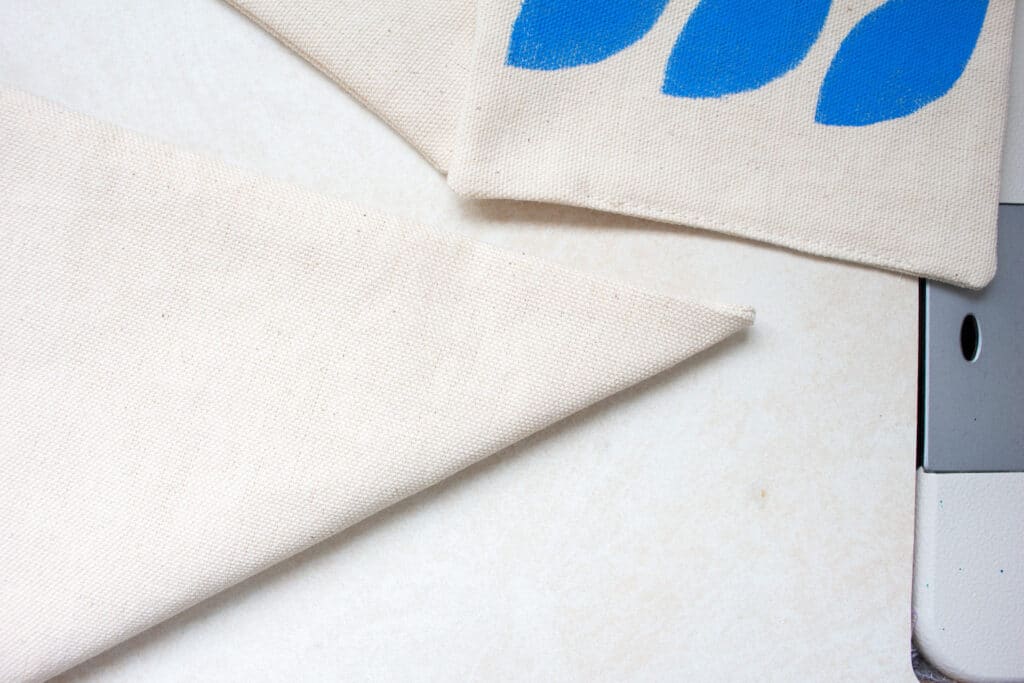
With the stenciled side facing up, fold one side of the square up and over to align the edge with the adjacent side. You will kind of be making a triangle with the sides folded together.
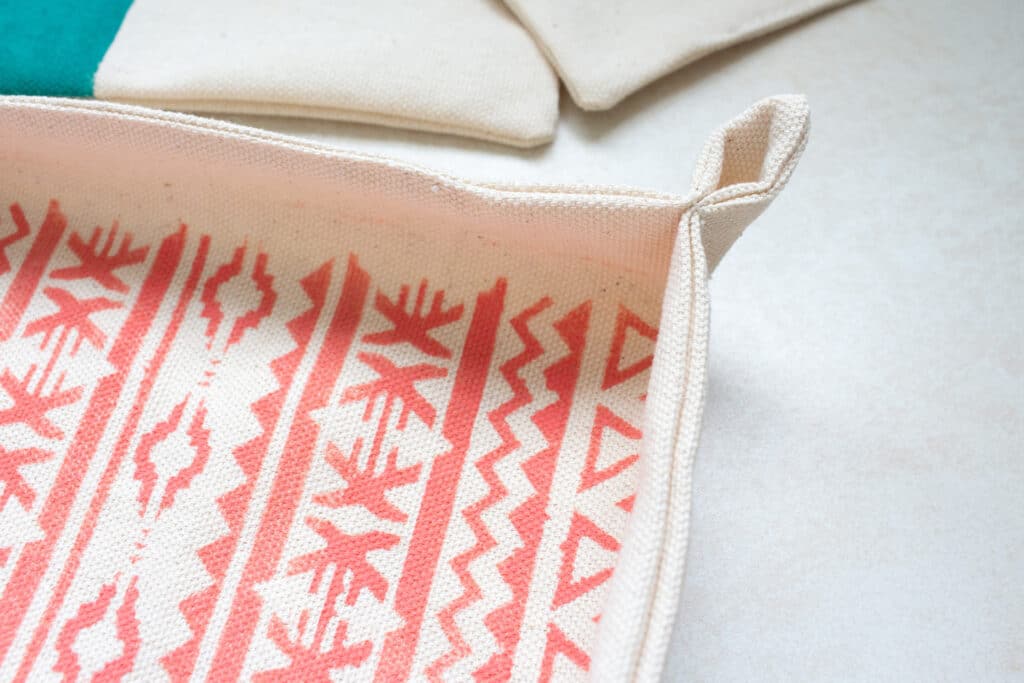
Sew the corners together 1” away from the pointed tip, backstitching (back-tacking) at the start and end stitches.
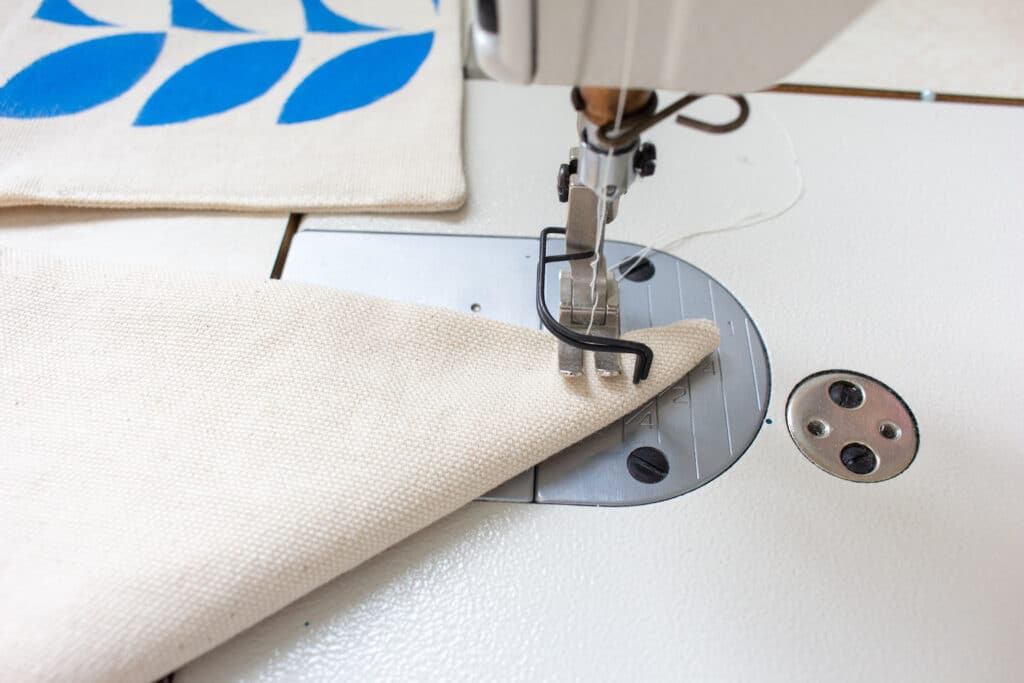
Repeat for all four corners on each tray. And repeat for all of the trays.
Like this idea? Be sure to Pin it to Pinterest!
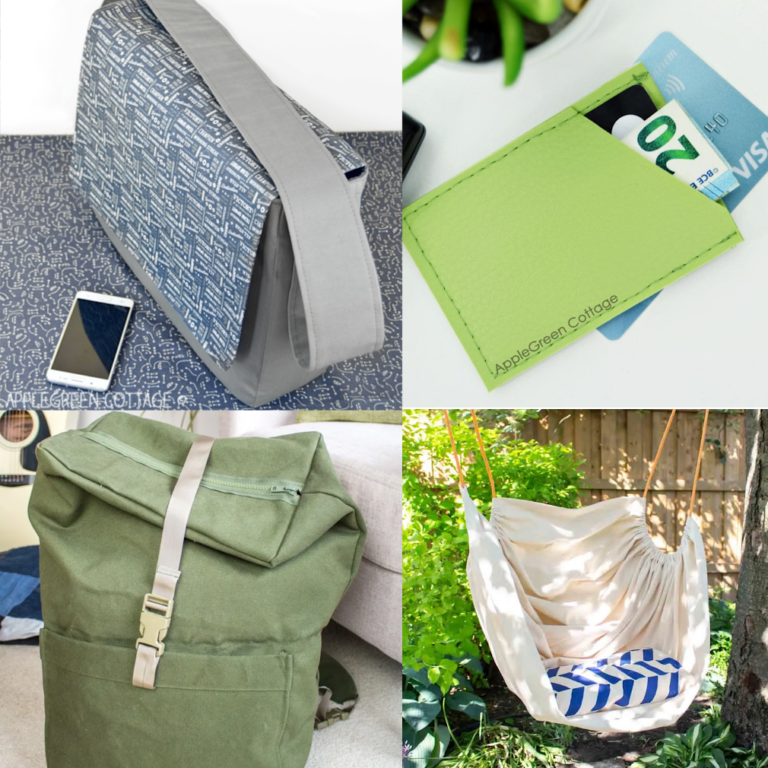
If you are trying to get more organized, sew some of these zippered pouches to keep your small stuff together. These drawstring bags don’t have a zipper, but also help to keep tiny items contained.
This cord keeper is guaranteed to stop the tangled mess of earphone cords, power cords and charging cords.