DIY Cat Crinkle Toys (with Video)
These easy DIY cat crinkle toys can be made with scrap materials you have at home in 10 minutes!
Instead of throwing out a snack bag, use it to make a cat toy. We turned a potato chip bag inside out, hand washed it with soap and water to remove the oils, and then let dry before using. (Do NOT put the bag into the dishwasher!)
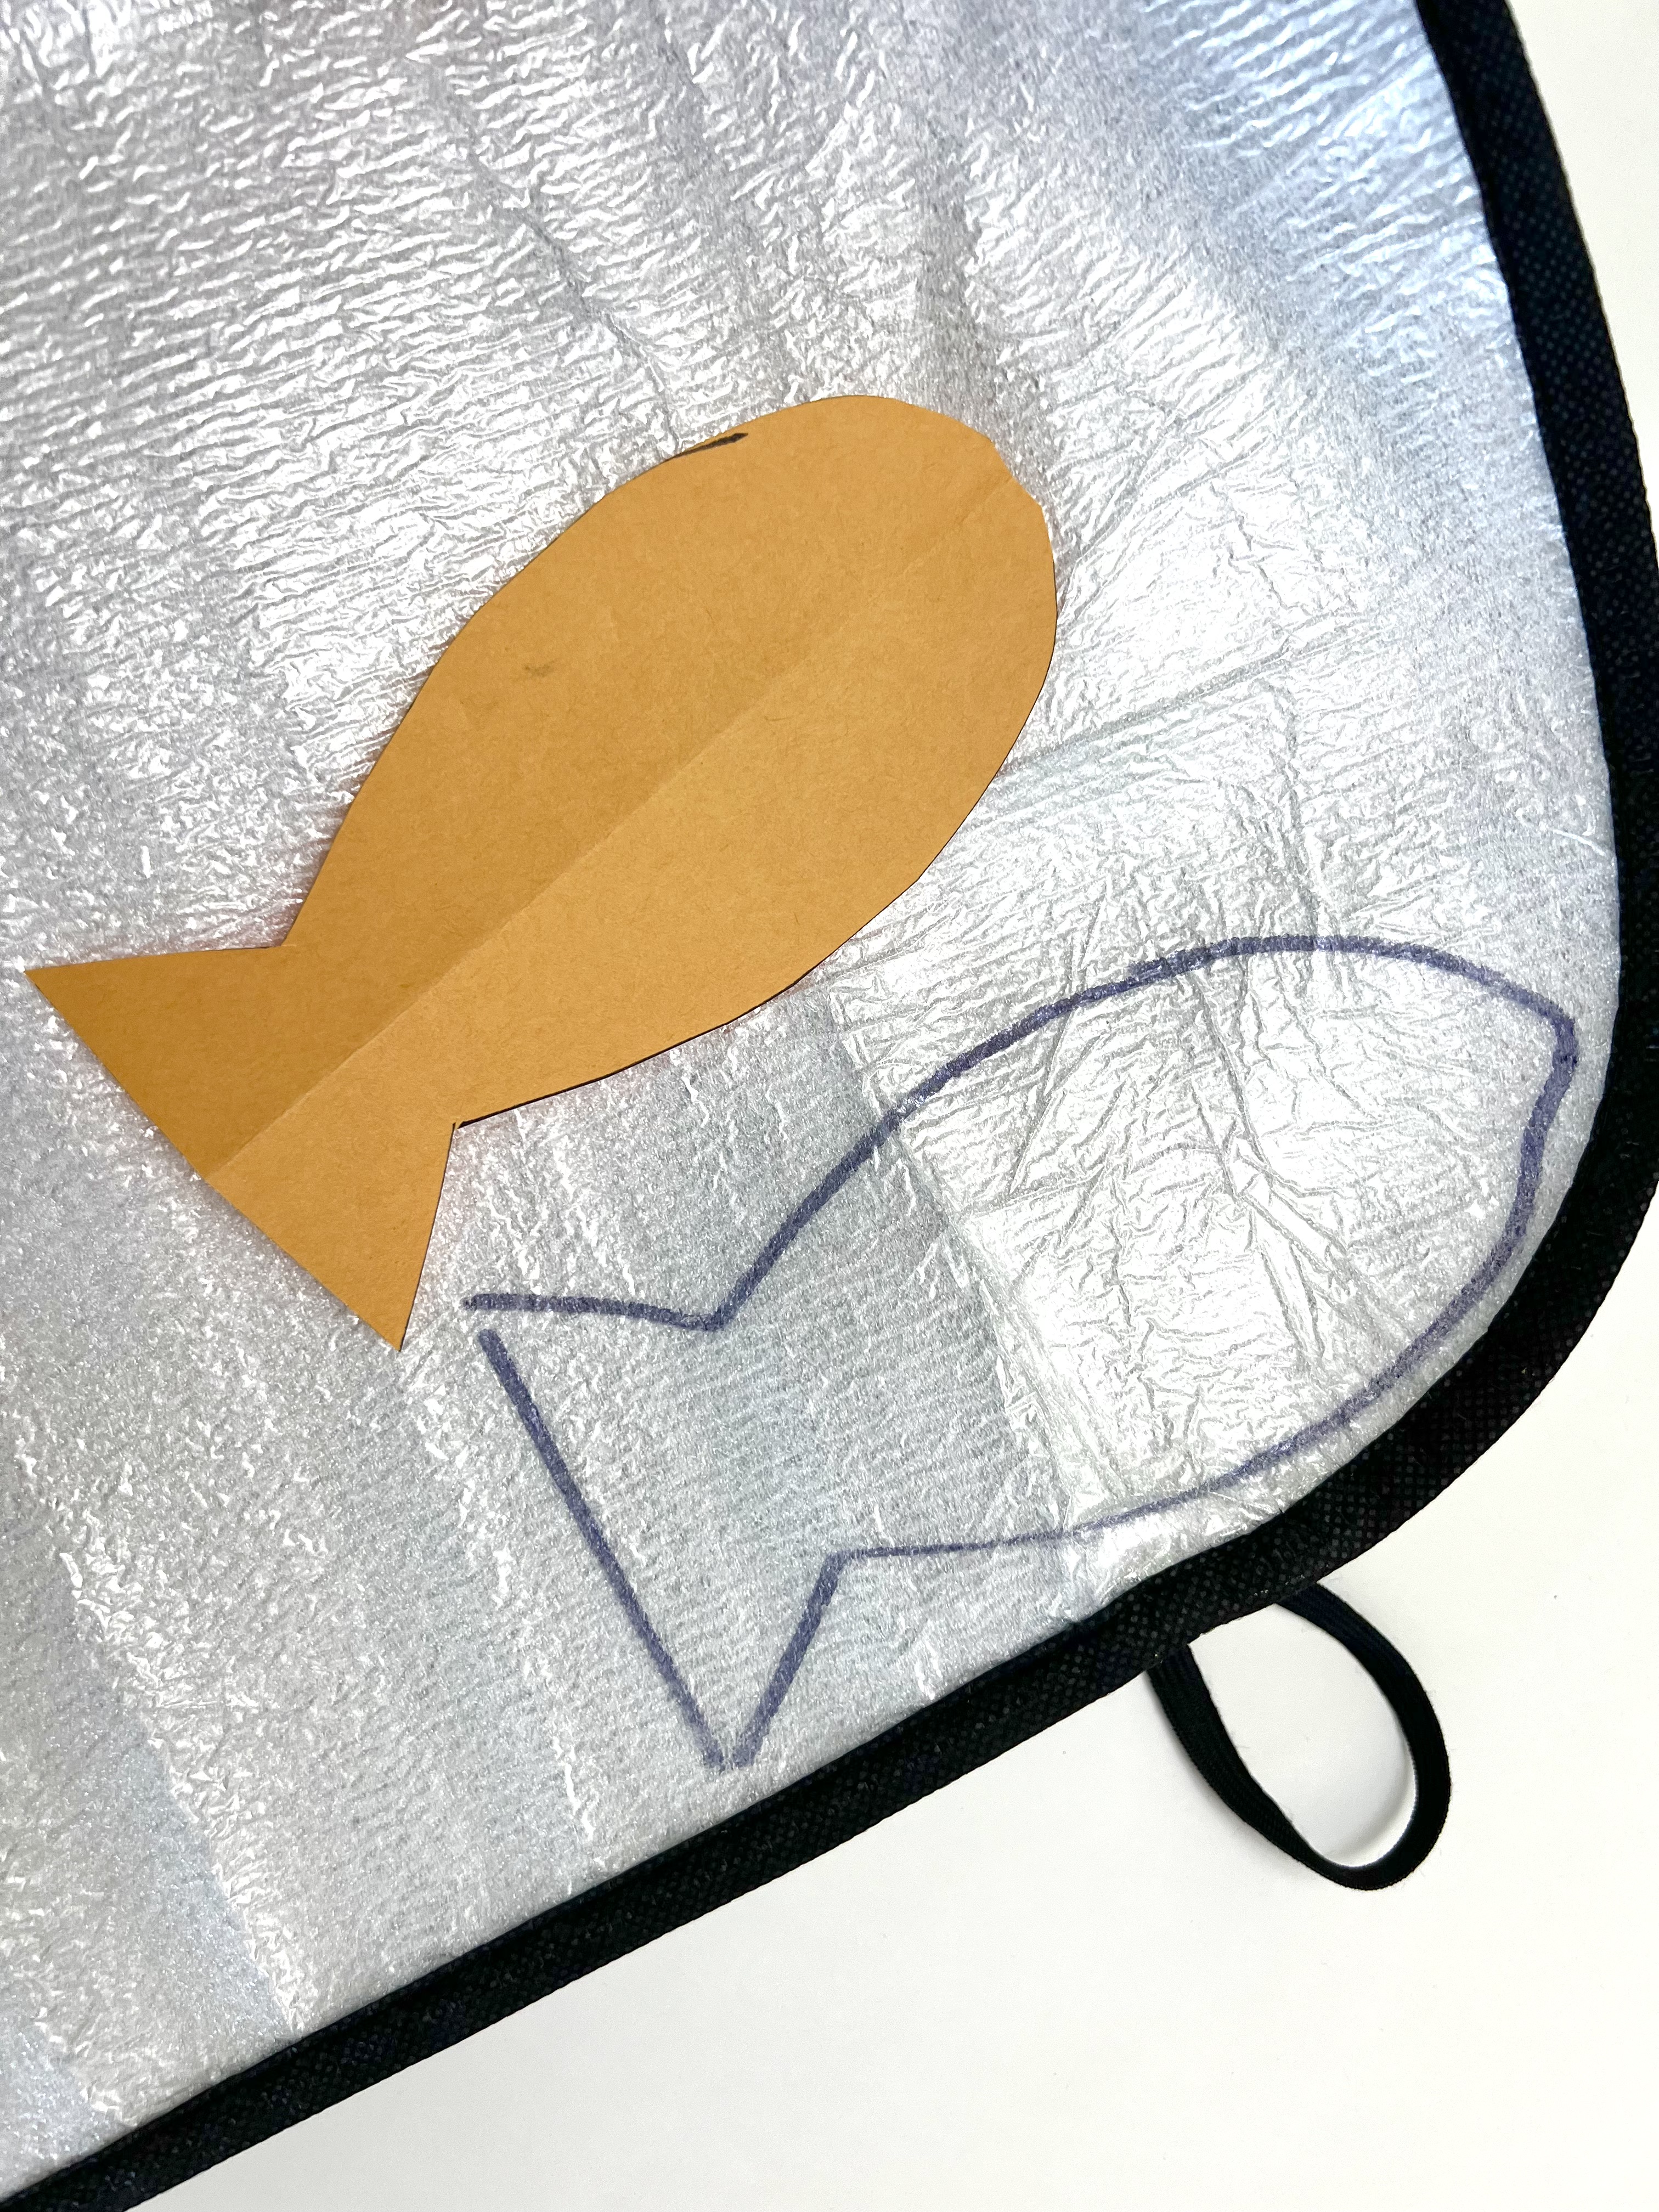
Not everyone wants potato chips in their home, so if you don’t have a crinkly chip bag, don’t worry! You can also use a sun shade.
We bought our sun shade from The Dollar Tree. If you are making lots of these cat toys to sell at a craft fair, you can get a TON of toys from one shade!
How to Make Cat Crinkle Toys
Supplies
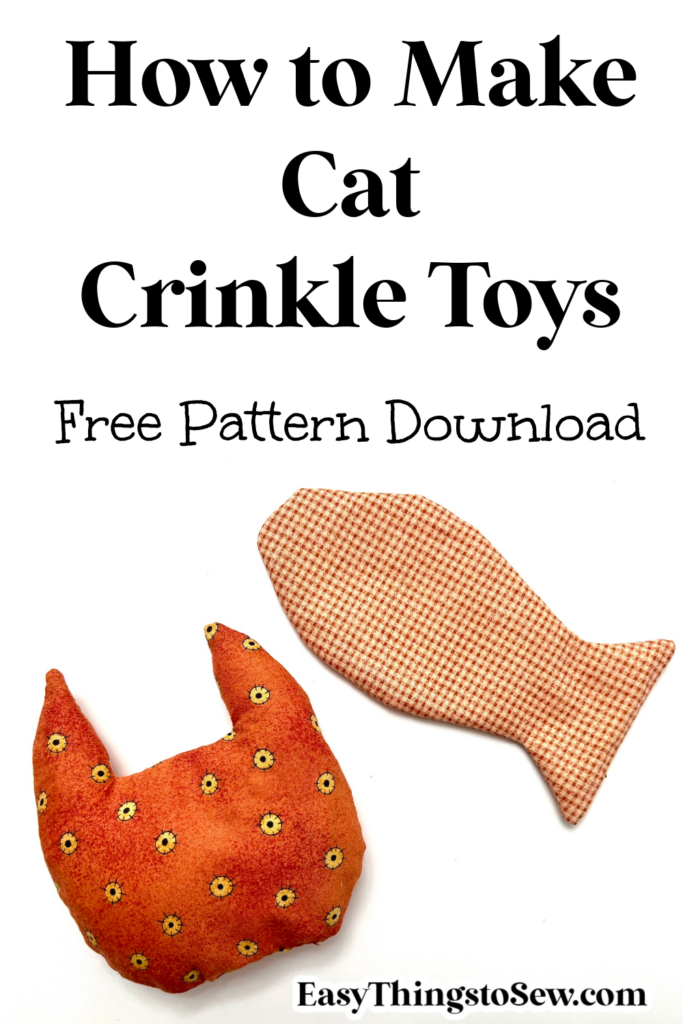
- Free Cat Crinkle Toys Templates (our PDF download has a cat, fish and tree pattern)
- Scrap Fabric (make sure it is pre-washed because your cat may put it in its mouth)
- Chip Bag (washed and dried) or a Sun Shade
- Thread
- Sewing Machine
- Hand needle
- Scissors
- Turning Tool
- Polyfill Stuffing (optional)
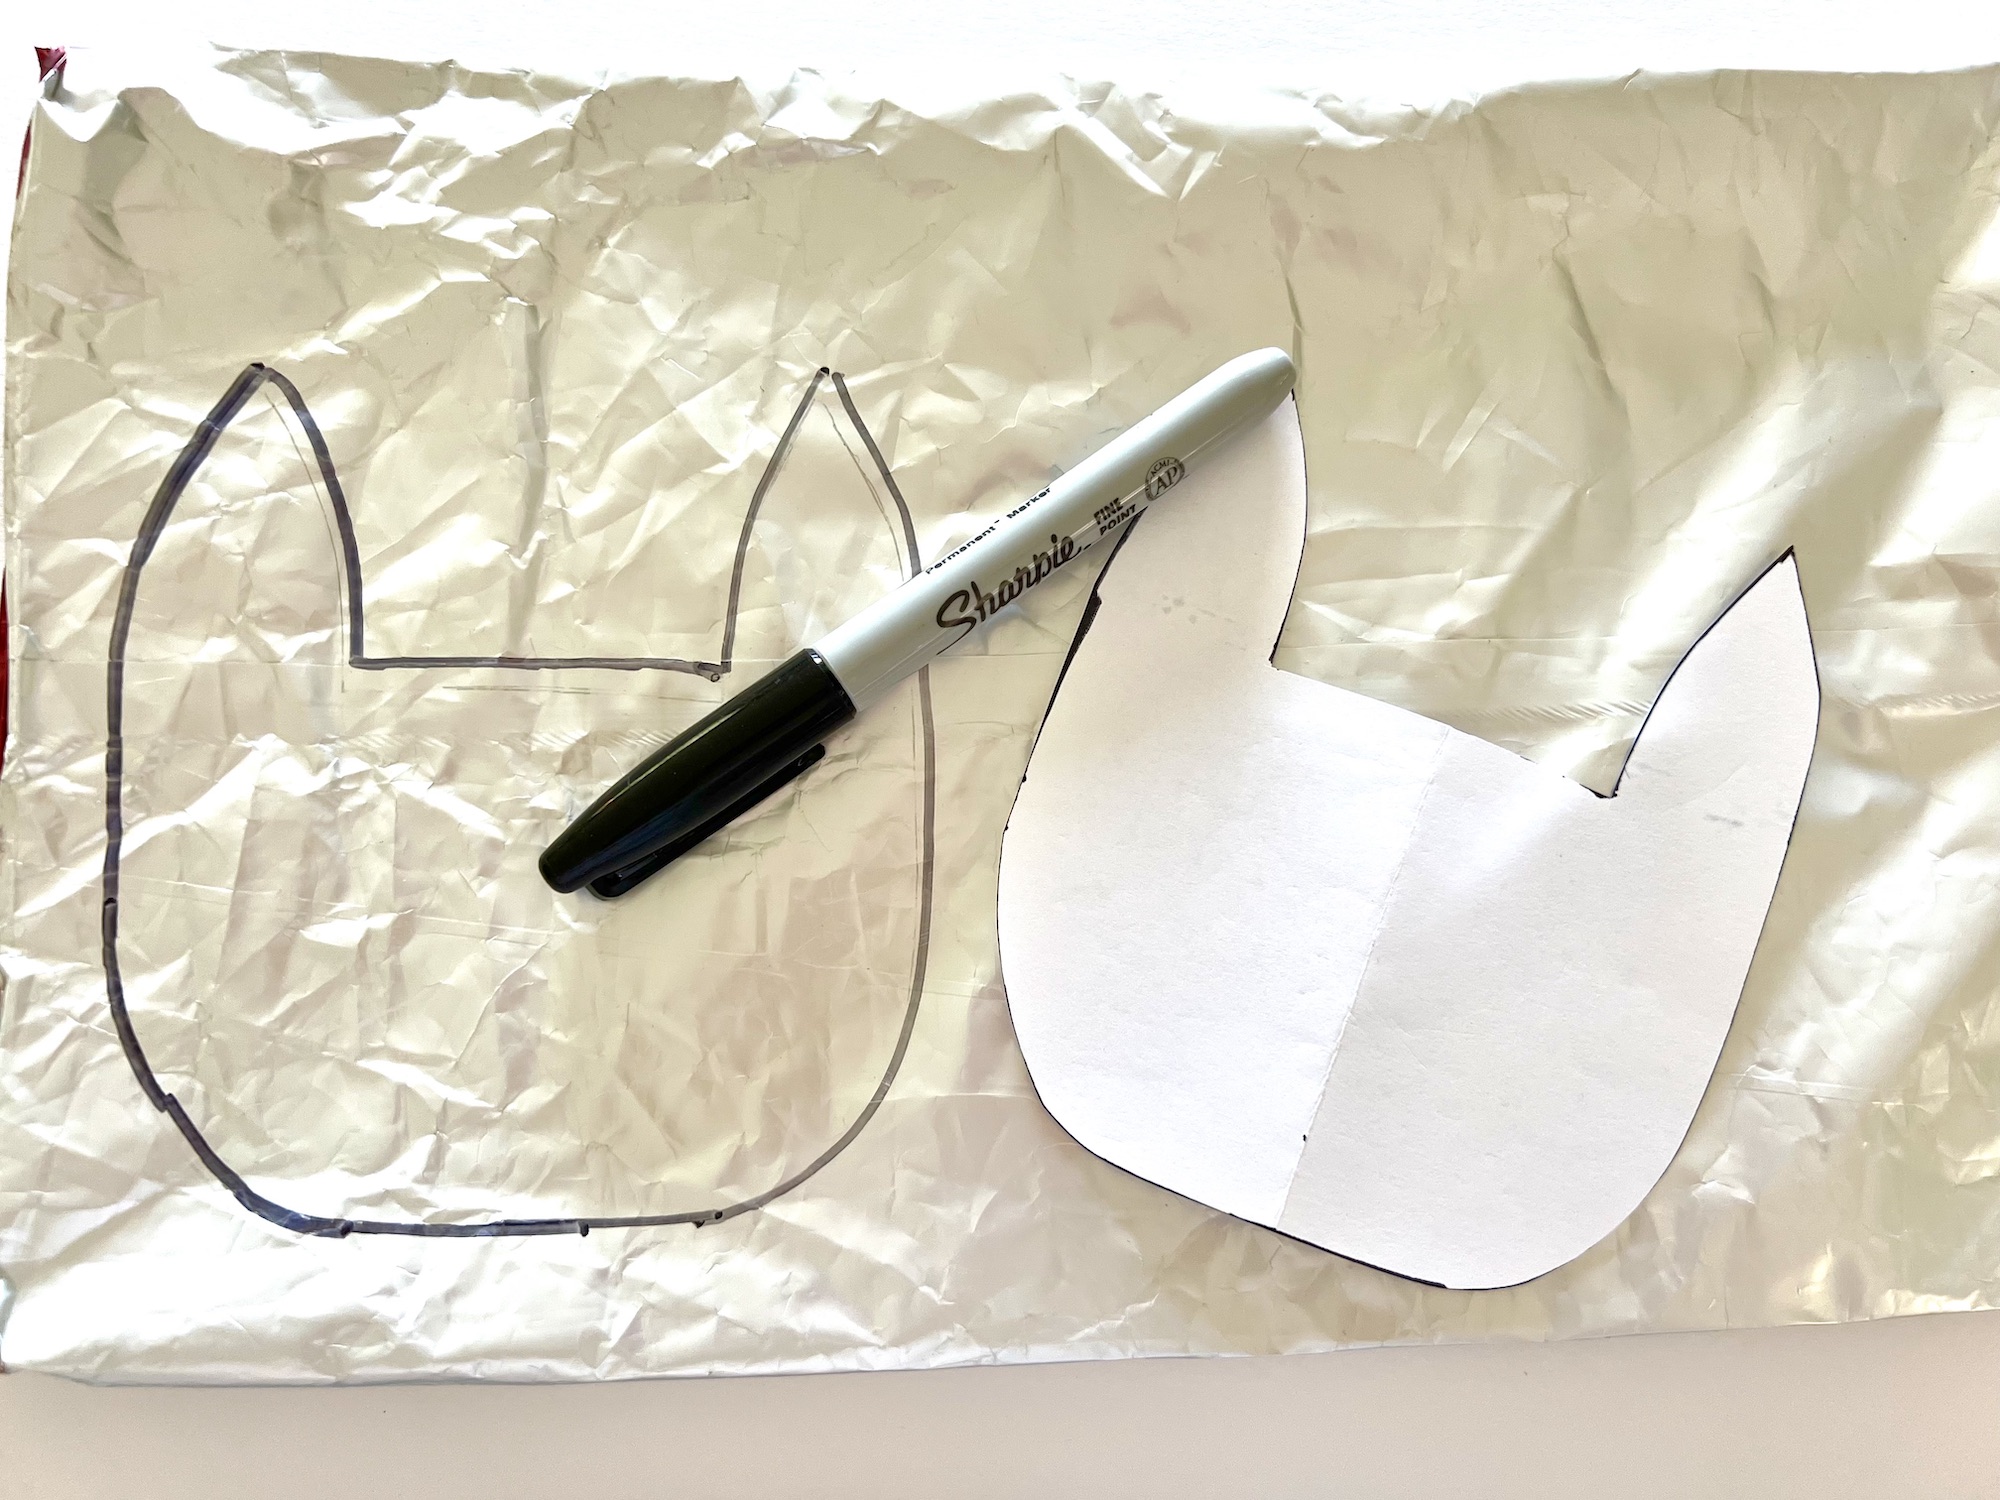
- Sharpie (for tracing on crinkle material)
- Catnip (optional)
Directions
Step 1
Trace the patterns on fabric and your crinkle material.
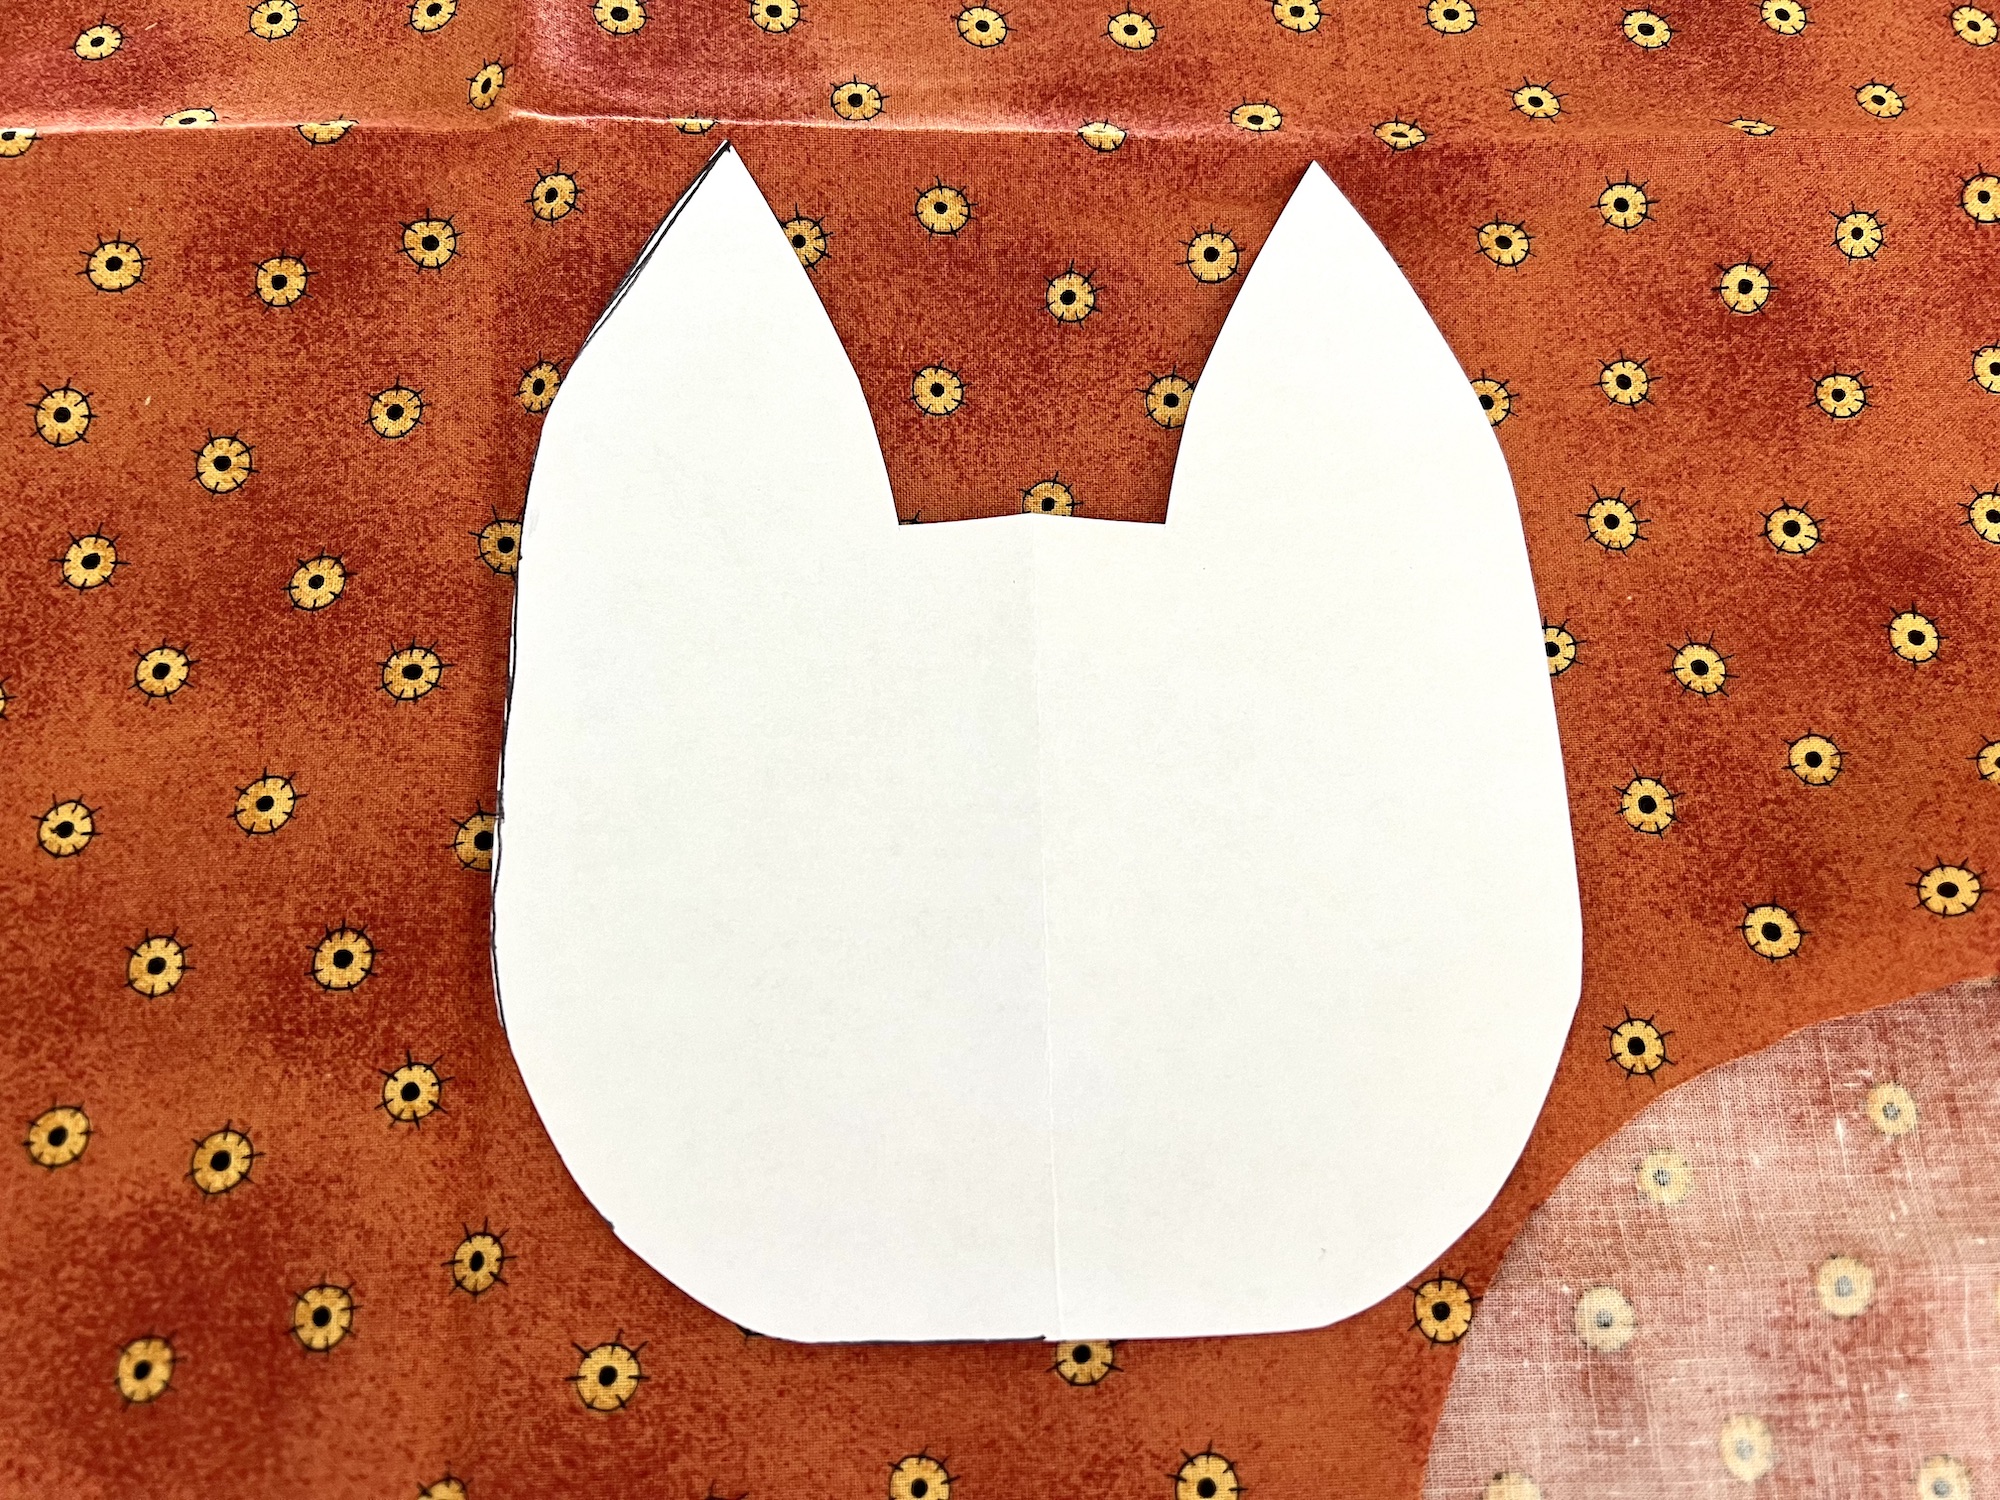
This Debbie Mumm fabric I got in one of my thrift store hauls and I also used it to make mushroom pin cushions.
You will want to cut two pieces of the larger pattern piece from fabric.
Cut one of the small pattern pieces from a chip bag or a sun shade.
Cut out the pattern pieces.
Step 2
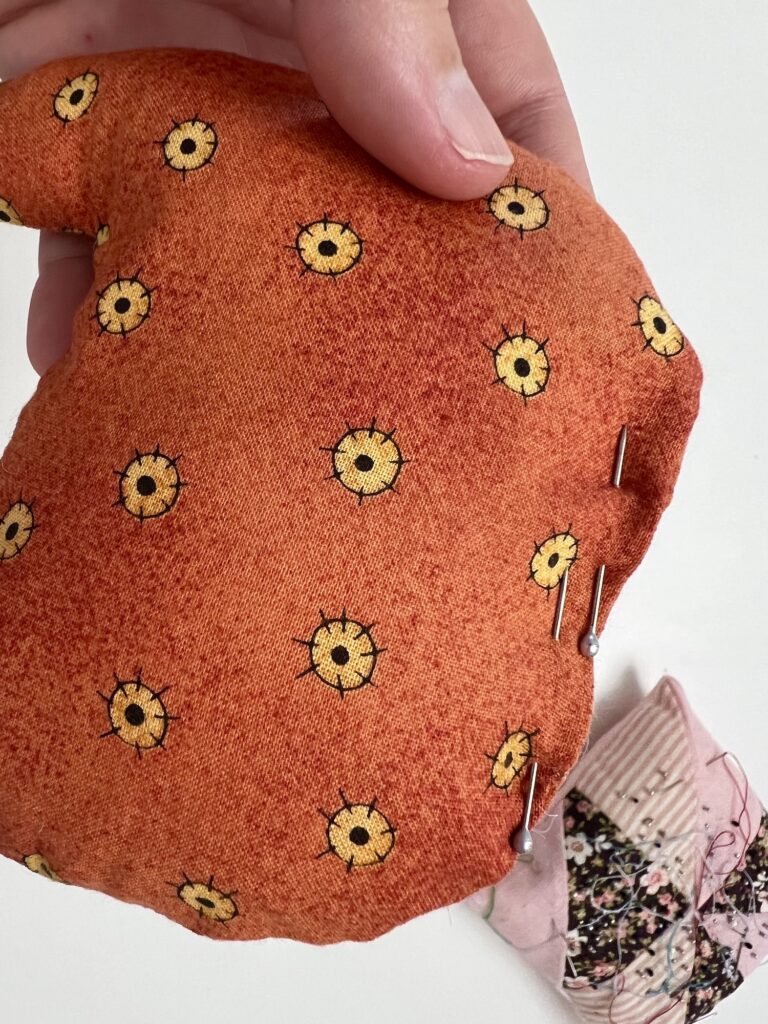
Place the two fabric pieces together, with right sides (pretty sides) touching.
Pin fabric together if you would like, however it’s probably not necessary for such a small pattern.
Sew around the pattern with a ¼ inch seam allowance, leaving about a two inch gap open for stuffing. Be sure to backstitch at the beginning and end of your stitching.
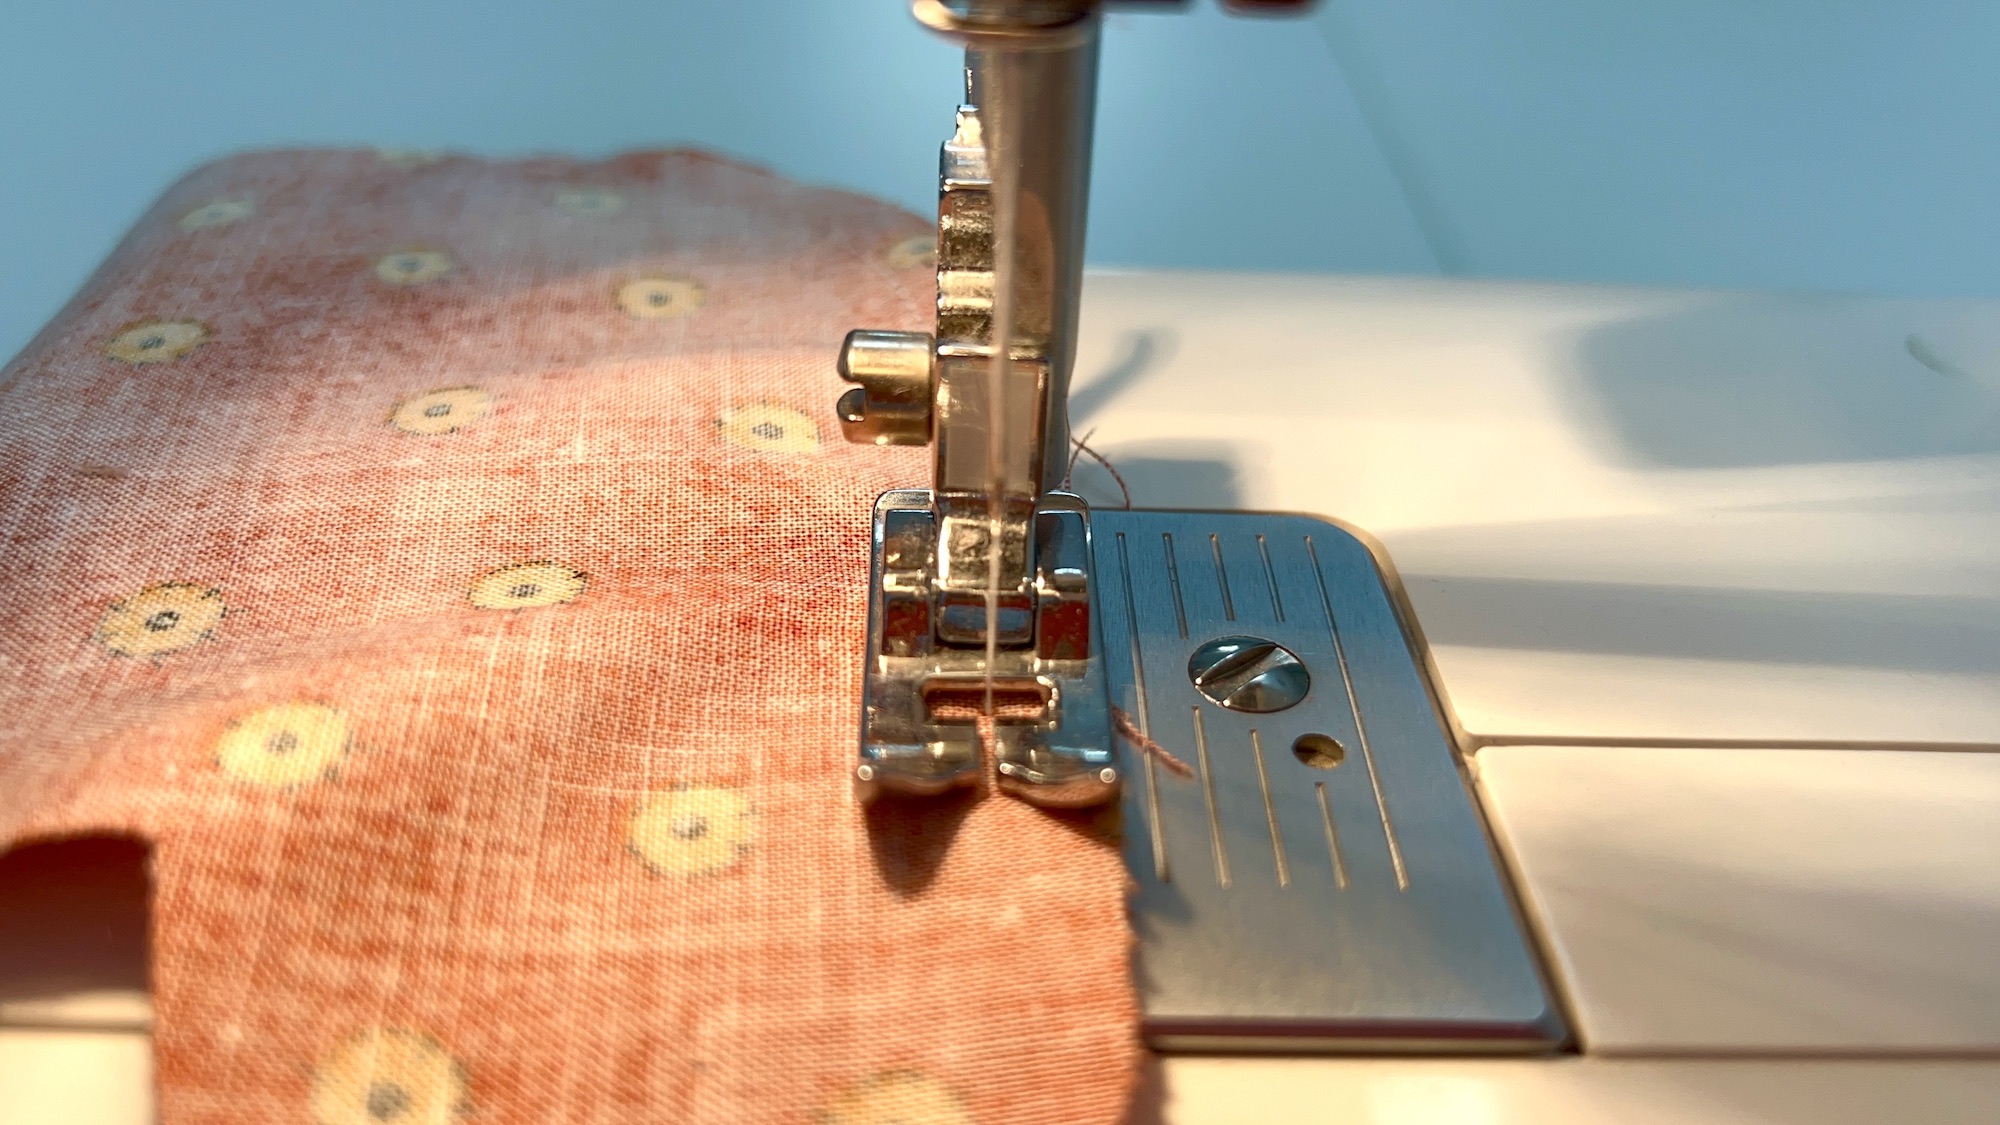
Helpful Tip: I suggest leaving the base of the cat head and the tail open for stuffing. For the tree, I suggest leaving one of the sides open.
Step 3
Clip around the rounded edges of the pattern piece and notch the fabric near the corners. Be careful not to cut into the stitches!
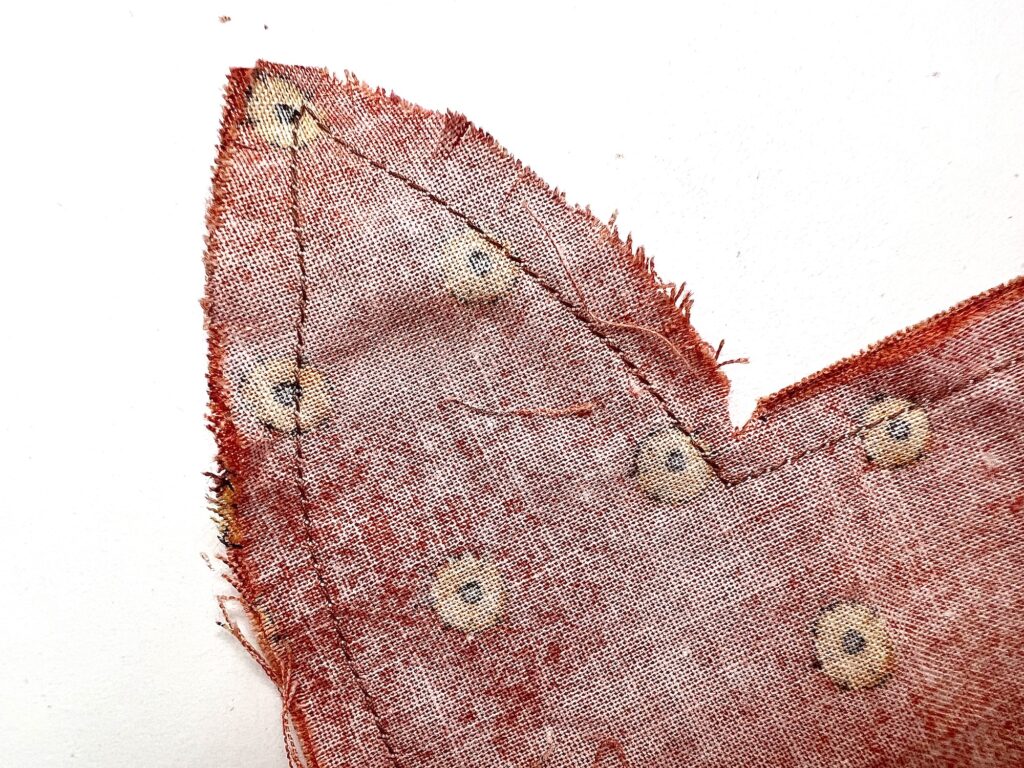
Trim the seam allowances if you would like, but don’t trim the seam at the opening as you will need to turn it under to stitch it closed.
Clipping, notching and trimming helps to reduce bulk so that when you turn your pattern inside out it will be the right shape.
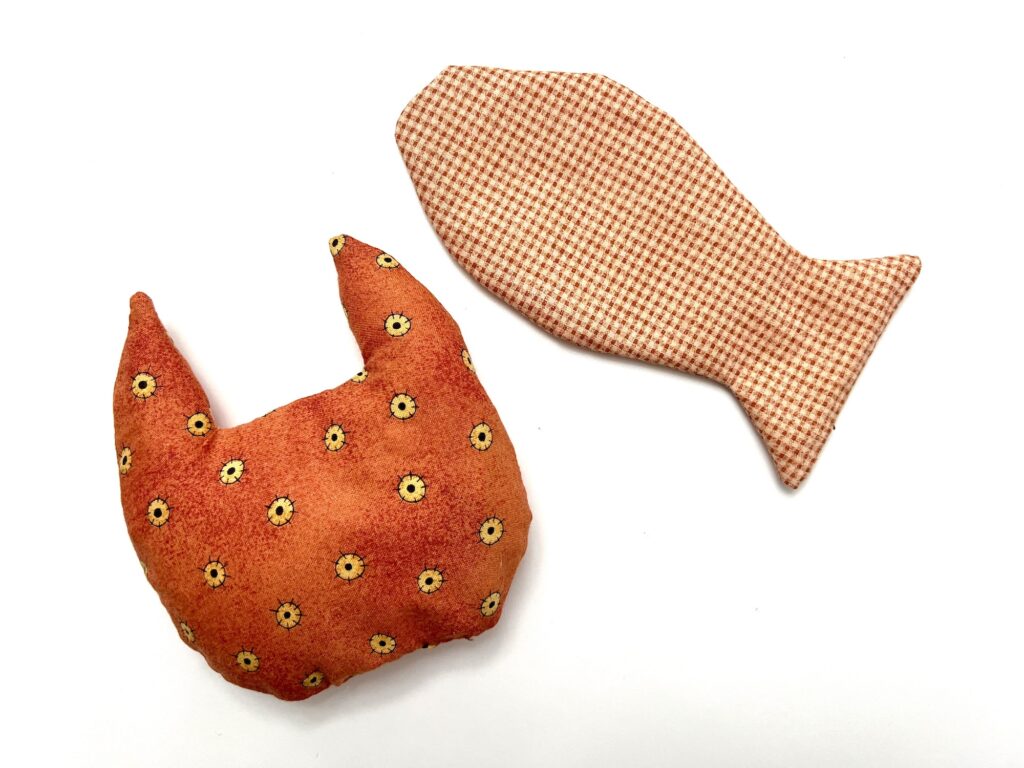
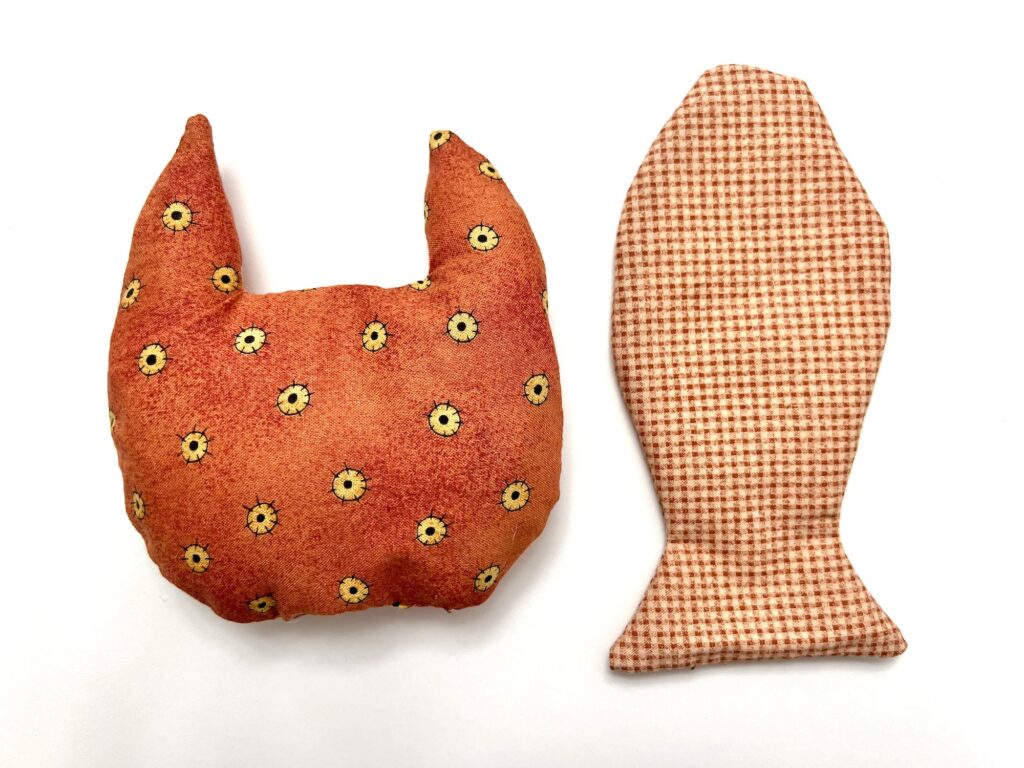
Step 4
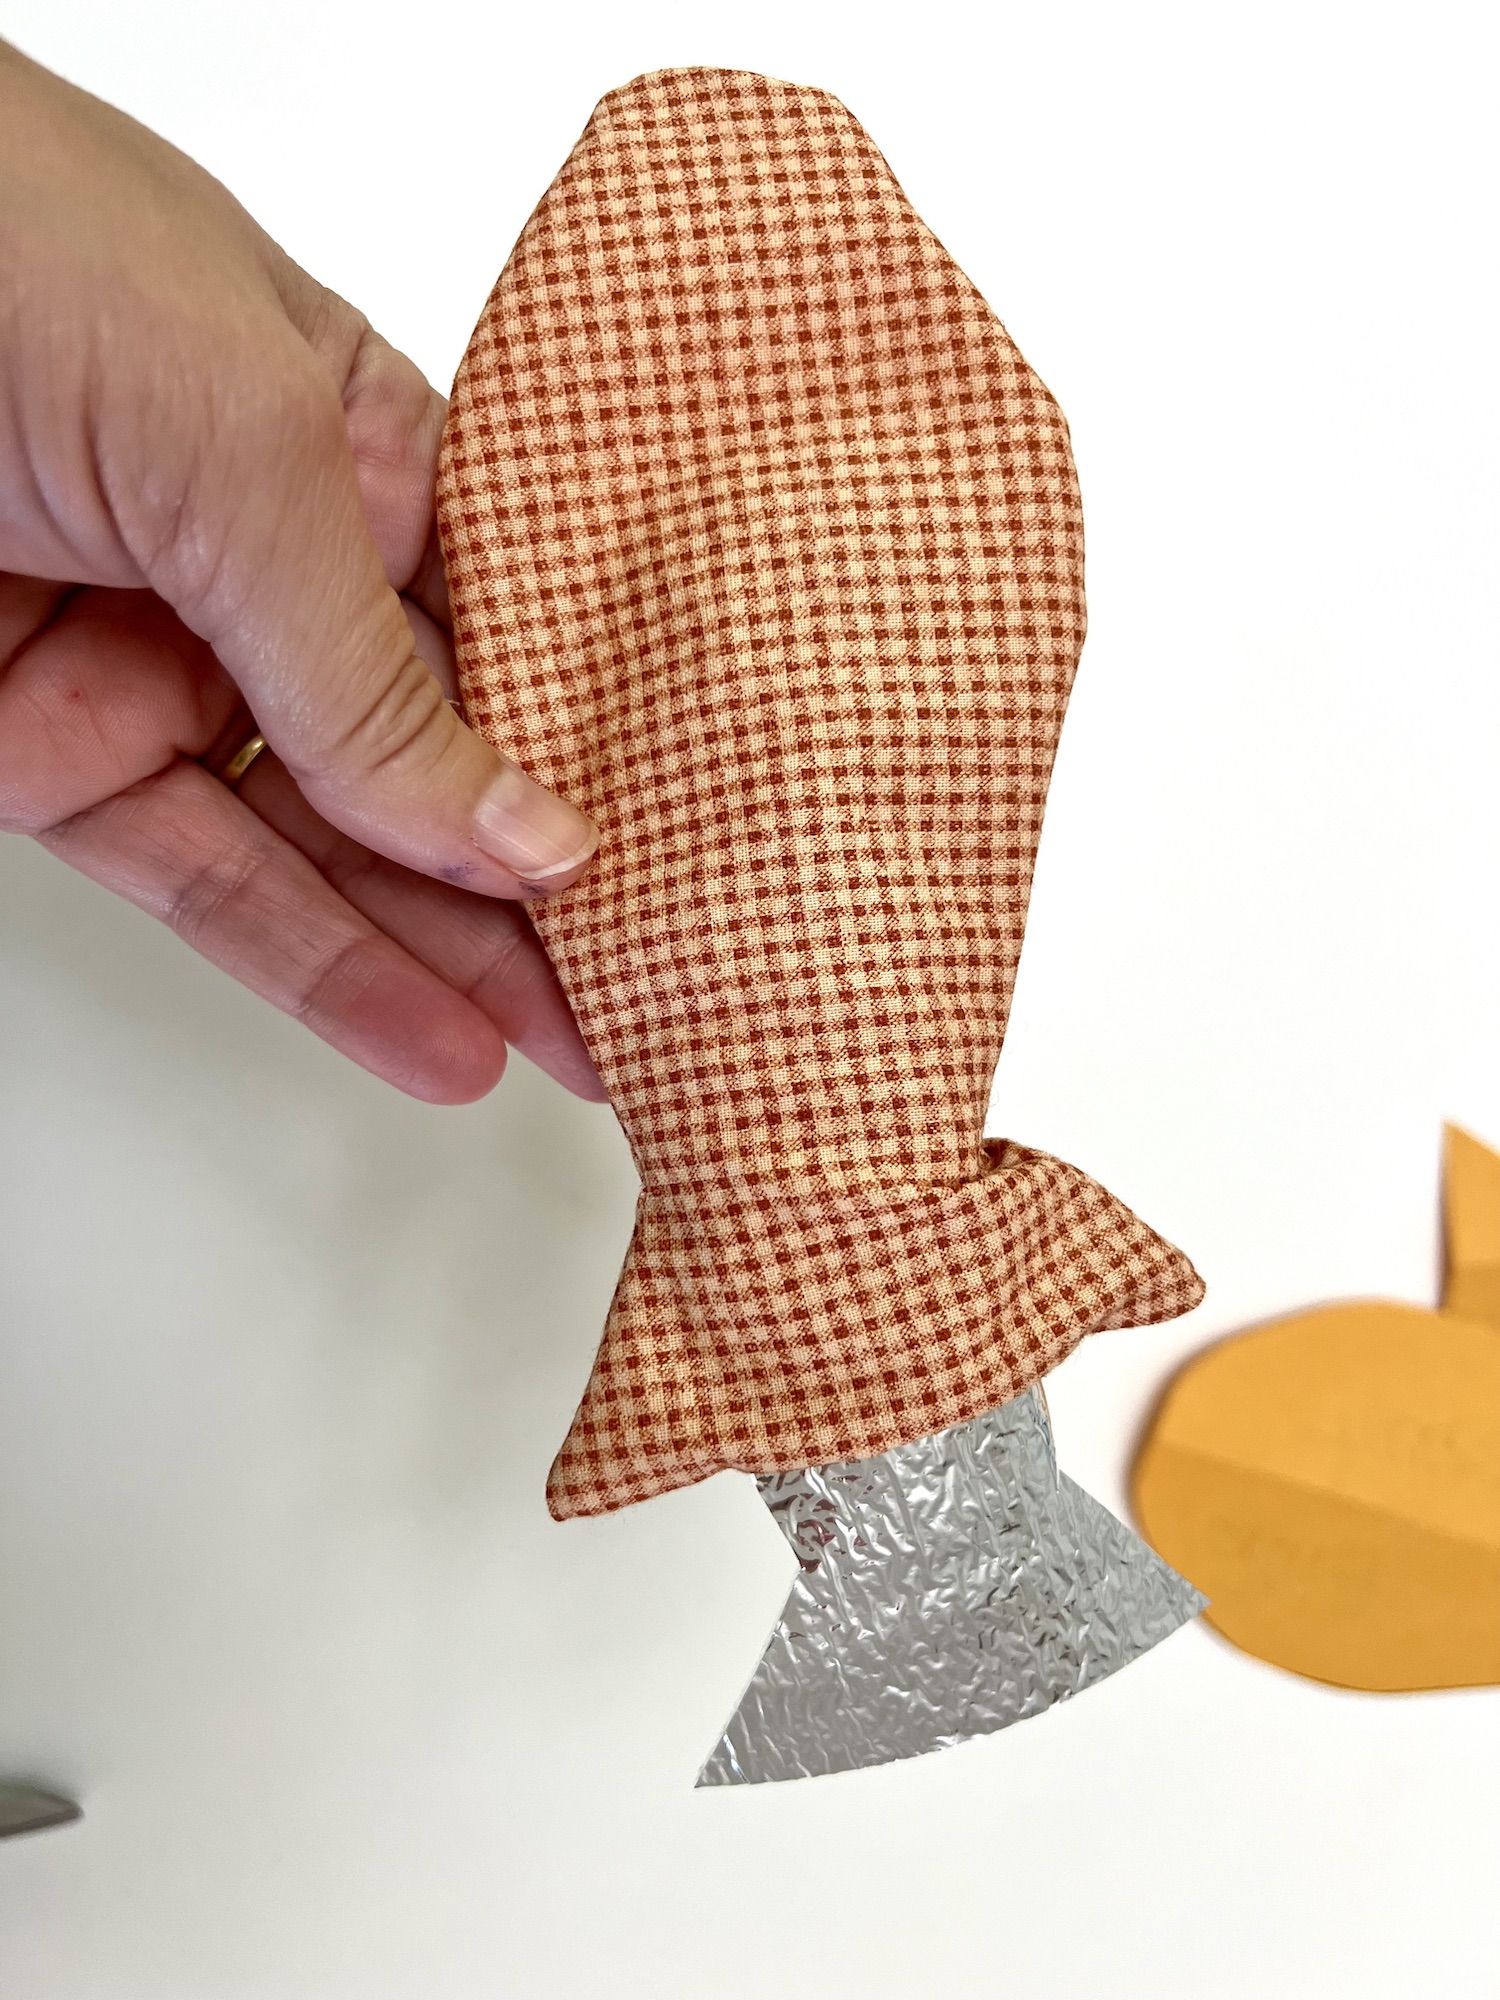
Turn the sewn pattern piece inside out.
Use your fingers or a turning tool to push out the edges and corners.
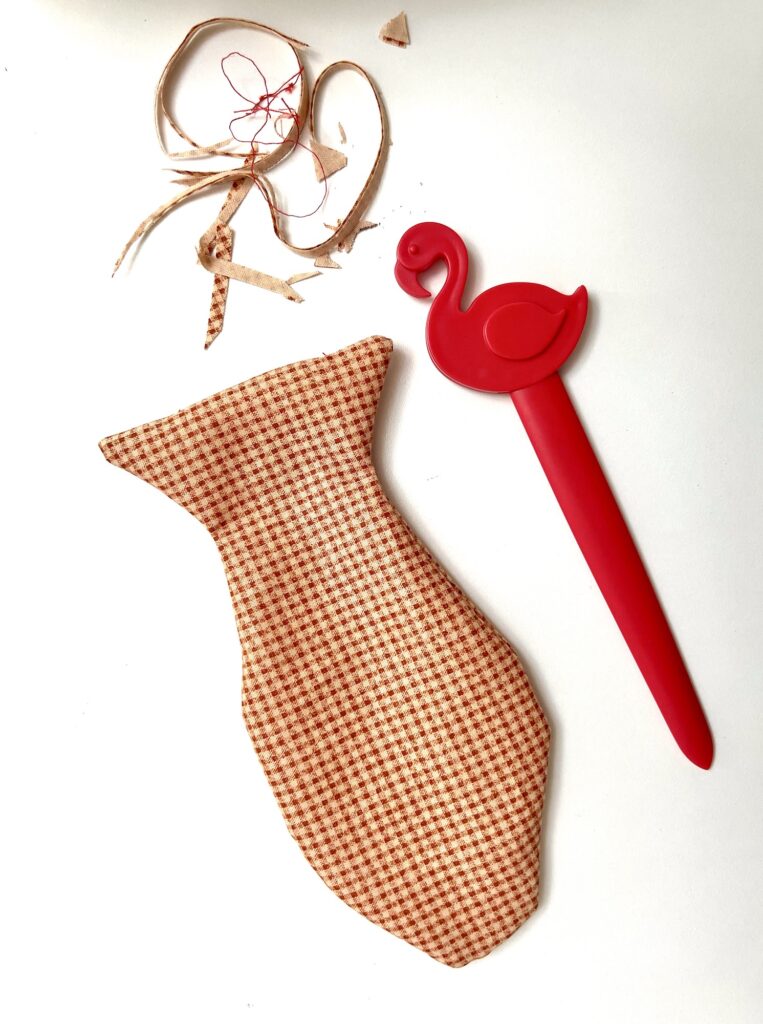
This is the flamingo turning tool that I use.
Press the fabric with an iron. Turn under the seams at the opening before pressing so that you press down the seam allowance you will sew shut later.
Step 5
Insert the crinkle material into the toy. Be sure to push it into the corners and flatten it out with your fingers, if necessary.
If you would like, add a little bit of stuffing or Polyfill to make a plush toy.
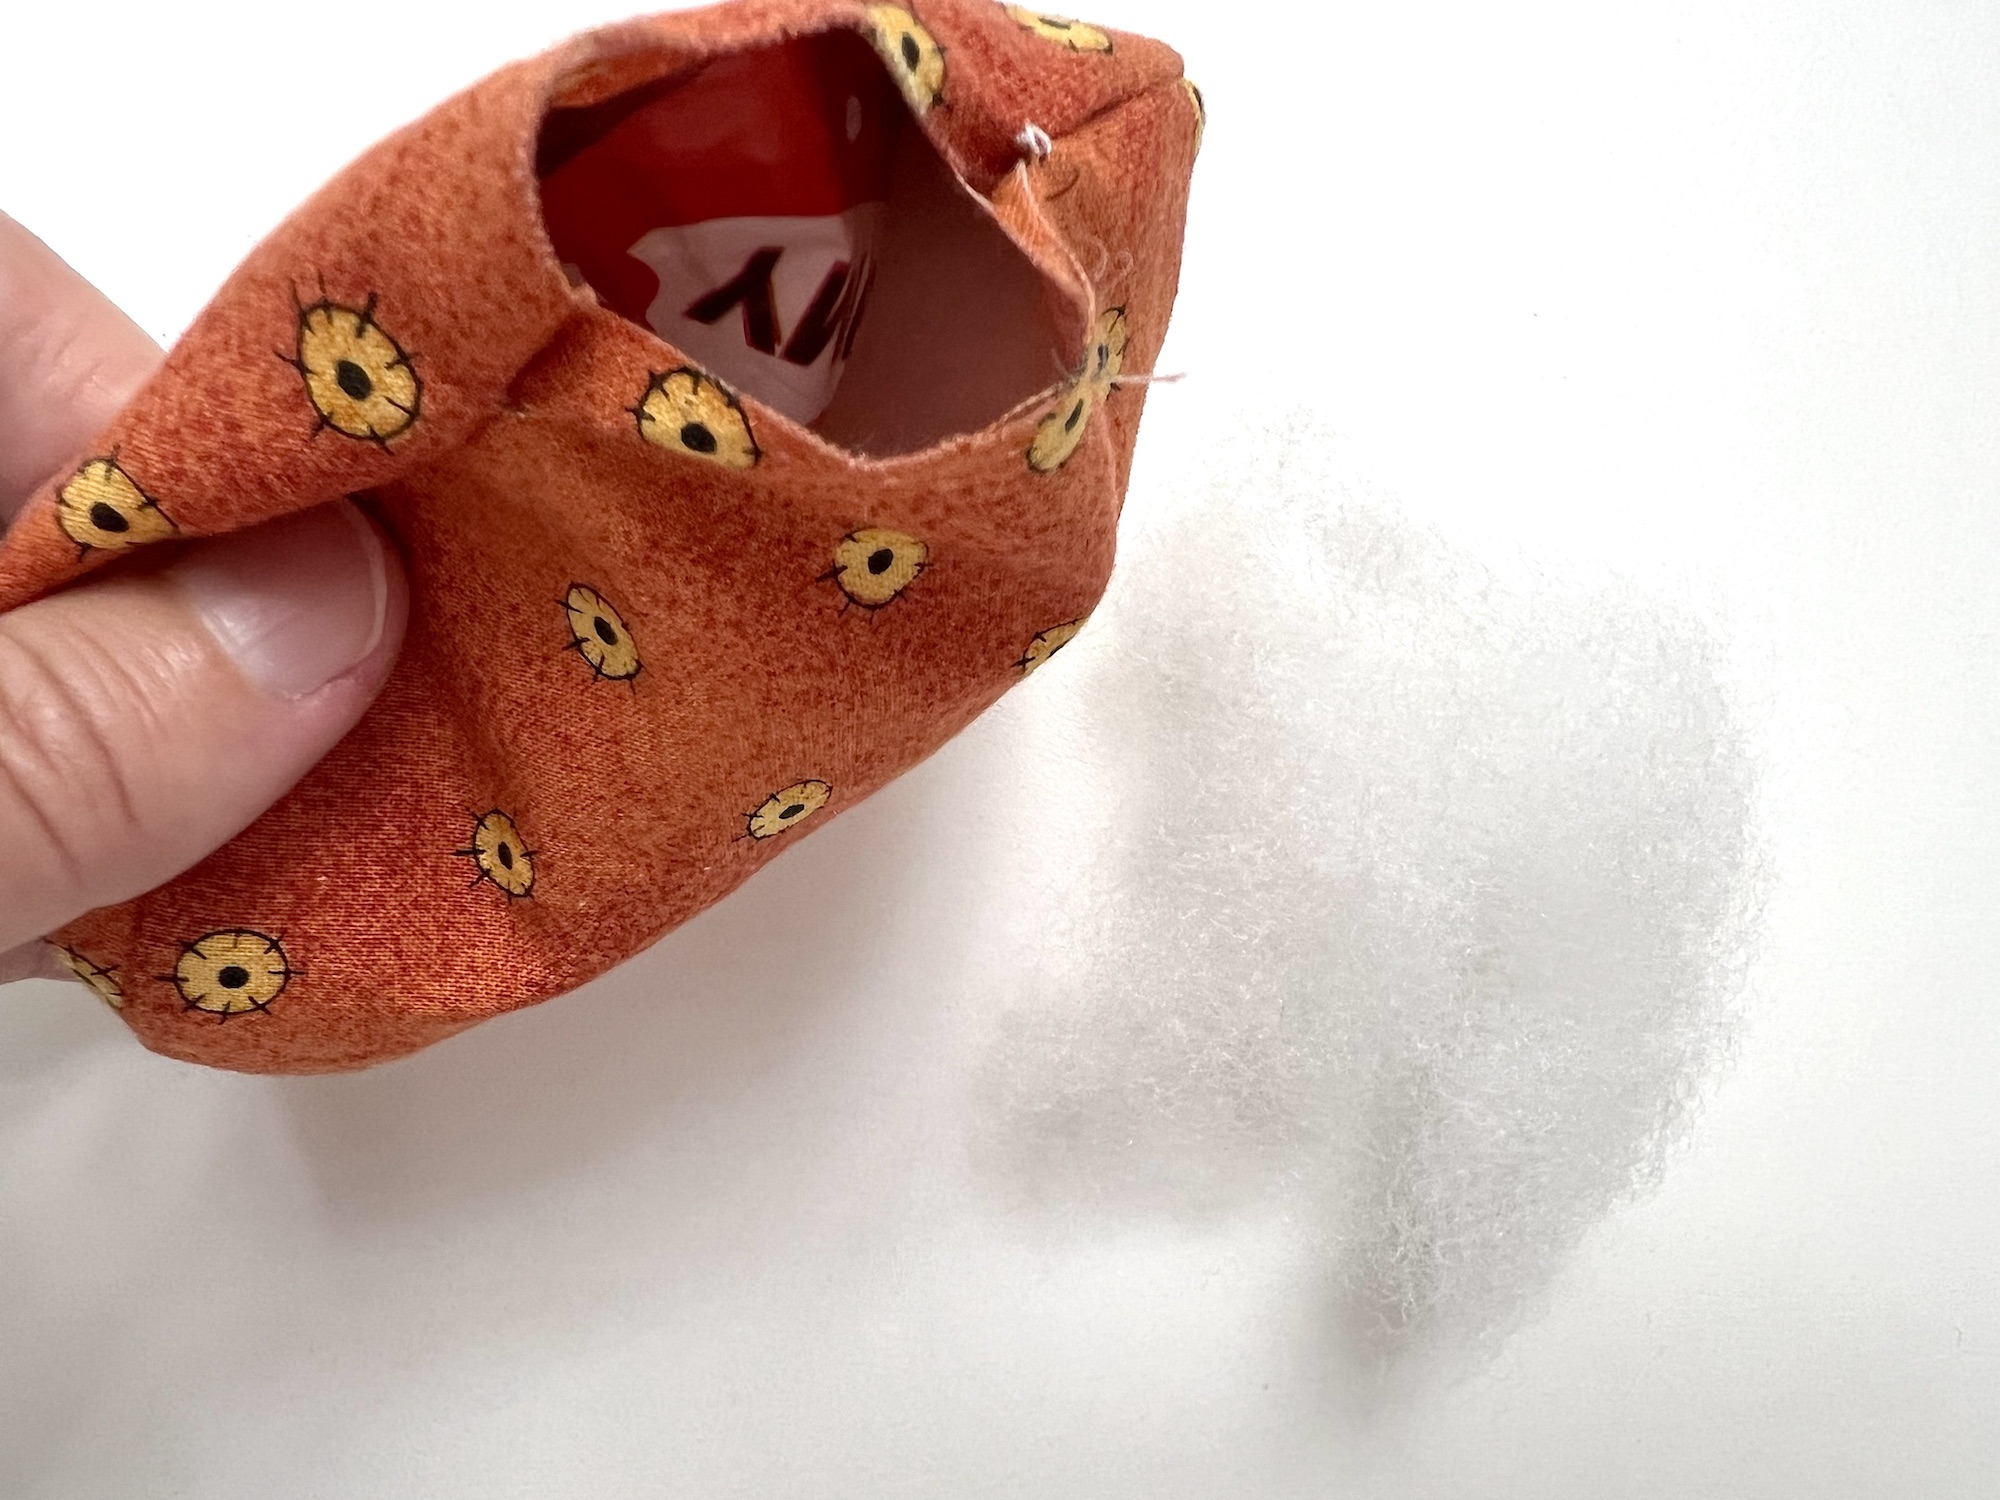
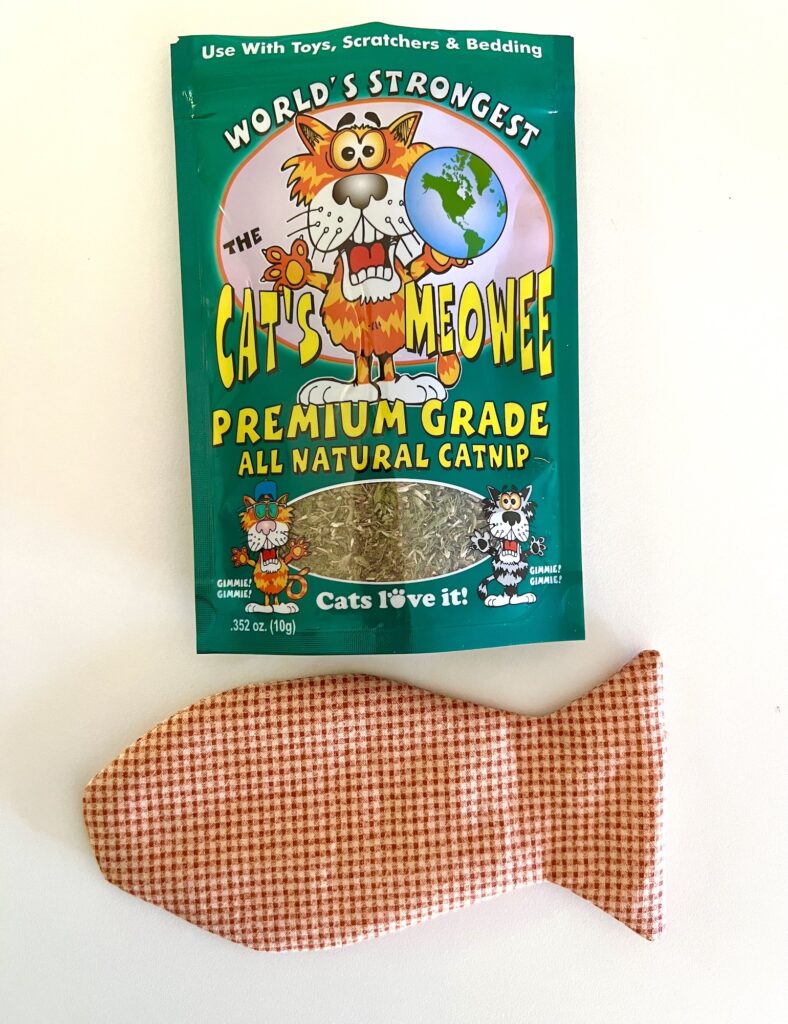
You can also add a small scoop of cat nip into the toy. We bought a bag of cat nip at The Dollar Tree.
Step 6
Thread your needle with matching thread and close the open seam by hand stitching it.
I used a simple ladder stitch to close the seam without seeing the stitching.
See how I made this cat toy in our YouTube video below:
Want to save this idea for later? Be sure to Pin It to Pinterest!
You may also like these no-sew pet crafts:
See these DIY pet sewing projects next: